logo elektroda
logo elektroda
X
logo elektroda

Exploring the Ultra-Affordable 4€ Smart Plug from AliExpress: A Deep Dive

tefod 2226 4
ADVERTISEMENT
  • #1 20827539
    tefod
    Level 2  

    Hi there,

    I'm an absolute enthusiast for smart plugs. I've decked out my home with several of them and, thanks to some savvy programming, I've already cut down our electricity consumption by 15%.

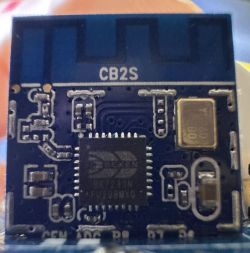
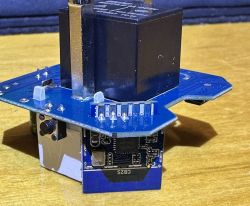
    Eager for more experiments, I went ahead and ordered as like @P0intLess (Link) a batch of 8 smart plugs for just 4€ each from AliExpresss, after reading about their ability to be flashed with OpenBeken despite having a Tuya chip. However, it seems I've received a version with a different layout than expected.

    I'm not new to flashing; I've worked with ESP8266 and ESP32, using Tasmota and WLED around the house. But, to be honest, I'm a bit puzzled about what I need to do for OpenBeken. There are tons of videos out there (though many in Russian), and I'm trying to sift through them.

    I'm pretty handy with a soldering iron, but I have some questions:

    Is there an OTA method, or do I need a serial flasher?
    Where do I need to connect things? I couldn't find any references to this BK7231N in the forums.
    What exactly is Cloudcutter, and is it an option I should consider?

    Could you guys help me out? Thanks a bunch 🤷‍♀️

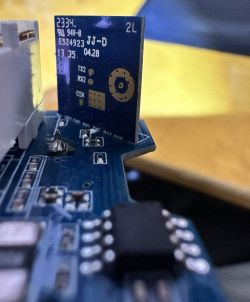
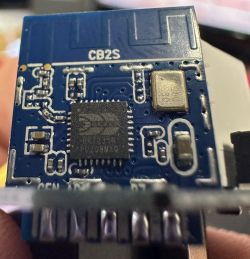
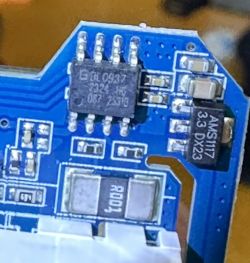
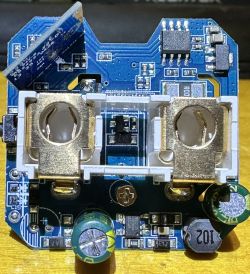
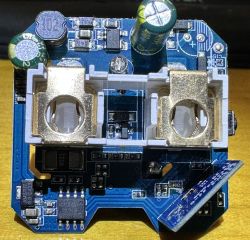
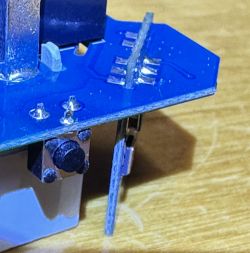
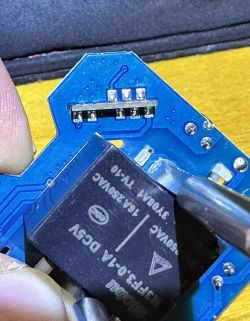
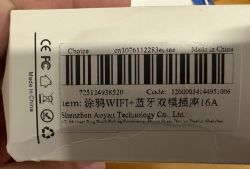
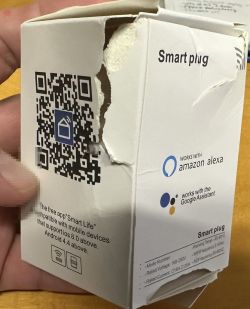
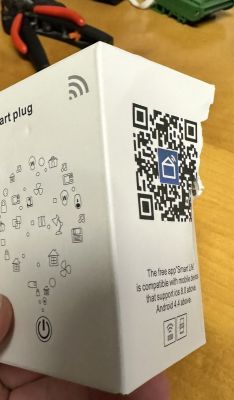
    Close-up of the BK7231N chip on a CB2S circuit board. Close-up of a circuit board with visible numbers, connectors, and markings. Close-up of an electronic module with a chip labeled as CB2S. Close-up of a circuit board with electronic components. Close-up of a circuit board with visible integrated circuits. Close-up of a smart plug circuit board. Close-up of a smart plug circuit board. Close-up of a blue circuit board with a button and soldered connectors. PCB with components and connectors on a wooden surface. Close-up of a circuit board with electronic components and soldered connections. Cardboard packaging label with barcodes and smart plug product information. Damaged smart plug packaging with QR code and Amazon Alexa logo. Smart plug packaging with QR code and app icon. WiFi Smart Socket user manual with Smart Life app. User manual for the Smart Life app for smart plugs.
  • ADVERTISEMENT
  • #2 20827589
    p.kaczmarek2
    Moderator Smart Home
    Welcome to forum, OTA method is not reliable because it's per-build of firmware and Tuya updates often.
    For CB2S, use the following methods. First video is the newer approach:


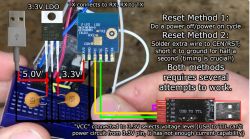
    Everything is in the videos, but here is a screenshot of the connections:
    Close-up of a manually configured setup with a 3.3V LDO, a Wi-Fi module, and a USB to TTL converter with clearly labeled connections.


    For initial GPIO config, use this method:


    PS: Here is link to our newest flashed (used in the first video): https://github.com/openshwprojects/BK7231GUIFlashTool
    Helpful post? Buy me a coffee.
  • ADVERTISEMENT
  • #3 20827620
    tefod
    Level 2  

    Great; thx for your quick reply and your hints 😊
    Will try them right now soon. Do I have to disassemble the CB2S PCB?

    I don't have a voltage regulator, but gonna use my adjustable power supply.
    Going to try now... :)
  • ADVERTISEMENT
  • #4 20827670
    p.kaczmarek2
    Moderator Smart Home
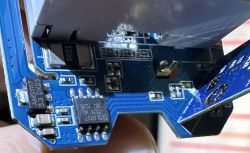
    I can clearly see that AMS1117-3.3V is on the board on your device, so you could theoretically just solder 5V wire to the input of that AMS1117-3.3V and it could work, but it depends on one major factor.
    Some Tuya devices come with RX1/TX1 of BK7231 used for some other purpose on their boards, for example for a button, or power metering circuit communication. In those cases, flashing may fail in circuit and you have to desolder CB2S out of the board. This is what I usually do.
    Your device seems to have BL0937 power metering circuit, but I am not sure if would interfere with flashing.

    If you want, you can:
    - first try to flash in-circuit, just solder RX, TX, GND and 5V to the input of AMS1117-3.3V, try to flash in-circuit, do power off/on cycle by disconnecting 5V
    - if it fails, you will most likely have to desolder CB2S, like I did on my video
    Helpful post? Buy me a coffee.
  • #5 20828956
    tefod
    Level 2  

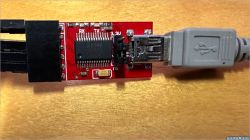
    Thx mate. Trying since yesterday and spent more than 10 hours in all variants (even desoldered) and was wondering, why the app does not make even a tick - till i figured out, that I am using a damn FTDI adapter instead of a plain UART 🤦‍♀️ I guess, this is the issue. No failures, no learn 😁
    Just ordered the right UART adapter with a ch340 chip and some desoldering stuff. Will give u feedback soon. Thx again!
    Red FTDI adapter with a USB cable inserted, on a wooden table background.
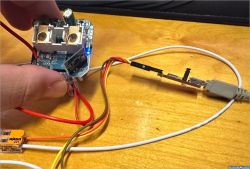
    The image shows a hand holding an electronic board with connected wires in various colors, resting on a wooden surface.
ADVERTISEMENT