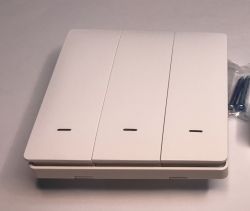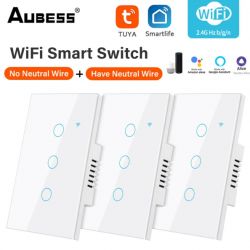
AUBEES 3 gang smart switch with CB3S chip.
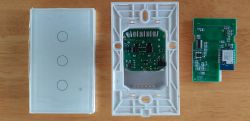
I purchased from eBay thinking it had an ESP chip, but flashing openbeken was fairly easy.
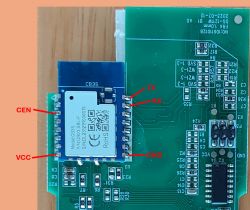
I used bk7231flasher_1.1.6, a Windows portable GUI flasher, to flash the CB3S chip via my Arduino UNO board as a com link to USB.
Wiring the UNO to the chip is as follows (UNO > CB3S):
GND > GND
3V3 > VCC
TX > TX
RX > RX (I know most flashing devices are Tx > Rx, Rx > Tx, but on my Arduino, this won't work)
On the Arduino board, short the RST pin to GND to bypass the UNO's chip.
I had to set the baud rate to 115200 for the comms to work.
When the flasher begins searching for the com device, short the CEN pin on CB3S chip for a split second.
When flash complete, cycle power to the CB3S chip, search for available WiFi access points from PC and connect to the new device named openbeken (or similar). After connecting, I looked at the WiFi information (next to WiFi status connected, secured) to obtain gateway IP.
Put that IP in a browser and configure network on the chip's network GUI, to connect to your local router/network. You will then need to look at your router's device list and find the new IP address of the chip. Connect to that in a browser.
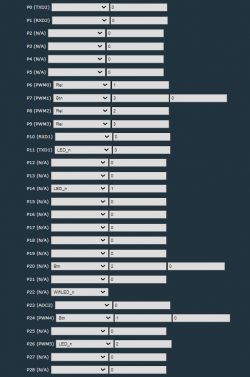
In Config > Configure module, set the pin inputs and outputs as follows:
P22 - WiFi Led_n
P24 - Button 1
P6 - Relay 1
P14 - Led_n 1
P20 - Button 2
P8 - Relay 2
P26 - Led_n 2
P7 - Button 3
P9 - Relay 3
P11 - Led_n 3
I set up MQTT on the GUI and in Config > Home assistant configuration, clicked on start home assistant discovery.
That's it, re-soldered chip to board and installed, in home assistant the device is under the MQTT integration.
All the best with it.


