BK7231GUIFlashTool version 98 and above introduces a new Beken flashing method via SPI. Only a CH341 SPI programmer is required. This method can be used to recover bricked Beken devices whose bootloader has been overwritten. It can also serve as a general-purpose SPI flasher, supporting various memory chips.
Recommended Reading
This topic builds on my previous presentation, BK7231 Programming via SPI in Flash Memory Mode – Python and Banana Pi. Here, I’ll expand on that knowledge and adapt the same logic for use with the CH341 and C#.
Additionally, the current approach is based on the work of @divadiow — see this post. The main difference is that we’ve transitioned to a more complete and suitable tool.
Required Hardware
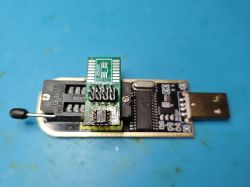
For this guide, you’ll need a CH341 programmer — either the same one used in our video or a similar model:
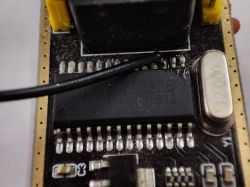
Additionally, you’ll need a soldering iron to attach a wire to the D2 pin, which will be used to control CEN:
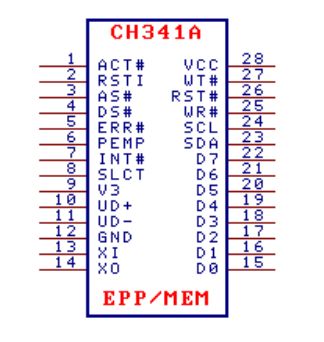
Here’s how it looks in my setup:
Alternatively, you can use another version of the CH341 — the one with routed-out pins:
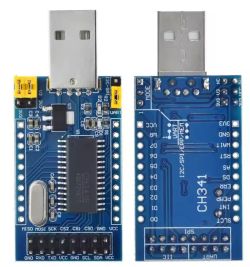
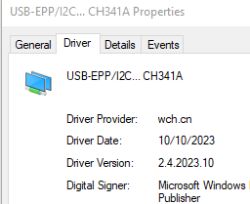
Make sure the device jumper is set to the I2C position so that Windows detects it as USB-EPP/I2C... CH341A.
Next, connect the CH341 to the Beken device in SPI mode:
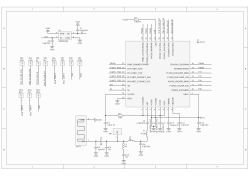
Use the following pins: P20, P21, P22, P23 (SCK, CSN, SI, and SO).
As usual, connect MOSI → SI and MISO → SO. Additionally, connect CEN to the previously mentioned D2 pin.
You can also check for board markings — they might be available on some devices.
Here’s an example photo from @divadiow:
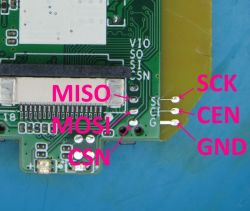
Connections summary:
| Generic IO | Tuya Doorbell Pads | CH341A | CE/CEN | CE | D2 | SCK | TCK | SCK | CSN | TMS | CS0 | SI | TDI | MOSI | SO | TDO | MISO | GND | GND | GND |
So, the pad naming may vary, but the connection remains the same. Don’t forget to connect power.
Implementation Details
Skip this section if you just want to flash your device!
Beken chips include an SPI mode — in this mode, they behave just like standard SPI memory, using the same protocol details and commands. I’ve described this in a previous topic.
However, this mode is only available after entering SPI mode — that’s why we need a custom script and the D2 pin connected to CEN. The new flasher tool uses CH341 DLL C# bindings to first toggle CEN, resetting the Beken device, then sends the 0xD2 bytes to switch it into SPI mode. After that, it handles the Beken chip just like any generic SPI flash memory. In our implementation, SPIFlasher_Beken class actually inherits from generic SPIFlasher, making it reusable and giving us "free" generic SPI flash support as well.
Code: C#
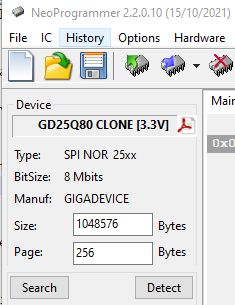
Interestingly, once switched to SPI mode, you can even use a generic SPI flashing tool such as CH341 Programmer or NeoProgrammer. However, that’s not necessary — see the next section for details.
ADVERTISEMENT
Flash Tool Usage for Beken
First, download our tool from the following link:
https://github.com/openshwprojects/BK7231GUIFlashTool
You can either download one of the prebuilt binaries or compile it yourself in Visual Studio.
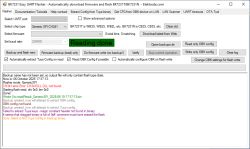
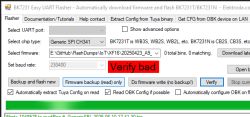
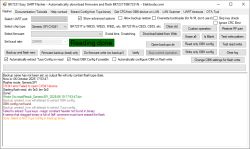
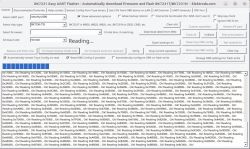
After launching the tool, you should see a window like this — select the Beken SPI chip type:
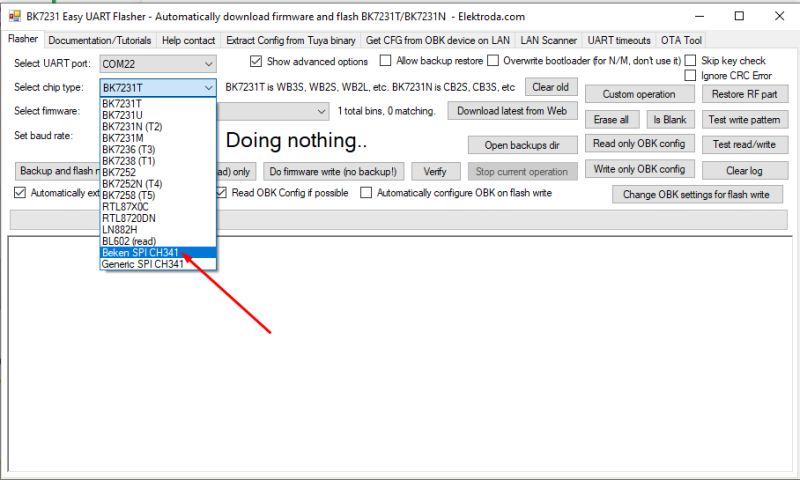
Next, you can use the buttons to Read, Write, Verify, or Erase the firmware.
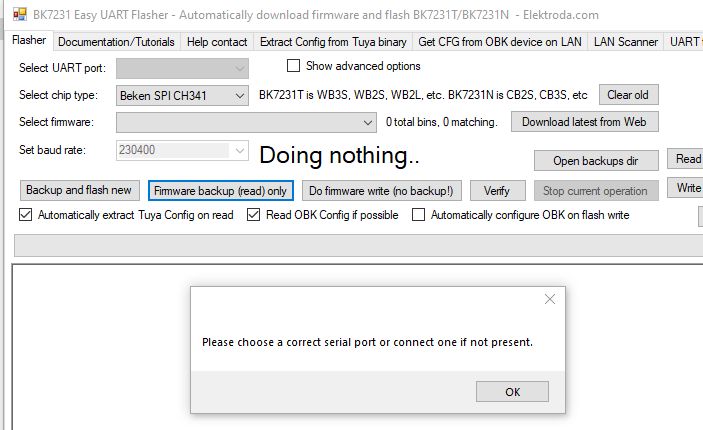
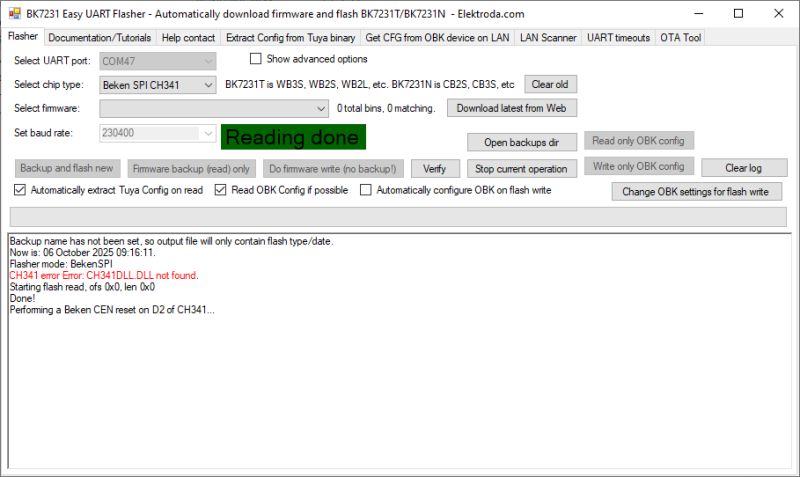
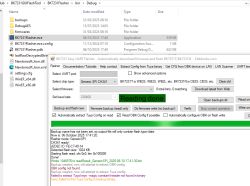
If you encounter an error like the one below:
Backup name has not been set, so output file will only contain flash type/date.
Now is: niedziela, 5 października 2025 00:35:37.
Flasher mode: BekenSPI
CH341 error Failed to open CH341 device.
Starting flash read, ofs 0x0, len 0x0
Done!
Performing a Beken CEN reset on D2 of CH341...
Failed to toggle CEN - is CH341 connected and ok?
Check if the CH341 is properly configured and detected by your PC.
If the Beken chip does not enter SPI mode, verify the SPI and CEN connections.
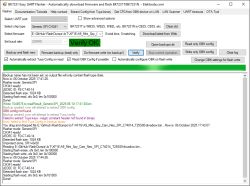
Once properly connected, the tool should correctly identify the flash ID and size, and begin the selected operation.
Sample ID output (your values may vary):
JEDEC ID: FF-EF-40-16
Detected flash size: 4096 KB
Wait for the entire operation to complete:
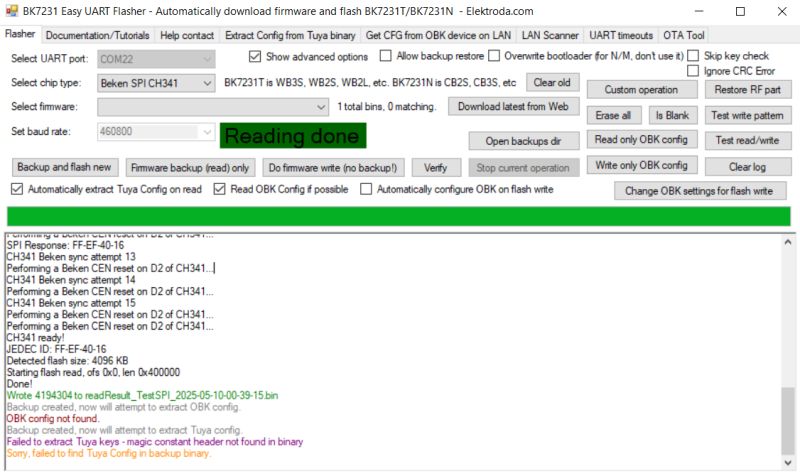
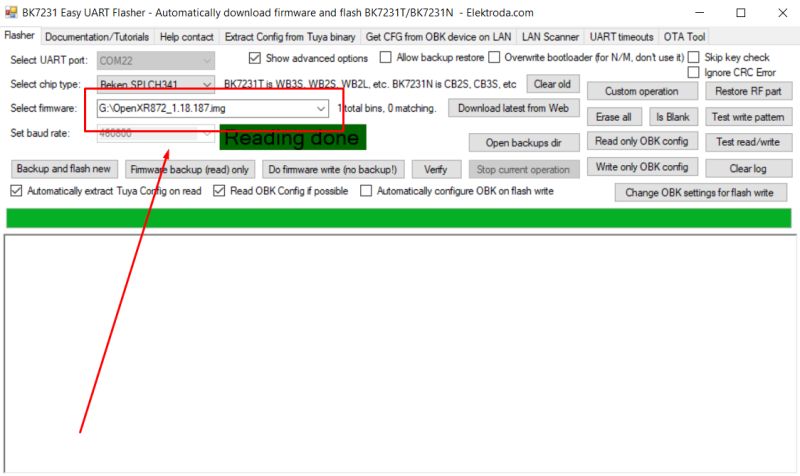
To write firmware, simply drag and drop the binary file onto the flasher window:
Sample application
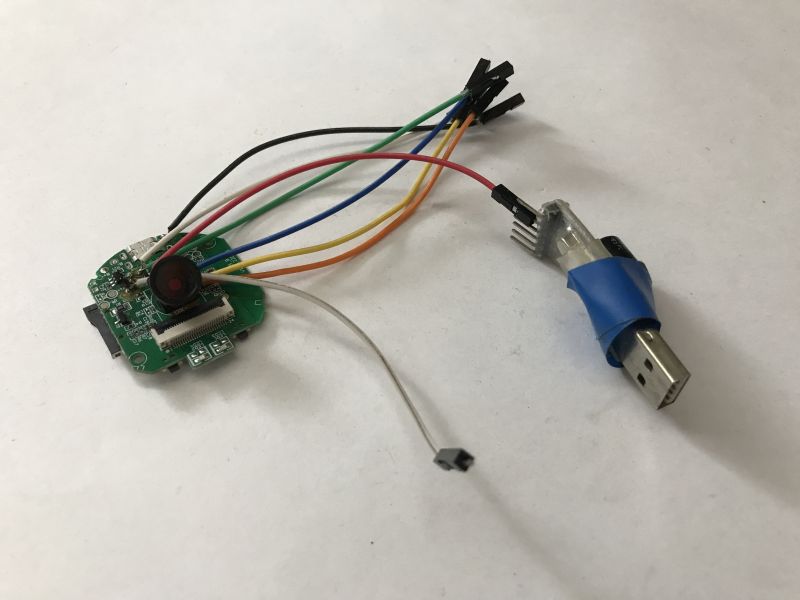
This method can be used to recover bricked BK7252 camera device:
Flash Tool Usage for Generic SPI
The tool can also handle generic SPI chips. While there isn’t yet a complete list of JEDEC IDs, it attempts to decode the flash size directly from the ID — this may improve in future updates.
Just connect the SPI memory as you would for any other flasher and choose Generic SPI mode:
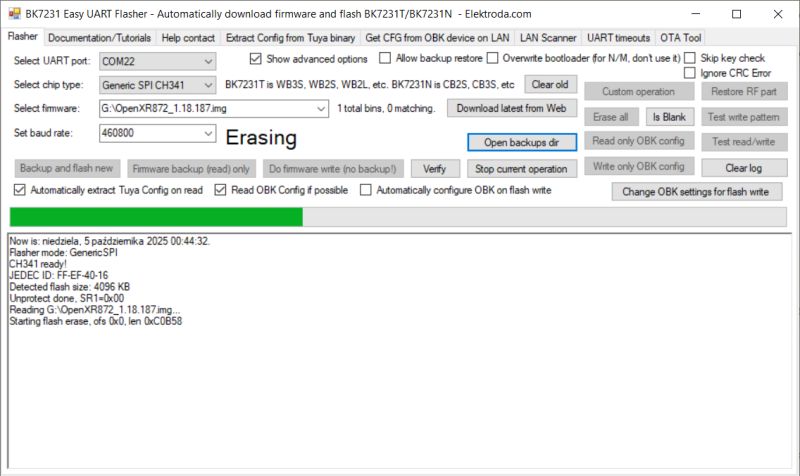
It should work without issue. If you’re uncertain, you can always run Verify afterward to confirm.
Summary
With the latest versions of BK7231GUIFlashTool (v98 and above), you can easily recover bricked Beken devices and flash new firmware using only a CH341 programmer. New BK7231GUIFlashTool utilizes CH341 for easier BK SPI mode control and flashing.
To summarize:
- Set the CH341 jumper to I2C mode (if applicable).
- Connect the SPI lines (P20, P21, P22, P23) and CEN to D2, power your device.
- Use the Beken SPI mode in the flasher tool.
- Verify connections if you get a CEN toggle or CH341 not detected error.
- The tool can also handle Generic SPI flash chips if needed.
This approach is much simpler than Banana/Raspberry PI method present before and hopefully makes SPI flashing of Beken chips easier to approach for anyone.
Get it here: https://github.com/openshwprojects/BK7231GUIFlashTool
We're still working on adding futher features to to our flasher, including support for other platforms, so stay tuned and let us know if you have any feature requests!
Cool? Ranking DIY Helpful post? Buy me a coffee.


