 Today we take a look inside a rather expensive product, bought for a whole $160 (that's over £600). This will be a three-phase energy meter that works with the Tuya ecosystem. We will also consider here the possibility of freeing it from the cloud so that it works 100% locally, without the manufacturer's servers.
The topic shown here was carried out with colleague @DeDaMrAz , he owns the device and from him come the photos.
Let's start with the purchase. We bought the equipment in China:
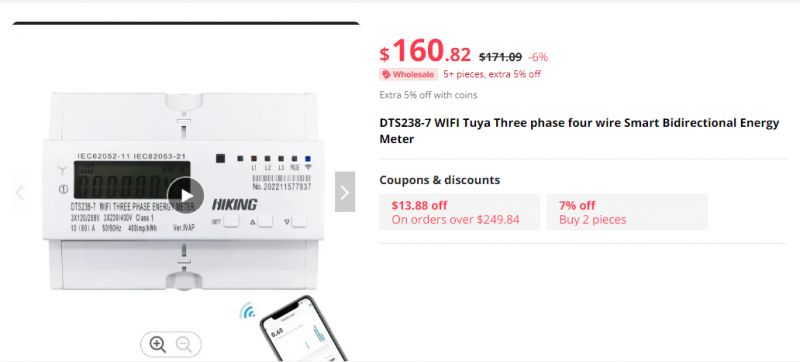
There is rather no need for me to explain on foot here what this device does. I will simply quote the description from the seller:
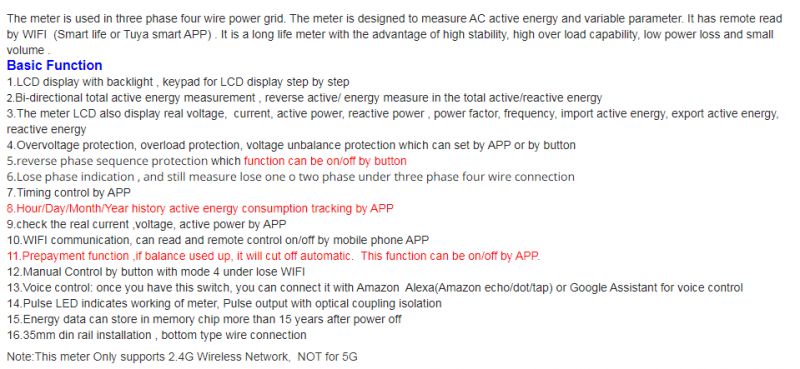
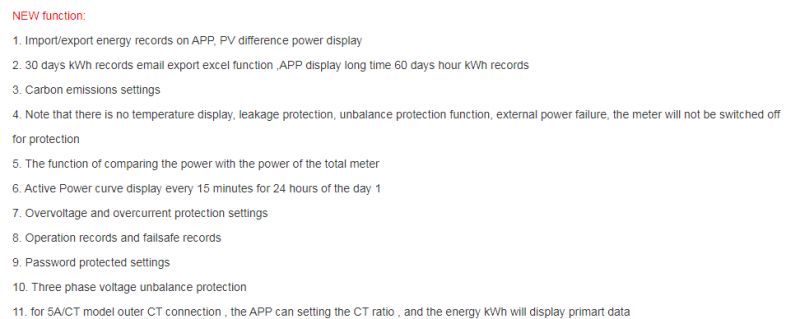
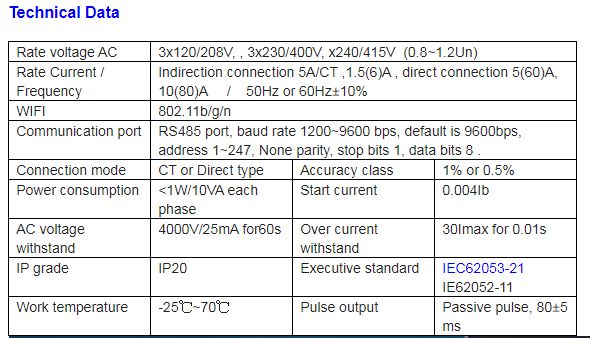
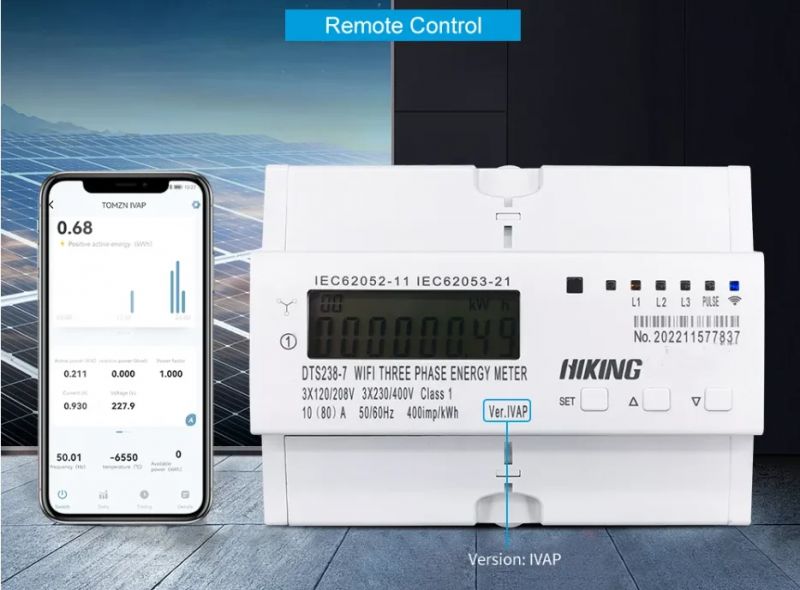

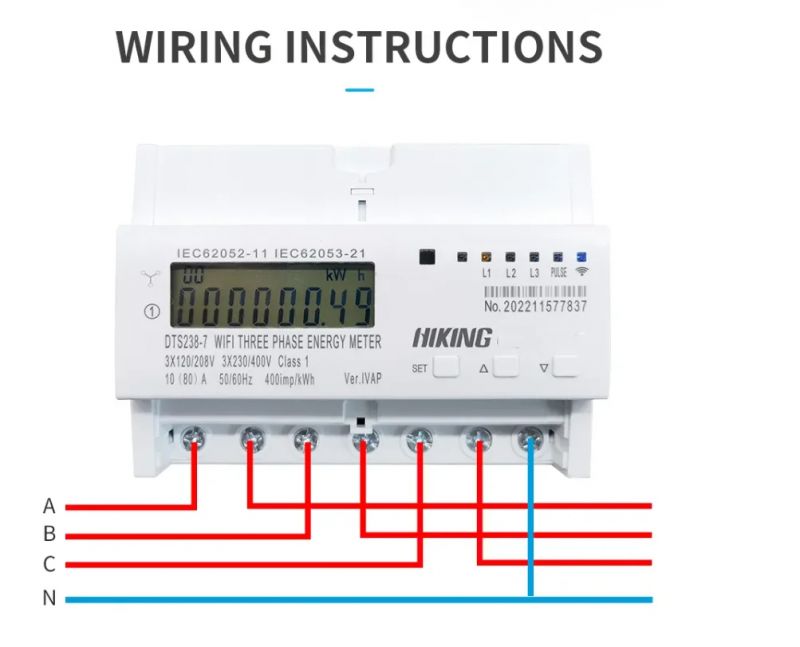
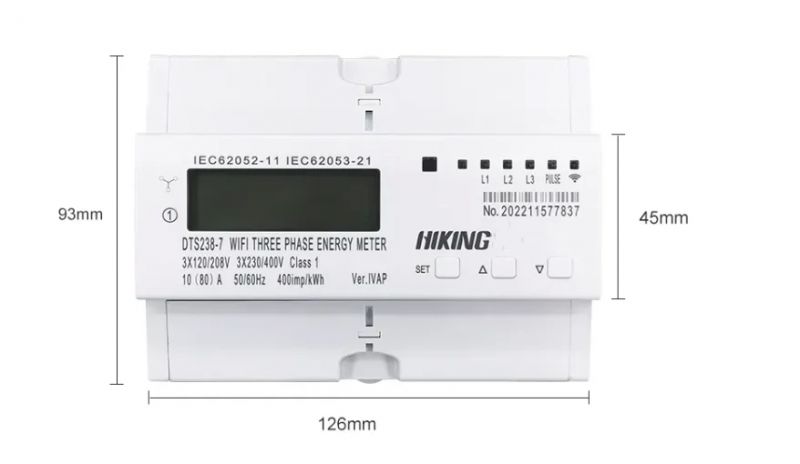
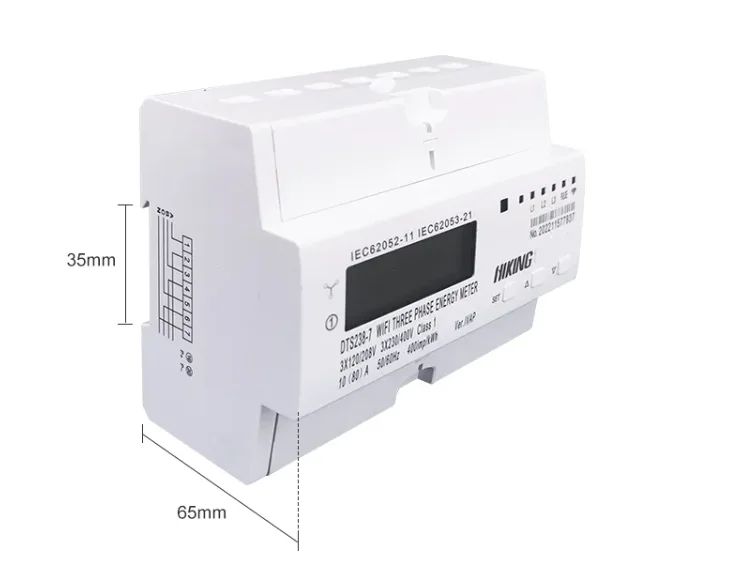
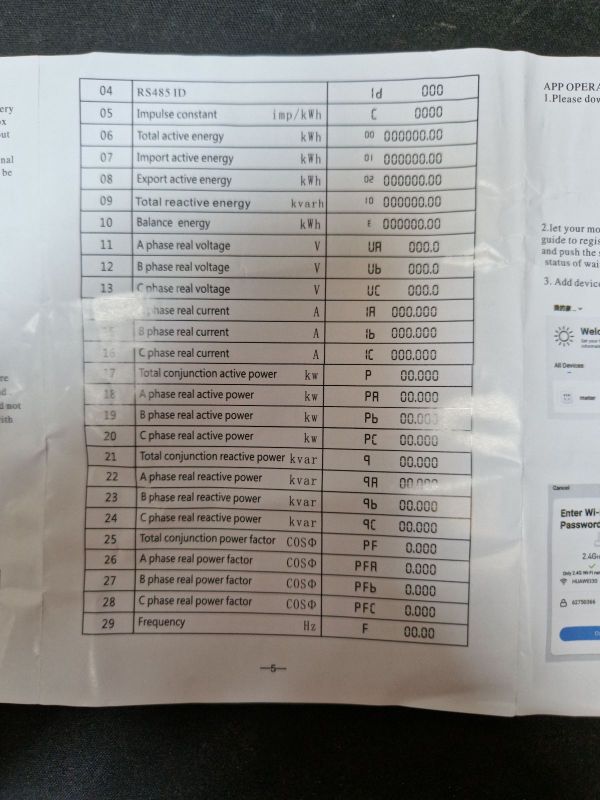
A manual is included, which specifies the measurements we can expect:
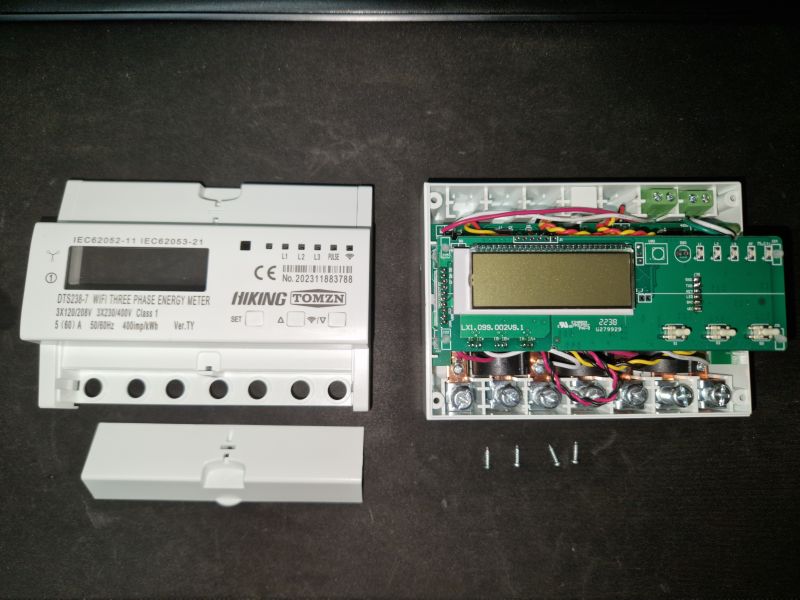
But we're interested in the inside, so let's remove the case:

We found a piece based on the TYWE3S WiFi module, the ESP8266. Tasmota could be uploaded. Admittedly, we were hoping for a version with BK7231 to test OpenBeken a bit, but this is not a problem. You can always replace the WiFi module.
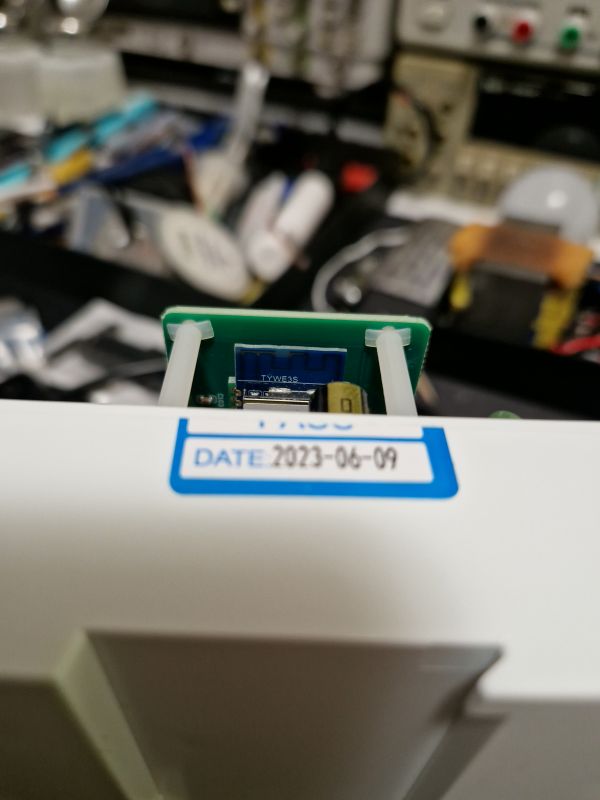
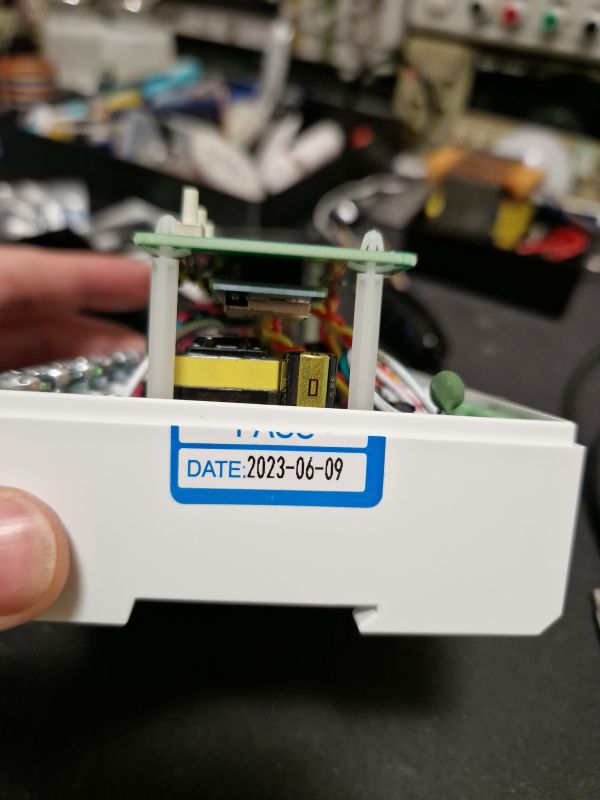
Interior:
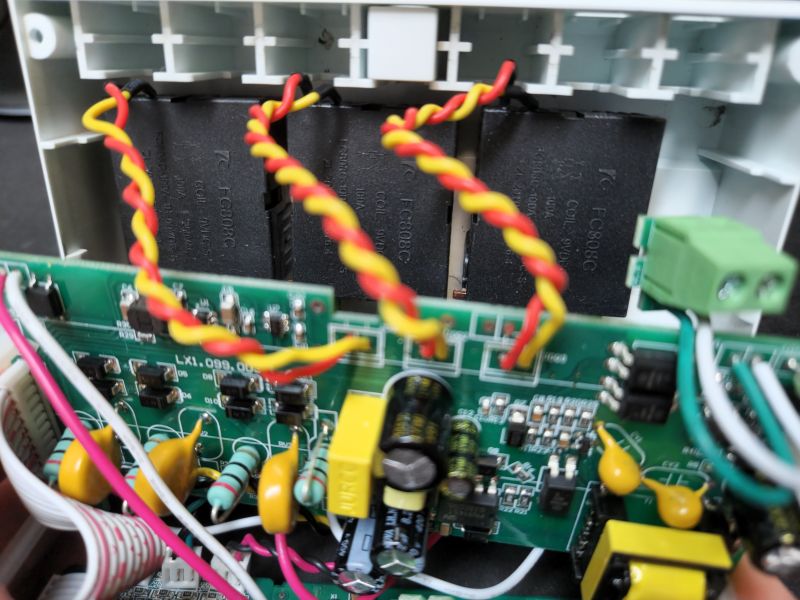
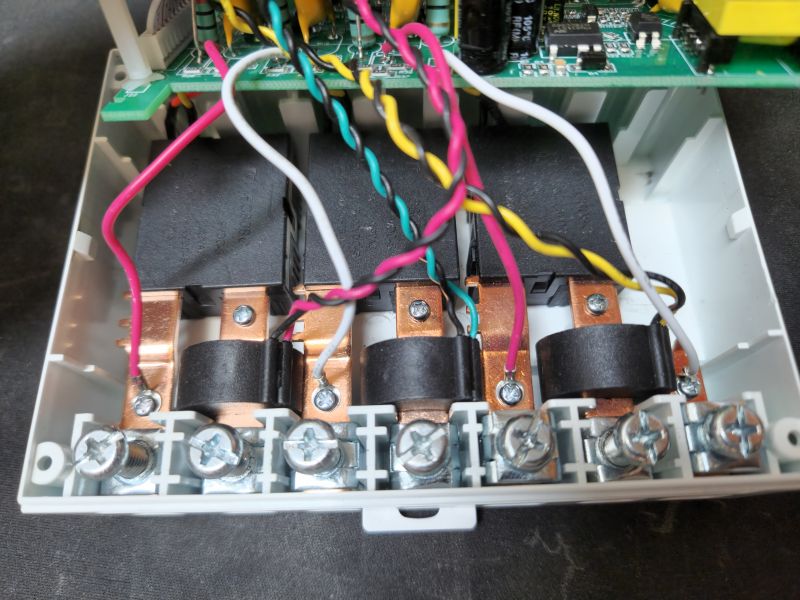
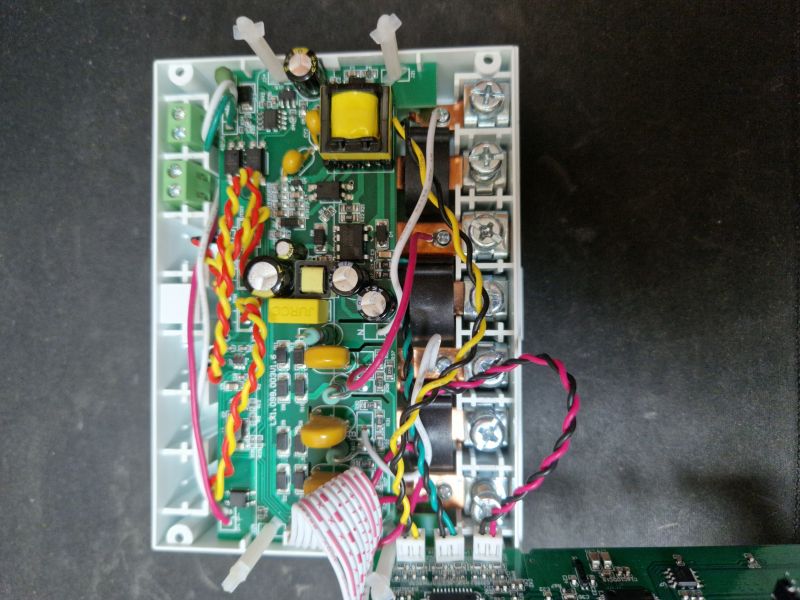
On the other side of the display board you can also see an additional microcontroller, here the SH79F6431P. An 8051 core, this is the one that communicates with the WiFi module via the aforementioned TuyaMCU protocol.
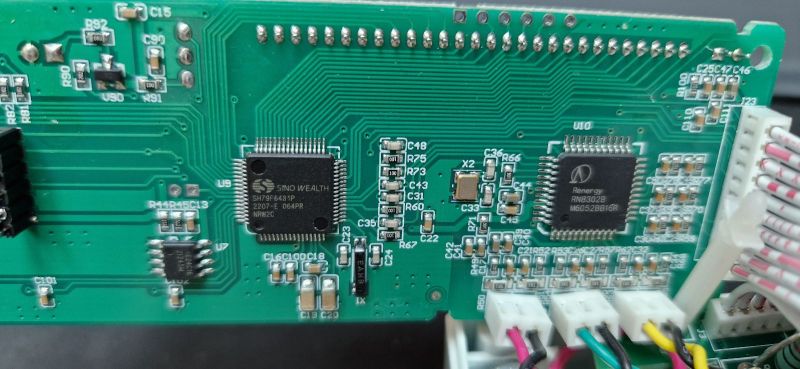
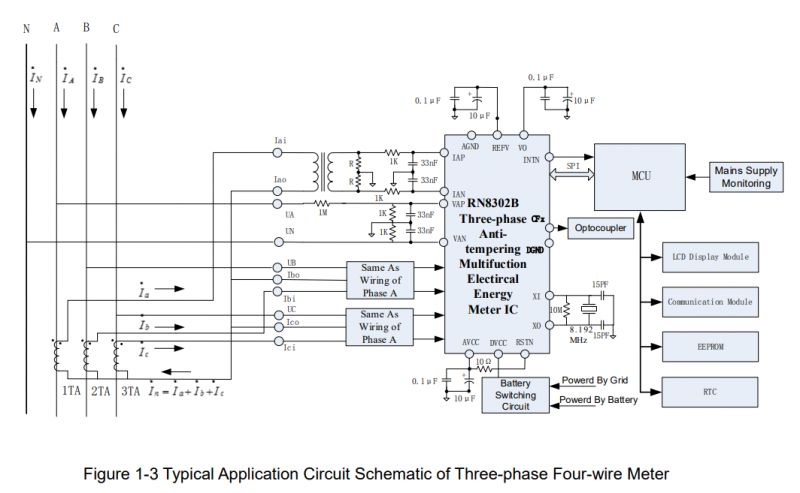
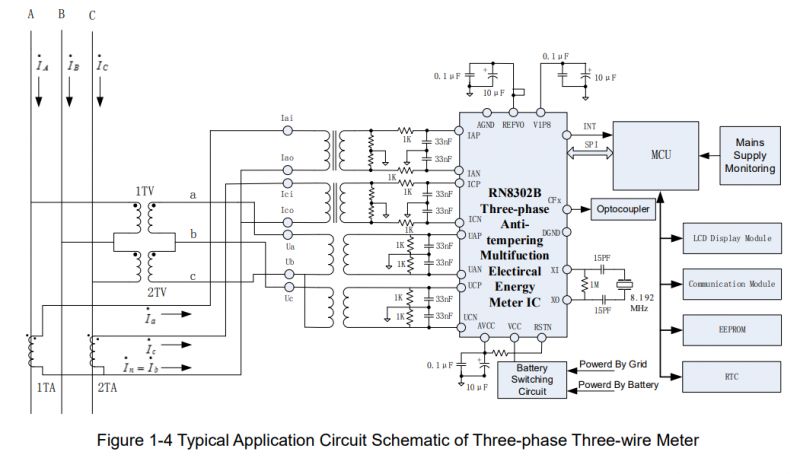
RN8302B renergy in turn is responsible for the measurement, the coils of the transformers are connected to it:
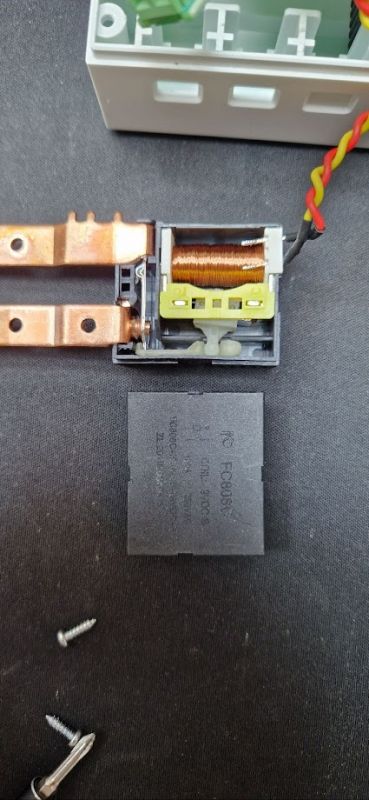
Figure diagram of the part performing the measurement:
This small 24C16 bone (U7) in the picture of the board is in turn an EEPROM.
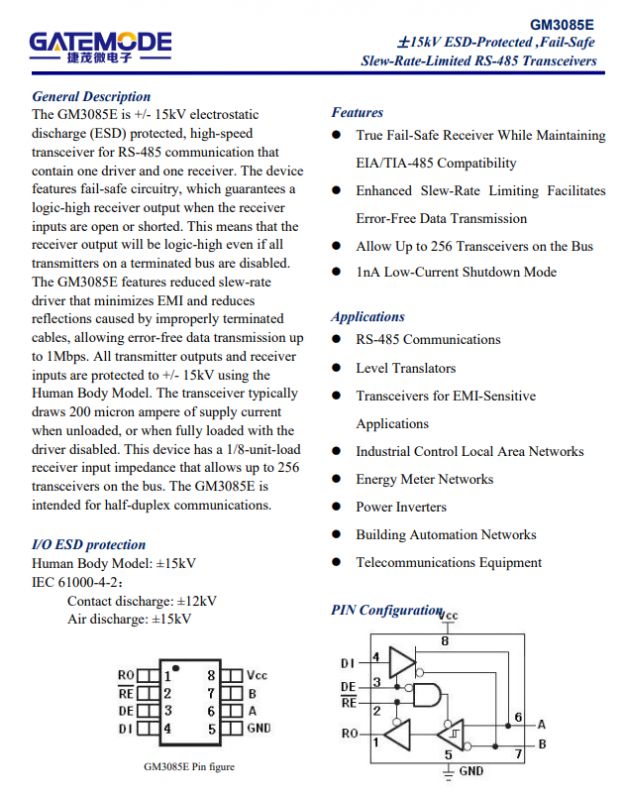
On the board there is also a chip responsible for RS485 communication, which we haven't tested yet:
And I would forget, already after removing the casing - what the display shows:
We also made a copy of the original batch:
https://github.com/openshwprojects/FlashDumps...66/TYWE3S_HIKING-3-phase-wifi-smart-meter.bin
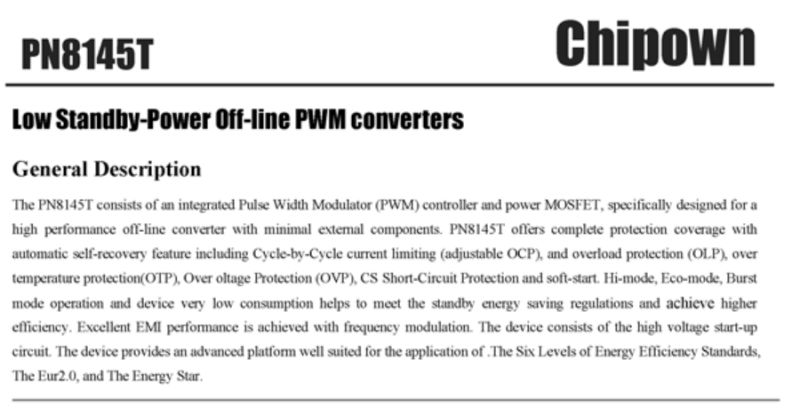
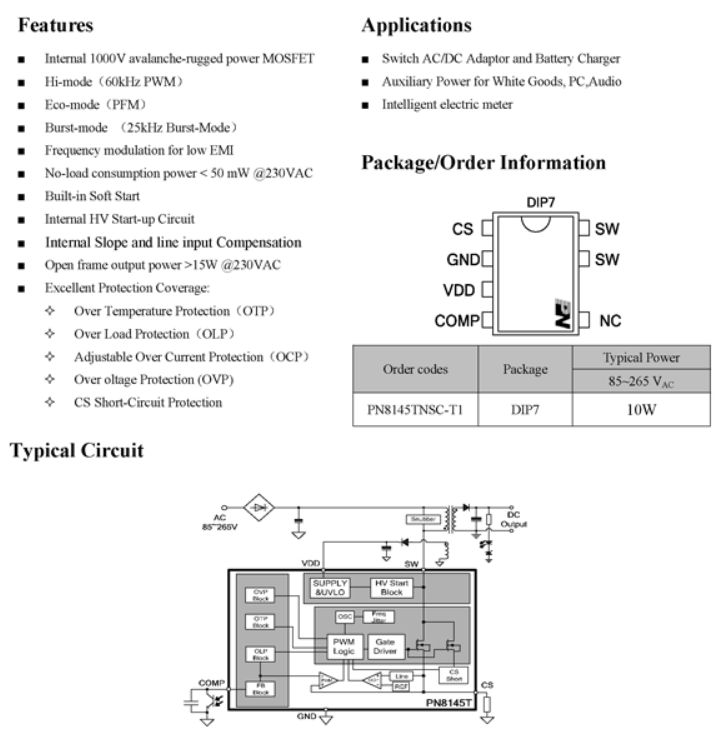
There is still a power supply - inside is a PN8145T based, flyback power supply:
Packet capture
This device is based on the TuyaMCU, i.e. the WiFi module here only realises the communication with the outside world, and the rest (including the LCD) is handled by an additional microcontroller. There have already been several topics about the TuyaMCU:
TuyaMCU protocol - communication between microcontroller and WiFi module
Flashing guide, install and configure TuyaMCU - configure dpID for Home Assistant
I recommend reading the above topics, otherwise this paragraph will be incomprehensible.
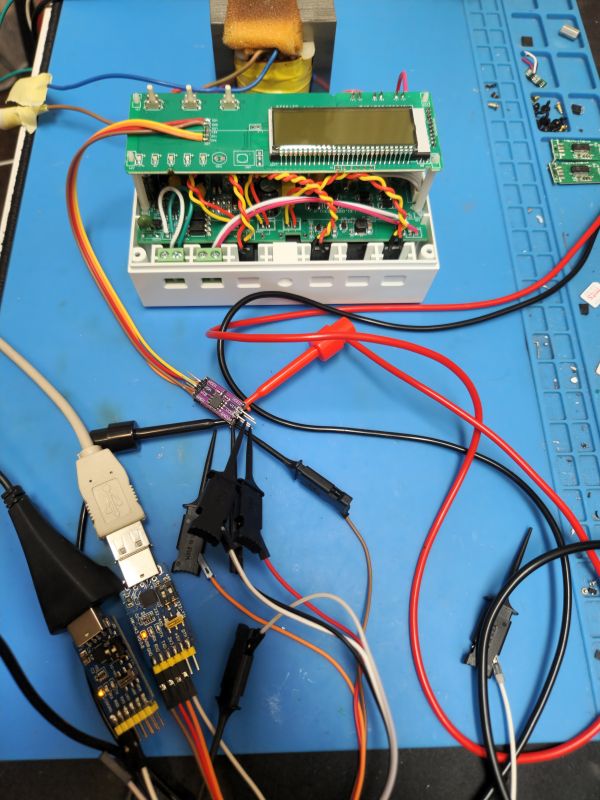
Well, in accordance with the above topics we prepared to capture TuyaMCU packets. We used the ADUM1201 optoisolation modules for this.
Here's what it looks like in practice:
Collected data in our analyser, usual work:
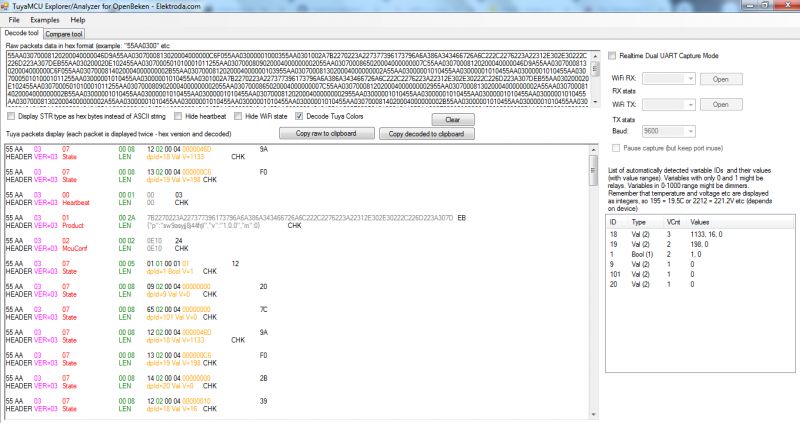
Test timer (you can see here the dpID of the countdown value and the state of the timer - boolean):
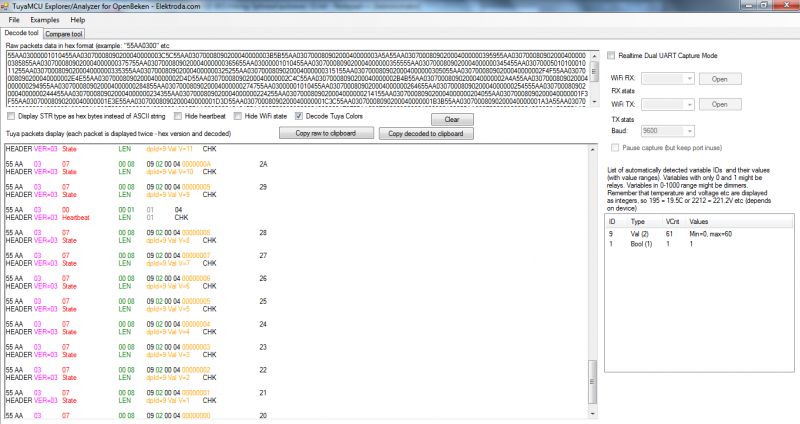
For review:
https://github.com/openshwprojects/TuyaMCUAnalyzer/tree/main/project/samples
From more important dpIDs we will discover:
//1 => on/off
//18 => current in mA
//19 => power in watts/10
//20 => voltage
In Tasmat this can be mapped according to this documentation:
https://tasmota.github.io/docs/TuyaMCU-Devices/
For OBK the guide is here:
https://www.elektroda.com/rtvforum/topic4038151.html
Configuring OpenBeken Our piece was using TYWE3S, but a colleague had a couple of CB3S in stock so he replaced the WiFi module so that we could upload OBK . Here is the autoexec.bat file with the configuration of the basic dpIDs for this device:
startDriver TuyaMCU
tuyaMcu_defWiFiState 4

// may be needed, depends on device
//tuyaMCU_setBaudRate 9600

// dpID 1 is power toggle ON or OFF
setChannelType 1 Toggle
linkTuyaMCUOutputToChannel 1 bool 1

// dpID 18 is amperage in mA
setChannelLabel 2 Current
setChannelType 2 Current_div1000
linkTuyaMCUOutputToChannel 18 val 2

// dpID 19 is power in W
setChannelLabel 3 Power
setChannelType 3 Power_div10
linkTuyaMCUOutputToChannel 19 val 3

// dpID 20 is power in W
setChannelLabel 4 Voltage
setChannelType 4 Voltage_div10
linkTuyaMCUOutputToChannel 20 val 4

test:
tuyaMcu_sendQueryState
delay_s 1
goto test
An additional loop at the end of the configuration calls for a data refresh from TuyaMCU every second.
The whole thing works correctly and also allows automatic pairing with Home Assistant via HASS Discovery:
. Summary As expected -. the whole thing is based on TuyaMCU. With a bit of cleverness and willingness, it is possible to make this product cloud-free, both with Tasmota and with OpenBeken. We specifically still got the versions with TYWE3S (ESP8266) after purchase, but there have also been some recent products from the same series (TOMZ/Hiking) based on CB3S (BK7231N) on our forum. As I have shown, this is not a problem, at the moment all versions of these products known to me are "flashable" without any problem. In summary, if you want a solution that works without the cloud, 100% locally, then you can buy and convert, I will help you if necessary.
Cool? Ranking DIY Helpful post? Buy me a coffee.


