logo elektroda
logo elektroda
X
logo elektroda

How do I check my TV's LED backlight with a lab power supply? TV repair

p.kaczmarek2 2892 16
ADVERTISEMENT
Treść została przetłumaczona polish » english Zobacz oryginalną wersję tematu
  • Testing LED backlight strips in a television. .
    Today, a 40-inch TV from my extended family comes to the table. The family first tried to have the TV serviced, but the service said it was uneconomical to repair and would cost a few hundred zloty, so we have the opportunity to experiment. The symptom of the fault is simple - the picture is very dark, especially on one side of the screen. Definitely the backlight is damaged. The equipment itself is quite old, from what I can see the 6400 series started coming out in 2013.... so some 10 years old already, but maybe there is something to fight for?
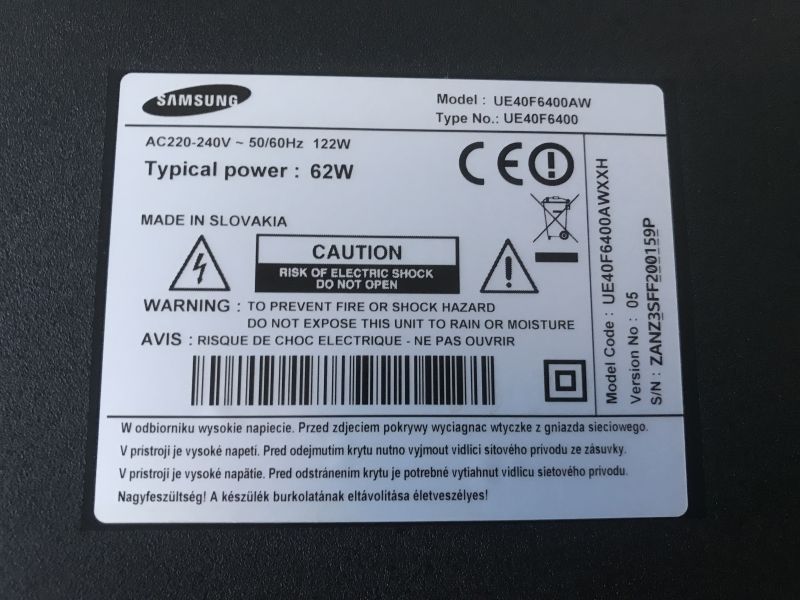
    Label with information about Samsung UE40F6400AW TV. .
    It's hard for me to show in a photo what the image looks like, but simply the brightness level is very low, although something of the backlight is still glowing:
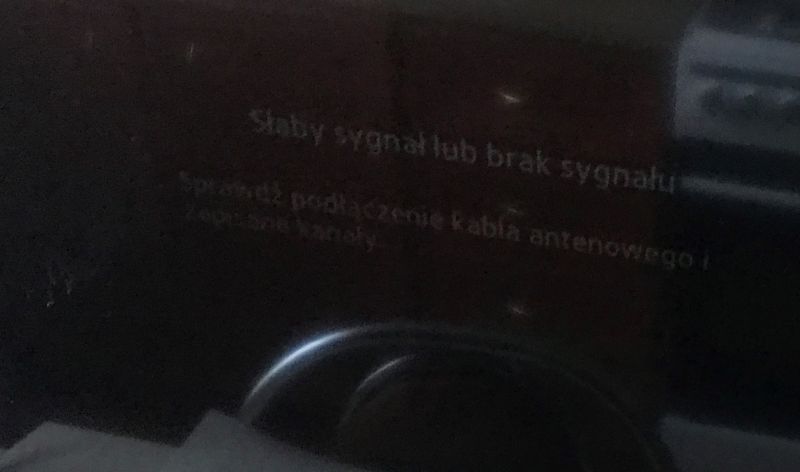
    TV screen with very dark image and barely visible message. .
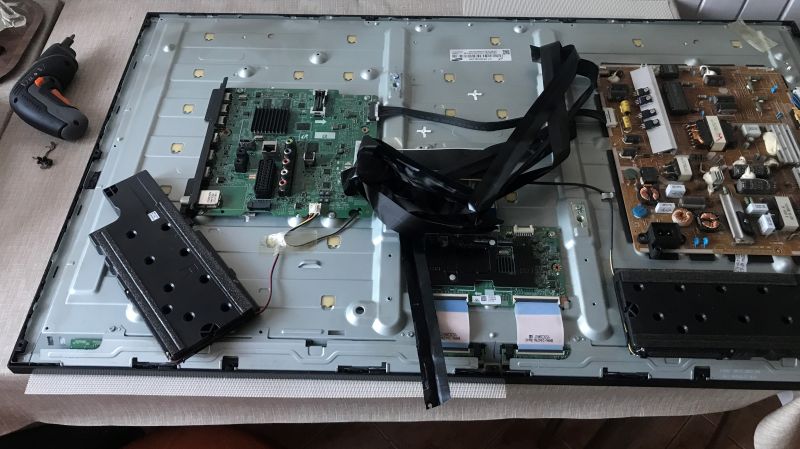
    We take a look inside. First the screws.
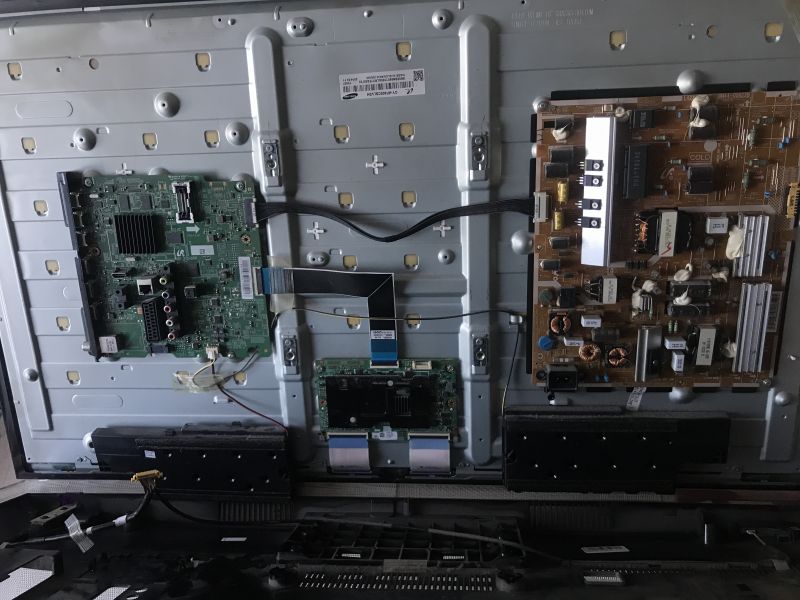
    Interior of an open television showing circuit boards and electronic components. .
    Interior of a disassembled TV with visible circuit boards and wires. .
    I don't think I need to check the power supply from the LEDs, as it's almost certainly some LEDs from the backlight strips that are burnt out. It would be different if the backlighting was not there at all. Then one might wonder if it is indeed the power supply or maybe the strips.... you could then use an LED backlight tester:
    Trash TV, LED tester, LED backlight repair on a zero budget .
    Here, however, I assume that we don't have one , the fun has to be educational.
    So you have to get under the screen. The matrix has to be removed, unfortunately. First I remove the tape and metal rails protecting the board from the matrix:
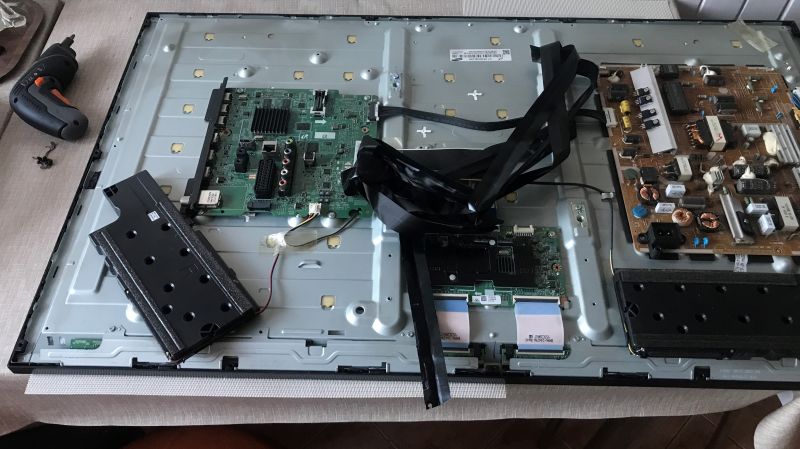
    Disassembled TV with visible internal boards and wiring. .
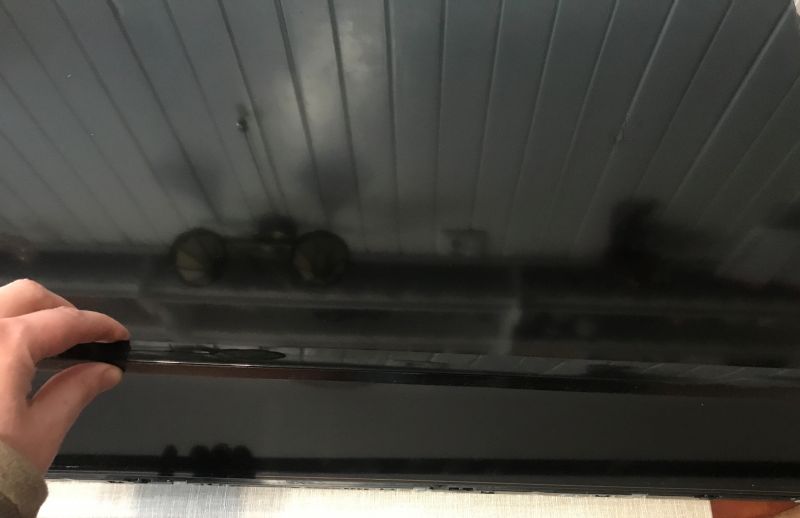
    I remove the plastic bezel:
    A hand holding a partially opened TV screen, revealing dark areas on the screen.
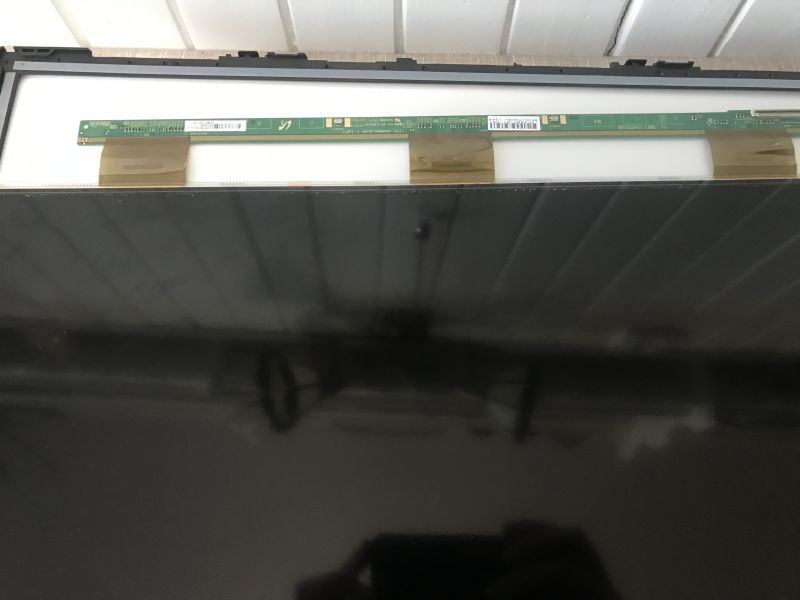
    TV with open casing, partially disassembled screen. .
    You have to be careful with the matrix, because one wrong move and the repair will be totally unprofitable.
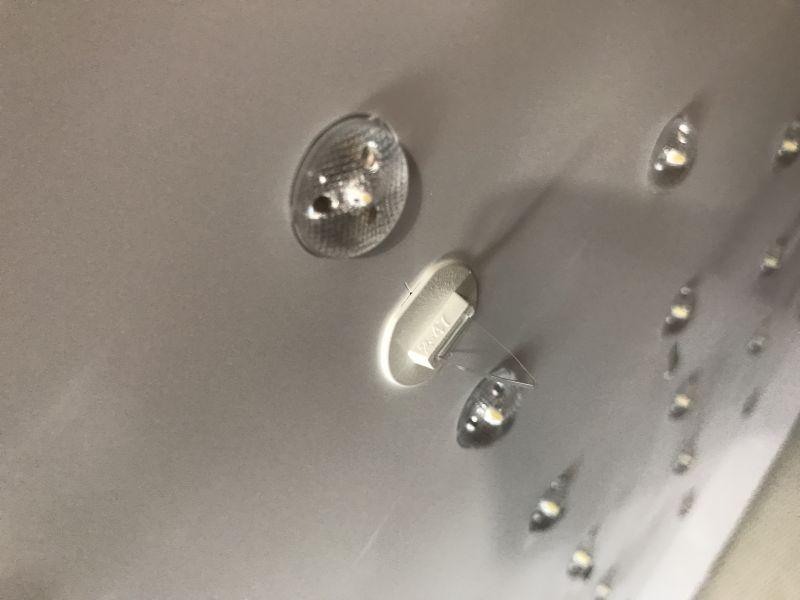
    Then I removed the plastic border, it is only on the hooks. I did not take a picture of them this time. I also removed those white diffusion films. This is how I got to the backlighting. You still have to expose the LED strips, because they are covered by a white film that reflects light. It is held in place by plastic parts that you simply twist 90 degrees and pull out - it doesn't break!
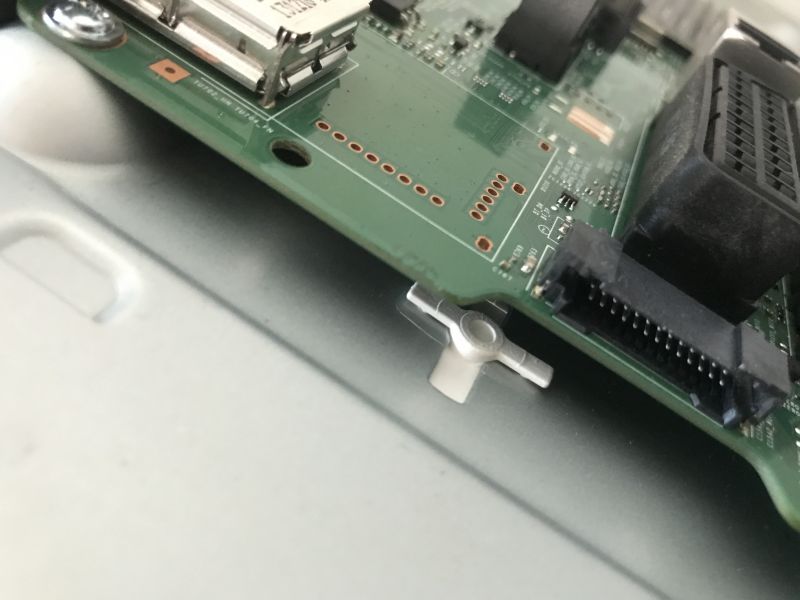
    Close-up of a TV circuit board with visible electronic components. .
    LED backlighting in a TV after removing the casing. .
    This is how we get to the backlighting. The best and easiest way is to replace the whole strips, there are several good arguments for this:
    - replacing whole strips is simpler (no soldering required)
    - LEDs can differ in performance between strips, sometimes this can be noticeable
    - even the working LEDs from the old strips may be running out, so if you do not replace the whole strips, the TV may come back to you very quickly
    But there is also one argument in favour of the so-called 'carving', viz:
    - COSTS - buying a new strip costs money and after all, you can flip the LEDs themselves from some old strips from another scrapped TV....
    So let's try this more difficult way. We need to determine which LEDs are damaged. .
    You can use a laboratory power supply in current limiting mode. This is because the diodes are current controlled. Here there is no calculated resistor to limit the current, moreover there would be losses on it.
    This must be a current-limited power supply, connecting a normal power supply will not work, too much current will flow and we may damage more diodes.
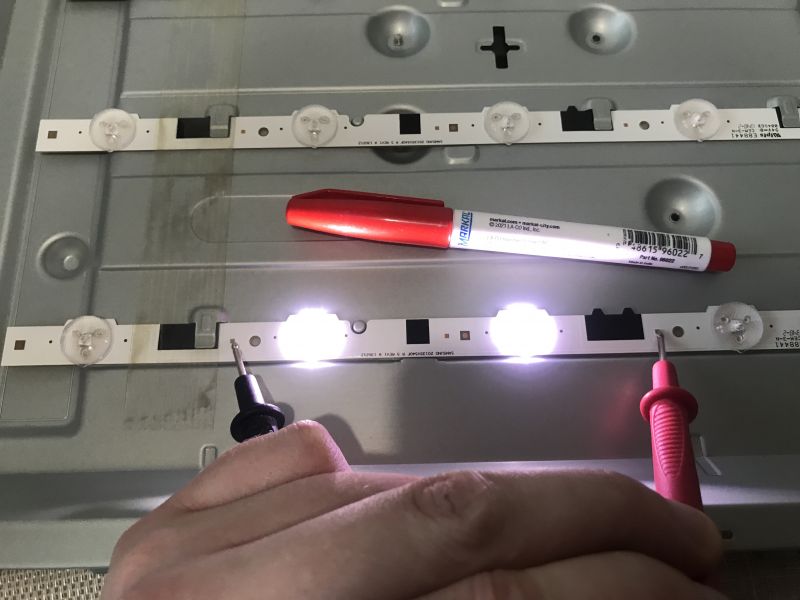
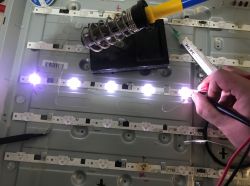
    So, I set the current limit on my power supply as low as possible (only gradually increasing it as needed), connected the probes and started testing:
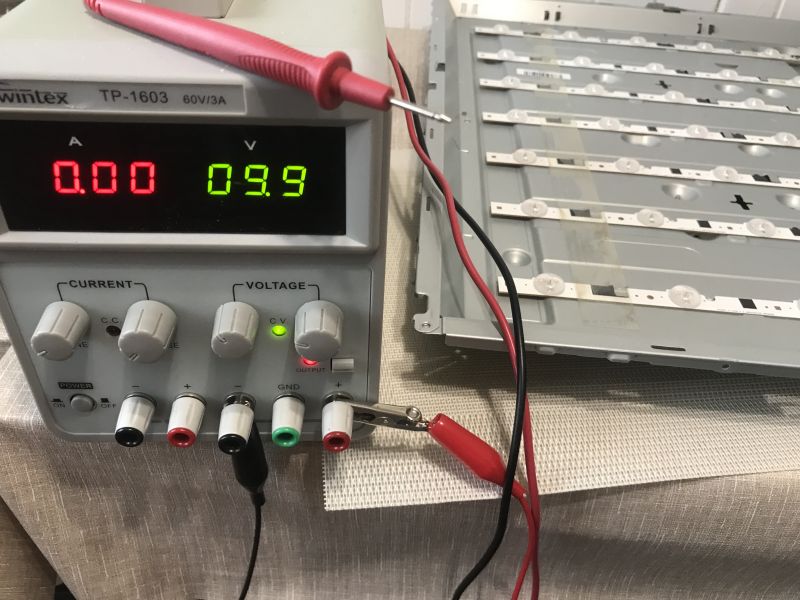
    Wintex TP-1603 power supply and TV LED panels during repair .
    Two LED strips, with one being tested using power supply probes. .
    Indeed, most LEDs light up, but we have to work by elimination.
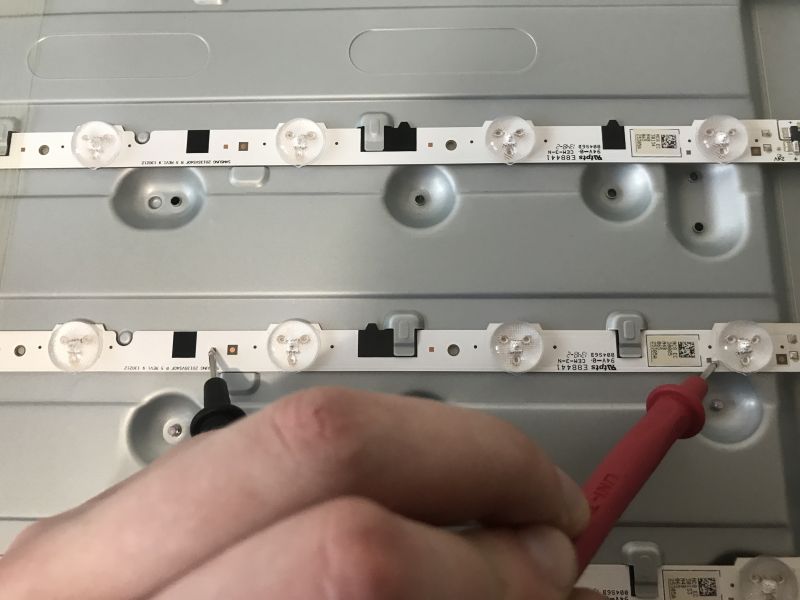
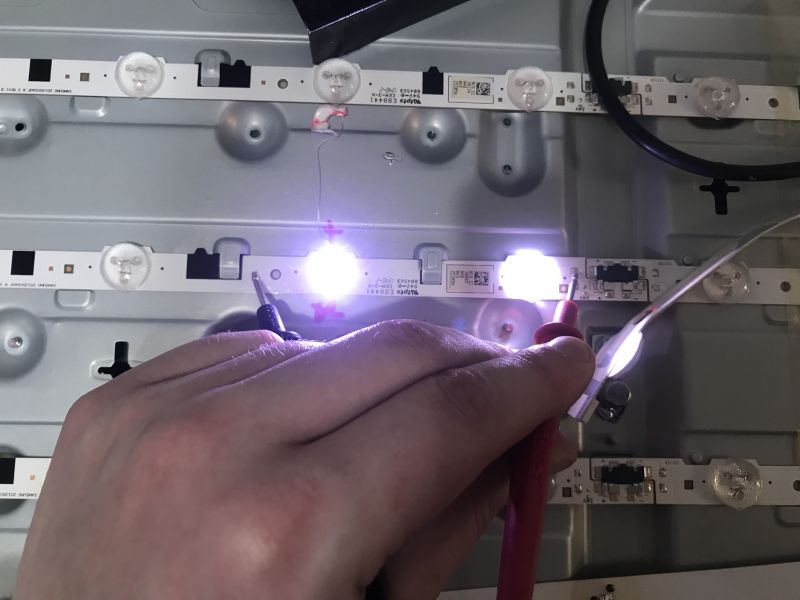
    Measuring TV LED strips with a multimeter. .
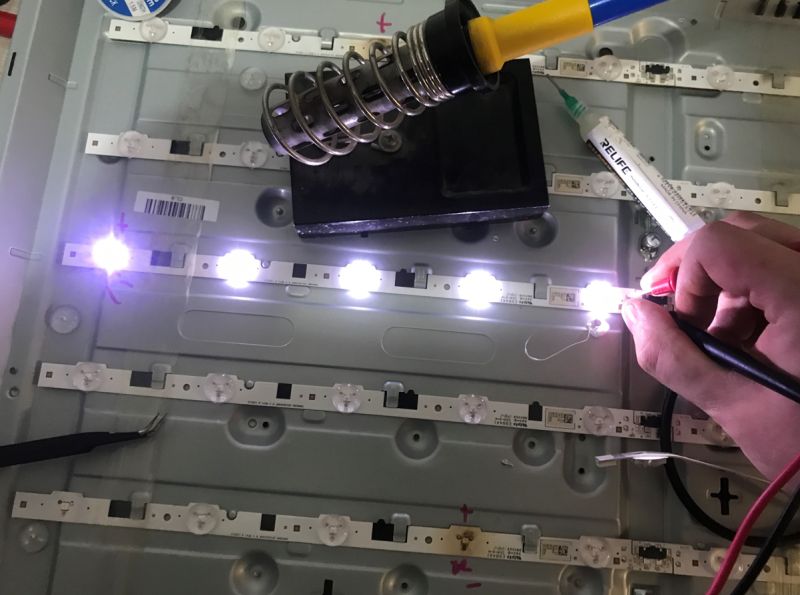
    It's not that difficult, my power supply manages to light up to 5 connected in series:
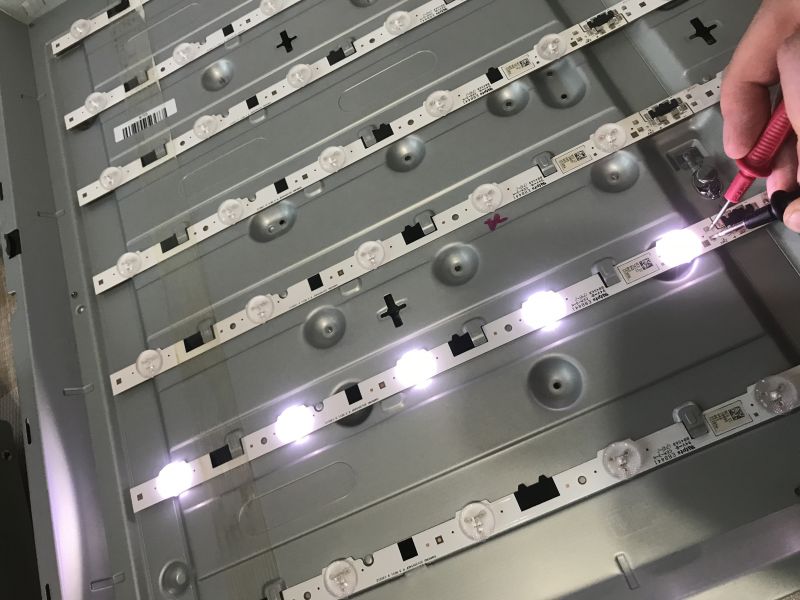
    Inside of a TV with exposed LED backlight strips, connected to a power supply for testing the diodes. .
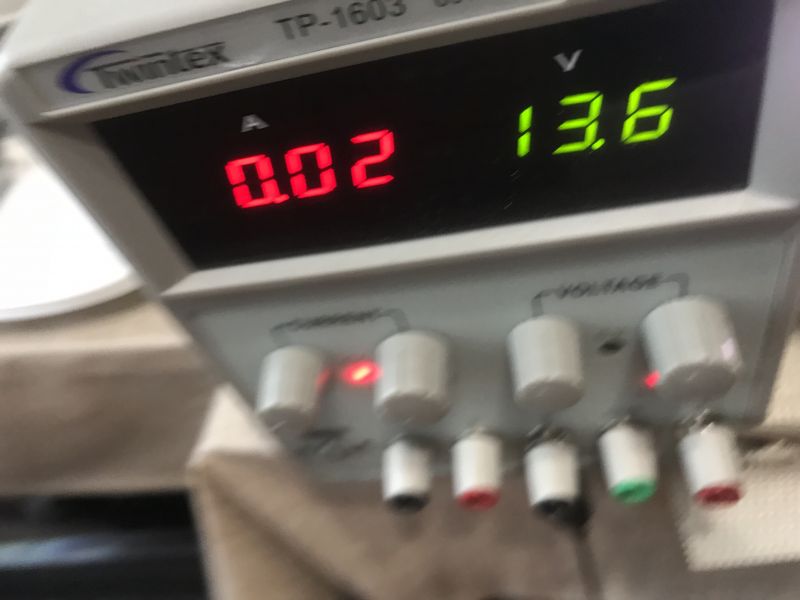
    TWIN TEX TP-1603 laboratory power supply set to 0.02 A and 13.6 V. .
    I put crosses next to damaged LEDs:
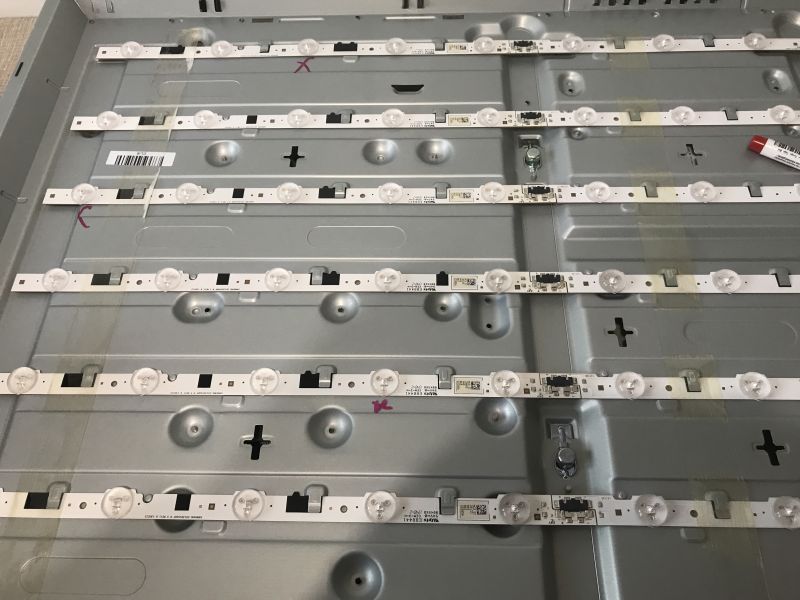
    Interior of a TV with visible LED backlight strips .
    After removing the glass/diffusers you can see the damage to the LED with the naked eye:
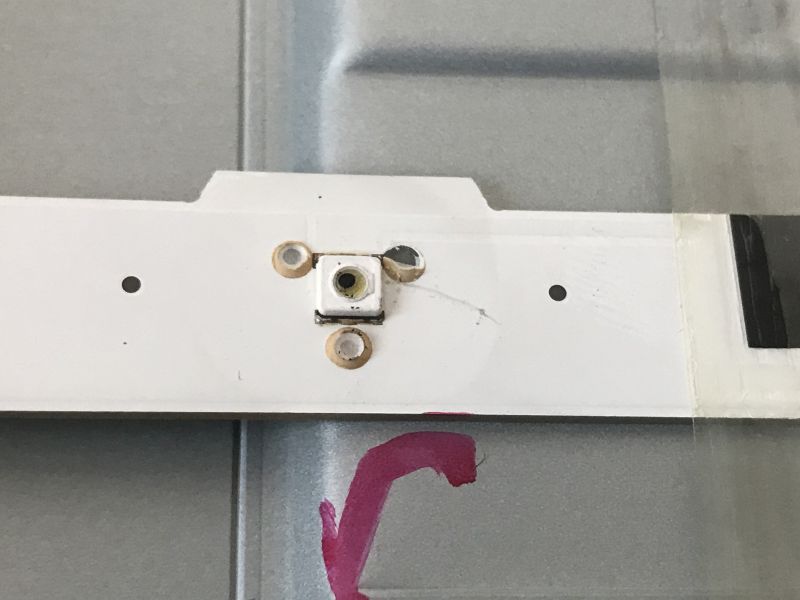
    Close-up of a damaged LED on a TV backlight strip .
    In addition, I also marked the polarity of the diodes , because here you can't solder them the other way round - fortunately I can trace with the paths where I connected the plus and where the minus so that the others light up.
    The diode now needs to be removed. The diodes hold very firmly, and if you don't remove the strips then the sheet metal also acts as a heat sink. I help myself with flux and sometimes also add lead binder to the solder. It takes a bit of effort, the hot air station has to have the heating power to be able to cope, I have tested some of these stations and not all are as good as they seem:
    Quiet hot air station? ZD-8908 and maximum blowing of 20 l/min - tests and measurements .
    I got the LED donors from previously scrapped equipment.
    With the power supply ready, I tried to select something matching in voltage and brightness from my set of LED strips. Eventually I soldered the new LEDs, with the pads from the LEDs previously cleaned of lead-free binder with braid and applied my own, classic Cynel, as lead binder has a lower melting point and solders better.
    In the photos you can see the 'new' LEDs already soldered in. I have to admit that I blew one of them out on occasion, so it is better not to count "on contact" how many we need.
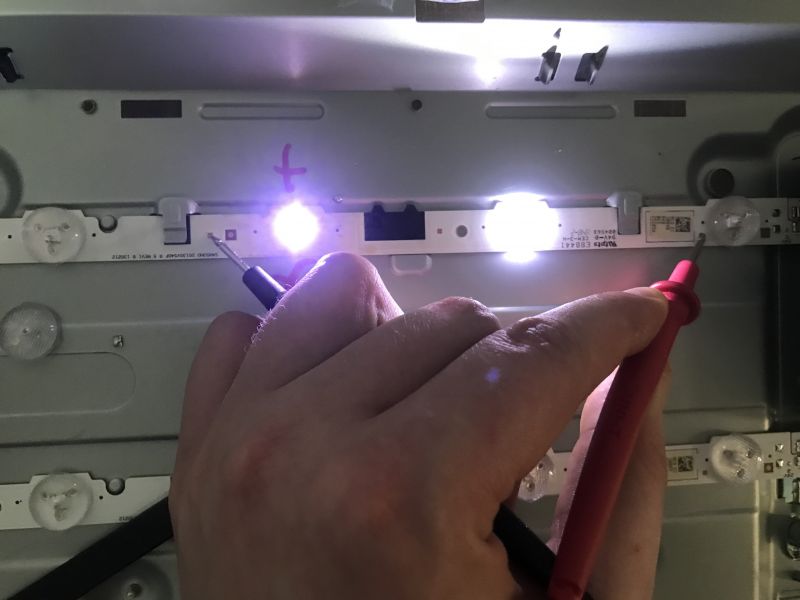
    A hand holding wires connected to an LED tester examining TV backlighting. .
    A hand holding power supply probes tests the LED backlight in a TV. .
    Testing and repairing LED backlighting in a television. .
    You can see the difference to a small extent, but that's because I didn't stick the slides for the photos. Of course, they too must be back in place, otherwise you will see the dots on the TV!
    The essential operation is now complete.
    TV in the process of being assembled:
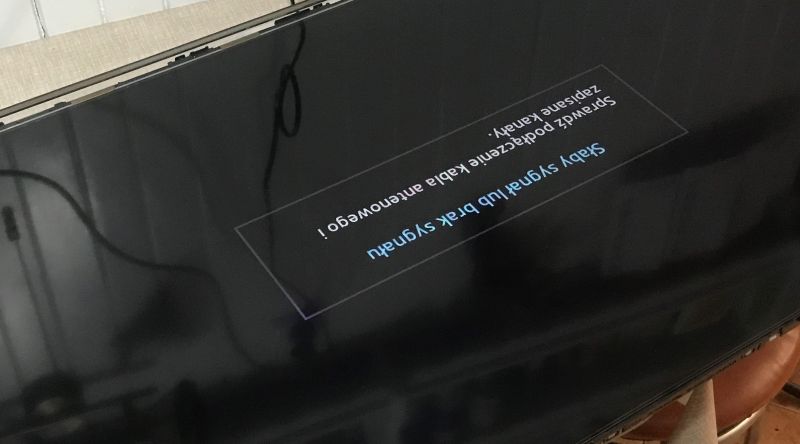
    Photo of a TV screen with a no signal message and visible dimming. .
    Assembled:
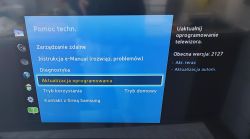
    Technical support menu on a TV screen with a software update option. .
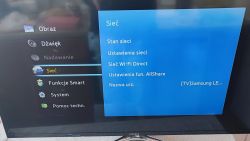
    Samsung TV displaying network settings menu on the screen .
    It seems that everything is working.
    The TV has already been returned to the owner and, according to her, "there are no visible repairs to the picture".

    Now still need to summarise.
    Would I give such a compilation to a customer? Of course not. It's impossible to give a warranty on something like this, because if these 3-4 LEDs have died, more may soon die too. I don't think anyone wants a visit from a dissatisfied customer who says that it worked for a week and then died....
    It's a different situation when you need to help an elderly family member - then the TV is in my sights and you can play around, and undoubtedly zero repair cost (only 30 minutes of fiddling) is a great asset to the whole thing.
    I already have some LED strips (parts donors) set aside from "wrecks", and sometimes manage to resell some on the internet (sometimes also with electronics from the "wreck").
    We'll see how much it lasts from today and when the TV comes back to me.
    If it wasn't an LED backlit TV I don't think I would have played around at all but scrapped it straight away because then the power consumption would be higher, but I think with LEDs there is something to fight for.
    The only thing I did more on the spot was to reduce its brightness slightly....
    PS: Of course the method shown will also work if you are investigating which strip has died and want to replace the whole strips, you don't have to do as I have shown. Maybe it will be useful for someone.

    Cool? Ranking DIY
    Helpful post? Buy me a coffee.
    About Author
    p.kaczmarek2
    Moderator Smart Home
    Offline 
    p.kaczmarek2 wrote 11834 posts with rating 9931, helped 566 times. Been with us since 2014 year.
  • ADVERTISEMENT
  • #2 21444628
    noel200
    Level 27  
    Congratulations on your repair. I too have already repaired two TVs this way. Only I replaced the whole strips. At that time I did not yet know how to solder on an aluminium pcb. Removing the strip, however, has an undoubted advantage. I put the new strips on using good thermally conductive glue instead of a few rivets or a strip of double-sided tape. Both TVs died just after the warranty, and after my repair both have been in service for almost 10 years.
  • ADVERTISEMENT
  • #3 21444638
    p.kaczmarek2
    Moderator Smart Home
    When casting LEDs, the heating power is of great importance. You have to have a good hot air, or you have to help yourself with a heater. Not every hot air can cope on its own. Of the cheapest stations, the 858 is good:
    Hot air station 858 for £150 - what cheap hot air to fly off the boards of a laptop, computer? .
    There is collected data from simple tests of several stations on my Github:
    https://openshwprojects.github.io/hotair/350c.html
    https://openshwprojects.github.io/hotair/450c.html
    I know that a test on one station is quite unreliable (because maybe you got a faulty unit?), but for the moment stations like JCD 8908, SP-1011 or there ZD-8908 are advised against by me. They are not able to give as much heat as other models, I have tested at different blowing settings.
    Helpful post? Buy me a coffee.
  • #4 21444646
    noel200
    Level 27  
    I now have a 400w ptc heater from alli. On it you solder power led without any problem at all without hot air. And hot air I have just with such a handle and also 700w.
  • #5 21444956
    rjmp
    Level 9  
    @noel200
    And can you please name this good glue?
  • #6 21444975
    kazikszach
    Level 38  
    This kind of game made sense 10 years ago, when sets of strips with diodes were not available at a reasonable price, in the pictures you can see different colours of diodes and they behave in such a way in these strips that they start to glow blue.
    You yourself have noticed that in a moment more diodes can fail and this is very often the case and again the matrix is dismantled.
  • ADVERTISEMENT
  • #7 21445032
    szeryf3
    Level 29  
    @p.kaczmarek2 congratulations on the repair. I hope the old lady will be happy using this receiver for a long time.
  • #8 21445174
    bulek01
    Level 16  
    Cool that you were able to fix it. I was working with a similar backlight, but I didn't have the leds to replace them, and exactly the strips I needed are hard to buy(there are newer versions for a different voltage), manta TV.
    I tried leds from led strips (they just had similar conduction voltage), but they are much weaker (footprint was a perfect fit) and have a slightly different voltage and do not hold as much current and burn out. The single led original at my place has a conduction voltage of about 3V.
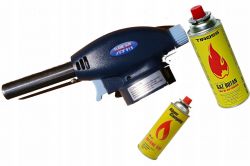
    I tried unsoldering with a soldering station but it was difficult, the heating was very long. I used a torch and heated the metal part of the strip from underneath and it soldered and unsoldered beautifully, staying with lead-free tin.
    The heat capacity was so high that I had to heat from 30 seconds to get the solder to flow.

    Gas torch with two butane cans. .
  • #9 21445232
    noel200
    Level 27  
    >>21444956
    Thermopox ct85
  • ADVERTISEMENT
  • #10 21445343
    CMS
    Administrator of HydePark
    Replacing individual LEDs doesn't make much sense, but if you have to, an old iron (without any "fireman" or steam blower) is perfect for such purposes. Screw the handle into the vise, place the iron with the foot up, place the LED strip and after a while the LEDs can be easily removed, the flux applied and the new ones "put in place".
  • #11 21445612
    kazikszach
    Level 38  
    CMS wrote:
    Replacing single LED's doesn't make much sense
    .
    I've explained this too, I once had an unpleasant case where a customer wanted cheap, so I told him I'd only replace the faulty LEDs, he agreed, 2 months later he comes with the tv with great resentment that he paid and the tv doesn't work again, and this is also where there can be disappointment when more LEDs die.
  • #12 21448179
    keseszel
    Level 26  
    CMS wrote:
    It doesn't make much sense to replace the individual LEDs, but if you have to, an old iron (without any "fireman" or steam blower) is great for such purposes. Screw the handle into the vise, place the iron with the foot up, place the LED strip and after a while the LEDs can be easily removed, apply flux and "put up" new ones.
    .

    At the maximum power of the iron, the white surface on which the LEDs are located turns yellow or brown. On top of that, the surface with the leds tends to run away when soldering, very annoying.
    This is my observation in connection with soldering out the leds. I used to play with desoldering from incandescent bulbs ;-) .
  • #13 21449450
    rach_UMK
    Level 32  
    Have the LED lenses themselves fallen off?

    My friend could see that the lenses were coming off and the evaporated glue settled unevenly across the matrix (darker areas of the screen). Unfortunately, he didn't want me to do surgery on this TV as he had decided to replace it with a newer one with a bigger screen, with some sort of discount for the old TV he had given away.
  • #14 21449477
    kazikszach
    Level 38  
    rach_UMK wrote:
    Are you finding that the LED lenses themselves are falling off?

    A friend could see as if the lenses had come off and the evaporated glue had settled unevenly across the matrix (darker areas of the screen). Unfortunately, he didn't want me to do surgery on this TV, as he decided to trade it in for a newer one with a bigger screen, with some sort of discount for the old TV he gave away.

    Of course, the LG had all fallen off, the customer carrying the tv to the factory noticed that something inside was groaning.
  • #15 21449837
    mumin
    Level 12  
    I used to play around with desoldering faulty diodes too, heater plus hot, I figured there was no point in playing around. With butt cutters I cut off the plastic top there are two pads left of the diode, flux solder 10s and shout. Laminate does not suffer white paint etc.
  • #16 21449895
    noel200
    Level 27  
    >>21449837 .
    Interesting. I'll give it a try on occasion. But with these pads the diode gives off all the heat. It might overheat faster.
  • #17 21567078
    George54351
    Level 6  
    In many cases after led strips replacement or if a strip repair is carried out depending of the backlight circuit a small modification for reducing led current can prolong the life of the leds without any optical difference of the backlight.In some newer models from Asia reducing the backlight level can be done by entering service menu,in others by changing some resistor value or resistor removement.

Topic summary

The discussion revolves around troubleshooting and repairing a 40-inch TV with a dark screen, likely due to a damaged LED backlight. Users share their experiences with replacing LED strips, emphasizing the importance of using high-quality thermal glue and proper soldering techniques. Recommendations include using hot air stations for desoldering and soldering LEDs, with specific models mentioned for their effectiveness. Some participants caution against replacing individual LEDs due to potential future failures and suggest replacing entire strips instead. The conversation also touches on issues like LED lens detachment and the challenges of soldering on aluminum PCBs.
Summary generated by the language model.
ADVERTISEMENT