Hello everyone!
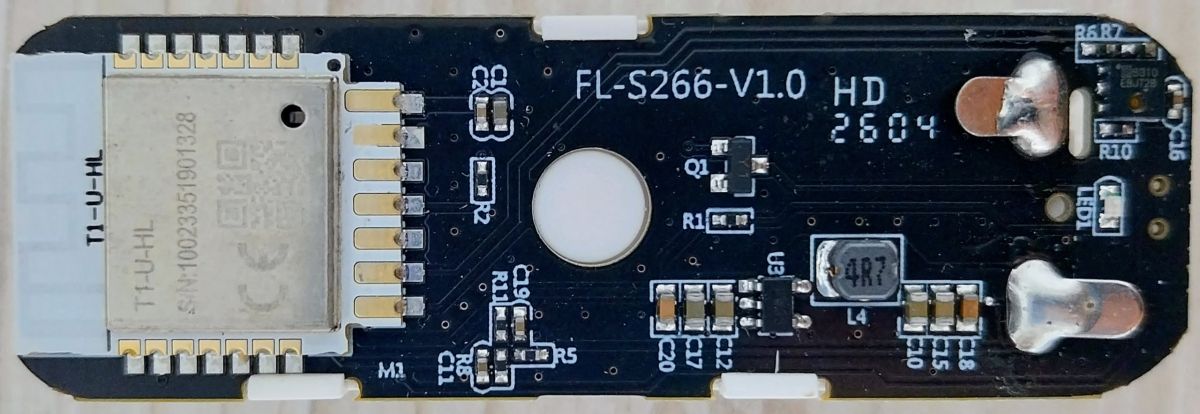
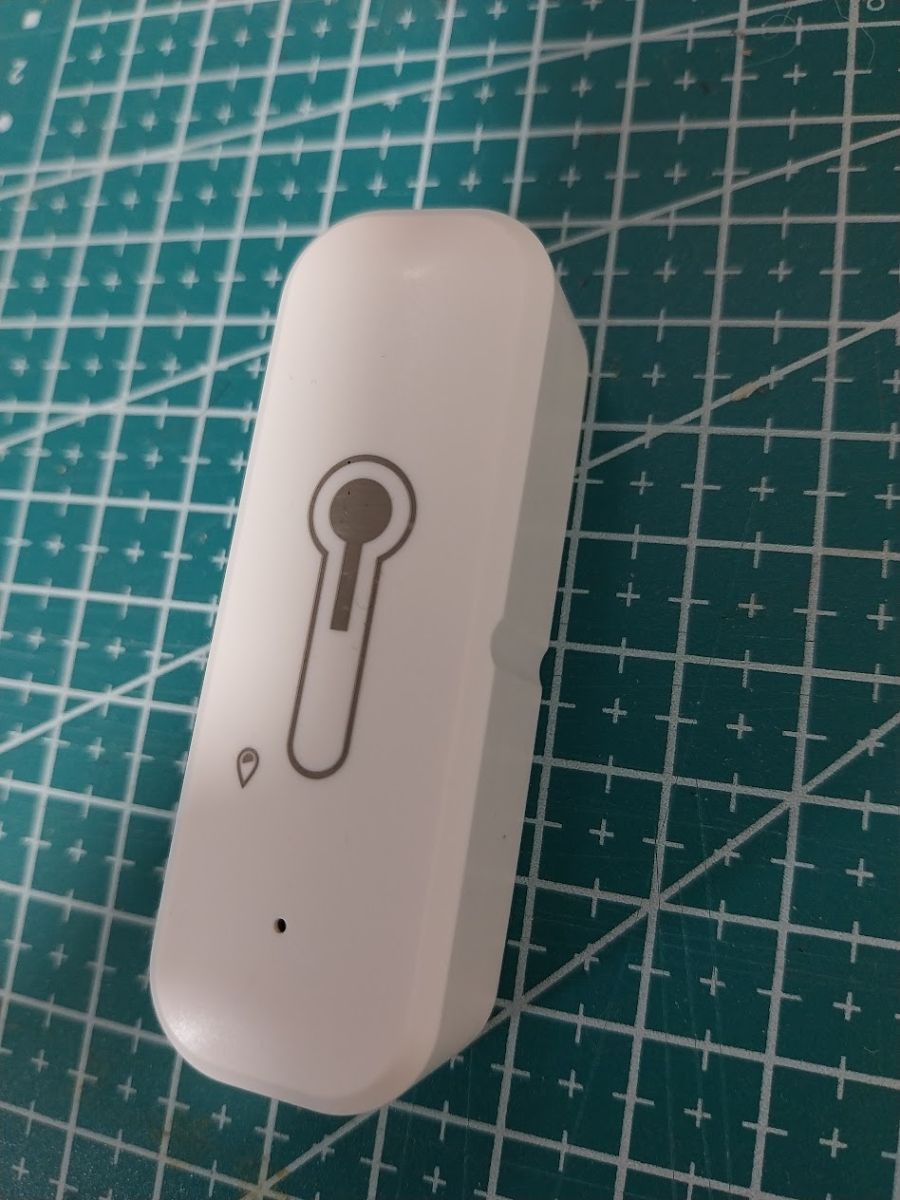
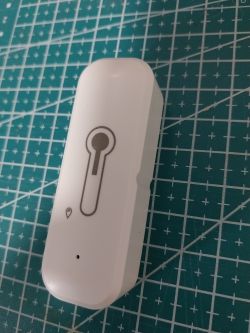
I recently bought a generic Tuya Temperature and Humidity sensor (Label: wifi-wsd, Manufacturer: Farylink). I decided to do a teardown and flash it with OpenBeken.
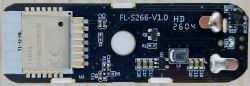
Inside, I found a BK7238 Wi-Fi module and a CHT83XX (CHT8310) temperature and humidity sensor.
The Challenge: At first, the I2C pins were completely unknown. Furthermore, it turns out that ESPHome is not a viable option for this specific board design because Tuya wired the sensor to pins P9 and P24. On the BK7231 architecture, these pins do not support Hardware I2C, and ESPHome lacks a native Software I2C implementation.
The Solution: Thankfully, OpenBeken handles Software I2C flawlessly! Since the pins were undocumented, we ended up programming a new brute-force tool called SuperScanner (which we just submitted as a PR to the official drv_multiPinI2CScanner.c!).
Using the scanner, we successfully brute-forced the pinout and found the hidden I2C lines:
SDA: P24
SCL (SCK): P9
Power Pin: None required for this specific board.
Once the pins were mapped, the CHT83XX driver worked instantly.
Here is the JSON template for the auto-importer bot:
json
{
"vendor": "Tuya",
"bDetailed": "0",
"name": "Farylink Tuya WiFi Temperature & Humidity Sensor",
"model": "wifi-wsd",
"chip": "BK7238",
"board": "Generic",
"flags": "1024",
"keywords": [
"Temperature",
"Humidity",
"CHT83XX",
"Farylink"
],
"pins": {
"9": "CHT83XX_SCK;0;0",
"24": "CHT83XX_SDA;1;2"
},
"command": "backlog PowerSave 1; startDriver CHT83XX; setChannelType 1 Temperature; setChannelType 2 Humidity",
"image": "https://obrazki.elektroda.pl/YOUR_IMAGE.jpg",
"wiki": "https://www.elektroda.com/rtvforum/topic_YOUR_TOPIC.html"
}
I have attached some high-resolution pictures of the casing (including the Farylink sticker) and both sides of the PCB below for reference.
I hope this helps anyone else trying to liberate this specific Tuya sensor! Let me know if you have any questions.
![[BK7238] Farylink wifi-wsd - OpenBeken CHT8310 on Software I2C P24/P9](https://obrazki.elektroda.pl/9067705000_1783542524_thumb.jpg "[BK7238] Farylink wifi-wsd - OpenBeken CHT8310 on Software I2C P24/P9")
![[BK7238] Farylink wifi-wsd - OpenBeken CHT8310 on Software I2C P24/P9](https://obrazki.elektroda.pl/8068619600_1783542524_thumb.jpg "[BK7238] Farylink wifi-wsd - OpenBeken CHT8310 on Software I2C P24/P9")
![[BK7238] Farylink wifi-wsd - OpenBeken CHT8310 on Software I2C P24/P9](https://obrazki.elektroda.pl/2884237200_1783542524_thumb.jpg "[BK7238] Farylink wifi-wsd - OpenBeken CHT8310 on Software I2C P24/P9")
I recently bought a generic Tuya Temperature and Humidity sensor (Label: wifi-wsd, Manufacturer: Farylink). I decided to do a teardown and flash it with OpenBeken.
Inside, I found a BK7238 Wi-Fi module and a CHT83XX (CHT8310) temperature and humidity sensor.
The Challenge: At first, the I2C pins were completely unknown. Furthermore, it turns out that ESPHome is not a viable option for this specific board design because Tuya wired the sensor to pins P9 and P24. On the BK7231 architecture, these pins do not support Hardware I2C, and ESPHome lacks a native Software I2C implementation.
The Solution: Thankfully, OpenBeken handles Software I2C flawlessly! Since the pins were undocumented, we ended up programming a new brute-force tool called SuperScanner (which we just submitted as a PR to the official drv_multiPinI2CScanner.c!).
Using the scanner, we successfully brute-forced the pinout and found the hidden I2C lines:
SDA: P24
SCL (SCK): P9
Power Pin: None required for this specific board.
Once the pins were mapped, the CHT83XX driver worked instantly.
Here is the JSON template for the auto-importer bot:
json
{
"vendor": "Tuya",
"bDetailed": "0",
"name": "Farylink Tuya WiFi Temperature & Humidity Sensor",
"model": "wifi-wsd",
"chip": "BK7238",
"board": "Generic",
"flags": "1024",
"keywords": [
"Temperature",
"Humidity",
"CHT83XX",
"Farylink"
],
"pins": {
"9": "CHT83XX_SCK;0;0",
"24": "CHT83XX_SDA;1;2"
},
"command": "backlog PowerSave 1; startDriver CHT83XX; setChannelType 1 Temperature; setChannelType 2 Humidity",
"image": "https://obrazki.elektroda.pl/YOUR_IMAGE.jpg",
"wiki": "https://www.elektroda.com/rtvforum/topic_YOUR_TOPIC.html"
}
I have attached some high-resolution pictures of the casing (including the Farylink sticker) and both sides of the PCB below for reference.
I hope this helps anyone else trying to liberate this specific Tuya sensor! Let me know if you have any questions.
![[BK7238] Farylink wifi-wsd - OpenBeken CHT8310 on Software I2C P24/P9](https://obrazki.elektroda.pl/9067705000_1783542524.jpg "[BK7238] Farylink wifi-wsd - OpenBeken CHT8310 on Software I2C P24/P9")
![[BK7238] Farylink wifi-wsd - OpenBeken CHT8310 on Software I2C P24/P9](https://obrazki.elektroda.pl/8068619600_1783542524.jpg "[BK7238] Farylink wifi-wsd - OpenBeken CHT8310 on Software I2C P24/P9")
![[BK7238] Farylink wifi-wsd - OpenBeken CHT8310 on Software I2C P24/P9](https://obrazki.elektroda.pl/2884237200_1783542524.jpg "[BK7238] Farylink wifi-wsd - OpenBeken CHT8310 on Software I2C P24/P9")