Jewelery magnetic polisher - Handmade by CMS
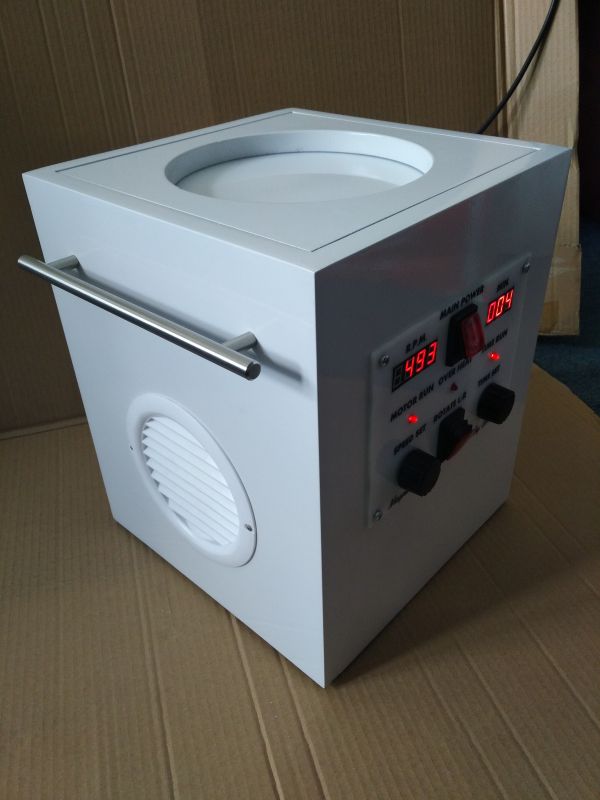
About three months ago a friend asked me if I would build a magnetic polisher for his friend jeweler. I asked what is it what is it? A longer discussion developed here, an exchange of a few e-mails / sms with links and I already more or less knew what a machine it was.
The general principle of operation is simple. We have a spinning "plate" on which four strong neodymium magnets are mounted. Two of them are placed close to the outer edge of the plate and directed upwards with the N pole, and the other two are close to the center of the plate and directed upwards with the S pole. This creates a kind of rotating magnetic field wave which alternately attracts and repels the material . And the material is needles ... But more on that later.
I will not write here about all the difficulties and problems encountered, because there was so much that the construction took 3 months instead of the planned 2-3 weeks.
I will briefly describe the resulting device and share photos. Maybe it will be useful to someone in the future. The cost of the part plus unexpected expenses is about PLN 1800 plus labor. In total, about half of what you have to pay for a similar factory polisher.
Now it's time for some construction photos, because that's what DIY is all about.
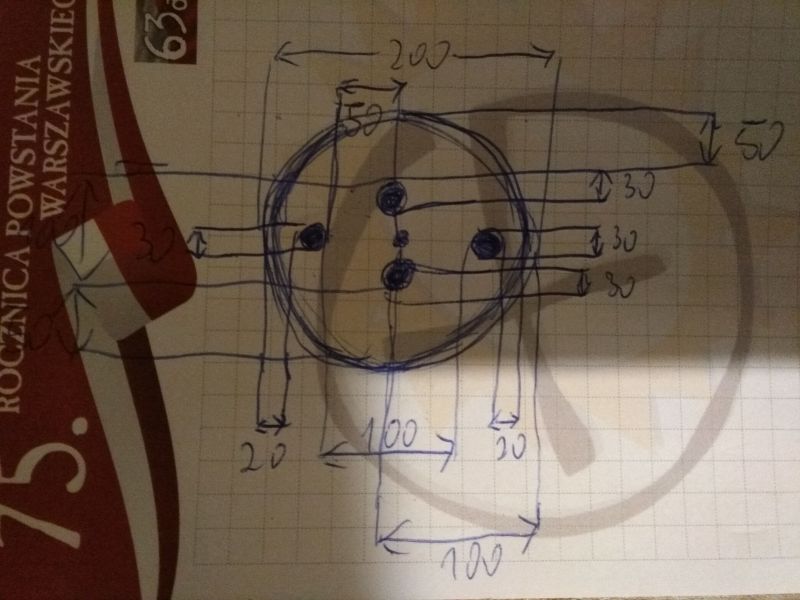
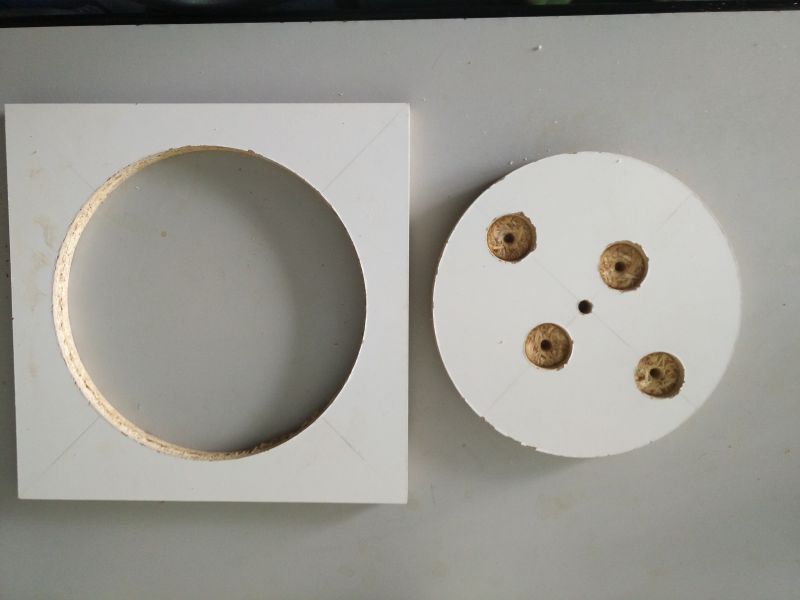
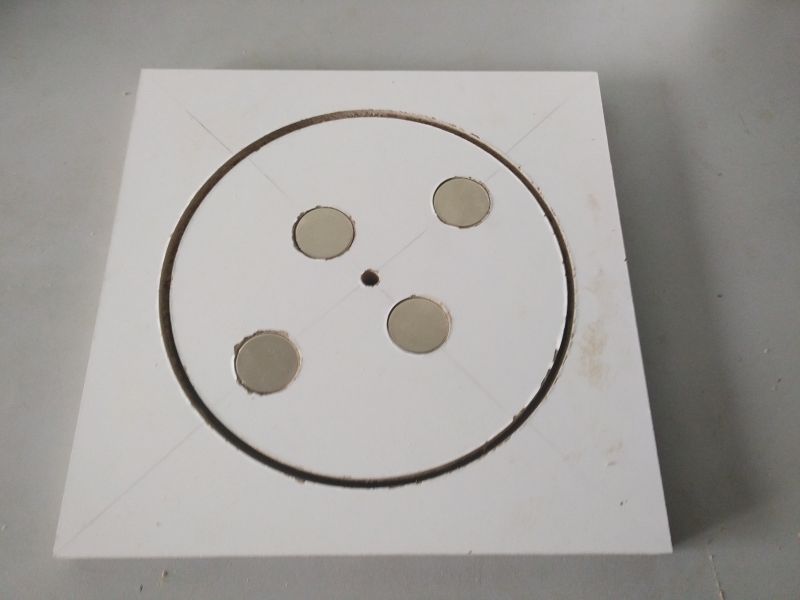
It was the plate.
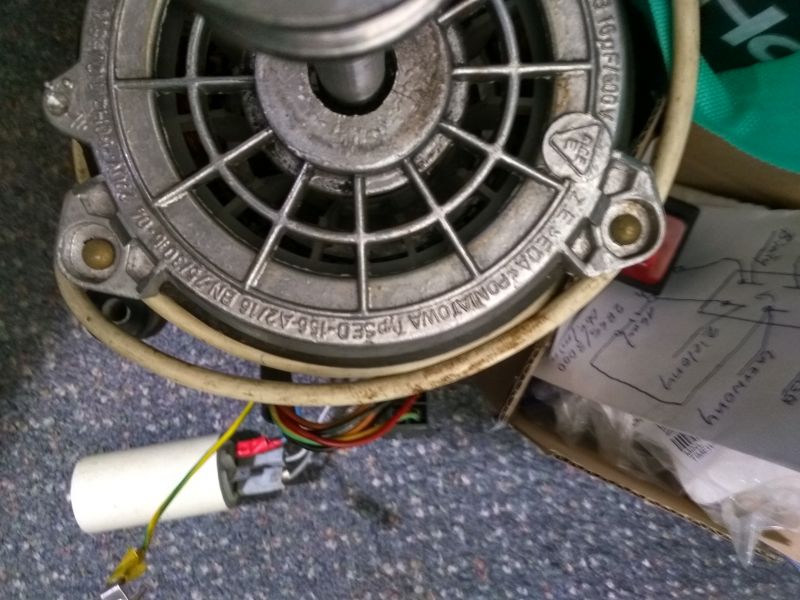
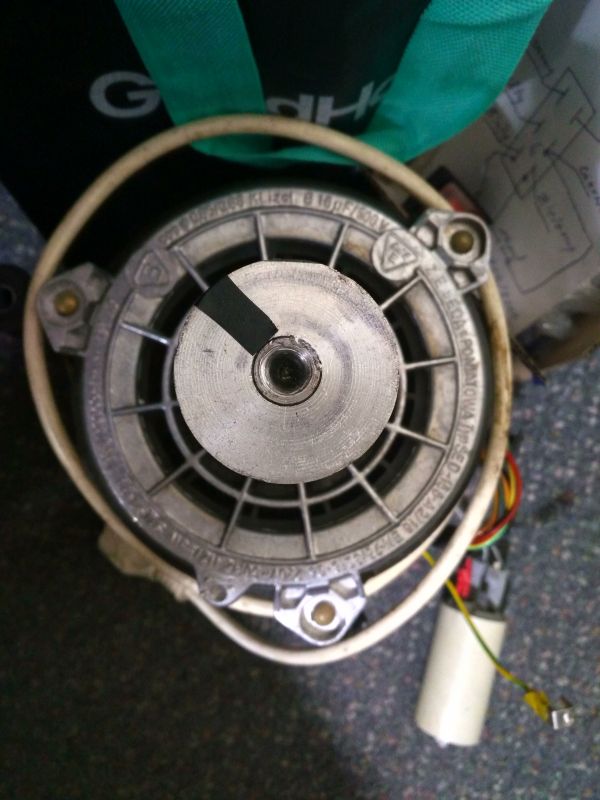
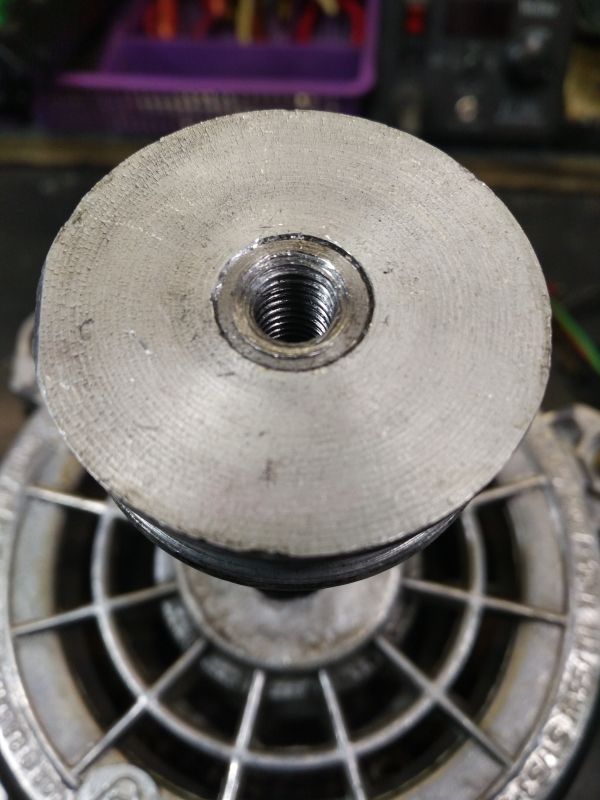
Here is the engine that turned out to be a total failure and had to be reworked to 3-F. For this I am proud of the thread in the shaft. As I couldn't pull off the pulley in any way, I drilled and threaded the motor shaft. Not having taps for blind threads.
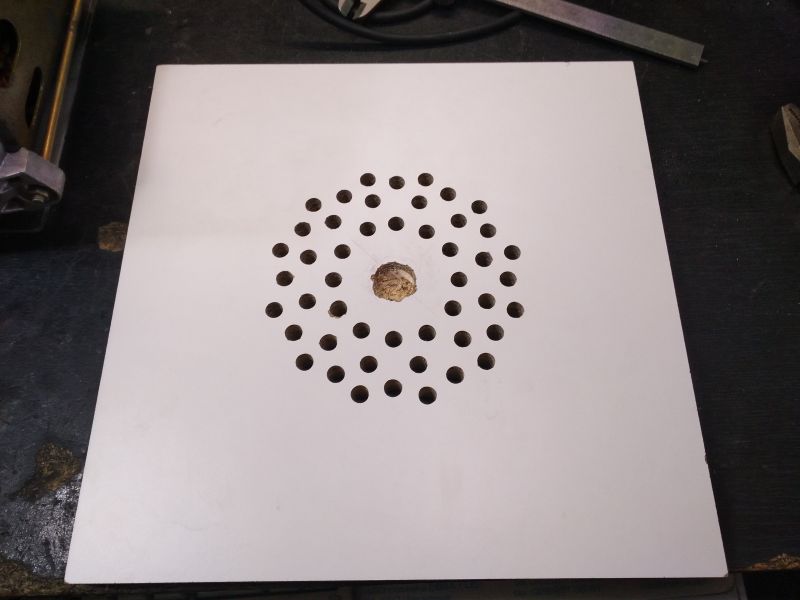
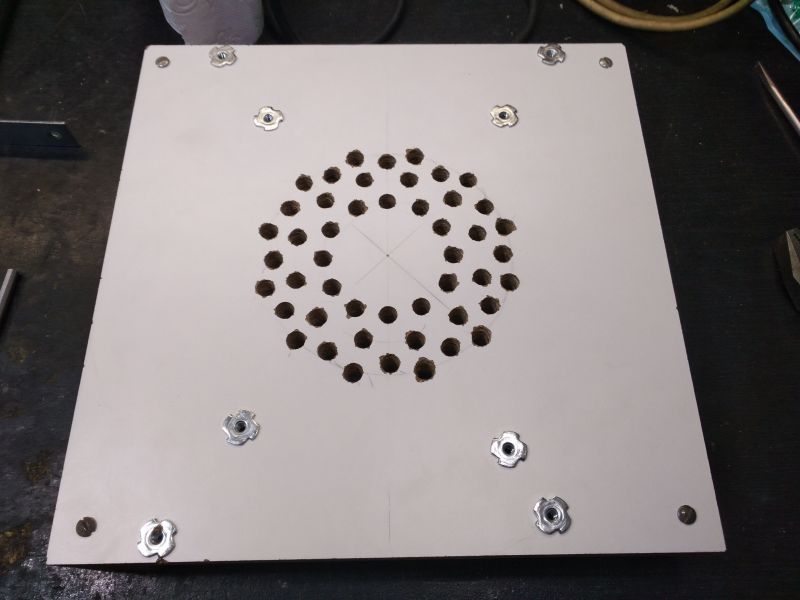
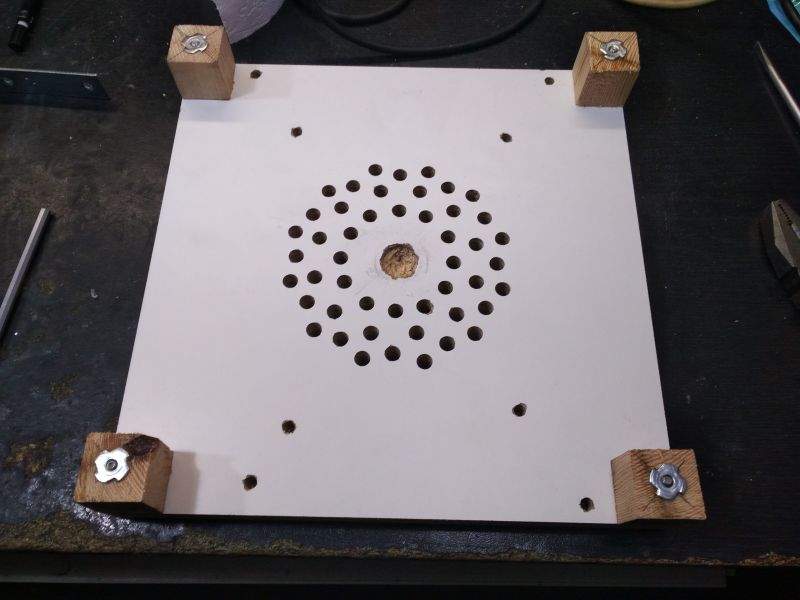
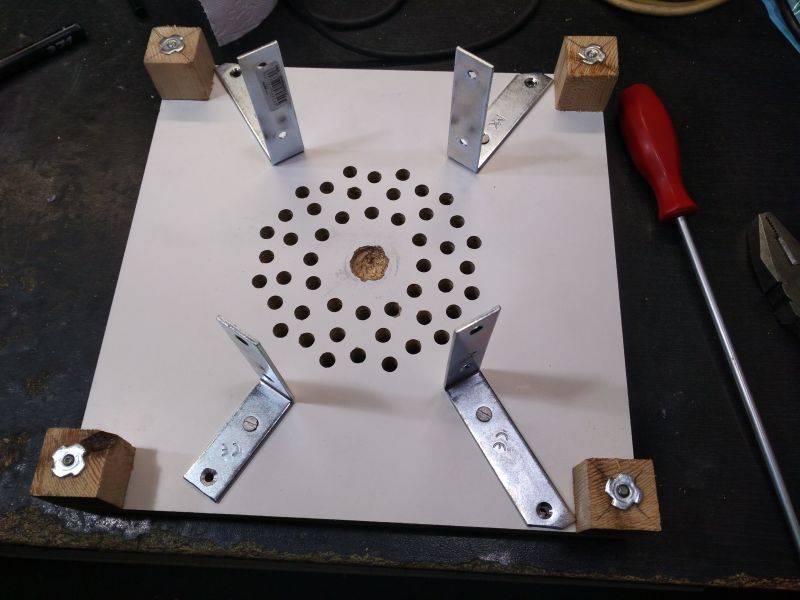
Bottom of the housing and engine mount.
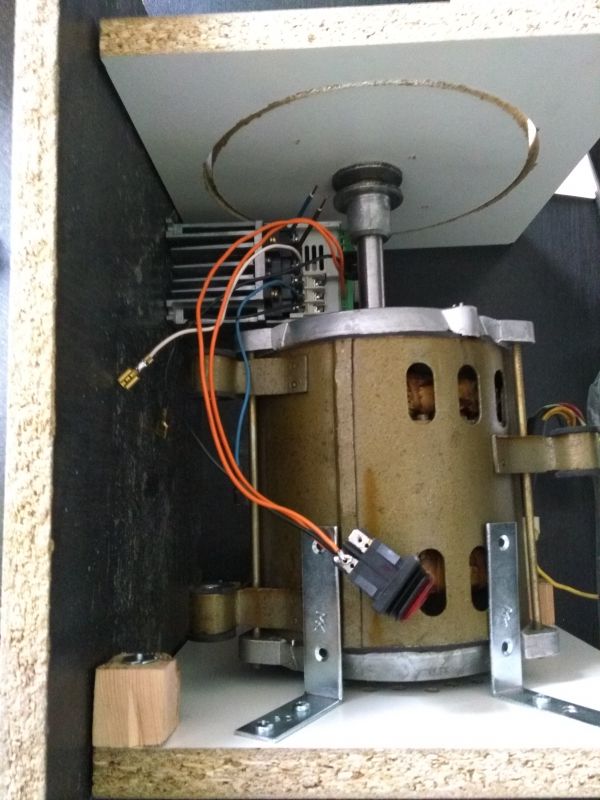
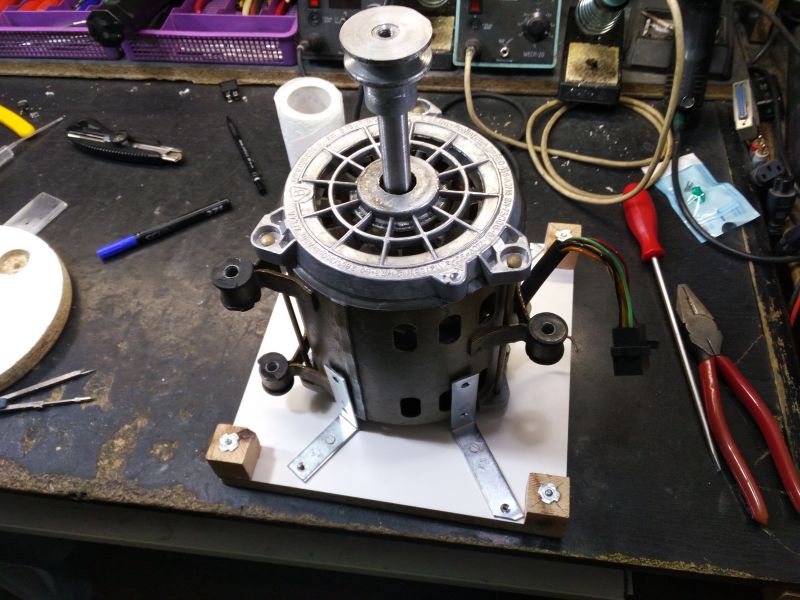
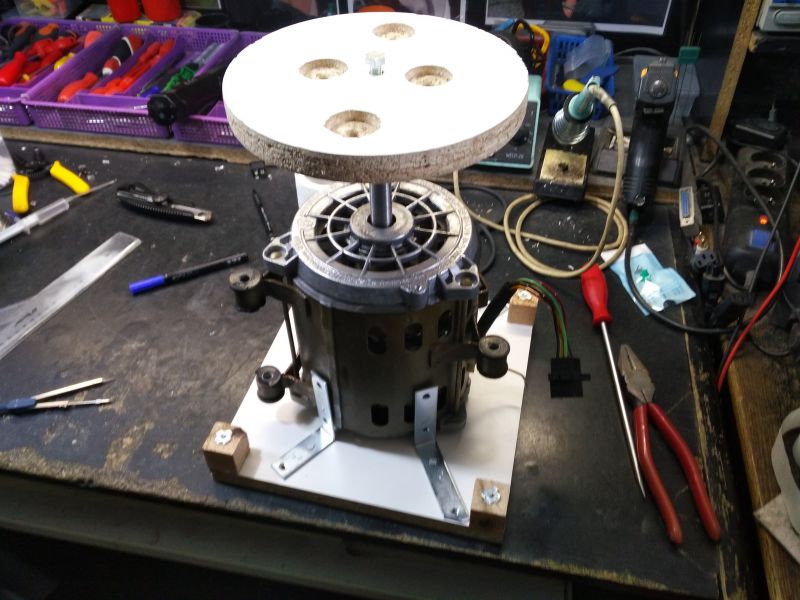
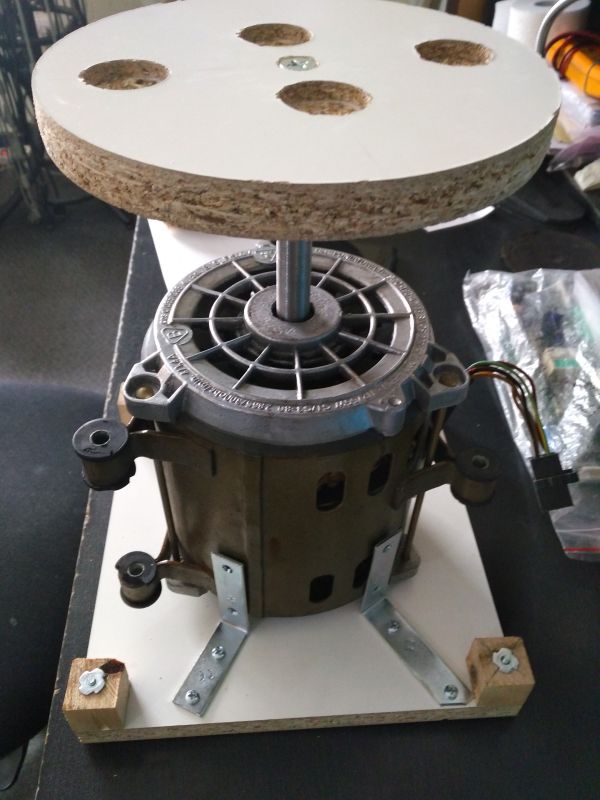
And here is the engine itself with a plate.
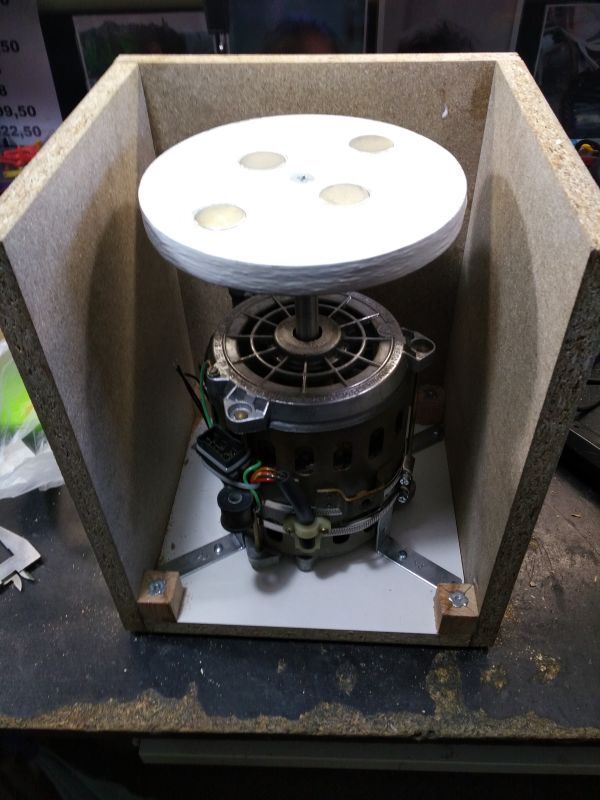
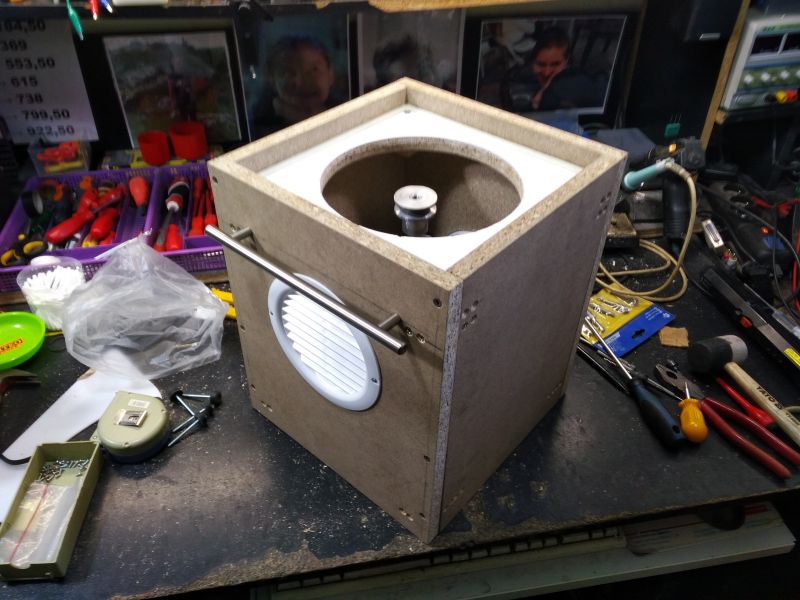
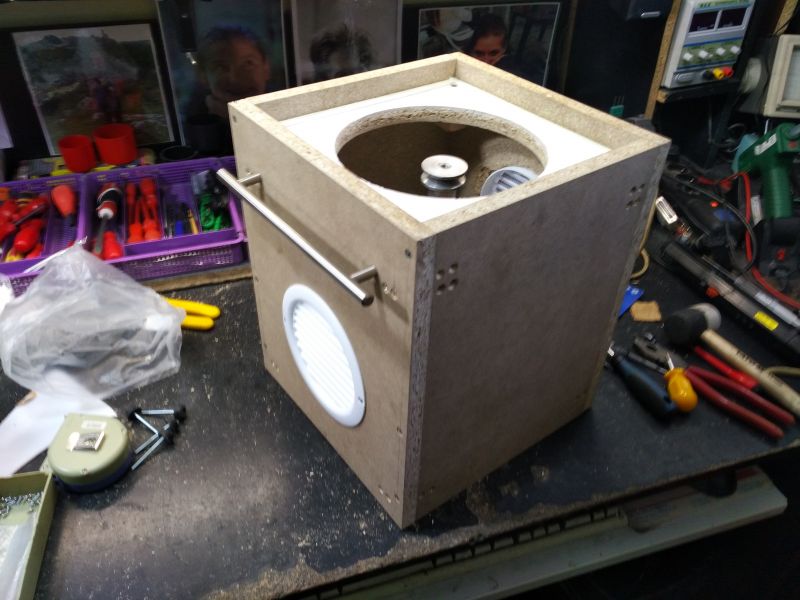
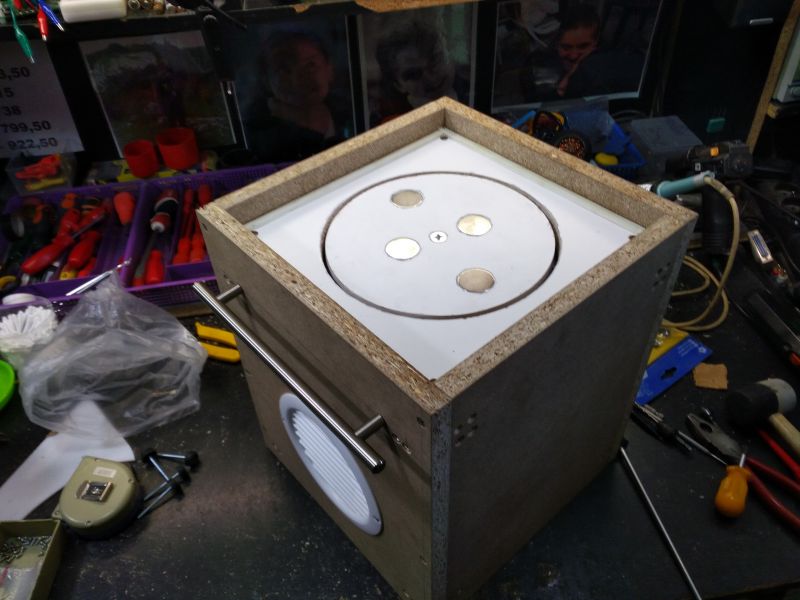
The work is moving forward, you can already see some outlines of the whole.
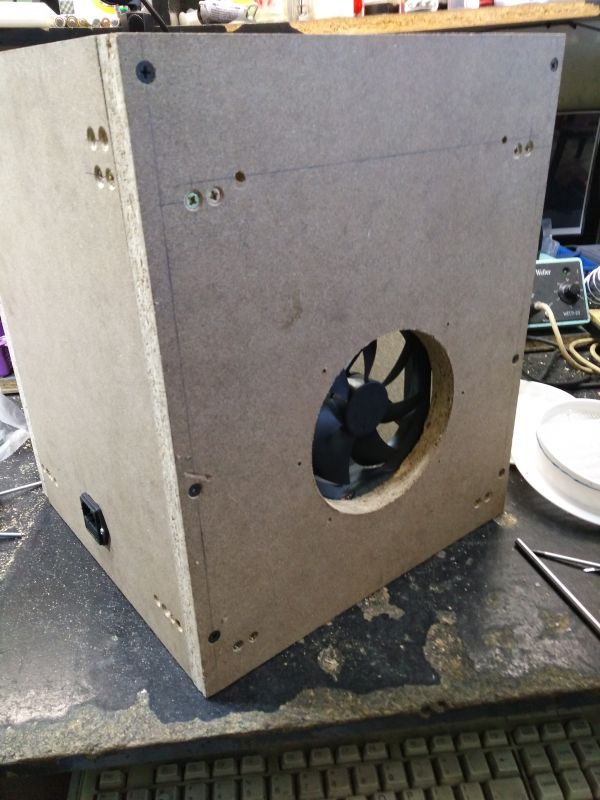
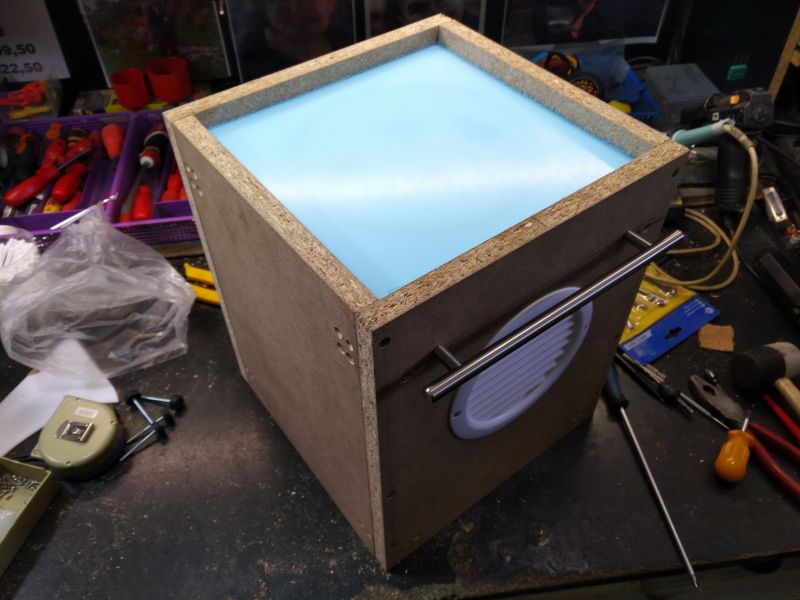
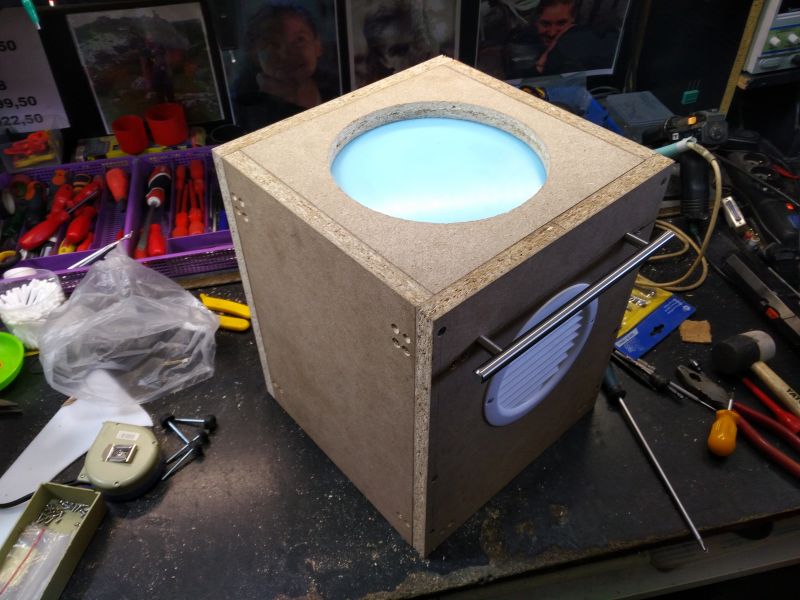
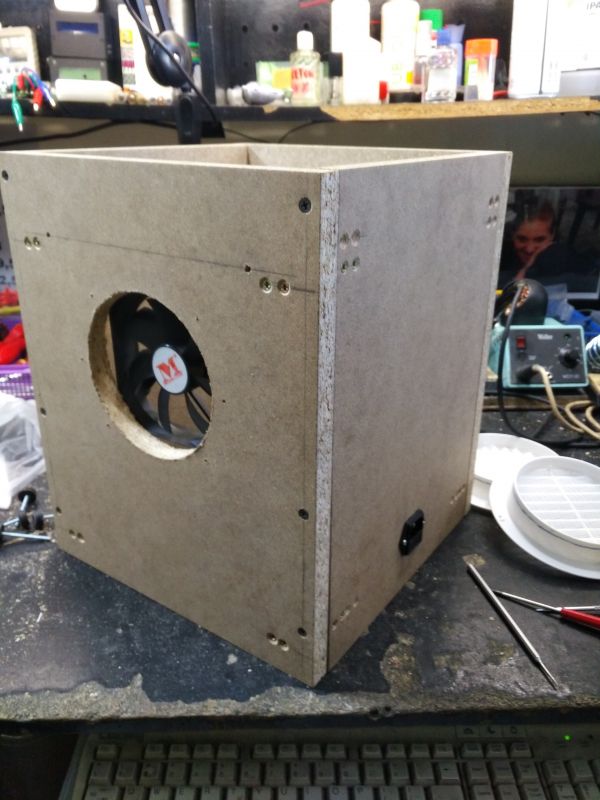
Closer to the final ...
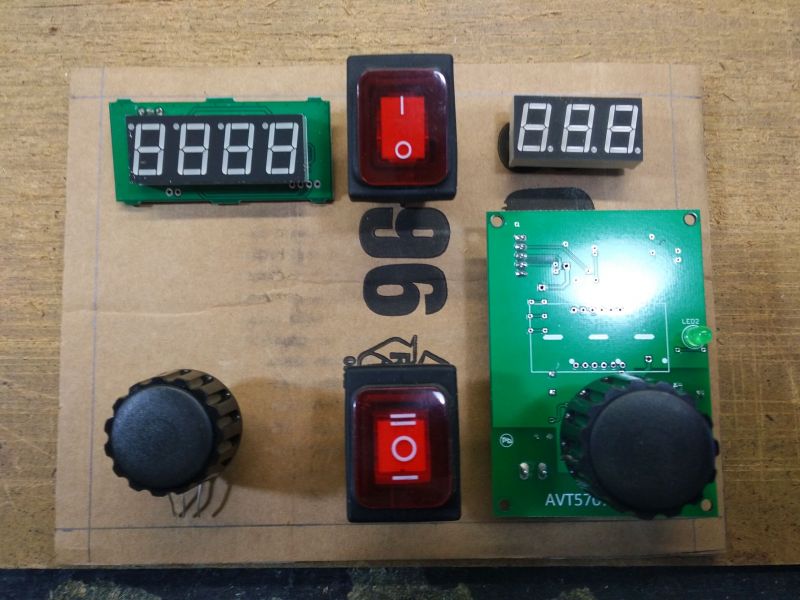
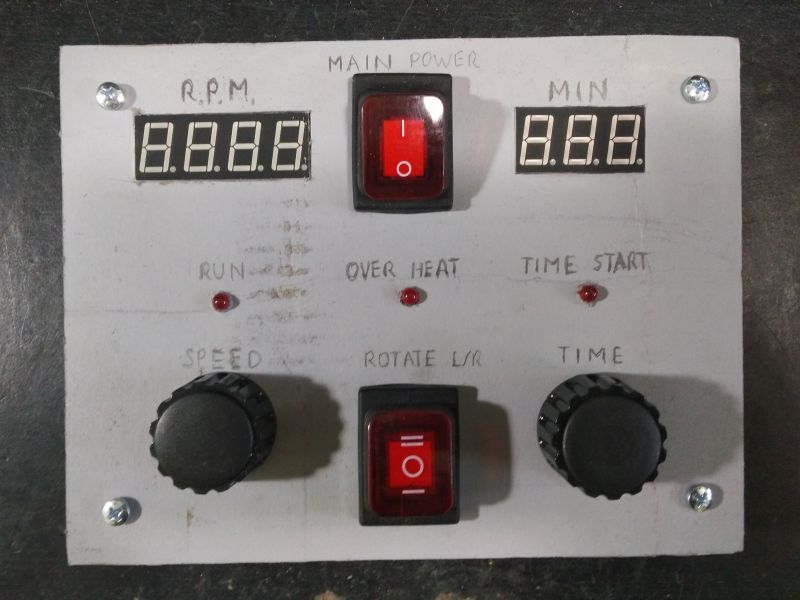
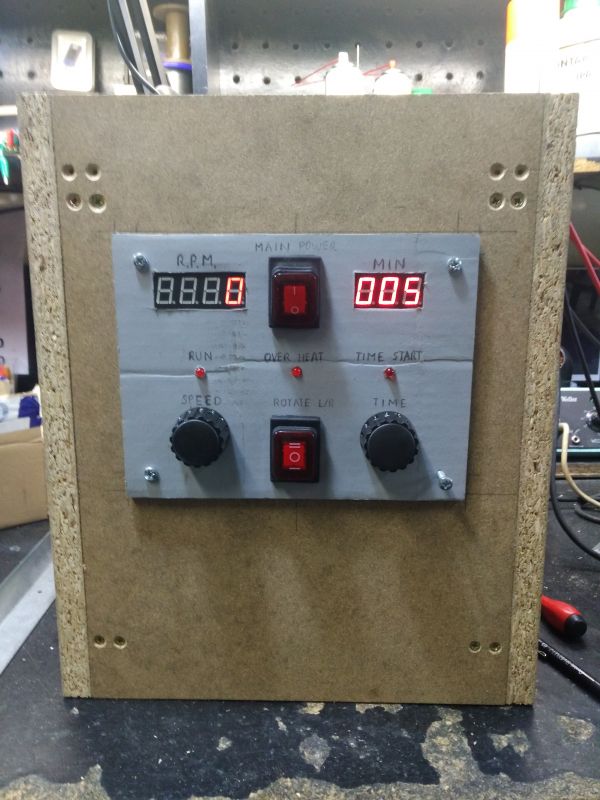
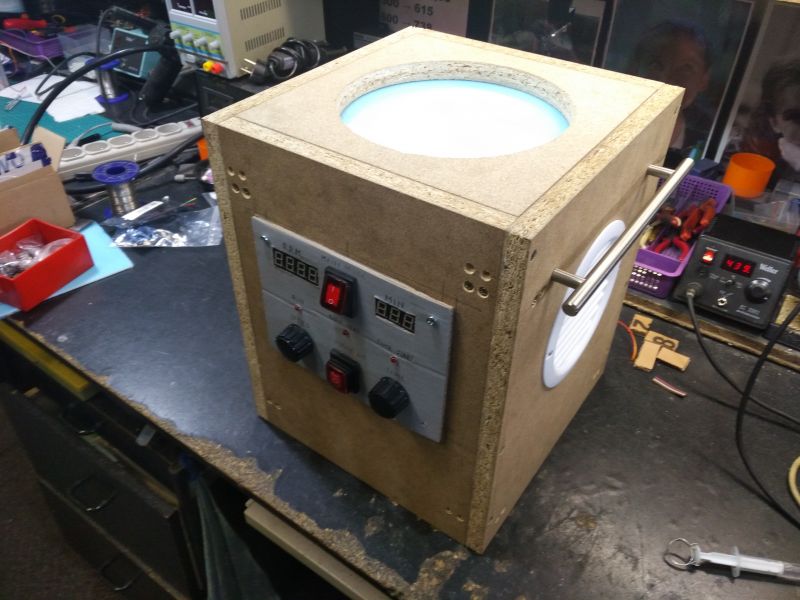
Preliminary design of the front panel made of corrugated cardboard with a scalpel.
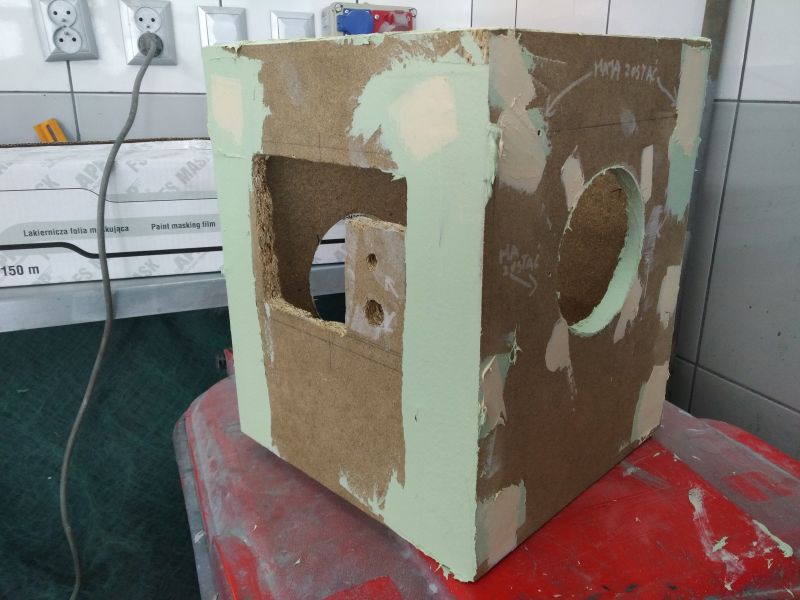
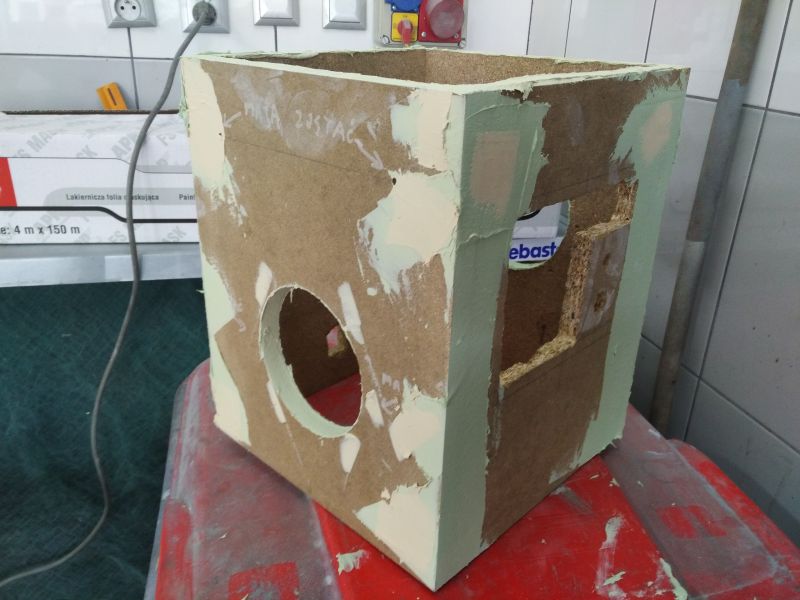
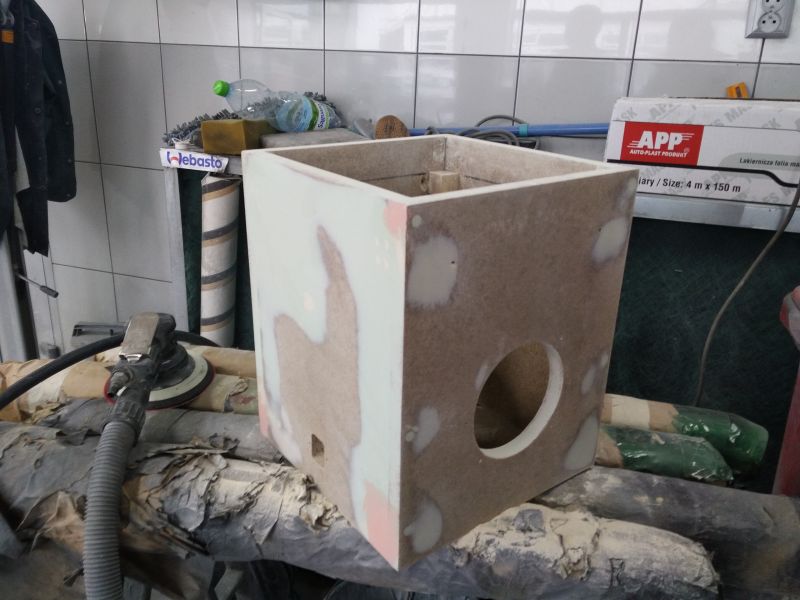
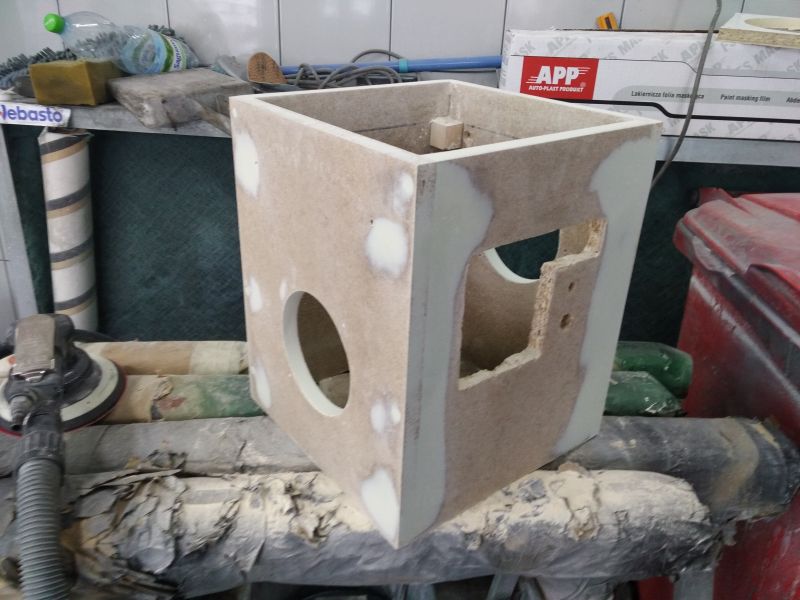
And here puttying ...
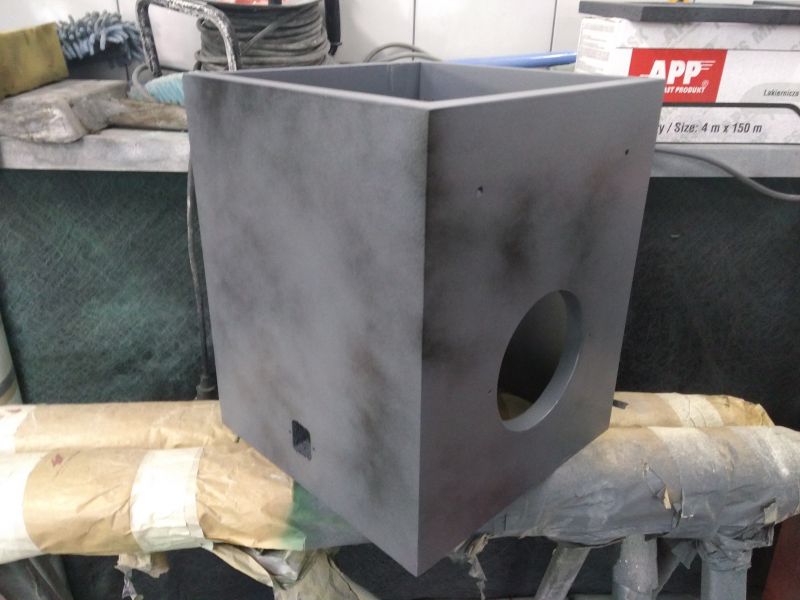
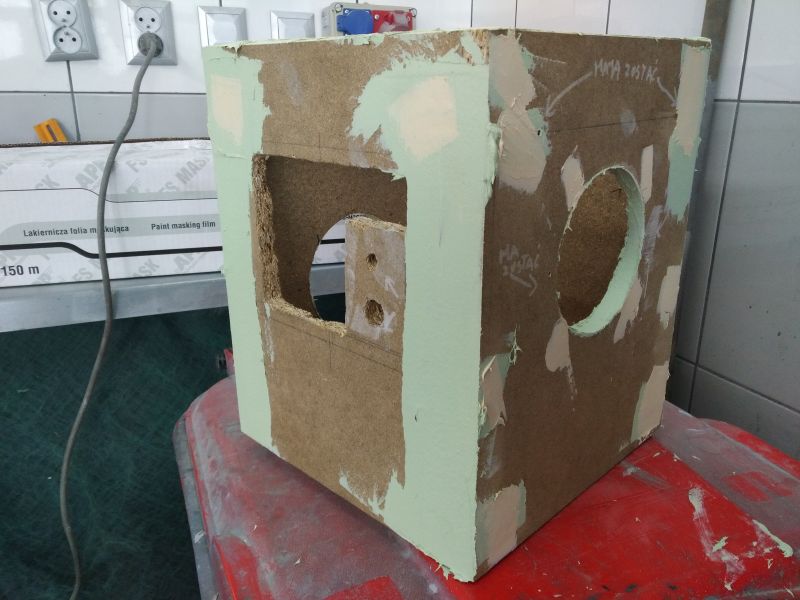
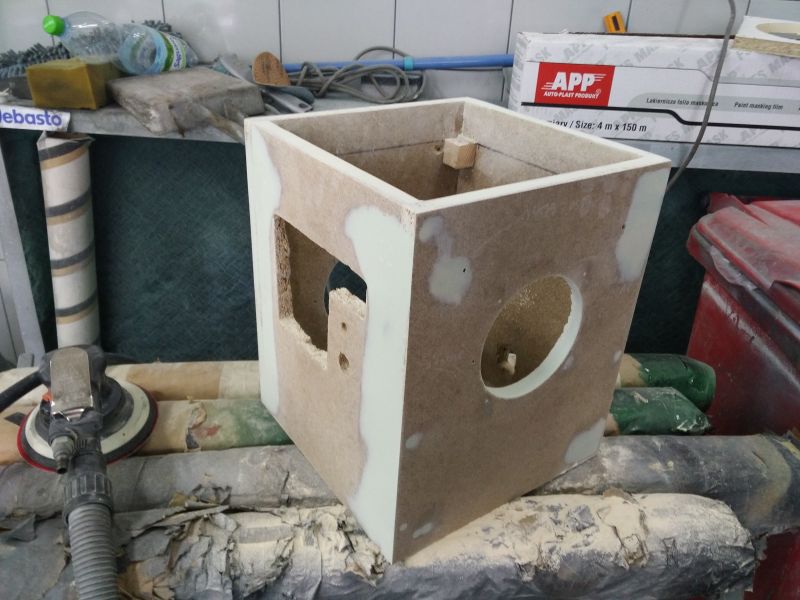
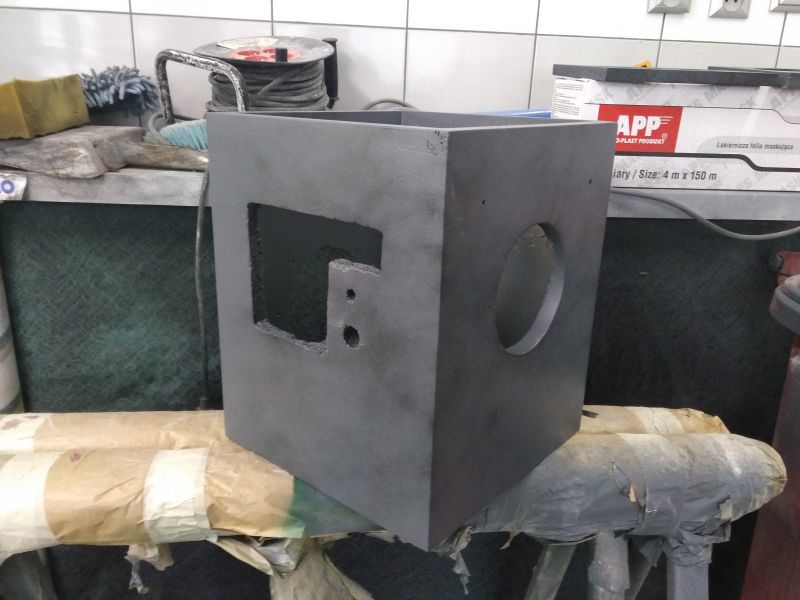
More putty and primer.
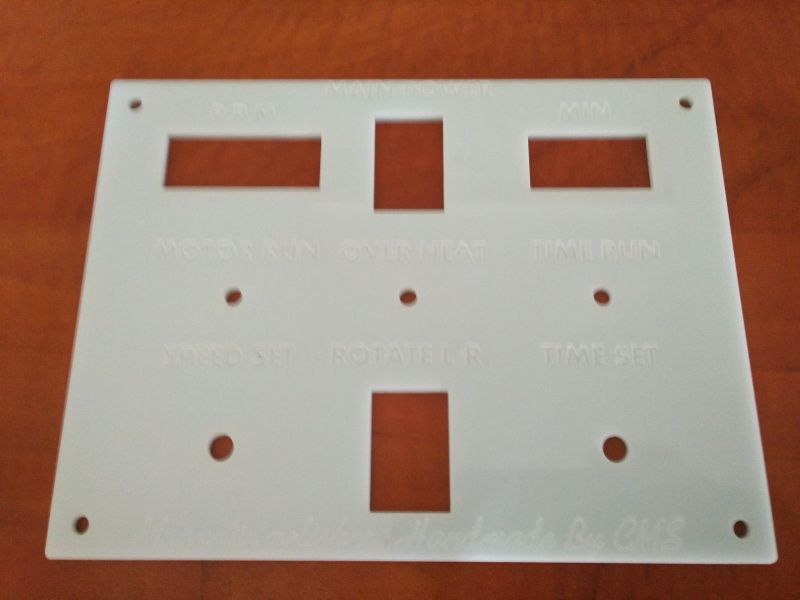
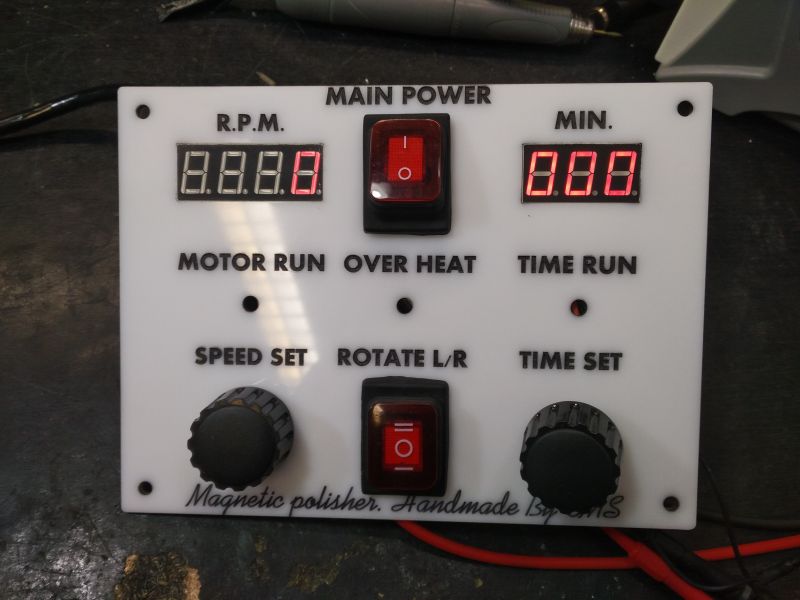
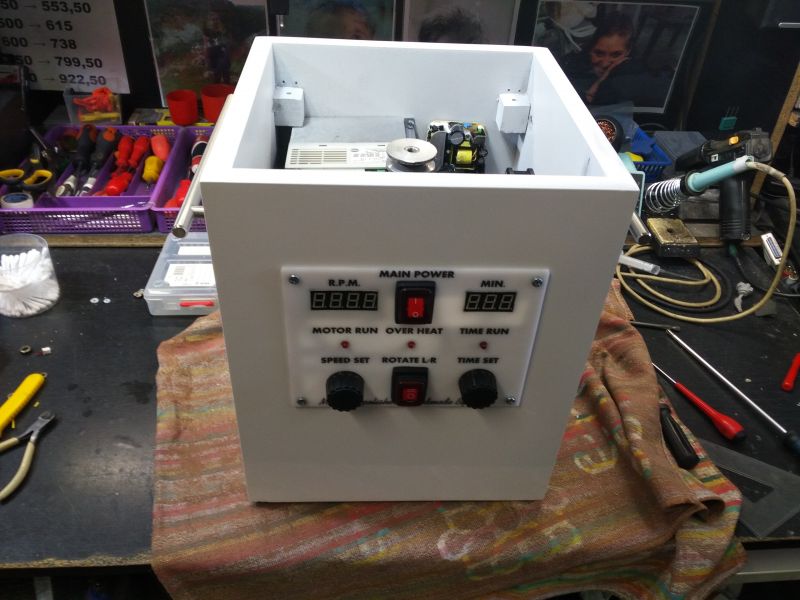
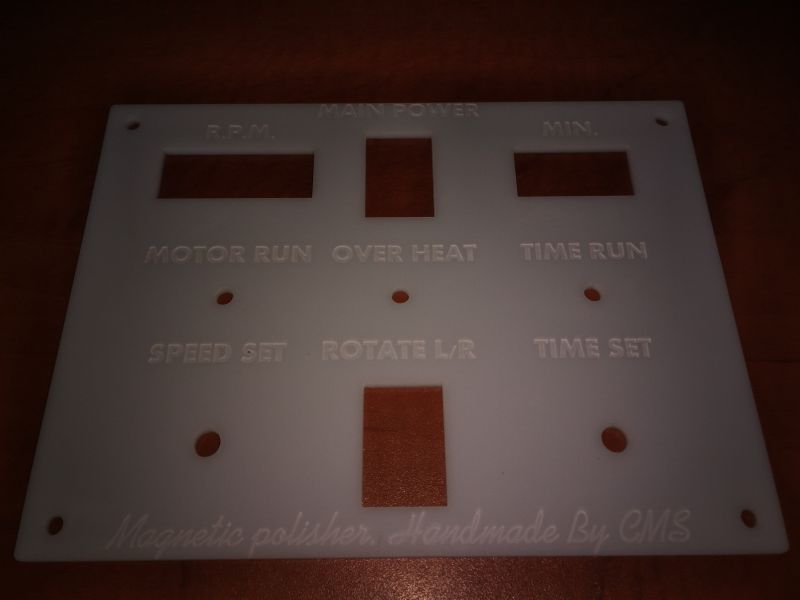
In the meantime, a front panel made of plexiglass was created, the inscriptions are engraved to a depth of 0.5 mm on a laser plotter and filled with nitro varnish.
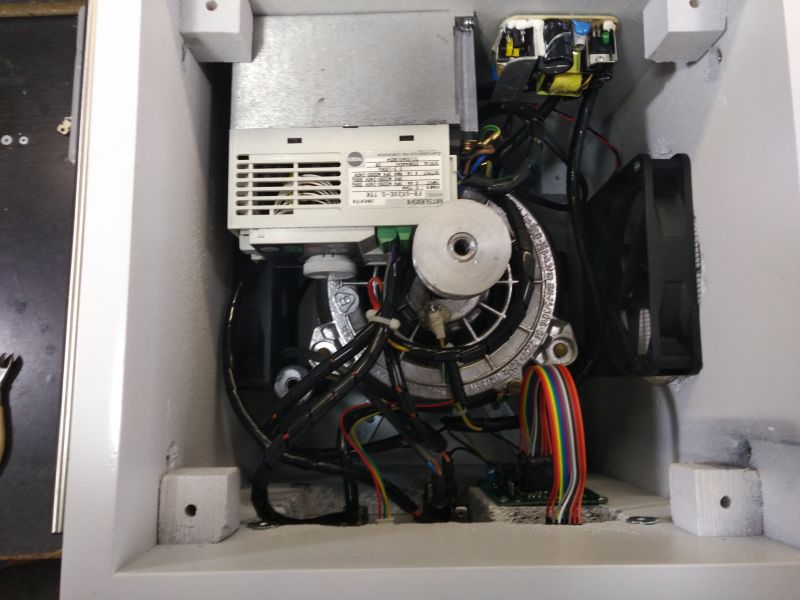
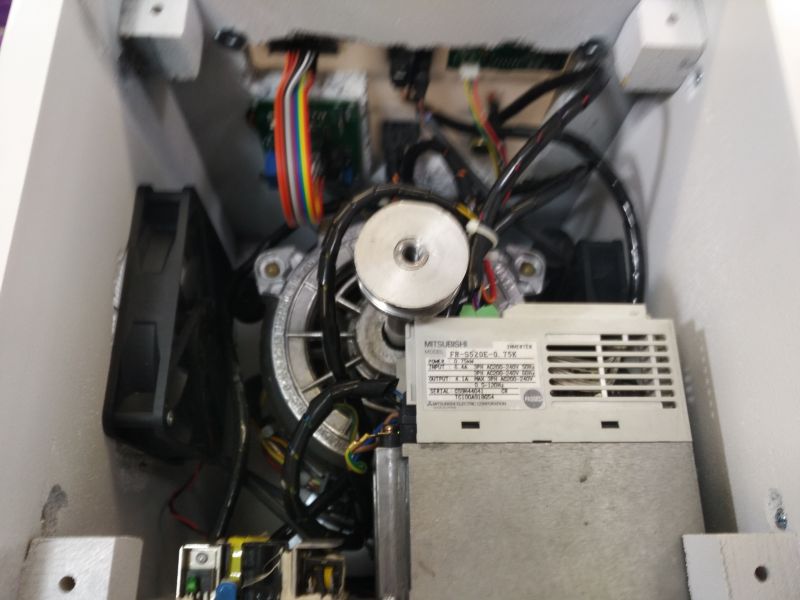
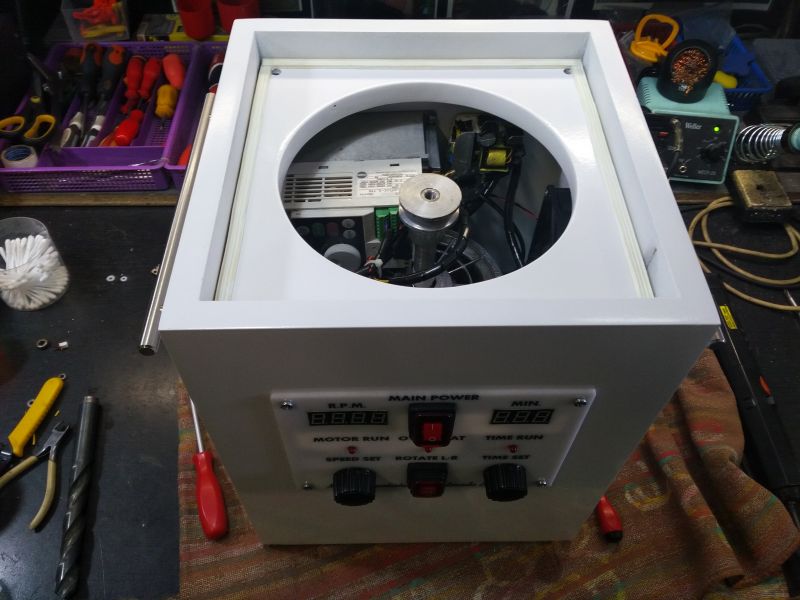
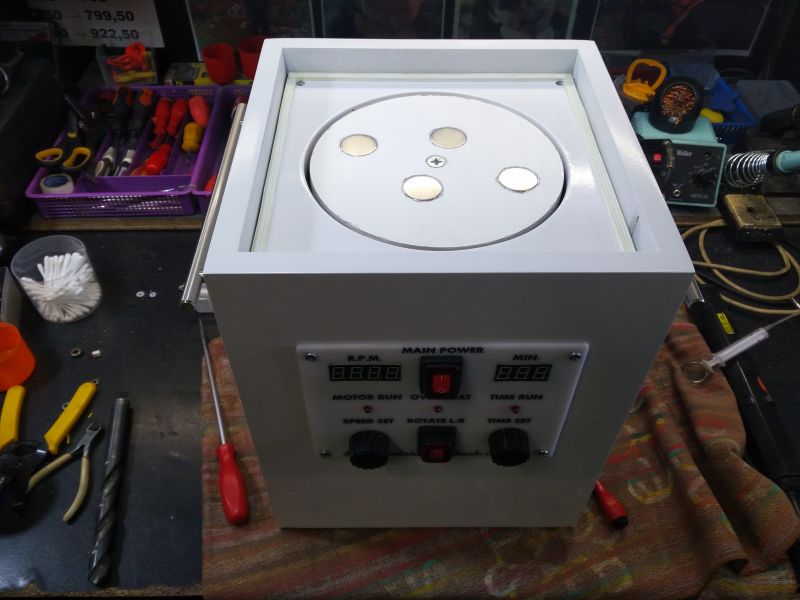
This is what it looks like inside.
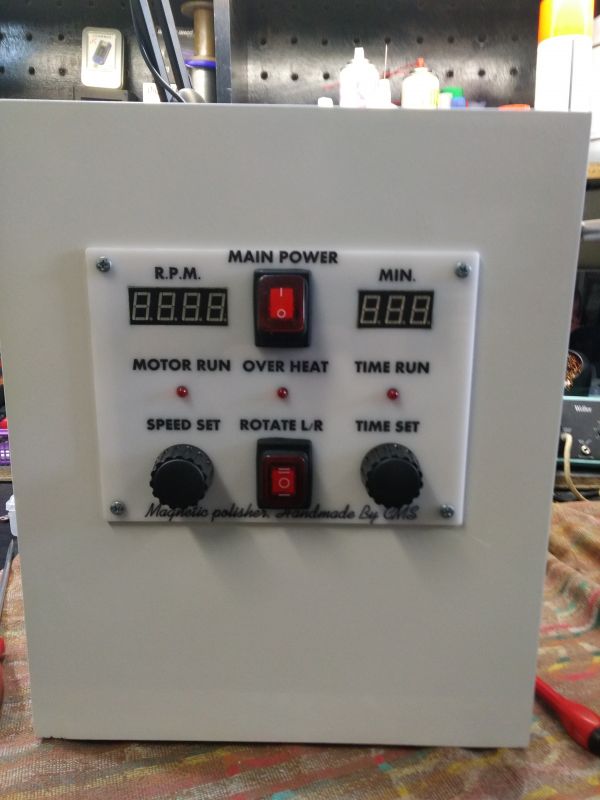
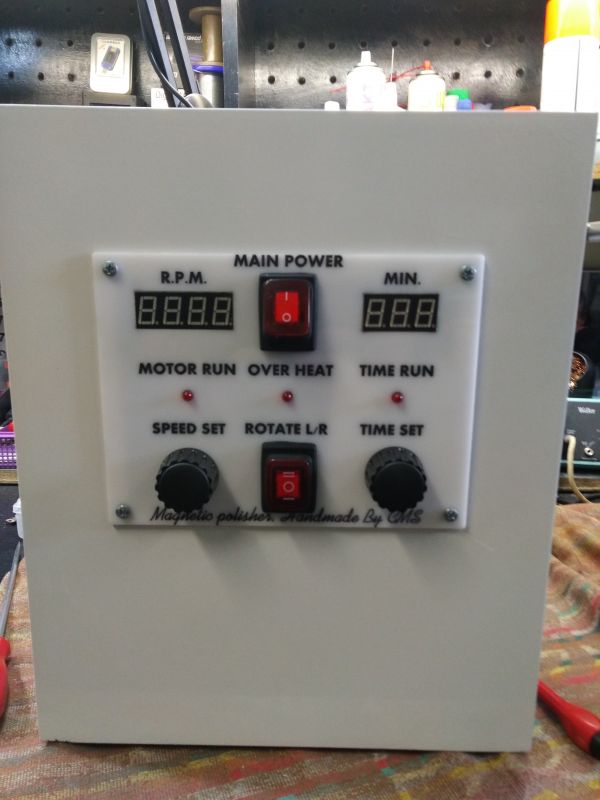
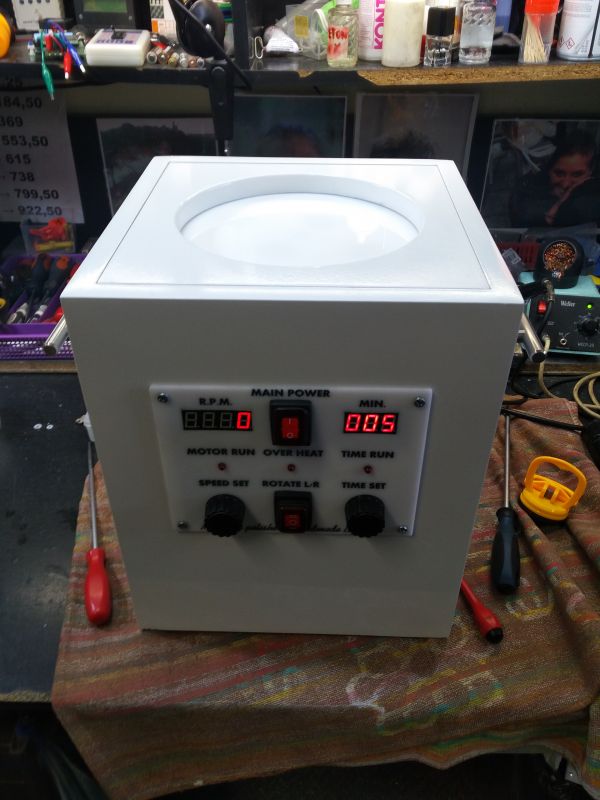
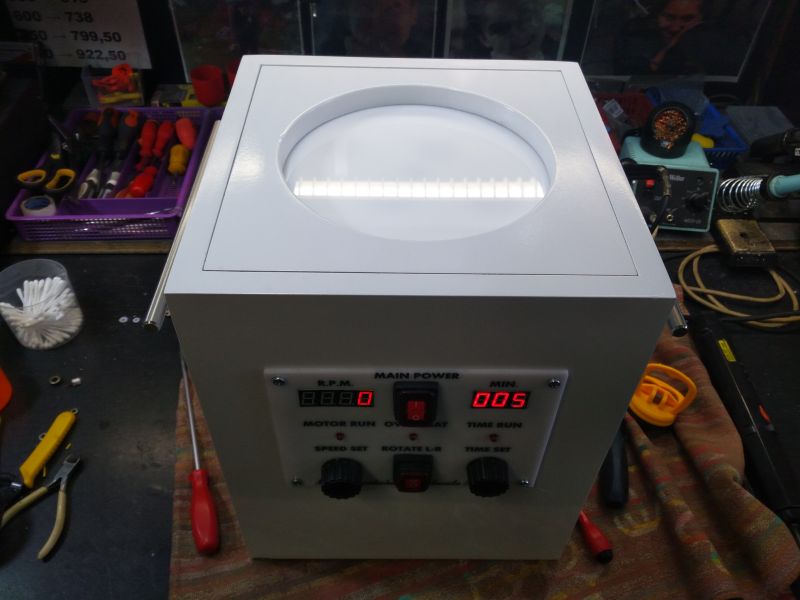
And so from the outside.
I am not going to post any diagrams or other documentation here, because they have not been created, and I will not create documents on purpose, since the machine is already at the customer's.
If someone is kumaty and needs such a machine, he will build it. After all, three months ago I didn't even know what it was ...
I just want to share some photos of the construction. Usually, I don't present my designs, even those of a high standard, because I don't have time for it. But this is the first time I have seen a device / machine of this type and this is the only reason why I am willing to share this construction with you. Because it's interesting.
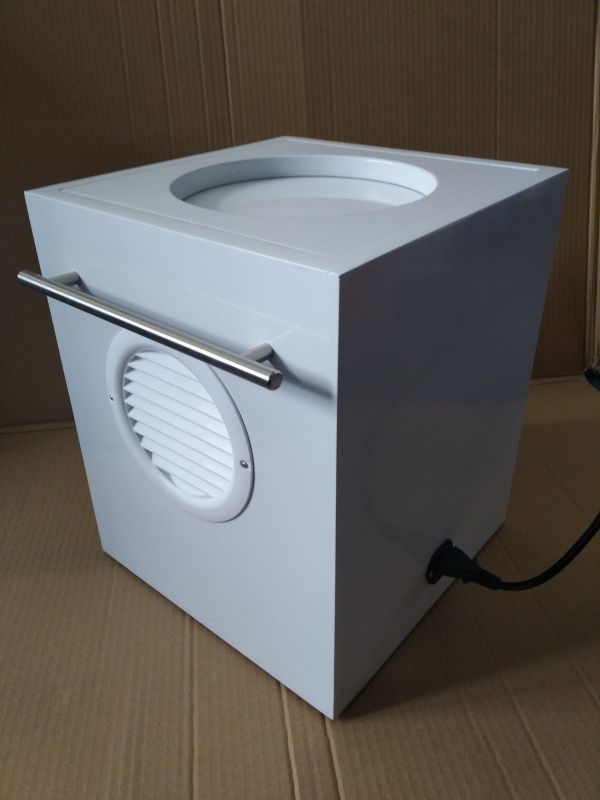
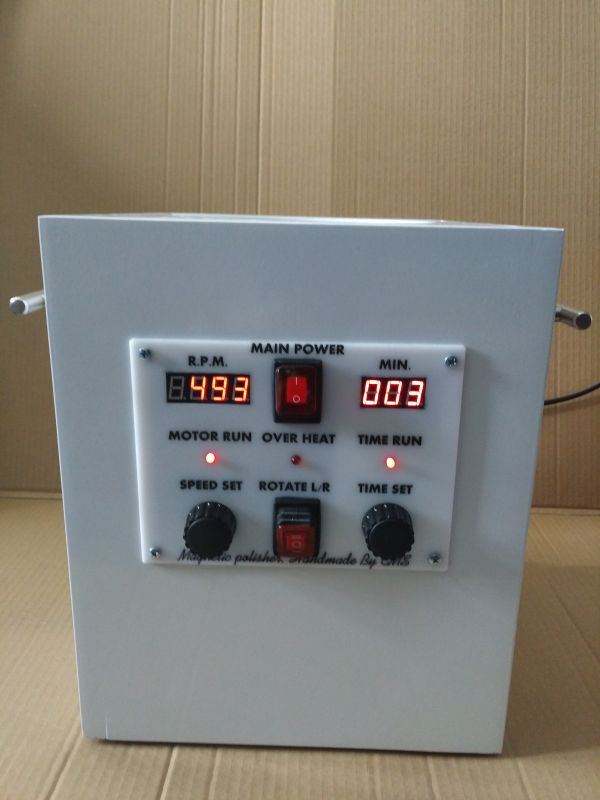
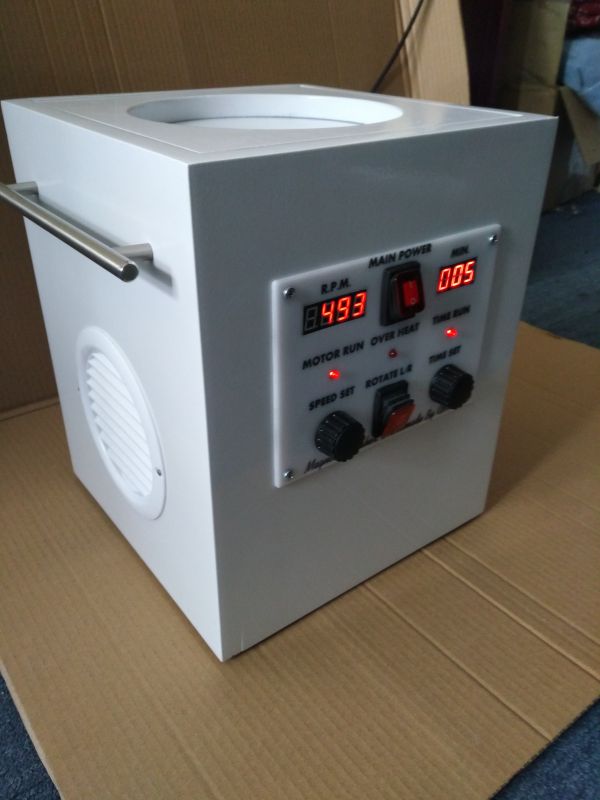
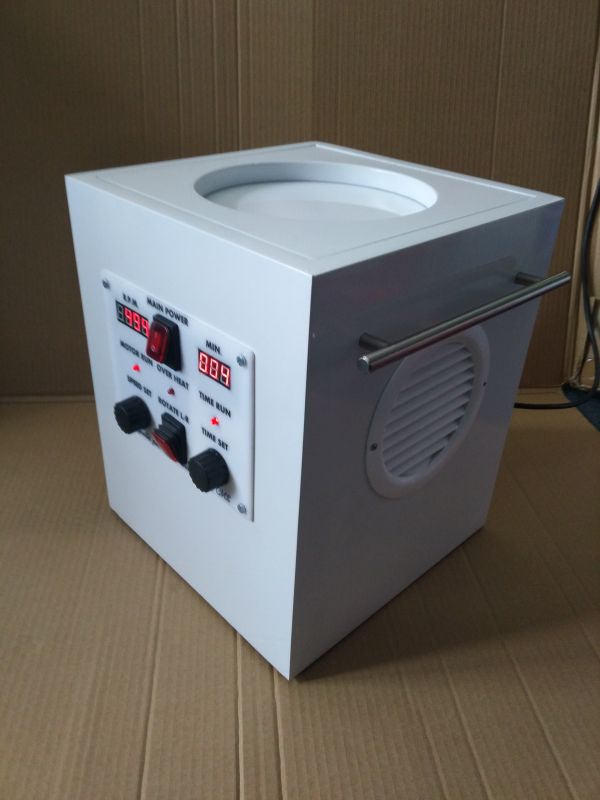
The final result.
As I mentioned, I will not describe the vicissitudes of the entire construction, because it would take as long as the construction itself. You have pictures to see and read, a few sentences of text.
Maybe I will mention the security features.
If the motor housing exceeds 50 ° C (which did not happen during the tests), the fans will start.
If for some reason (despite the fans running) the motor reaches 85 °, the power to the inverter will be disconnected (the fans will, of course, remain powered).
And there is also an ordinary 20mm glass fuse.
At this point, I would like to thank my colleague BESTLER for this
any technical assistance and encouragement in the moments when I already doubted this project.


Comments
A foreigner ordered it from you or are Polish subtitles out of fashion? Don't take it as an attack because many criticize - whatever the problem, I just don't like getting English everywhere,... [Read more]
You haven't written what these "needles" are, the concept is so simple that "why didn't I think of it myself". If I ever needed a polisher, it is either a vibrating polisher that shakes and turns... [Read more]
However, you did not take good advice. Rewinding the washing machine motor to three-phase in order to push it with an inverter - nonsense, technical and economic. For the cost of rewinding, you would have... [Read more]
CMS , you write that there was a problem with removing the pulley. Have you tried to use something like this (called bearing puller ): https://obrazki.elektroda.pl/4635620100_1600462492_thumb.jpg... [Read more]
One more very important thing. The disc with magnets sticks to the motor axis on the screw - with a right-hand thread. When switching to "left" it will unscrew ... [Read more]
Do you need high turnover? I would use the hoverboard engine if the engine revs higher, for example from punto power steering, for example, drivers can be bought in good money, engines rather also available... [Read more]
I miss the info about "needles". In the video, it looks like metal shavings. Isn't this motor - probably several hundred watts - too big for mixing a handful of shavings? Recently I was playing... [Read more]
I fully agree. In addition, the controller on the TDA1085C uses a tacho (a system specially for this purpose) and you have a very wide range of regulation (from several hundred to several thousand RPMs... [Read more]
Yes. More precisely, one of the contracting authorities is not a Pole. However, the subtitles are in English because they are shorter and it was easier to fit. Type in google "polishing needles"... [Read more]
There is no later which is a pity. Instead of a lot of photos (in my opinion, 1/3 of what my colleague posted is enough), I would prefer a few sentences explanation about the advantage of the magnetic... [Read more]
. So a total of 400, - These motors from washing machines in scrap yards are going to get for 20 PLN for 30 PLN. New Besel engine 0.18kW - PLN 200- 300. So you already have half. Used 0.18kW motor - from... [Read more]
Needles you have a few posts above in the link. There is nothing to write about them. Have you read the description? I don't know anything about it. When a friend asked if I would build it,... [Read more]
With both plates heated, or only the bottom plate? Pneumatic pressure? Because I have nice actuators :D [Read more]
We wrote simultaneously. Now I understood that these 3 times cheaper was for the engine itself. I understood that you are talking about the whole. At the cost of the whole, these PLN 300 was a fraction. ... [Read more]
Do not take my entry as a complaint, but since you wrote in the first post that about needles later, I thought that you would go deeper into the topic. You did not have to. The principle of operation... [Read more]
This is a type of vibration polisher - the workpiece is polished by impact / abrasion by small wear-resistant elements. [Read more]
Heated top and bottom. Manual pressure, but if you have actuators, who knows ... The polisher was also supposed to be simple at first, and a beautiful, almost factory product came out. [Read more]
I wrote about the whole. A commutator motor would be cheaper - an expensive inverter would also fall off. So probably a thousand less together. For a hundred you would have a motor with a phase regula... [Read more]
The inverter was a lucky, because 86pln was a lucky (here a separate story) [Read more]