Hello, I will present here two Tuya 'smart' twin sockets/plugs with energy measurement and WiFi control. These sockets are characterized by a glued casing, almost impossible to remove without damaging them. Here I will show you how to access the programming signals without damaging them too much. The sockets shown here will be based on the BK7231T and BL0937 (first) and the BK7231N and BL0942 (second).
NAS-WR01W/NAS-WR07W plugs
I got the products for free from their distributor in order to run
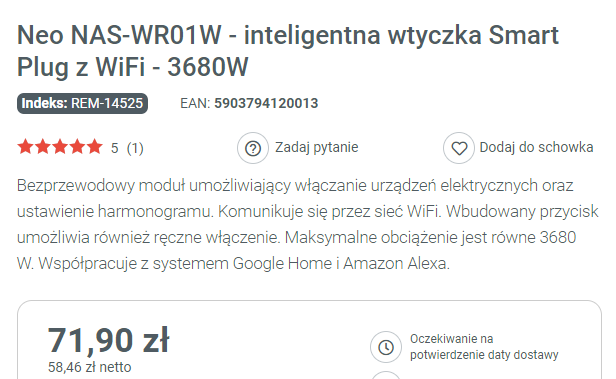
OpenBeken , but you can normally buy them for around PLN 70 in many online stores.
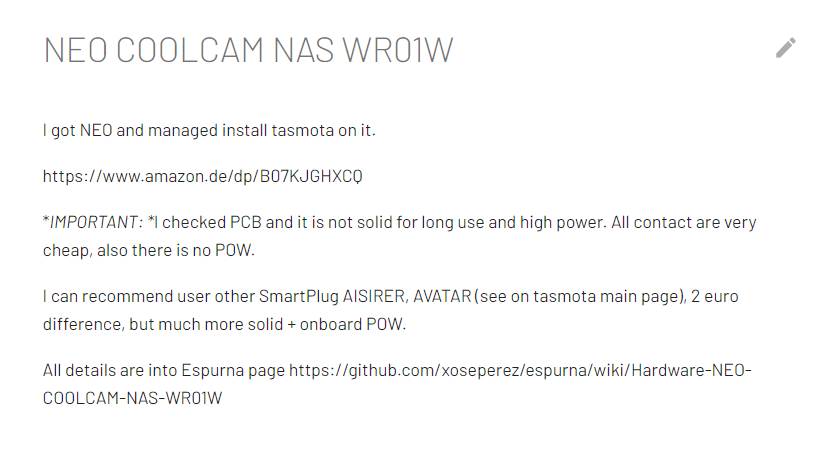
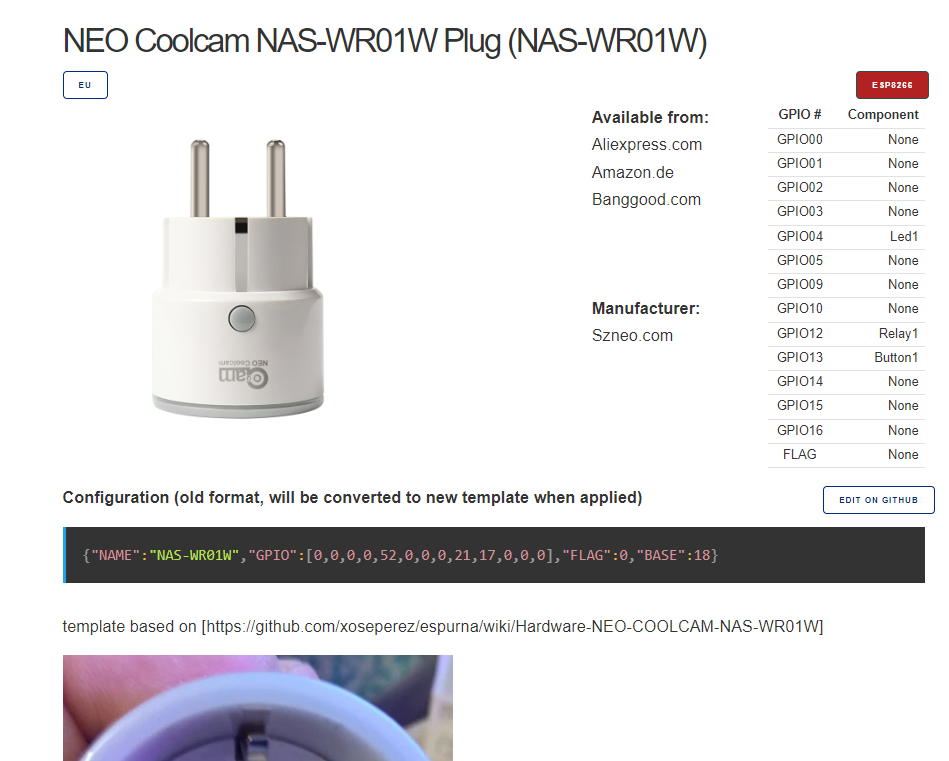
On the internet you can read that these specific sockets are implemented on ESP8266.

Unfortunately, that has already changed. The manufacturer switched to BK7231. According to their distributor, you can no longer order fresh portions of these sockets for ESP.
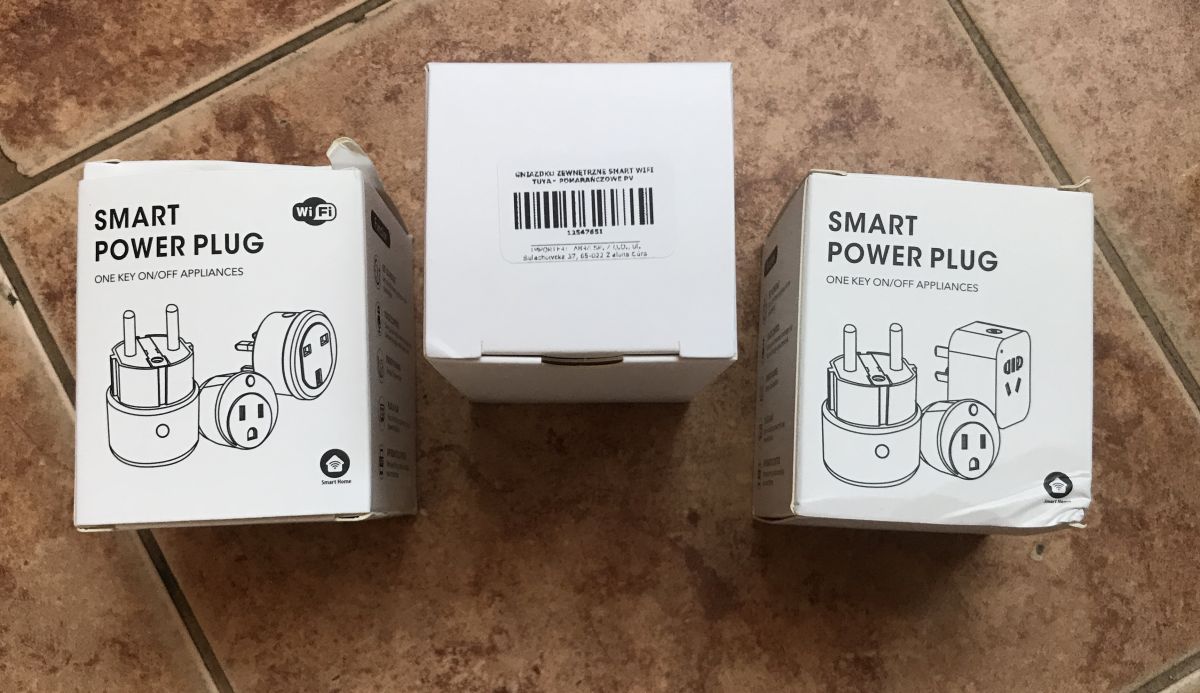
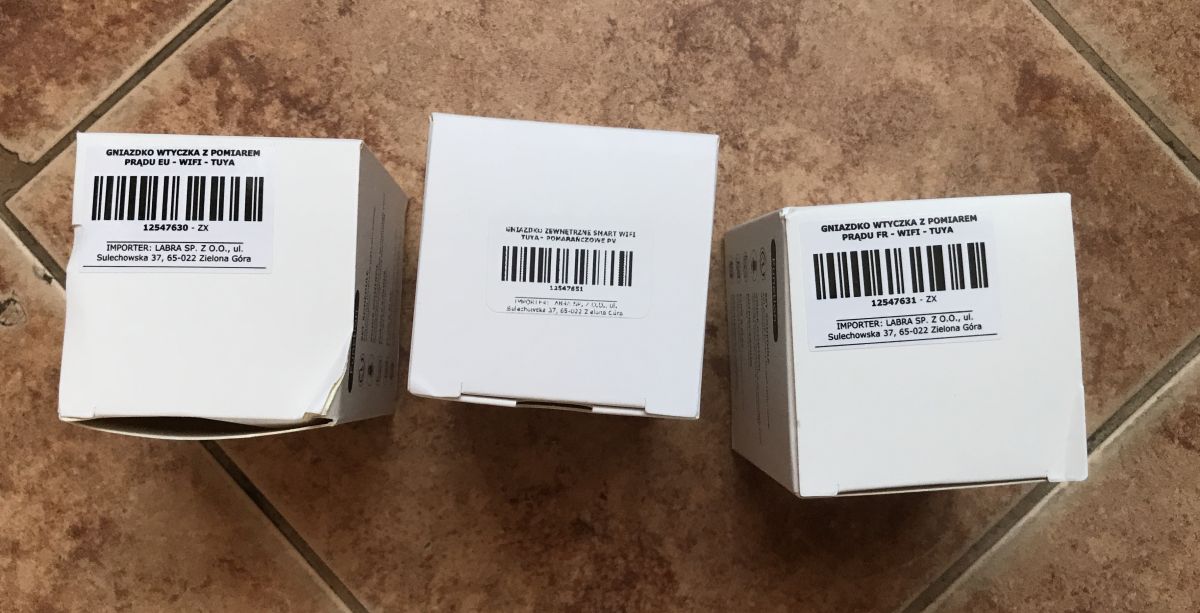
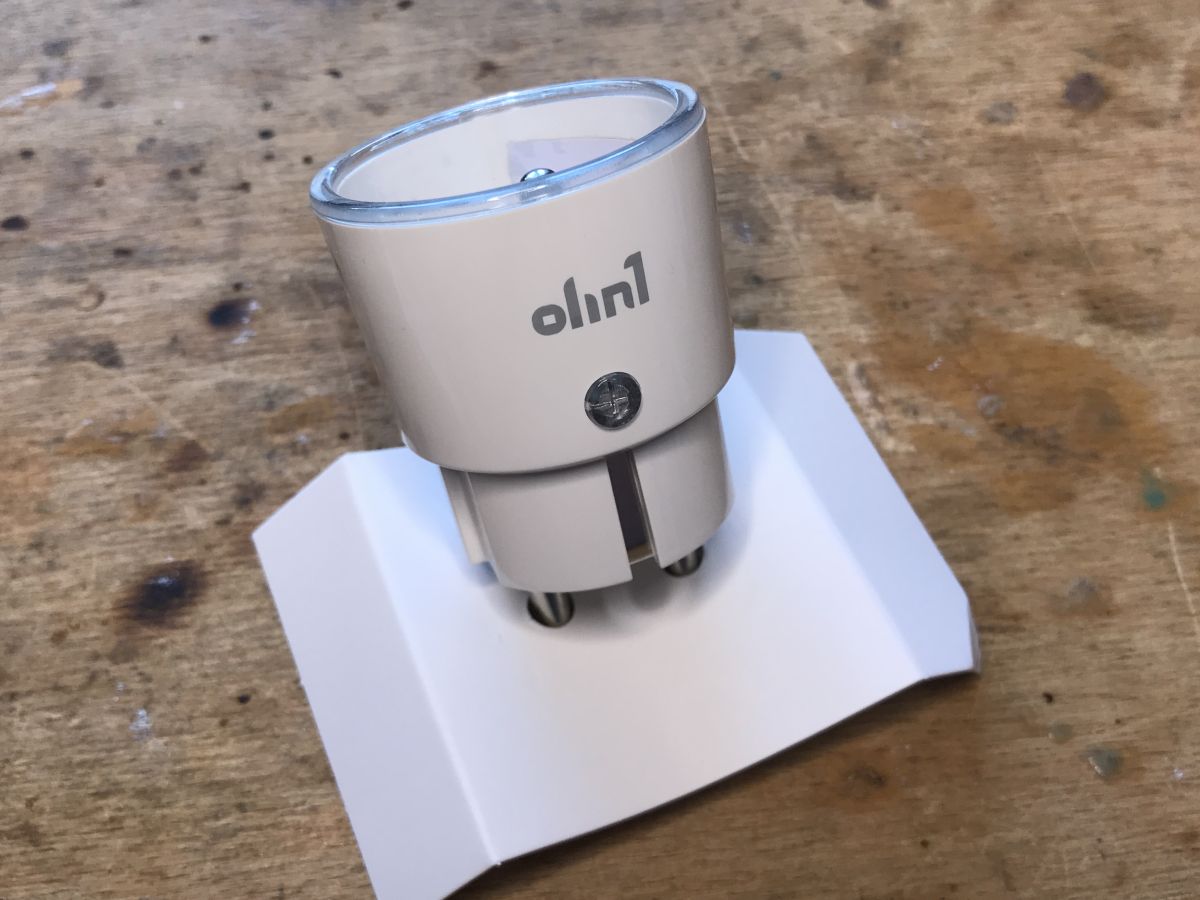
This is what the set I got looks like (the third socket, Mycket PE-01E IP44, I will discuss another time):

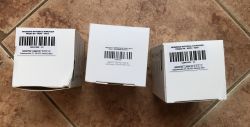
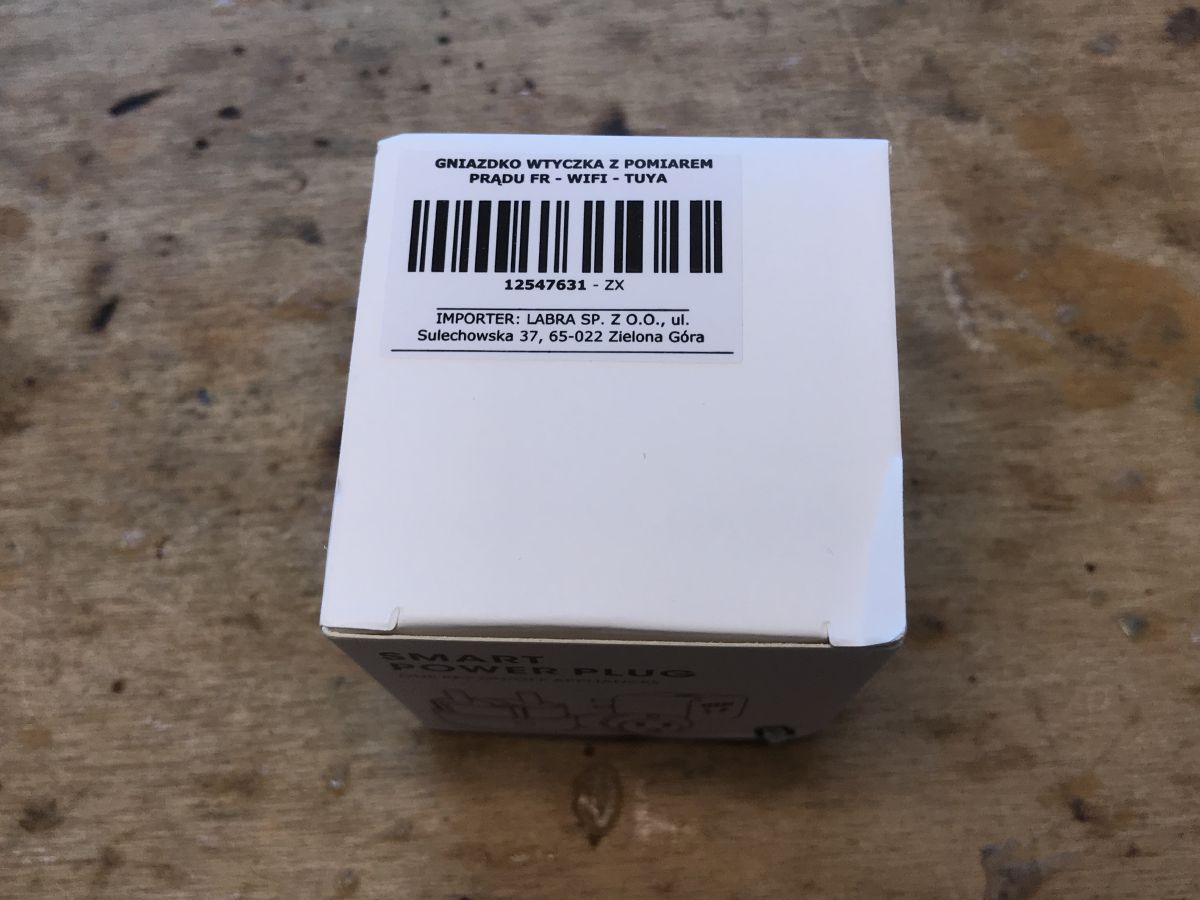
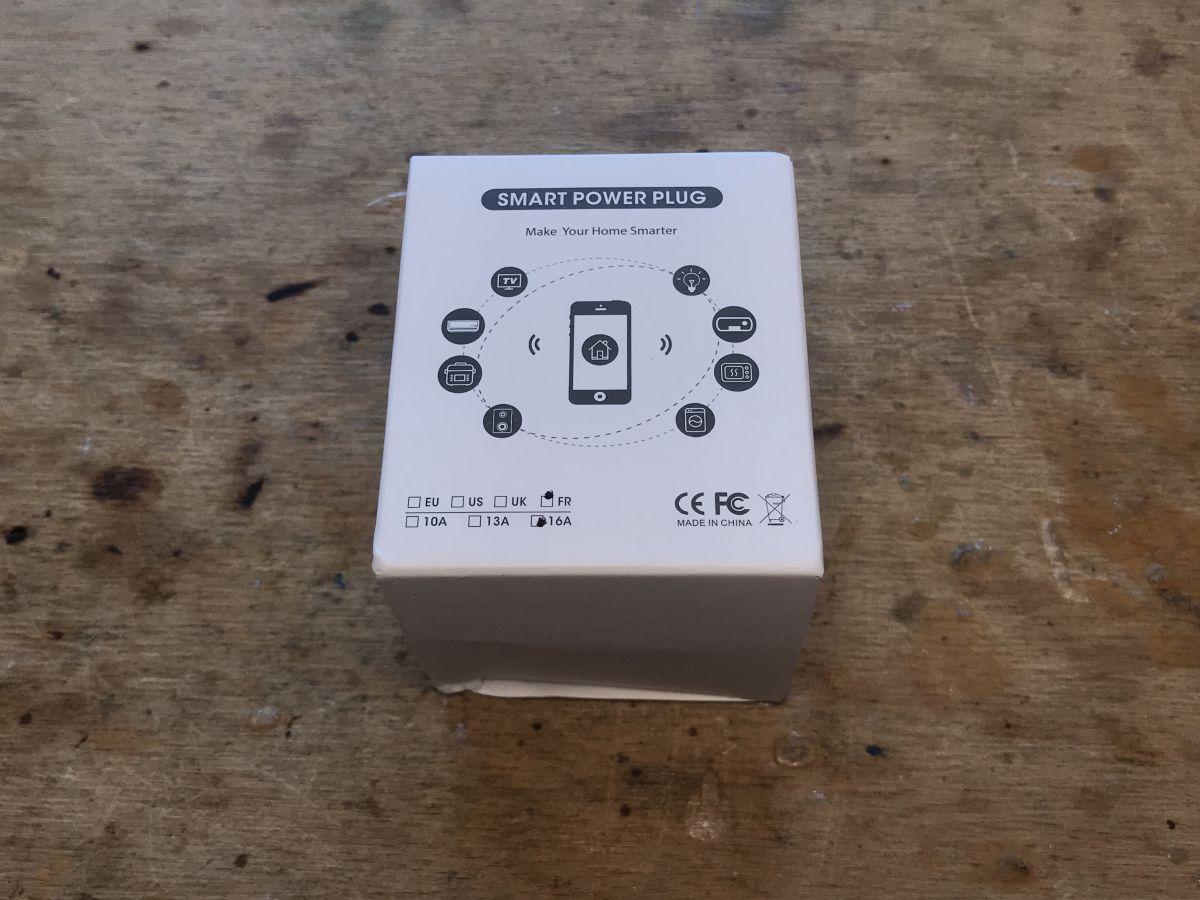
First Packing:
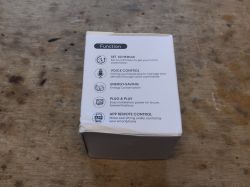
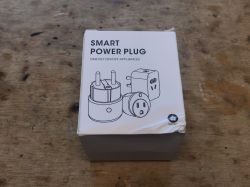


Contents:


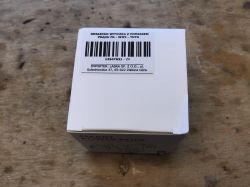
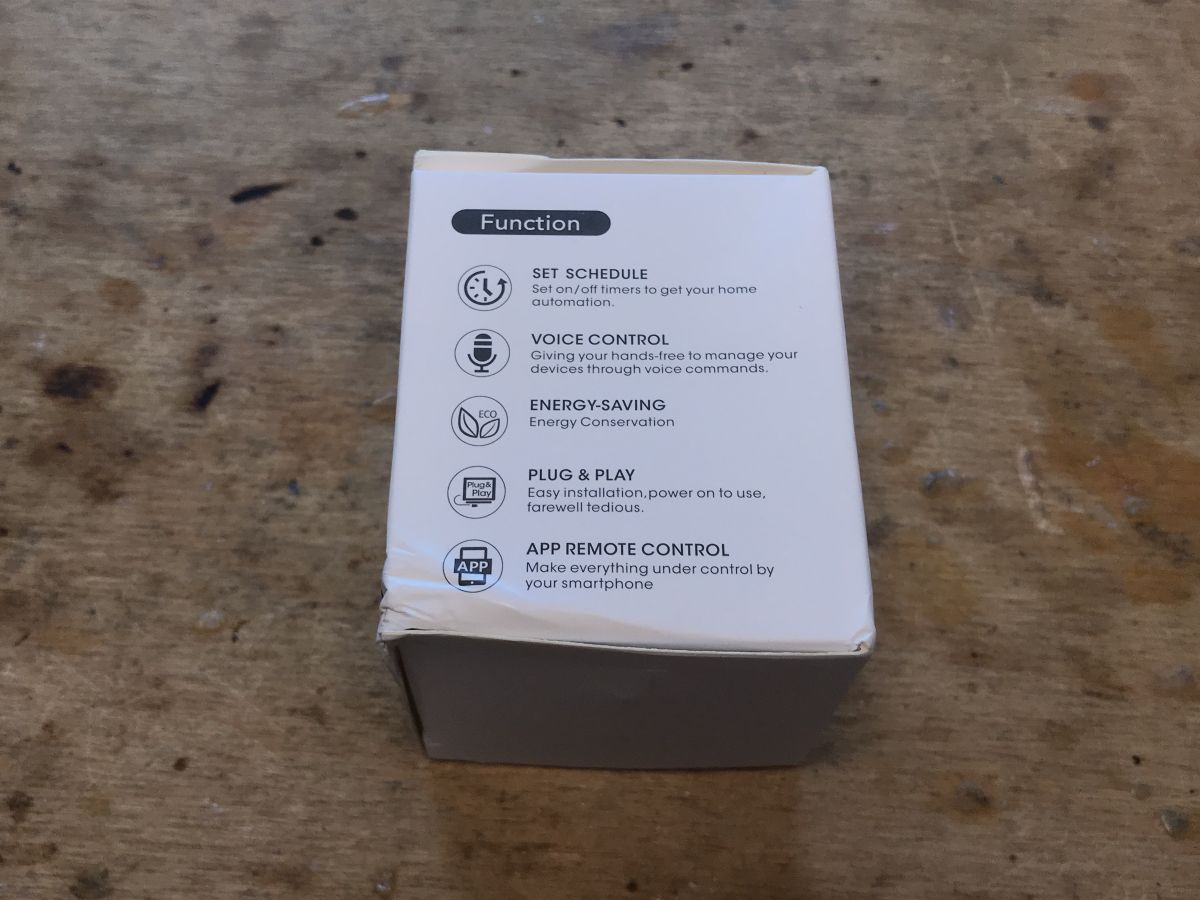
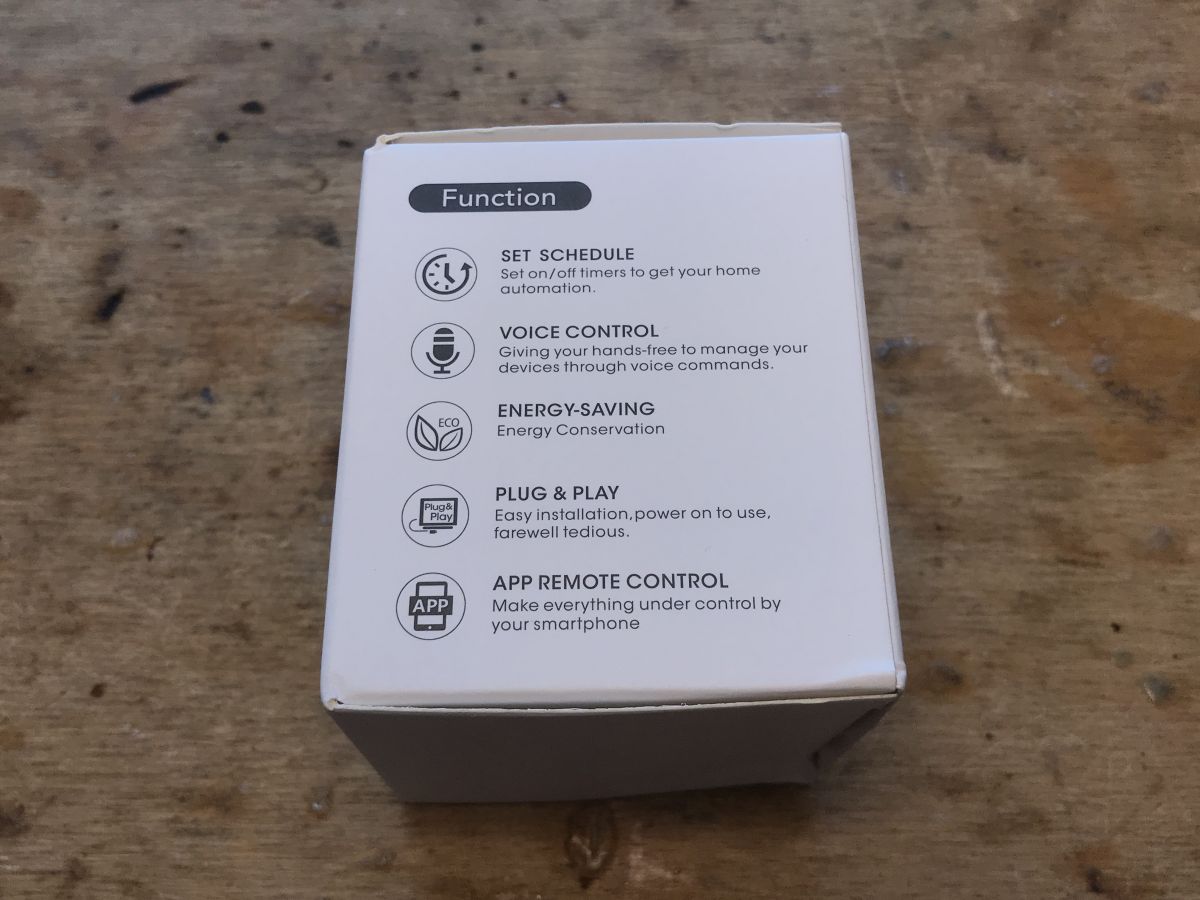
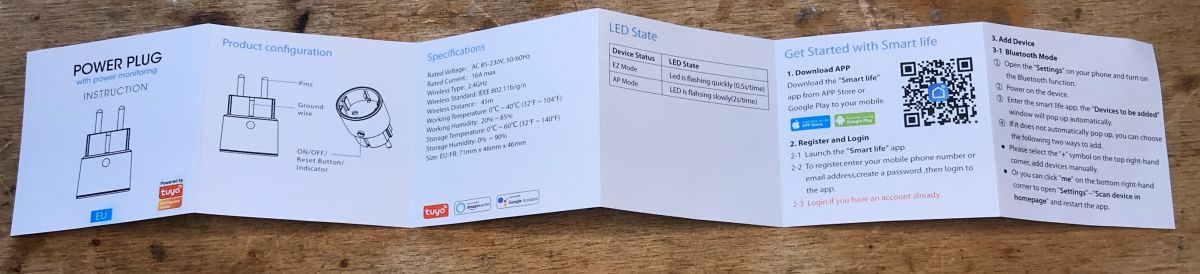
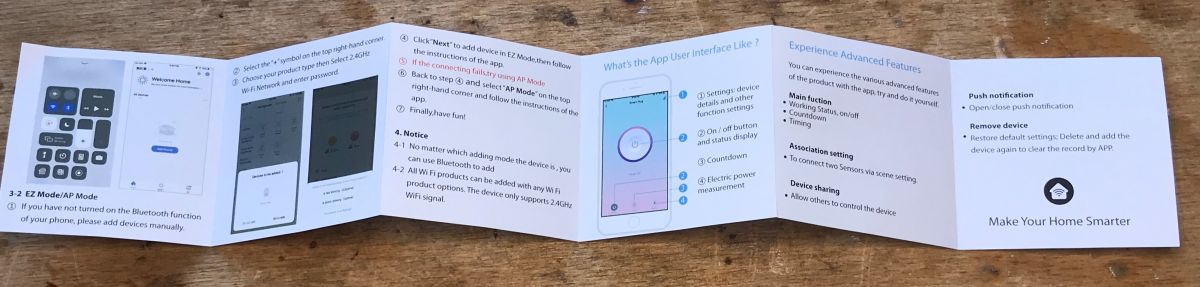
Instruction:
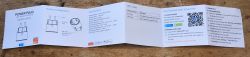
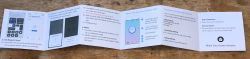
The instruction of the second one is identical, so I omit it, as well as the tests with the Tuya/SmartLife app that have already been performed many times.
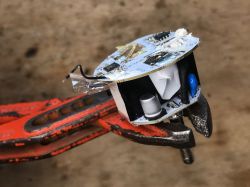
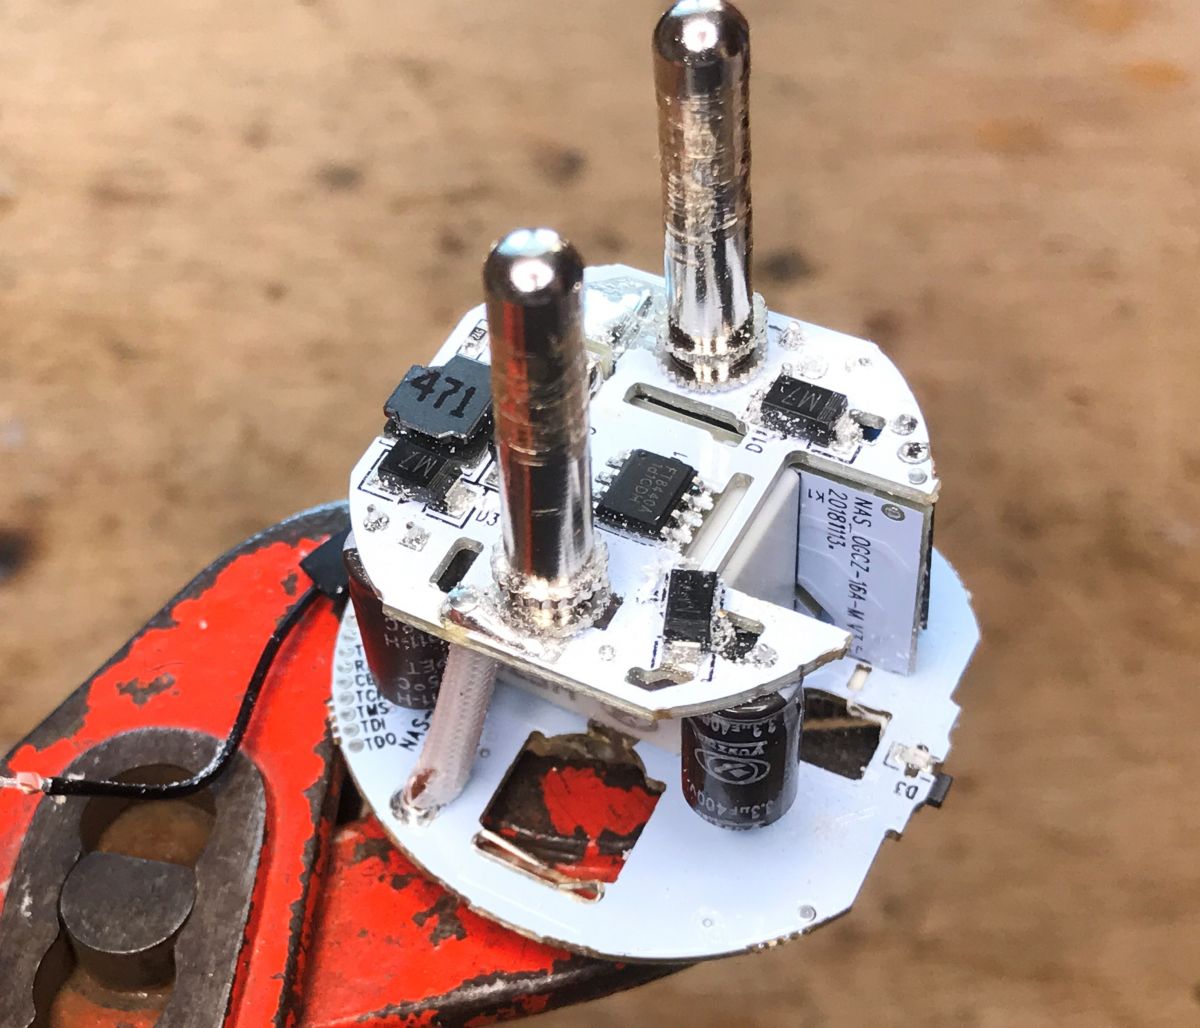
The inside of the NAS-WR07W
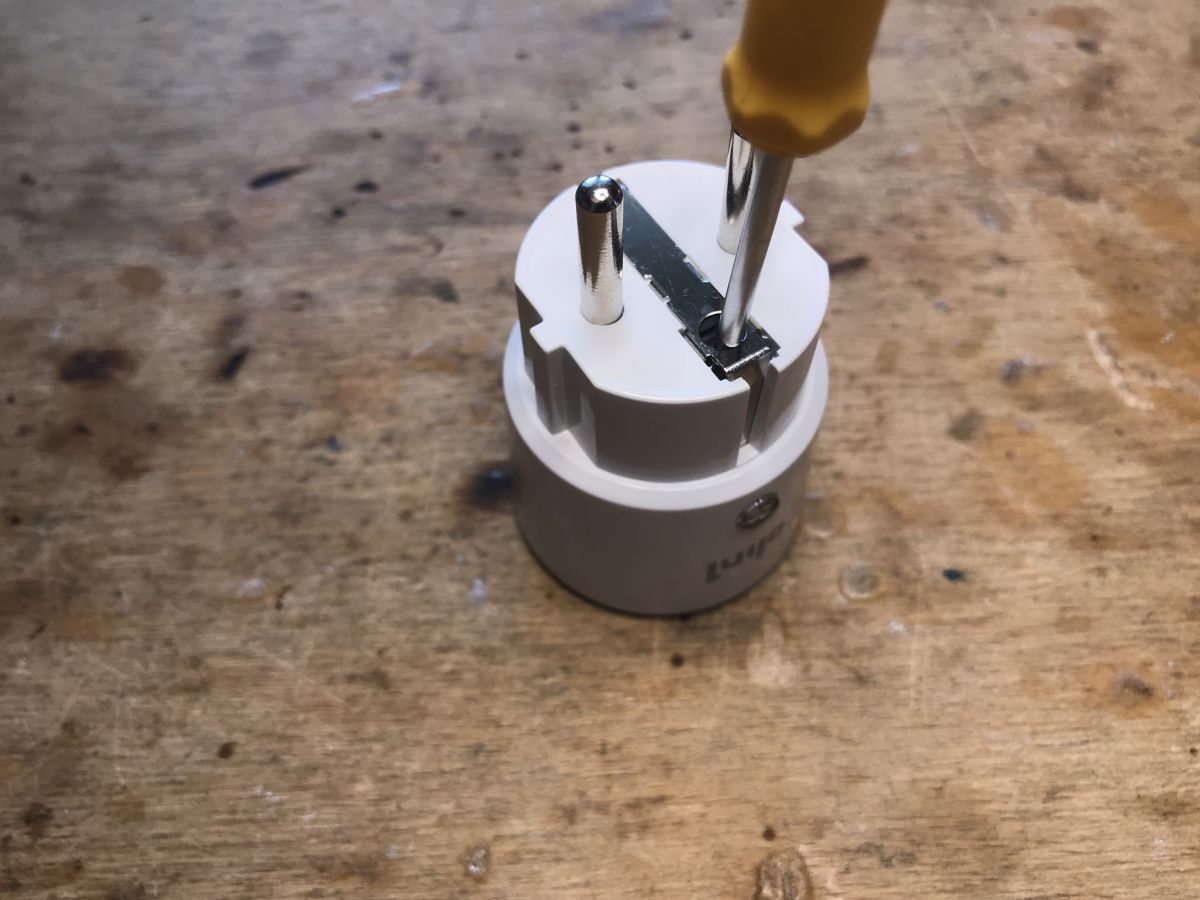
As in the BW-SHP6, you need to unscrew one hidden screw:

Now it should be possible to remove the plate, but I had a serious problem with it. In this case, the pins of the plug blocked the possibility of removing the PCB. I decided to use the brute force method (later I will show a better way to physically connect the programmer, and there is also a tuya-cloudcutter to upload the batch via WiFi).
I also tried unscrewing the pins, in vain.
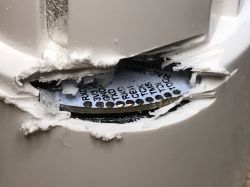
Finally, the mini-grinder went into action:

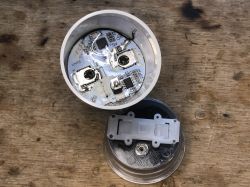
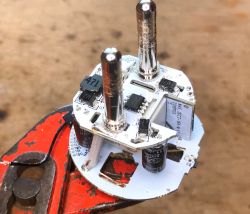
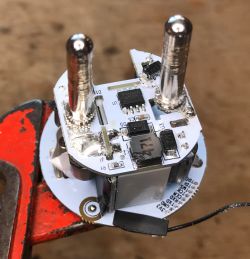
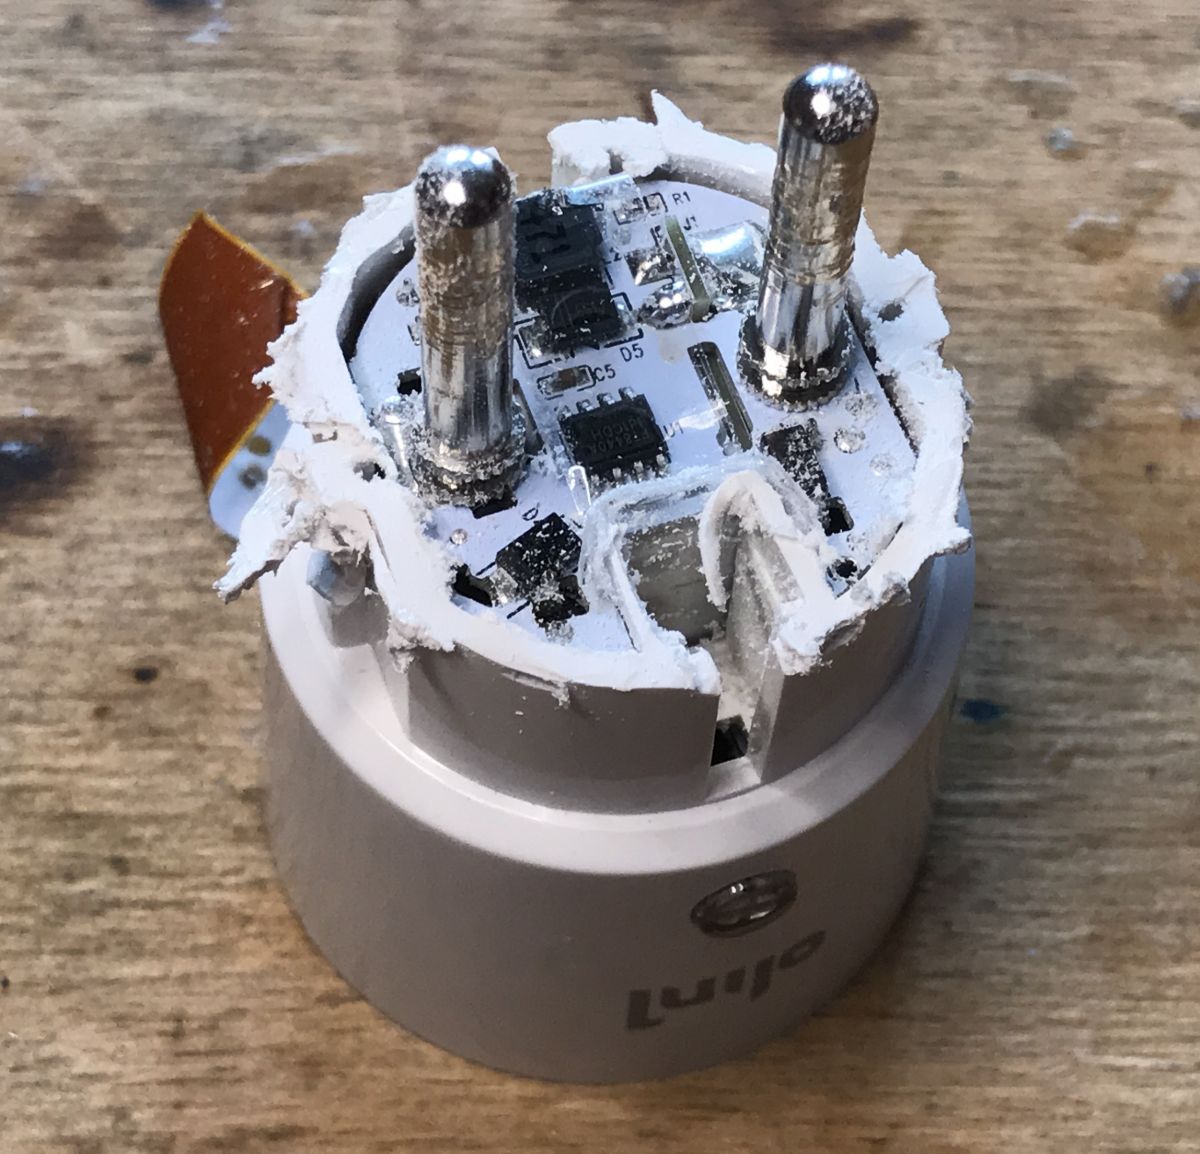
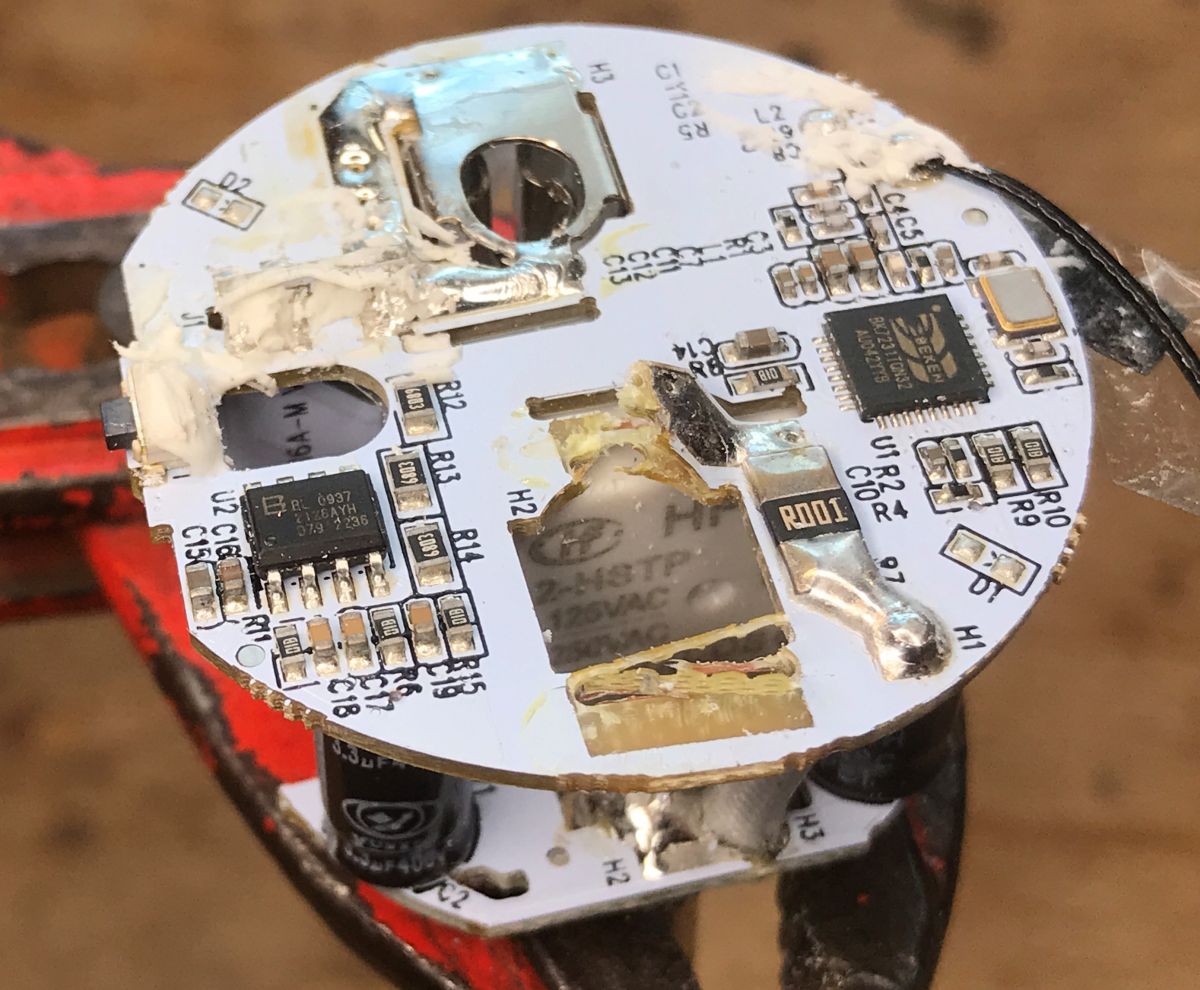
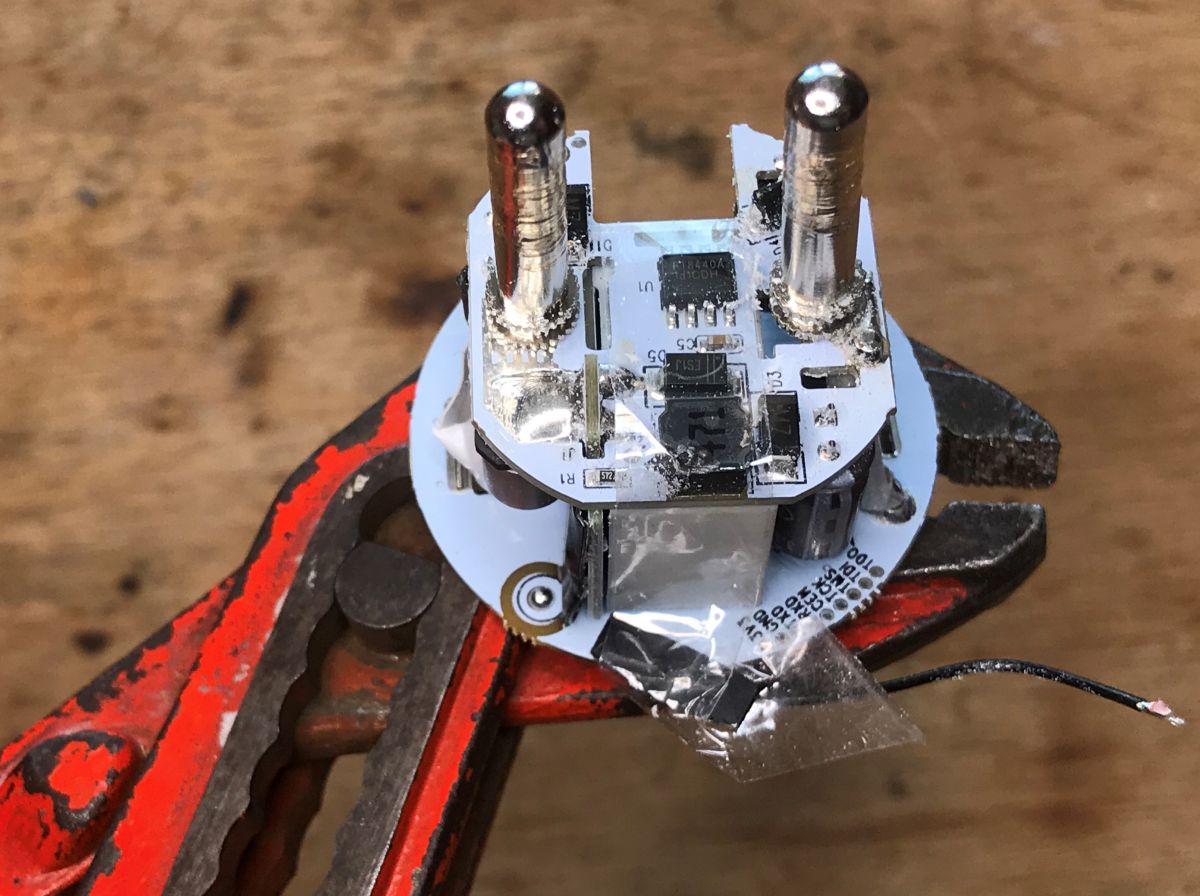
Ready:
You can see BK7231T and BL0937:
 (Yes,I know, the PCB was slightly damaged when opening)
The BK7231T is directly on the PCB, not as a WB2S, WB3S or similar module.
BL0937 is an energy measurement system. It is identical to the already discussed BL0942, with the difference that BL0942 reports the results via UART, and BL0937 converts them to signals of a given frequency.

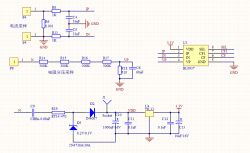

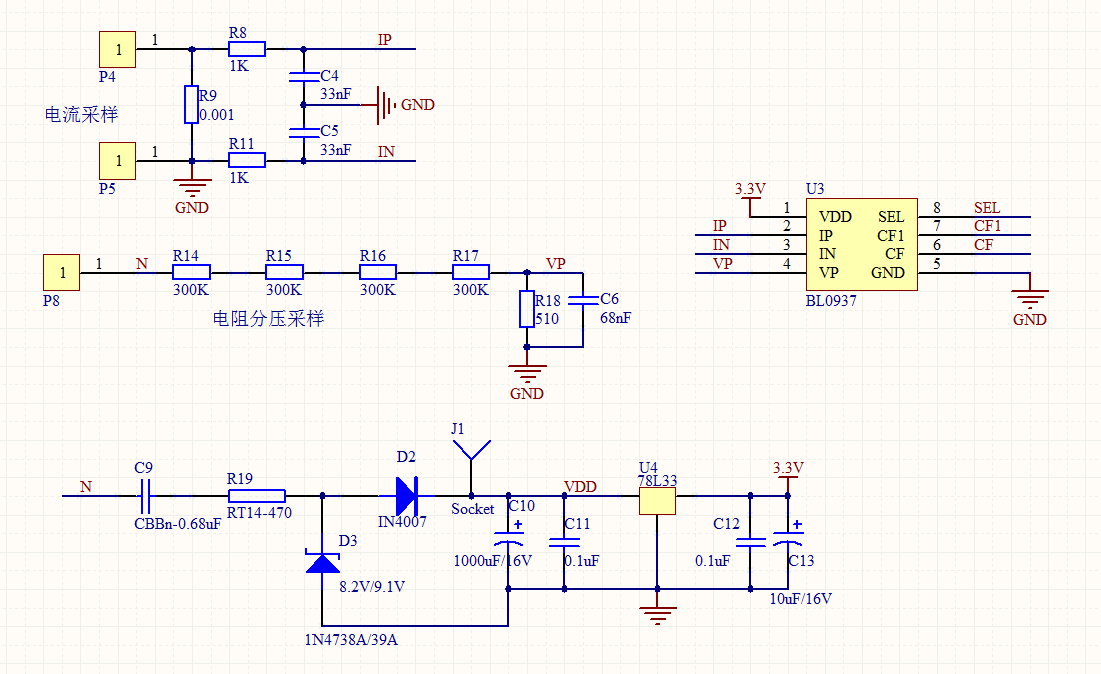
The SEL pin selects the mode (voltage or current). Pin Cf is the frequency which represents the power. Pin Cf1 is either voltage or current selectable. To convert the resulting signals into actual numerical values, count the number of signals on a given pin per unit of time (preferably by interrupting) and multiply them by the calibration constant.
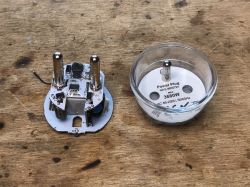
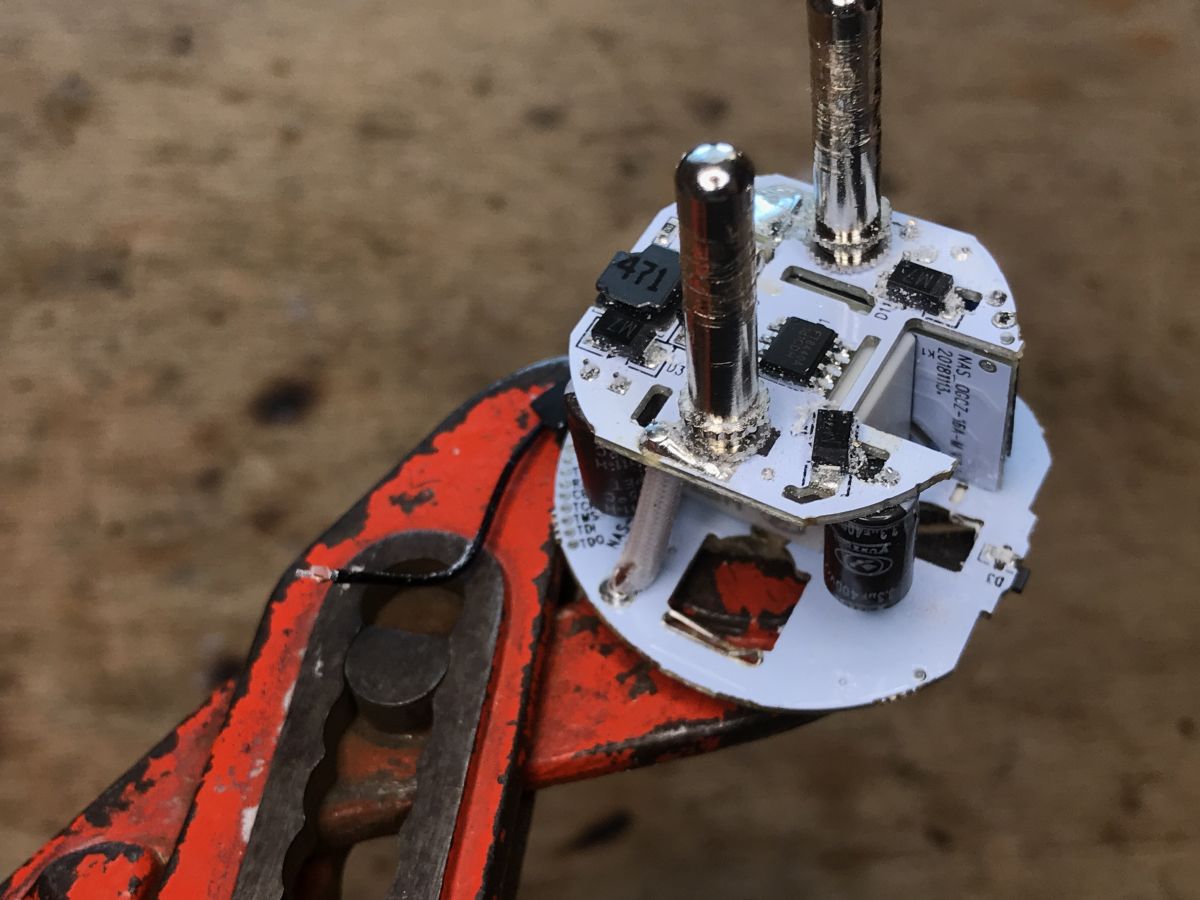
Everything, including the relay, is cleverly packaged:
The FT8440A is a transformerless power supply system. There is no flyback converter here, it is a buck converter (so there is also no galvanic isolation from the mains):
Quote:
ft8440/8441 is a high performance, high precision, low cost non-isolated buck power converter. it contains a dedicated current-mode pwm controller and a high-voltage power mosfet. the built-in error amplifier is optimized to ensure superior dynamic response. the high-precision internal divider resistor and reference voltage, and stable closed-loop feedback enable the ft8440/8441 to obtain a stable and high-precision output voltage within the full voltage input range.
ft8440/8441 adopts ultra-high voltage technology with internally integrated high voltage start circuit, high voltage power mosfet switch, and current sampling resistor, which reduces external components and greatly simplifies system application. the built-in frequency jitter and soft drive design can effectively improve emi performance.
the internal integrated functions also include: vcc under-voltage protection (uvlo), vcc over-voltage protection (ovp), over-temperature protection (otp), cycle-by-cycle over-current protection (ocp), output short-circuit protection (scp). the perfect protection function ensures the reliability of the system.

The relay is HF7520.

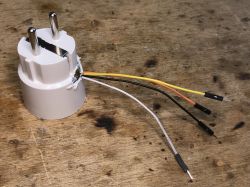
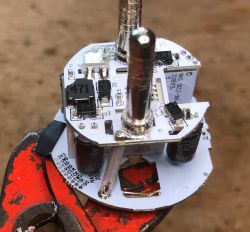
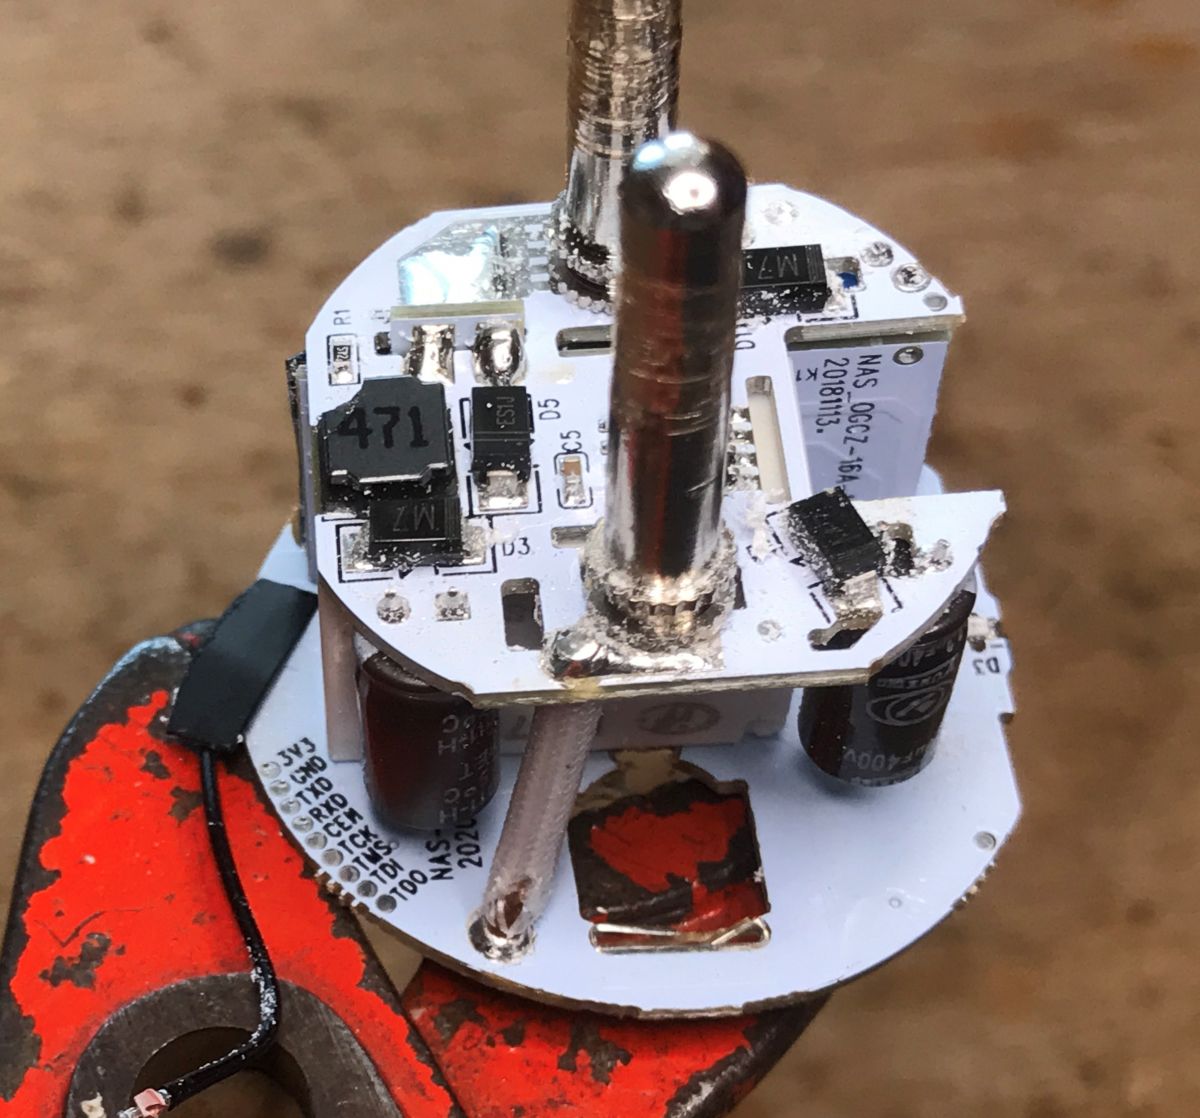
In the photo below you can see the pads for programming:
You will need 3.3V, GND and TX and RX, and a UART converter with 3.3V levels. I reset/reboot by cutting off the power. Everything is similar to other topics about BK7231:
Light switch from USA - Gosund Smart Switch SW5-A-V2.1 - BK7231T
Garden double relay Tuya CCWFIO232PK - BK7231T - programming
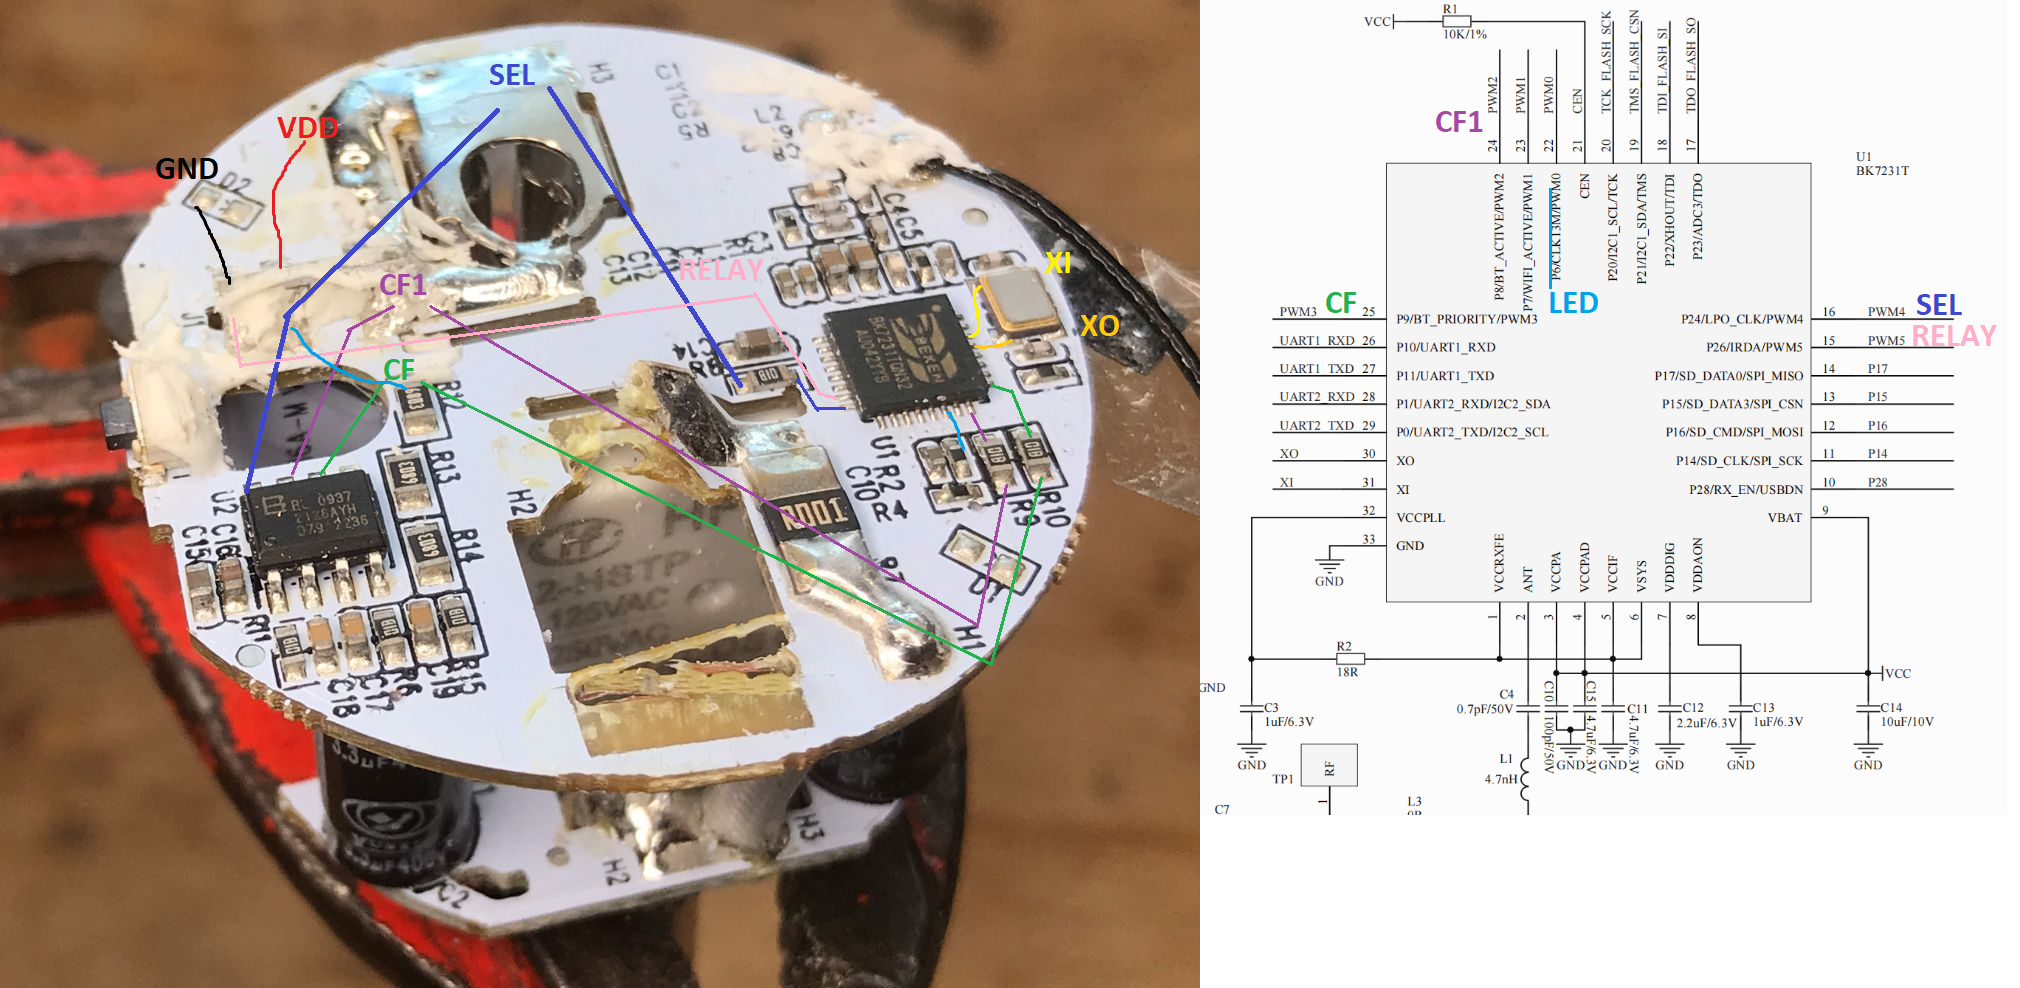
NAS-WR07W pinology
Below I wrote down the necessary pins, especially those from BL0937:
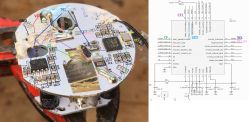
P6 is LED, P26 is relay.
The button is on P9.
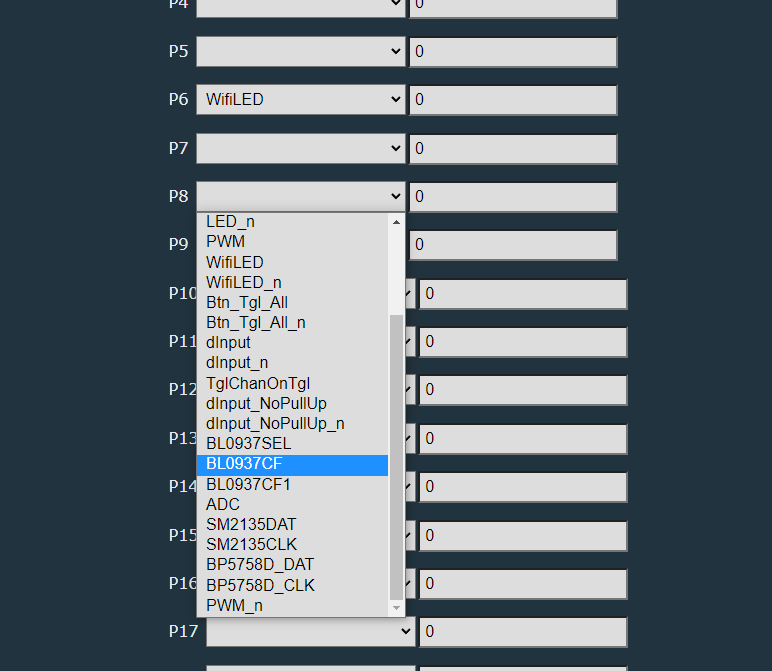
BL0937 CF is on P0, CF1 is on P8 and SEL is on P24.
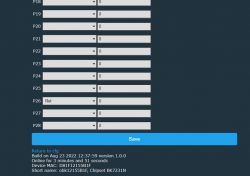
In OpenBeken it is set here:
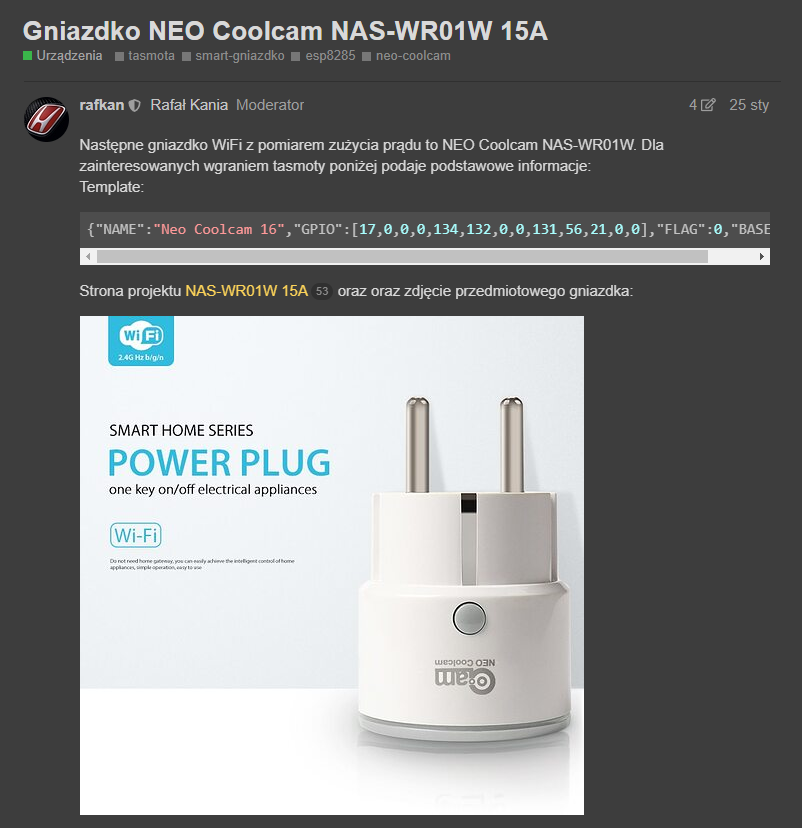
 NAS-WR01W plugs and a smarter way to program
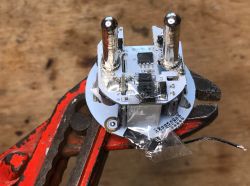
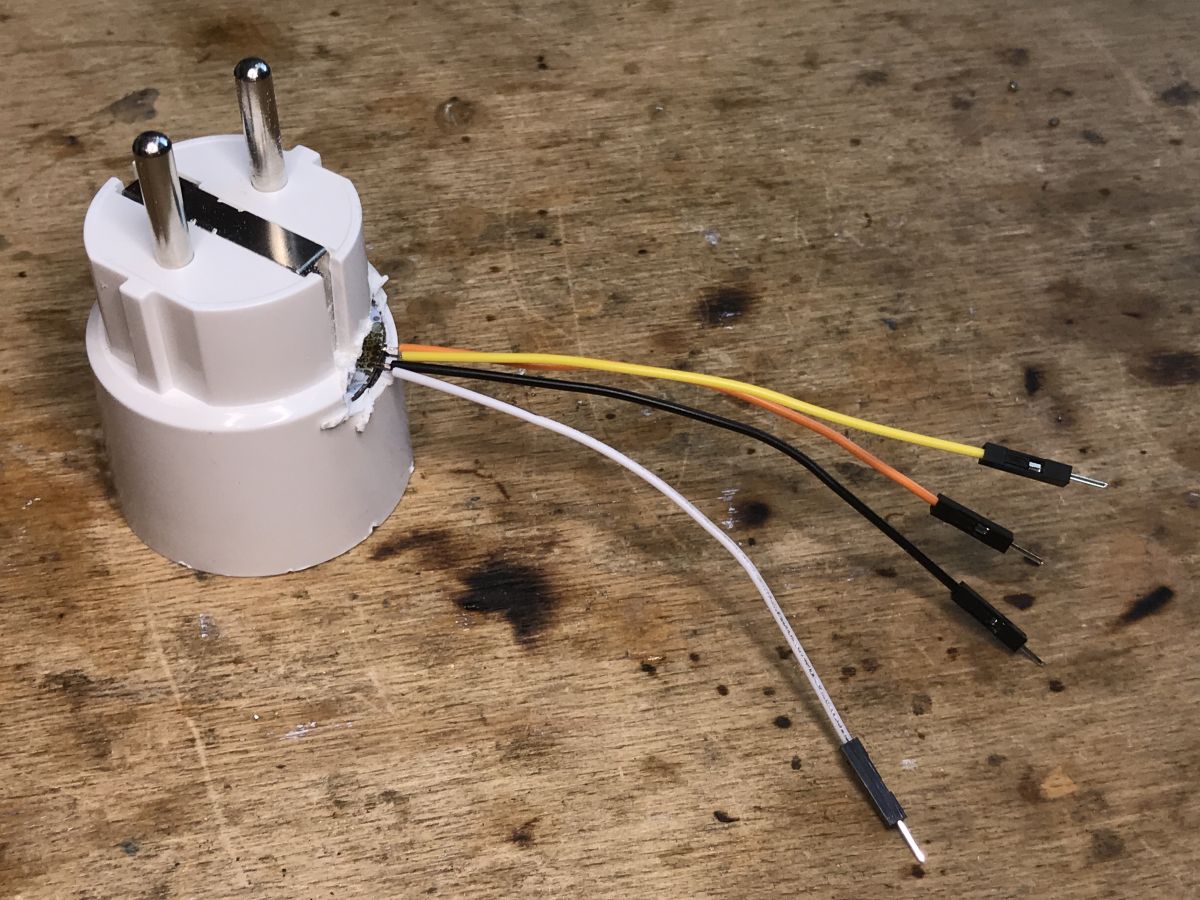
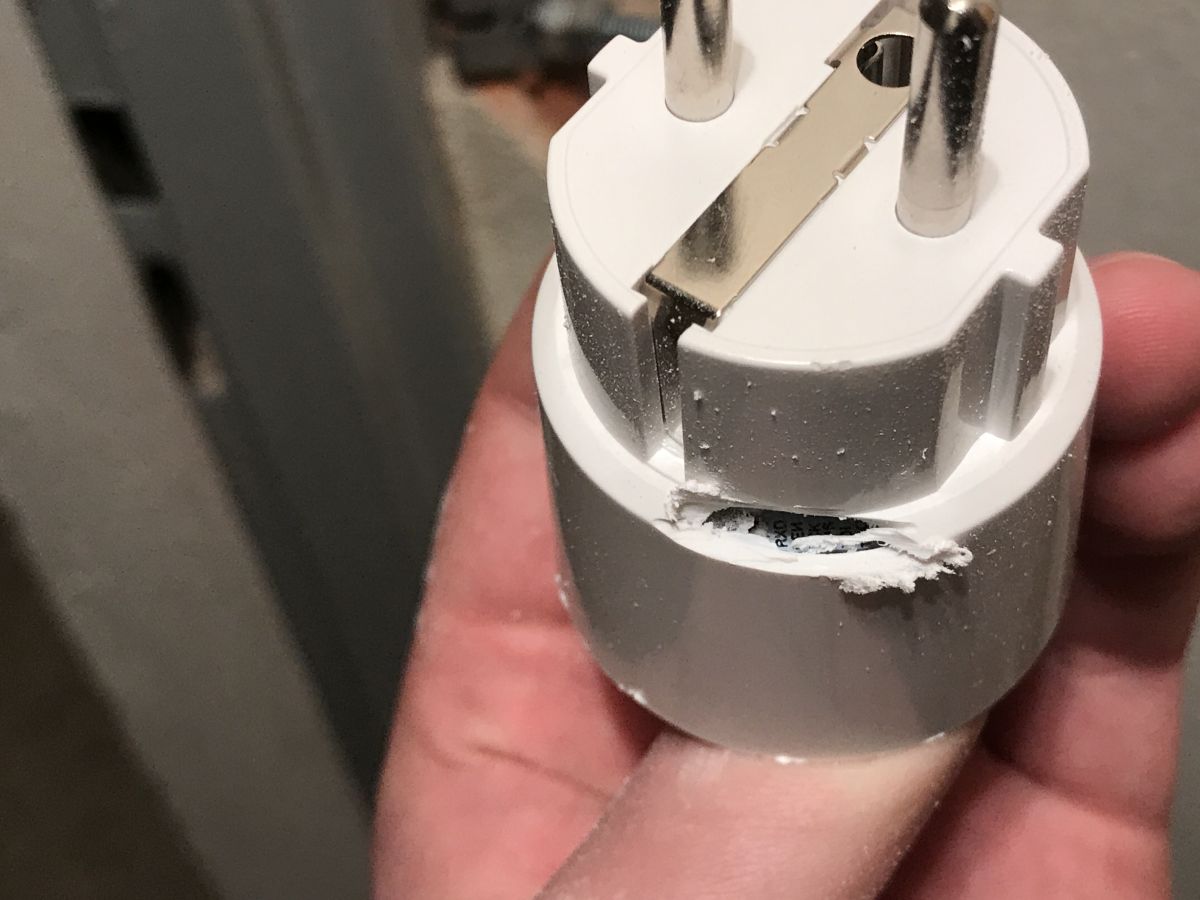
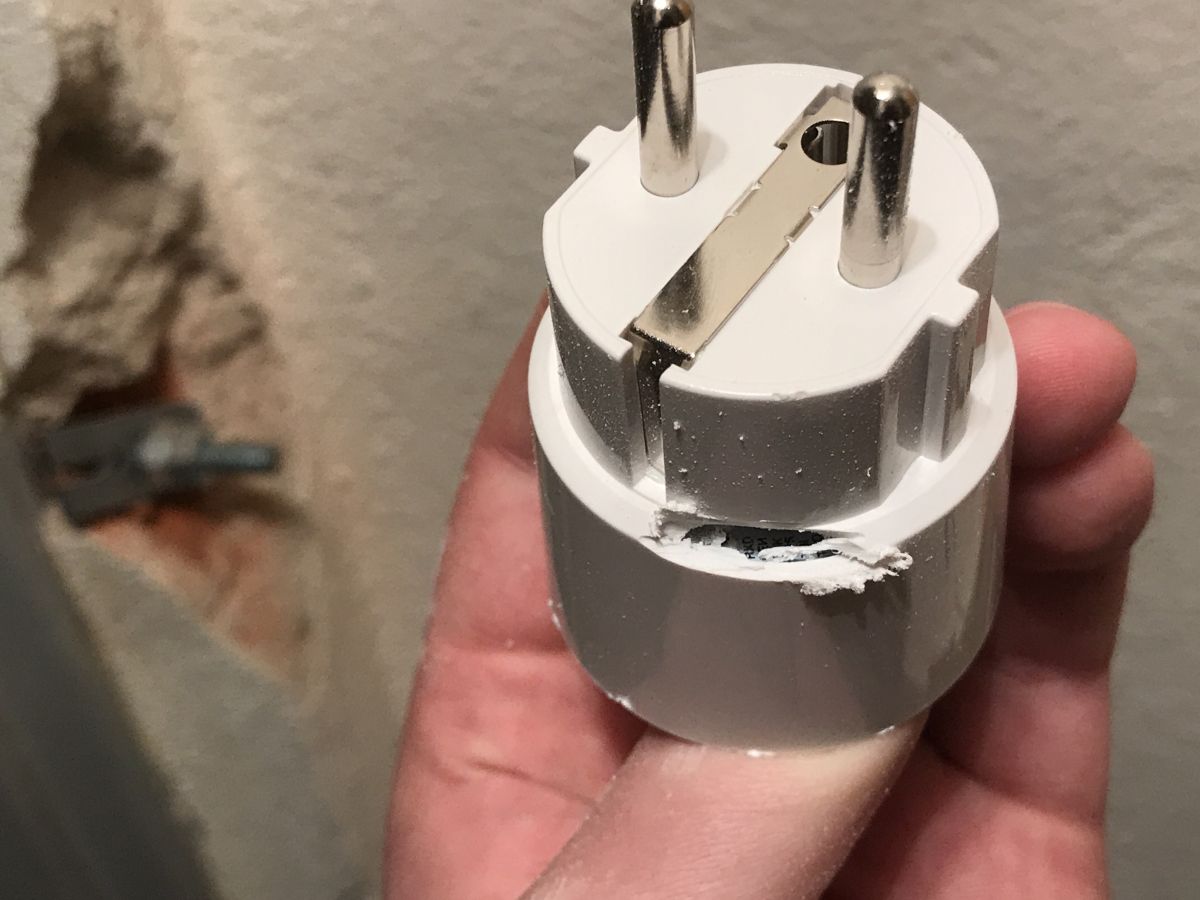
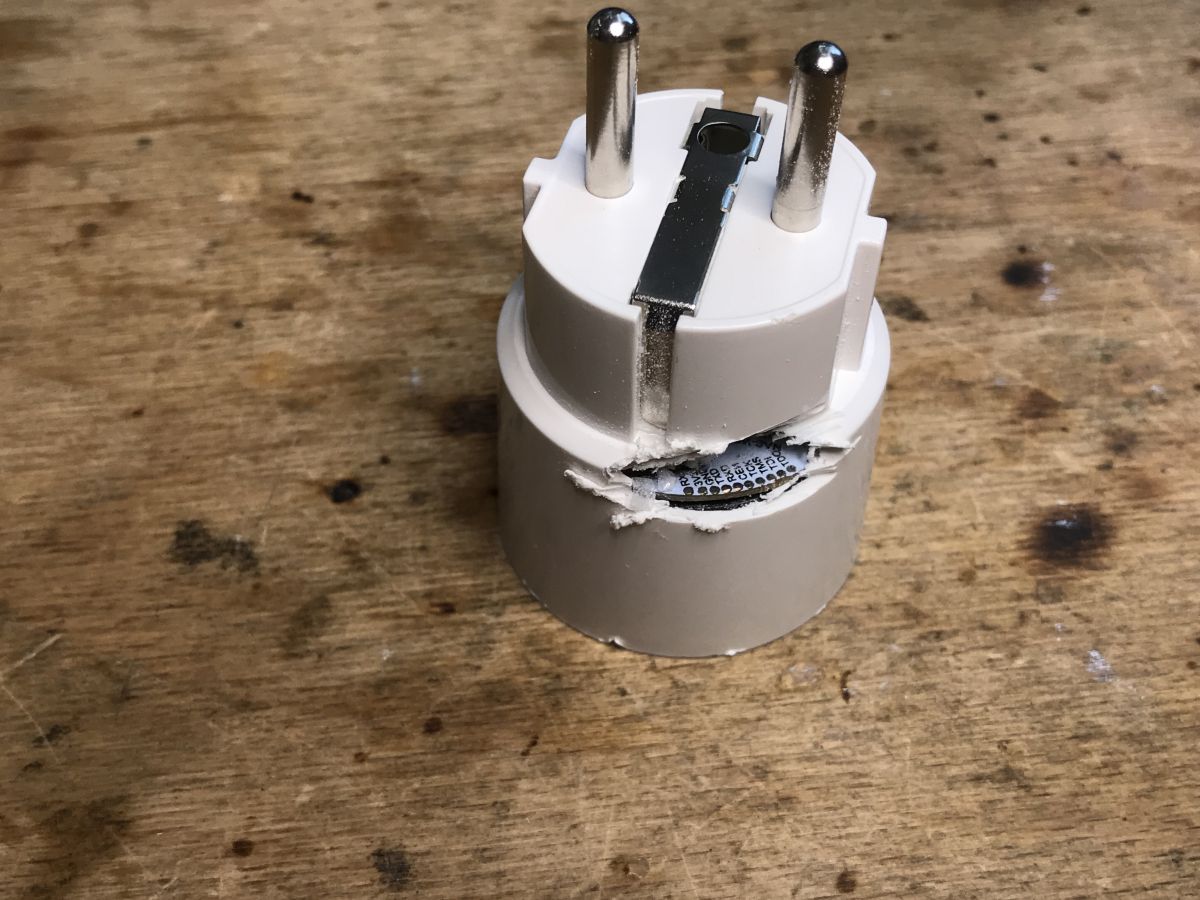
For the NAS-WR01W twin product, I tried a different approach and only cut the plastic at the programmer signals alone:


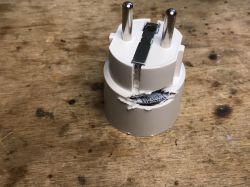
In this way, wires can be soldered there and programmed without removing the rest of the housing by force, but of course then you need to protect the damaged housing.
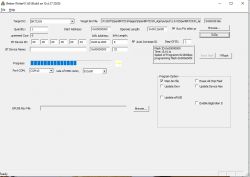
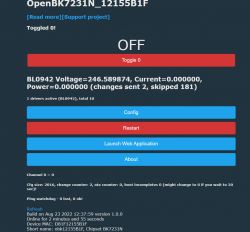
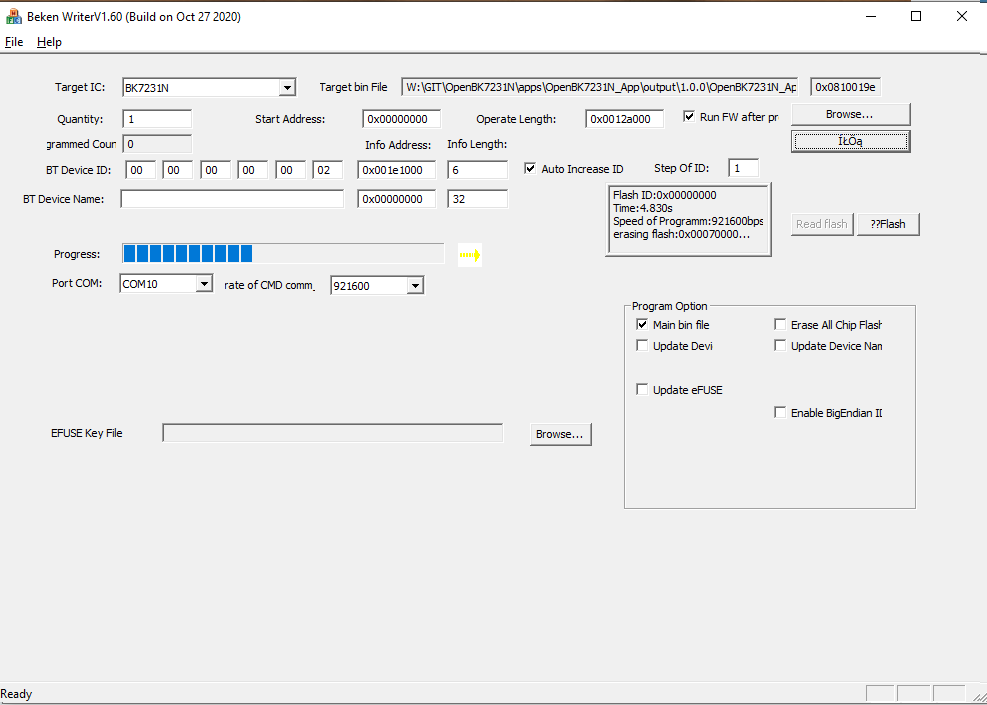
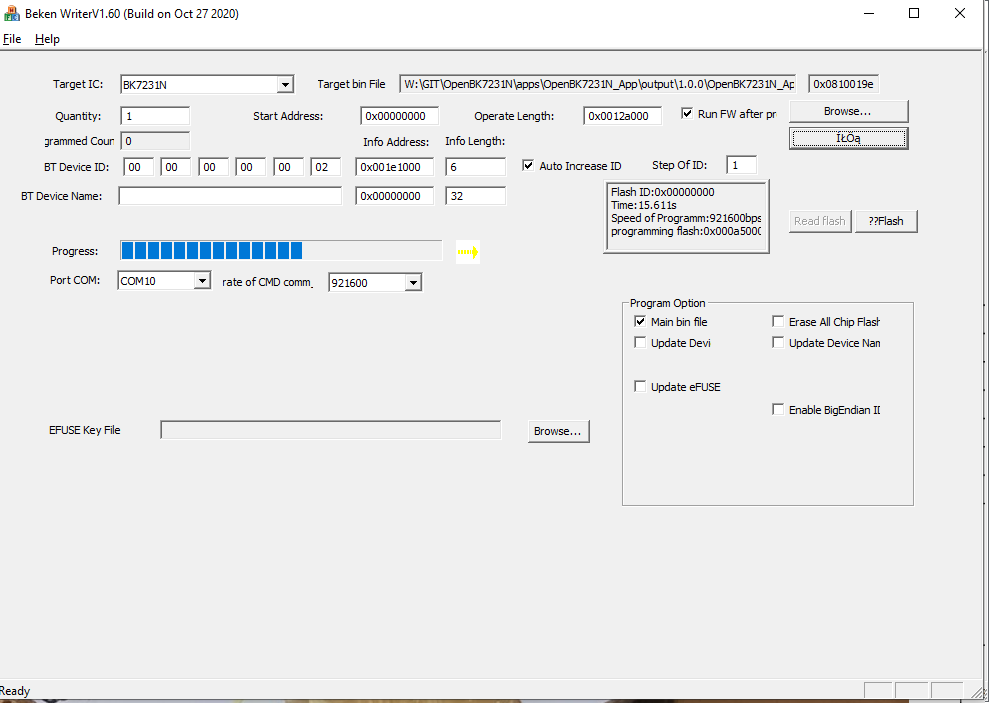
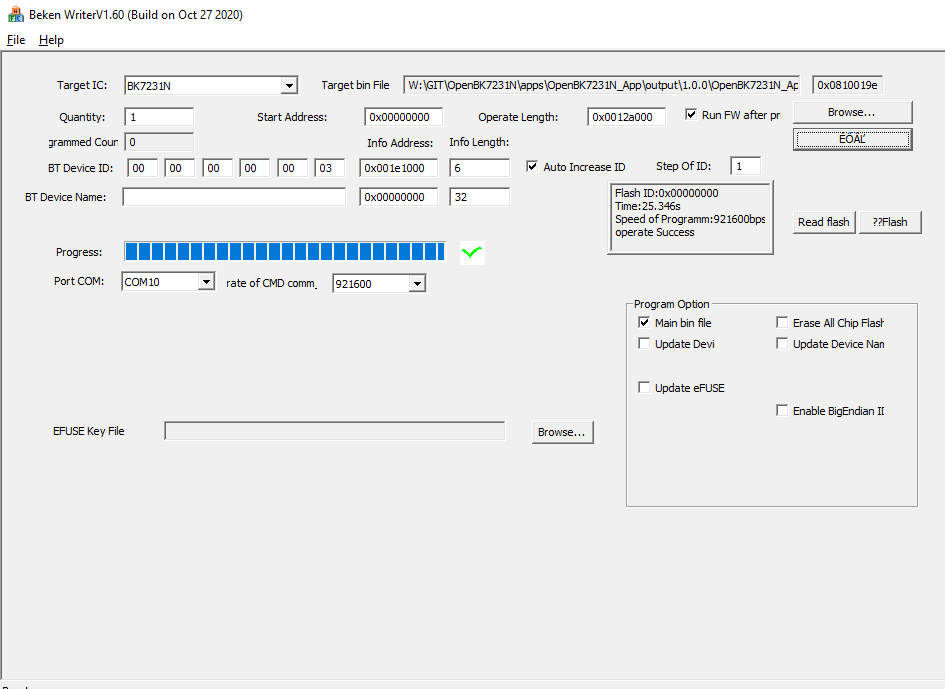
And now attention - this plug has BK7231N and BL0942 inside. It's better to use hid_download_py, but this time I managed to upload the batch with bkWriter:


The relay is as before on P26.
P6 is LED again.
BL0942 is on pins from UART, you don't need to set it.
 Configuration and calibration of BL0937/BL0942
Please follow this topic:
Electrical socket with energy measurement LSPA9 - we program our own firmware
For BL0937, we just start the BL0937 driver instead of BL0942.
Summary
These were extremely budget sockets, which are extremely difficult to open, and due to the way the pins are attached, it is not possible to remove its housing without damaging it, at least I have not found such a way. Despite this, they can be easily accessed with a programmer if you cut the housing in the right place, and you can count on it to support them
tuya-cloudcutter (or maybe it already does - you'd have to check).
In addition, these are another Tuya sockets that were previously described as being built on ESP and now use Beken.
One was on BK7321T and BL0937 (slightly older) and the other on BK7231N and BL0942.
LeadsI described in the content of the topic, so I think that now you have everything you need to configure these sockets.


Comments
I picked up a similar socket from the parcel locker today, model NAS-WR07W marked as IG007FR on the package (Type F socket, the whole cost of PLN 63.96 on a well-known auction site - smart sockets with... [Read more]
Yes. Topic: https://www.elektroda.pl/rtvforum/topic3887748.html Paragraph "Uploading Your Own Load - OpenBK7231N - Part 2" initially I thought that the presence of BL0942 on the same UART as the bootloader... [Read more]
great job :) And as for disassembly, there is no problem, maybe a little more difficult than the famous SP111, but it does the trick :) After unscrewing the screw under the sticker and removing the... [Read more]
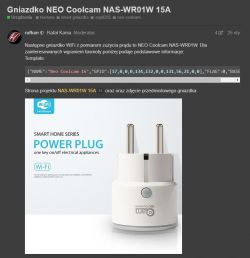
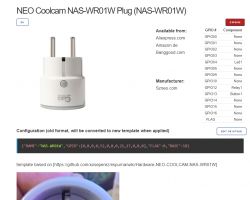
@slawekss can you tell me what layout you have inside (BK7231N or T and BL0937 or BL0942) and show the pin configuration? I would add this socket to the list of supported devices/templates. [Read more]
BK7231N, BL0942. Board marked as NAS-WR01W6-T V7 Pins: P9-button P26-relay P6-WiFiLed I assigned the configuration the same as in the topic regarding NAS-WR01W and it worked. startDriver BL0942 took... [Read more]
It looks like you want to combine WifiLED_n with regular LED. At the moment it could only be done with a script, but if you need such a function, I can just add such a pin role. Name it e.g. WiFiAndPowerLED... [Read more]
that would be great if it's not a problem. That's one more question, how do I enter some startup commands? For example, start driver xxxx and this command to indicate energy measurement. I tried... [Read more]
As in the tape: backlog a; b; c; Or in the Web Panel in autoexec.bat freely in LittleFS Edit: I added a hint on how to use the backlog to the page: https://obrazki.elektroda.pl/9174360100_167042... [Read more]
Thanks, everything works. Now Domoticz. Is there a software-only topic to submit your comments to it? [Read more]
Domoticz, what about that weird protocol with "in" and "out"? "domoticz/in"? I was just about to add this, so you could help with testing, but a bit of information on what exactly is needed with domoticz... [Read more]
Yes, about this protocol. For example, Tasmota sends like this: 13:23:23.054 MQT: domoticz/in = {"idx":100,"nvalue":0,"svalue":"0.0;2062.5;0.0;0.0;0;0","Battery":100,"RSSI":4} 13:23:23.054... [Read more]