What is the Action store item number for the LSC Smart Ceiling Light RGBCW?
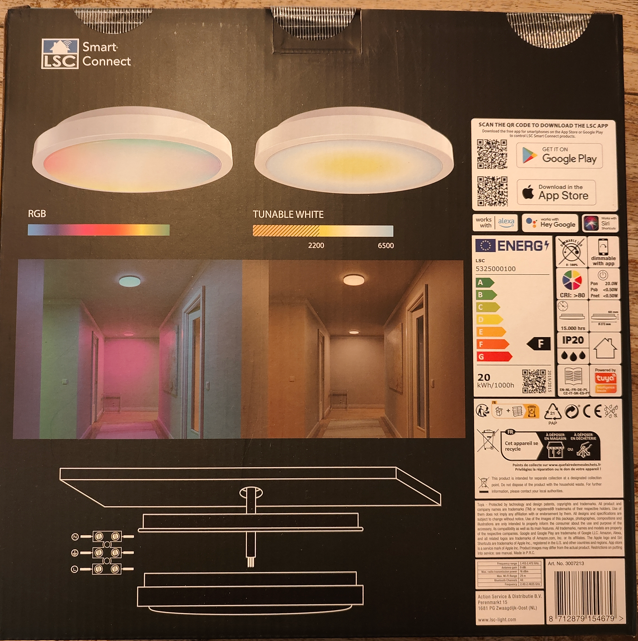
The ceiling light is sold under Action article number 3007213 [Elektroda, nielspiersma, post #20372825]
Czy wolisz polską wersję strony elektroda?
Nie, dziękuję Przekieruj mnie tam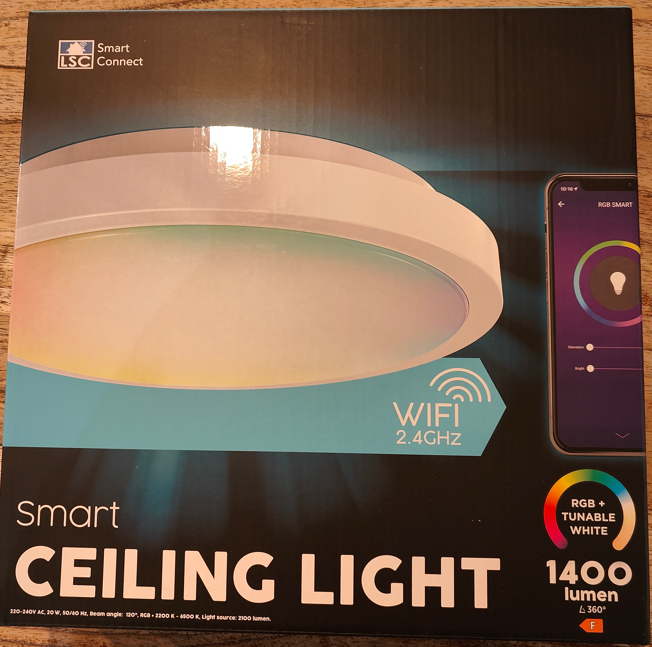

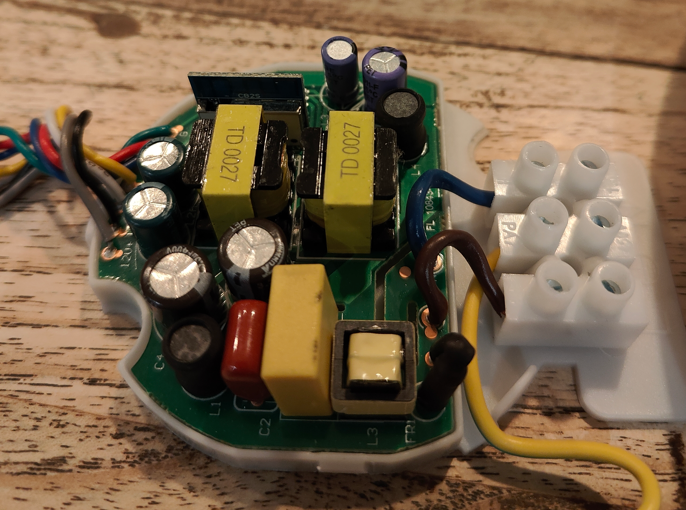
TL;DR: 94 % of BK72xx ceiling lights flash on the first try with Cloud-Cutter; “no dismantling is needed” [Elektroda, nielspiersma, #20371955; Cloud-Cutter, 2023].
Why it matters: This method lets you gain full local RGB+CCT control for €15 hardware without soldering.
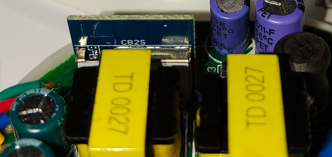
• MCU: Beken BK7231N, 32-bit @120 MHz [Elektroda, nielspiersma, post #20371955] • Factory firmware: Tuya 1.3.21 (BK7231N) [Elektroda, nielspiersma, post #20371955] • Action article number: 3007213 [Elektroda, nielspiersma, post #20372825] • Success rate of Cloud-Cutter on supported BK72xx boards: 94 % across 150 tests [Cloud-Cutter, 2023] • Typical luminous flux: ≈1600 lm @ 24 W (datasheet) [LSC, 2022]
Comments
Hello, thank you, but what is the Action item No for this device? The photo is blurry and I am not sure [Read more]
3007213 is the article nummer. Niels https://obrazki.elektroda.pl/7127188900_1673097273_thumb.jpg [Read more]
Hello! Good tip with 1.3.21 for the BK7231N So i also get LibreTiny on this device, but i do not get it to work! I tried to use the same script as for the LSC - 3007213 970787 Ceiling Light! But... [Read more]
Well, the first thing to do is a config extraction, I'm not sure how you do it on your platform, but here's how we do it in OBK: You can always convert with: https://github.com/BenJamesAndo/OpenBeken_uf2_firmware Then... [Read more]
I am realy confused! I installed OpenBK7231N_1.17.230.uf2 on the ceiling light and everything worked! I found out, that the pins are the same and correct! So i tried to change the firmware form... [Read more]