Today I am adding a second tear down for the LSC Smart Ceiling Light RGBCW - CB2S (BK7231N).
I bought this device today at Action for about 15 euros. I was curious how it worked and was unaware of the teardown on elektroda. Anyway, my teardown uses cloud-cutter, so a bit of a different approach.
Packaging
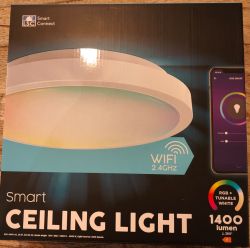
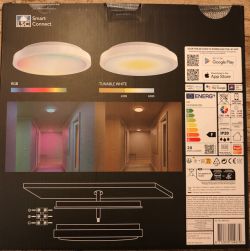
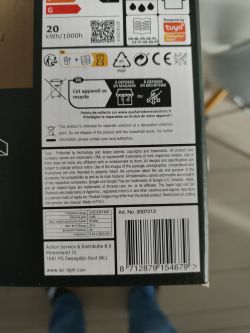
Square box, nothing fancy
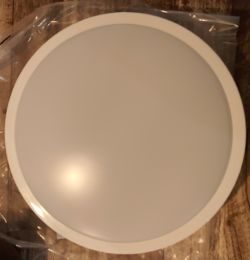
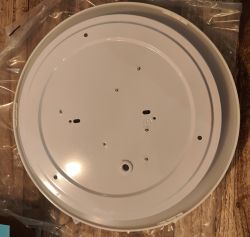
Unpacked.
It was a bit more complicated than expected to detach the base from the lamp, but it seems you have to turn it halfway. When you turn it full, you lock it in again.
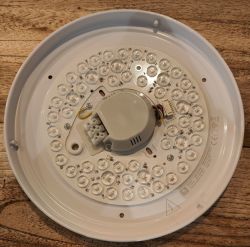
The inside
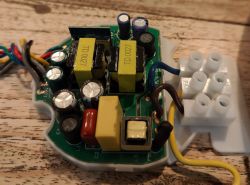
The electronics
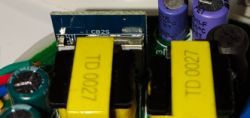
And again, the mislabeled tuya board. It is not a 7231T, but a 7231N!
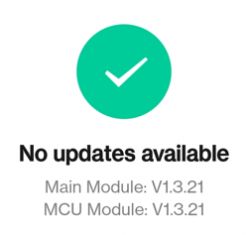
And as I am using Tuya Cloud Cutter, knowing the exact version of the MCU is required. As you can see it is 1.3.21.
I can confirm the device is compatible with Tuya Cloud Cutter. The device is not listed as LSC Ceiling light, but with an older firmware version. I made my selection based on the firmware version, and there is a 1.3.21 for the BK7231N.
It did take some time convincing the device to go into recovery mode. You must power on/off several times as there are no buttons. I used the following sequence successfully.
Connect the light to a physical toggle switch—power it on six times for the initial recovery mode. Run the tuya cloud cutter.
When instructed to reboot, power off and on three times. The third time you'll get a quick off/on of the light (this is the indicator that it will go into the required AP mode). Now the flashing will continue. Wait until finished and do a final toggle on the rocker switch. Your ceiling light will go into AP mode, and you can adopt it to your network.
So thanks to the tuya cloud-cutter, no dismantling is needed.
Niels
I bought this device today at Action for about 15 euros. I was curious how it worked and was unaware of the teardown on elektroda. Anyway, my teardown uses cloud-cutter, so a bit of a different approach.
Packaging


Square box, nothing fancy


Unpacked.
It was a bit more complicated than expected to detach the base from the lamp, but it seems you have to turn it halfway. When you turn it full, you lock it in again.

The inside

The electronics

And again, the mislabeled tuya board. It is not a 7231T, but a 7231N!

And as I am using Tuya Cloud Cutter, knowing the exact version of the MCU is required. As you can see it is 1.3.21.
I can confirm the device is compatible with Tuya Cloud Cutter. The device is not listed as LSC Ceiling light, but with an older firmware version. I made my selection based on the firmware version, and there is a 1.3.21 for the BK7231N.
It did take some time convincing the device to go into recovery mode. You must power on/off several times as there are no buttons. I used the following sequence successfully.
Connect the light to a physical toggle switch—power it on six times for the initial recovery mode. Run the tuya cloud cutter.
When instructed to reboot, power off and on three times. The third time you'll get a quick off/on of the light (this is the indicator that it will go into the required AP mode). Now the flashing will continue. Wait until finished and do a final toggle on the rocker switch. Your ceiling light will go into AP mode, and you can adopt it to your network.
So thanks to the tuya cloud-cutter, no dismantling is needed.
Niels
Cool? Ranking DIY


