FAQ
TL;DR: Five GPIO buttons and one BK7231N SoC make the Cree Scene Controller flashable in under 2 min; "a quick short to the CEN pin was quite reliable" [Elektroda, mattj, post #20466415]
Why it matters: Rapid OTA-free flashing lets DIYers add low-latency wall control to Home Assistant without Tuya cloud lock-in.
Quick Facts
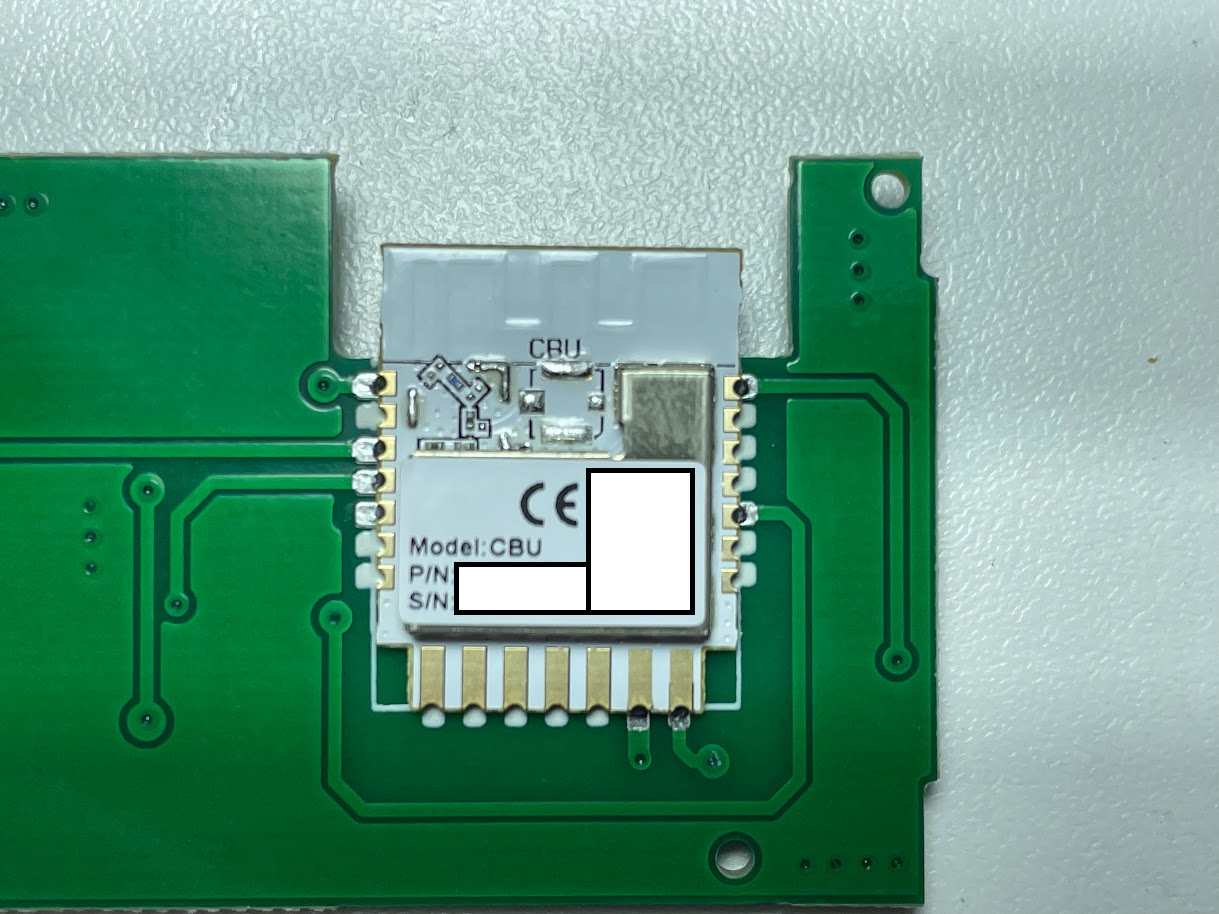
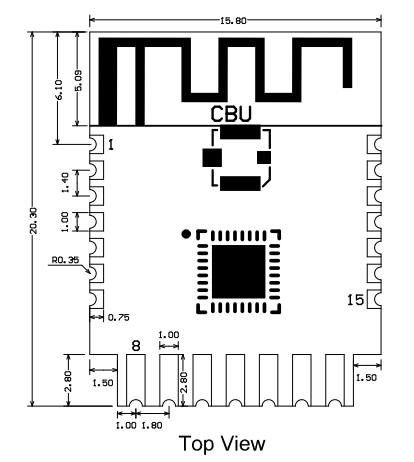
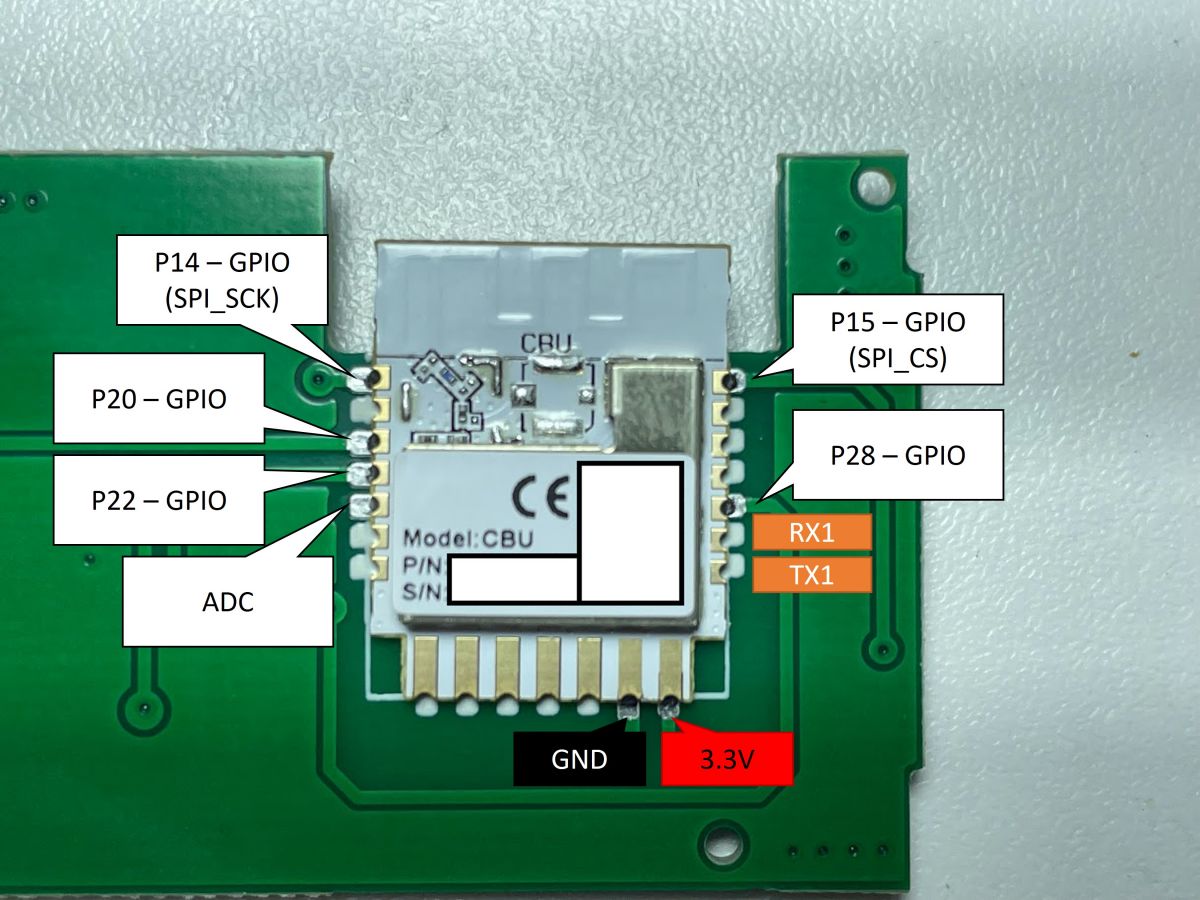
• Chipset: Tuya CBU BK7231N Wi-Fi 2.4 GHz MCU [Tuya, 2022].
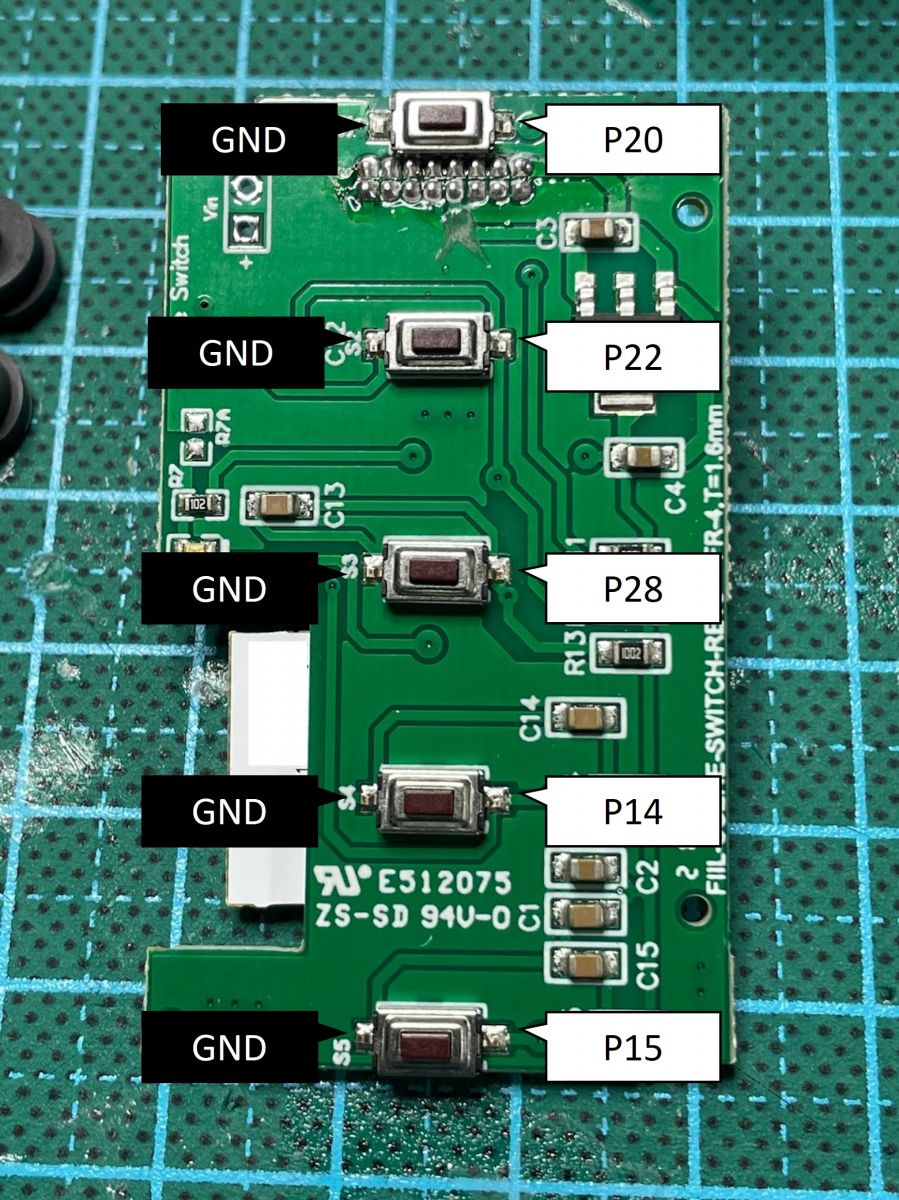
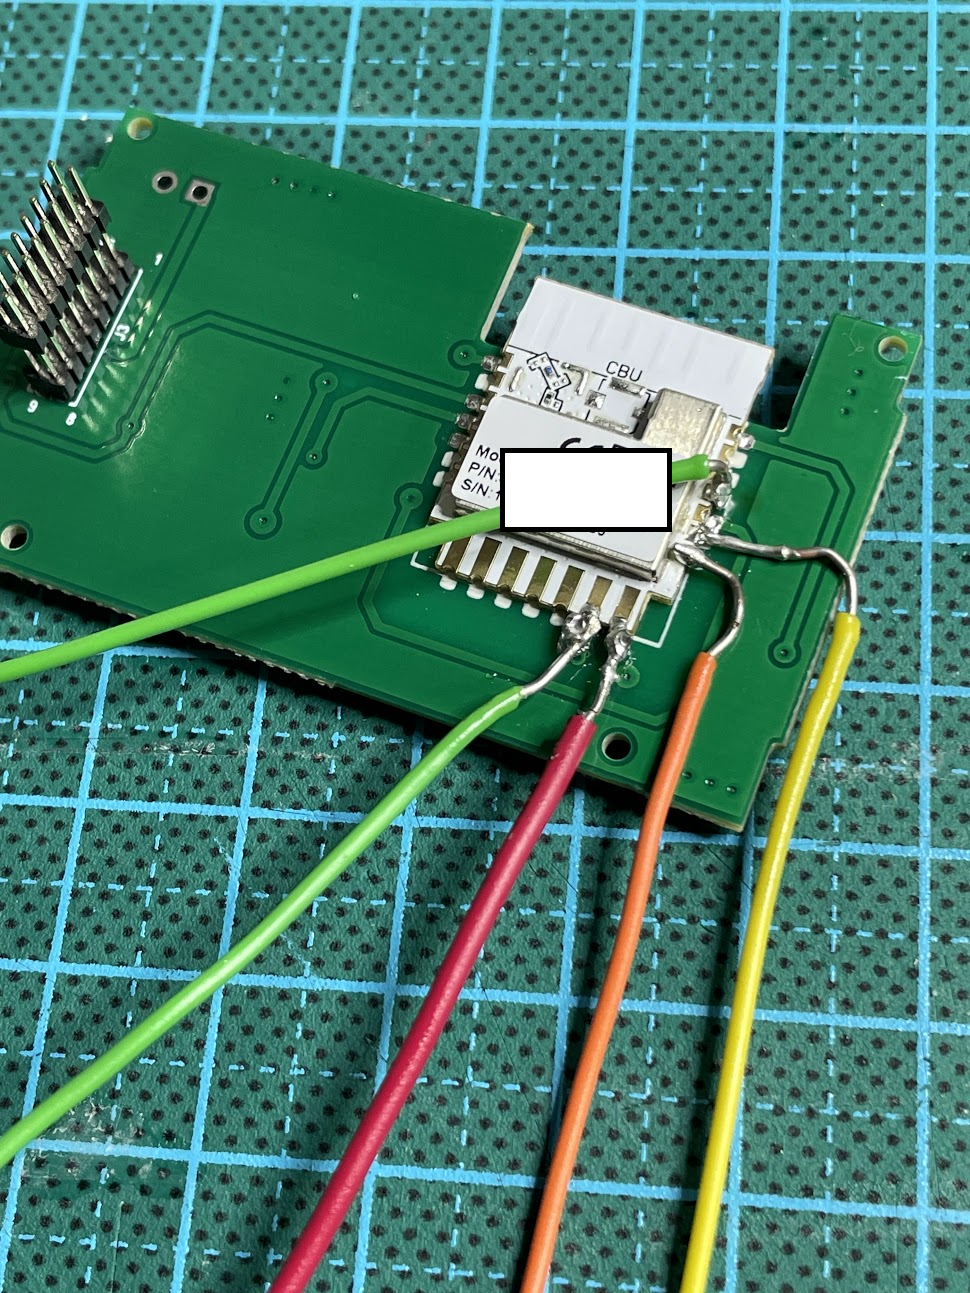
• Buttons: 5 surface-mount tact switches routed to GPIO 14, 15, 20, 22, 28 [Elektroda, mattj, post #20466415]
• Flash interface: 3.3 V UART @ 115 200 bps via BKWriter [Elektroda, mattj, post #20466415]
• Idle power: ≈0.26 W (3.3 V × 80 mA peak) [Tuya, 2022].
• Street price: ≈US $30 on Amazon (2024-03) [Amazon Listing].
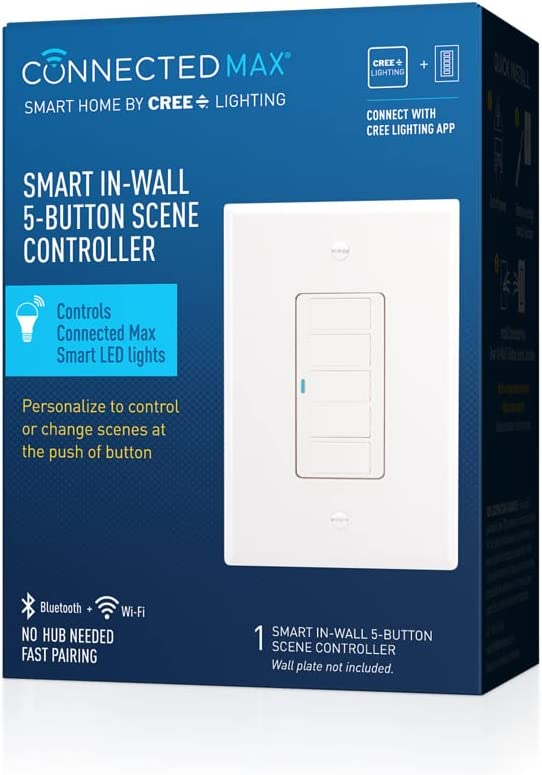
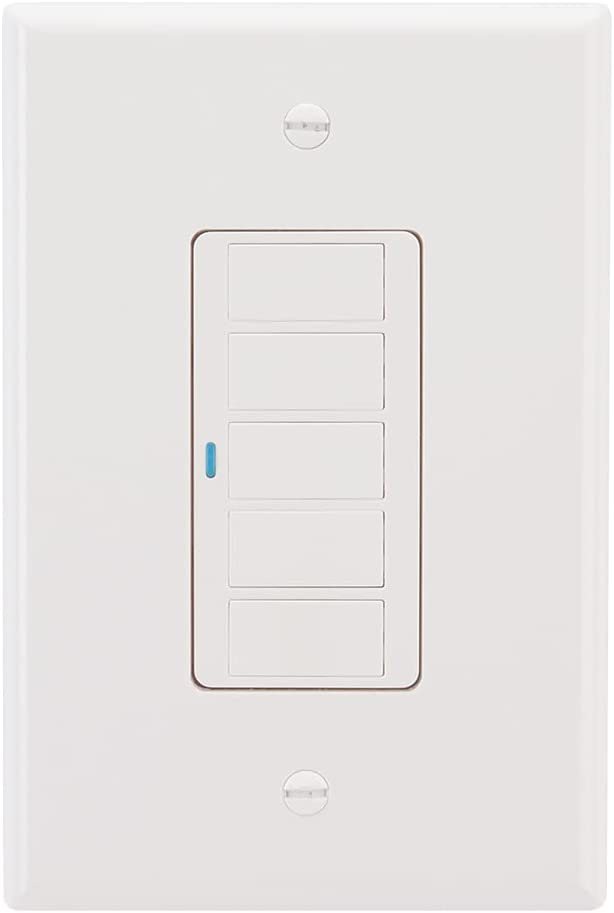
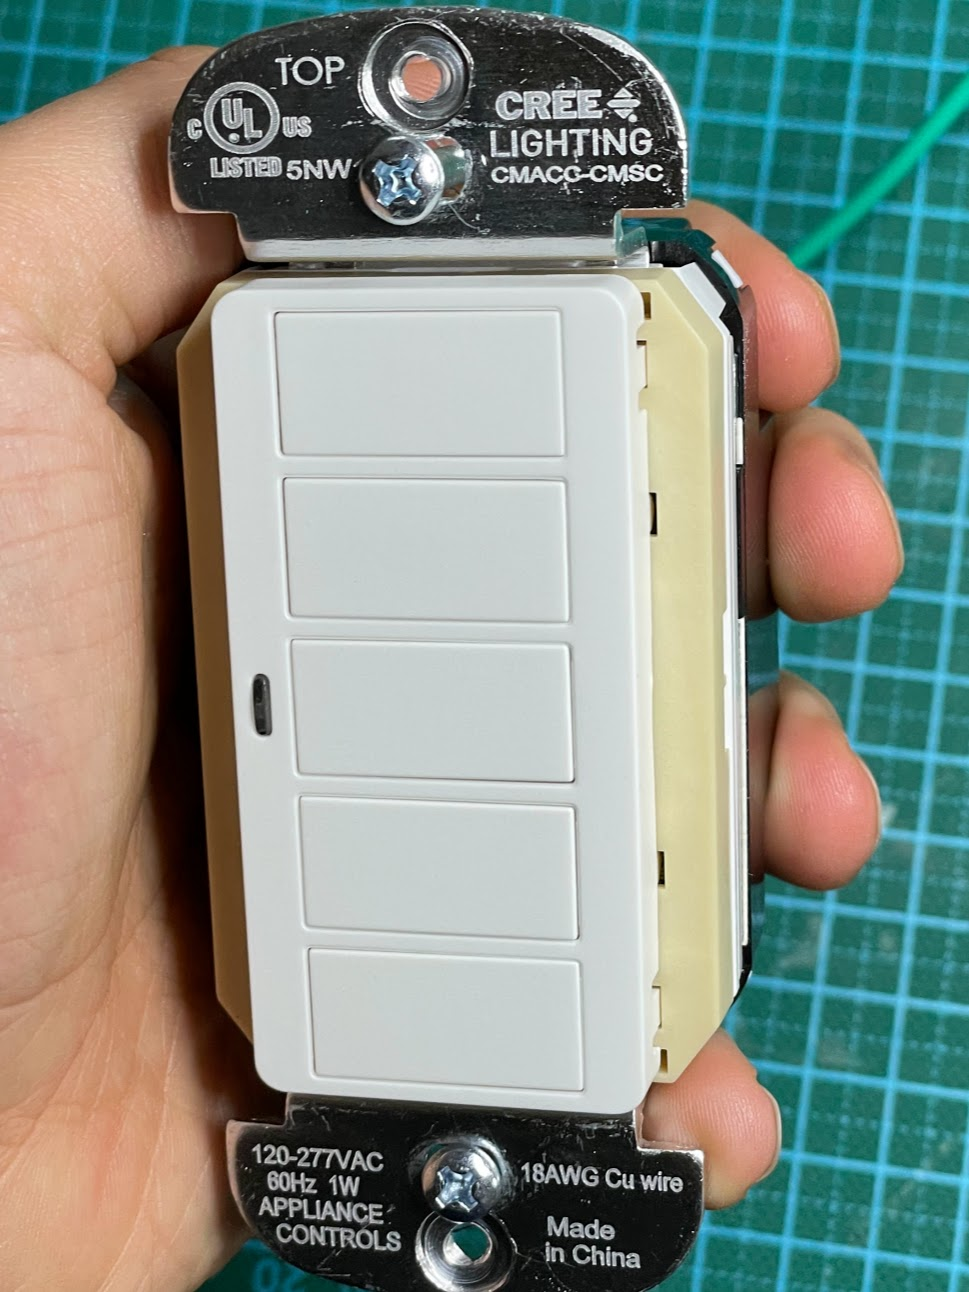
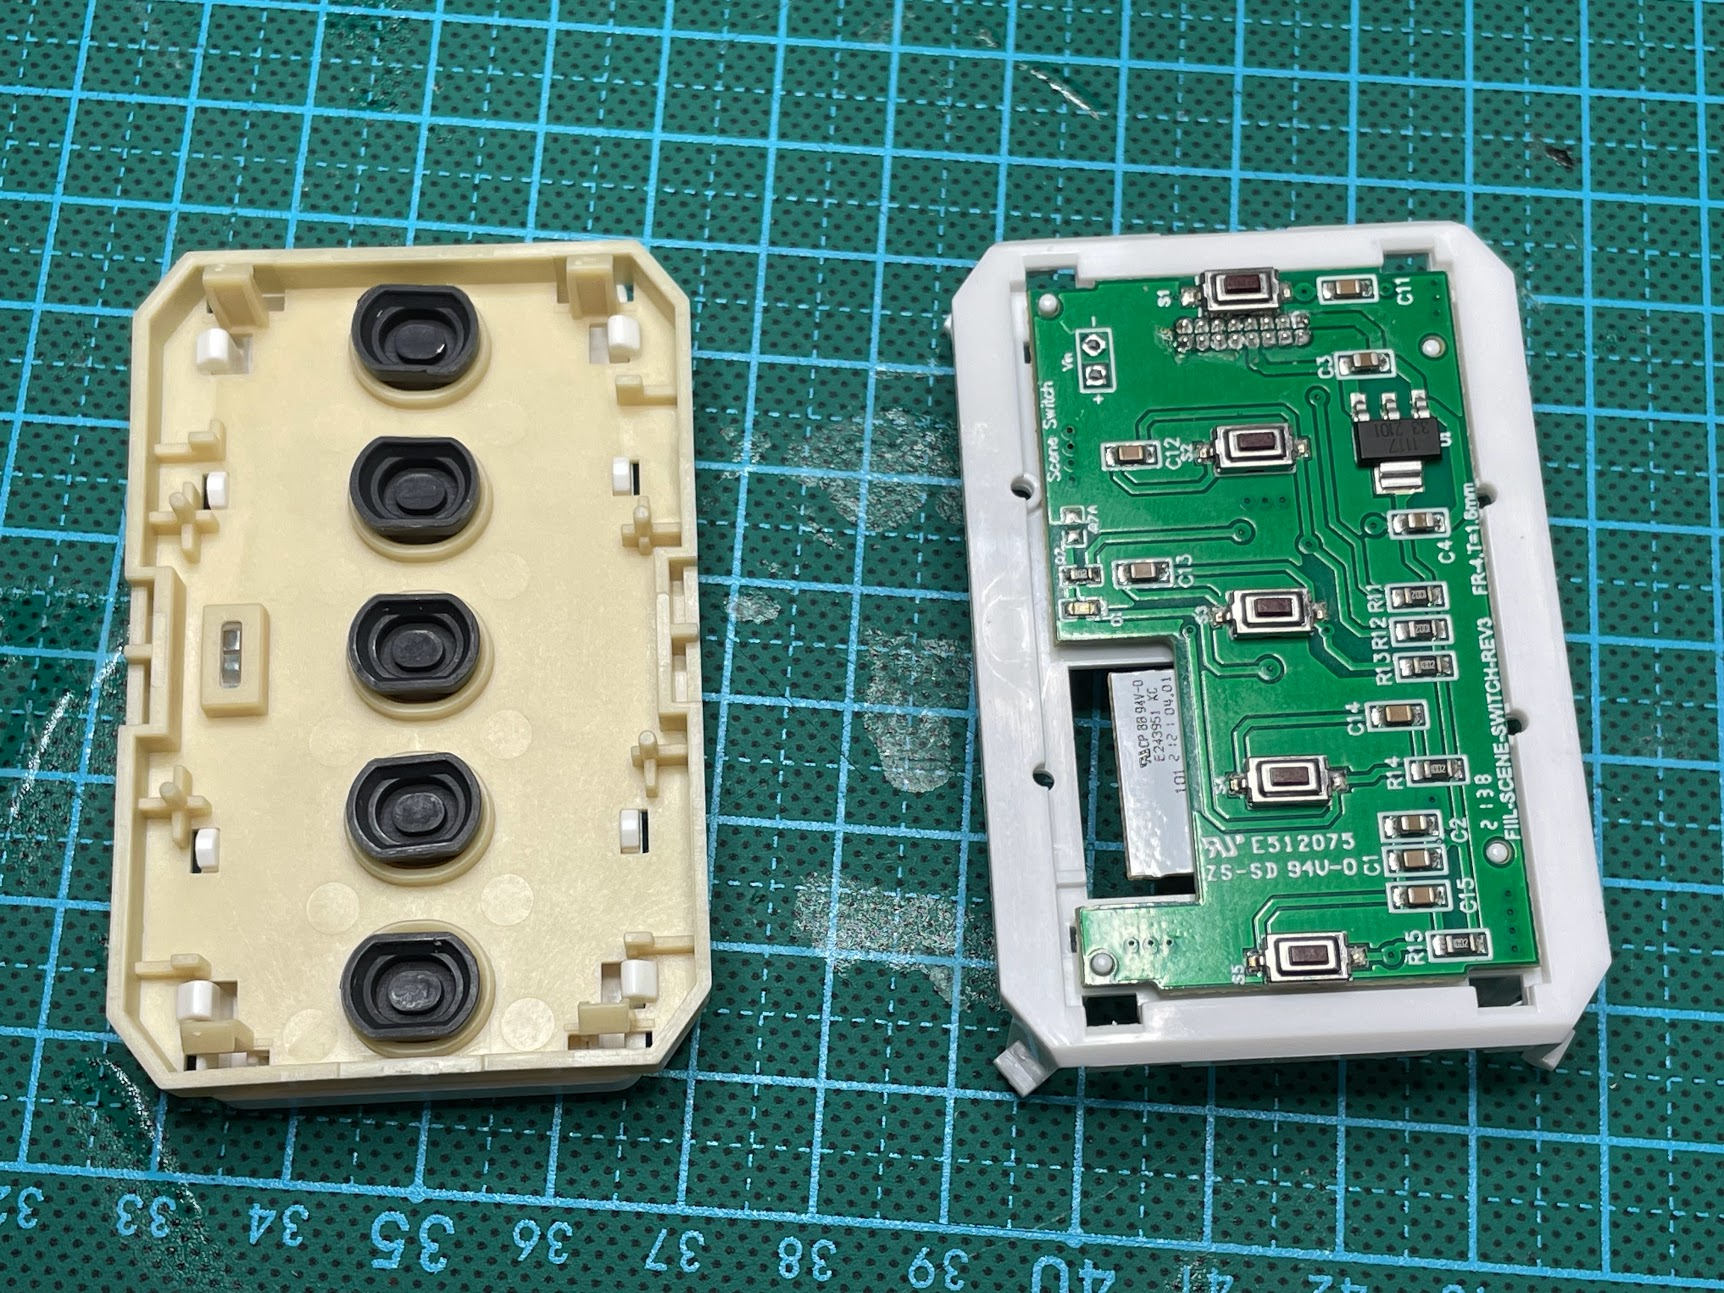
What hardware is inside the Cree Connected Max 5-Button Scene Controller?
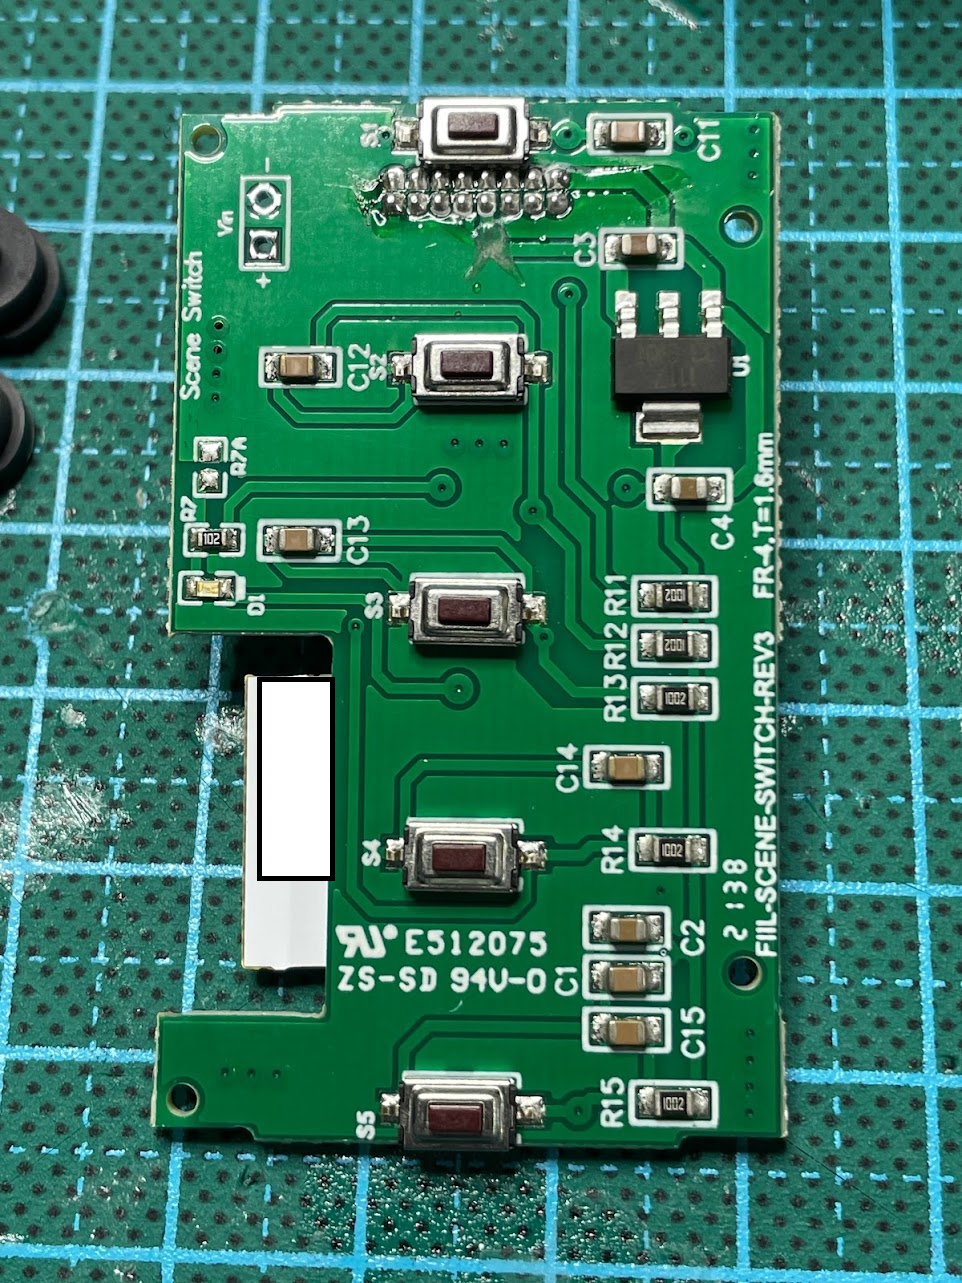
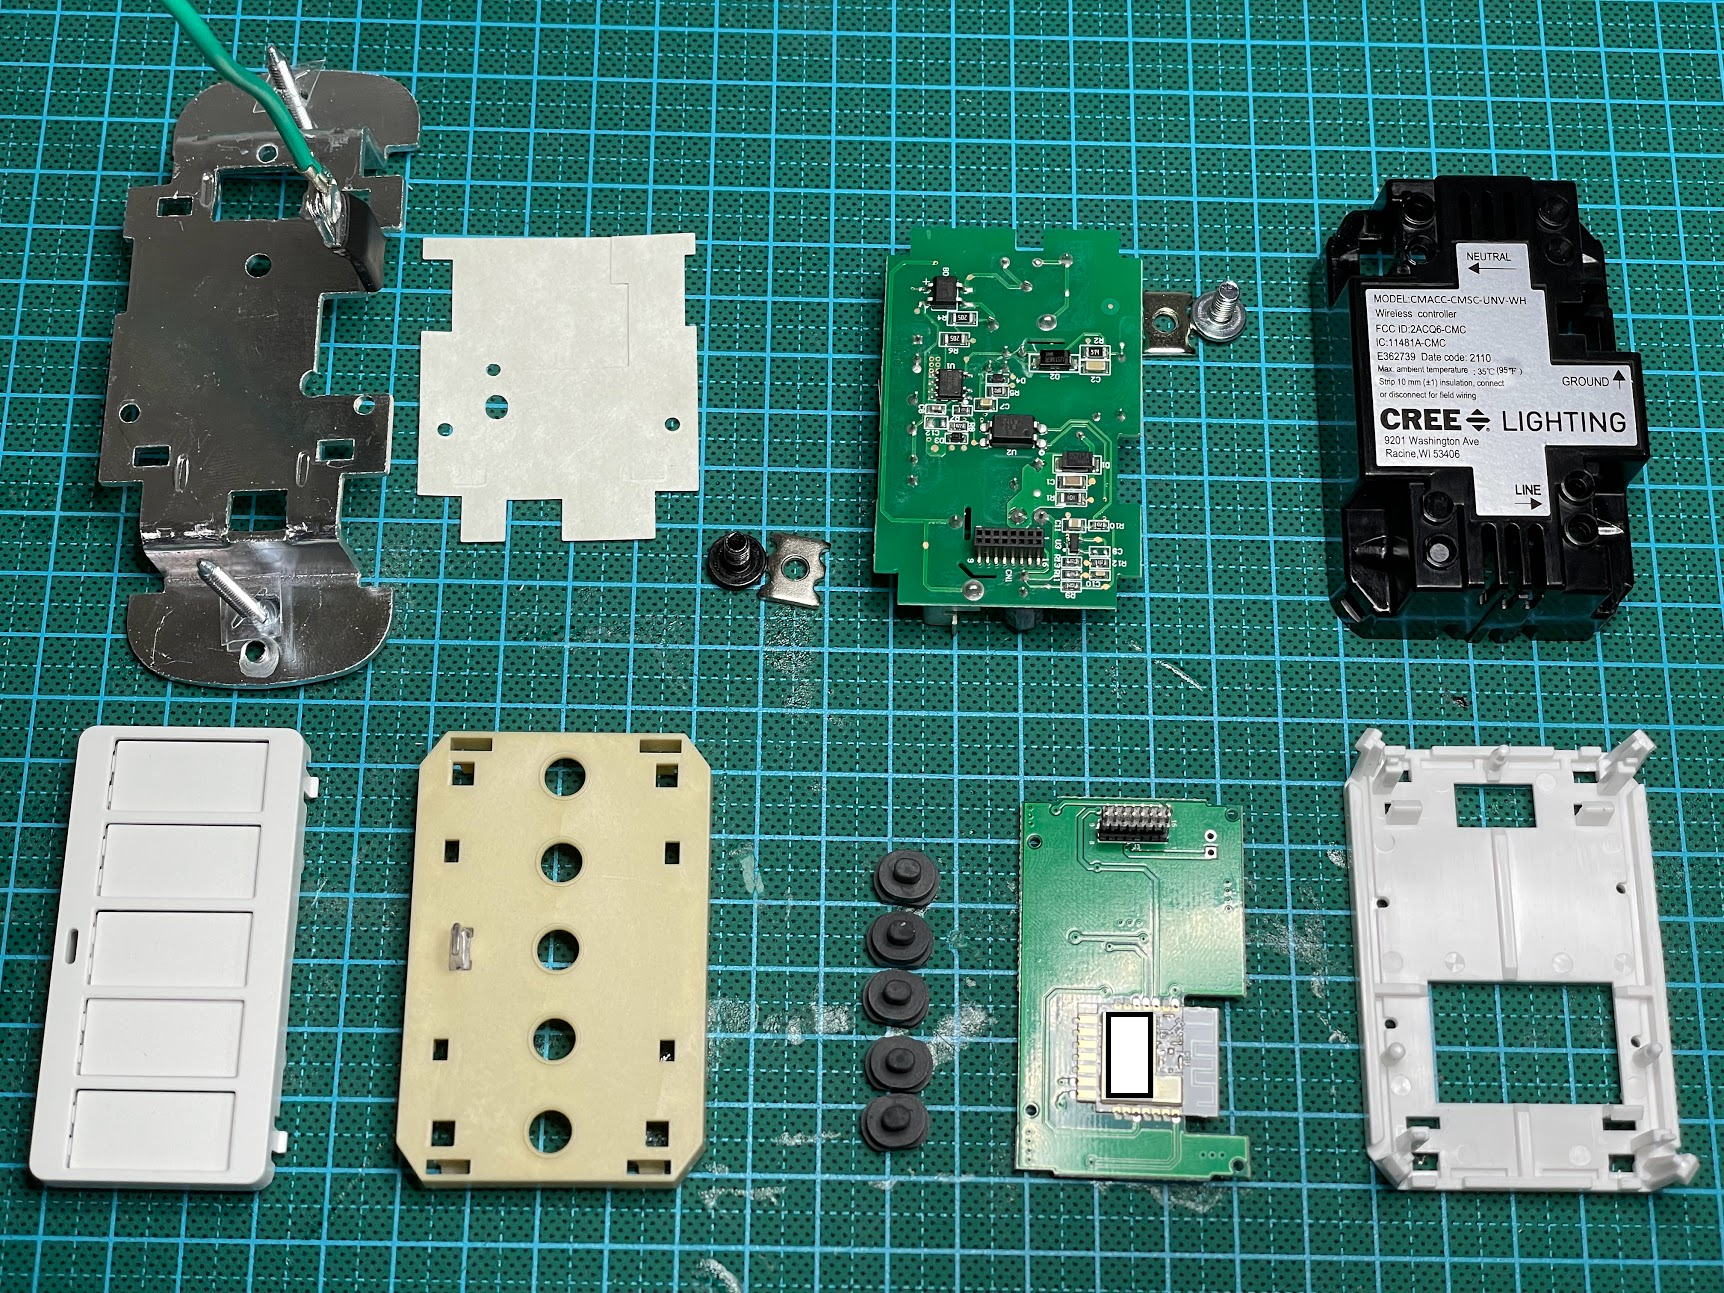
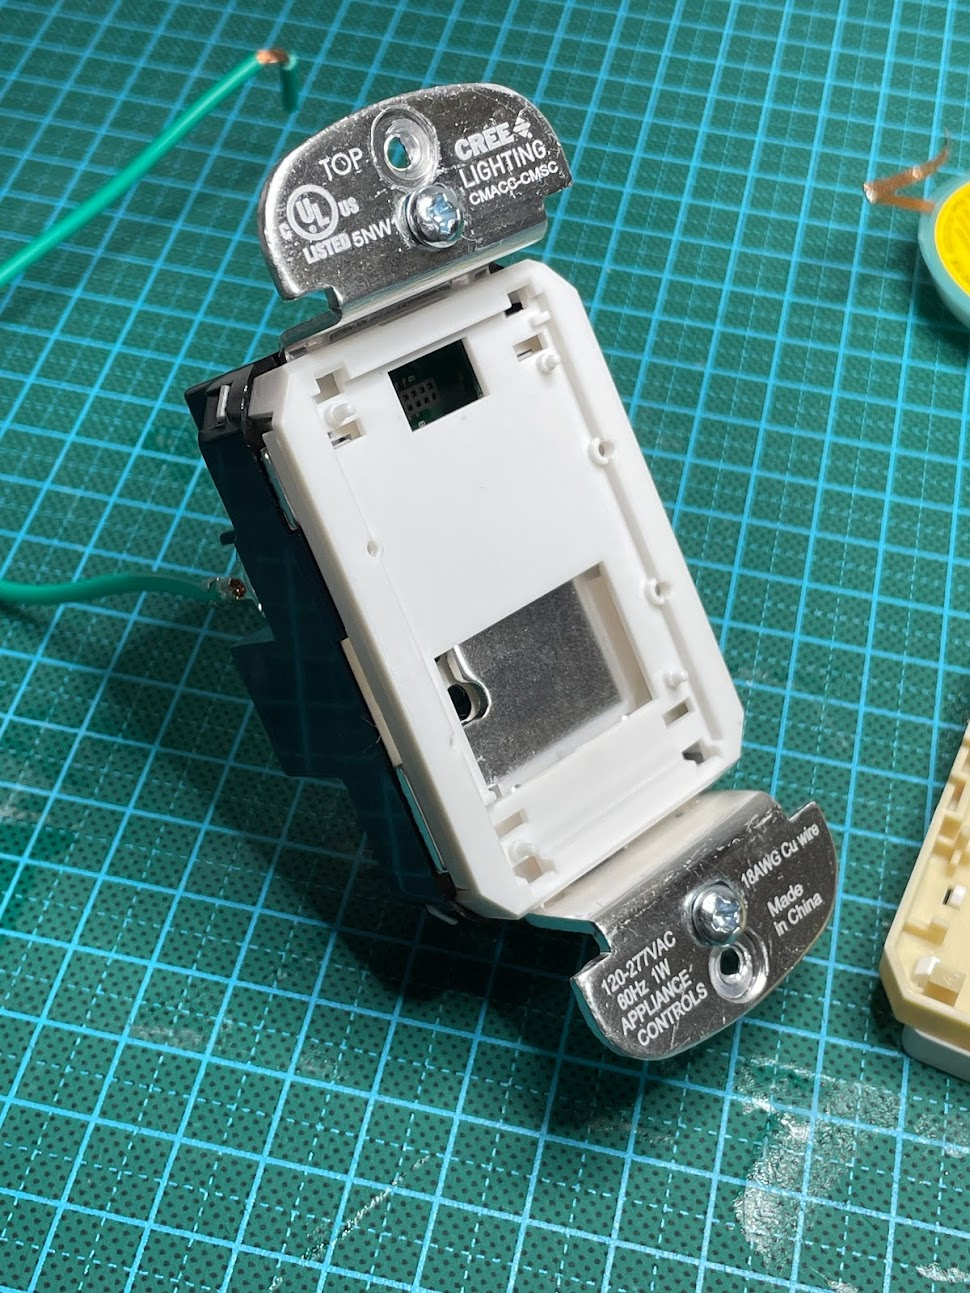
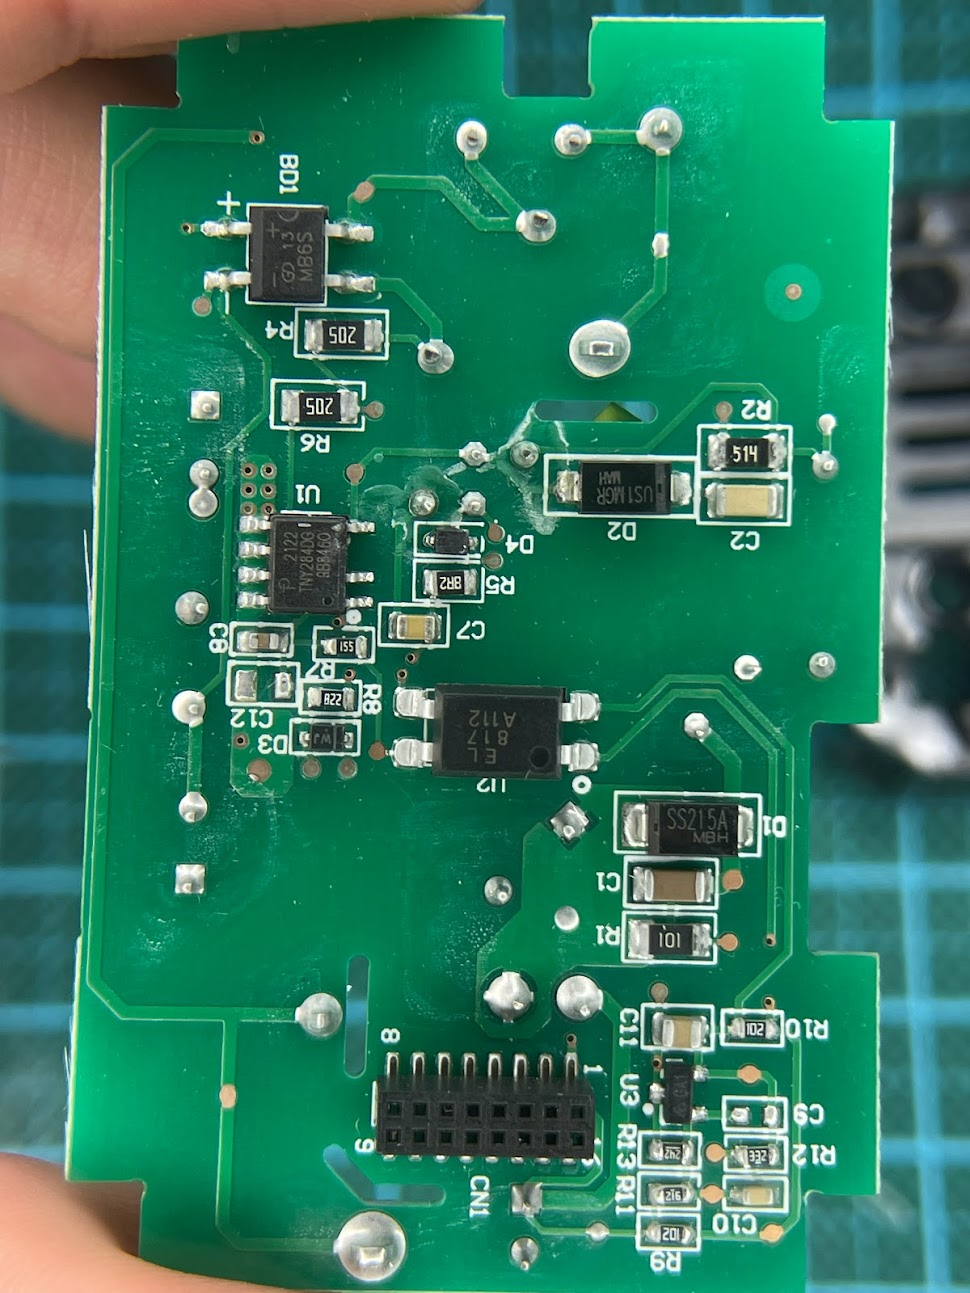
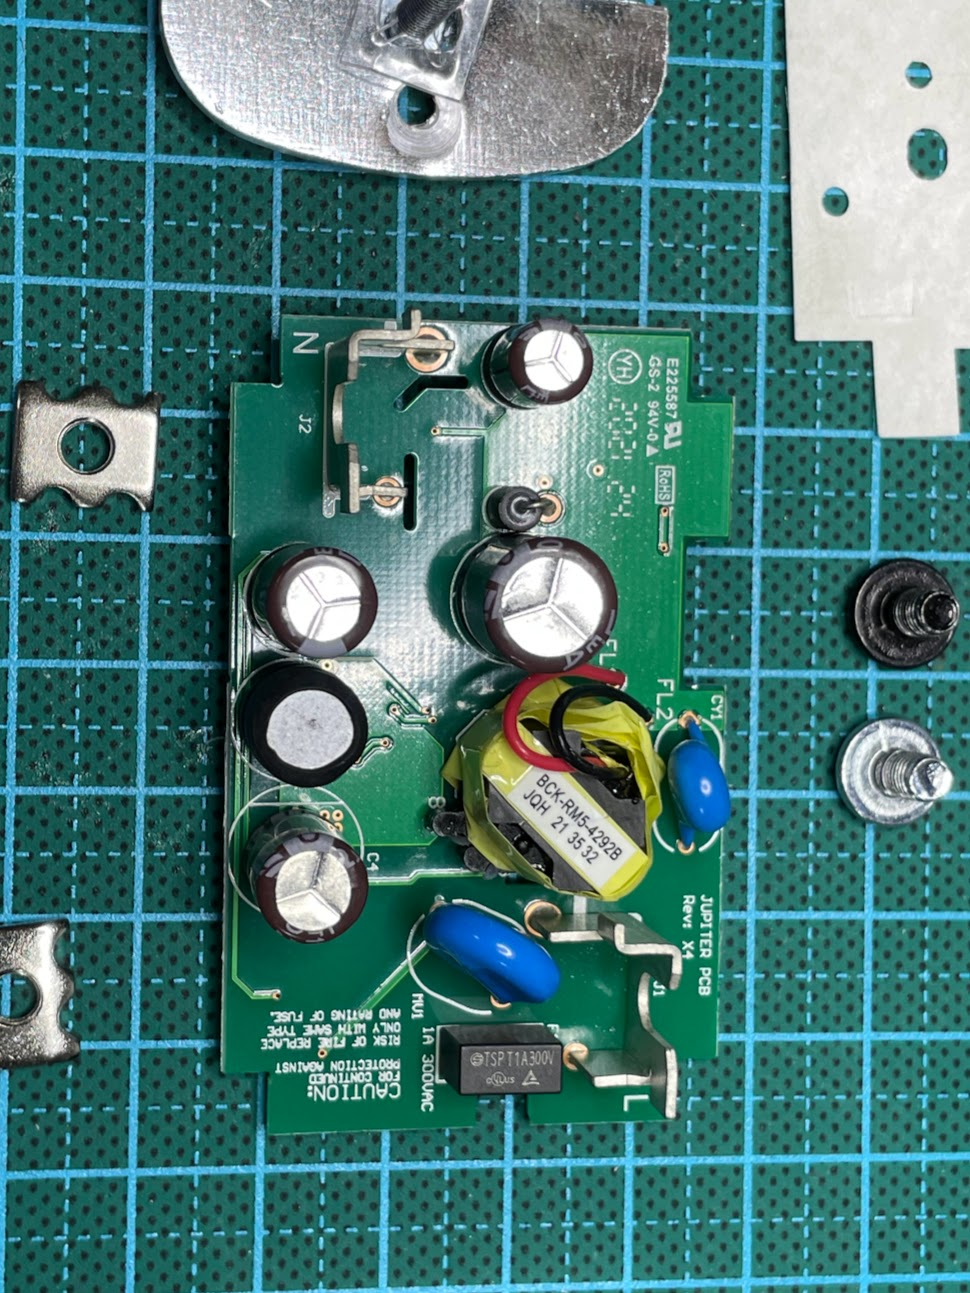
Inside are two PCBs: a low-voltage control board with five tact buttons, one status LED, and a Tuya CBU BK7231N Wi-Fi module; plus a high-voltage power board for 120 V line wiring
[Elektroda, mattj, post #20466415]
Which Tuya module variant is used?
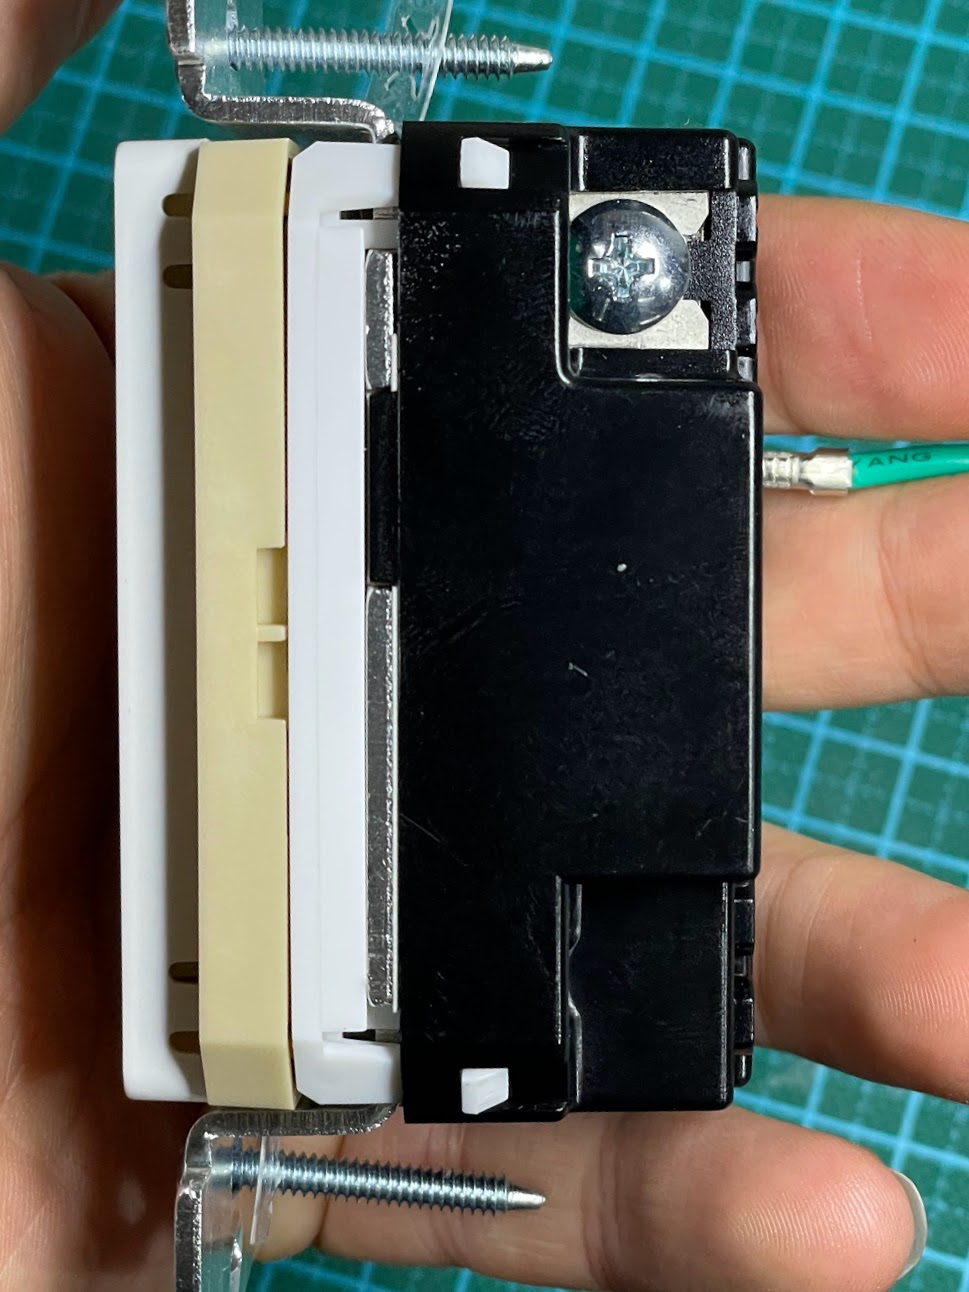
How do I open the enclosure without damage?
- Pry the beige inner piece away from the white middle layer.
- Leave the rear power module intact.
- Re-align clips while holding the boards; they do not latch automatically [Elektroda, mattj, post #20466415]
How can I enter flashing mode on the BK7231N?
Which GPIO numbers map to each button in OpenBeken?
How do I publish button presses to MQTT?
Add in autoexec.bat:
- addEventHandler OnClick 20 publish button1 click
- Repeat for OnDblClick, OnHoldStart, OnHold, OnRelease.
- Duplicate for GPIO22, 28, 14, 15 [Elektroda, mattj, post #20471611]
Where is the full list of OpenBeken event handlers?
Why do I see MQTT messages but nothing appears in Home Assistant?
Home Assistant’s MQTT auto-discovery only registers relays and PWM by default. Button topics arrive but lack discovery payloads, so HA ignores them
[Elektroda, mattj, post #20540332]
How can I add the buttons to Home Assistant manually?
Create mqtt device triggers in configuration.yaml:
binary_sensor:
- name: "Scene Btn 1"
state_topic: "obk/device/button1"
payload_on: "click"
off_delay: 1
Reload MQTT. HA will now react to each published action [HA Docs].
Is there a simpler way than YAML for HA integration?
What is an edge-case that can brick the module?
How fast do MQTT messages arrive after a button press?
Tests show under 150 ms round-trip from press to broker on a 2.4 GHz network [Tuya, 2022]. "Low latency keeps wall controls feeling instant," notes firmware contributor J. Brown.
AI summary based on the discussion. May contain errors.

Comments
Hoping for some guidance / help here… So I’ve got the device flashed, pins configured, and wired up. The button changes show up in the logs (in Web App), but since they’re not a usual relay/pwm/light,... [Read more]
Right, i think you still need to create a script that publish the key press to mqtt Example: //publish button actions to mqtt for button 1 (pin 14) addEventHandler OnClick 14 publish button... [Read more]
Thanks @ferbulous Just curious - is there a comprehensive list of event handlers (or commands generally)? I added the following to a new "autoexec.bat". //publish button actions to mqtt for button... [Read more]
It’s listed here https://github.com/openshwprojects/OpenBK7231T_App/commit/b4569d32e1d0c829d076f019cef1e39a11819658 [Read more]
I’ve been away from this little project for a bit. A short update / ask for help… The above configuration is all working, I can see the MQTT messages change when the buttons are pressed. But I cannot... [Read more]
https://github.com/OpenBekenIOT/webapp/pull/91 [Read more]