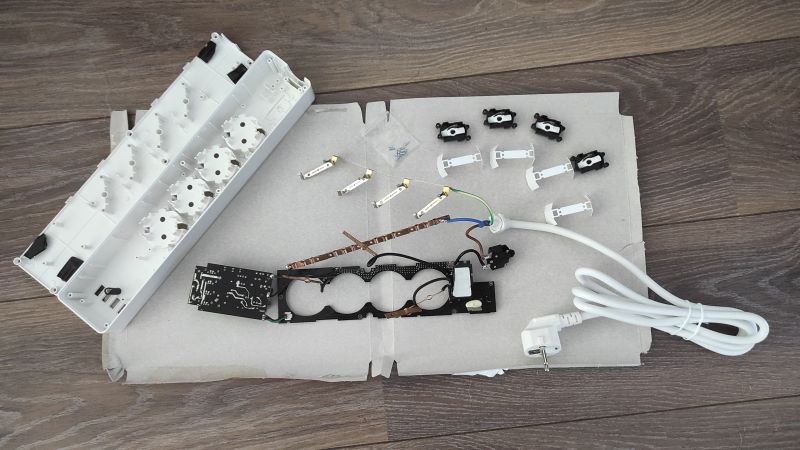
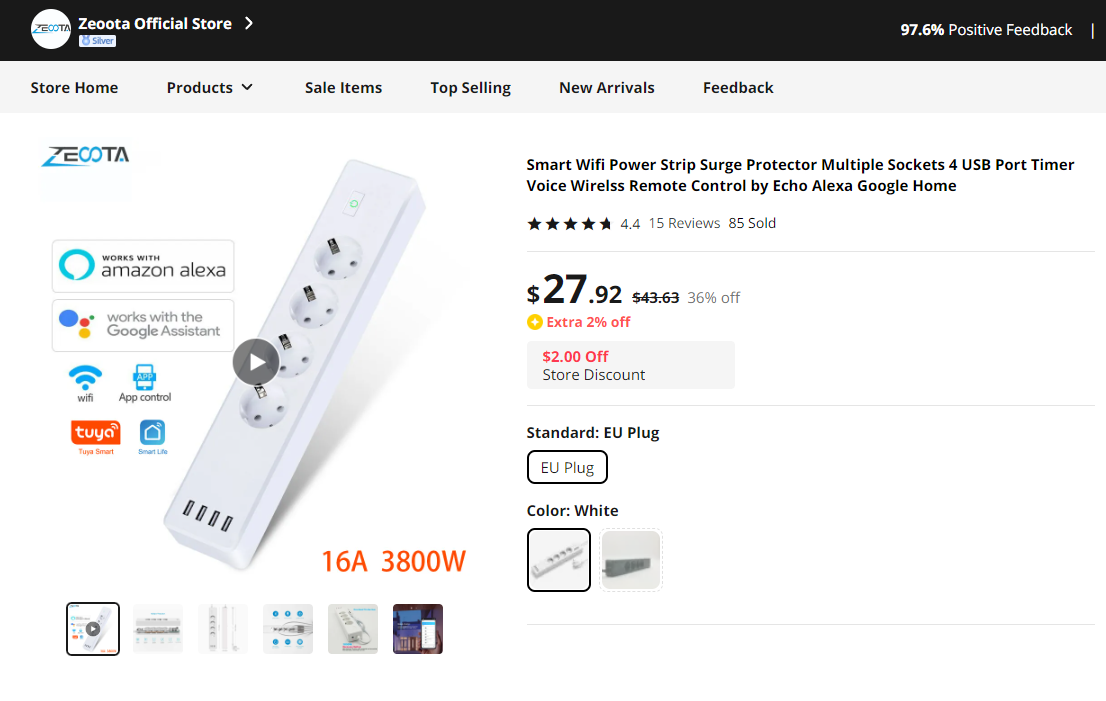
After profiting so much from the help I got here, I'm a bit proud but mainly happy to finally be able to add to the database! I managed to successfully flash a Tuya generic power strip with tuya cloudcutter. It looks quite nice, has 4 outlets that can be switched individually (their relays are hardwired to status leds), 4 usb connections that are switched together, a status led under the main button that can be controlled independently and that main button. The blackadder page underneath shows three buttons, yet I couldn't see any additional ones next to the main button.
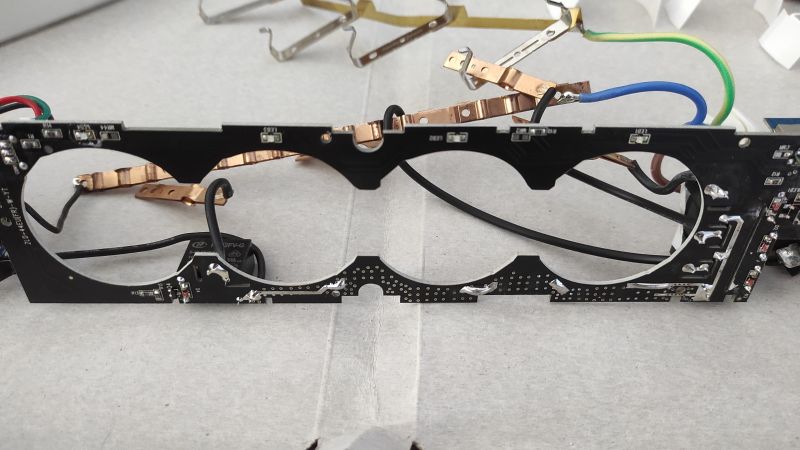
On the device itself there is no device name whatsoever, on the package the product number ZLD-44EU-W is printed. After googling it looks like this power strip used to have an esp chip:
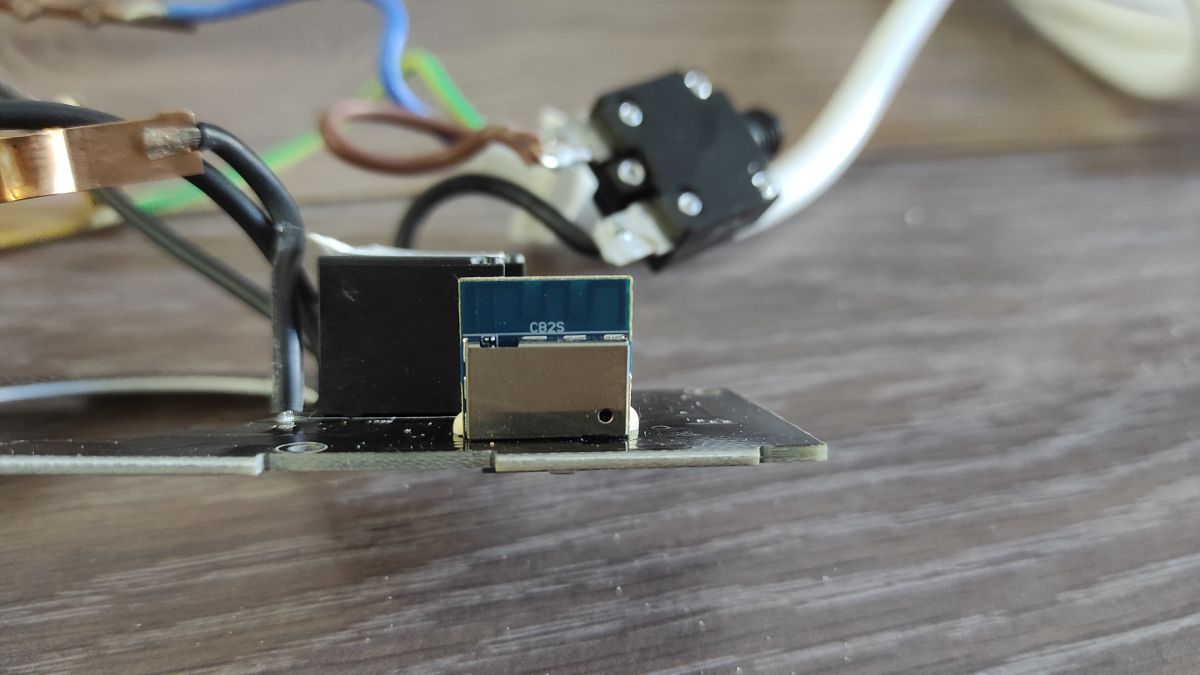
https://templates.blakadder.com/ZLD-44EU-W.html, it now sports an CB2S chip and the GPIO numbers are also different compared to the ESP version.
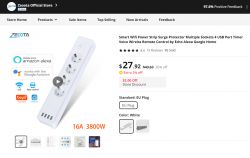
I bought it via this link (it was on discount for 10 Euros less)
https://www.aliexpress.com/item/32864068545.html?
and it might be the same device as this one, that actually shares the product number:
https://www.blitzwolfeurope.com/spd/RSH-ZLD-4...LD-44-EU-W-SMART-WiFi-USB-charger-distributor
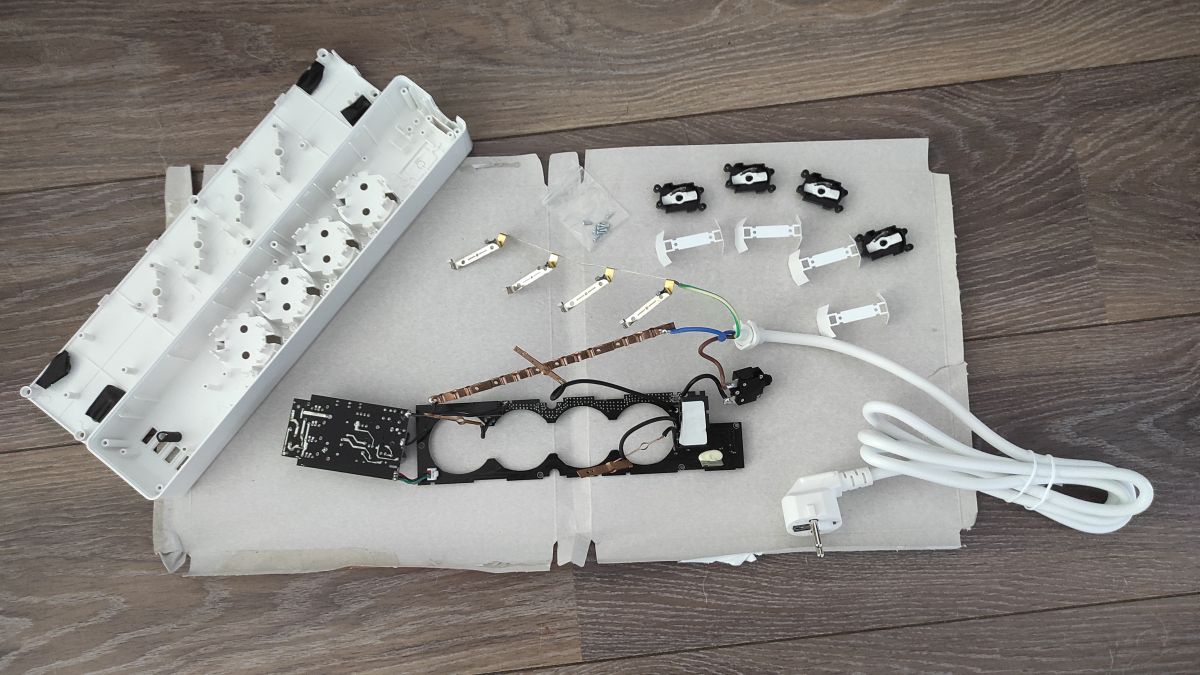
Only way to find out which chip it's using was to completely disassemble it, here are some pictures. Note: Also it's not needed to disassemble it with this howto, it might be good to do it anyway, as I noticed that the cables where not very nicely soldered to the contacts for the outlets and need some retouching.

===============================
Flashing with Tuya Cloudcutter:
- Startup cloudcutter and choose an Openbeken firmware with "N"
- Choose "Select Firmware Version and Name"
- Choose 1.1.8 and any device (we have to configure it manually anyway at this moment)
- Put device into AP mode:
- Hold the main button on the device, the led next to the USB connection will light up but keep holding until the led behind the main button starts blinking fast (now device is in what Tuya calls EZ mode)
- While fast blinking hold the button again, the LED next to the usb will light up again, keep holding until the led behind the button starts blinking slowly (This is what Tuya calls AP mode)
- Cloudcutter will now run the initial exploit
- When being prompted power cycle device 6x and repeat the button procedure from above
- If everything goes well, Openbeken should be uploaded now
- If after a power cycle the main button still switches all outlets on and off try again, I needed two tries
=================================================
Configuration:
Via the web application use this configuration. Note: I configured the button as "9" so you can program it instead of it just toggling the first outlet
=======================================
Just for laughs I created a little autoexec.bat that toggles all 4 outlets depending on how often you click the button - you have to train your clicking skills to make this work dependably though ... sometimes the number of clicks is not correctly identified. Playing around I noticed you can click much slower than you might think but just by guessing I found out that even On5click exists

Quote: addEventHandler OnClick 10 power1 toggle
addEventHandler OnDblClick 10 power2 toggle
addEventHandler On3Click 10 power3 toggle
addEventHandler On4Click 10 power4 toggle
addEventHandler On5Click 10 power5 toggle
Have fun!

Comments
Very good and detailed guide. I only slightly modified your post to use syntax tag for JSON code because it looks nice this way. Yes, you are right, even On5click exists :D I've created this event... [Read more]
Hi! The config indeed looks nicer that way and thanks for the positive feedback! About the wifi flashing: I setup a Raspi 3 I had lying around a while ago only for cloudcutter and can really recommend... [Read more]