[CB3S/BK7231N] Appio 9620 roller blinds/curtains controller - firmware change and GPIO export from T
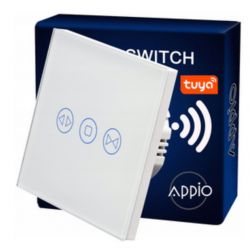
Today we are changing the firmware of the Appio 9620 curtain controller; OpenBeken I`m uploading it here not for myself, but at the reader`s request, I don`t even have motorized curtains yet, but maybe someday... we`ll also check whether automatic GPIO configuration/detection can handle the roller shutter controller.
Purchase Appio 9620
The product was purchased in our country from a distributor, it is much faster, we often get it in our hands literally within 2 days:
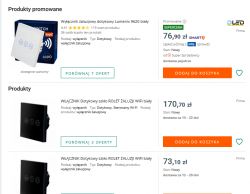
The product is not that expensive, the price is similar to ordinary triple switches, it is only PLN 80. Specification:
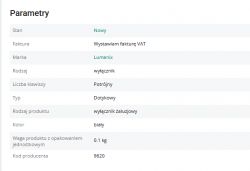
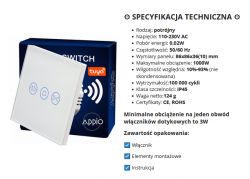
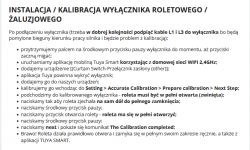
Description of calibration in Tuya, but this does not apply to us because we will change the load:
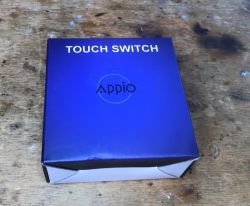
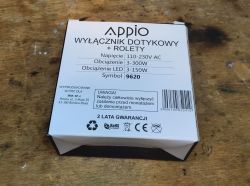
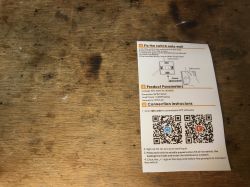
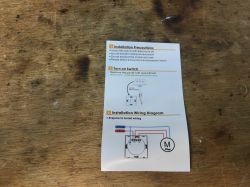
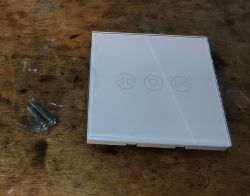
Actual packaging including leaflet and kit contents:
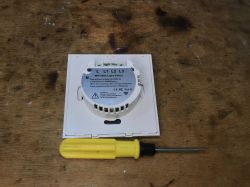
Appio 9620 interior
You just need to pry the front:
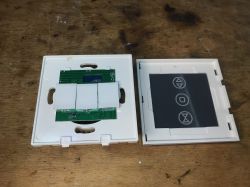
You can already see that it is inside CB3S . It`s also interesting that we have a buzzer here, but no RF system... maybe we can use it somehow?
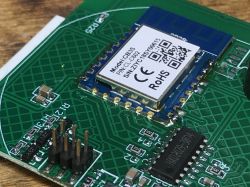
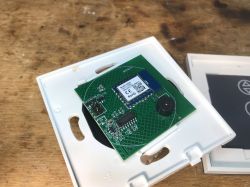
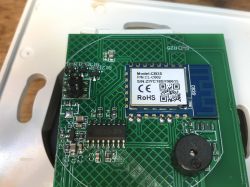
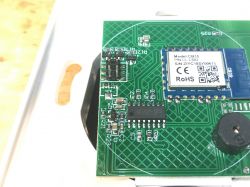
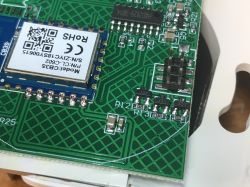
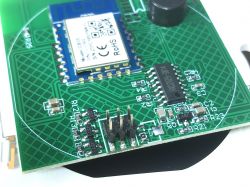
Out of curiosity, let`s take a look at the board with the power supply and relays:
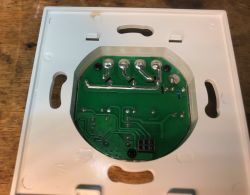
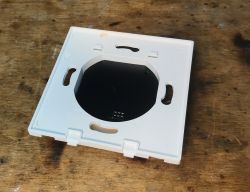
To remove the PCB, you need to unscrew the screws from the PCB and the screws from fastening the cables:
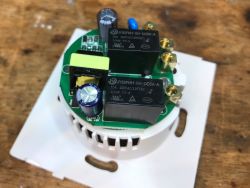
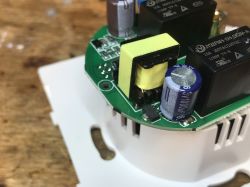
We have two JY32FNH-SH-DC5V-A relays for 10A each and a simple flyback power supply:
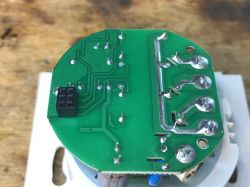
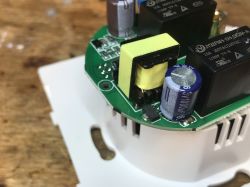
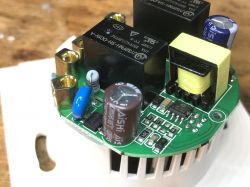
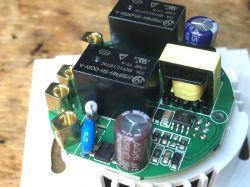
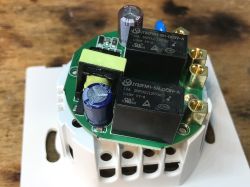
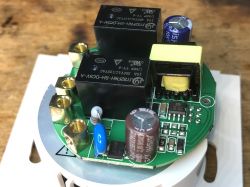
The power supply is based on DP1801:

Below is an example application:
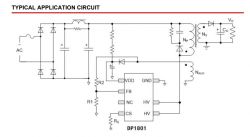
A classic layout in IoT devices. I see it everywhere, almost as often as the non-isolated buck converter, which is almost as popular in other "smart" products.
Appio 9620 firmware change
According to the flasher instructions:
https://github.com/openshwprojects/BK7231GUIFlashTool
If you have any questions, you can also visit our YT channel:
https://www.youtube.com/@elektrodacom
We solder RX, TX, GND and 3.3V:
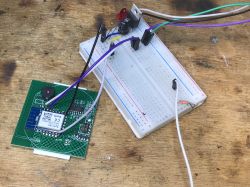
After a power cycle, the flasher detects configurations:
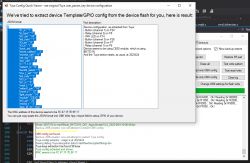
JSON Tuya detected by flasher:
Code: JSON
OBK configuration generated by the importer: https://openbekeniot.github.io/webapp/templateImporter.html
Code: JSON
Verbal description:
Device seems to be using CB3S module, which is BK7231N chip.
- Relay (channel 1) on P6
- Relay (channel 3) on P8
- WiFi LED on P14
- Button (channel 1) on P24
- Button (channel 2) on P7
- Button (channel 3) on P26
Unfortunately, I don`t have roller blinds myself, so I`ll have to refer them to another thread for the final configuration. Please refer to: Teardown of a Smart Life Curtain (Shutter) switch, Flashing, Configuring and setting up with HA
Summary
Firmware upgrade was fully successful a our flasher correctly decoded the Tuya configuration and showed us what GPIOs the relays, buttons and LEDs are on. I did not perform any further configuration and installation of the curtains, so the topic is not closed yet, but at most this will be done by the target recipient of the device and perhaps then we will also report on the forum as a separate topic.
This does not change the fact that I am satisfied with the flashing itself. In the times of Tuya, for only ESP8266 GPIO, I had to guess manually...


Comments