[CB3S/BK7231N] AVATTO TS02-EU-W3 light switch (triple version)
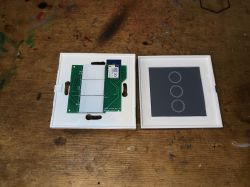
Today, as standard - we change the light switch firmware at the reader`s request. I flashed a few more switches from this series, but here I will put the flashing instructions and a template for one piece. Thanks to the software change presented here, this switch will be able to work 100% locally, without the cloud, without the manufacturer`s servers and will be compatible with Home Assistant.
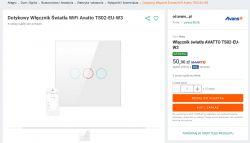
Purchase AVATTO TS02-EU-W3
The switch can be purchased for PLN 50, which is quite a good price for a version with three relays:
Packaging:
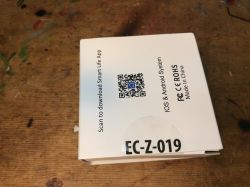
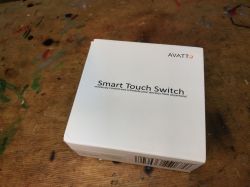
Let`s see what we get in the set:
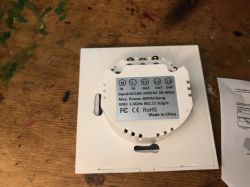
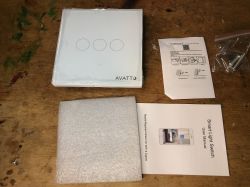
We usually change the firmware in this section, but if you want to use the manufacturer`s apk, here are the instructions:


Interior of AVATTO TS02-EU-W3
We question the front:
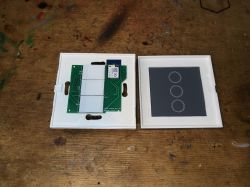
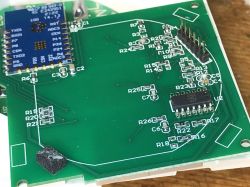
There is a CB3S module inside, you can upload https://github.com/openshwprojects/OpenBK7231T_App
On the back of the PCB you can also see the button controller:
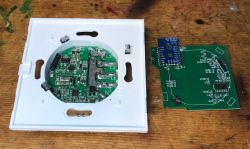
This chip is ADS TS04 2052:
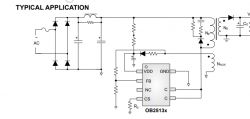
This time the AMS1117-3.3V is not on the front board, but together with the power supply, which here is based on OB25133JP:
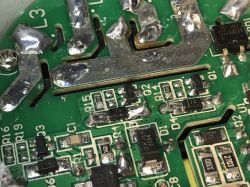
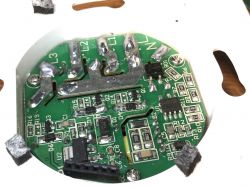
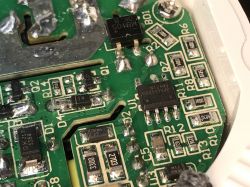
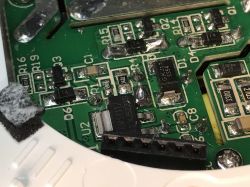
so we have an isolated flyback converter here, this is quite typical in this type of switches, and in "smart switches" (modules) I often see non-isolated step down converters:
AVATTO TS02-EU-W3 programming
According to the readme of our flasher:
https://github.com/openshwprojects/BK7231GUIFlashTool
You can also check out the Elektroda channel, there are flashing video tutorials:
https://www.youtube.com/watch?v=Yb3zXtBdSnE&list=PLzbXEc2ebpH0CZDbczAXT94BuSGrd_GoM&index=7
CB3S documentation is available online:
https://developer.tuya.com/en/docs/iot/cb3s?id=Kai94mec0s076
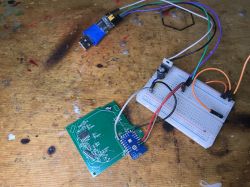
We solder four wires:
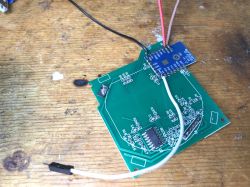
Here`s my whole layout:
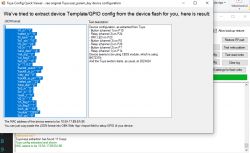
Flasher is able to correctly load the Tuya configuration:
Code: JSON
2MB copy of the batch:
https://github.com/openshwprojects/FlashDumps/commit/54d00ea1ed2031dba8180b3e7fb0b14181a91026
OBK template:
Code: JSON
After such configuration, it can be connected, for example, to Home Assistant : :
Summary
Simple and pleasant flashing, even simpler than in the case of ESP8266, because here we soldered only 4 and not 5 cables, and in addition, the configuration was decoded by my flasher. Now you can connect this switch with Home Assistant or ioBroker as we showed in our tutorials on the Elektrody channel:
https://www.youtube.com/@elektrodacom
If you have any questions or problems with changing the load, I will be happy to help.


Comments