Will the BlitzWolf BW-SS1 Smart Switch work after the floods?
 .
.
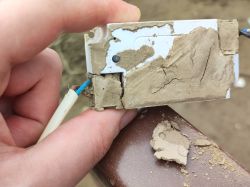
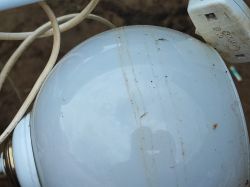
Today I am going to check the condition of a small electronic gadget flooded. The flood took place on 15 September and I extracted the equipment from the silt on 27 September, about two weeks later. The water carried so much sand and soil that I had to play archaeologist, and the water level is indicated by the line on the light:
 .
.
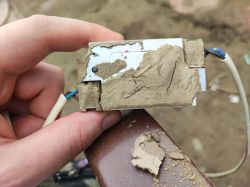
Now let's see the relay itself. The sand has essentially dried up:
 .
.
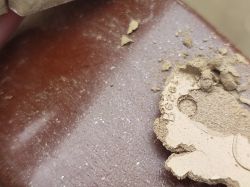
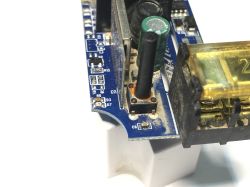
The shape of the RESET button has rebounded:
 .
.
The victim itself is the WiFi-controlled BW-SS1 relay working with the BlitzWolf app.
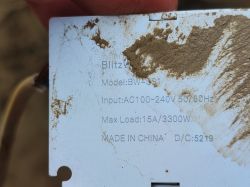 .
.
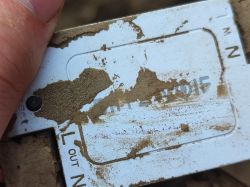 .
.
First section:
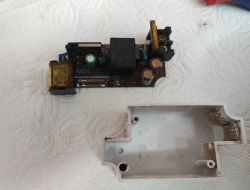 .
.
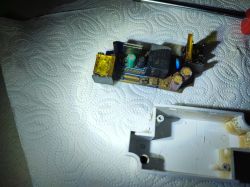 .
.
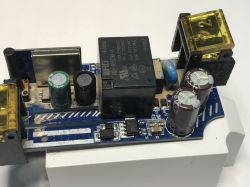
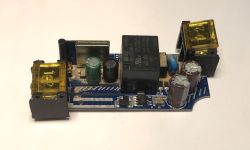
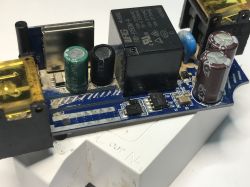
I then took the equipment out to dry and wait, it's been about six months. It is now 11 April.
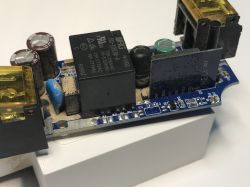 .
.
The operation of the device itself is very simple - here we have a non-isolated step-down converter based on a PN8016 and then there is just an LDO regulator providing 3.3V for the WiFi module, and this module in turn controls the relay.
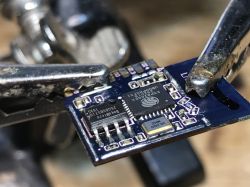
It looks like the button has suffered the most - you can see corrosion on it. I cleaned the board with isopropyl alcohol. I also soldered out the LM2 WiFi module:
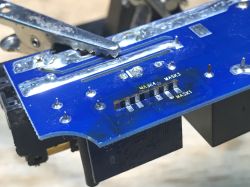 .
.
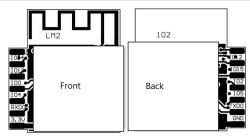 .
.
I removed the screen with hot air:
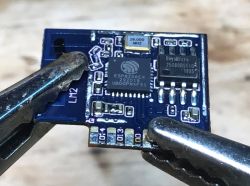
 .
.
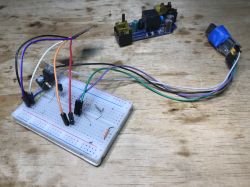
No damage is apparent, so it's time to upload Tasmota and see if WiFi works:
 .
.
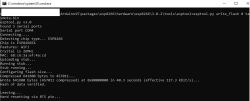
Uploading Tasmota:
 .
.
There is an access point:
 .
.
The BW-SS1 template has been successfully uploaded:
{"NAME":"BW-SS1","GPIO":[255,255,255,255,157,21,0,0,255,17,255,255,0],"FLAG":0,"BASE":18}
Time for the final test:
It looks like everything is working, but whether the situation will continue, time will tell.
In summary , this was a loose topic - a curiosity. In the end it worked out that it paid off to leave the module in place. Even both LEDs are working. Now it remains to run a file over the screw terminals to make sure there is good contact.
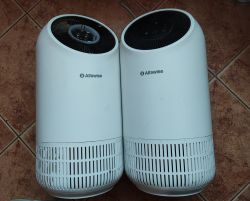
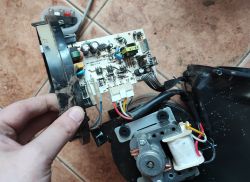
Of course, this is not the end of the experiments, as I have more flooded equipment - for example, I have tiles left over from flooded Alfawise air purifiers:
 .
.
In the next part I will also check the WiFi modules from these boards. I'll see if they're still suitable for some DIY or if, however, in this case the humidity has won out....
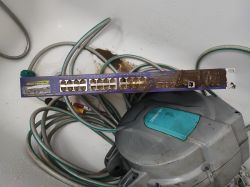
Of the thicker hardware I have, among other things, a switch for presentation:
.
... But in his case the story will be short, because he was also damaged before the flooding.


Comments