Blackout lighting? A practical, versatile, low-cost and energy-efficient way
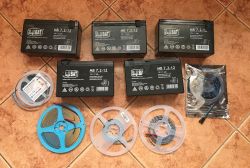 .
.
With the increasing risk of power cuts, many people are looking for a simple, reliable and cost-effective solution for emergency room lighting. In this thread, I would like to introduce a practical and flexible lighting system based on a 12-volt LED strip with brightness control (dimmer) that can be powered in a variety of ways - from a regular power supply, to powerbanks (both with and without QC), to batteries charged from a photovoltaic installation.
The system shown here is much more practical than simply collecting more torches and lights, as it can be used normally in everyday life. LED strips are increasingly ubiquitous in our homes and many people simply prefer this type of lighting. This is where I would like to take advantage of this.
An additional advantage of the presented solution is the control of the brightness level of the lighting, that is also necessarily the energy consumption. It can be conveniently adjusted to the current situation, for example, we increase the light level while reading and reduce it while resting to save energy.
The most popular LED strips are powered by 12 V. It just so happens that 12V is also the voltage available from a powerbank supporting the QC standard, which can be triggered using a simple QC trigger circuit. A similar voltage is also found in many rechargeable batteries.
With this knowledge now in hand, we only need to take one small step forward and come up with the idea of simply being able to switch our belt between a 12V mains supply (normal operation - when power is available) and emergency power (our chosen solution).
Basis of the kit - LED strip .
The base of the kit is just the LED strip, preferably for 12V, of course I mean 12V DC (12v DC). There are commercially available strips for other voltages, but it seems to me that these are less practical and versatile, especially as the whole idea is to power this strip from different power sources. In addition to the power supply voltage, there are a few more things to look at when buying one, such as:
- power consumption per metre - this also depends on the type of LEDs and their density; based on this, we will then select a power supply unit
- colour of light - here we rather choose between different white temperatures; for the home, warm white (approx. 2700-3000K) or neutral (4000-4500K) is best; cold white (6000K and above) may be too 'office-like'. I would rather not consider RGB colours here at all
- protective (IP) layer - if the strip is to be installed in areas exposed to dust or moisture (e.g. bathrooms, kitchens, balconies), it is worth choosing a variant with a silicone layer or with an IP65 and higher protection class
- easy to cut and solder - some strips have clear cut point markings and properly routed soldering pads, which makes it very easy to adjust the length and join the segments.
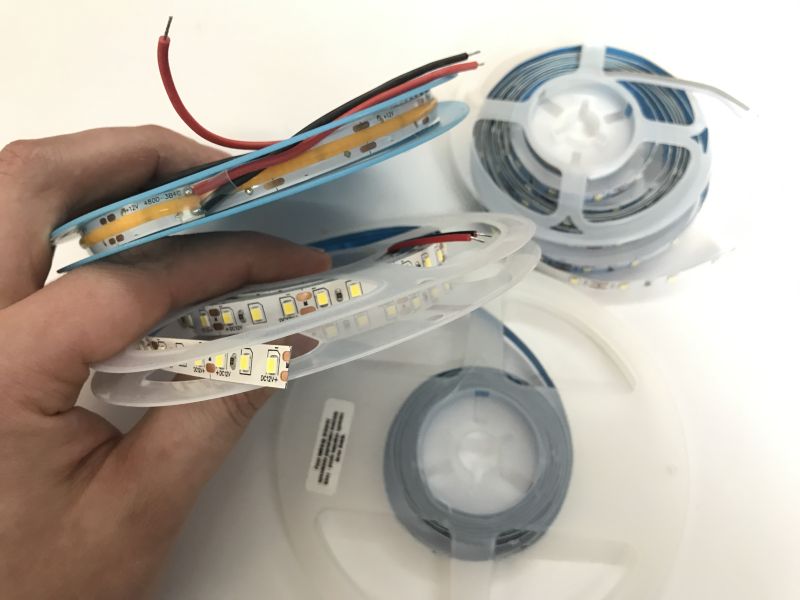
The photo shows the LED strips I have in stock at the moment, as you can see there are various types and shades, there is something to suit everyone:
 .
.
The strip is mounted in a convenient place, the strip should be covered with adhesive tape on the underside, but I will discuss mounting in detail in another topic.
Connecting the belt .
The whole point of the game is to be able to easily switch the belt to another power supply if necessary. It just so happens, that a solution to this problem already exists - many products for LED strips are based on a 2.1/5.5mm DC Jack connector:
 .
.
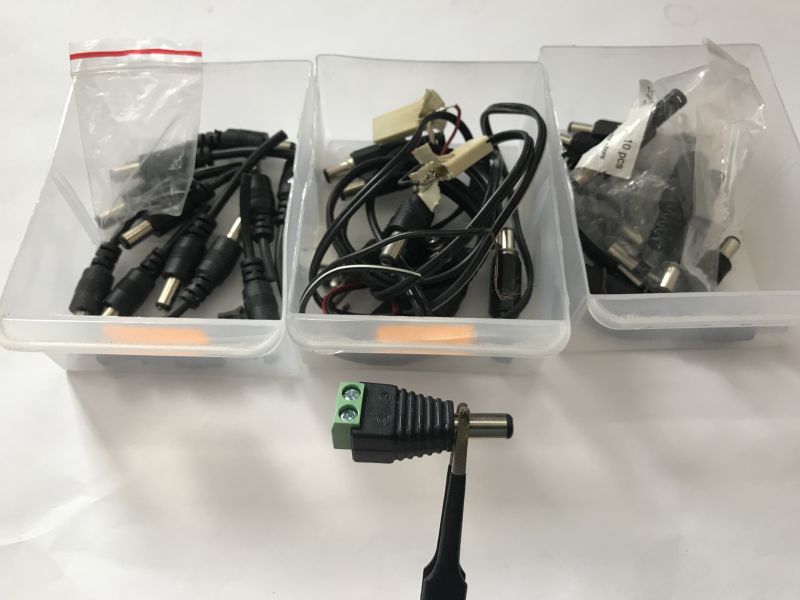
This type of switch is purchasable for about £5 in our country, and it is also possible to take it apart and use the wires with the connectors in other ways, such as soldering them to the LED strip. I myself also have quite a collection of sockets and plugs collected over the years for this purpose too:
 .
.
I also really like the DC jack to screw terminal plug/socket converter shown here. Small and useful. If necessary, you can quickly switch the belt to another power supply or, well, to an emergency power supply, e.g. from a powerbank or battery.
Brightness control .
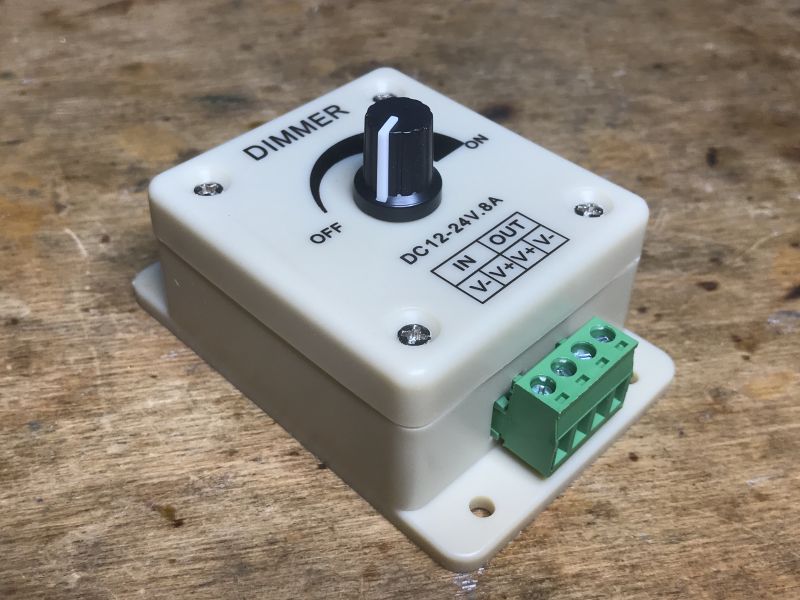
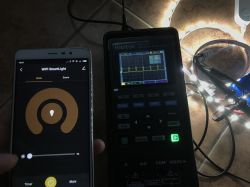
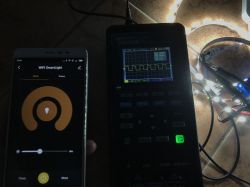
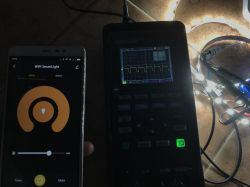
A simple dimmer module will be used here to control the lighting level. Such a dimmer plugs into the 12V line, between the power supply and the strip, and adjusts its brightness via PWM (pulse width modulation). I described the simplest dimmer in the topic about Bowi 002066 12V 8A .
 .
.
Dimmers with WiFi or remote control are also popular, for example such as the one from Tuya , but I go on the assumption that the basis of purchase is the buttons. If such a dimmer doesn't have buttons and can only be controlled from WiFi/remote/remote, then it's useless, and you need to either change the firmware and add buttons , or choose another model.
The operation of the PWM has also been shown in the past:
 .
.
More ambitious people can make the dimmer themselves. You can take a look at my designs based on PIC microcontrollers:
PIC12F1612 LED strip dimmer with EEPROM, using parts from scrap .
PIC12F683 and SDCC - tutorial - we create a simple dimmer (read datasheet notes) .
Power supply .
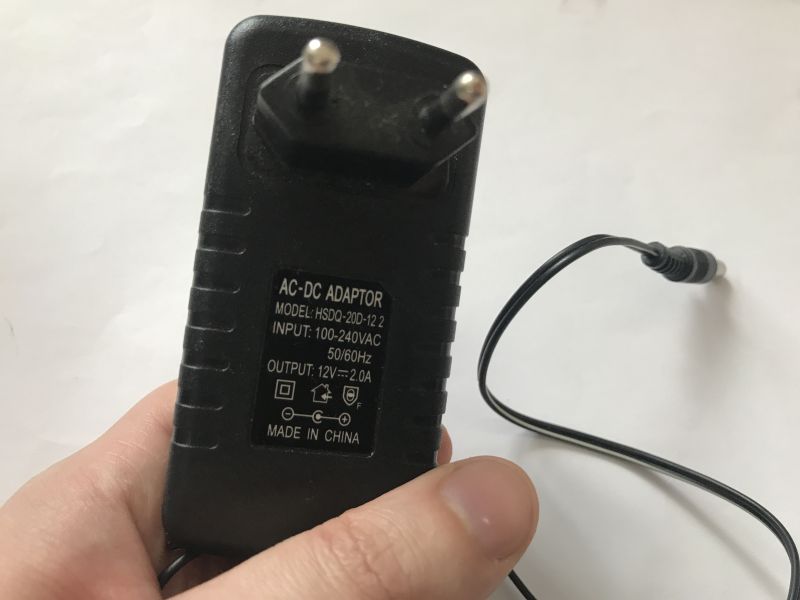
The power supply converts the mains voltage (230V AC) into a low DC voltage of 12V for the LED strip. The power supply should be selected for the specific kit, more specifically the current capacity of the power supply must be greater than what our entire kit will draw, preferably with a considerable safety margin. For example, if we bought 3 metres of a 9W/m LED strip, we need at least 3*9W, 27W, and in practice I would give a 40W power supply (the power at the input of the power supply does not take into account the losses on the power supply itself, plus the market is flooded with low quality, heating power supplies, and it would be better not to run them for long at the edge of their specification). A small LED strip can be powered from a smaller, universal 12V DC power supply:
 .
.
Alternatively, you can buy a power supply designed for LEDs. I have already presented this type of power supply on the forum:
LED furniture power supply ZL-M-12V-62 12V 5A 60W Koloren - interior and short test .
Interior of LED power supply MRS-350-24-S-C 350W 24V 14.6A .
LED 12V 150W DS-150-12 Superior Driver - interior, short test
LED 12V 5A 60W DS-60-12 Superior Driver - interior, short test .
You can also modify the power supply with a slightly different voltage. I was able to convert a laptop power supply in this way, for example:
Converting a power supply from a 19V laptop to a 12V LED strip power supply, problems encountered .
Powering from a powerbank with QC support .
Now let's consider emergency power supply. To start with, the simplest option - a powerbank. A powerbank normally offers a DC voltage of 5V, but for some time now it has become popular to use a USB connector to provide a higher voltage to speed up the charging of devices. Among other things, this is made possible by the QC, or quick charge, standard. In this way, it is possible to draw 12V DC from the powerbank, which is the voltage we need.
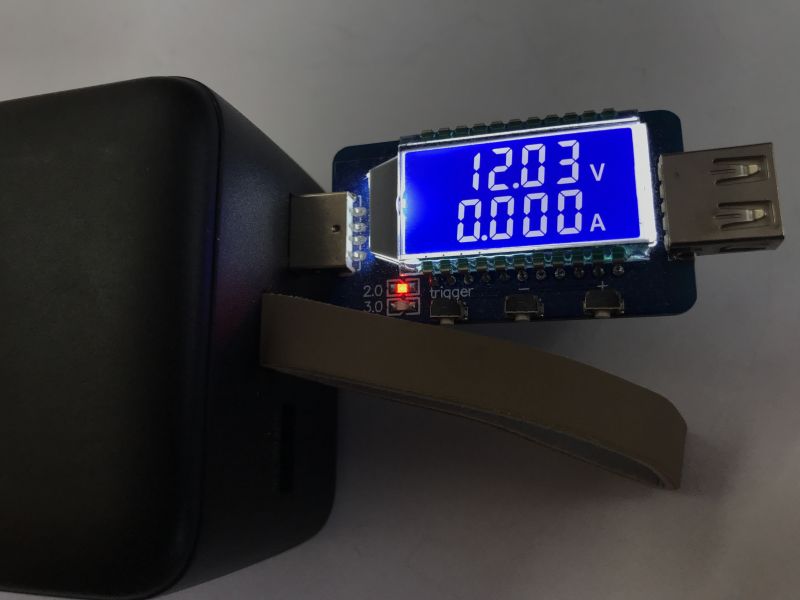 .
.
However, we will need a small module - the so-called QC trigger. It is this that plugs into the USB port from the powerbank and tells it that we want a voltage not of 5V, but of 12V. Such a module is very cheap, you can buy it for a few zlotys. Set the voltage using the DIP switches. Connect it to the powerbank, wake up the powerbank with a button if necessary and you are done:
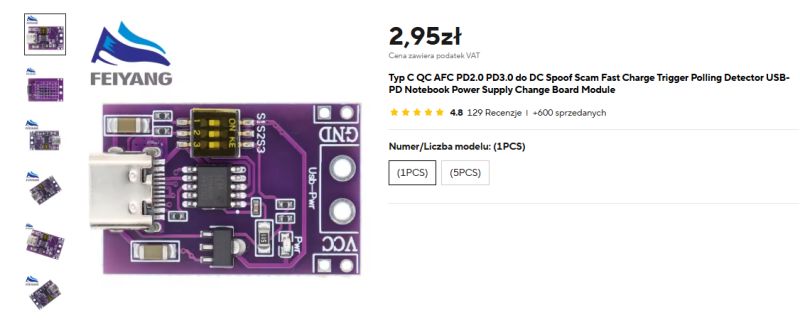 .
.
If you want more control and a display showing the voltage, then you can also use the QC Trigger tool with buttons. I have described it in more detail here: Minitest: QC 2.0 3.0 charger tester/trigger i.e. 12V with USB .
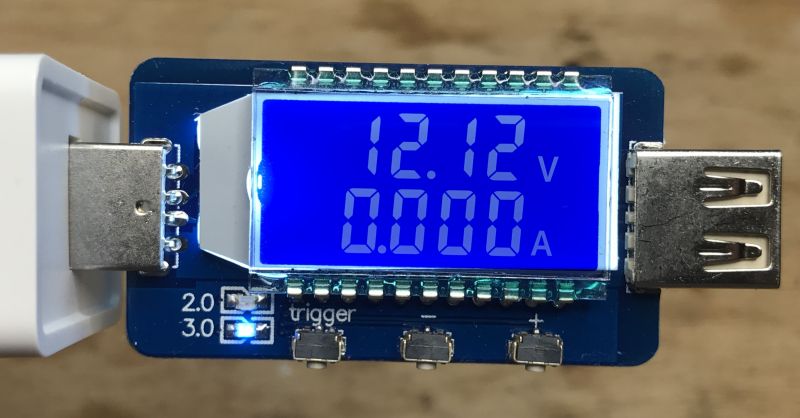 .
.
Before using a powerbank in this way, it is also customary to check its current capacity. Just like with a power supply - the powerbank must be able to deliver at least as much current as our belt will want to draw. Look for information on the current capacity of our model in the manual or on its case. An overloaded powerbank will simply switch off, but this can also be dealt with - simply reduce the brightness level with a dimmer and thus reduce the current draw.
I've been testing powerbanks for a while now, so you can see what models are proven:
Powerbank 40Ah with QC giving even 12V output? Test of 40Ah, 20Ah, 10Ah models .
Test of JR-L002 10000 mAh Jelly 22.5W powerbank capacity with QC .
Great 60Ah powerbank - PEA60 Romoss PEA601522142 - capacity and QC test .
Short test of Lynxer 30000mAh and 20000mAh 22.5W powerbanks with QC
Test of Baseus powerbanks - PPBD10K, PPBD20, PPBD30K - actual capacities .
Power from a powerbank without QC (additional step up converter) .
However, not all powerbanks offer the QC standard. I've also commented a few times on the forum that it's easy to come across products advertised as "fast charging" but not supporting the QC standard. It's just that manufacturers and retailers like to boast about "Fast Charging" which is really just a marketing gimmick and not actual support of the QC standard....
In such a situation, we will have to somehow convert 5V DC to 12V DC.
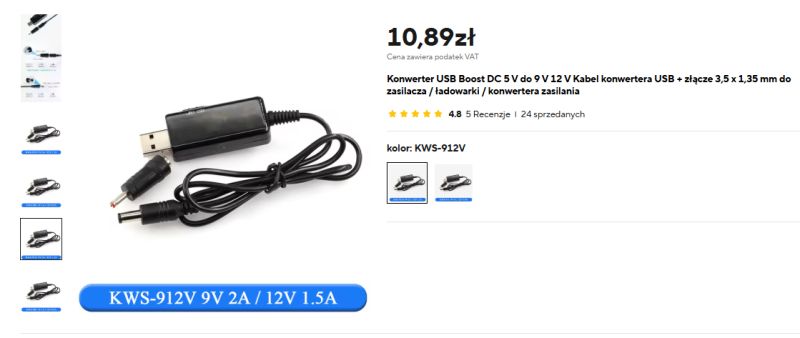 .
.
It is very important to select an inverter with the right power - by a wide margin.
Power supply from battery .
This type of LED strip can also be powered directly from a battery with a nominal voltage of 12V. In practice, the voltage of the battery is not constant, but fluctuates depending on how charged it is - typically ranging from around 11V (when discharged) to as much as 14V (when fully charged and charging). Our LED strip is at 12V, so inevitably when the battery is full a slightly higher current will flow through it, resulting in it being brighter, hotter and potentially shortening the life of the LEDs, but this is not a problem in an emergency situation. You can always 'help' the LEDs a little by changing the dimmer setting or possibly give a couple of 1N4007 rectifier diodes in series to lower the voltage.
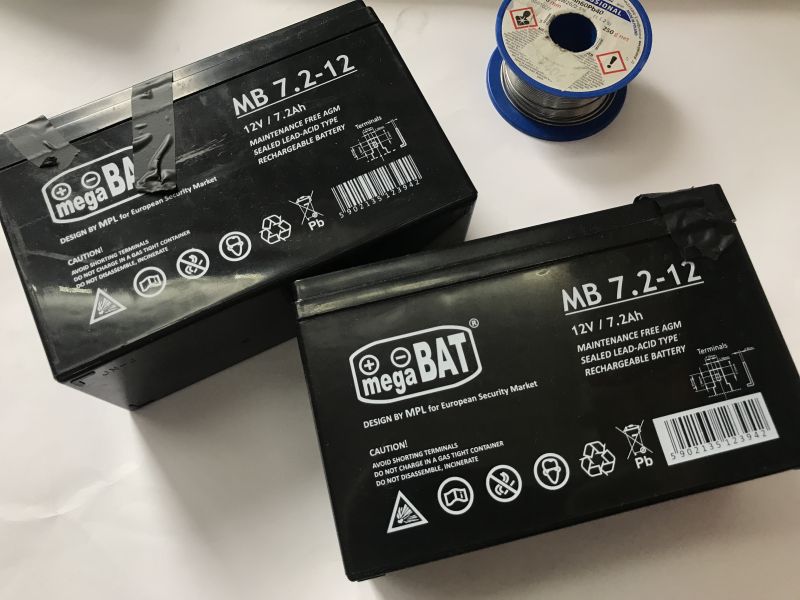 .
.
You need a rectifier to charge such a battery, but that is a bit beyond this topic:
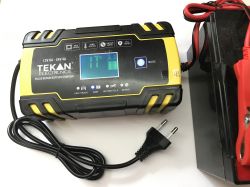
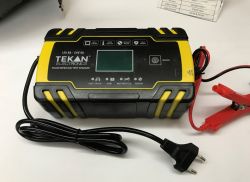 .
.
The cable itself from the battery (terminals and jack plug) is worth preparing in advance.
Power from battery (charged from photovoltaics) .
With a battery already in place, you can go one step further and add a tiny solar panel along with a charge controller. I have been testing just such a solution for a few years now, and I have to say that even the "100W" version (in practice 25W) combined with a couple of small batteries makes it possible to run LED lights at night and charge mobile devices on the allotment during the day, as I described in more detail in
separate topic 66x28cm "100W" panel from China .
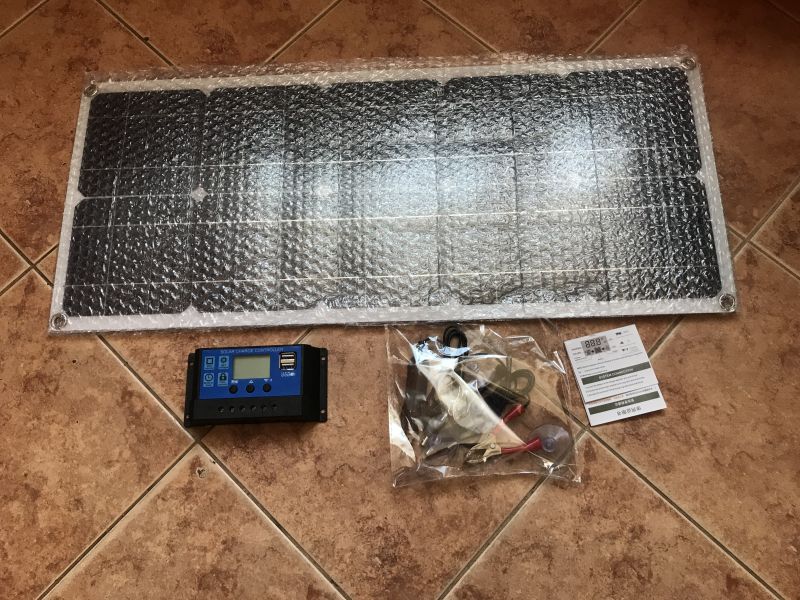 .
.
Such a solution already allows, among other things, the regular use of lighting, as long as the sun recharges the set during the day, and phones can also be charged this way, but that's for another thread.... (then you need to have in turn a 12V -> 5V inverter).
In summary , my suggestion is a dimmable LED strip, normally mains-powered, but allowing a possible simple switch to a powerbank (with a 12V QC trigger) or battery (also 12V). This has the following advantages:
+ the cost is small or zero, depends how you look at it, but you can use the LED strip normally
+ the kit shown here does not need to be bought specifically for 'prepping for the apocalypse', but can be used normally every day
+ ... ... and so the whole thing can easily convince the household members, it is more practical than a collection of torches in the garage
+ I myself have just such LED strips in the kitchen, above the window, on the cupboard, etc., each has a DC Jack connector, so you can switch any to emergency power if necessary
+ the popularity of powerbanks with QC increases the attractiveness of the set, because we may already have such a powerbank, so it is enough to buy the QC trigger itself and you can have a ready "setup" for a blackout
+ infinitely variable control of the bar's brightness level allows you to select the level of lighting and energy consumption to suit your current needs
So what are the disadvantages of such a solution? It's hard for me to list anything specific here, but certainly:
- installation of the LED strip may require soldering (soldering the wires to the strip once), and not everyone has a soldering iron
- the battery version may not be practical, because who would keep a battery (and still charge it) waiting for a blackout for years, but this solves my QC powerbank idea
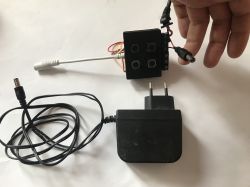
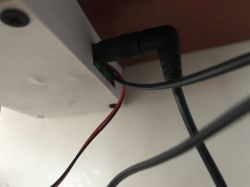
I use the approach shown here in practice and in a variety of places, which I can even show, although my LED strip connection is not rather aesthetically pleasing, it is actually a temporary solution that has been made permanent. Pictured is my DIY dimmer with push buttons and WiFi control and my other dimmer (push button only) from the kitchen:
 .
.
The question of cost remains - prices vary, but a metre of LED strip can be bought for £5-10, a 12V power supply for, say, 2A for £10-20, the small stuff will also come out to a dozen or so. The basic configuration, when added up, will not exceed the cost of 50 PLN, to which you need to add the cost of the powerbank with QC and QC trigger (this one is a pittance), so probably buying from 0 you will fit into the budget of 150 PLN, depending on the capacity of the powerbank. Of course, this is an extreme example, as we probably have a 12V power supply of some sort in stock, as well as cables, and I also reckon that we won't be buying a powerbank specifically for this project, as we'd rather use it in general too....
Finally, I'd like to add that a more typical torch, preferably one that can be recharged from USB, will also certainly come in handy. I myself have been using Nextool for years and have been satisfied.
And what ways, plans, do you have for lighting in case of power cuts? Are you prepared for one or two nights of blackout, or are you hoping it won't happen to you? .
PS: This topic has somewhat only covered lighting, I am also preparing material discussing other, equally important issues... .


Comments
As emergency lighting, I recommend camping lights. They work well not only for a tent, but also to light up a room or a cave😉. For example: https://military.pl/p/sofirn/lampa-sofirn-lt1s-black-z-akumulatorem-500-lumenow-2837731 Admittedly... [Read more]
In terms of sheer portability, what you have shown is definitely a better solution and I also have this type of light myself: Powerbank USB COB LED flashlight/portable light HP1807 rechargeable from... [Read more]
I have off grid PV and in addition 24V lighting (18 5W/12V bulbs). ps. hot water will not run out either. [Read more]
I, as protection for my homelab and VM server, have a 1kW online UPS + three 42Ah batteries. This has kept me current at home for years, I have my desk on the line fed from this UPS, no gaming comp is... [Read more]
. It is not a simple solution, because you have to look after the battery to keep it charged and in working order so this system fails. However, the oldest system cannot be replaced by a "candle / paraffin... [Read more]
I would strongly consider that if we have light and dark all around, are we not attracting potential problems? Darkness is a small problem, but it is worse if we depend on electricity for heating or drinking... [Read more]
I doubt that an LED strip, or a tourist lamp = neon on the house + garden lights. No one is telling anyone to plug anything into a lighting circuit, to do mains/backup switching. In fact, it's a very... [Read more]
I understand that this kind of "kit" is common in Ukraine where there has been war for years.... as if anyone hadn't noticed. :) He suggests a generator and a canister of petrol or two. For entertainment,... [Read more]
With the battery pack, that's right, for this reason I deliberately only showed it as a second solution, a transitional one so to speak, to form with the photovoltaics. I took the option with the powerbank... [Read more]
I recommend Coach Frycz's recent videos. Watch and give feedback. Of course, sub, paw, comment. [Read more]
I put it down to adapting to the situation. E.g. switching the household to a "daytime" lifestyle, i.e. "we get up early in the morning and go to bed after dark". An energy crisis will force changes in... [Read more]
I had such four days without power from the grid and there was no problem. I have had supply outages very often and there are even today. You just have to adapt as the colleague above wrote and it doesn't... [Read more]
Well, I'll show off my solution, I was building a new house and in 2007 I was doing the electrics in it, then I came up with an idea of how to protect myself in case of 'W' in case of lack of energy, and... [Read more]
On the UPS, you need to check from time to time whether any of the batteries in series are starting to ride out the voltage. There are also ready-made balancers. 14 cycles shouldn't kill anything. For... [Read more]
. It was tested: "Car" USB charger (step down inverter) 4U36 . Plus an adapter for Makita (or whatever cells we have) and DIY emergency powerbank ready: https://obrazki.elektroda.pl/2662990200_1746359428_thumb.jpg... [Read more]
There is no one specific way to cope in a moment of crisis, because you don't know what will be on hand then. At the moment, one can only assume that it will be something based on fv panels, powerbanks... [Read more]
. If the battery has time to charge and of course if it's new, then these batteries have already had a couple of years. So your conclusions are worthless because the reality is different. [Read more]
Large scooters and monocycles are good energy stores . In my case, 3.6 kWh . This can last ... for months . [Read more]
There is no shortage of cool USB-C soldering irons, any converter from 12V to 230V, or the aforementioned Ecoflow will easily power Lutola (which, knowing life, most here have), and almost any normal station.... [Read more]