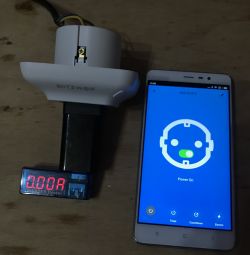
Hello my dears
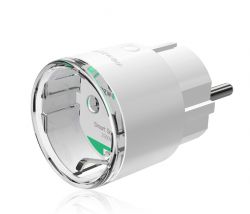
Today I will present a "smart" WiFi socket BlitzWolf BW-SHP8 , which is simply an electrical socket with a relay that can be controlled by an Android application from anywhere in the world. This socket also offers additional functionalities, such as viewing energy consumption, work schedule (turning on at a given time, etc.).
I will present the entire configuration of the socket and the application here in detail with photos, so that anyone interested in the product can manage its commissioning on their own (of course, apart from electrical issues that should be performed by an authorized person).
At the end, I will show what is inside it, i.e. I will do the so-called. "teardown".
What does the BW-SHP8 offer?
Here is a small summary of the functionalities offered by BlitzWolf and its nest BW-SHP8 :
- control of the socket from the Internet (even from outside the network LAN ) through apps on Android
- the ability to control the socket via the network itself LAN (in case of temporary lack of Internet access)
- the ability to control the socket without connecting any network (without configuration) by means of a button on its housing
- preview of power consumption by the socket along with the history of this consumption
- preview of voltage and current values
- the function of turning off the socket after a given time
- the function of turning the socket on/off on a given day at a given time
- the possibility of voice control of the socket through e.g. Amazon Alexa or Google
- the ability to 'share' smart devices between users, adding a new member's account, etc
Most of these things I will test in detail and describe below.
Socket purchase
I bought the socket in the Chinese online store Banggood in the auction called
BlitzWolf® BW-SHP8 3680W 16A Smart WIFI WallOutlet EU Plug Socket Timer Remote Control Power Monitor Work with Alexa Google Assistant IFTTT , although you can buy it on Aliexpress and eBay as well.

Its cost is less than that $20 which is approx PLN 80 , with some sellers it is broken down into the price of the nest and shipping separately, and with others the shipping is free and all is included in the price of the nest.
I personally paid a bit less because I used it publicly available on the Internet discount code as in the image below:

I made the purchase 2020-03-30 and the package has arrived 8th April I mean, just after a week, pretty quickly..
Of course, without acknowledgment of receipt - the postman put it in the mailbox.
The package immediately had information about what was inside (product code SKUC09915 and model BW-SHP8 ):
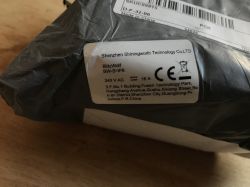
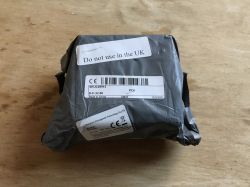
After looking at the package, I also understood why it arrived so quickly - it was sent from German more precisely with Frankfurt :

Inside was this box:
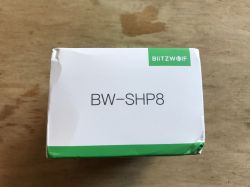

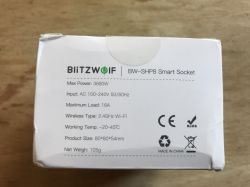


And in the box there was a socket, a manual and two screws for mounting (one escaped from the frame in the photo):
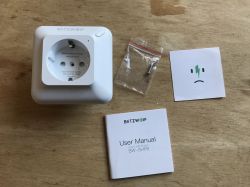
We'll take a look at the manual in a moment.
Manual BW-SHP8
Below are clear photos of the English-language manual that comes with the product box:

Contents:

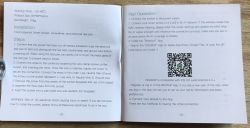





I recommend reading it before installation and using the socket. After all, below I will present in detail how I started them in practice.
Connecting the socket and running the Android application
For the duration of the tests, I connected the socket to the power cord, of course respecting the colors and L/N/E (Live, Neutral, Earth) connections, which are described on the housing.
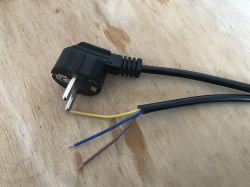
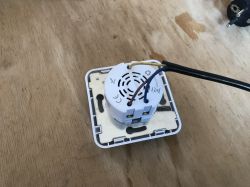
I checked that the socket was working - it was working, and the button on the housing allowed it to be turned on and off. Its status is indicated by the LED diode and the relay operation can be heard at the moment of switching:
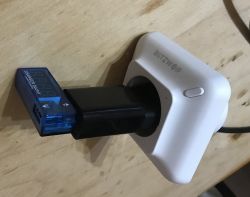
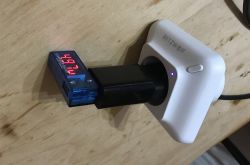
I then reached for my Android phone and started the setup BlitzWolf .
Here I will describe everything in detail as it turned out in practice - I will show the phone screen in the pictures, but they will be clear and legible.
I started by scanning QR code from the case using the Camera from the phone:
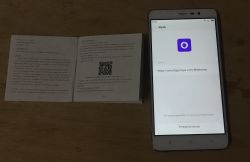
It took me to this page:
https://smartapp.tuya.com/blitzhome
There was a big Download button on this page:
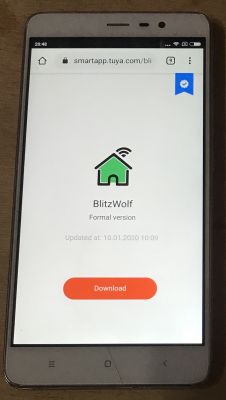
This button directed me to the official Google store where you can download the application BlitzWolf . This is a good sign, because Google verifies to some extent every application published there, maybe it doesn't do it very carefully, but it's still better than downloading a foreign file .apk directly from the manufacturer.
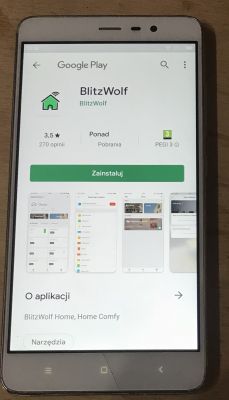
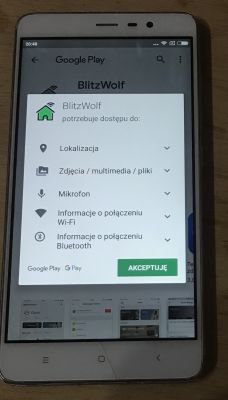

Rating this app on Google Play (Just 3.5 stars ) is a bit disturbing, but I decided not to judge in advance and check everything myself.
After installation, you need to log in, but there is also an option to register.
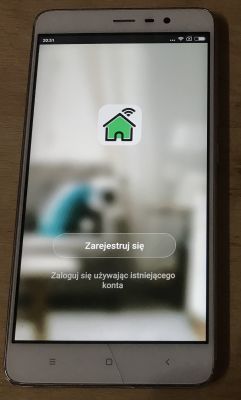
We have the choice of registering via email or telephone number. I chose the email option. I don't know why, after all, there was a place for a phone number above the email field, where " Germany +49 ", but I didn't fill it out, I just gave my email address and moved on.
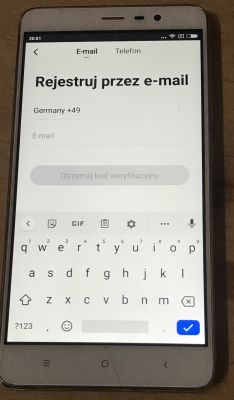
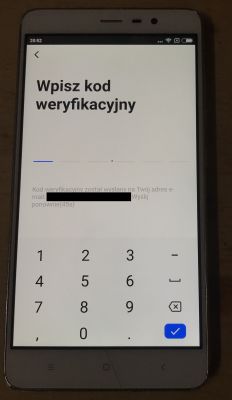
I had to wait a few minutes for the verification code.
Then I had to set a password. You will need it to log in (together with your email):
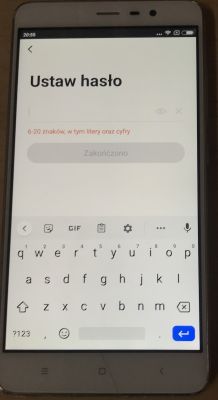
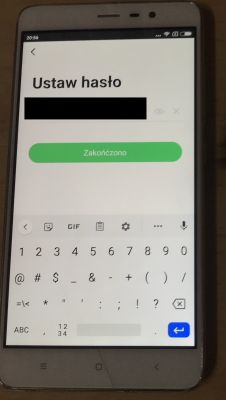
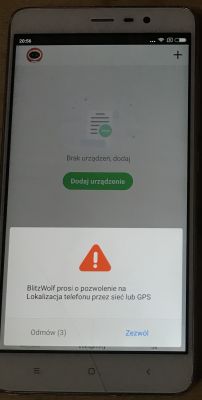
After setting the password, the application started for me. There were no more questions, giving data, names, surnames, regulations ... Only the application asked for access to the GPS and phone, which I gave it.
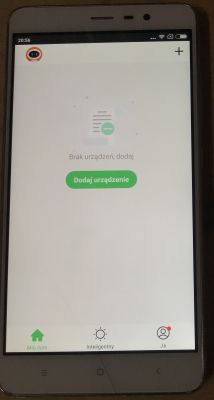
Then I was able to add a new device BlitzWolf that is our WiFi electrical socket, but more on that in the next section.
Pairing the socket with the Android application
I already installed the app and the account BlitzWolf I set it up, so it's time to connect to the purchased socket.
The application offers two options for adding a device - automatic and manual:
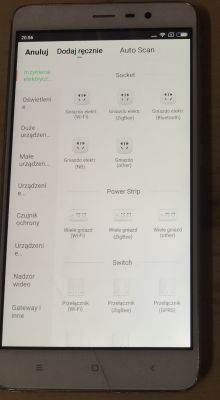
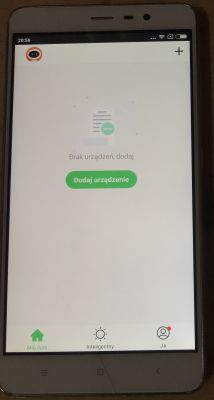
First, I tried using the " auto scan ", i.e. automatic addition.
This required adding an access app to GPS/Location :
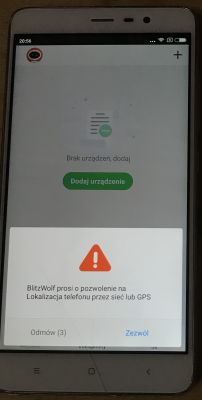
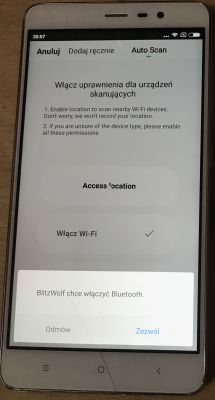
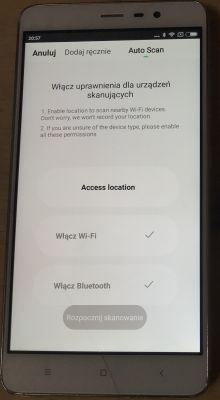
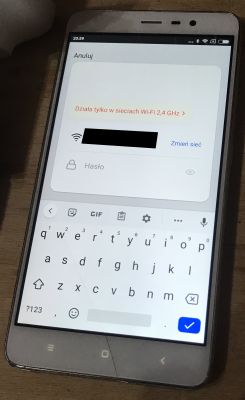
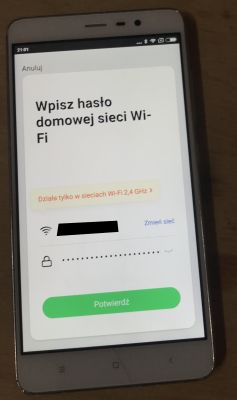
The app also asked for a password to WiFi (my network uses encryption WPA2-PSK ). At first it may seem suspicious, but it is rather necessary, because this password is then saved in the memory of the socket so that it can connect to this WiFi :
Then the scan started:
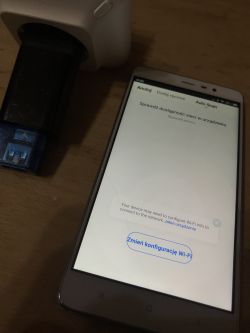
Unfortunately, it found nothing. I tried resetting the socket following the instructions from the app, but no results:
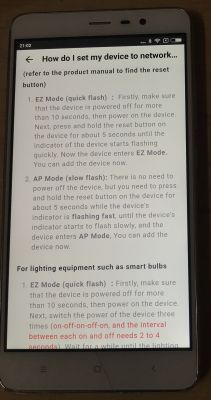
After a few tries, I decided that rather automatic pairing of the socket with the application will not work for me. If this has worked for anyone, please let me know.
I decided to use manual pairing, i.e. select a specific device model BlitzWolf (WiFi power socket) added in this form:
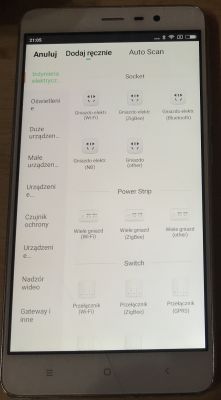
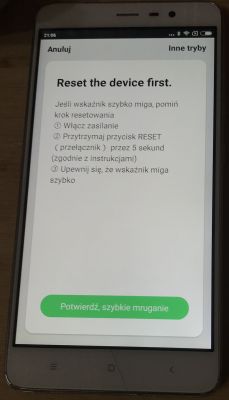
I followed the instructions on the screen:
The connection was immediately successful:
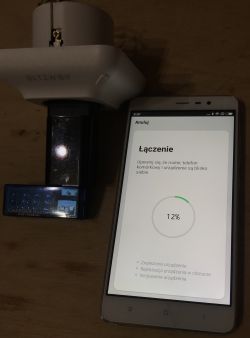
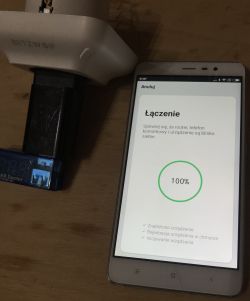
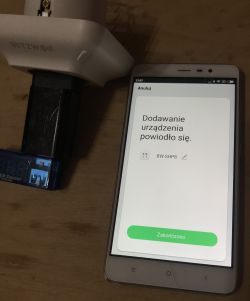
There were no problems connecting to the socket, and in my network WiFi a new device appeared (I checked it with Scanner IP ):
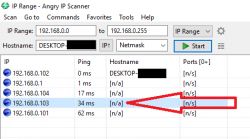
Of course, I'm showing it only for illustrative purposes, you don't have to check it, BlitzWolf connects and handles everything in the background with no user involvement.
Socket control from the Android application
After pairing the application with the socket, you can control it with one tap on the screen:
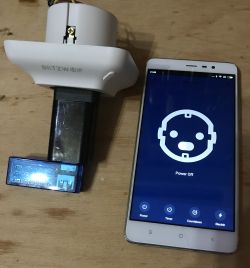

At the moment of switching, you can hear the operation of the relay, which is located in the housing of the socket.
List of devices we have BlitzWolf is available immediately after starting the application, you can add more sockets, switches and many other things there:
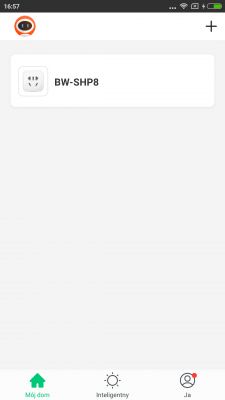
In the properties of a given device, you can change its icon, name, membership group (division into rooms):
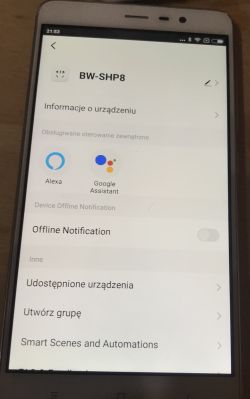
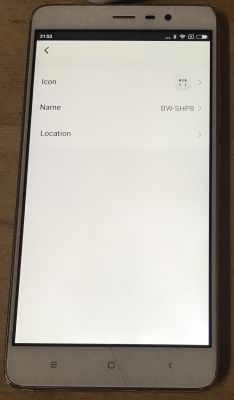
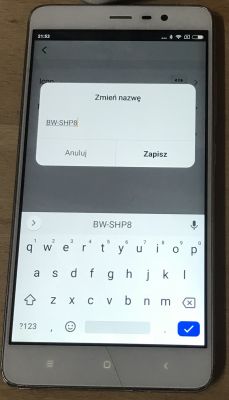
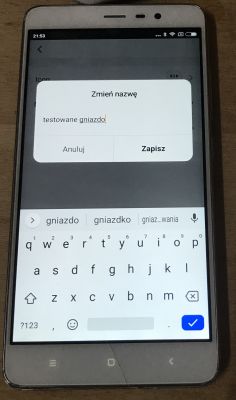
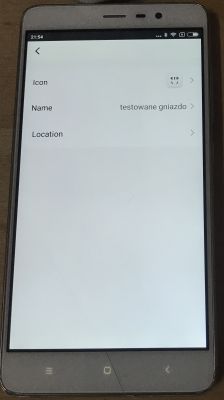
Timed on/off function ("Countdown")
The socket offers a simple possibility to set the so-called ' sleep ', i.e. one-time activation or deactivation after a given time.
" Countdown " is activated directly from the nest view screen.
Here you can set the time with the accuracy of minutes:
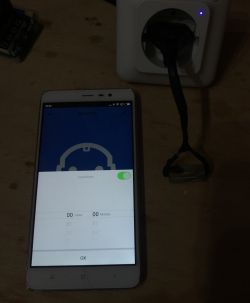
(In the photo, my artificial load-resistor is connected to the socket)
After setting the time, we get a Toast message with the content " Device will be off in 1 Minute " (or whatever time we set) and the countdown begins.
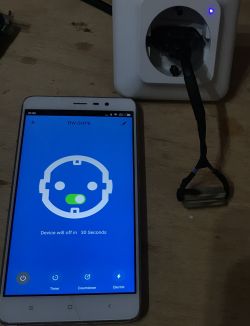
After a while, the socket turns off (and the status LED on it goes out) as expected:
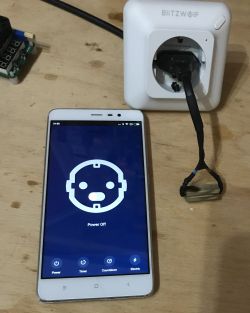
Socket on/off schedule
BlitzWolf offers the ability to set a detailed schedule for socket operations. It allows you to specify when the socket turns on or off.
This is set in the " Schedule ":
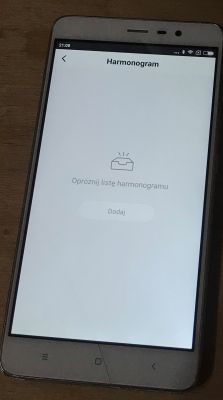
Button " Add " allows you to add a single event to the schedule:
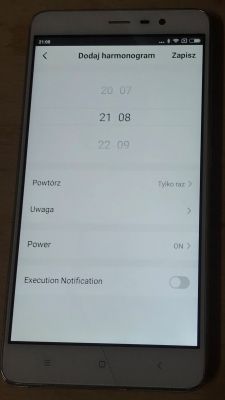
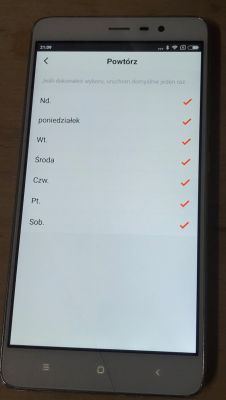
For the event we need to specify:
- event type (on or off)
- repetition (only once or on certain days of the week)
- Attention (announcement)
- visibility of notifications on the phone
After confirming this, we have a new event in the schedule list:
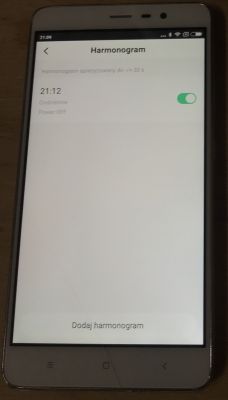
If we want, for example, to turn on the lighting or the heater for a given time, we must of course give it two events separately - on and off. They are then listed separately:
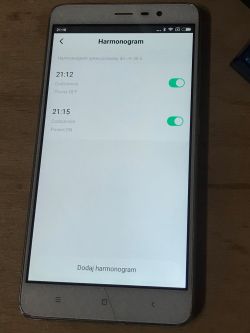
The messages reminding us that the schedule is being executed look like this:
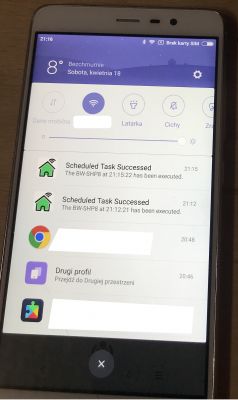
I tested everything and the schedule works fine.
View the voltage/current/energy consumption of the socket
Another functionality offered by the socket status preview in the application is the measurement of energy consumption by the devices connected to it:
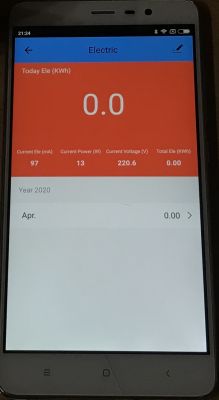
The energy consumption in the view above is shown as:
- Current el(mA) - current current
- Current Power (W) - current power
- Current Voltage (V) - current voltage
- Total Ele (KWh) - total power consumption
- Today Ele (KWh) - power consumption of the current day
In addition, there is a history of power consumption for each month separately.
For the test, I plugged my laptop into this socket for the whole day. The energy consumption has been for some time 40W (in "Energy saving" mode with the screen off) to 80W (with high CPU usage).
Here are the results:
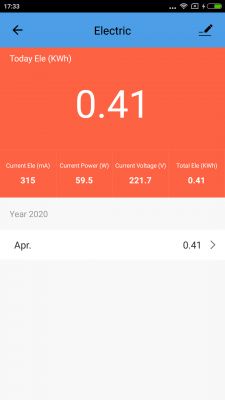
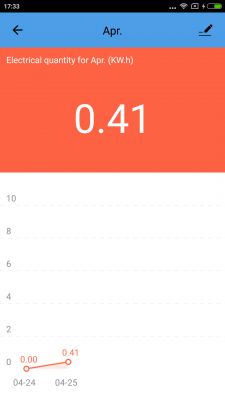
And this is the history of energy consumption from two days that I mentioned earlier. It is clearly shown in the chart:
Minitest with resistive load
Out of curiosity, I decided to do an additional mini-test to verify how reasonable the data the socket shows.
In the test, I decided to use resistive load , because it is very convenient for him to count active power.
The power of the sinusoidal current can then be determined by the formula:

Specifically, I used a power resistor 6.2kΩ , and more specifically 6.222kΩ (according to my Brymen):
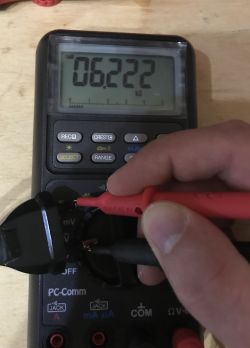
I also measured the voltage in the network, it came out 222V and estimated the power from the previously mentioned formula:
P = (222^2/6222)W = 7.92W
That's about the amount of power I should expect on my resistive load at that voltage.
In turn, the value of the effective current here should be approx 36mA .
So I checked if this is indeed the case:
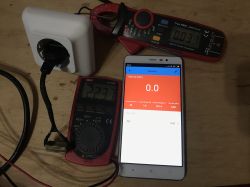
In addition, the photo shows my clamp meter UT210E and it also shows the value of the current flowing into the socket.
Socket shows:
- tension 221.4V
- current 36mA
- power 7.9W
UT210 shows:
- current 37mA
UT10A shows:
- tension 223.7V (there were variations)
Of course, each equipment has its own measurement error, but I still think it's not bad, everything is within expectations and according to the calculations I made. The minitest suggests that the socket has adequate measurement accuracy for everyday use.
Test under heavy load - electric kettle
I also checked how the socket will behave under heavy load. I used an electric kettle for this. I wanted to check especially what load current the application will show BlitzWolf . I used a clamp meter to verify the load current UT210E .
Prepared test stand:
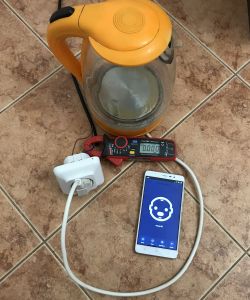
Measurement result:
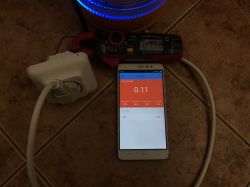
Application in the photo above BlitzWolf shows:
- current ( Current Ele ) 7878mA
- voltage ( Current Voltage ) 213.2V
- power ( Current Power ) 1691.4W
UT210E shows the current 7.98A .
The results differ by less than 2%. Accuracy is satisfactory for me.
Socket test on different supply voltages
I performed this test using an autotransformer. His main motivation was curiosity and the desire to check whether the socket measures its operating voltage correctly.
Test setting:
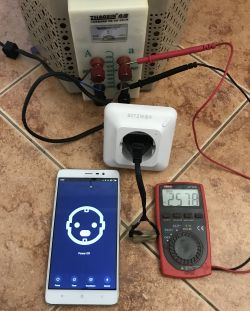
I took measurements every few tens of volts, I just wanted to pre-determine how it would behave BlitzWolf .
All tests were performed with a resistive load 6.222kΩ
Supply voltage: 257V AC :
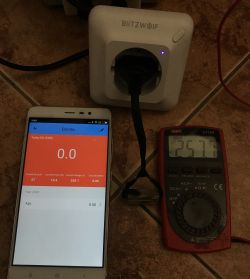
Supply voltage: 207Vac :
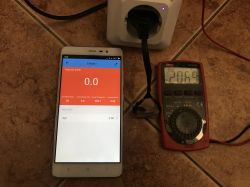
Supply voltage: 157Vac :
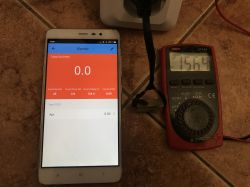
Supply voltage: 130V AC :
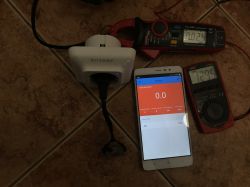
Something interesting happened here - the displayed current and power dropped to zero, although the load was still connected and UT210E it still showed 24mA.
Supply voltage: 73V AC :
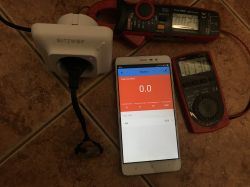
Supply voltage: 45V AC :
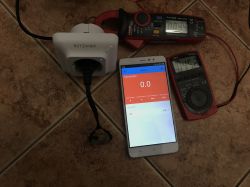
Here, the socket correctly showed the voltage.
Supply voltage: 25V AC :
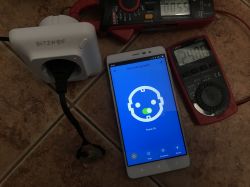
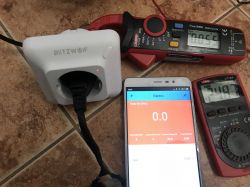
The socket has stopped responding. It couldn't be controlled by the app at all.
Conclusion: the socket correctly measures its operating voltage and works correctly until some 45V , but a little earlier it has a problem with measuring low load power and shows zero current and power.
Test whether the socket remembers its last setting after a power outage in the network
I decided to additionally check what will happen if there is no electricity at all in the house for some time - will the socket remember its previous state after the power is restored, or will it go to the default state, e.g. OFF?
For this reason, I conducted several tests - separately with the phone and the application turned on BlitzWolf and separately without her.
Test with the application turned on - energy loss when the socket is in the ON state:
Test with the application on - energy loss when the socket is OFF:
I did the same tests with the app disabled on my phone and the behavior of the socket was the same.
Conclusion: this socket (BW-SHP8) remembers its state before the power loss and turns it on automatically when the power is restored. Another question, does he remember him in the nest itself (some EEPROM or Flash ), or on servers BlitzWolf but I haven't checked it yet.
Open source firmware for socket?
I haven't personally tested this yet, but for a socket BW-SHP8 there is an alternative firmware available on the web, more precisely it supports them the Tasmot project :
https://github.com/arendst/Tasmota/issues/5967
It is therefore possible that this socket can be used without connecting to the servers at all BlitzWolf , you just need to upload the appropriate batch to it.
Tasmot it is an open source firmware project for various devices mainly based on ESP8266 , more here:
https://tasmota.github.io/docs/
Connection test - Internet access (worldwide)
To be sure, I also checked whether I am able to control the socket from anywhere on the Internet.
Your phone with the application BlitzWolf I connected to the mobile internet (via an access point on another phone with a card SIM , but that's not relevant now) and I left the socket on WiFi from the fixed-line internet (the one on which it was configured).
I checked the connection and it turned out that I can easily control the socket and read its energy consumption.
Application: The mobile application and the BlitzWolfa[ system allow you to control the socket from anywhere on the Internet. No need to be on the same LAN. It is only important that both the socket and the application have access to the Internet. This is probably done so that the packets go through the server BlitzWolf from the network, he is the intermediary between the telephone and the socket.
Connection test - access from the local network (without internet connection)
I also checked the operation of the application BlitzWolf on a WiFi network without internet access.
I just pulled the main cable from the router.
A phone with an application BlitzWolf and socket BW-SHP8 Of course I left it connected to the network.
The app was unresponsive for a while, but then it started working responsive again and allowing you to control the socket.
I also checked restarting the Android phone to determine if I can log into BlitzWolf without Internet at home and the application launched without problems (there was no login form, my list of sockets turned on right away).
Application: The mobile application and the [b]BlitzWolf system works even when there is no internet at home (neither in the router nor mobile), provided that the phone and the socket are in the same network LAN .[/b]
Measurement of power consumption by the socket itself
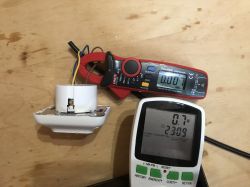
I used my clamp meter to measure UT210E and a system energy consumption meter V9261F .
Power consumption of socket on (relay on):
Power consumption with relay off:
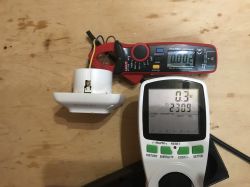
I admit that I could have used better measuring equipment for this, but I don't have one, and the results match the information from the web.
With the relay on, the socket draws some 0.7W , and with it turned off 0.3W .
Teardown, i.e. we look inside the nest
Finally, I decided to check what the whole layout looks like inside.
The plastic housing itself is easy to remove, it is held on four plastic hooks:
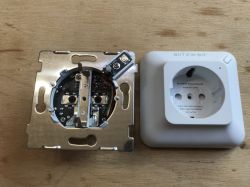
The rear socket cover is also attached to the metal frame with the following four hooks:
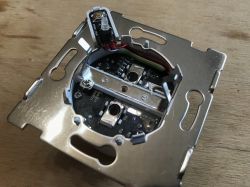
The socket plate and ground contacts are also screwed to the housing:
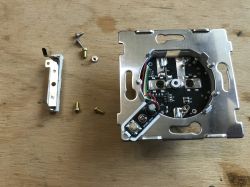
I was in a bit of a hurry here with pulling out the contacts from the ground, because then they can be removed more easily after removing the metal frame.
The metal frame goes down quite hard, you have to pry two plastic hooks at once. This plastic is solid and tough.

This is how you can take out the electronics inside:

The electronics of the socket consists of several plates permanently soldered together. Below I will present the exact photos of her and describe what you see.
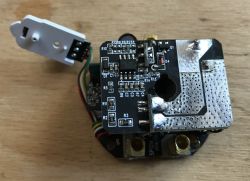
Signals signed as go to a small plate with a button and a LED diode GND, 3.3V, RX and TX :
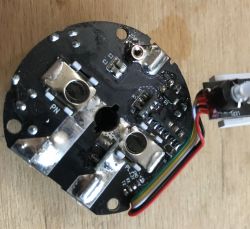
On the back of the socket, there is a system responsible for measuring current and voltage:
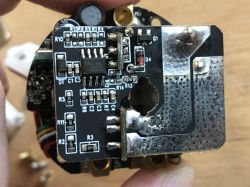
It is BL0937 production Shanghai Belling Co., Ltd. .
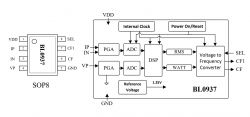
Its manufacturer describes it as:
Quote:
advantage
2 way high precision ADC, current measurement range (4mA~30A) @1mohm
High frequency CF1 is used to indicate current / voltage RMS
High frequency CF is used to indicate power and energy measurement
Chip built-in 1.2V reference voltage source
The chip has a built-in oscillating circuit, and the clock is about 2MHz
Chip single working power 3.3V, low power 6mW (typical value)
SOP8 encapsulation
Full catalog note here:
The heart of the system is the WiFi module signed as TYWE2S :
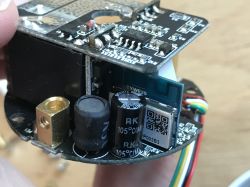
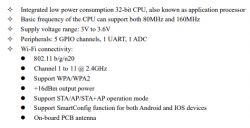
TYWE2S of course it's based on ESP8266EX with additional flash memory. TYWE2S is produced by HangZhou Tuya Technology Corporation .
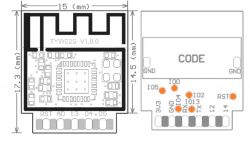
parameters TYWE2S are quite as follows:
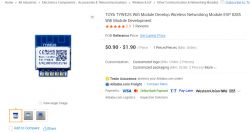
And it looks like you can buy it for some $1-2 :
Catalog note TYWE2S :
Another element is hidden under the plate, 6118A :
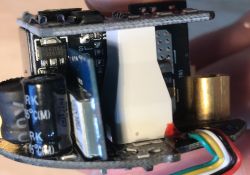
It is STL6118A production Semtron . Regulator LDO .

That's what makes it stable 3.3V on the board:
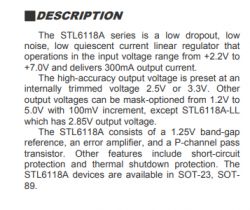
Catalog note STL6118A :
The power supply is provided by two electrolytic capacitors 400V , between which there is an element that looks like a choke:
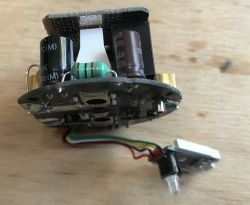
Looks like it to me Pi type filter :
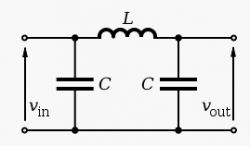
But I'm not sure and the whole power system is hard to trace.
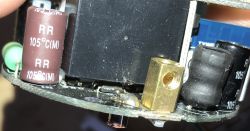
These are not all the elements listed on the board. There are more of these, but some of them are inaccessible and difficult to photograph at all. Here you can see at least one integrated circuit that is under the relay, it is possible that it is a power supply system:
More product demolition BlitzWolf I will do it when I get a damaged one, because I intend to use this socket rather, and it would be a shame to disassemble it into the first elements.
Continued - WiFi Light Switch Review
This socket is just one of a wide variety of 'smart home' products flooding online stores for some time now.
Another interesting product that I recently spotted is a light switch WiFi , such:
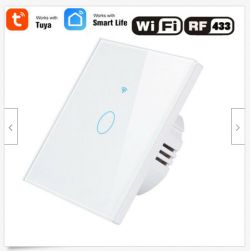
I have already purchased it and will write about it in a while.
Summary
Nest BW-SHP8 in my opinion, it is not a bad product and it is possible that it will find its place in my home. At first, I had the biggest concerns about the requirement to register an account to use the entire system BlitzWolf , but it turned out that this registration is quite justified and fortunately requires only an email address, not even a phone number, so it does not violate privacy to a large extent.
I can list the following pros and cons of the product,
Pros:
+ quite convenient and easy to set up
+ the socket works on the basis of the existing WiFi network in most homes
+ access to devices is via the Internet, from all over the world
+ based on such sockets (and light switches from BlitzWolf , also with WiFi ) practically everyone can make a 'smart home' at home
+ measurement of energy consumption and its history
+ temporary lack of internet access does not break the performance BlitzWolf (provided that the phone we control and the devices are controlled within one network WiFi )
+ many convenient options, schedule, countdown, etc. You can easily configure, for example, turning on the heating in winter for the night (e.g. for the duration of a cheap night energy tariff if we use it)
+ they don't require you to enter your phone number (I set this up on a cardless phone SIM ), just email is enough
Minuses:
- automatically adding the device failed - I lost some time on several attempts, but it just didn't work, you need to select a specific type of our product, i.e. "Electric socket. WiFi" BlitzWolf and then it is added
- despite everything, the product forces you to register online, it is impossible to configure the network of sockets completely offline BlitzWolf
- this socket is about 10 times more expensive than a regular power socket (without WiFi)
- it is a socket type German/Schuko , i.e. without a pin, I have not seen it appear in the 'with a pin' version, i.e. the so-called French
- the socket consumes less than 1W from the network (more precisely: approx 0.7W with the relay on, 0.3W with it turned off), you should be aware of this, although it is rather known that "nothing is free" and you have to pay for the convenience of controlling via WiFi...
It is possible that in some time I will test other products also offering control via WiFi , I have already purchased several more products for the "smart home".
What do you think about such a nest? Is it worth getting into something like this and redecorating the house to make it 'smart' or is it an unnecessary gadget?
Cool? Ranking DIY Helpful post? Buy me a coffee.


