FAQ
TL;DR: "16 A at 250 V" rated LSC Smart Plug can be flashed in under 3 minutes; "Broadcast self state will be default" says developer p.kaczmarek2 [Elektroda, lone, #20354535; Elektroda, p.kaczmarek2, #20354770]. Works with OpenBeken, MQTT and Home Assistant.
Why it matters: Quick, local firmware unlock turns a budget plug into an offline-friendly smart switch.
Quick-Facts:
• Rated load: 16 A, 220–250 V AC, 50/60 Hz [Elektroda, lone, post #20354535]
• MCU: Beken BK7231T, flash file OpenBK7231T_UA_1.x.x.bin [Elektroda, lone, post #20354535]
• Opening requires Torx-8 + 2 PCB screws [Elektroda, lone, post #20354535]
• Typical flash success >95 % using hid_download_py [Elektroda, p.kaczmarek2, post #20399910]
• MQTT Flag 10 will be enabled by default from firmware 1.17+ [Elektroda, p.kaczmarek2, post #20354770]
Quick Facts
see lead_box
What hardware is inside the Action LSC Smart Plug (Art. No 2578685)?
The plug uses a BK7231T Wi-Fi SoC on a WB2S module, a 16 A relay, and two status LEDs. No energy-meter IC is present, so only on/off control is available [Elektroda, lone, post #20354535]
How do I safely open the enclosure?
- Remove the Torx-8 security screw.
- Pry the case, then undo the two internal PCB screws.
- Lift the board slightly to access the UART pads [Elektroda, lone, post #20354535]
Which GPIO configuration works for firmware 1.x on Art. No 2578685?
Use OpenBeken’s Module Configure: P6 PWM0 Btn 0, P7 PWM1 LED 0, P8 PWM2 LED_n 0, P24 PWM4 Rel 0 [Elektroda, lone, post #20354535]
What MQTT flags are recommended?
Set Flag 10 to broadcast state on connect. Set Flag 21 to retain power channels. Skip Flag 7 because Flag 21 already retains the single relay value [Elektroda, p.kaczmarek2, post #20354770]
Will upcoming firmware change any defaults?
Yes. Developer p.kaczmarek2 confirmed Flag 10 (broadcast self state) “will be set by default in future releases” [Elektroda, p.kaczmarek2, post #20354770]
How do I configure the version 2.0 plug (Art. No 970762)?
Set P7 PWM1 LED 0, P24 PWM4 Rel 0, and P26 PWM5 Btn 0. Home Assistant and MQTT work correctly with this mapping [Elektroda, robkry, post #20398058]
Edge case: flashing fails or memory read errors appear—what now?
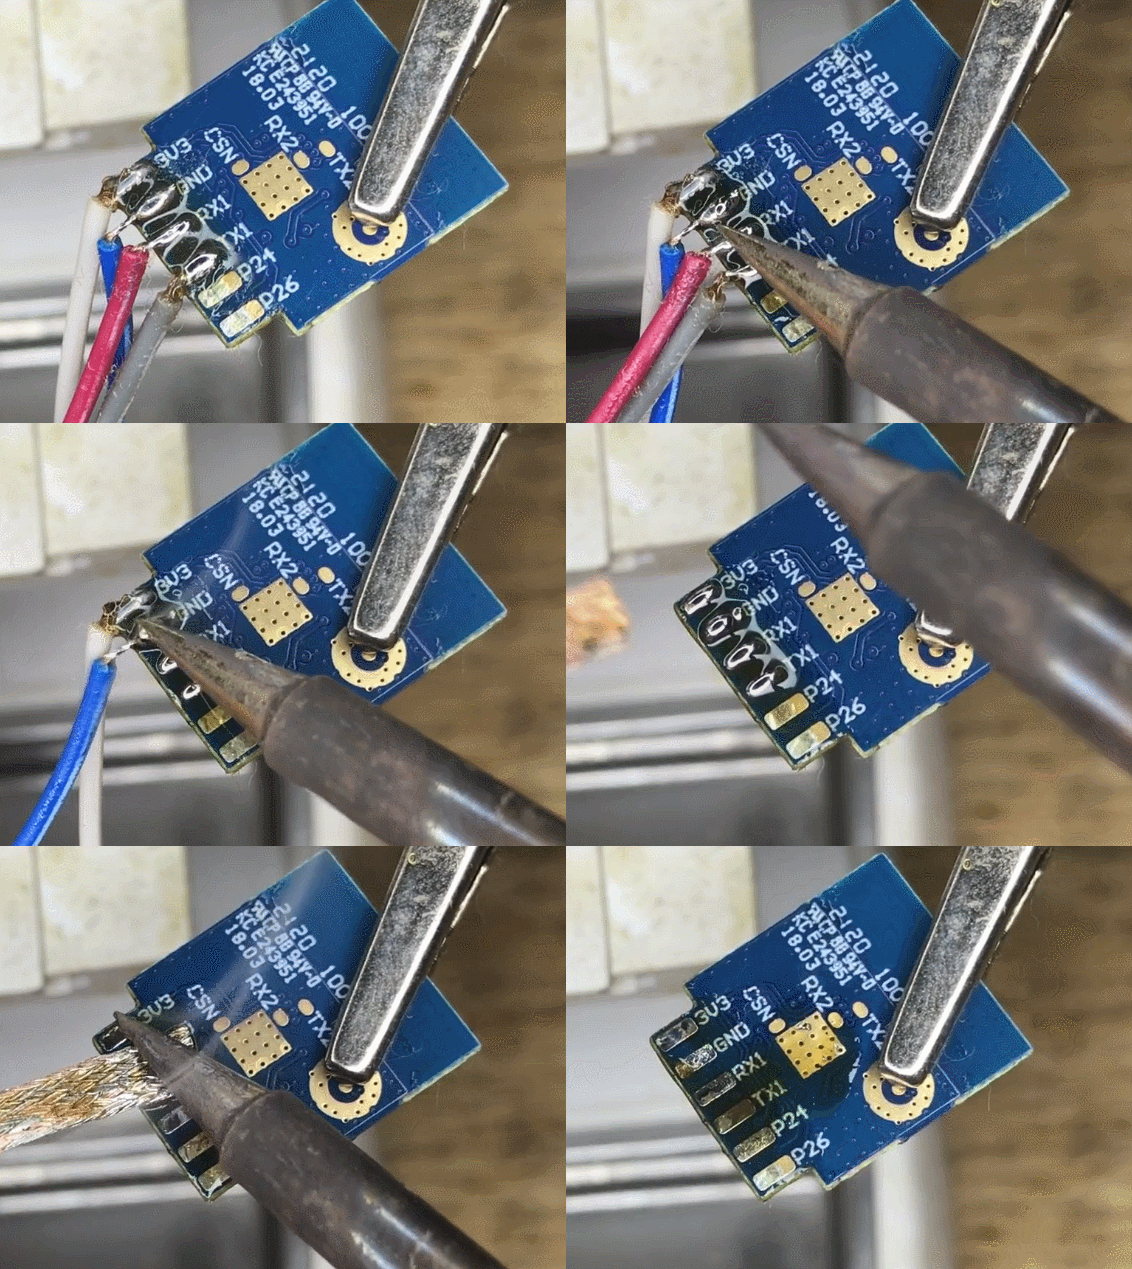
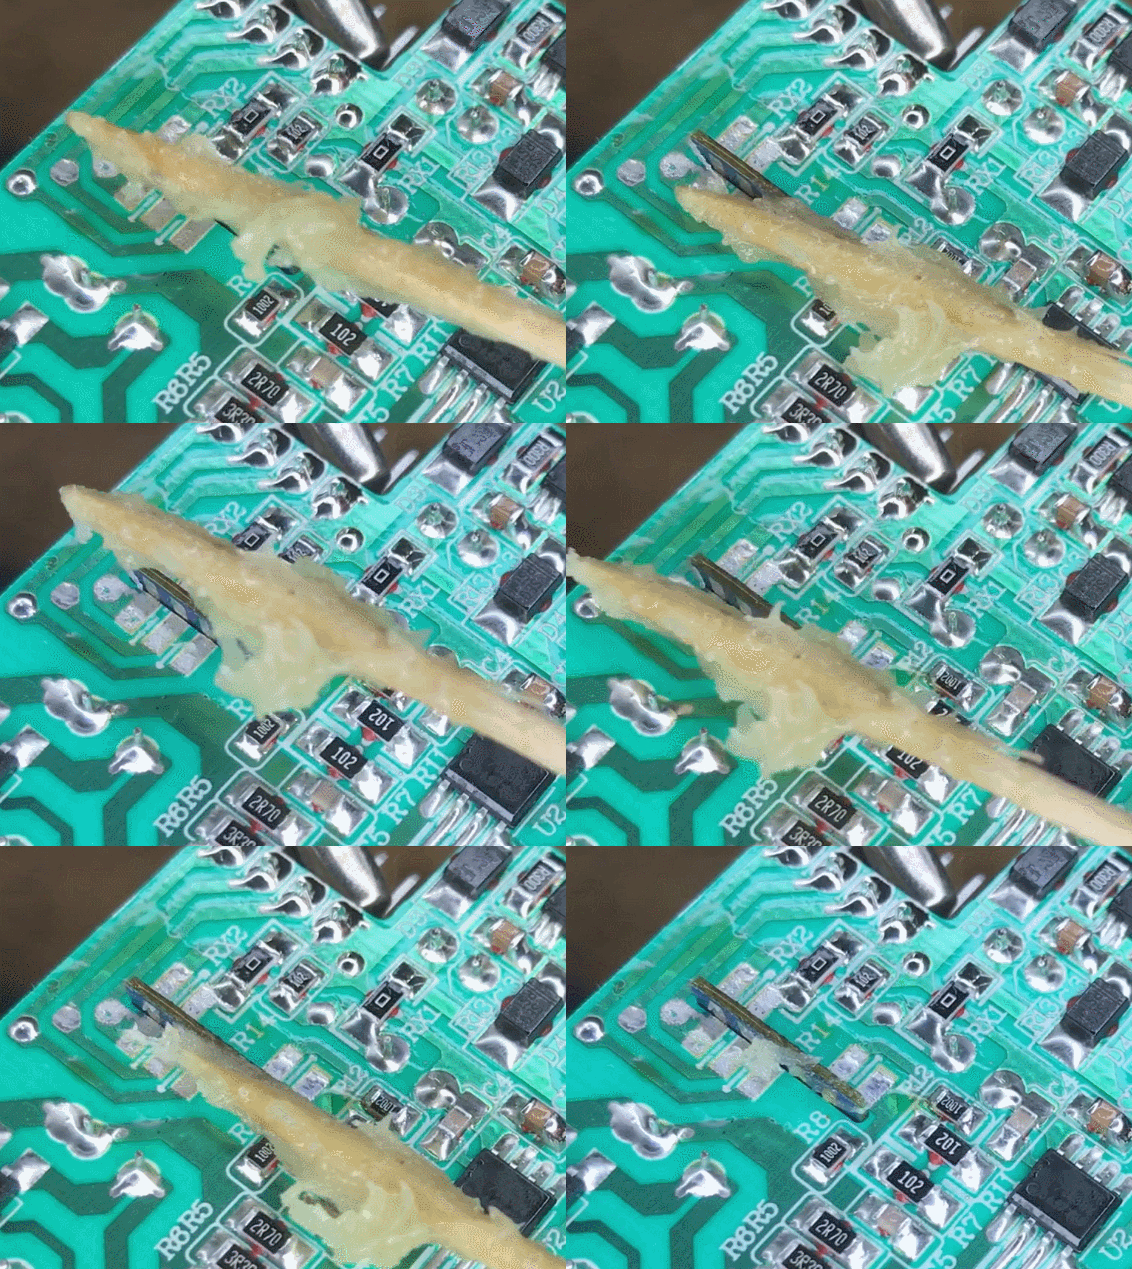
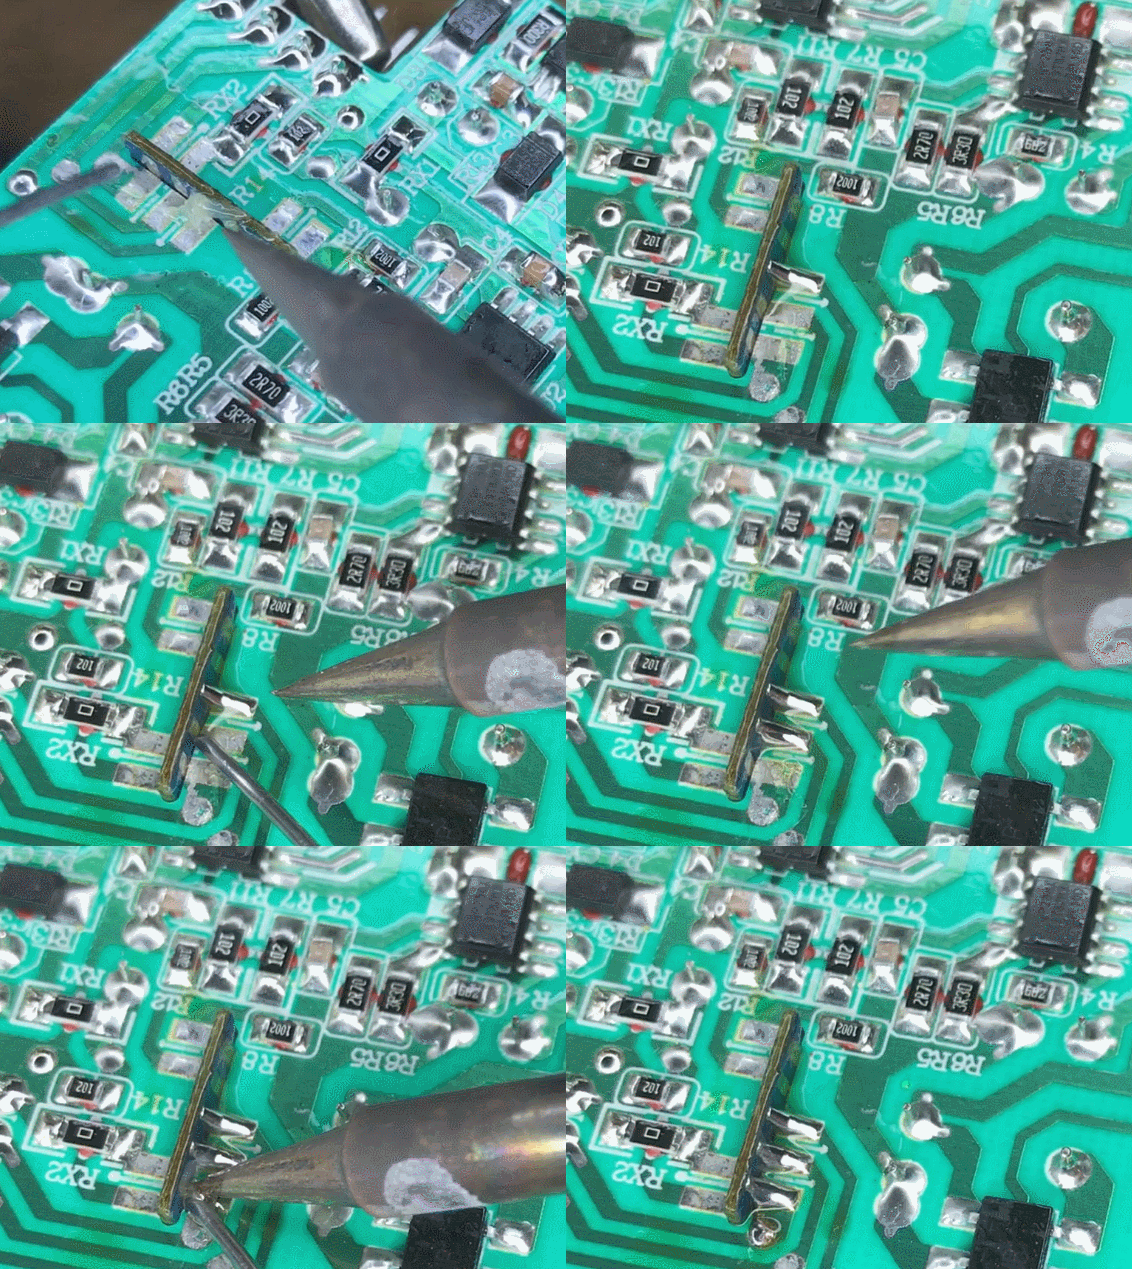
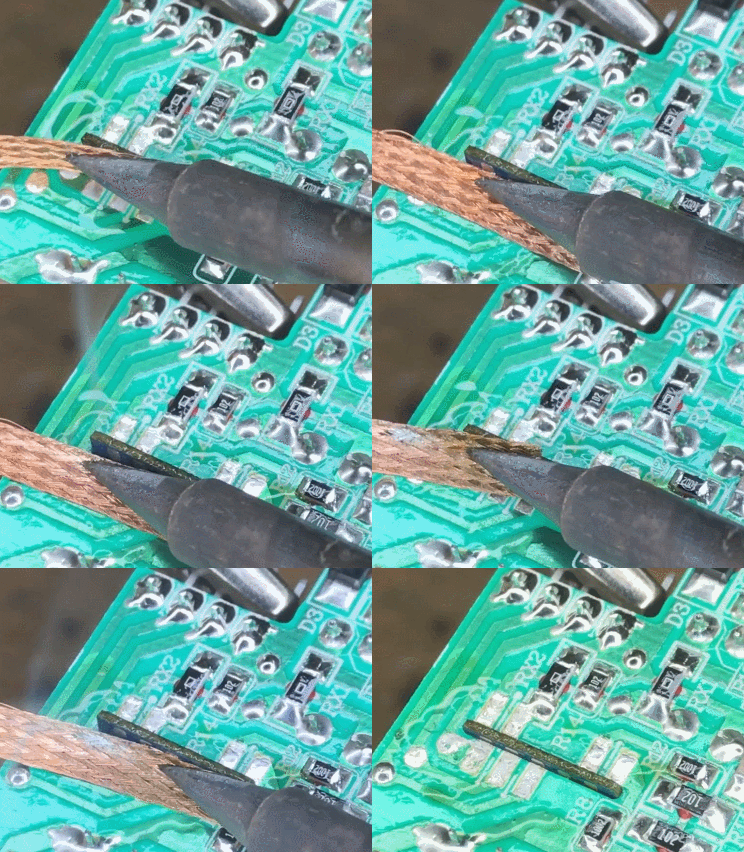
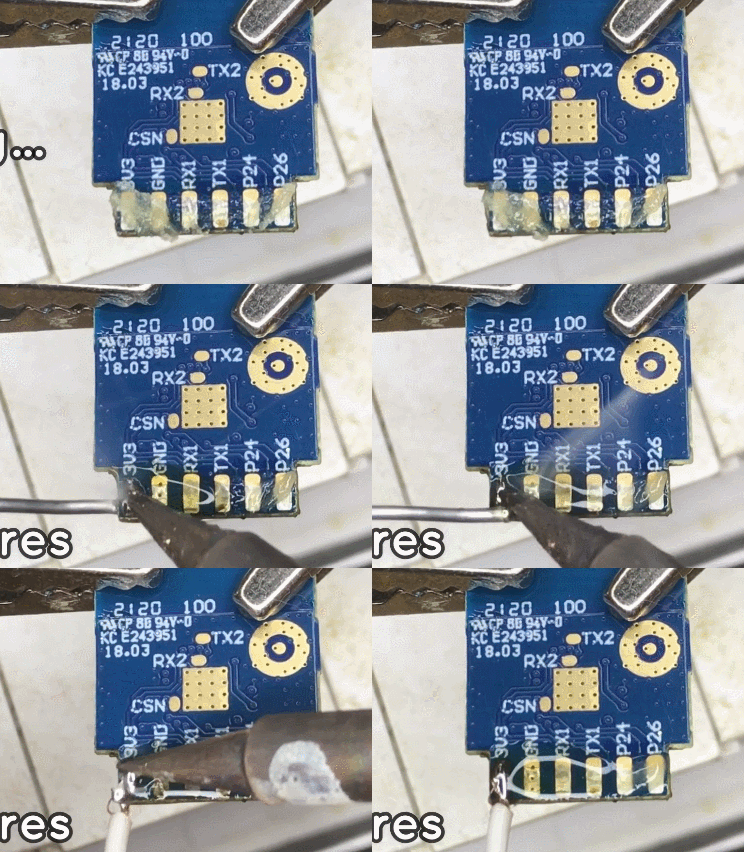
Desolder the WB2S module, wire TX/RX/3.3 V/GND directly, then flash. Users report errors disappeared after removing the module from the main PCB [Elektroda, robkry, post #20399901]
Which USB-to-TTL tools work best?
BK GUI flasher works with most CH340 and FT232 adapters. If it hangs, use hid_download_py; success exceeds 95 % on reported converters [Elektroda, p.kaczmarek2, post #20399910]
What is the maximum safe load for the relay?
The relay is rated 16 A at up to 250 V AC; exceeding this may overheat contacts and void safety approvals [Elektroda, lone, post #20354535]
Can I integrate the plug with Home Assistant?
Yes. After flashing OpenBeken, enable MQTT discovery or add a manual switch entity. Multiple users report stable operation with Home Assistant 2023.1 [Elektroda, robkry, post #20398058]
Is energy monitoring possible on this model?
No. The PCB lacks BL0937/HLW8012 metering chips. Only on/off status and LED feedback are exposed [Elektroda, lone, post #20354535]
Quick How-To: flash OpenBeken in 3 steps
- Solder RX, TX, 3.3 V, and GND to UART pads.
- Hold BOOT0 low, run hid_download_py with OpenBK7231T_UA_1.x.x.bin.
- Power-cycle; connect to the OBK access point for setup [Elektroda, p.kaczmarek2, post #20399910]
![[BK7231T] Teardown Action LCS Smart Plug (without Energy Meter) 2578685 [BK7231T] Teardown Action LCS Smart Plug (without Energy Meter) 2578685](https://obrazki.elektroda.pl/4272077000_1672163705_thumb.jpg)
![[BK7231T] Teardown Action LCS Smart Plug (without Energy Meter) 2578685 [BK7231T] Teardown Action LCS Smart Plug (without Energy Meter) 2578685](https://obrazki.elektroda.pl/3211659500_1672163711_thumb.jpg)
![[BK7231T] Teardown Action LCS Smart Plug (without Energy Meter) 2578685 [BK7231T] Teardown Action LCS Smart Plug (without Energy Meter) 2578685](https://obrazki.elektroda.pl/7653822600_1672163712_thumb.jpg)
![[BK7231T] Teardown Action LCS Smart Plug (without Energy Meter) 2578685 [BK7231T] Teardown Action LCS Smart Plug (without Energy Meter) 2578685](https://obrazki.elektroda.pl/4516058200_1672163716_thumb.jpg)
![[BK7231T] Teardown Action LCS Smart Plug (without Energy Meter) 2578685 [BK7231T] Teardown Action LCS Smart Plug (without Energy Meter) 2578685](https://obrazki.elektroda.pl/9014609400_1672163722_thumb.jpg)
![[BK7231T] Teardown Action LCS Smart Plug (without Energy Meter) 2578685 [BK7231T] Teardown Action LCS Smart Plug (without Energy Meter) 2578685](https://obrazki.elektroda.pl/7326861400_1672163725_thumb.jpg)
![[BK7231T] Teardown Action LCS Smart Plug (without Energy Meter) 2578685 [BK7231T] Teardown Action LCS Smart Plug (without Energy Meter) 2578685](https://obrazki.elektroda.pl/2233633000_1672163729_thumb.jpg)
![[BK7231T] Teardown Action LCS Smart Plug (without Energy Meter) 2578685 [BK7231T] Teardown Action LCS Smart Plug (without Energy Meter) 2578685](https://obrazki.elektroda.pl/5203090000_1672163733_thumb.jpg)


![[BK7231T] Teardown Action LCS Smart Plug (without Energy Meter) 2578685 [BK7231T] Teardown Action LCS Smart Plug (without Energy Meter) 2578685](https://obrazki.elektroda.pl/9962469700_1674416362_thumb.jpg)
![[BK7231T] Teardown Action LCS Smart Plug (without Energy Meter) 2578685 [BK7231T] Teardown Action LCS Smart Plug (without Energy Meter) 2578685](https://obrazki.elektroda.pl/9383579700_1674416382_thumb.jpg)
![[BK7231T] Teardown Action LCS Smart Plug (without Energy Meter) 2578685 [BK7231T] Teardown Action LCS Smart Plug (without Energy Meter) 2578685](https://obrazki.elektroda.pl/3885222900_1674416400_thumb.jpg)
![[BK7231T] Teardown Action LCS Smart Plug (without Energy Meter) 2578685 [BK7231T] Teardown Action LCS Smart Plug (without Energy Meter) 2578685](https://obrazki.elektroda.pl/8583519500_1674416417_thumb.jpg)
![[BK7231T] Teardown Action LCS Smart Plug (without Energy Meter) 2578685 [BK7231T] Teardown Action LCS Smart Plug (without Energy Meter) 2578685](https://obrazki.elektroda.pl/9531623800_1674416429_thumb.jpg)
![[BK7231T] Teardown Action LCS Smart Plug (without Energy Meter) 2578685 [BK7231T] Teardown Action LCS Smart Plug (without Energy Meter) 2578685](https://obrazki.elektroda.pl/4315148700_1674286812_thumb.jpg)
