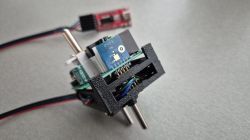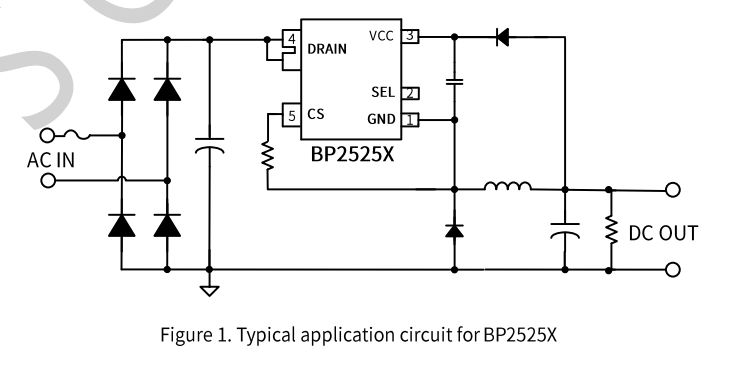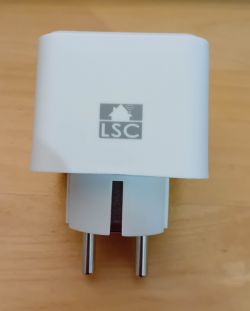
Action sells these in Germany, there are several versions of them, they started with ESP826x-based plugs and switched to Beken-chips at some point.
The early ones had screws to open, the cases of the later ones like this here are just clicked together. Here is a detailed teardown and OpenBeken flashing guide. Device information:
PCB-Label: WP02GE-F 2023-08-04
BKN-Chip: BKN7231N
BKN-Board: CB2S
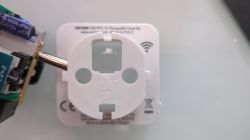
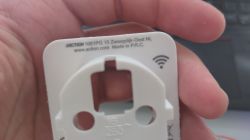
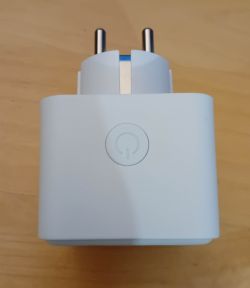
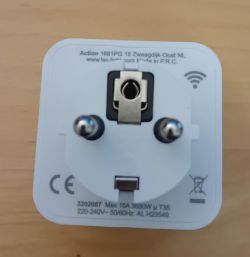
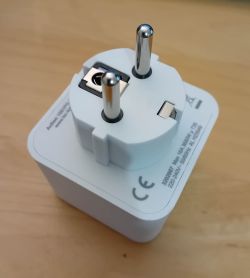
It looks like this:

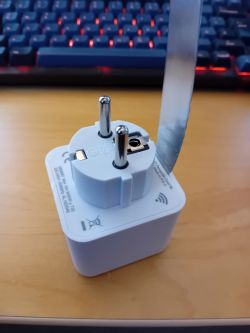
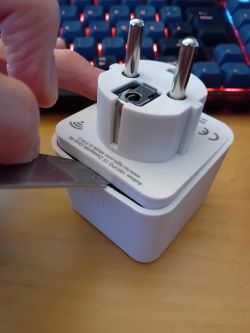
To open it use a slim blade and put it about 5mm inside to pry it open:
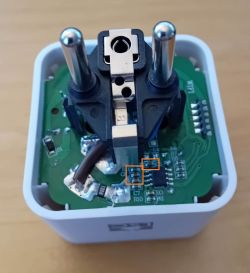
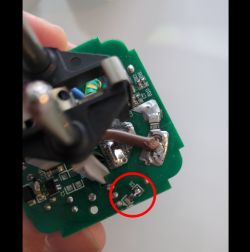
This is how it looks inside:
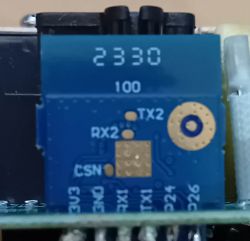
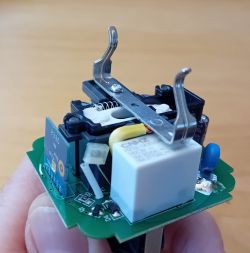
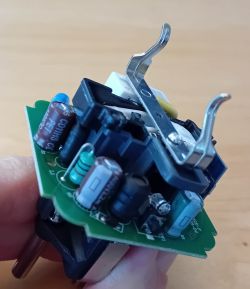
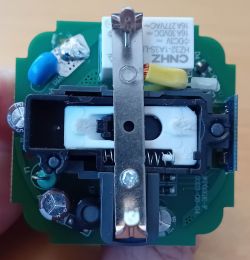
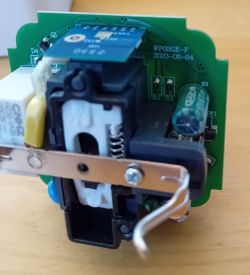
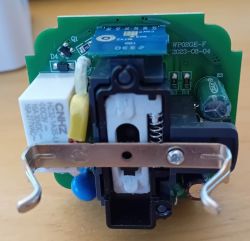
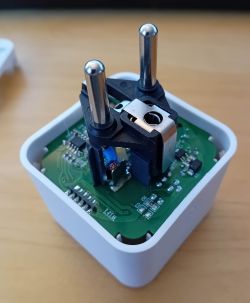
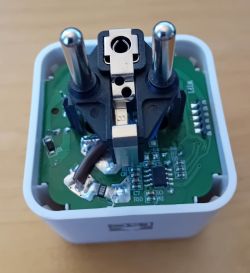
Here's the pinout of the CB2S-Board:
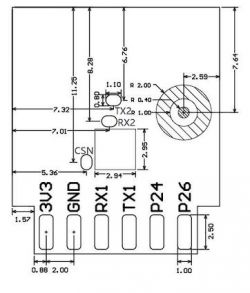
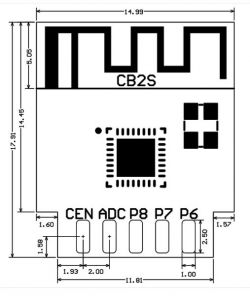
To flash it we need to connect our FTDI-USB-Programmer to the pins 3,3V, GND, RX, TX and a Cable to CEN (so that we can connect that to GND to get into program mode).
I soldered some Dupont-Cables to these pins, like this:
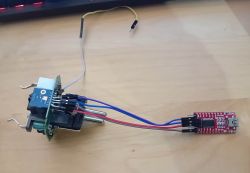
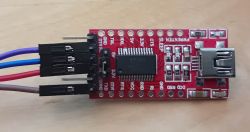
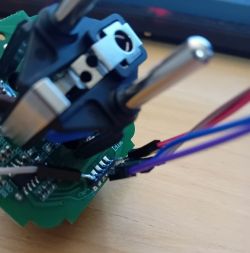
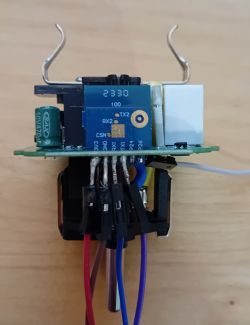
It's not pretty but it works and it's just temporary, I desolder these after flashing anyway.
My FTDI-USB-Programmer is set to 3,3V via Jumper and I connected it like this:
| FTDI | CB2S | VCC | 3,3V | GND | GND | RX | TX | TX | RX |
and a loose cable to CEN of the CB2S... we need to short it to GND later to start flashing.
I used the GUI BKN-Flashtool from here: https://github.com/openshwprojects/BK7231GUIFlashTool
Connect your FTDI-USB-Programmer to your PC and start the flash-Tool:
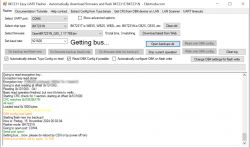
select the following:
- the correct COM-Port, here it is COM4
- the chip type, CB2S uses BK7231N
- the firmware you want to flash, you can download the latest Firmware with the Button "Download latest from Web", which I did ... you can get Firmwares from here too: https://github.com/openshwprojects/OpenBK7231T_App/releases and put them in the firmwares-folder of the flash-Tool
I did not change anything else.
Now you can do a backup of the firmware which I highly recommend because you get the GPIO-pins the plug is using, which need to be configured later for it to work properly !
So click "Do firmware backup (read) only"... it looks like in the above screenshot... now touch very briefly the loose cable from CEN to the GND pin and the backup should start, it looks like that:
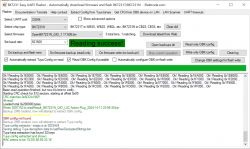
after that is finished successfully you get this window showing the extracted GPIO-config:
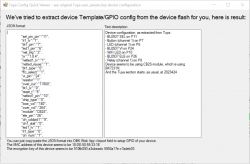
Copy and paste this information into a text editor, we need that later !
Now we flash the OpenBeken-Firmware, click "Do firmware write (no backup)" ...
now again touch very briefly the loose cable from CEN to the GND pin and it should start flashing:
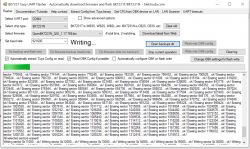
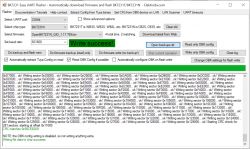
Congrats, we have successfully flashed OpenBeken !
We still power it from th FTDI-Programmer via USB.
Now connect to the AccessPoint that is created:
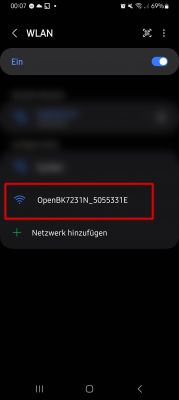
and open 192.168.4.1 in your webrowser to get to the OpenBeken-WebUI:
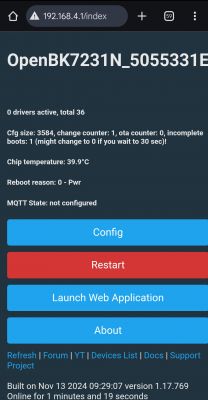
There is no ON/OFF-Button yet, because we have to configure the correct pins for the relay, butten and led first.
click on "Config" and you get to this page:
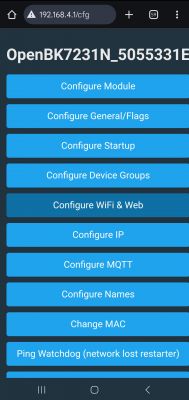
Then click on "Configure WiFi & Web" to connect it to your Wifi-network, should be self explanatory, I won't go into detail here.
After that the chip will connect to your Wifi and get an IP-address via DHCP, so look in your router's WebUI which IP it uses now.
Then connect to your Wifi and open the new IP in your webbrowser.
Now it's time to remove the soldered cables by desoldering them, after that check if your solder connections to the CB2S-board are still good and not shorted or so !
Put everything back into the plug-case and close it correctly by pushing the two halves together again.
You can plug it into mains now and power it from there... reconnect via webbrowser again to finish the configuration...
I switch to my PC now, so the screenshots are bigger from here on...
click on "Configure Module" to setup GPIO pins, we got the following info extracted before after doing the backup:
-----------------------
Device configuration, as extracted from Tuya:
- BL0937 SEL on P11
- Button (channel 1) on P7
- LED (channel 1) on P6
- BL0937 VI on P24
- WiFi LED on P10
- BL0937 ELE on P26
- Relay (channel 1) on P8
Device seems to be using CB2S module, which is using BK7231N.
And the Tuya section starts, as usual, at 2023424
-----------------------
That translates to this:
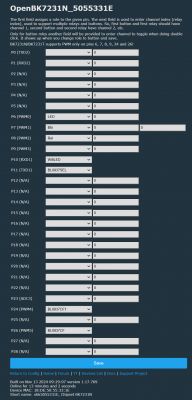
I gave my plug a better name in "Config" -> "Configure Names", especially to use it in Home Assistant later under that name, I choose f.e. "bkn_lsc_plug1".
After that you can go back to "home" and you should see a ON/OFF-toggle to switch the plug, hope it works !
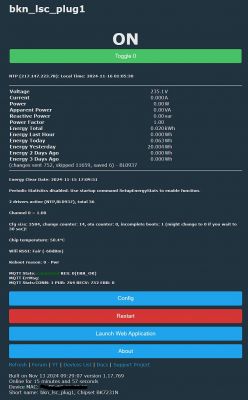
Additional information:
You should see energy metering information too, but that needs to be calibrated first, go to http://<your-ip-address>/app and then "Tools" for that.
See here for more on that: https://www.elektroda.com/rtvforum/topic4030107.html
To get energy statistics you need to add NTP time sync by adding "startDriver NTP" to your autoexec.bat, needs to be created via http://<your-ip-address>/app under "Filesystem".
Do your research how to setup an autoexec.bat-file which gets executed at boottime of the plug, video here: https://www.youtube.com/watch?v=kXi8S12tmC8
Here is my autoexec.bat:
//start NTP driver
startDriver NTP

//timezone +1 (add one hour to UTC time)
ntp_timeZoneOfs 1

// Setting the devices location will allow for calculating sunrise and sunset times
// put your GPS latitude and longitude here with 6 digits after the comma, not sure if more digits work
//ntp_setLatlong <latitude>, <longitude>

//enable powersaving
//PowerSave 1
//EDIT: I disabled PowerSave after this comment from p.kaczmarek2:
//- I advise you to be careful with "PowerSave" with the BL0937,
//  because the BL0937 requires precise pulse/interrupt counting and potentially "PowerSave" can reduce the precision.
//  With the BL0942 this problem does not occur.


//wait for NTP to connect
waitFor NTPState 1
Do your research on how to add your Openbeken-device to Home Assistant, here's a video: https://www.youtube.com/watch?v=pkcspey25V4
I hope you enjoy this Teardown and HowTo and that it help some people... have a great day !
btw. I really like OpenBeken, very well done with sooo many options, thank you to the OpenBeken-developers !
EDIT:
Here's my template from the /app-WebUI + some information added:
{
  "vendor": "Action LSC",
  "bDetailed": "0",
  "name": "Action LSC Smartplug",
  "model": "3202087 2023-08-04",
  "chip": "BK7231N",
  "board": "CB2S",
  "flags": "1024",
  "keywords": [
    "lsc",
    "smartplug",
   "energymeter",
   "CB2S",
    "BK7231N"
  ],
  "pins": {
    "6": "LED;0",
    "7": "Btn;0",
    "8": "Rel;0",
    "10": "WifiLED;0",
    "11": "BL0937SEL;0",
    "24": "BL0937CF1;0",
    "26": "BL0937CF;0"
  },
  "command": "",
  "image": "https://obrazki.elektroda.pl/7456543000_1731711564.jpg",
  "wiki": "hhttps://www.elektroda.com/rtvforum/viewtopic.php?p=21305004#21305004"
}
Cool? Ranking DIY


