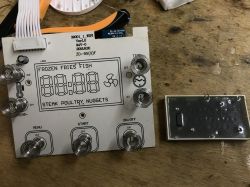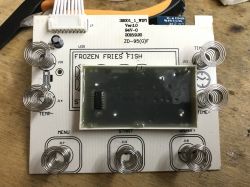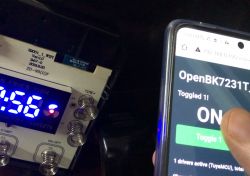
Hello, today I will present here the second fryer with WiFi on Elektroda. I showed you a year ago BH-AF2 , now it's time for a twin product, the BW-AF1. I will show briefly its configurations for Tasmota ( TYWE3S ), and then I'll try to change her WiFi module to one with BK7231T and fire it OpenBeken . I will not discuss the manufacturer's application here, because I showed everything about it in the previous topic in the series.
Purchase BW-AF1
I bought the product about a year ago, so I don't remember exactly how it was, but I bought it in a promotion with a coupon, I didn't pay more than PLN 300. Now it is much more expensive and unavailable in some stores, you have to wait for the opportunity:
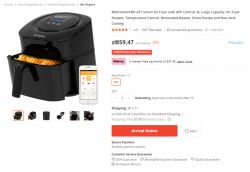
Promotional graphics:
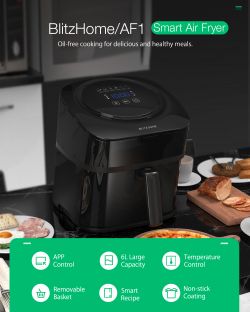
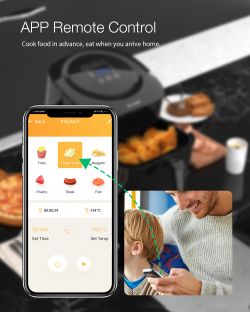
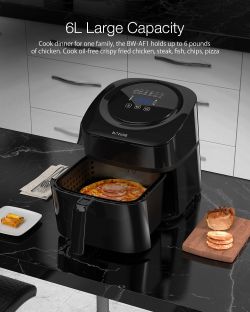
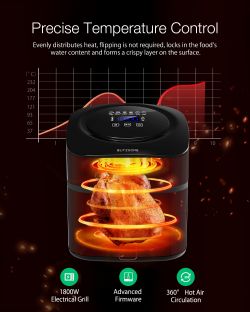
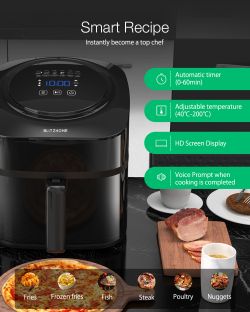
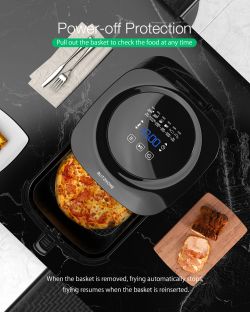
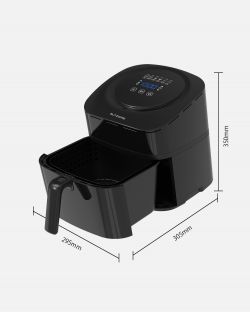
And what do we actually get?
It's time for my photos from a year ago - although it's still from 2021 - they waited a long time to be posted on the forum:
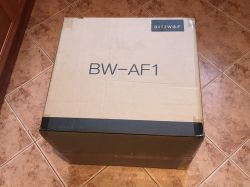
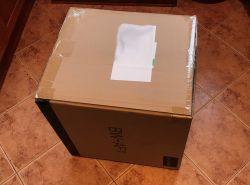
A big box, signed, of course, what's inside. Shipping from the Czech Republic, I bought in China, but with shipping from the Czech Republic:
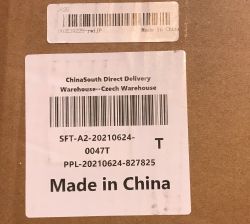
well protected product:
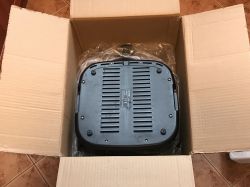
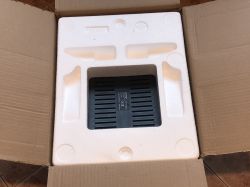
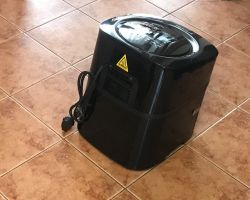
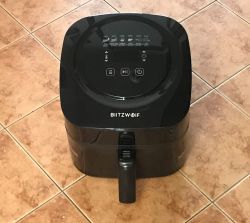
Fryer:
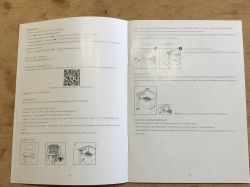
Instruction:
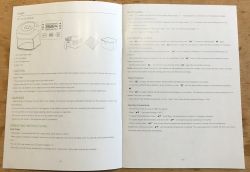
Ready-made "recipes" for fish, chips, etc. (properly set temperature + time) are available only from the mobile application. The touch buttons only allow you to set the time and temperature manually, as well as pause the work. Ejecting the tray also automatically pauses the work.
However, our home experience shows that these "recipes" from the application are worth nothing anyway - the baking time depends on the amount of product anyway, so you need to gain experience with this deep fryer and choose parameters based on previous experience.
Interior of the BW-AF1
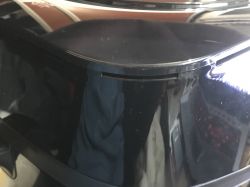
The top cover is held on by hooks, but it is very difficult to remove it without damaging them.
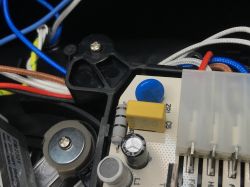
After removing the cover and disconnecting the plug from it, we can see the fan motor and the heating connection with the relay (FAN, HEAT), there are also visible filters and input protections (varistor, capacitor, there is also a fuse resistor, etc.) and, for example, a buzzer:
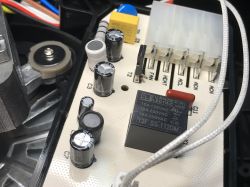
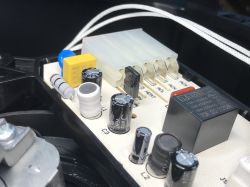
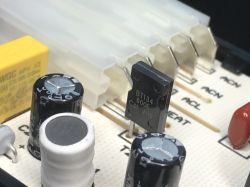
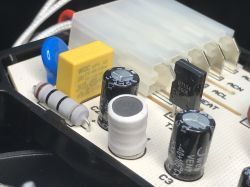
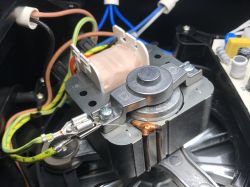
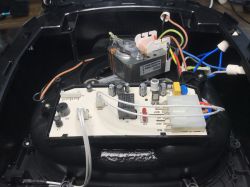
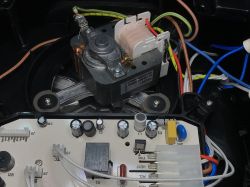
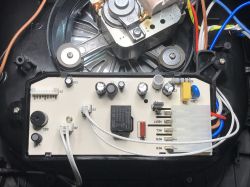
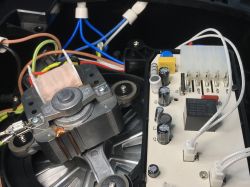
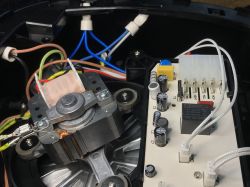
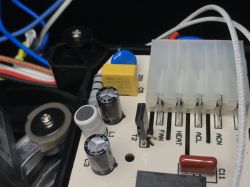
The fan motor, as you can see, is 230V, it's probably the relay from it.
Second part left:
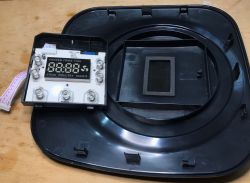
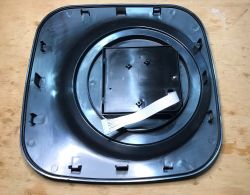
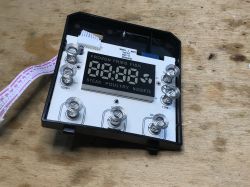
Display, touch buttons:
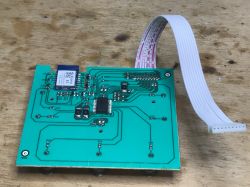
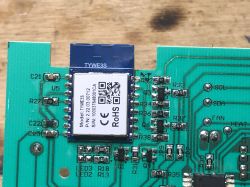
BW-AF1 uses the TYWE3S module, i.e. ESP8266:
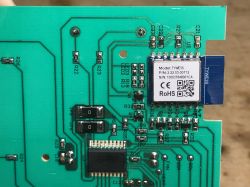
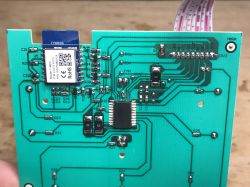
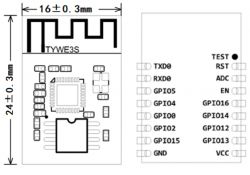
Leads:
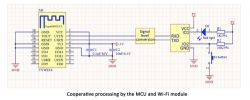
There is also a microcontroller on the board. The product uses TuyaMCU . The WiFi module communicates with the microcontroller via UART.
Uploading Tasmota
There is TYWE3S, you can upload Tasmota.
I uploaded via esptool.py, as I have described many times on the forum.
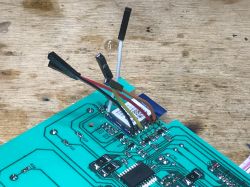
Normally, you would have to listen to TuyaMCU communication on the UART, but I found everything for configuration on the web.
Everything is described on the page blockadder .
I will not redo this configuration, I will just quote the one already created by Blakadder.
Tasmota template:
{"NAME":"BW-AF1","GPIO":[0,2272,0,2304,0,0,0,0,0,0,0,0,0,0],"FLAG":0,"BASE":54,"CMND":"TuyaMCU 11,111 | TuyaMCU 12,101 | TuyaMCU 71,104 | TuyaMCU 81,106 | TempRes 0"}
TuyaMCU variable (dpID):
- dpid 103 - temperature setting 40-400
- dpid 104 - current temperature
- dpid 105 - working time setting 0-60
- dpid 106 - remaining time (seconds)
- dpid 108 - temperature format 0 = C, 1 = F - changes values for dpid 103 and 104
- dpid 109 - cookbook selection - 0 “default” - 1 “custom” - 2 “fries” - 3 “frozen fries” - 4 “nuggets” - 5 “chicken” - 6 “steak” - 7 “fish”
- dpid 111 - work start/pause
There is also a ready set of rules for Tasmota in the network, which allows you to handle other functionalities via HA:
rule3
on tuyareceived#dptype4id109 do publish %topic%/cookbook %value% endon
on tuyareceived#dptype2id103 do publish %topic%/cooktemp %value% endon
on var3#state do tuyasend2 103,%value% endon
on tuyareceived#dptype2id105 do publish %topic%/cooktime %value% endon
on var5#state do tuyasend2 105,%value% endon
on event#default do tuyasend4 109,0 endon
on event#custom do tuyasend4 109,1 endon
on event#fries do tuyasend4 109,2 endon
on event#frozen fries do tuyasend4 109,3 endon
on event#nuggets do tuyasend4 109,4 endon
on event#chicken do tuyasend4 109,5 endon
on event#steak do tuyasend4 109,6 endon
on event#fish do tuyasend4 109,7 endon
on power2#state do tuyasend0 endon
Thanks to this Blueprint can connect to the fryer:
Code: YAML
source: https://github.com/tasmota/blueprints/blob/main/discovery-blitzwolf-af1.yaml
In addition, put it on the gui:
Code: YAML
Details here: https://blakadder.com/bw-af1-in-home-assistant/
Experiment with OpenBeken
I tested the Tasmota template described earlier about a year ago and it really worked, but it didn't give me the satisfaction of doing something myself.
As an experiment, I decided to try to fire mine OpenBeken on this fryer.
It's just to better be able to test my firmare and verify my TuyaMCU driver - will it manage in a completely foreign environment?
I started the fun with the TYWE3S soldering:
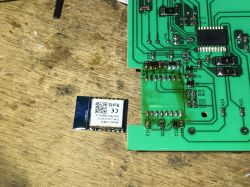
I cleaned the pads:
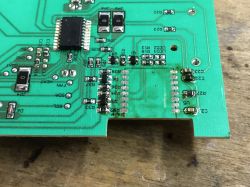
I recovered WB3S from a light switch from the USA that I got from a reader:
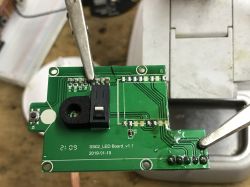
WB3S desoldered:
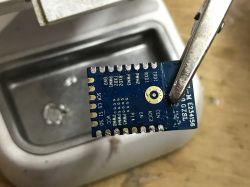
WB3S in a new place:
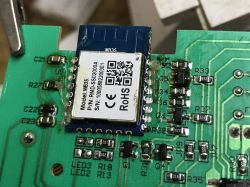
According to the documentation:
https://github.com/openshwprojects/OpenBK7231T_App/blob/main/docs/commands.md
I prepared autoexec.bat:
startDriver TuyaMCU

[inContentAd]

// cook on/off
setChannelType 1 Toggle
setChannelLabel 1 "Cook"
linkTuyaMCUOutputToChannel 111 bool 1
// power on/off
setChannelLabel 2 "Power"
setChannelType 2 Toggle
linkTuyaMCUOutputToChannel 101 bool 2

// set temperature
setChannelLabel 3 "New Temperature"
setChannelType 3 TextField
linkTuyaMCUOutputToChannel 103 val 3

// currenttemperature
setChannelLabel 4 "Current Temperature"
setChannelType 4 ReadOnly
linkTuyaMCUOutputToChannel 104 val 4

// set time
setChannelLabel 5 "New Time"
setChannelType 5 TextField
linkTuyaMCUOutputToChannel 105 val 5

// read time
setChannelLabel 6 "Current Time"
setChannelType 6 ReadOnly
linkTuyaMCUOutputToChannel 106 val 6
The roles of individual commands are:
- startDriver TuyaMCU - starts the TuyaMCU driver
- setChannelType 1 Toggle - sets channel 1 type to On/Off switch (there are also supported sliders or switches with many options for fans)
- setChannelLabel 1 "Cook" - sets the displayed name of channel 1
- linkTuyaMCUOutputToChannel 111 bool 1 - connects dpID TuyaMCU 111 to channel 1, boolean type
Similarly for the other channels.
Result in OpenBeken:
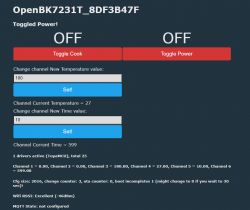
The basic work algorithm is:
1. Turn on Power
2. Set the temperature to 180
3. Set the time to 10 (setting is in minutes, time reading is in seconds)
4. Enable Cook
The above menu already allows it in this form, but it can be automated.
You can create recipes via alias :
alias cook185c15min backlog setChannel 2 1; setChannel 3 185; setChannel 5 15; setChannel 1 1
alias cook170c30min backlog setChannel 2 1; setChannel 3 170; setChannel 5 30; setChannel 1 1
The alias can be invoked just like a regular command, from the console or from a script, via MQTT, via publish, or from a GUI button.
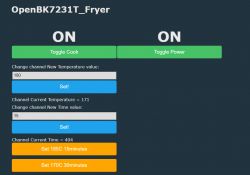
GUI buttons in OpenBeken can be freely scripted. Add to autoexec:
startDriver httpButtons
setButtonEnabled 0 1
setButtonLabel 0 "Set 185C 15minutes"
setButtonCommand 0 "cook185c15min "
setButtonColor 0 "orange"


setButtonEnabled 1 1
setButtonLabel 1 "Set 170C 30minutes"
setButtonCommand 1 "cook170c30min "
setButtonColor 1 "orange"
The meaning of the following commands:
- startDriver httpButtons - starts the driver for scriptable buttons
- setButtonEnabled 0 1 - enables the null button (index 0, state 1, i.e. ON)
- setButtonLabel 0 "Set 185C 15minutes" - sets the label (displayed text) of the zero button
- setButtonCommand 0 "cook185c15min" - sets the command for this button
- setButtonColor 0 "orange" - sets button color to orange (HTML color name)
Result in OpenBeken:
But back to MQTT - this is what the alias call via publish looks like:
cmnd/obkDevice12345/cook185c15min
Payload may be empty. This has the effect of turning the fryer on and setting it to the specified time and temperature.
As a test, it can be sent from Home Assistant here, from the Mosquitto MQTT broker:
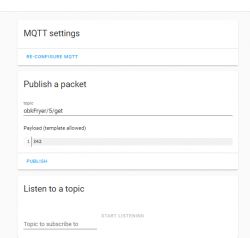
Now you can pack it into buttons and controls on the GUI home assistant.
For example, the button for a given recipe can be created like this:
Code: YAML
In the new version of Yaml:
Code: YAML
This will result in creating a button that will run this recipe:
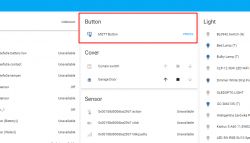
Then you can send the command from the main HA panel.
Now it's a matter of time. You need to somehow display how many seconds are left until the end of the job.
You could do this:
Code: YAML
But this is not a perfect solution - this will just display the given value without any formatting, e.g. 90 seconds as 90 and not as 01:30.
Using the time formatting is quite simple though, just convert the value to an integer first:
Code: YAML
Much better:

It's important to remember the passage value|int which converts the value to an integer, without it for me timestamp_custom didn't work.
Home Assistant full panel for the OpenBeken fryer
Through the method shown above, you can pack all of your fryer controls into one Home Assistant panel, but due to the length of this post, this will be covered in the next section.
Own control panel on OpenBeken - Javascript and REST interface
An alternative to HA control may be placing the website on OpenBeken - yes, it is possible, OpenBeken is then an HTTP server. On it, you can save an HTML document with Javascript scripts in the LittleFS file system and control the device with them.
This too will be covered in the next part, but here's a little preview:
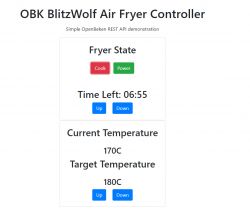
Summary
This fryer uses a protocol TuyaMCU . The WiFI module is basically only needed to control it via the network - the rest is done by the microcontroller.
Configuring this fryer in the original version, on TYWE3S, is very simple, there is a ready-made kit available on the Blakadder website, which I have not even described in detail here.
As an experiment, I tried to replace its module with WB3S to burn OpenBeken - the configuration was also successful. What's more, the possibilities of OpenBeken scripts (the freedom to combine channels with TuyaMCU variables and scripting the web panel) showed that on this platform it can even be run independently, without an HA-style overlay. However, I showed here only the basics of this configuration - the final configurations (versions with Home Assistant and versions with your own website set on OBK) I leave for the next topics.
PS: This wasn't the only TuyaMCU product I discussed. I have already discussed, among others:
- door/window opening sensor with low power TuyaMCU version
- dimmer on TuyaMCU
Other products based on this protocol have also appeared on our forum, for example this fan controller .
Cool? Ranking DIY Helpful post? Buy me a coffee.


