Here is a teardown of the Arlec Grid Connect PC192HA Plug-In Socket With USB. It has a few differences to the PC191HA, namely it excludes the power metering, but includes USB-A USB-C power supply with a combined 2.1A output. The USB power can be switched on/off independently from the mains power switching.
Available from Bunnings Australia Link
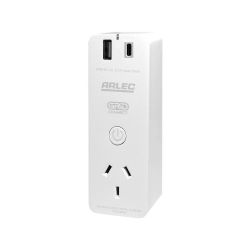
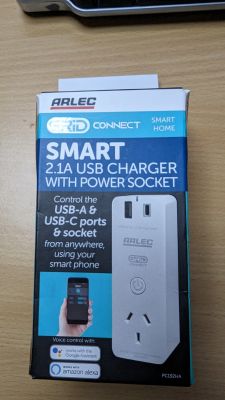
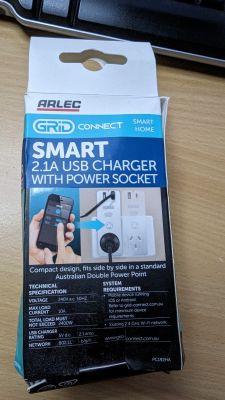
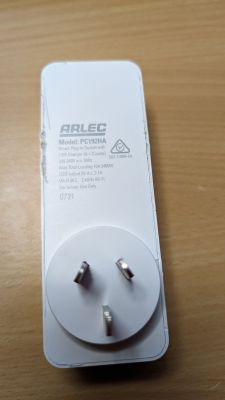
On the inside (Disassembling/Reassembling same as for PC191HA):
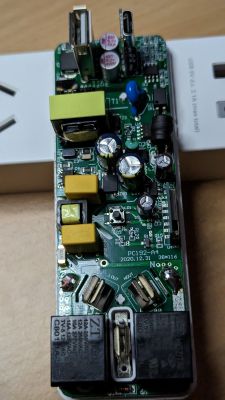
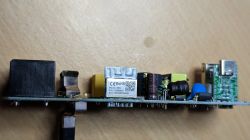
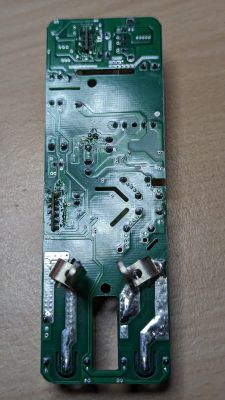
Like the PC191HA, It also uses the Tuya WB2S module with a BK7231T chip, has dual relays for switching both active and neutral, 1 button, and a red status LED.
Flashing:
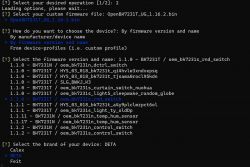
* I used the cloudcutter method load the OpenBeken UG image as the custom firmware, but also using an existing firmware v1.1.0 profile.
* The existing OS version on my raspberry pi was VERSION="10 (buster)" which is older than the one mentioned in the instructions but still worked.
Configuring:
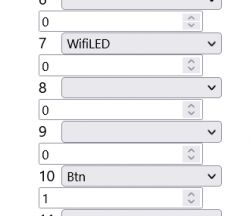
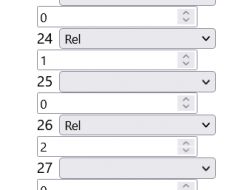
PIN7: Wifi/Status LED - CH0
PIN10: Button - CH1
PIN24: Relay Mains Power - CH1
PIN26: Relay USB - CH2
Along with the startup command:
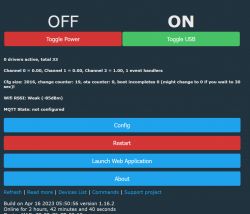
The device will start with the USB, on Mains plug off, Single button press will toggle mains plug, double button press will toggle the USB power.
The template:
Available from Bunnings Australia Link


On the inside (Disassembling/Reassembling same as for PC191HA):


Like the PC191HA, It also uses the Tuya WB2S module with a BK7231T chip, has dual relays for switching both active and neutral, 1 button, and a red status LED.
ADVERTISEMENT
Flashing:
* I used the cloudcutter method load the OpenBeken UG image as the custom firmware, but also using an existing firmware v1.1.0 profile.
* The existing OS version on my raspberry pi was VERSION="10 (buster)" which is older than the one mentioned in the instructions but still worked.

Configuring:


PIN7: Wifi/Status LED - CH0
PIN10: Button - CH1
PIN24: Relay Mains Power - CH1
PIN26: Relay USB - CH2
Along with the startup command:
backlog setChannelLabel 1 Power;setChannelLabel 2 USB;setChannel 2 1;addEventHandler OnDblClick 10 ToggleChannel 2The device will start with the USB, on Mains plug off, Single button press will toggle mains plug, double button press will toggle the USB power.
The template:
Code: JSON


