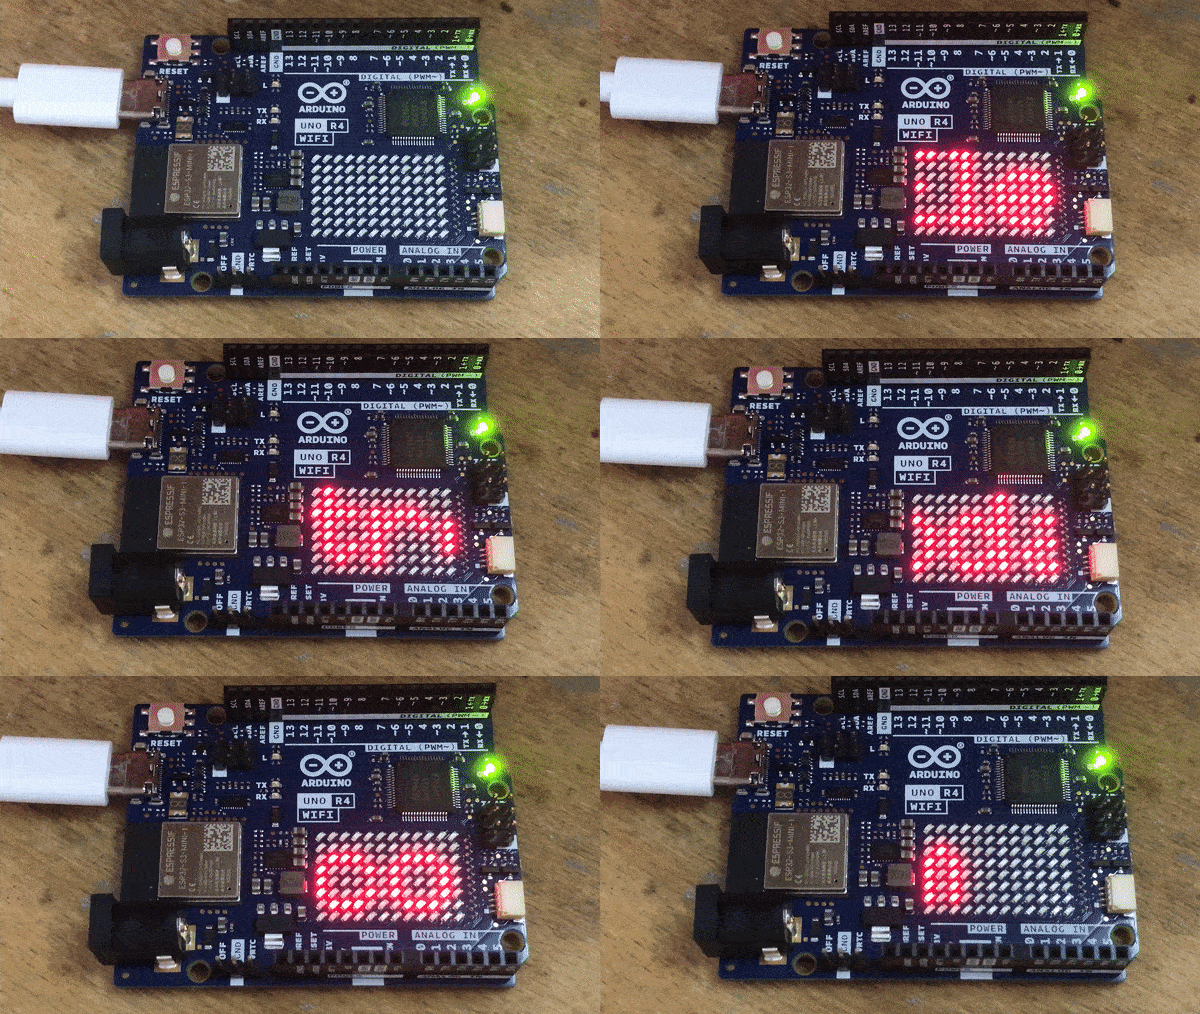
Today I will present a simple font system for ASCII characters designed for a matrix display with Arduino Uno R4 WiFi. By the way, I will also demonstrate how to animate moving text based on the codes placed here. The implementation of the font will be 100% DIY, we will write it together and put it in our sketch, although we will already have the font itself - we will borrow it from the MD_Parola library.
Hello world LED Matrix
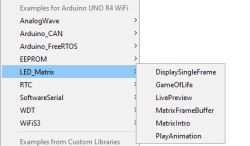
Arduino R4 contains ready-made examples of LED arrays, which I recommend to read before reading the topic:

However, I will not describe them here, because it would be pointless. We'll do something new together. Let's start by displaying an array on a matrix:
Code: C / C++
Result:

as you can see, we've got everything nicely organized here into a two-dimensional array of bytes. One byte is one pixel. It could be done better, 8x better to be exact, where the pixel would be a bit, but the subject is for beginners, so I didn't want to complicate it that much.
New font for LED matrix
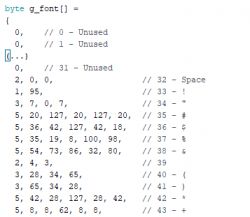
A font system would be nice. You could create each character manually from pixels yourself, but why? We have ready-made fonts for this, for example the one from MAX7219 from the Parola library:
https://github.com/mrWheel/ESP_ticker/blob/master/parola_Fonts_data.h
Let's try to port it from ESP MAX7219 to our Arduino.
First you need to note that each character can have a different width .
This is due to the data recording format:

The font is a byte array, where each character is preceded by its size in bytes, and then we have data bytes, where each byte represents the state of 8 pixels in a given column.
We will have to:
- search for a character in the font data (since each can have a different number of bytes, we will not count its offset)
- read its size
- copy its pixels from bits to Arduino bytes
Let's start with the search. Based on MD_Parola:
Code: C / C++
The above code sets the pointer to the beginning of the font data and then counts down the ASCII characters until it hits the one we are looking for, while skipping the data of the characters we are not interested in. The result will be a pointer to the ASCII character data we are looking for.
Now the function that iterates the string and prints it character by character (with support for printing on a given position):
Code: C / C++
This function goes through the string character by character (through a pointer to char, the end of a character is a byte zero) and sequentially fetches the font of the given character and if it is available, it first prints that character and then adds a space of one column.
The function additionally counts how many columns were actually displayed, later I will explain why I added it.
Now let's see the display of one character:
[syntax=c]
int LED_displayArray(byte *p, int devs, int ofs)
{
int drawn = 0;
for(int i = 0; i < devs; i++) {
int di = ofs + i;
if(di < 0)
continue; // skip
if(di >= TOTAL_COLUMNS)
break; //dont go outside array
for(int j = 0; j < 8; j++) {
frame[j][di] = !!(p[i] & (1
Cool? Ranking DIY Helpful post? Buy me a coffee.


