logo elektroda
logo elektroda
X
logo elektroda

[WB2S] Flashing SP400W-IL Plug with BL0942 Module for Power Monitoring

Ijiga 2565 3
ADVERTISEMENT
  • Helpful post
    #1 20995390
    Ijiga
    Level 5  
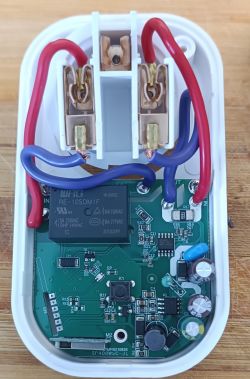
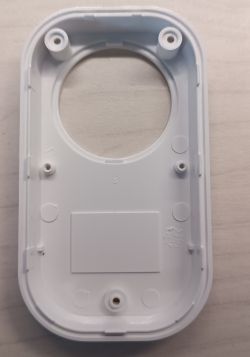
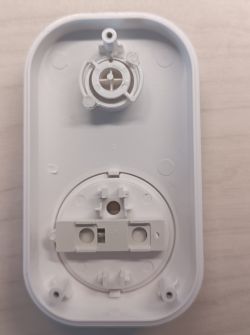
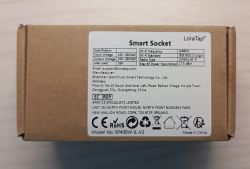
    Small teardown of SP400W-IL plug with power metering, it uses WB2S with BL0942 to monitor power, the device is pretty neat with a good plastic, I should also mention that it heats up a little bit during operation, to open it you should unscrew the 3 screws at the bottom, bought it from here
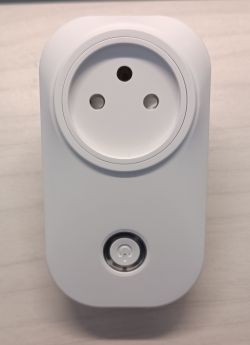
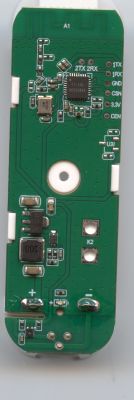
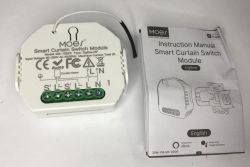
    Front view of a white SP400W-IL electrical plug with a round power button. Close-up of the interior of a smart plug with electronic components. Interior of the plastic case for SP400W-IL plug. Interior of SP400W-IL plug casing showing mounting plate and screw holes. Photo of the Smart Socket LoraTap box with a technical specification label.

    Flashing:
    Unfortunately there are no labeled holes, so you need to solder pins directly to WB2S, there is scheme:
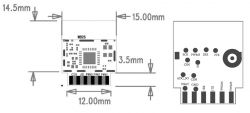
    Diagram of the WB2S module with pin assignments and dimensions.
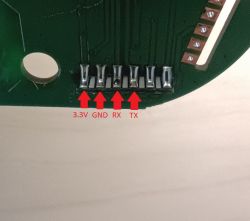
    You should solder to these pins:
    Close-up of a circuit board with labeled pins 3.3V, GND, RX, TX.
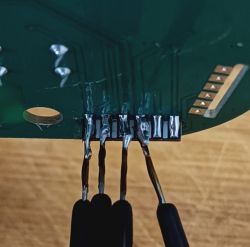
    Like this:
    The image shows a circuit board with soldered extension wires on pins.
    Flashing and config:
    Use baud rate of 115200, GPIO table:
    PinRole
    6LED
    7Btn
    26Rel


    Extracted tuya`s GPIO dump:
    Device configuration, as extracted from Tuya: 
    - Button (channel 1) on P7
    - WiFi LED on P6
    - Relay (channel 1) on P26
    Device seems to be using WB2S module, which is using BK7231T.
    And the Tuya section starts at UNCOMMON POSITION 0


    To enable power monitoring add "startDriver BL0942" to startup commands:
    Screenshot showing the startup command in the configuration.

    My config:
    Code: JSON
    Log in, to see the code

    It uses 1 channel, by pressing button you toggle relay and led like in stock tuya flash, to enable 'last power state' you should set '-1' to your main channel in startup config:
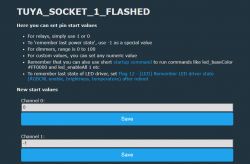
    Screenshot of TUYA_SOCKET_1_FLASHED interface with startup settings options.

    Then you can enable MQTT to use it in HA, you can also set my recommended flags:
    Flag 2
    Flag 7
    Flag 10

    As a result, the main menu will look something like this:
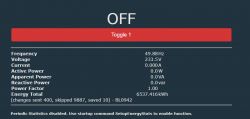
    Screenshot of the power monitoring interface for the SP400W-IL plug.
  • ADVERTISEMENT
  • #2 20995515
    p.kaczmarek2
    Moderator Smart Home
    This device reminds me of one of the first smart devices I had, eWeLink/Coolkit PS-16-M. Here is a teardown of it:
    https://www.elektroda.pl/rtvforum/topic3728094.html
    It's interesting to see it's now with BK7231....
    Thanks for sharing!
    Helpful post? Buy me a coffee.
  • ADVERTISEMENT
  • #3 21015638
    kiwironnie
    Level 1  

    Thanks, your article was useful. The smart plug you describe is very similar to the cheap, tech.inc WiFi Smart Plug sold in New Zealand by the Warehouse, which is an AU plug style. Connections to its WB2S module are identical. However, the Tx/Rx module pins are also connected internally such that it will not flash (bus doesn't connect) without isolating them from the main electronics. I ended up removing the WB2S module, which was reasonably easy with flux and solder wick, flashing (at 921600), configuring everything via web with just 3.3v power connected to the module, then soldering it back onto the main board. The power monitoring chip is a BL0937, so the startup command was changed accordingly to startDriver BL0937. Otherwise, the configuration for Tuya smart plug with power monitoring can be applied as is. The plug switches on and off showing power consumption details of whatever is plugged into it.
  • #4 21015681
    p.kaczmarek2
    Moderator Smart Home
    WB2S/CB2S desoldering can be very easy if done correctly.

    You can check out our plafon flashing video for the step by step CB2S desoldering procedure:


    Helpful post? Buy me a coffee.
ADVERTISEMENT