This guide will show you how to convert WRG1 and TYZS3 Zigbee gateways to OpenBeken.
There are several known variants using this combination.
1. ZXGWZ-04 (internal board is named TYGWZW1), seen here
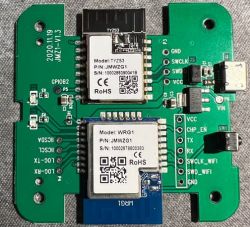
2. JMWZG1 (JMZ1-V1.2 or JMZ1-V1.3), seen here
3. TYZG1 (JZZWD-TY1.1), seen here
If you have a WBRG1 module instead of WRG1, see here
Pictures

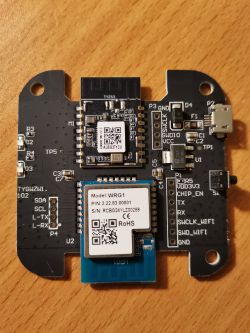
Be warned, that they can't be flashed via UART, you would need to buy a J-Link adapter
Chinese J-Link OB clone for $2 would work too
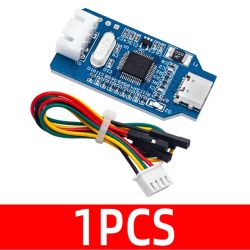
If you previously haven't used J-Link, you will need to install drivers.
From attached rtl8711am.rar install JLink_Windows_V632g.exe
When you've installed drivers and connected J-Link, check if you have "J-Link driver" in device manager under USB controllers, and not an unknown device.
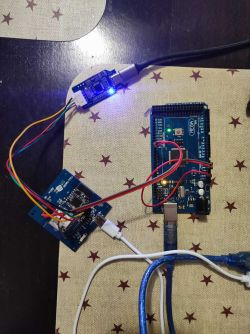
Connect your J-Link to SWD port of WRG1 module (SWCLK_WIFI and SWD_WIFI)
First, you need to take a backup.
Execute RTL8711AM_ReadFlash.bat
It would create rtl8711am_dump.bin. That is your 4MB backup of RTL8711AM internal flash.
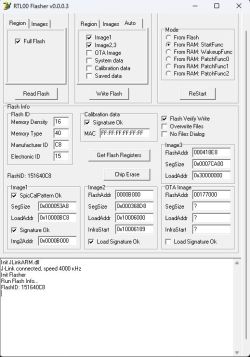
Open RTL00Flasher (ignore Flash ID warning if it shows)
Download latest OpenRTL8710A JTAG firmware from https://github.com/openshwprojects/OpenBK7231T_App/releases
Latest at the moment of writing this post: https://github.com/openshwprojects/OpenBK7231...s/download/1.18.135/OpenRTL8710A_1.18.135.bin
Open page "Auto", where button "Write Flash" is located. Check "Image1" and "Image2,3". Ensure that checkboxes "System data" and "Calibration data" are not set. That way we will preserve original MAC address and WiFi calibration.
Then press "Write Flash" and select previously downloaded firmware. Flashing will begin automatically.
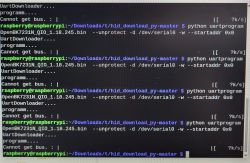
Once flashed, connect UART to LOG-TX/L-TX and LOG-RX/L-RX, set baud rate to 38400.
Power-cycle the device.
If everything gone right, you will see OpenBeken boot log.
<RTL8195A>=========================================================

ROM Version: 0.3

Build ToolChain Version: gcc version 4.8.3 (Realtek ASDK-4.8.3p1 Build 2003)

=========================================================
Check boot type form eFuse
SPI Initial
Image1 length: 0x53a8, Image Addr: 0x10000bc8
Image1 Validate OK, Going jump to Image1

BOOT from Flash:YES

===== Enter Image 1 ====
SDR Controller Init

OTA Im INVALID

load NEW fw 0
Flash Im2:Addr 0xb000, Len 223448, Load to SRAM 0x10006000
Im3 length: 0x7ca00, Im3 Addr: 0x30000000
Im2 Sign: RTKWin, InfaStart @ 0x10006189
===== Enter Image 2 ====
interface 0 is initialized
interface 1 is initialized

Initializing WIFI ...
WIFI initialized

init_thread(53), Available heap 0x23a78OpenRTL8710A, version dev_20250714_133008
Entering initLog()...
Commands registered!
initLog() done!
Info:MAIN:Main_Init_Before_Delay
...
...
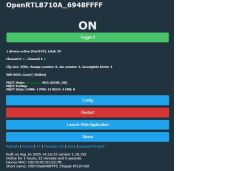
Connect to newly-created access point and via http://192.168.4.1 configure to your needs.
OBK pin setup:
PB2 - Button
PC0 - Blue led
PC1 - Red led
Time to flash TYZS3.
Connect your J-Link to SWD port of TYZS3 module (SWCLK and SWD on the right side of the module)
First, of course, is taking a backup.
Execute TYZS3_ReadFlash.bat
It would create tyzs3_dump.hex
Open Simplicity Commander and select your J-Link adapter
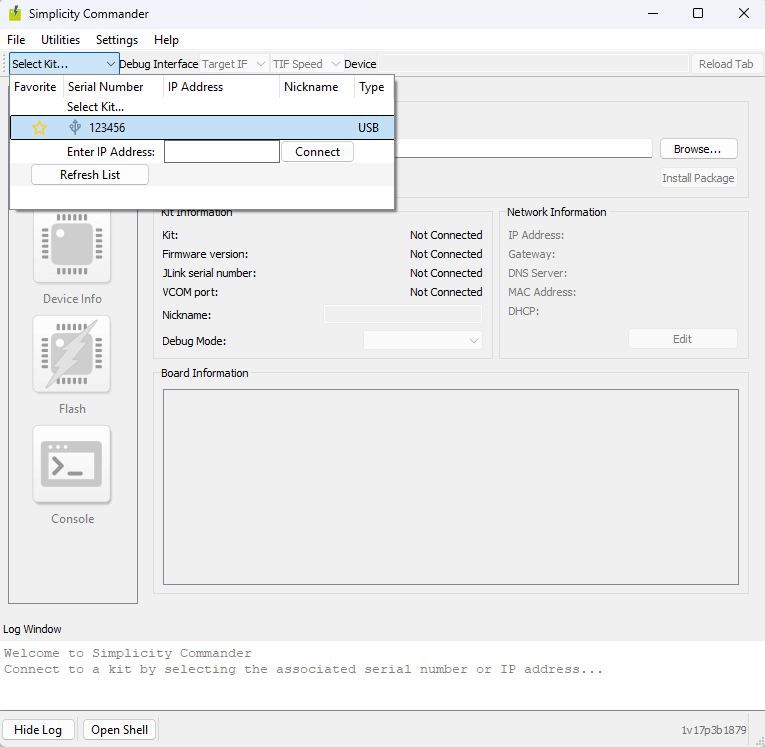
Open Flash category, click "Browse..." and select any of included in rtl8711am.rar .gbl files
1. tyzs3_zigbee_ncp_7.4.5.0_115200_swflow_buf64.gbl - previously tested by me for several months. Working.
2. tyzs3_zigbee_ncp_7.5.0.0_115200_swflow_buf64.gbl - only confirmed that it works and connects to Zigbee2MQTT, nothing else.
3. tyzs3_zigbee_ncp_7.5.0.0_115200_swflow_nobuf.gbl - not tested. Main difference is default RX buffer. In 7.4.x there was some bug, so an increased buffer was required. Unknown if it was fixed in 7.5.0
4. tyzs3_zigbee_ncp_7.5.0.0_115200_rtscts_buf64.gbl - confirmed that it works and connects to Zigbee2MQTT, but no true testing was done. Comes with hardware flow offloading. Should be the best variant.
5. tyzs3_openthread_rcp_2.4.6.0_230400_swflow_buf64.gbl - OpenThread firmware with software flow control. Not tested.
6. tyzs3_openthread_rcp_2.4.6.0_230400_rtscts_buf64.gbl - OpenThread firmware with hardware flow control. Not tested.
When you've selected firmware that you chose, click "Flash" and wait until it is done.
Disconnect J-Link adapter and power it via USB.
Autoexec/startup command for OpenBeken:
startdriver uarttcp 115200 512 1 1
SetChannelLabel 1 "Bridge Connection"
SetChannelVisible 1 0
SetChannelType 1 OpenClosed_Inv
Now, depending on what firmware you flashed to TYZS3, edit first line and replace in first line last symbol with 0 if you flashed swflow firmware. Keep 1 if you flashed rtscts firmware.
When adding this gateway as an adapter to either ZHA or Zigbee2MQTT, use this string:
tcp://<OBK_IP>:8888Replace <OBK_IP> with whatever IP was set up to your device by DHCP or static IP if you configured it.
Cool? Ranking DIY


