Hello,
First, thank you for your work.
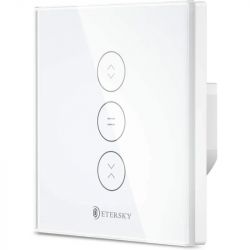
Based on all the useful information that I found in this topic https://www.elektroda.com/rtvforum/topic3972935.html + github docs, I did scripts to adapt Etersky WF-CS01 device.
I don't have good images, but this is the same device as mentioned here : https://www.elektroda.com/rtvforum/topic4007022.html
The main problem that I had is that over the years, the constructor used many different cards !
I have found devices with TYWE3S (used Tasmota for these), CB3S and WB3S.
I also discovered that CB3S and WB3S don't have the same pin mapping (maybe the mapping is more related to the date/version labels that you can find in the device, I'm not sure)
CB3S pin mapping :
WB3S pin mapping :
I also tried (based on that I found in this forum) to create scripts that will mostly replicate the initial behavior :
- LEDs are blue by default
- LED is red when relay is activated (or stopping)
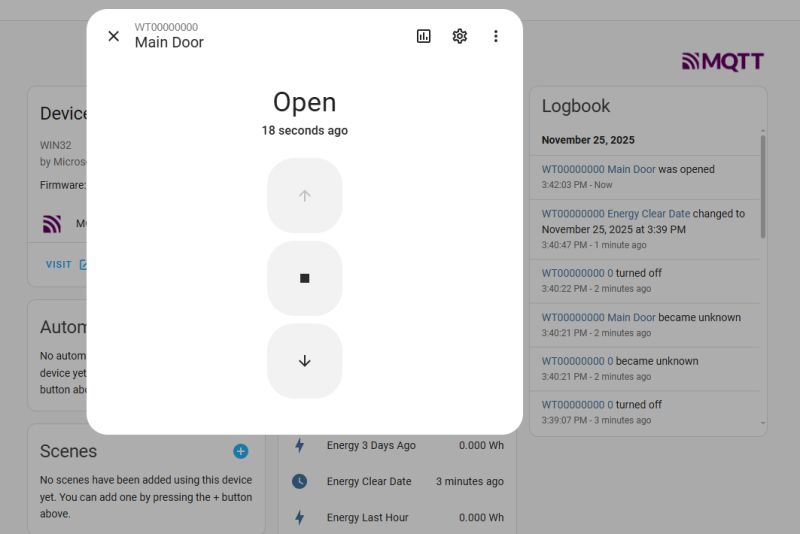
- Up, middle and down buttons are for open, stop and close (in this order)
- Both relays cannot be activated at the same time (sadly with MQTT, if you update directly the channel values this is possible)
Other features :
- Thank to the community, MQTT commands can use script aliases to open and close shutters
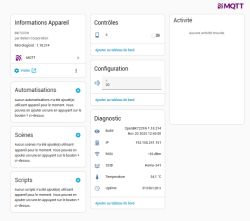
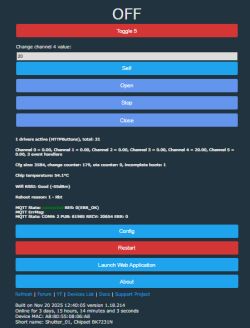
- Duration is controlled by a specific channel (4)
- I wanted to add a more easiest way to activate AP safe mode so I added a channel for this : if you enter 10 times in a row stop button
- in WB3S, there is channel 6 which is hardcoded to force green led shudown (the button 1 have a second LED)
CB3S script :
WB3S script :
I could also create templates but the added value is, from my point of view, quite low because you need autoexec.bat script too. That's why I put PIN configuration directly in the script, not sure if it's a good practice.
For flashing, I totally unsolder the CB3S/WB3S component. This is a sensitive operation (I already broke 2 devices) but I use one ESP burner like this one :

I'm using CB3S for more than a week now. WB3S is tested but not used yet in a "real" context.
First, thank you for your work.
Based on all the useful information that I found in this topic https://www.elektroda.com/rtvforum/topic3972935.html + github docs, I did scripts to adapt Etersky WF-CS01 device.
I don't have good images, but this is the same device as mentioned here : https://www.elektroda.com/rtvforum/topic4007022.html
The main problem that I had is that over the years, the constructor used many different cards !
I have found devices with TYWE3S (used Tasmota for these), CB3S and WB3S.
I also discovered that CB3S and WB3S don't have the same pin mapping (maybe the mapping is more related to the date/version labels that you can find in the device, I'm not sure)
CB3S pin mapping :
Code: Arduino
WB3S pin mapping :
Code: Arduino
I also tried (based on that I found in this forum) to create scripts that will mostly replicate the initial behavior :
- LEDs are blue by default
- LED is red when relay is activated (or stopping)
- Up, middle and down buttons are for open, stop and close (in this order)
- Both relays cannot be activated at the same time (sadly with MQTT, if you update directly the channel values this is possible)
Other features :
- Thank to the community, MQTT commands can use script aliases to open and close shutters
- Duration is controlled by a specific channel (4)
- I wanted to add a more easiest way to activate AP safe mode so I added a channel for this : if you enter 10 times in a row stop button
- in WB3S, there is channel 6 which is hardcoded to force green led shudown (the button 1 have a second LED)
CB3S script :
Code: Arduino
WB3S script :
Code: Arduino
I could also create templates but the added value is, from my point of view, quite low because you need autoexec.bat script too. That's why I put PIN configuration directly in the script, not sure if it's a good practice.
For flashing, I totally unsolder the CB3S/WB3S component. This is a sensitive operation (I already broke 2 devices) but I use one ESP burner like this one :

I'm using CB3S for more than a week now. WB3S is tested but not used yet in a "real" context.


