OBI DIY Markets Germany: "Wifi-Stecker Schuko Weiß", OBI Art. Nr: 5274899
I have to admit: No longer particularly attractive, as they currently cost €9.99 and that without energy measurement and rather clunky (today's perception) - despite high stocks in some markets for over a year (even after a special offer for €4.99 in January 2023).
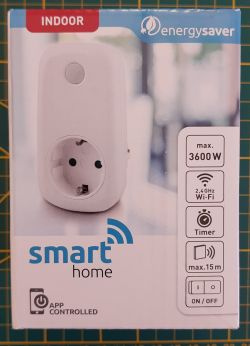
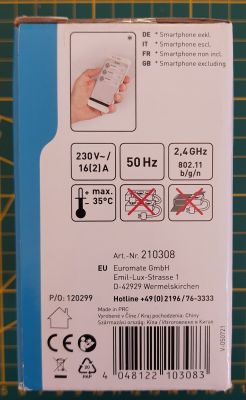
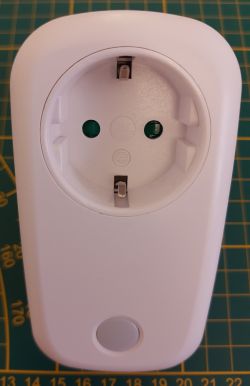
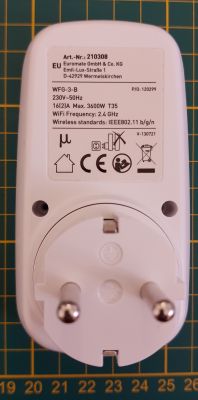
But maybe there are still some lying around in private drawers because they couldn't be flashed with Tasmota and a replacement module ESP-02S/TYWE2S makes them unattractive even for 4.99€.
Hence the teardown here, especially as one might hope that OBI will finally want them off the shelves at some point and will sell them for a reasonable 2.99 (to 3.99 at most
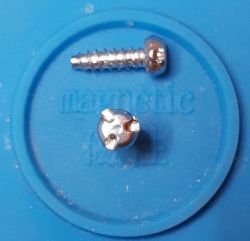
  ). Admittedly, due to their size and construction, they are actually ideal for first attempts with OBK. The only problem is two somewhat specialised Tri-point screws, kind of flat Tri-groove. Ever seen such? I got rid of them with a smaller slotted spanner. Nothing else special...
If you leave the screws off, you can always get the top case shell off with your thumbnail (where the locking tabs are located) without ever falling off by itself. On the other hand, I haven't yet managed to brick such a simple OBK thingy, demanding physical re-access. But because of its simplicity, it is certainly good for demonstrating and practising the various flashing procedures. (Contrary to my picture, the board does not have to be unscrewed for flashing.) But if you want to use them in real life, you should secure the case shell with some other screws of that size.
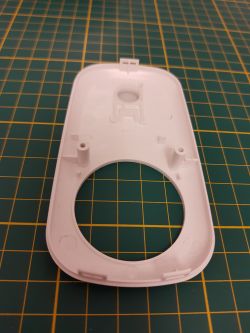
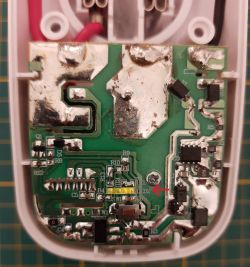
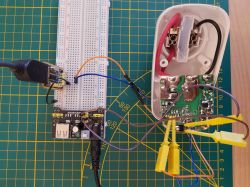
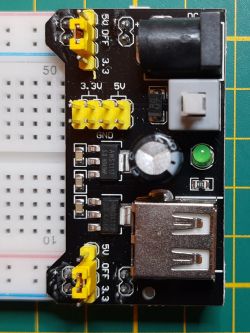
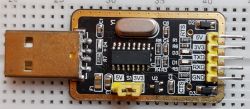
I used a typical breadboard power supply to feed 5V to the outer pins of the AMS1117, as this proved to be safer for clamping than a clip with 3.3 V on its centre pin. In other cases, feeding 3.3 V to the terminals of the corresponding filter capacitor may be more practical. As mentioned elsewhere, these BB power supplies are very handy for flashing as they have their own power switch, which is great for resetting the Beken SoC without accidentally "losing" the USB-to-serial adapter in Windows. Because of the existing cables, I took ground and 5 volts from the posts on the top of the board, not from the rails of the breadboard. Of course, a ground connection must be made between the PS and the USB adapter. Two more (separate) pictures of the BB-PS and CH340 for a more easy understanding of my wiring:
I've changed to: LED_n (channel 1) on P6 to make the following startup command work for dual use of the one and only blue LED.
There is a space (markings in pic) for a second LED and it's limiting resistor if that's one's preference.
Added after 1 [hours] 12 [minutes]:
I forgot to mention:
Processing startup commands longer than 255 characters requires OBK 1.17.542 or higher. Normally everyone uses autoexec.bat for this - I've been too lazy...
Thanks again @p.kaczmarek2
I have to admit: No longer particularly attractive, as they currently cost €9.99 and that without energy measurement and rather clunky (today's perception) - despite high stocks in some markets for over a year (even after a special offer for €4.99 in January 2023).


But maybe there are still some lying around in private drawers because they couldn't be flashed with Tasmota and a replacement module ESP-02S/TYWE2S makes them unattractive even for 4.99€.
Hence the teardown here, especially as one might hope that OBI will finally want them off the shelves at some point and will sell them for a reasonable 2.99

If you leave the screws off, you can always get the top case shell off with your thumbnail (where the locking tabs are located) without ever falling off by itself. On the other hand, I haven't yet managed to brick such a simple OBK thingy, demanding physical re-access. But because of its simplicity, it is certainly good for demonstrating and practising the various flashing procedures. (Contrary to my picture, the board does not have to be unscrewed for flashing.) But if you want to use them in real life, you should secure the case shell with some other screws of that size.


I used a typical breadboard power supply to feed 5V to the outer pins of the AMS1117, as this proved to be safer for clamping than a clip with 3.3 V on its centre pin. In other cases, feeding 3.3 V to the terminals of the corresponding filter capacitor may be more practical. As mentioned elsewhere, these BB power supplies are very handy for flashing as they have their own power switch, which is great for resetting the Beken SoC without accidentally "losing" the USB-to-serial adapter in Windows. Because of the existing cables, I took ground and 5 volts from the posts on the top of the board, not from the rails of the breadboard. Of course, a ground connection must be made between the PS and the USB adapter. Two more (separate) pictures of the BB-PS and CH340 for a more easy understanding of my wiring:


Code: JSON
Code: Text
I've changed to: LED_n (channel 1) on P6 to make the following startup command work for dual use of the one and only blue LED.
Code: Text
There is a space (markings in pic) for a second LED and it's limiting resistor if that's one's preference.
Added after 1 [hours] 12 [minutes]:
I forgot to mention:
Processing startup commands longer than 255 characters requires OBK 1.17.542 or higher. Normally everyone uses autoexec.bat for this - I've been too lazy...
Thanks again @p.kaczmarek2


