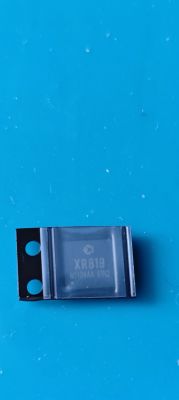
Teardown of "Smart Home Smart Switch" WiFi Relay from Aliexpress.
Product page: https://www.aliexpress.com/item/1005006322147252.html

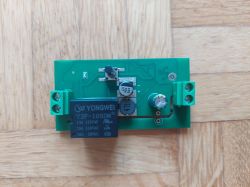
Contains a Y3F-105DM relay rated for 10A @ 250VAC, controlled by a Beken BK7231N.
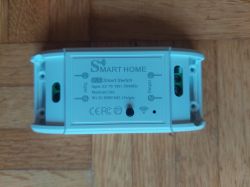
Photos of device:
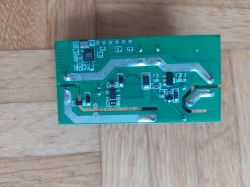
Labelled PCB:
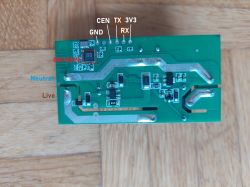
PCB has solder points for Ground, 3.3V, UART1_TX, UART1_RX, CEN and P21=JTAG_TMS (not labelled)
I used an ESP32 Devkit board as a UART bridge:
Solder up some jumper cables to the PCB:
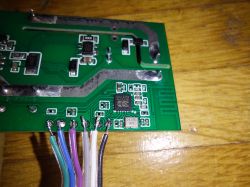
Connect GND, 3V3, TX, RX to their counterparts GND, 3V3, TX0, RX0 on the ESP32 and connect the EN pin on the ESP32 board to ground to keep the ESP32-Module asleep. Then use the flash tool ( https://github.com/openshwprojects/BK7231GUIFlashTool ) according to its instructions.
Product page: https://www.aliexpress.com/item/1005006322147252.html

Contains a Y3F-105DM relay rated for 10A @ 250VAC, controlled by a Beken BK7231N.
Photos of device:


Labelled PCB:

PCB has solder points for Ground, 3.3V, UART1_TX, UART1_RX, CEN and P21=JTAG_TMS (not labelled)
I used an ESP32 Devkit board as a UART bridge:
Solder up some jumper cables to the PCB:

Connect GND, 3V3, TX, RX to their counterparts GND, 3V3, TX0, RX0 on the ESP32 and connect the EN pin on the ESP32 board to ground to keep the ESP32-Module asleep. Then use the flash tool ( https://github.com/openshwprojects/BK7231GUIFlashTool ) according to its instructions.
Code: JSON


