 .
.
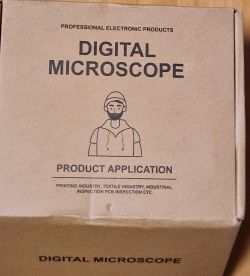
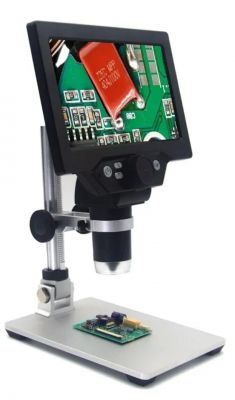
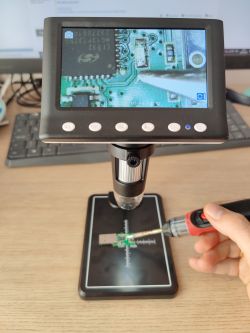
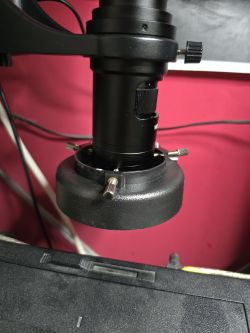
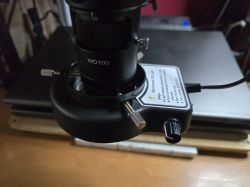
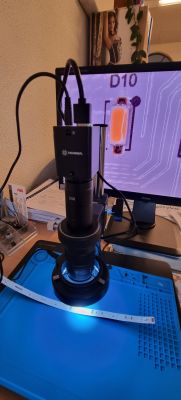
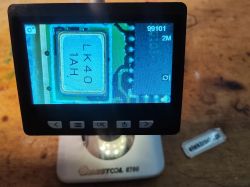
Here I will test a cheap Chinese Mustool G700 microscope available to buy for less than $50. I'll compare it with other solutions I've featured before and consider what's best for soldering and what's best for board inspection.
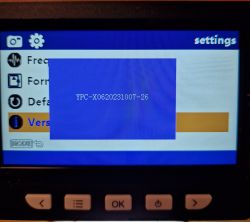
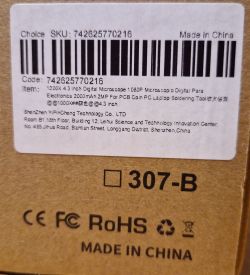
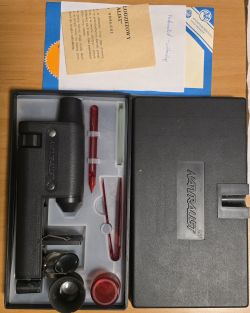
The topic will be rather unusual, as I got a microscope already used from a fellow forum member along with a bunch of other equipment. So to start with, we will check if it still works at all....
Related topics:
- topic about a USB microscope for £50:
The cheapest USB 'microscope' for the hobbyist - review and gallery
- A topic about using the iPhone as a 'microscope':
Phone as "microscope" and TQFP soldering - step-by-step video presentation .
As for the microscope itself, tested here, it is worth adding that there are many similar models available online with similar capabilities and prices. Even if you cannot buy the exact Mustool G700, you will probably find it repainted with a different logo or model.
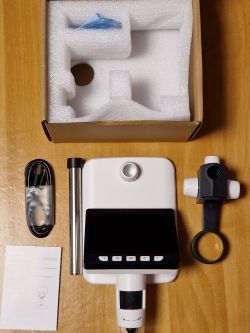
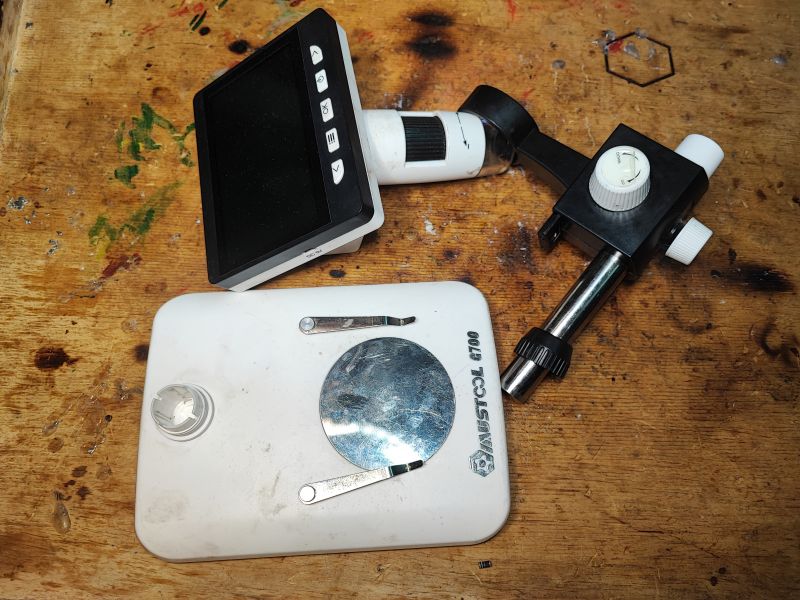
The equipment, of course, comes in parts:
 .
.
This version is largely plastic, but surprisingly still somehow holds up. This is all the more of a plus because, as I pointed out, I got the used version from a forum member.
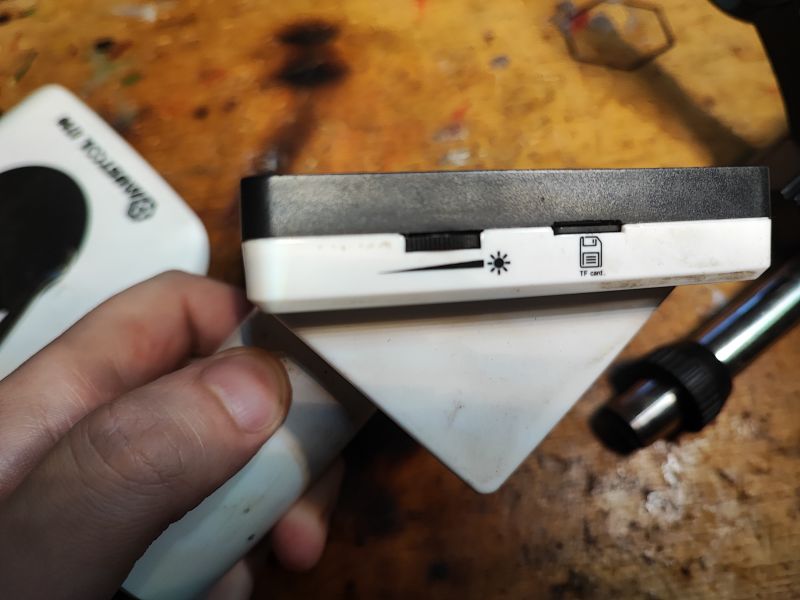
On the right side of the display we have the LED light level control and a microSD card slot:
 .
.
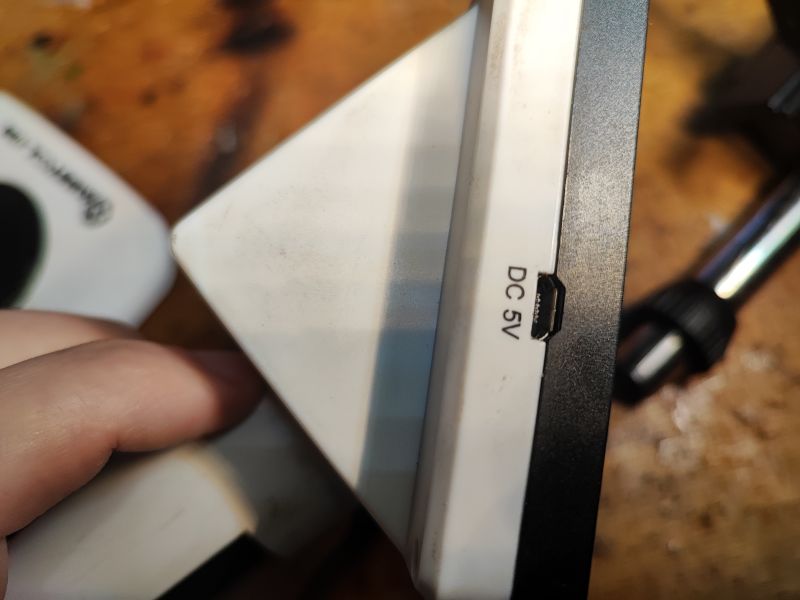
On the other side a microUSB for charging the cell:
 .
.
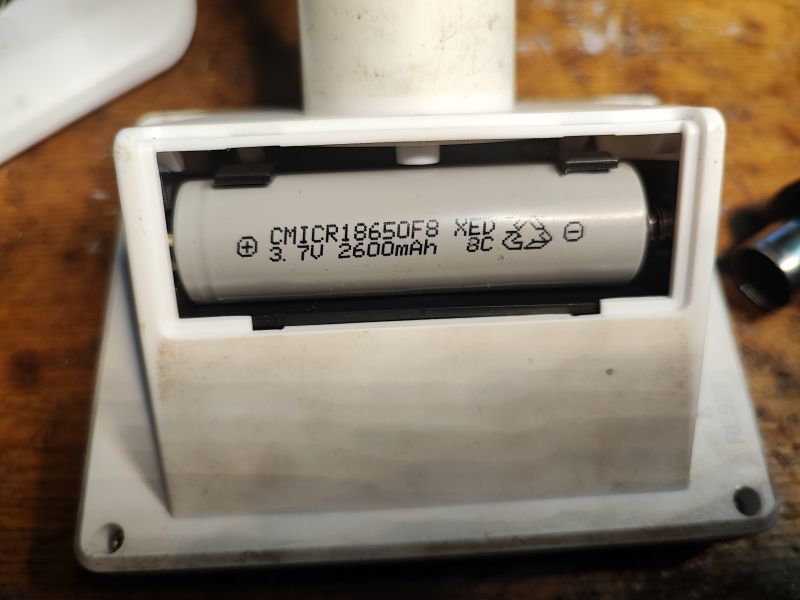
The cell itself is on the back:
 .
.
The RESET button is also hidden there.
A two foot stand to hold the PCB:
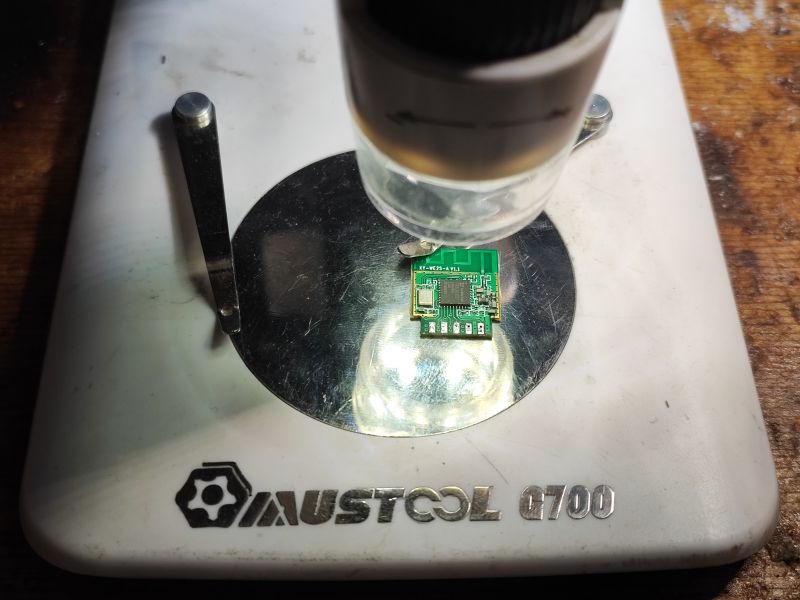
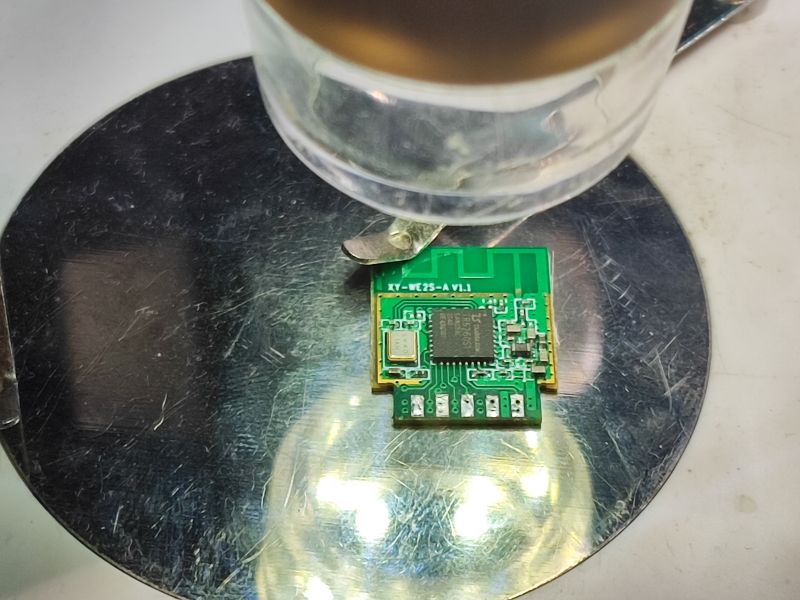 .
.
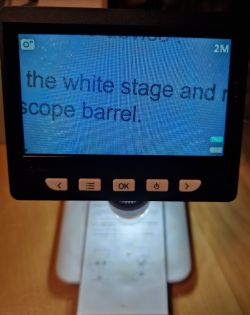
Let's turn on the microscope. First a long distance view:
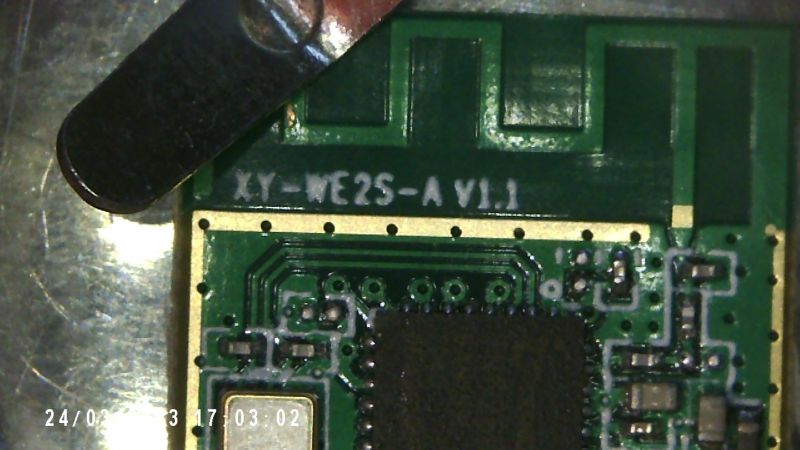
 .
.
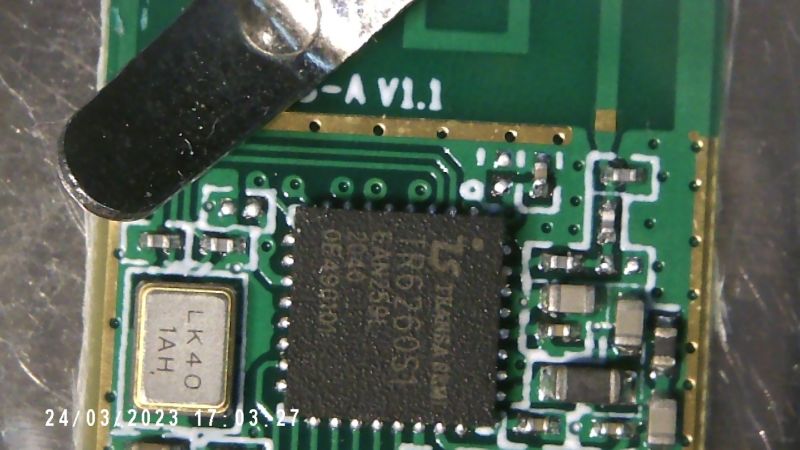
It is time to zoom in a little. On the right and left we have knobs, one for blocking and the other for the first up and down movement:
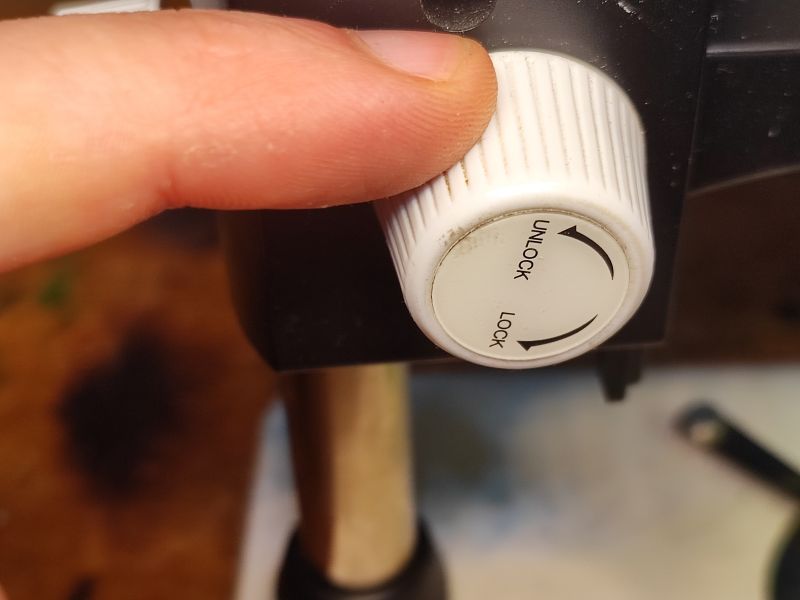
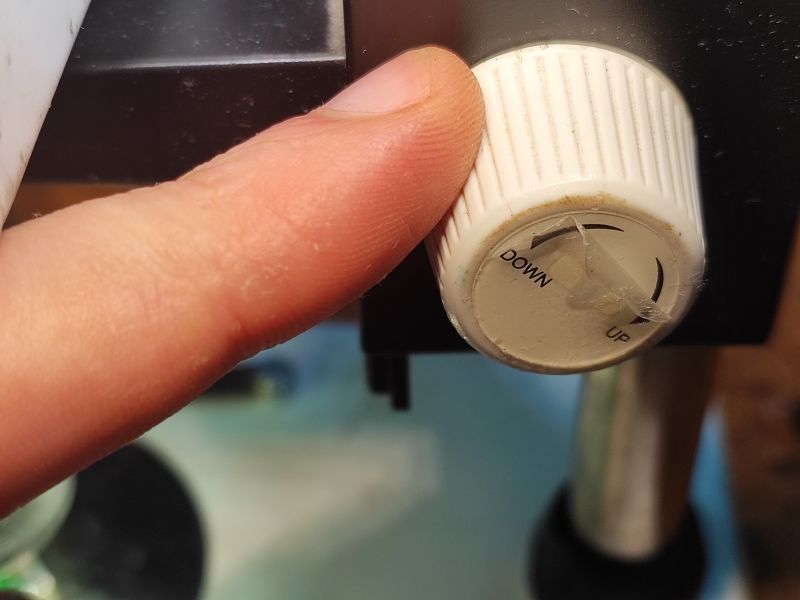 .
.
Then we catch the focus here:
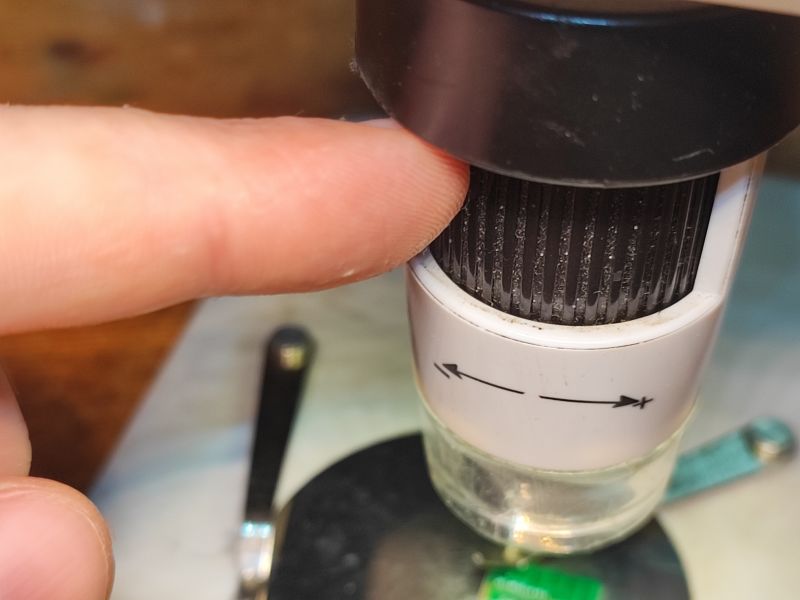 .
.
We also adjust the brightness to suit us:
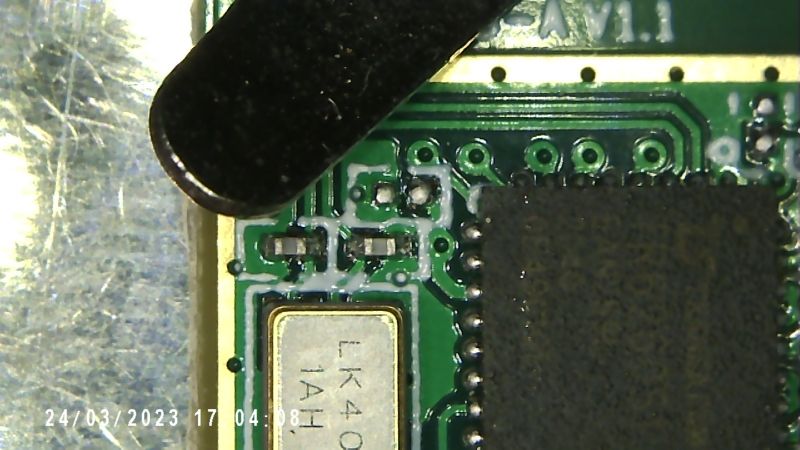 .
.
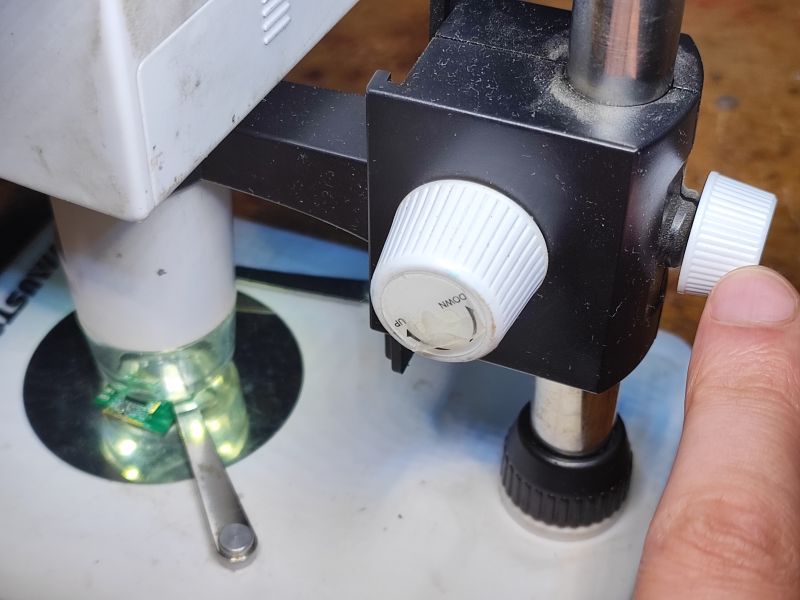
You can zoom in even tighter. We slide the rear knob (release, slide, lock), even to the stop:
 .
.
Effect:
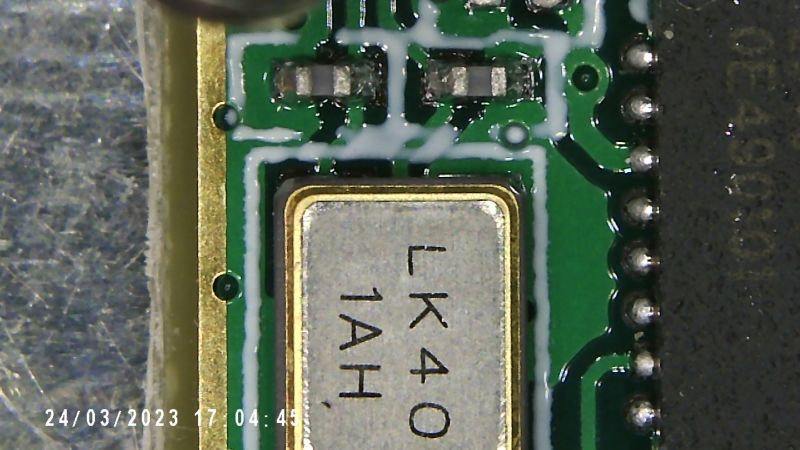
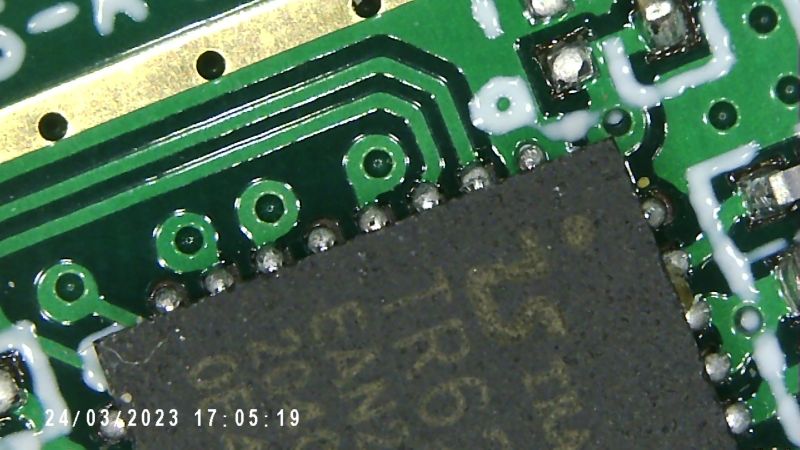
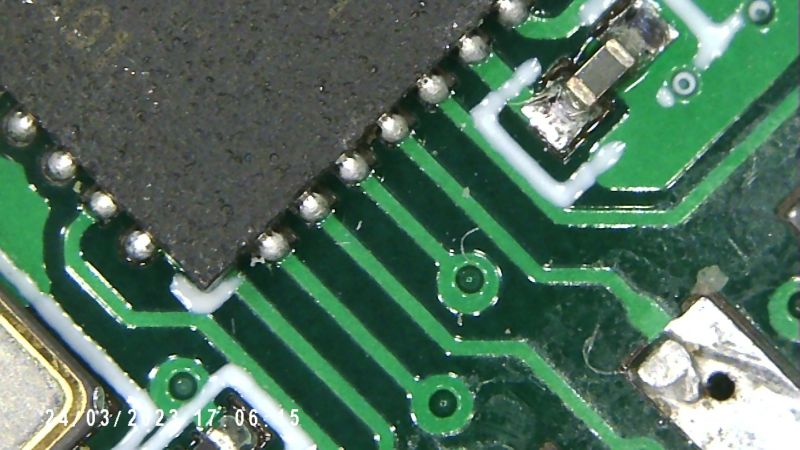
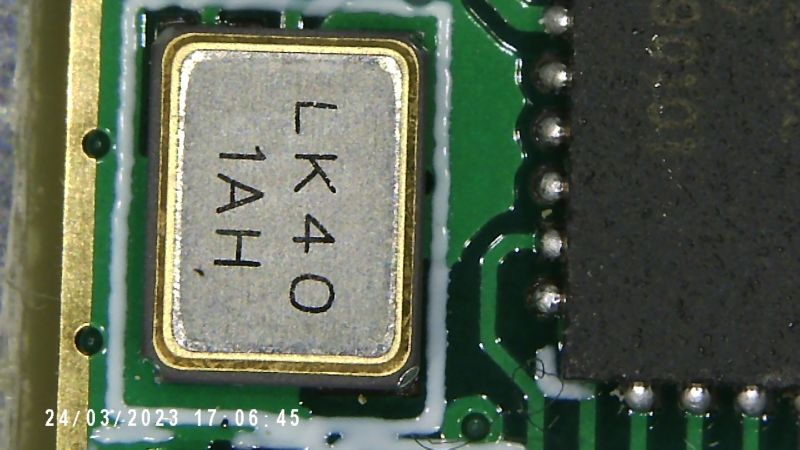 .
.
I take photos using the OK button, you can also enter the photo gallery:
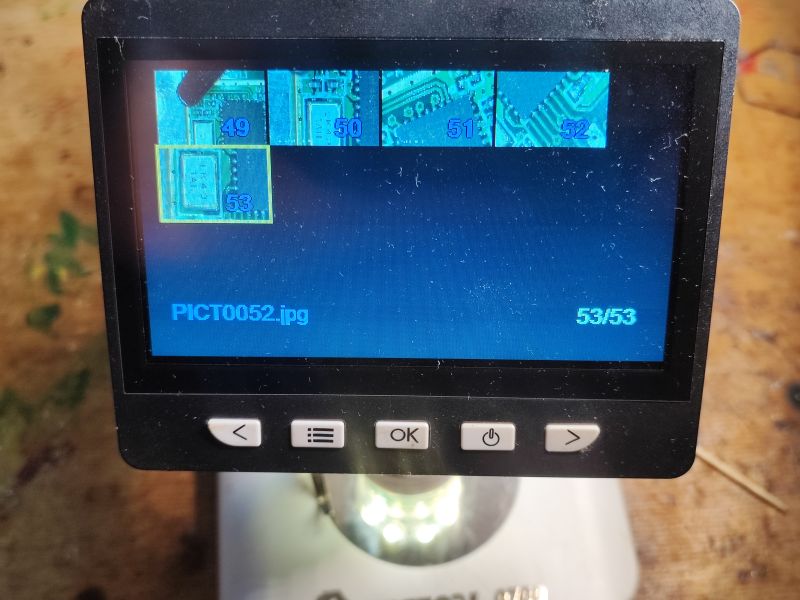 .
.
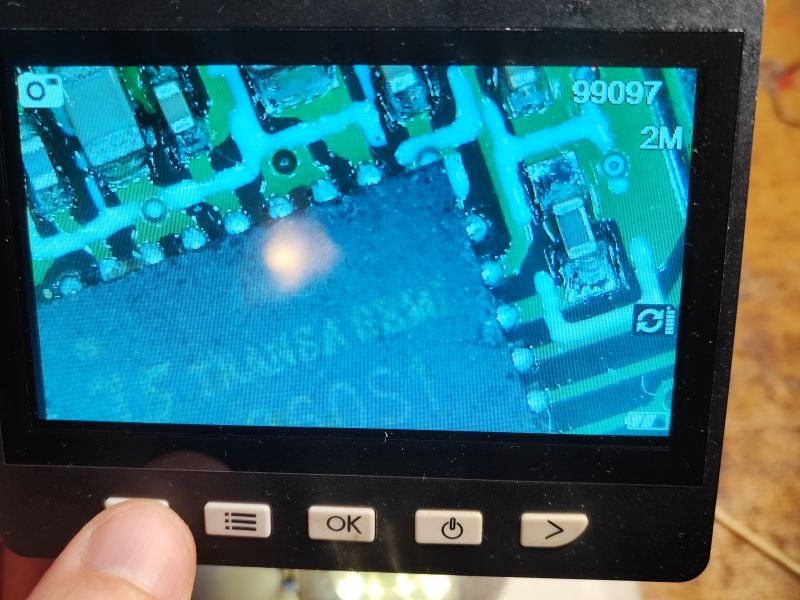
By the way, we also have digital zoom on the right-left buttons:
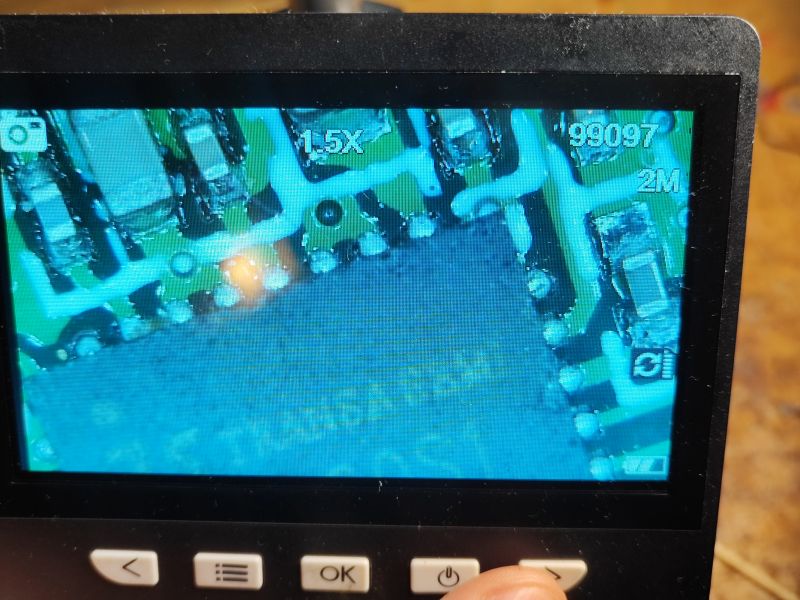
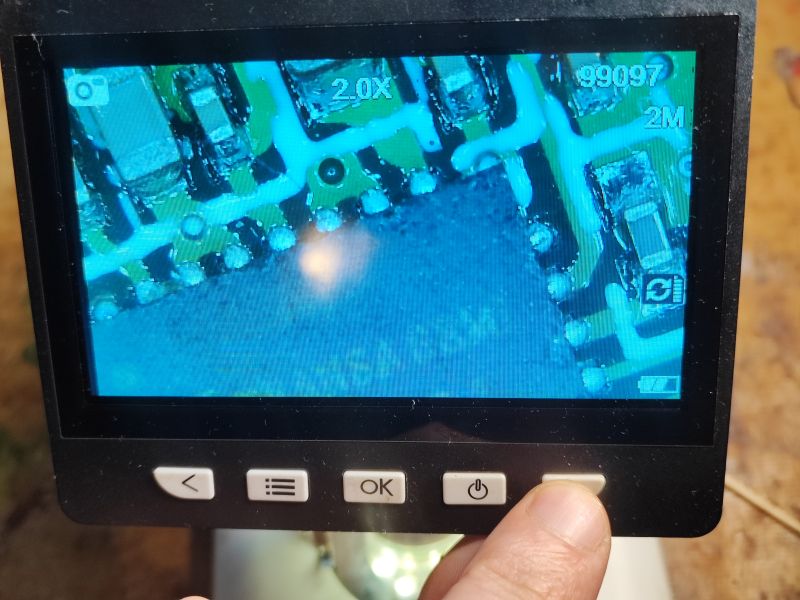
 .
.
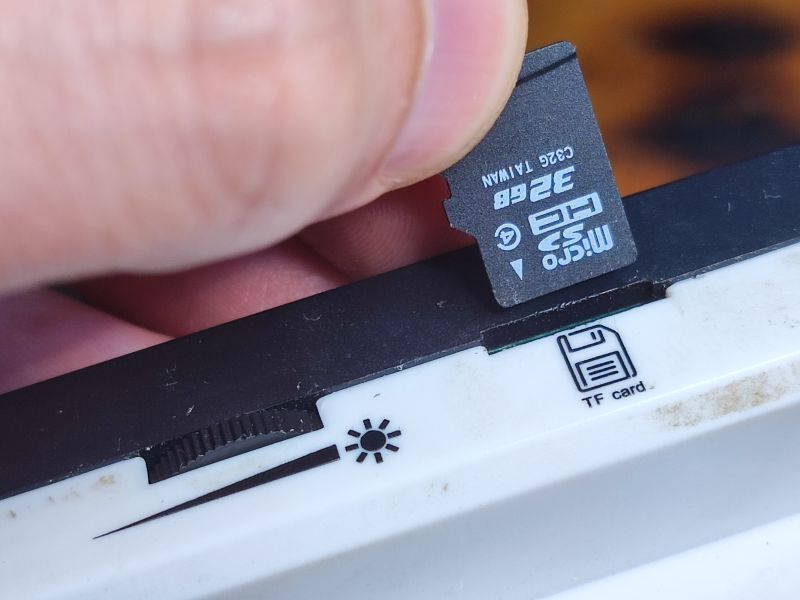
The SD card can of course be removed, but I was a little surprised to find that it is inserted the opposite of what is on the graphic?
 .
.
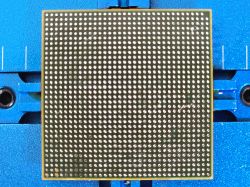
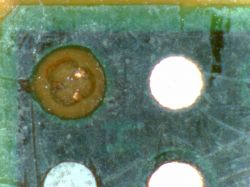
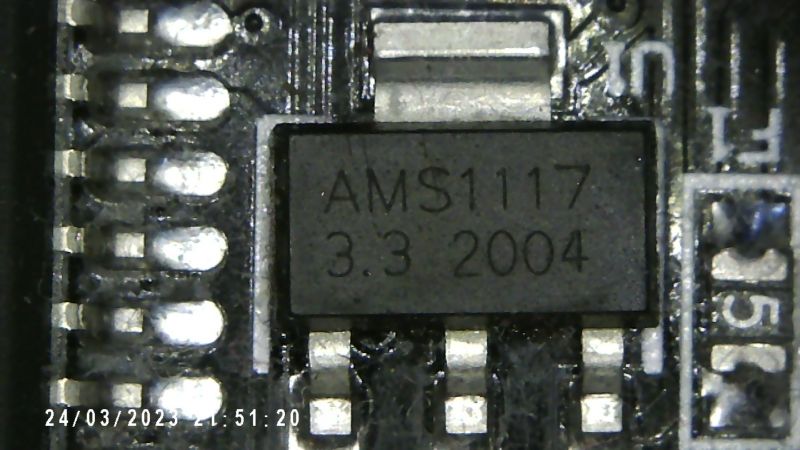
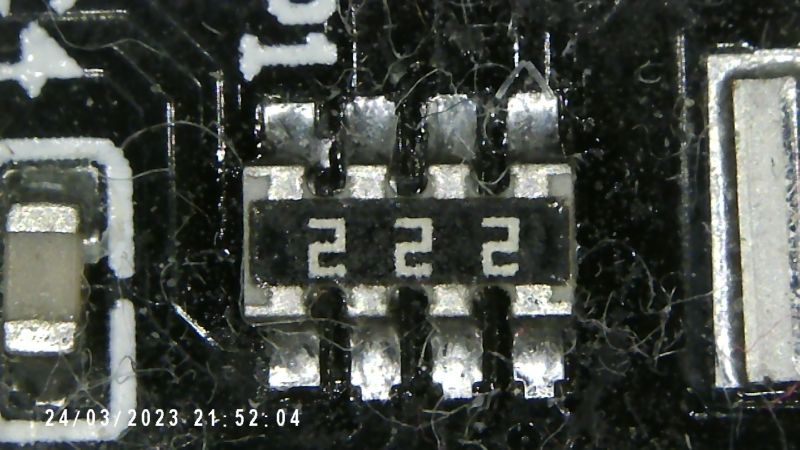
Here are two more photos at the highest magnification:
 .
.
You can also take pictures at an angle if you hold the plate you are photographing properly with your fingers:
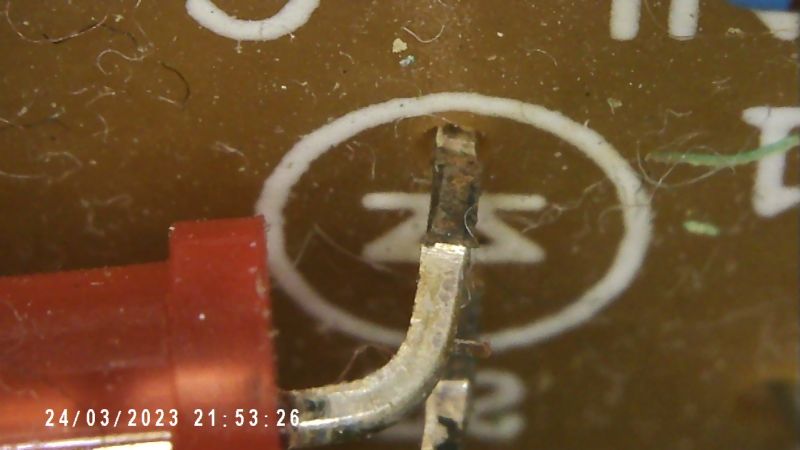
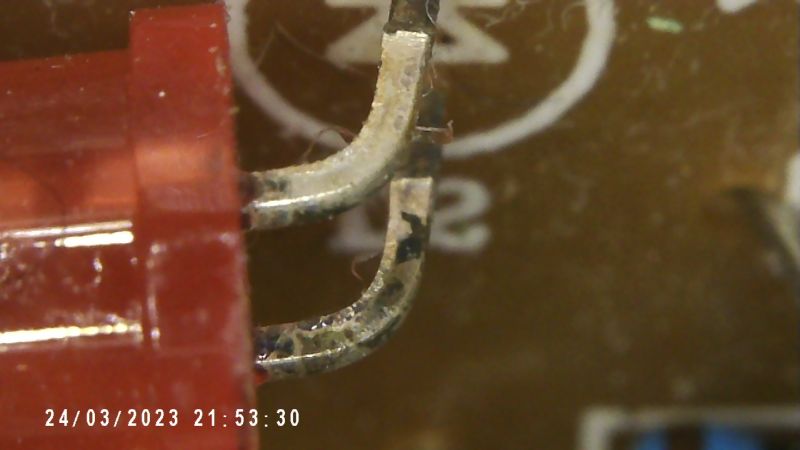 .
.
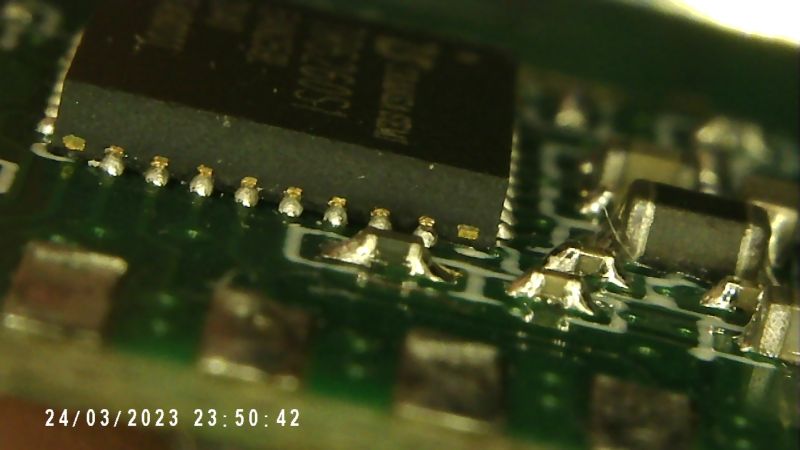
Similarly, here are the solders of the component in the QFN housing as seen from an angle:
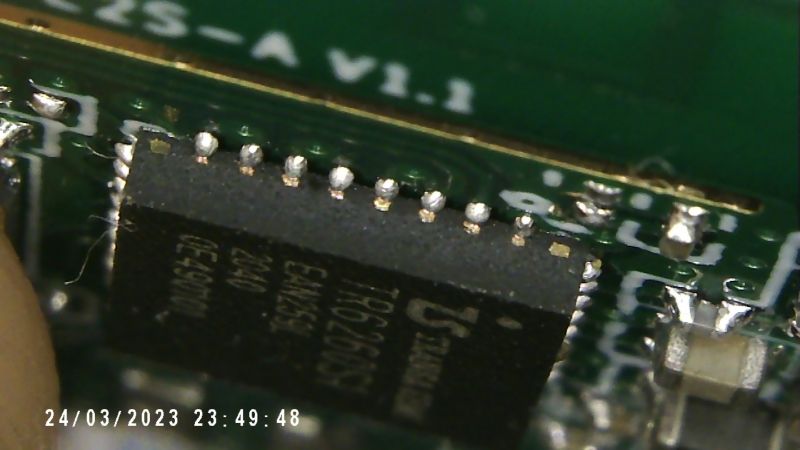
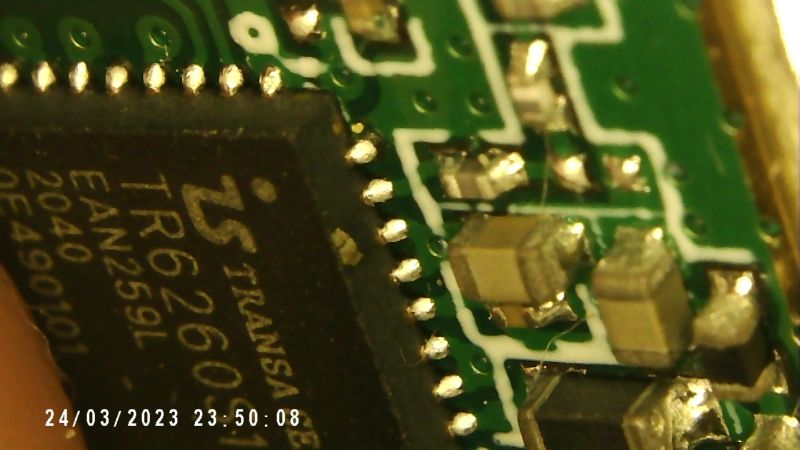
 .
.
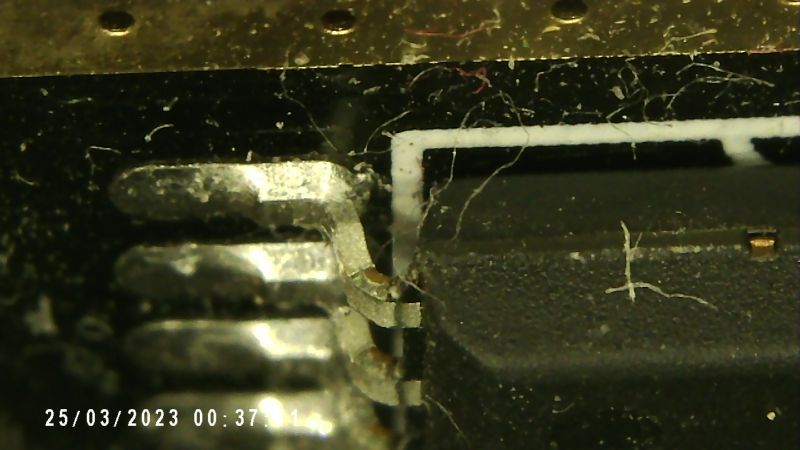
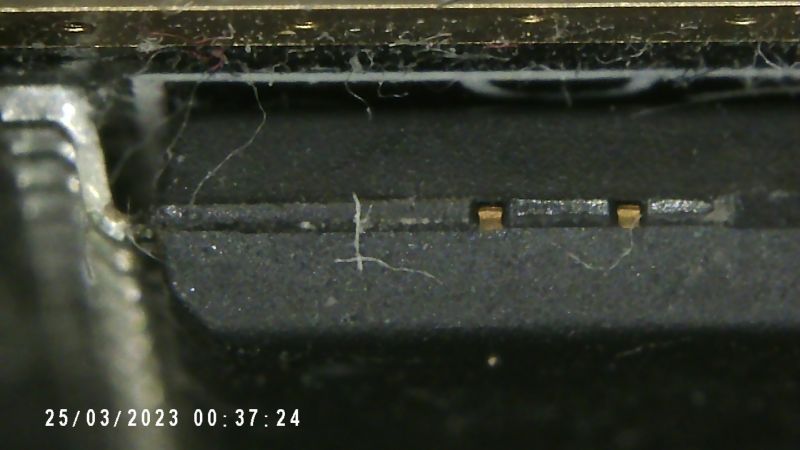
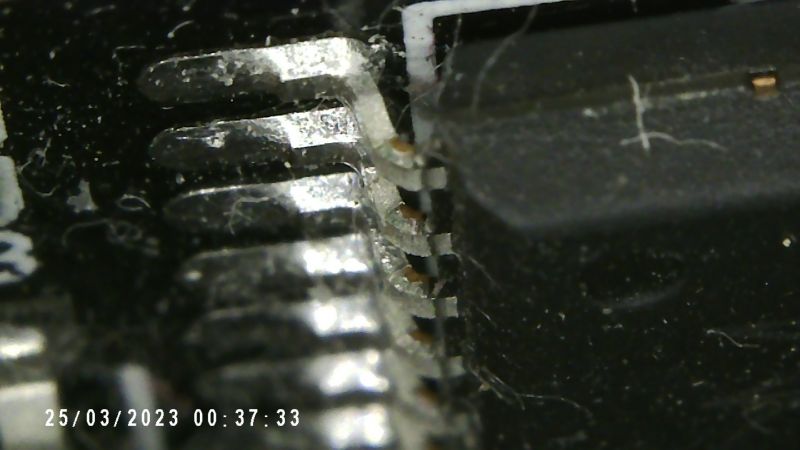
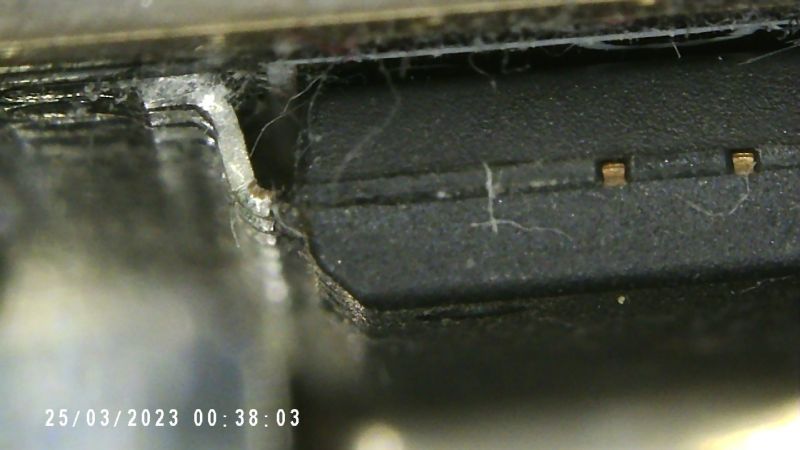
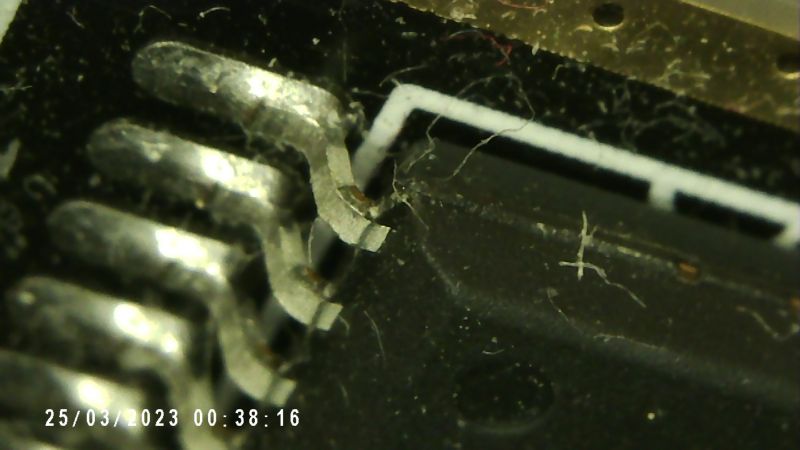
It is even possible to look under the leg of the circuit in the SOIC:
 .
.
 .
.
 .
.
 .
.
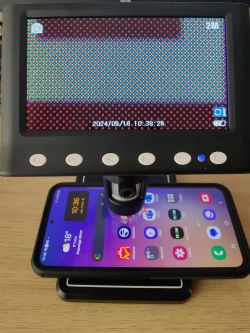
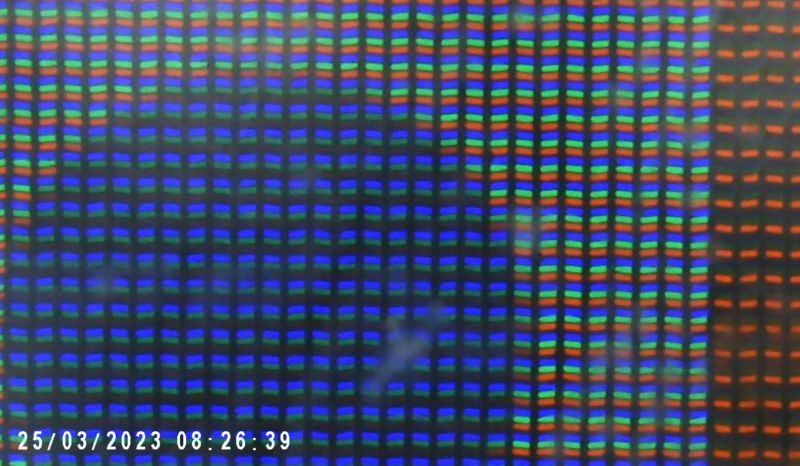
At high magnification you can see the individual pixels and their RGB components on the smartphone display:
 .
.
Test as image delays on the display:
Summary .
To look at the circuit board this microscope may be suitable, but you are unlikely to solder anything under it. In addition, it is not stable and pressing the button to take a photo also moves it - perhaps some kind of remote control to trigger the photo would be useful.
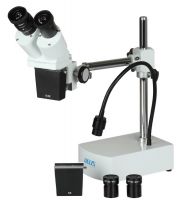
Now the question arises - which is better? Any of the solutions I tested, or maybe something more expensive - if so, at what price?
I have already presented an essentially similar microscope but without the screen and tripod:
The cheapest USB "microscope" for the hobbyist - review and gallery .
from an imaging angle it gave virtually the same thing, so here we only pay for this screen and tripod.
I also tested the method with my phone:
Phone as "microscope" and TQFP soldering - step-by-step video presentation .
I liked the way with the phone a bit more, because you can even solder like that.... but it probably depends what you want to do, it's one thing to solder and another to inspect a PCB.
The fact is, each of these methods allows you to see the solders and tracks on the PCB to a good degree.
I will not give a final verdict here, instead I will ask you - what would you recommend for PCB inspection or soldering and at what price? Do any of the solutions I have tested make sense to start with, or is it better to pay more straight away, if so, for what?
Cool? Ranking DIY Helpful post? Buy me a coffee.


