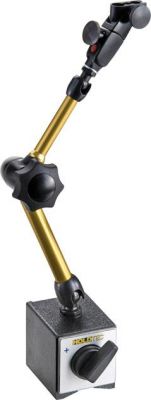
Today I will present you a very interesting microscope equipped with its own LCD screen (because it does not look like OLED or even IPS). I got the device for testing from one of our forum colleagues - @bestler Thank you very much, and sorry for "messing" ...
But to the point.
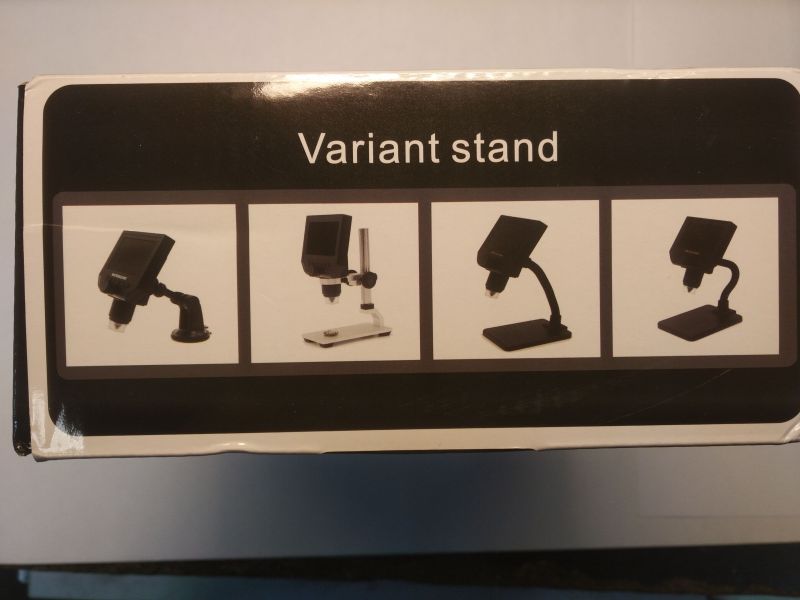
The microscope can be purchased from our friends from the east, for $ 31- $ 41, depending on the version of the tripod. I got it with a plastic one and to my surprise it works quite well, but when I order for myself, I will choose the version with a metal stand.
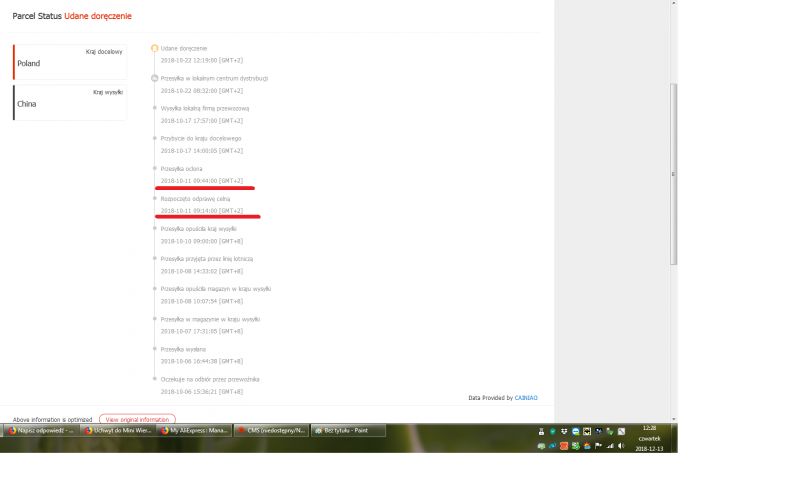
Please note that shipping is not free in this case.
As always, a photo from the Aliexpress auction, what we read in the auction description is the only thing I know about this device. It does not show the name of the manufacturer or the product model.

I do not know where to start, because this time the tests did not go completely according to my plan. I had the outline of the article in my head, but something happened and it turned the whole plan upside down.
But let's start from the beginning ... Or this time better from the end. As you probably read at the beginning, I thanked Bestler for renting the equipment, and at the same time I apologized to him because I "broke" his microscope, or actually, it broke itself, which would probably have happened anyway.
When I was during the photo session of the microscope itself and the photos taken with it, the device crashed twice. The first time it was enough to hold the On / Off button, the second time, it was necessary to press the reset button on the back of the housing.
After the session was over, I connected the microscope to the computer in order to download the photos, which was achieved without any complications. Unfortunately, after disconnecting the microscope from the USB port, it stopped responding - another "pauses". From then on, it can only be "turned on" and will be displayed on the welcome screen. You can not turn off the same button, you can only press the reset button, which will turn it off. I would forget you can still access your data when connected to a computer.
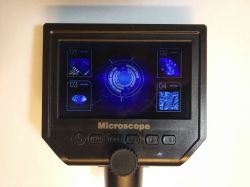
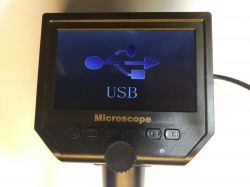
Tomorrow a friend will be with me @-ArtuR- k. with his microscope (identical) and we will read the contents of 25Q80 from it in order to upload it to the Bestler microscope to (hopefully) bring it to life. If this happens, I will not fail to share with you the obtained batch.
That's it for the introduction and explanation.
So it is time for the proper article, and I will say that the microscope made a great impression on me. For just over 150 Polish zlotys (at today's dollar exchange rate) we can have a device that will really make our work easier.
Let's start with the "let's say it" tech specs.
Device parameters declared by the seller:
1. Pixel: HD 3.6MP (whatever that means).
2. Display: 4: 3 inches HD OLED display. (As for me it is plain TFT with unknown resolution but certainly far from FullHD which I mean by 1920x1080).
3. Magnificaion: 1-600X continuos magnification system.
4: Object distance: 15mm - infinity (Depend on the different distance).
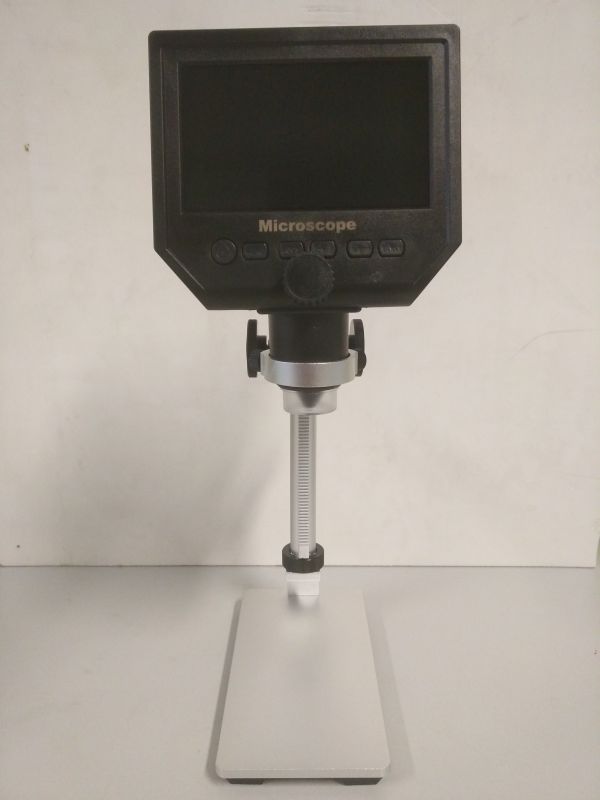
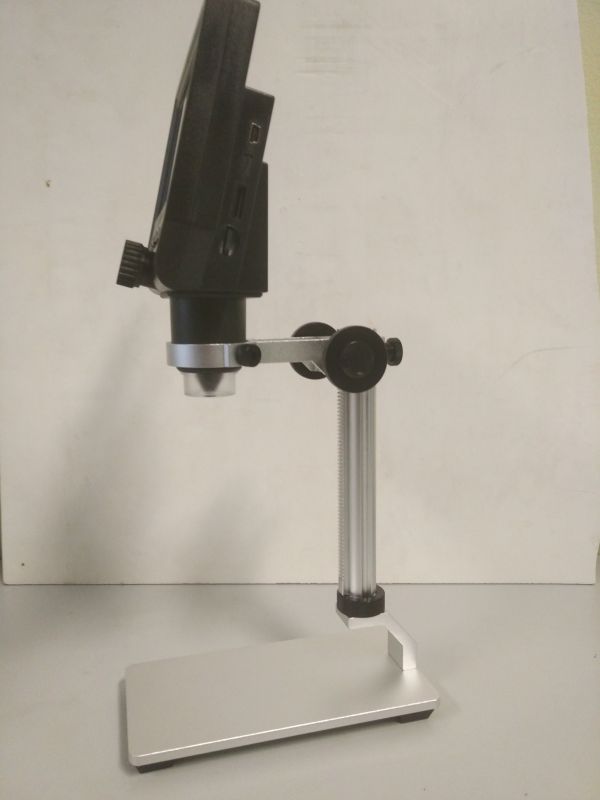
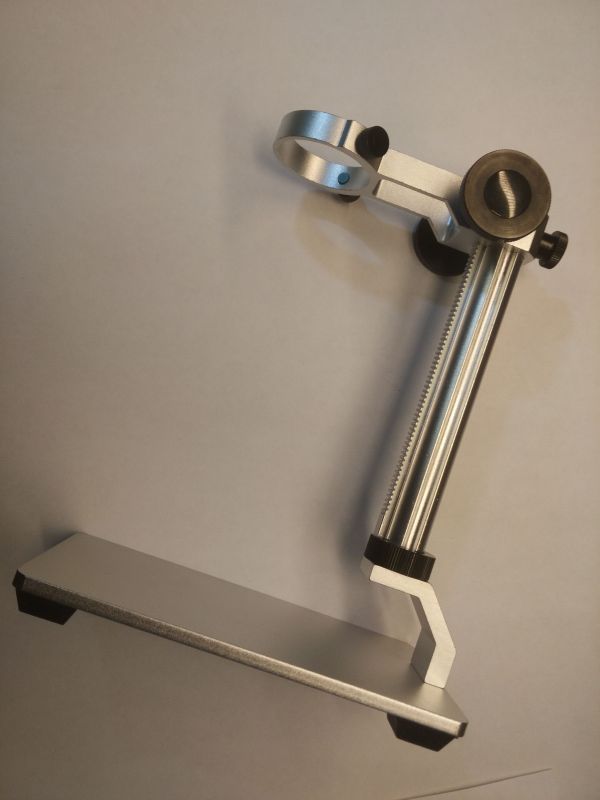
A little break for a few photos so as not to bore you.
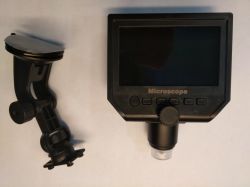
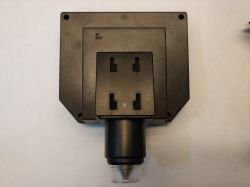
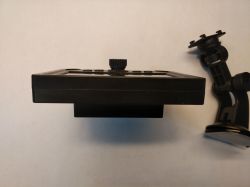
And from another angle.
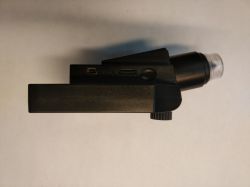
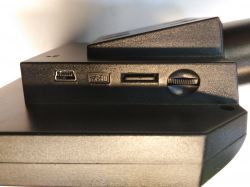
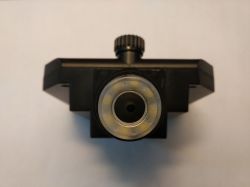
But what about the photos of the microscope, I think you prefer photos taken with it.
There you have it
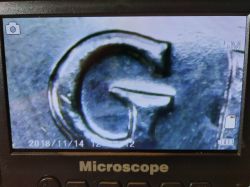
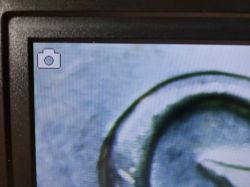


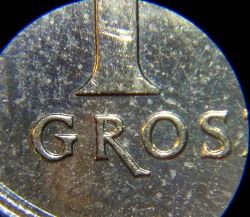
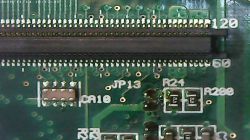
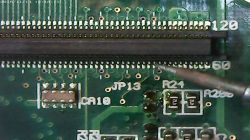
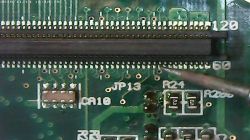
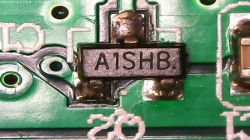
The first two photos show the view on the LCD screen, and the next two are photos taken with a microscope. It is a one-grosz coin with the highest magnification I could get.
As you can see, the screen built into the microscope certainly does not have a resolution of 1920x1080p. It doesn't even have 720p. Nevertheless, it is readable enough to easily see what interests us.
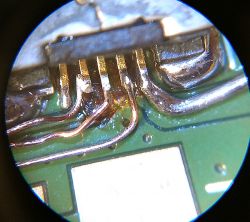
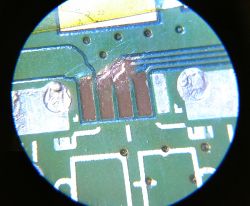
If you don't believe me, I think that a few more photos will quickly dispel your doubts.
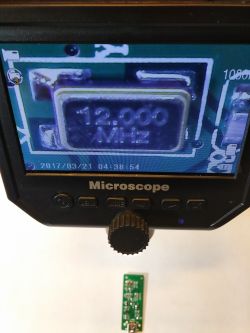
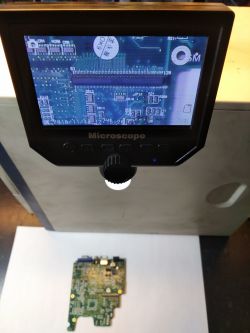
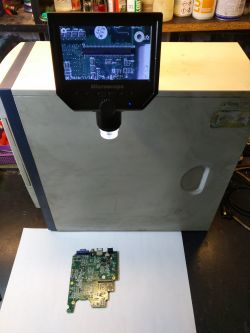
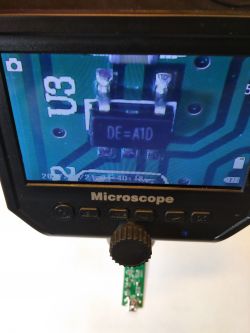
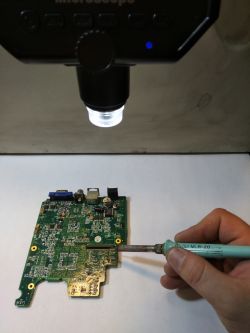
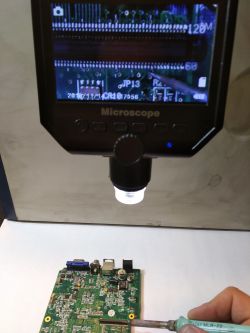
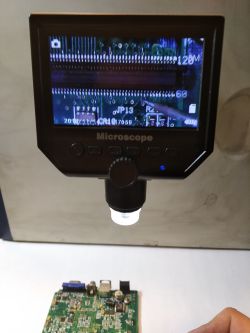
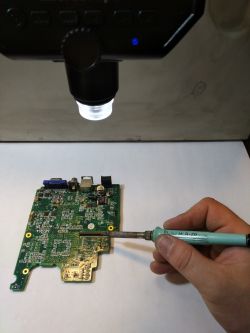
As you can see in the photos above, we have a lot of space under the lens and we can easily operate either with a soldering iron or a Hot Air.
The microscope has the function of taking photos with a resolution of 5MP. Just press the "OK" button after selecting the shooting mode. Well, but at this point we will lose focus at the bank, at best. Because usually when you press any button, or even touch the microscope, the entire frame moves. The manufacturer solved this problem very cleverly, because the photo is taken only after a few seconds, when the device stabilizes (stops vibrating).
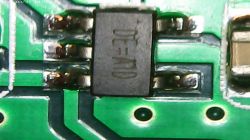
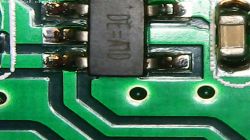
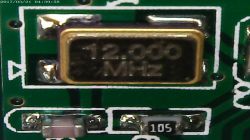
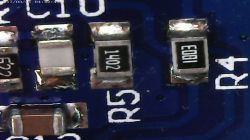
Above are some photos taken with "reasonable magnification".
So let's see what I can "squeeze" on the biggest one I managed to get.


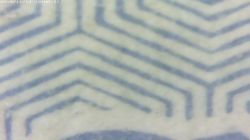
At the top, the "mini-competition" for STO point
The photo shows a microprint from a banknote. The question is what is the denomination? :D
As you can see, he can do quite a lot.
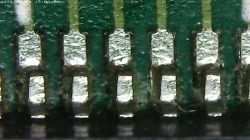
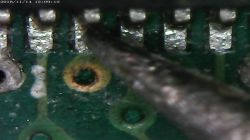
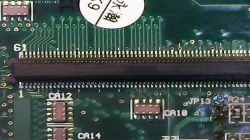
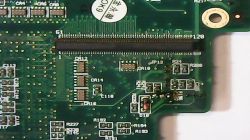
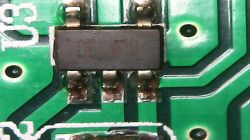
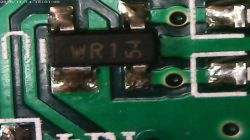
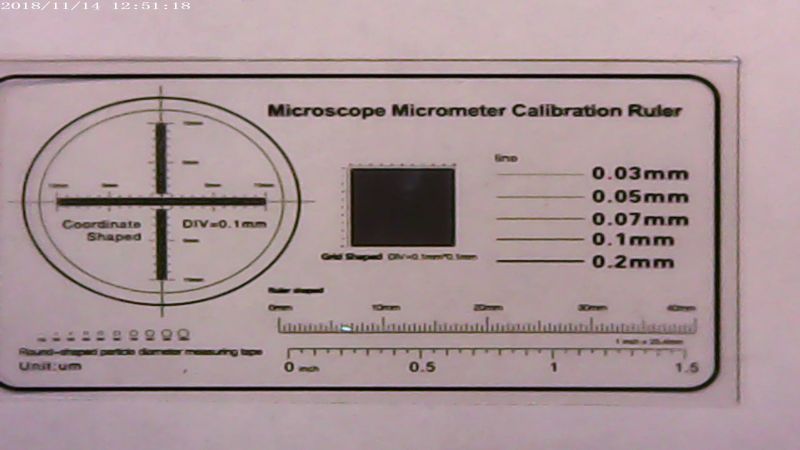
And finally, the "test plate" that I received with the previous microscope (this one was made "by hand" from a distance of about 50 cm. If I had anything to attach the microscope to, the photo would be 100% sharp.
And here already up close.
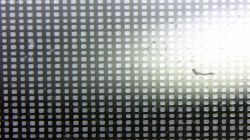
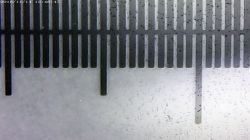
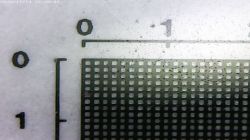
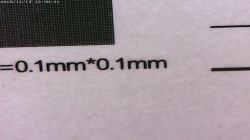
As you can see in the pictures above, despite the small 4.3 "screen, you can see quite a lot.
A plastic articulated tripod, attached to a suction cup made of very soft and sticky silicone rubber, can be attached even to very rough surfaces and holds very tightly. If it gets dirty, you can easily wash it and restore its "full grip". I have to say he's not as bad as I thought. For myself, however, I would order the version with a metal tripod.
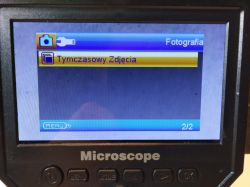
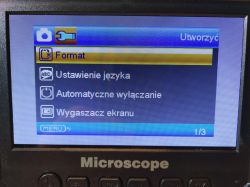
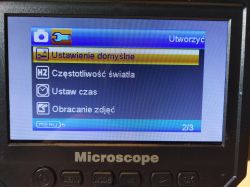
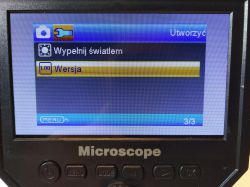
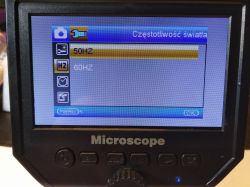
It is also worth noting that we have a Polish menu with some interesting functions, and among them one surprised me. You can change the backlight frequency. We have a choice of 50Hz or 60Hz. It's about eliminating flicker in the image.
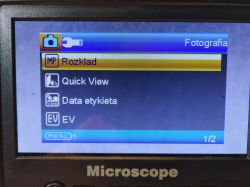
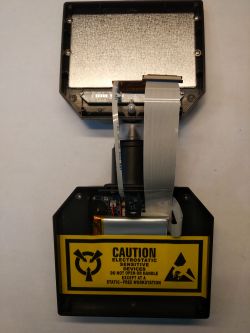
I also allowed myself to disassemble the microscope, because something was wrong with the focus / zoom knob. I was also interested in what type and capacity of the battery I would find inside. After taking it apart, it turned out that the structure of the lens "regulator" is the same and it cannot be improved quickly.
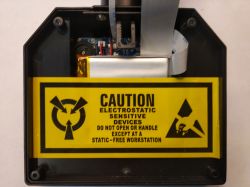
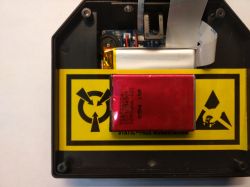
I didn't read the battery capacity either, because I didn't want to tear off this beautiful yellow sticker (after all, the equipment is not mine). You can see, however, that the cell is not much larger than 103450 (which can be obtained from laptop batteries and has a capacity of 1800-2000mAh, so the original battery can be easily replaced).
Summarizing.
In my opinion, as a longtime electronics service worker, this small and cheap microscope can be a really useful device that effectively supports the eye of a service technician. If we take into account the price of this tool (because it is certainly something more than a toy), there is nothing else for me to do but honestly recommend this microscope to you. I am almost determined to buy. But I have some concerns about this crash and eventually "crash". May we have a successful transplant tomorrow. When I have a spare charge and a few programmed ICs at hand, I am not afraid of such "pads".
Allow me to attach three photos from the auction (I think my friend will not be offended).
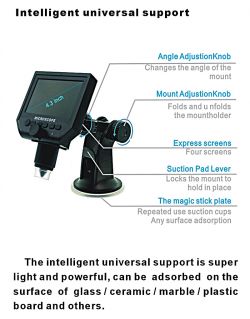
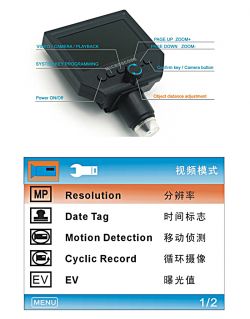
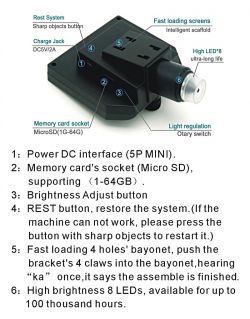
In the meantime, thank you for reading and reading.
I hope that I will be able to find some more time for you now, because you will admit that I missed writing recently.
Ps.
You are probably wondering, how do I know that the 25Q80 "memory is there", since I haven't broken the sticker.
I'm in a hurry, with the answer, well, after the breakdown, I took the microscope apart again, took off the sticker and checked what was inside. By the way, I was able to read the declared battery capacity, amounting to 2500mAh, which seems quite likely considering its size.
Best regards.
CMS
EDIT 16/11/2018:
Colleague Artur k. as promised, he visited me today with his microscope. As I did not have the 25Q80 memory available, we decided to start the game by trying to read the damaged microscope Bestler test carried out with the programmer Arthur , not knowing why it failed, either with a clip or after desoldering the chip. And not because something was wrong with the microscope / memory, because the same test on a working device also failed. So I connected my programmer, connected "suspicious" memory and read its contents. Scalak was clean.
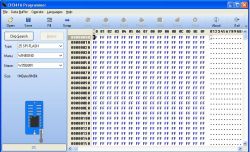
So I connected the clip to the memory on Arthur's microscope's plate and downloaded the batch.
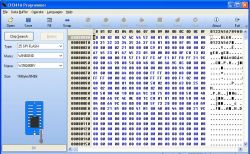
We decided to try to program this empty memory from the outlet. Unfortunately, the attempt was unsuccessful. As I did not have the 25Q80 chip at hand, I used the 25Q32 in a slightly larger housing, but it easily replaced the previous one. I uploaded the batch, the verification was successful. I soldered the memory, pinned all the tapes and soldered the battery ...
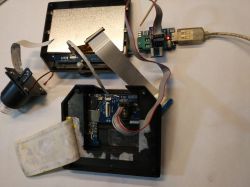
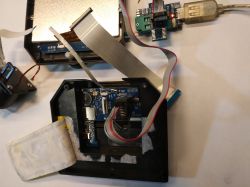
Now the moment of truth , fire up ...
And unfortunately we have the same effect, ie the microscope "hangs" on the welcome screen. :(
The next attempt is to read new memory, the result is the same as before - clean chip.
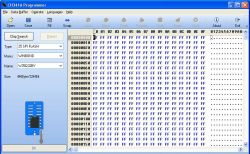
Another programming attempt was unsuccessful, it looks like another scaler has failed. I'm afraid it might not be possible to fix this.
Just then I found out from Bestler that the microscope is under Chinese warranty, so it will probably get a new art. So it turns out that I was having unnecessary fun .
.
I'll let you know when it ends.
Meanwhile, since I already have a ripped batch, I add it to you as an attachment, and it will be useful to someone.
But to the point.
The microscope can be purchased from our friends from the east, for $ 31- $ 41, depending on the version of the tripod. I got it with a plastic one and to my surprise it works quite well, but when I order for myself, I will choose the version with a metal stand.
Please note that shipping is not free in this case.
As always, a photo from the Aliexpress auction, what we read in the auction description is the only thing I know about this device. It does not show the name of the manufacturer or the product model.

I do not know where to start, because this time the tests did not go completely according to my plan. I had the outline of the article in my head, but something happened and it turned the whole plan upside down.
But let's start from the beginning ... Or this time better from the end. As you probably read at the beginning, I thanked Bestler for renting the equipment, and at the same time I apologized to him because I "broke" his microscope, or actually, it broke itself, which would probably have happened anyway.
When I was during the photo session of the microscope itself and the photos taken with it, the device crashed twice. The first time it was enough to hold the On / Off button, the second time, it was necessary to press the reset button on the back of the housing.
After the session was over, I connected the microscope to the computer in order to download the photos, which was achieved without any complications. Unfortunately, after disconnecting the microscope from the USB port, it stopped responding - another "pauses". From then on, it can only be "turned on" and will be displayed on the welcome screen. You can not turn off the same button, you can only press the reset button, which will turn it off. I would forget you can still access your data when connected to a computer.


Tomorrow a friend will be with me @-ArtuR- k. with his microscope (identical) and we will read the contents of 25Q80 from it in order to upload it to the Bestler microscope to (hopefully) bring it to life. If this happens, I will not fail to share with you the obtained batch.
That's it for the introduction and explanation.
So it is time for the proper article, and I will say that the microscope made a great impression on me. For just over 150 Polish zlotys (at today's dollar exchange rate) we can have a device that will really make our work easier.
Let's start with the "let's say it" tech specs.
Device parameters declared by the seller:
1. Pixel: HD 3.6MP (whatever that means).
2. Display: 4: 3 inches HD OLED display. (As for me it is plain TFT with unknown resolution but certainly far from FullHD which I mean by 1920x1080).
3. Magnificaion: 1-600X continuos magnification system.
4: Object distance: 15mm - infinity (Depend on the different distance).
A little break for a few photos so as not to bore you.


And from another angle.


But what about the photos of the microscope, I think you prefer photos taken with it.
There you have it


The first two photos show the view on the LCD screen, and the next two are photos taken with a microscope. It is a one-grosz coin with the highest magnification I could get.
As you can see, the screen built into the microscope certainly does not have a resolution of 1920x1080p. It doesn't even have 720p. Nevertheless, it is readable enough to easily see what interests us.
If you don't believe me, I think that a few more photos will quickly dispel your doubts.


As you can see in the photos above, we have a lot of space under the lens and we can easily operate either with a soldering iron or a Hot Air.
The microscope has the function of taking photos with a resolution of 5MP. Just press the "OK" button after selecting the shooting mode. Well, but at this point we will lose focus at the bank, at best. Because usually when you press any button, or even touch the microscope, the entire frame moves. The manufacturer solved this problem very cleverly, because the photo is taken only after a few seconds, when the device stabilizes (stops vibrating).


Above are some photos taken with "reasonable magnification".
So let's see what I can "squeeze" on the biggest one I managed to get.


At the top, the "mini-competition" for STO point
The photo shows a microprint from a banknote. The question is what is the denomination? :D
As you can see, he can do quite a lot.


And finally, the "test plate" that I received with the previous microscope (this one was made "by hand" from a distance of about 50 cm. If I had anything to attach the microscope to, the photo would be 100% sharp.

And here already up close.


As you can see in the pictures above, despite the small 4.3 "screen, you can see quite a lot.
A plastic articulated tripod, attached to a suction cup made of very soft and sticky silicone rubber, can be attached even to very rough surfaces and holds very tightly. If it gets dirty, you can easily wash it and restore its "full grip". I have to say he's not as bad as I thought. For myself, however, I would order the version with a metal tripod.
It is also worth noting that we have a Polish menu with some interesting functions, and among them one surprised me. You can change the backlight frequency. We have a choice of 50Hz or 60Hz. It's about eliminating flicker in the image.


I also allowed myself to disassemble the microscope, because something was wrong with the focus / zoom knob. I was also interested in what type and capacity of the battery I would find inside. After taking it apart, it turned out that the structure of the lens "regulator" is the same and it cannot be improved quickly.
I didn't read the battery capacity either, because I didn't want to tear off this beautiful yellow sticker (after all, the equipment is not mine). You can see, however, that the cell is not much larger than 103450 (which can be obtained from laptop batteries and has a capacity of 1800-2000mAh, so the original battery can be easily replaced).


Summarizing.
In my opinion, as a longtime electronics service worker, this small and cheap microscope can be a really useful device that effectively supports the eye of a service technician. If we take into account the price of this tool (because it is certainly something more than a toy), there is nothing else for me to do but honestly recommend this microscope to you. I am almost determined to buy. But I have some concerns about this crash and eventually "crash". May we have a successful transplant tomorrow. When I have a spare charge and a few programmed ICs at hand, I am not afraid of such "pads".
Allow me to attach three photos from the auction (I think my friend will not be offended).


In the meantime, thank you for reading and reading.
I hope that I will be able to find some more time for you now, because you will admit that I missed writing recently.
Ps.
You are probably wondering, how do I know that the 25Q80 "memory is there", since I haven't broken the sticker.
I'm in a hurry, with the answer, well, after the breakdown, I took the microscope apart again, took off the sticker and checked what was inside. By the way, I was able to read the declared battery capacity, amounting to 2500mAh, which seems quite likely considering its size.
Best regards.
CMS
EDIT 16/11/2018:
Colleague Artur k. as promised, he visited me today with his microscope. As I did not have the 25Q80 memory available, we decided to start the game by trying to read the damaged microscope Bestler test carried out with the programmer Arthur , not knowing why it failed, either with a clip or after desoldering the chip. And not because something was wrong with the microscope / memory, because the same test on a working device also failed. So I connected my programmer, connected "suspicious" memory and read its contents. Scalak was clean.

So I connected the clip to the memory on Arthur's microscope's plate and downloaded the batch.

We decided to try to program this empty memory from the outlet. Unfortunately, the attempt was unsuccessful. As I did not have the 25Q80 chip at hand, I used the 25Q32 in a slightly larger housing, but it easily replaced the previous one. I uploaded the batch, the verification was successful. I soldered the memory, pinned all the tapes and soldered the battery ...


Now the moment of truth
And unfortunately we have the same effect, ie the microscope "hangs" on the welcome screen. :(
The next attempt is to read new memory, the result is the same as before - clean chip.

Another programming attempt was unsuccessful, it looks like another scaler has failed. I'm afraid it might not be possible to fix this.
Just then I found out from Bestler that the microscope is under Chinese warranty, so it will probably get a new art. So it turns out that I was having unnecessary fun
I'll let you know when it ends.
Meanwhile, since I already have a ripped batch, I add it to you as an attachment, and it will be useful to someone.
Cool? Ranking DIY


