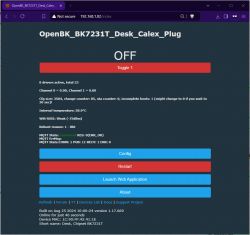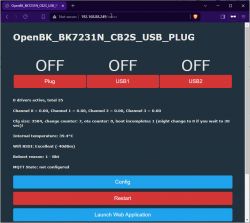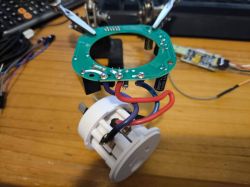
This is a teardown for my "Smart Plug WiFi Socket". It's an Australian plug which means the variants are not many, this was the only one I could find that had RCM - the compliance mark for australia. I de-soldered CB2S module and spent about 4 hours trying to get it going from initial opening the packet to finishing up this post.
I set it up in the tuya app first and was halfway through installing localtuya when I found the Elektroda com YouTube videos and decided that was easier/better/faster/stronger/more robust.
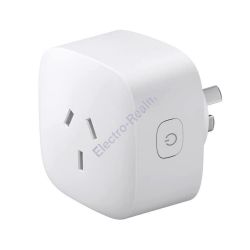
Here's the listing photos-
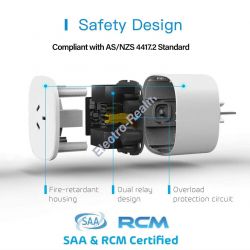
and here's a different listing photo (from a different seller) showing what I actually got -
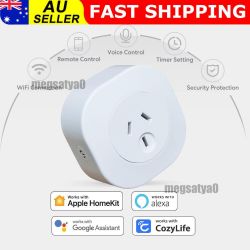
Which is not the same thing, you can see the button is on the side not the top (different listing photos show it in different places) and the magical RCM version has two relays so proudly displayed in the photos whereas the one i received has only one relay.
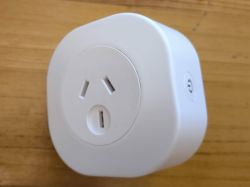
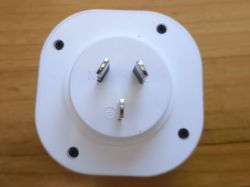
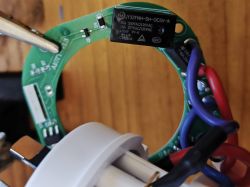
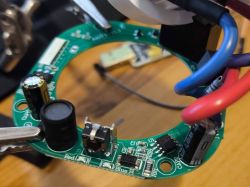

As you can see it's a very basic plug, simple on/off with no current shunt despite the inflated price tag due to the alleged safety compliance. Aaaand here's the CB2S problem child with the cloud addiction.
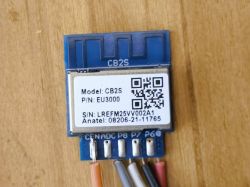
Of course I had no idea what I was doing and was simply blindly following the Elektroda com YouTube videos, easy enough to get the board out with my hot air re-flow station. When putting it back in I definitely recommend just scraping most of the excess solder off the pads before shoving it back in there or you'll be lifting pads.
The Videos in question are -
https://www.youtube.com/watch?v=PKkiqDNFIx8 Is using the flasher
https://www.youtube.com/watch?v=pkcspey25V4 Is the homeassistant and MQTT Setup side
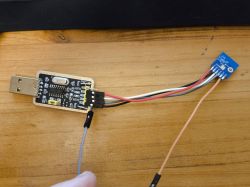
Once I had it all wired up I started bashing my head against the excellent BK7231 Easy UART Flasher, I had no idea what chippy was under the metal can so I just tried reading each chip type, (of course if I had bothered to read the note next to the select chip type drop down this would have saved me some time) no luck from K, N gave me some more output - encryption key but as soon as it started reading it would hang.
I started thrashing as usual and by complete chance found this post. which saved the day.
https://github.com/openshwprojects/BK7231GUIFlashTool/issues/18

Bingo, It read out the memory so I flashed the OpenBK7231N Firmware and off she went. Then I had a look in the "change OBK settings for flash write" and added in the wifi ssid and password like a sane person and re-wrote the config and used pingtools on my phone to find the device IP.
After that it was as simple as watching the Elektroda com youtube video about adding to homeassistant excepting that where the MQTT username and password are stored in the lovelace ui has changed it was all easy from there.
The second plug took about 10 minutes from cracking the case open to tracking down the lost screw on the floor. It too is now happily in my homeassistant dashboard.
All hail the creators of the Easy UART Flasher and the Elektroda com youtube video
AI: Could you provide the specific model or brand of the Smart Plug WiFi Socket you are working with?
TEGAL A10 Classic, Though the item received is unbranded with no markings


