 .
.
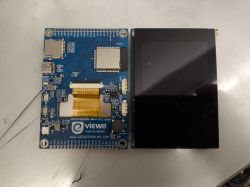
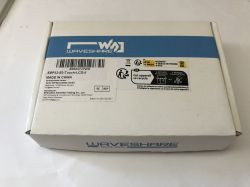
The Waveshare ESP32-S3-Touch-LCD-5 is a board offering a 5-inch touchscreen with 800x480 resolution (1024x600 in the B version) controlled by an ESP32-S3 with additional PSRAM and a convenient USB-C connector. In addition, a wealth of peripherals are on board, such as a CAN interface, RS485, battery connector and microSD card slot, allowing the board to be quickly integrated into a variety of devices, including building automation systems. The entire board can be purchased for around £200.
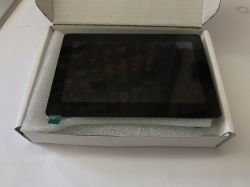
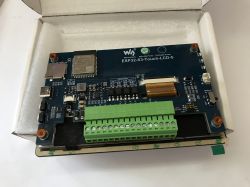 .
.
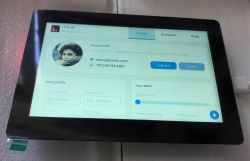
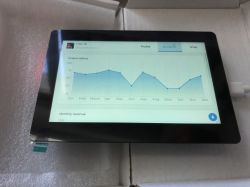
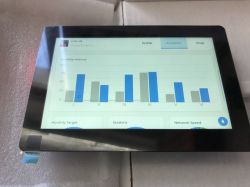
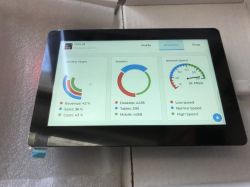
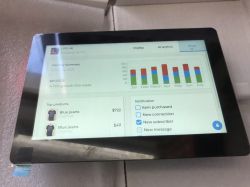
Out of the box, we immediately have the LVGL demo uploaded. It shows the use of the various controls available in this system, it is even possible to draw graphs.
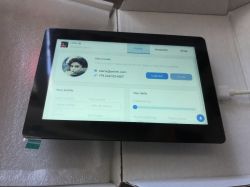
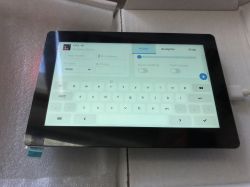
 .
.
 .
.
However, let us first turn to specification :
Quote:Processor: Xtensa 32-bit LX7 dual-core up to 240MHz
Product dimensions: 1.4 x 12.77 x 8.75 cm
Weight: 145.15 g
ASIN: B0DD7M58T9
Flash memory capacity: 16 MB
PSRAM memory capacity: 8 MB
Embedded memory: 512 KB SRAM, 384 KB ROM
Connectivity: 2.4GHz Wi-Fi (802.11 b/g/n) and Bluetooth 5 (LE)
Display: 5-inch capacitive touchscreen, 800×480 or 1024×600 resolution, 65K colours
Touch control: 5-point touch support via I2C interface, interrupt support
Power supply: built-in voltage regulator, support for wide voltage range 7~36V
RTC: on-board real-time clock chip with battery back-up
Interfaces: CAN, RS485, I2C, TF card slot, GH1.25 2P connector for battery, isolated digital I/Os
Digital inputs: passive and active input support, isolation via bidirectional optocouplers
Digital outputs: isolation via optocouplers, up to 450 mA load capability
LEDs: power and battery charging status indicators
Power management: flexible clocking, independent power supply for modules, support for low power modes
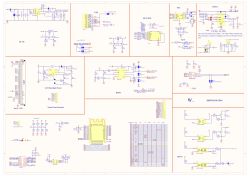
Schematic:
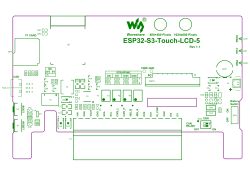
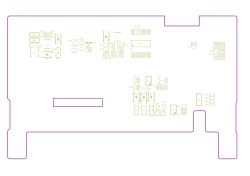
PCB view:
 .
.
Full documentation on the waveshare wiki: https://www.waveshare.com/wiki/ESP32-S3-Touch-LCD-5
Waveshare also describes the launch of this board with Arduino , for this reason I decided to try it with PlatformIO. I have already presented PlatformIO in several topics:
How to program a Wemos D1 (ESP8266) board in the shape of an Arduino? ArduinoOTA in PlatformIO .
WiFi Manager in PlatformIO - convenient WiFi configuration for ESP8266 and ESP32 - tutorial
Port Expander Module PCF8574 - PlatformIO tutorial - Arduino/ESP/itd pin expansion
Clock on ESP12 and MAX7219 display - tutorial - part 1, ArduinoOTA, basics .
There is a project on Github that directly supports the board in question and can also be run just in PlatformIO:
https://github.com/esp-arduino-libs/ESP32_Display_Panel
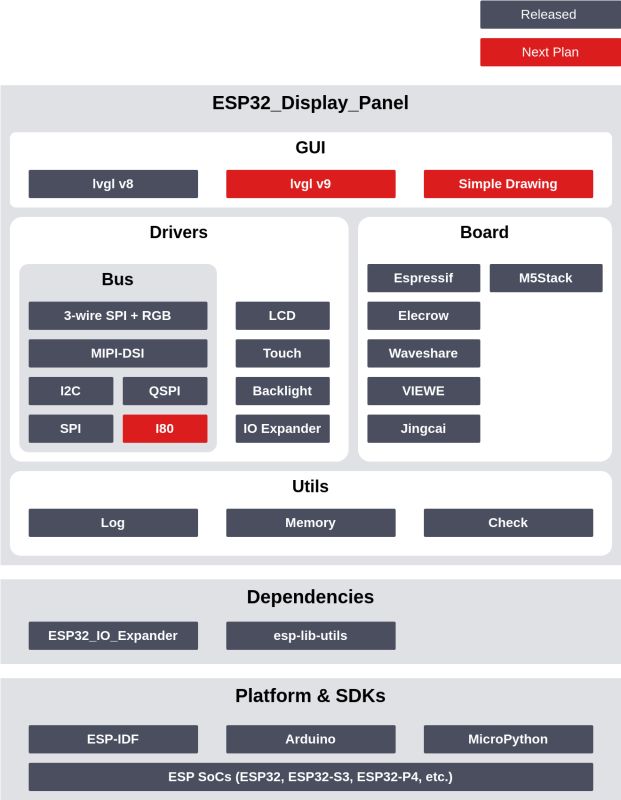
The ESP32_Display_Panel project offers support for various display modules from ESP, and supports M5Stack, Elecrow, VIEWE and just Waveshare products. The structure of the ESP32_Display_Panel is shown in the diagram:
 .
.
Running the ESP32_Display_Panel in PlatformIO is very simple. We download the repository and import the example project lvgl_v8_port, which is available here:
https://github.com/esp-arduino-libs/ESP32_Dis.../tree/master/examples/platformio/lvgl_v8_port
There we have the finished project with the matching platformio.ini.
PlatformIO should install the missing libraries by itself, but this may take a bit of time.
Then we still need to select our board. Otherwise we will get this message:
Code: C / C++
The configuration methods are described in detail in the readme, but I myself have decided to compile in custom mode, where only in esp_panel_board_supported_conf.h
I need to set ESP_PANEL_BOARD_DEFAULT_USE_SUPPORTED to 1 and uncomment BOARD_WAVESHARE_ESP32_S3_TOUCH_LCD_5 (for 800x480 version, an option for higher resolution versions is also available - BOARD_WAVESHARE_ESP32_S3_TOUCH_LCD_5_B).
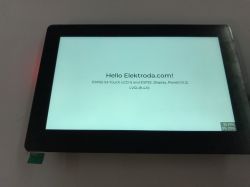
Then you can compile and start testing by editing main.cpp:
Code: C / C++
Result:
 .
.
At this stage we have a functional design with LVGL, which I have already described on the forum some time ago:
ESP32 and touchscreen display - part 5 - LVGL in SquareLine Studio .
ESP32 and touch display - part 6, RGB lamp control, RGB picker
ESP32 and touch display - part 7, how to make a keyboard in LVGL? Login. .
You can still test that the touchscreen also works:
Code: C / C++
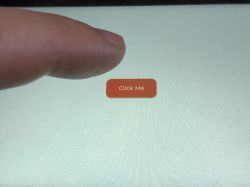
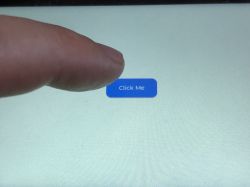
The above code creates a single button together with a click event handler. When clicked, the colour of this button changes.
Everything works:
 .
.
In summary , the module proved to be simple to run, both in the Arduino IDE (instructions are on the Waveshare wiki) and in PlatformIO. You can confidently base your projects on it, just what projects? What applications do you see for it, has anyone already experimented with this type of display? Feel free to discuss.
Cool? Ranking DIY Helpful post? Buy me a coffee.


