logo elektroda
logo elektroda
X
logo elektroda

Flashing PJ 1103C Smart Meter (BK7238 V1.2) with BK7231 GUIFLASHTool and TuyaMCU Setup

frath 1809 6
ADVERTISEMENT
  • BK7238 flashing and TuyaMCU startup commands

    #1 21781259
    frath
    Level 2  
    Posts: 4
    Smart meter PJ 1103C BK7238 V1.2 (2025/8/13)

    How to make it works.
    Take off the wifi bk7238
    Flash with BK7231 GUIFLASHTool (V154)
    3.3V, gnd, tx rx
    Put back the wifi card,
    Connect to 240V
    Once in the html page go to startup command and paste this:

    Start:
    startDriver TuyaMCU
    tuyaMcu_setBaudRate 9600
    tuyaMcu_defWiFiState 4
    addRepeatingEvent 10 -1 uartSendHex 55AA0008000007
    setChannelType 1 Voltage_div10
    setChannelType 2 Frequency_div100
    setChannelType 3 Power_div10
    setChannelType 4 Current_div1000
    setChannelType 5 PowerFactor_div100
    setChannelType 6 EnergyTotal_kWh_div100
    setChannelType 7 Power_div10
    setChannelType 8 Current_div1000
    setChannelType 9 PowerFactor_div100
    setChannelType 10 EnergyTotal_kWh_div100
    setChannelType 11 ReadOnly
    setChannelType 12 ReadOnly
    setChannelType 13 Power_div10
    linkTuyaMCUOutputToChannel 112 val 1
    linkTuyaMCUOutputToChannel 111 val 2
    linkTuyaMCUOutputToChannel 101 val 3
    linkTuyaMCUOutputToChannel 113 val 4
    linkTuyaMCUOutputToChannel 110 val 5
    linkTuyaMCUOutputToChannel 106 val 6
    linkTuyaMCUOutputToChannel 105 val 7
    linkTuyaMCUOutputToChannel 114 val 8
    linkTuyaMCUOutputToChannel 121 val 9
    linkTuyaMCUOutputToChannel 107 val 10
    linkTuyaMCUOutputToChannel 102 raw 11
    linkTuyaMCUOutputToChannel 104 raw 12
    linkTuyaMCUOutputToChannel 115 val 13
    setChannelLabel 1 "Tension"
    setChannelLabel 2 "Frequence"
    setChannelLabel 3 "Puissance A"
    setChannelLabel 4 "Courant A"
    setChannelLabel 5 "PowerFactor A"
    setChannelLabel 6 "Energie A"
    setChannelLabel 7 "Puissance B"
    setChannelLabel 8 "Courant B"
    setChannelLabel 9 "PowerFactor B"
    setChannelLabel 10 "Energie B"
    setChannelLabel 11 "Direction A"
    setChannelLabel 12 "Direction B"
    setChannelLabel 13 "Puissance nette"

    Then it should work.
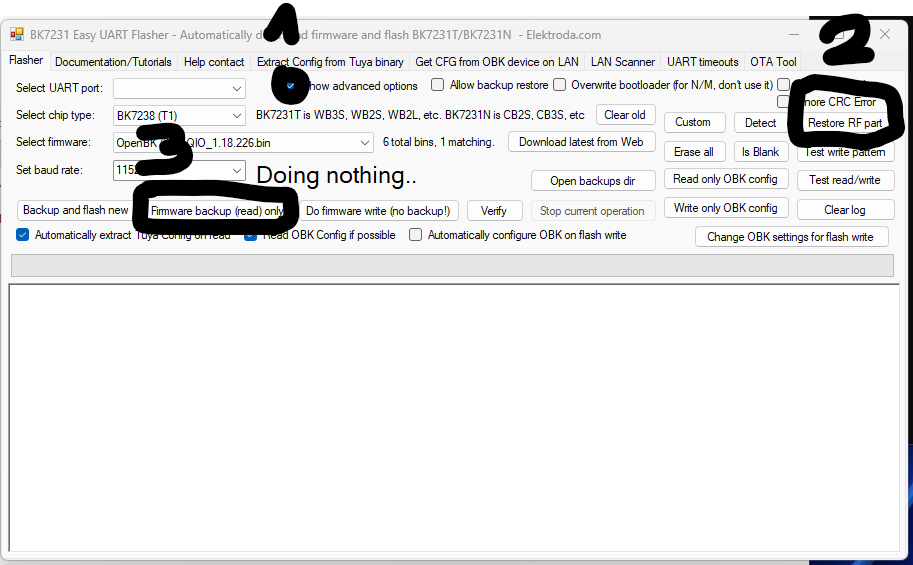
    PS: If you have more than one to flash, you might be annoyed with the same mac adress.
    So in the UART Flasher go to: show advanced options and hit the restore RF part. this should assign an differetn mac adress that can be read by hitting the firmware backup (read) only, at the end it will show the new mac adress
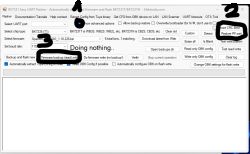
    Screenshot of BK7231 Easy UART Flasher with marked interface elements.
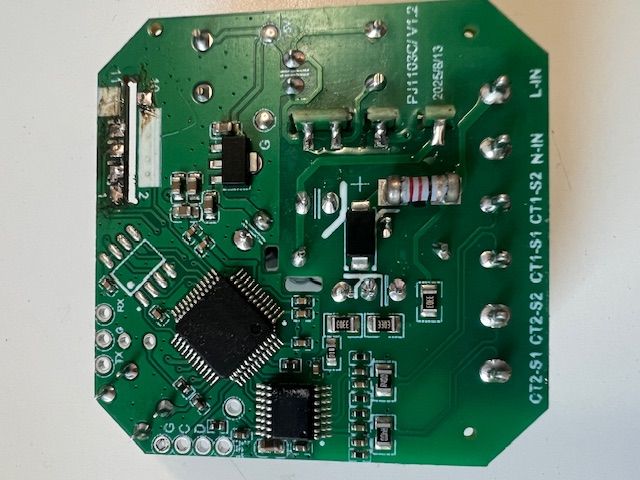
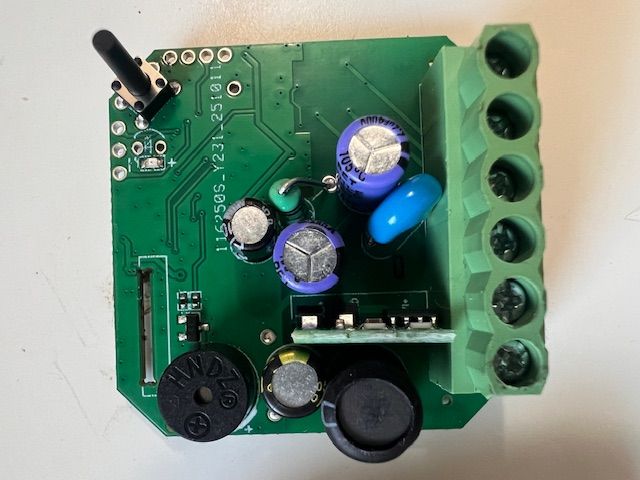
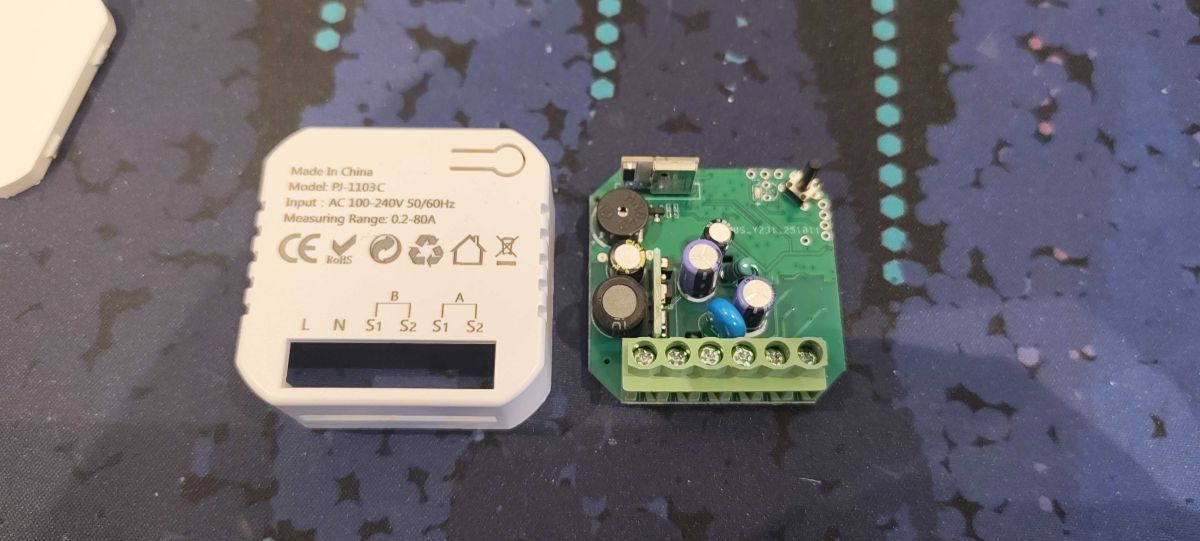
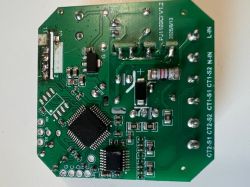
    Green PCB with microchips, resistors, connectors, and labeled terminals
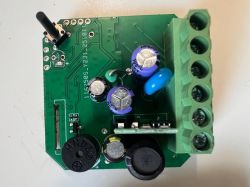
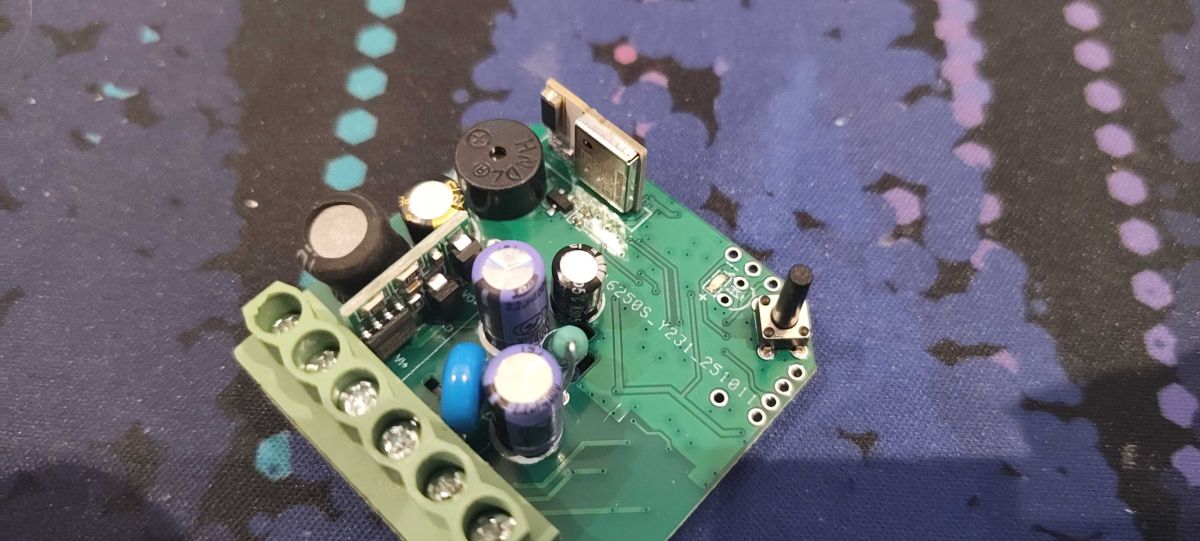
    Circuit board with capacitors, screw terminal, and black antenna
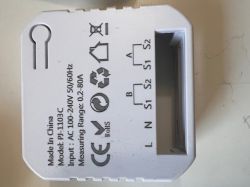
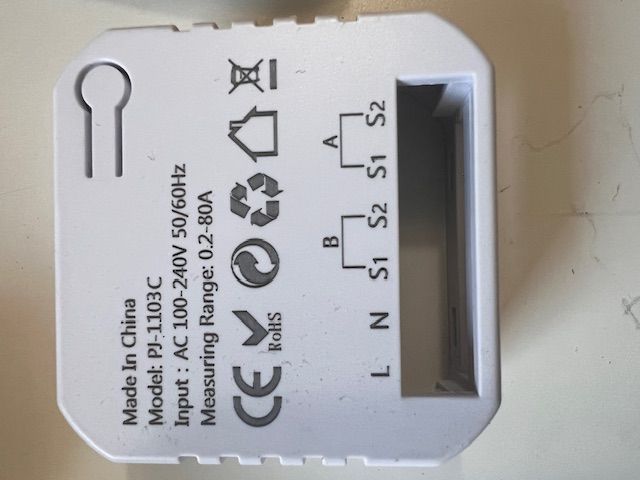
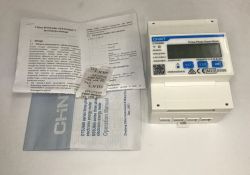
    White PJ-1103C power meter with input labels and certification symbols
    AI: What exactly is not working after following these steps? Are you getting any errors, or is the device not responding as expected?
    nope
    AI: Which firmware or binary file did you use with the BK7231 GUIFLASHTool to flash the smart meter?
    openBK7238_QIO_1.18.226.bin
  • ADVERTISEMENT
  • ADVERTISEMENT
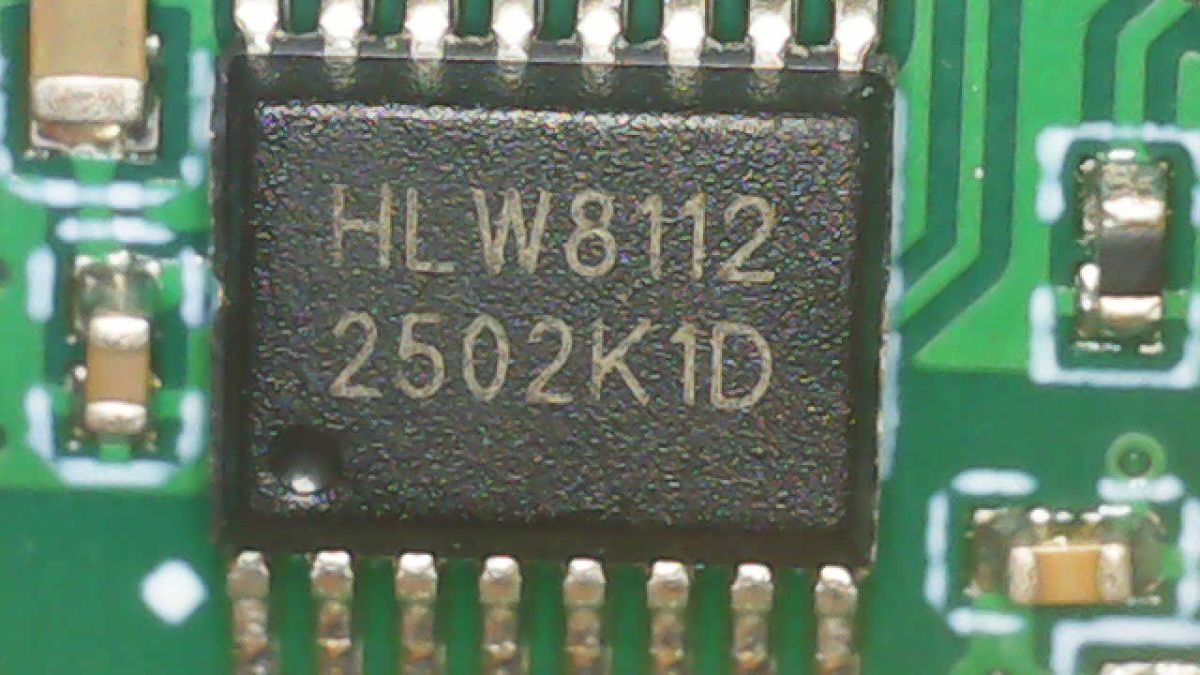
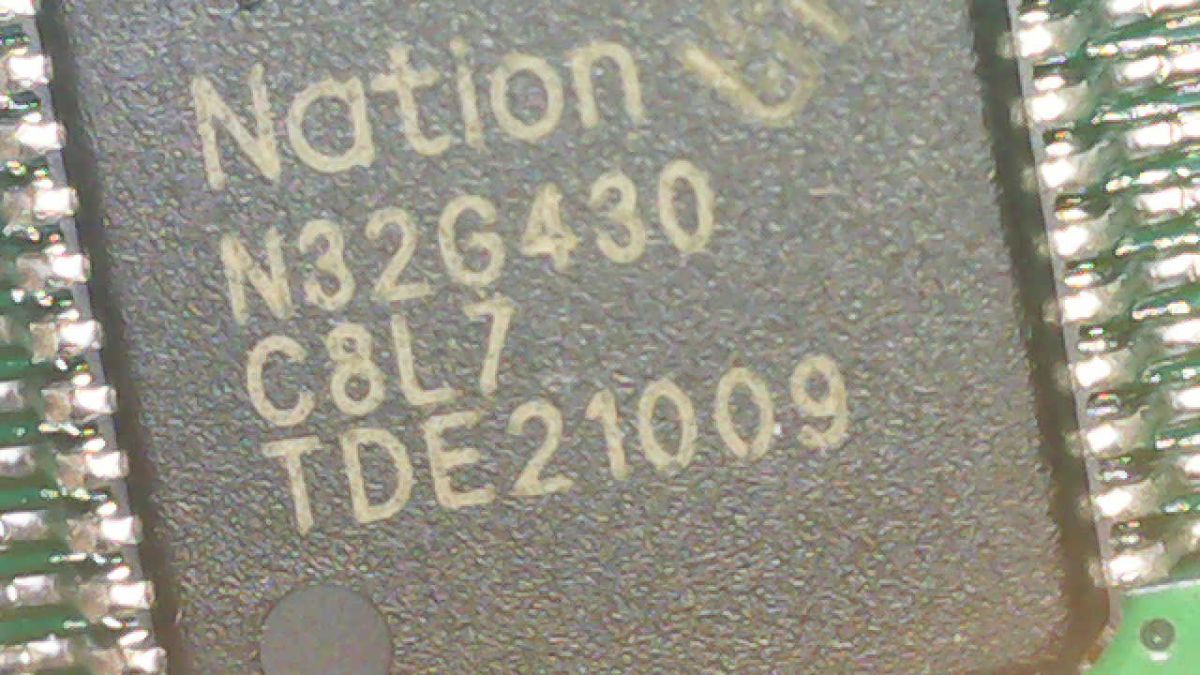
  • New PJ-1103C units use HLW8112 and N32G430

    #3 21783824
    frath
    Level 2  
    Posts: 4
    >>21783661
    Yes I bought them few days ago, firmware from 2025/8/13.
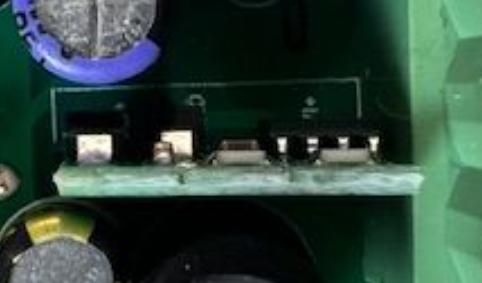
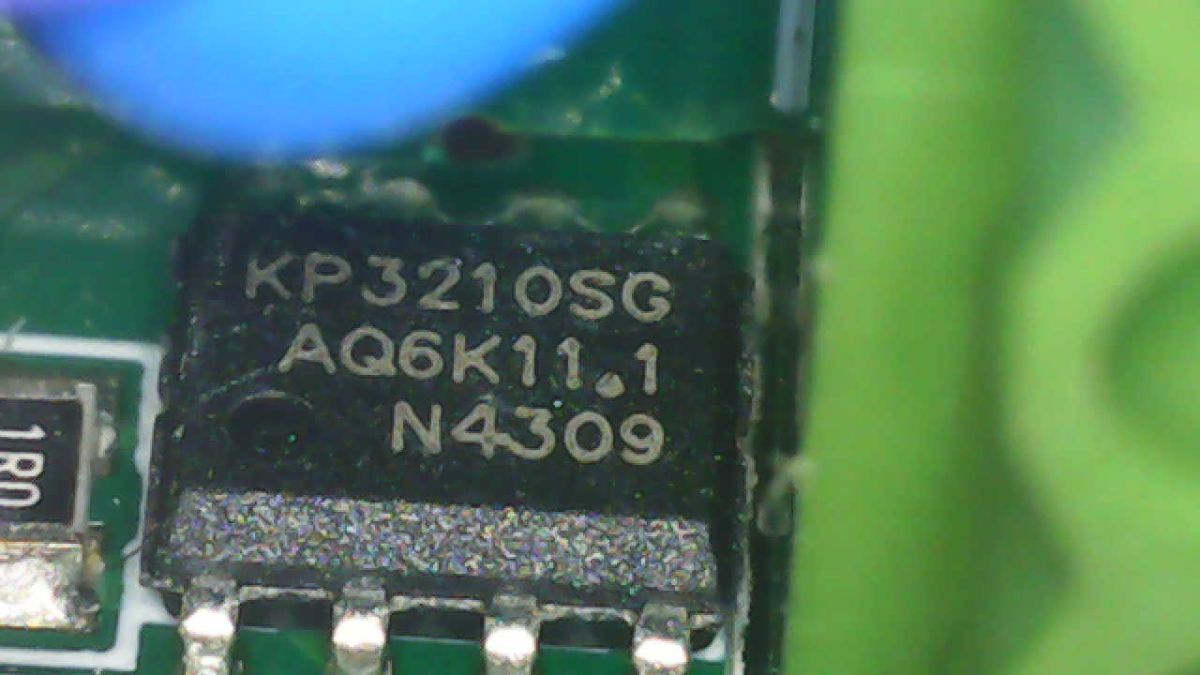
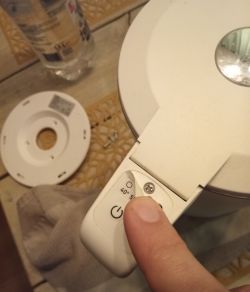
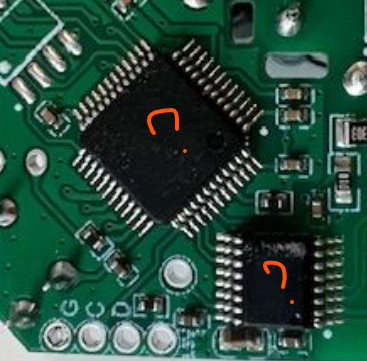
    those ones have PJ-1103C not A but come with the HLW8112 and the N32G430. I put the pic for the power switch.
    Hope it'll help. If more pics needed, ask me.

    Close-up of KP3210SG integrated circuit on a green PCB.
    Close-up of HLW8112 integrated circuit with 2502K1D marking on a PCB
    Close-up of N32G430 chip with visible markings and soldered pins on PCB
  • ADVERTISEMENT
  • Helpful post

    Boot log shows BK7238 firmware jumping to 0x10000

    #4 21797154
    divadiow
    Level 38  
    Posts: 5179
    Help: 443
    Rate: 908
    bit more info for the records:

    boot log from your backup
    Code: Text
    Log in, to see the code


    query things data model
    Code: JSON
    Log in, to see the code


    prettier query things data model
    Code: JSON
    Log in, to see the code

    query device details
    Code: JSON
    Log in, to see the code
  • ADVERTISEMENT
  • DPID map for PJ 1103C smart meter

    #5 21808818
    frath
    Level 2  
    Posts: 4
    Whaouh, great job, we now have all the dpid for this 1103 C, i put them in clear way:
    Very great job thx a lot for all the details
    baud 9600


    | dpID | Code | Description | Unit | Scale | OpenBeken Type |
    |------|------|-------------|------|-------|----------------|
    | **112** | voltage_a | Voltage | V | ÷10 | Voltage_div10 |
    | **113** | current_a | Current A | mA | ÷1 | Current_Div1000 |
    | **114** | current_b | Current B | mA | ÷1 | Current_Div1000 |
    | **101** | power_a | Active Power A | W | ÷10 | Power_Div10 |
    | **105** | power_b | Active Power B | W | ÷10 | Power_Div10 |
    | **106** | energy_forword_a | Forward Energy A | kWh | ÷100 | EnergyTotal_kWh_div100 |
    | **107** | energy_reverse_a | Reverse Energy A | kWh | ÷100 | EnergyTotal_kWh_div100 |
    | **108** | energy_forword_b | Forward Energy B | kWh | ÷100 | EnergyTotal_kWh_div100 |
    | **109** | energy_reserse_b | Reverse Energy B | kWh | ÷100 | EnergyTotal_kWh_div100 |
    | **110** | power_factor | Power Factor A | % | ÷100 | ReadOnly |
    | **121** | power_factor_b | Power Factor B | % | ÷100 | ReadOnly |
    | **111** | freq | Frequency | Hz | ÷100 | ReadOnly |
    | **115** | total_power | Total Power | W | ÷10 | Power_Div10 |
    | **130** | forward_energy_total | Total Forward Energy | kWh | ÷100 | EnergyTotal_kWh_div100 |
    | **131** | reverse_energy_total | Total Reverse Energy | kWh | ÷100 | EnergyTotal_kWh_div100 |
    | **102** | direction_a | Flow Direction A | - | enum | ReadOnly |
    | **104** | direction_b | Flow Direction B | - | enum | ReadOnly |

    | dpID | Code | Description | Range | Scale |
    |------|------|-------------|-------|-------|
    | **116** | voltage_coef | Voltage Calibration | 800-1200 | ÷1000 |
    | **117** | current_a_calibration | Current A Calibration | 800-1200 | ÷1000 |
    | **118** | power_a_calibration | Power A Calibration | 800-1200 | ÷1000 |
    | **119** | energy_a_calibration_fwd | Forward Energy A Calibration | 800-1200 | ÷1000 |
    | **122** | freq_calibration | Frequency Calibration | 800-1200 | ÷1000 |
    | **123** | current_b_calibration | Current B Calibration | 800-1200 | ÷1000 |
    | **124** | power_b_calibration | Power B Calibration | 800-1200 | ÷1000 |
    | **125** | energy_b_calibration_fwd | Forward Energy B Calibration | 800-1200 | ÷1000 |
    | **127** | energy_a_calibration_rev | Reverse Energy A Calibration | 800-1200 | ÷1000 |
    | **128** | energy_b_calibration_rev | Reverse Energy B Calibration | 800-1200 | ÷1000 |

    | dpID | Code | Description | Range/Type |
    |------|------|-------------|------------|
    | **129** | report_rate_control | Report Rate | 3-60 seconds |
    | **132** | buz_enable | Buzzer Enable | bool |
    | **133** | ov_enable | Over-Voltage Alarm Enable | bool |
    | **134** | uv_enable | Under-Voltage Alarm Enable | bool |
    | **135** | oc_enable | Over-Current A Alarm Enable | bool |
    | **136** | op_enable | Over-Power A Alarm Enable | bool |
    | **149** | oc_enable_b | Over-Current B Alarm Enable | bool |
    | **150** | op_enable_b | Over-Power B Alarm Enable | bool |

    | dpID | Code | Description | Range | Scale | Unit |
    |------|------|-------------|-------|-------|------|
    | **137** | ov_threshold | Over-Voltage Threshold | 800-2600 | ÷10 | V |
    | **138** | uv_threshold | Under-Voltage Threshold | 800-2600 | ÷10 | V |
    | **139** | oc_threshold | Over-Current A Threshold | 0-150000 | ÷1000 | A |
    | **140** | op_threshold | Over-Power A Threshold | 1-600000 | ÷1 | W |
    | **145** | oc_threshold_b | Over-Current B Threshold | 0-150000 | ÷1000 | A |
    | **146** | op_threshold_b | Over-Power B Threshold | 1-600000 | ÷1 | W |

    | dpID | Code | Description | Type |
    |------|------|-------------|------|
    | **141** | ov_status | Over-Voltage Status | bool |
    | **142** | uv_status | Under-Voltage Status | bool |
    | **143** | oc_status | Over-Current A Status | bool |
    | **144** | op_status | Over-Power A Status | bool |
    | **147** | oc_status_b | Over-Current B Status | bool |
    | **148** | op_status_b | Over-Power B Status | bool |

    | dpID | Code | Description | Type |
    |------|------|-------------|------|
    | **120** | coef_a_reset | Reset Calibration CT A | bool |
    | **126** | coef_b_reset | Reset Calibration CT B | bool |
  • #6 21838502
    denebolazet
    Level 1  
    Posts: 1
    Nice job, guys. @frath, would you like to provide the full command? Thanks
  • Helpful post

    BK7238 flashed with ESP8266 and external power supply

    #7 21855896
    TomPointExe
    Level 1  
    Posts: 1
    Help: 1
    Rate: 1
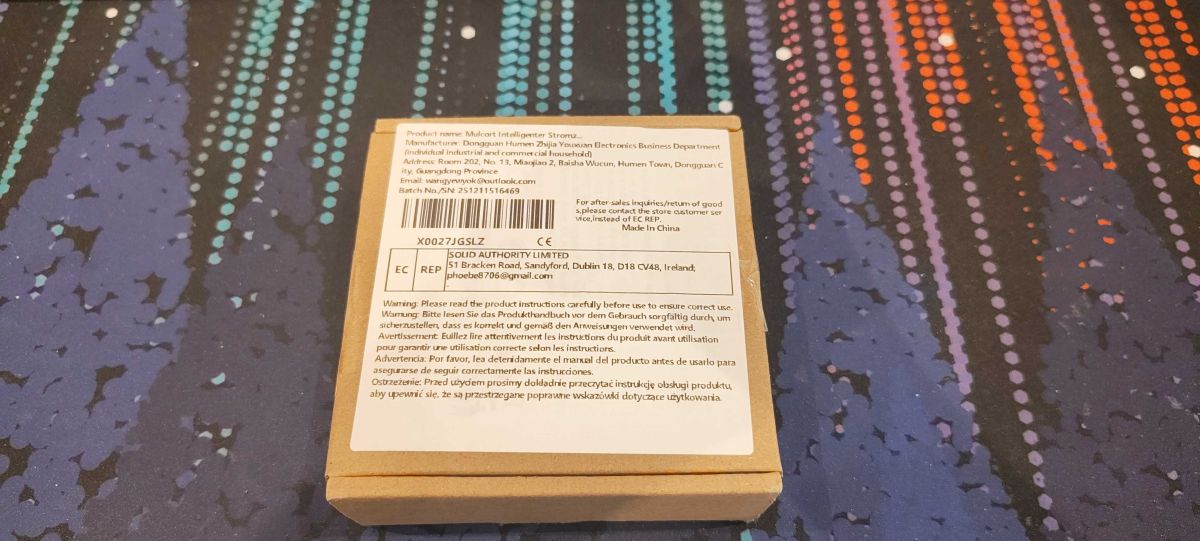
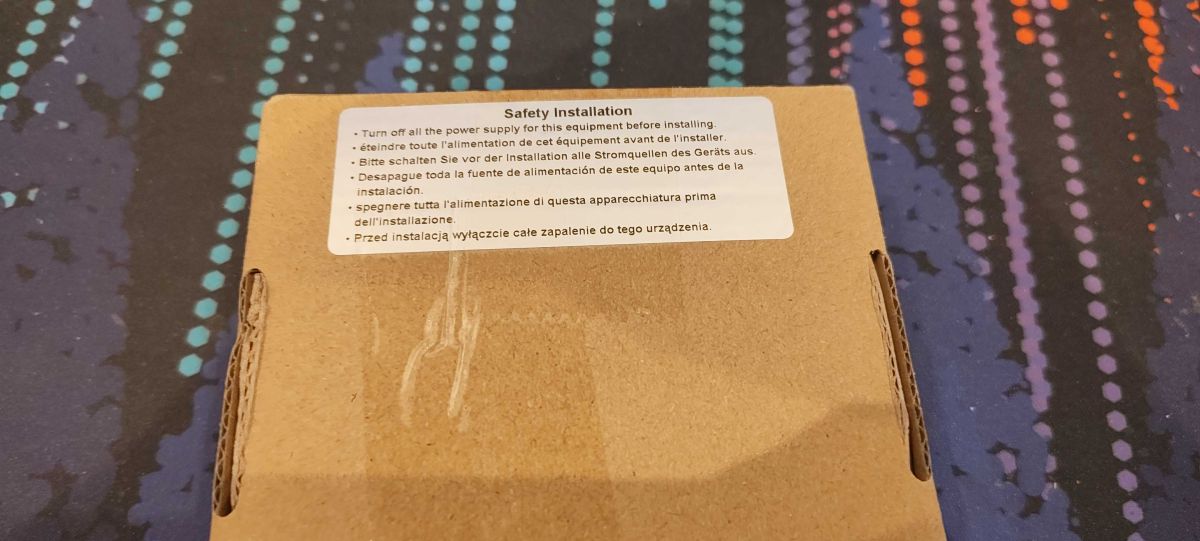
    Hello everyone, I've bought an equivalent sold as a 1103A, but it was in fact a 1103C
    Here are some more pics
    Small cardboard box with a white label and barcode on a colorful dotted surface
    Cardboard box with a “Safety Installation” label on a dark dotted multicolor background.
    Two electronic parts: a white labeled module and a green PCB with a screw terminal block
    Close-up of a PCB with a screw terminal block, capacitors, a buzzer, and a USB connector
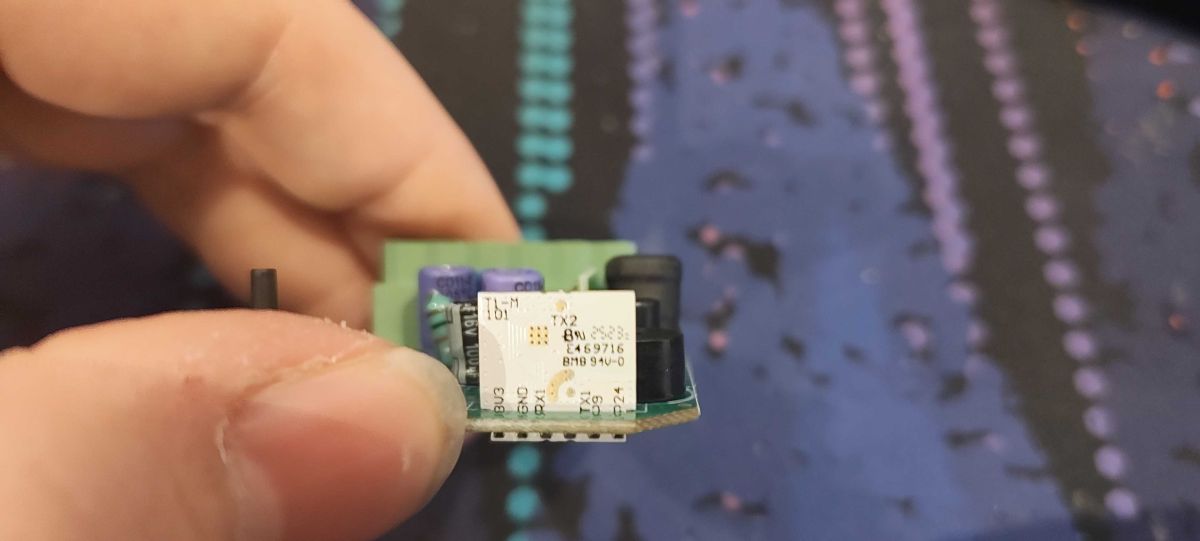
    Hand holding a small PCB module with capacitors, a connector, and a printed label

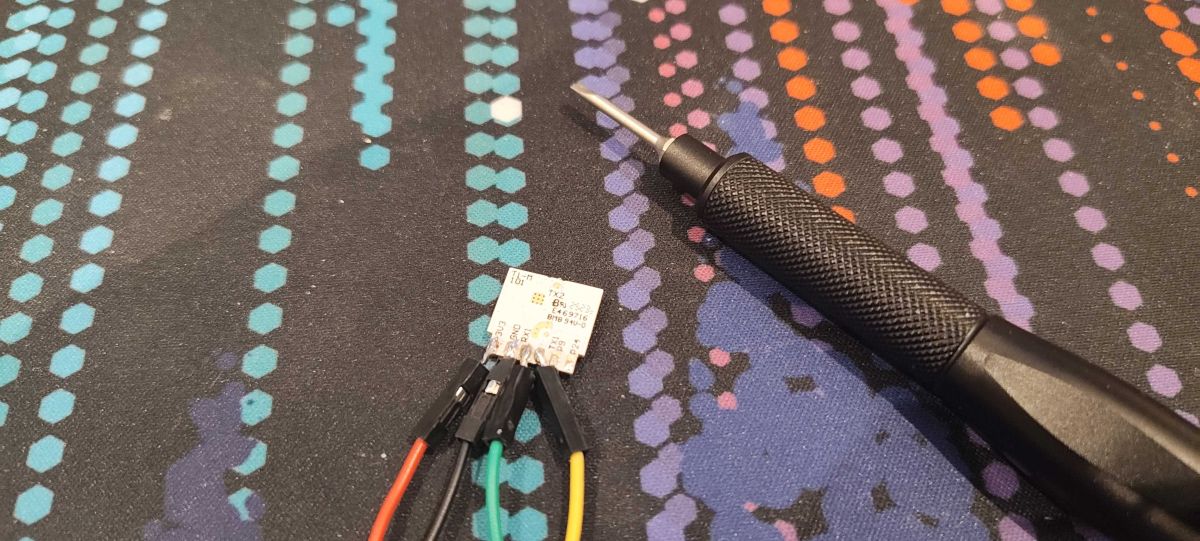
    Flashed the BK with an ESP8266 board, with ground and reset bridged, using an external power supply
    Small PCB with attached wires and a black precision screwdriver on a patterned mat
    Configured it using all the info in this thread, and it worked!
    Installed it into my distrib board, connected it to Hass, and ... all done :)

    Thanks for posting

Topic summary

✨ Discussion about flashing and configuring a PJ-1103C smart meter variant with a BK7238 V1.2 Wi‑Fi module using BK7231 GUIFLASHTool and OpenBeken/TuyaMCU commands. The thread clarifies that recent 2025/8/13 units may differ from earlier PJ-1103A versions and include HLW8112 plus N32G430 metering hardware. A backup boot log is shared, and the DPID mapping for voltage, current, power, energy, and power factor is identified. The working setup uses 3.3 V serial flashing, then startup commands to start TuyaMCU, set baud rate to 9600, define Wi‑Fi state, poll the MCU over UART, and link TuyaMCU outputs to OpenBeken channels. Later posts confirm successful flashing with an ESP8266 board and external power supply, followed by configuration and integration into Home Assistant.
AI summary based on the discussion. May contain errors.
ADVERTISEMENT