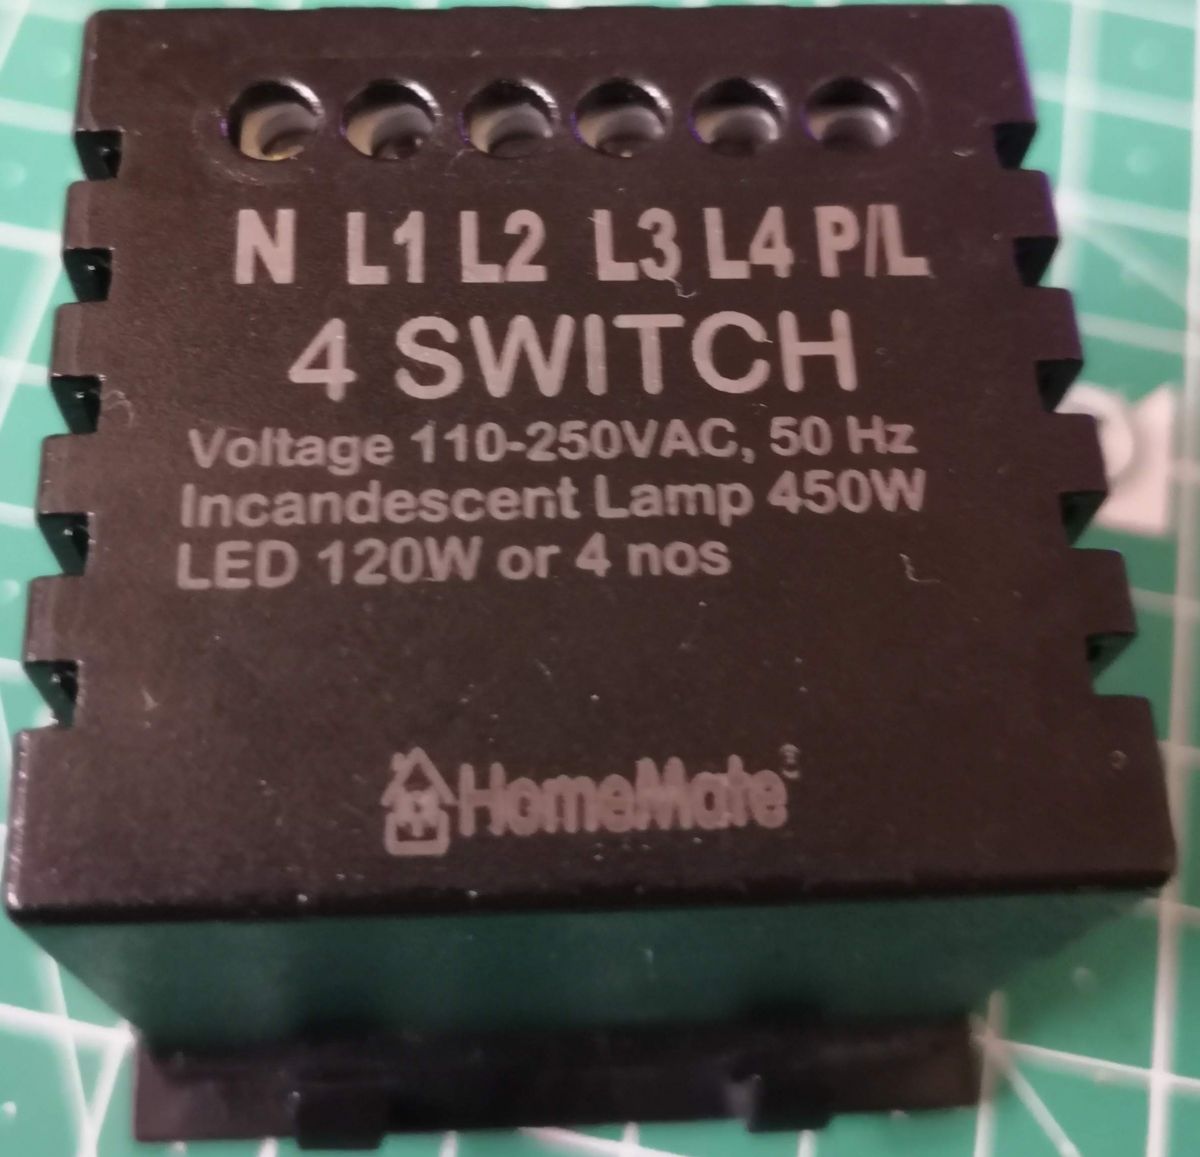
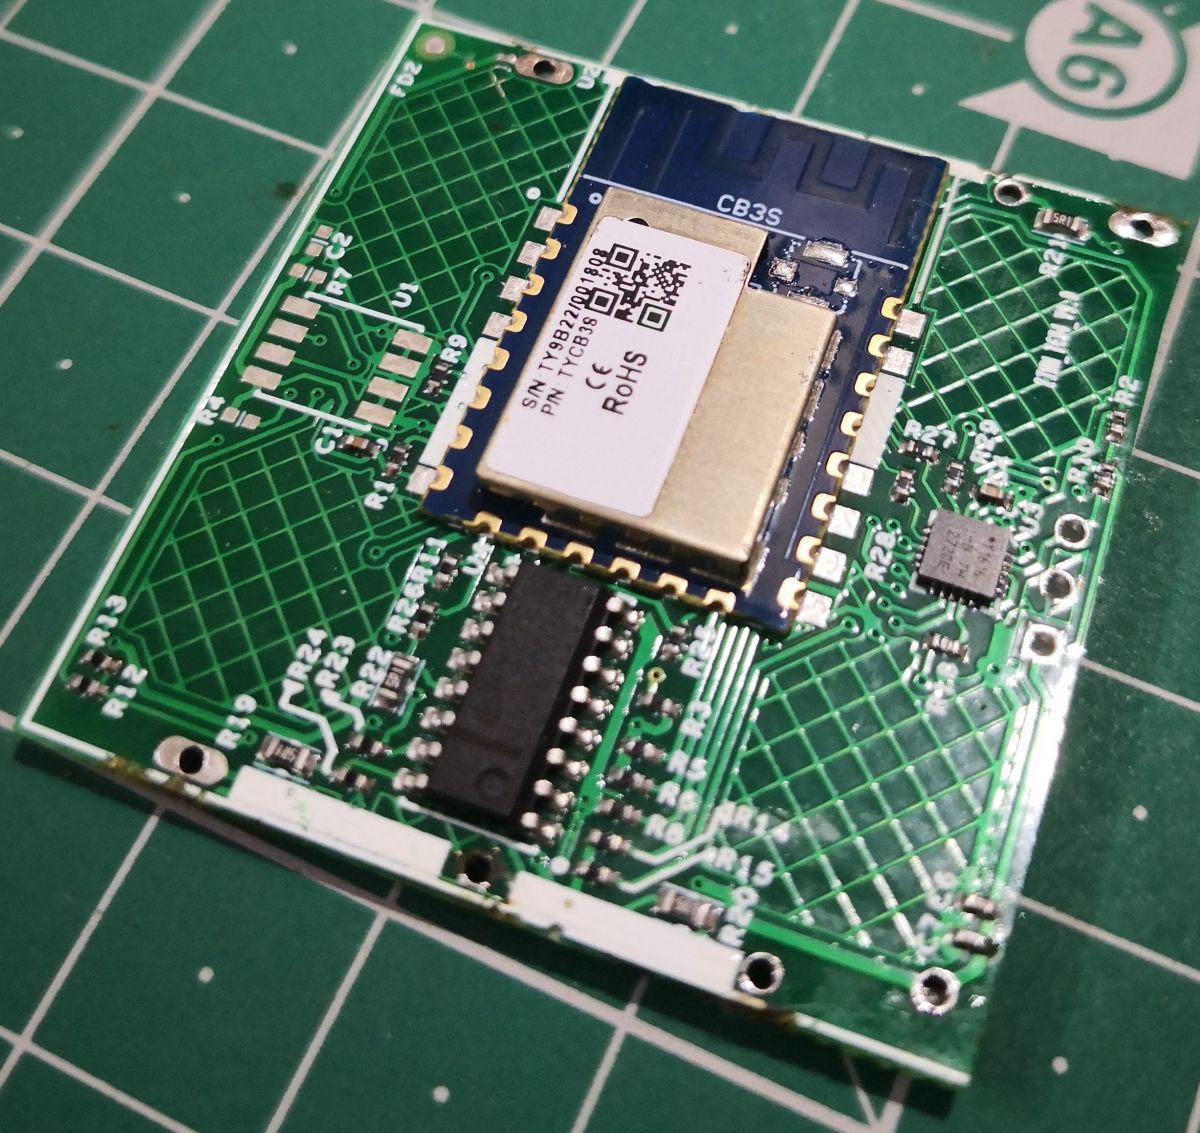
Technical Specs TuyaMCU: T1616-N TH 2720E (ATTINY1616)
Darlington transistor array ULN2003A
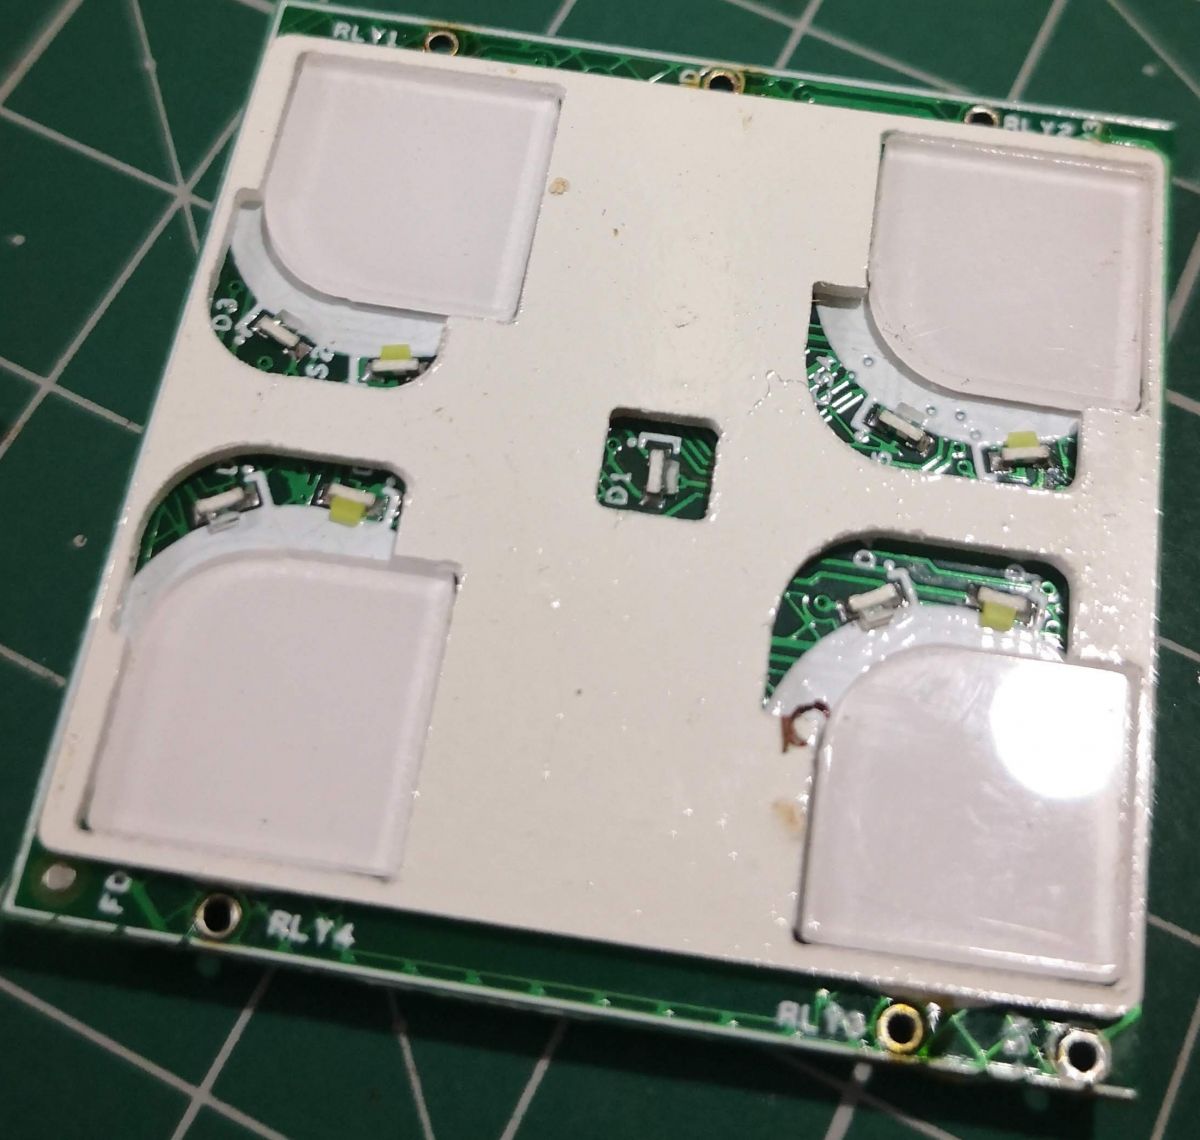
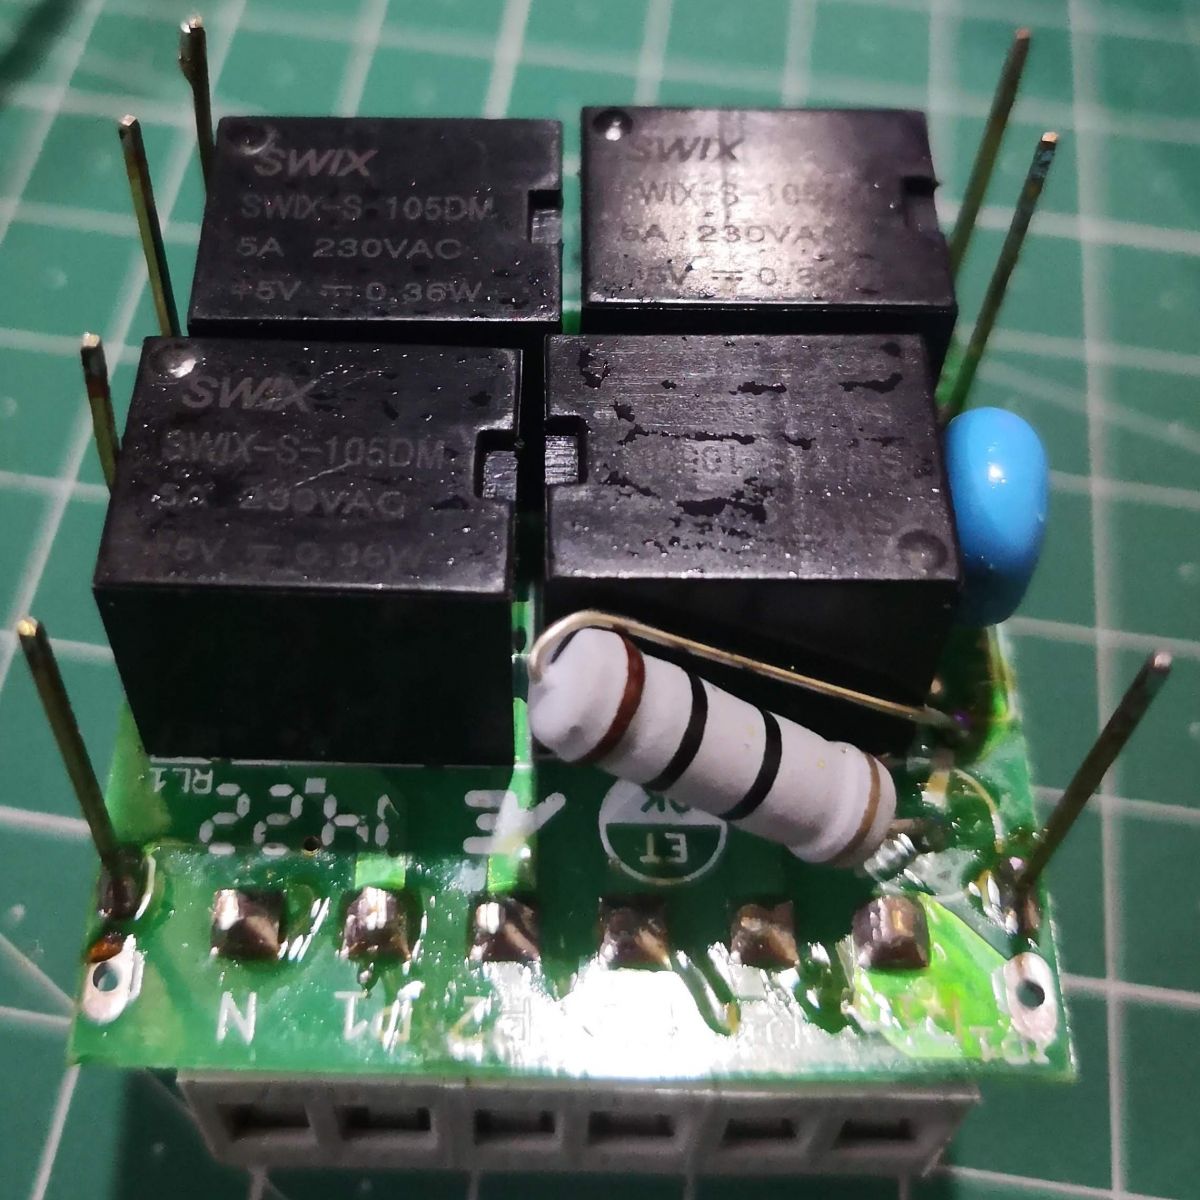
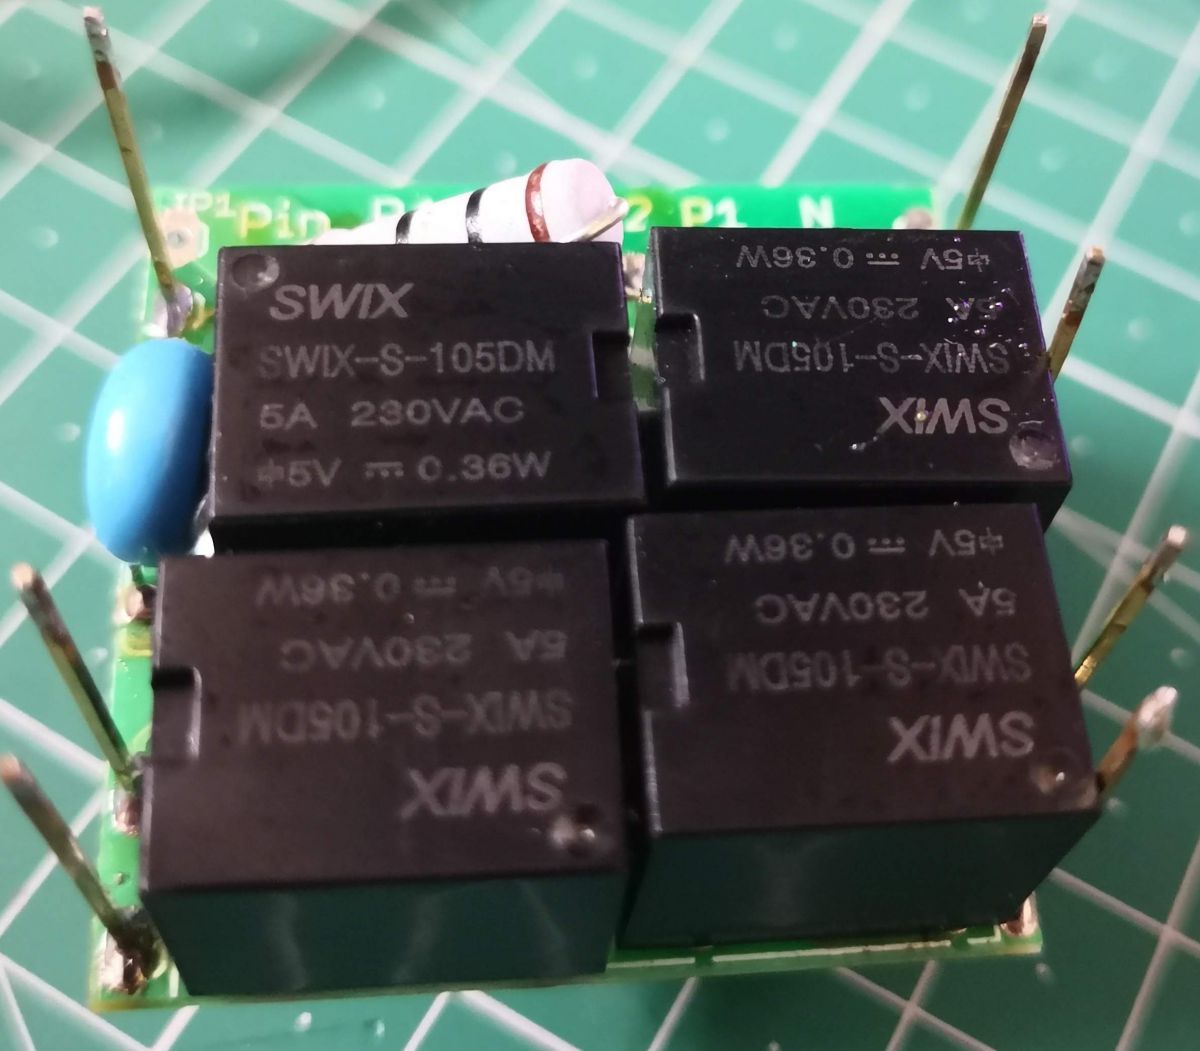
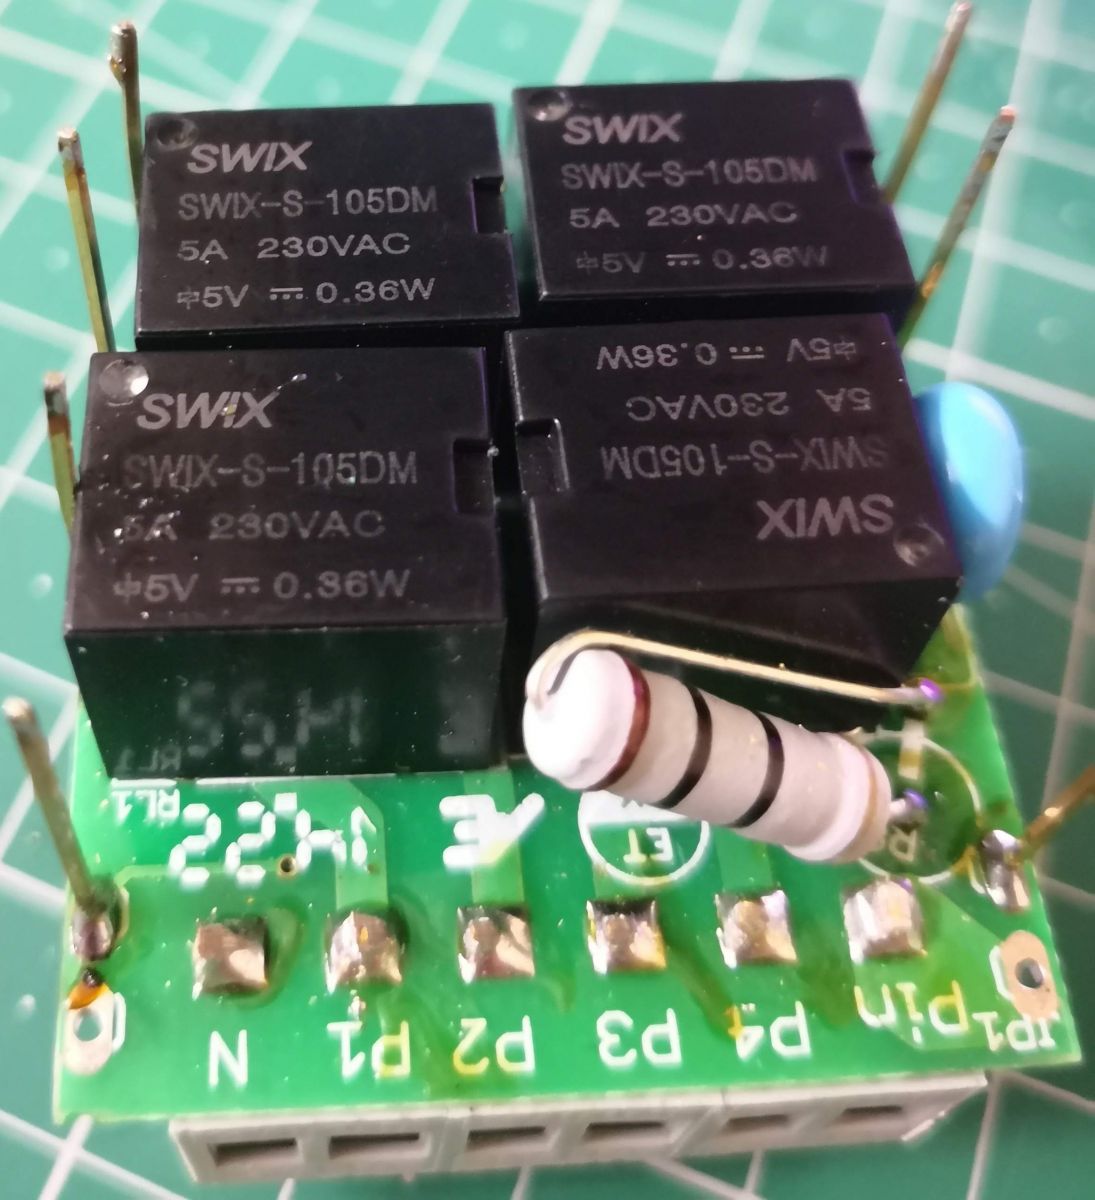
Relay: 5A 230V x 4
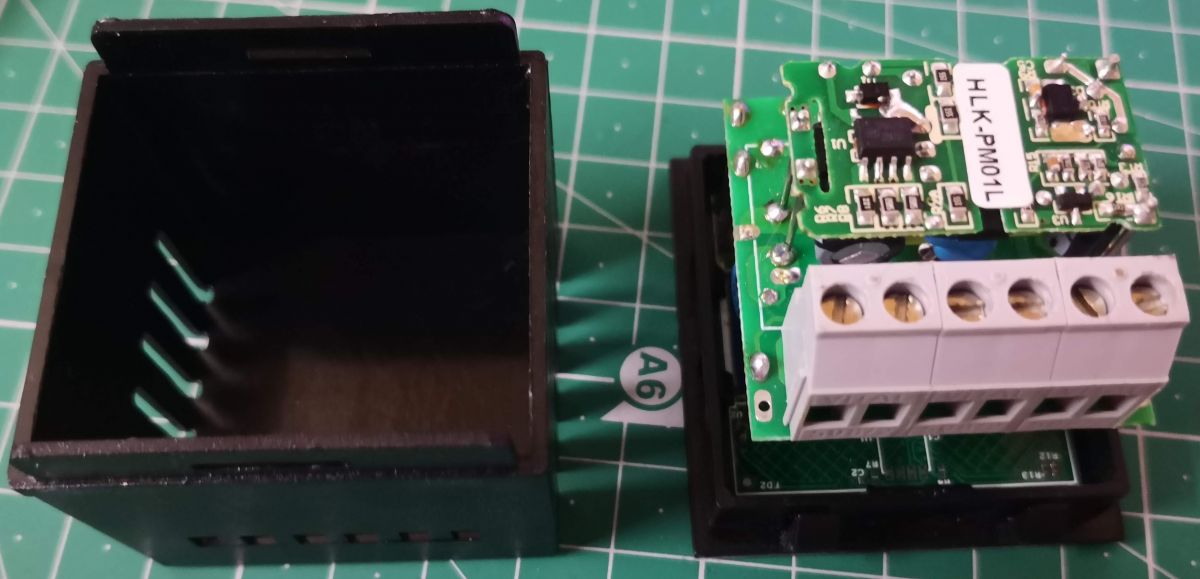
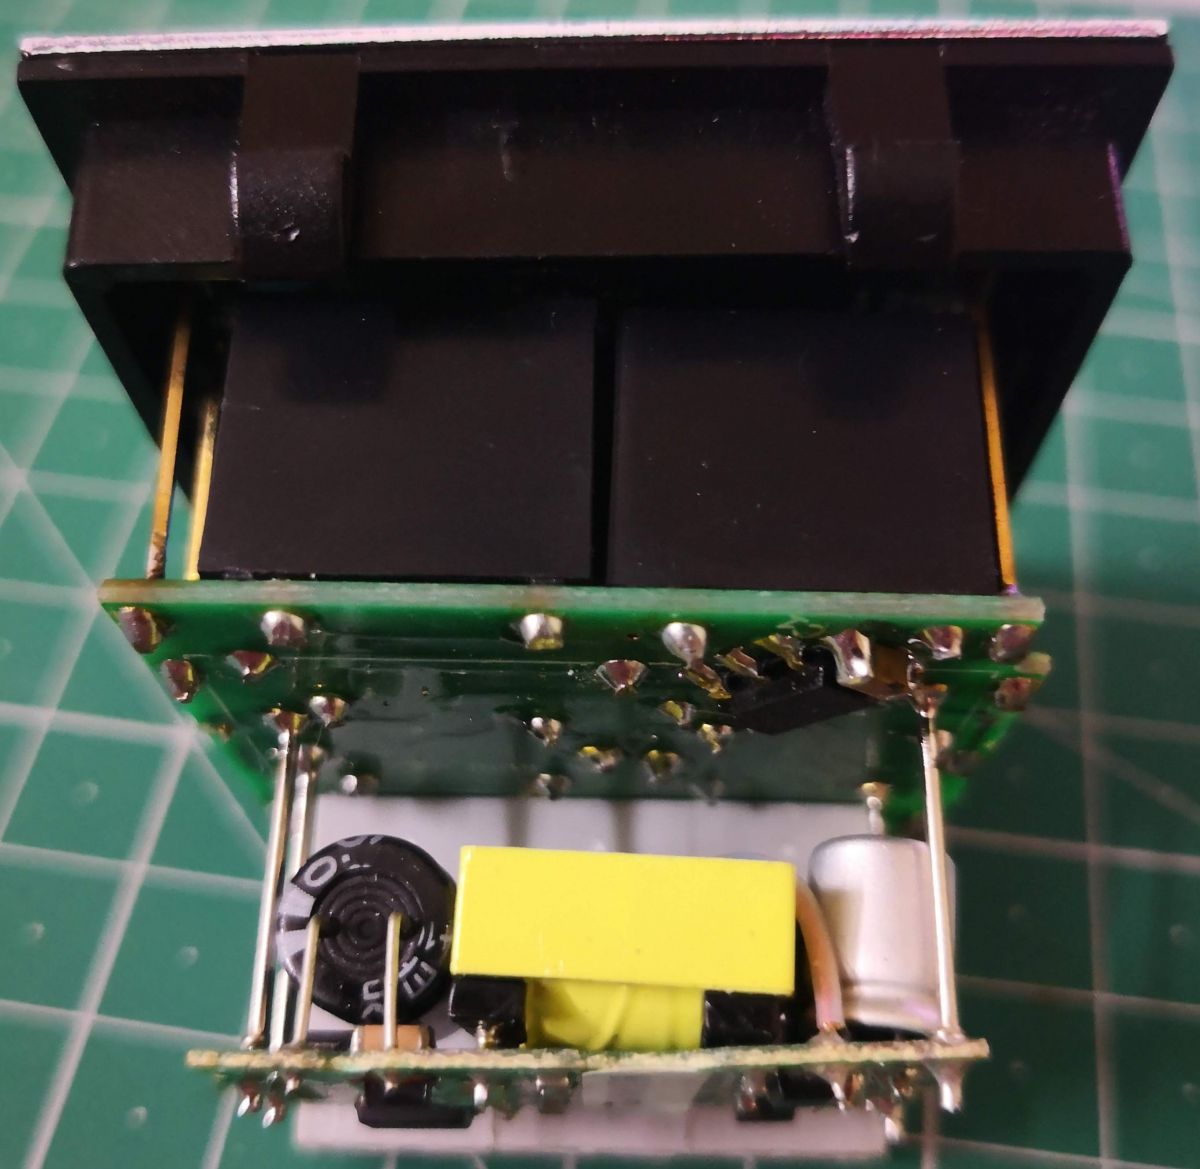
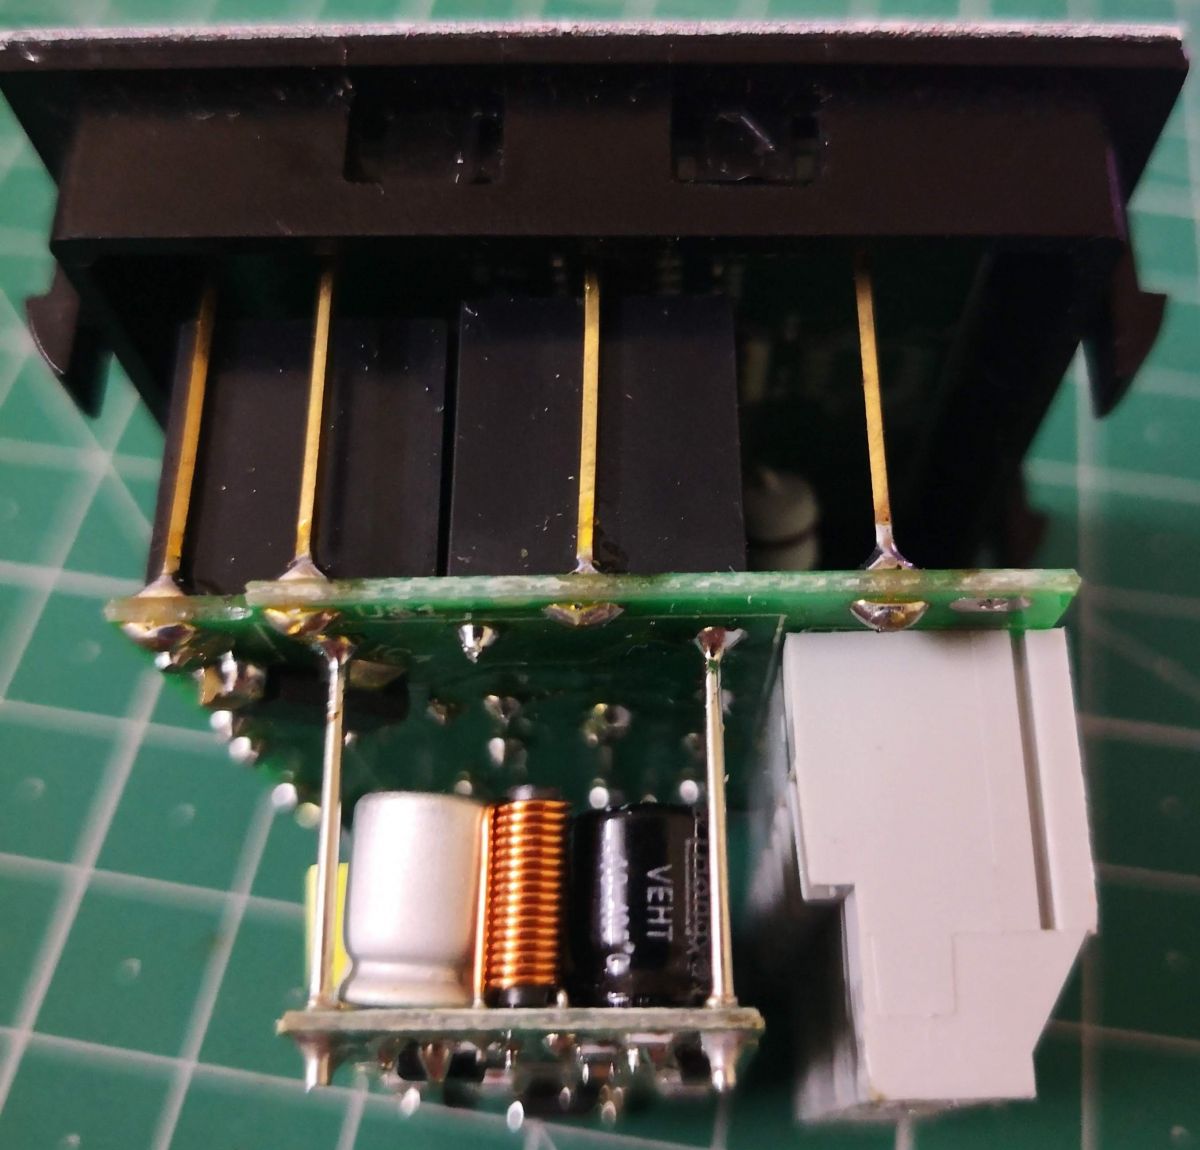
Power Module: HLK-PM01L
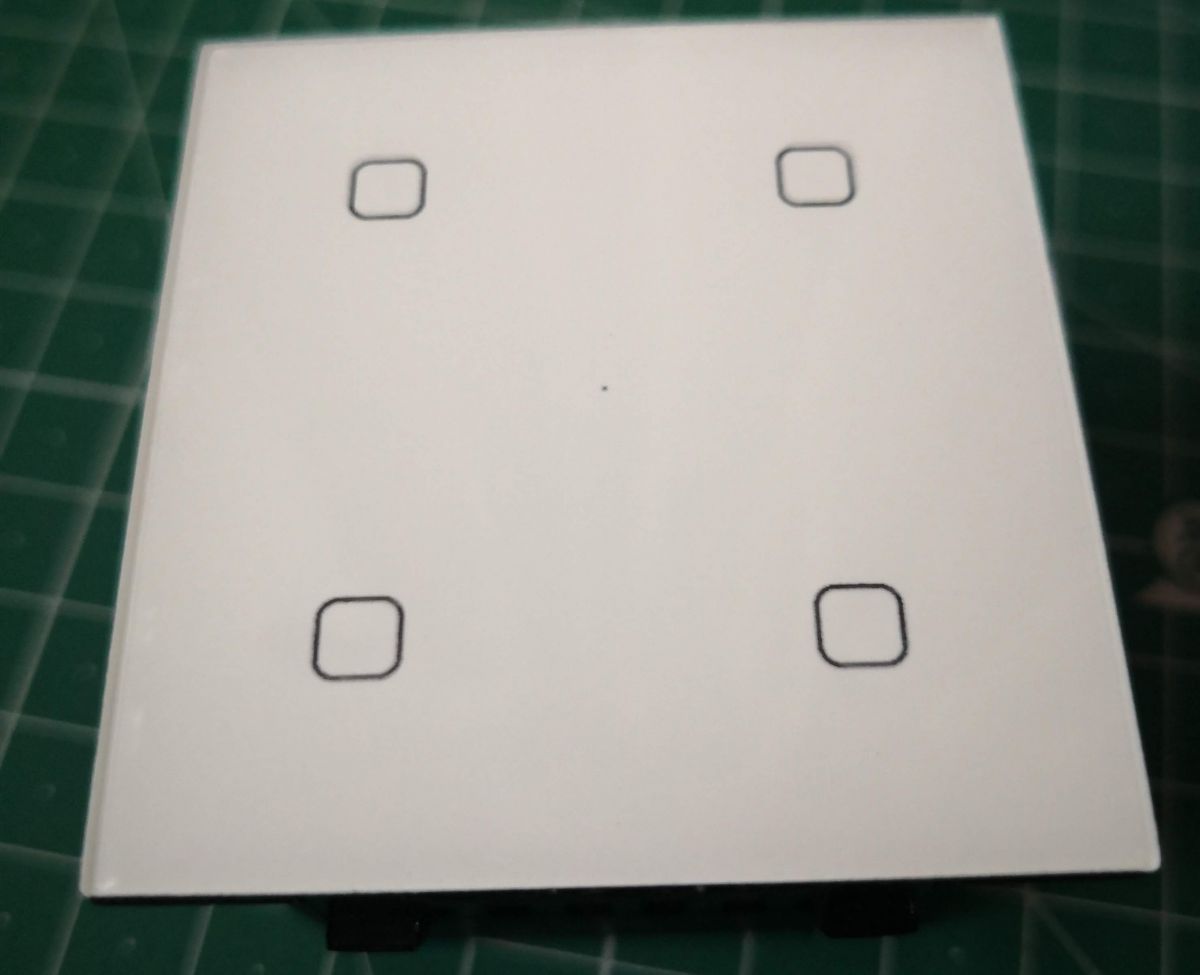
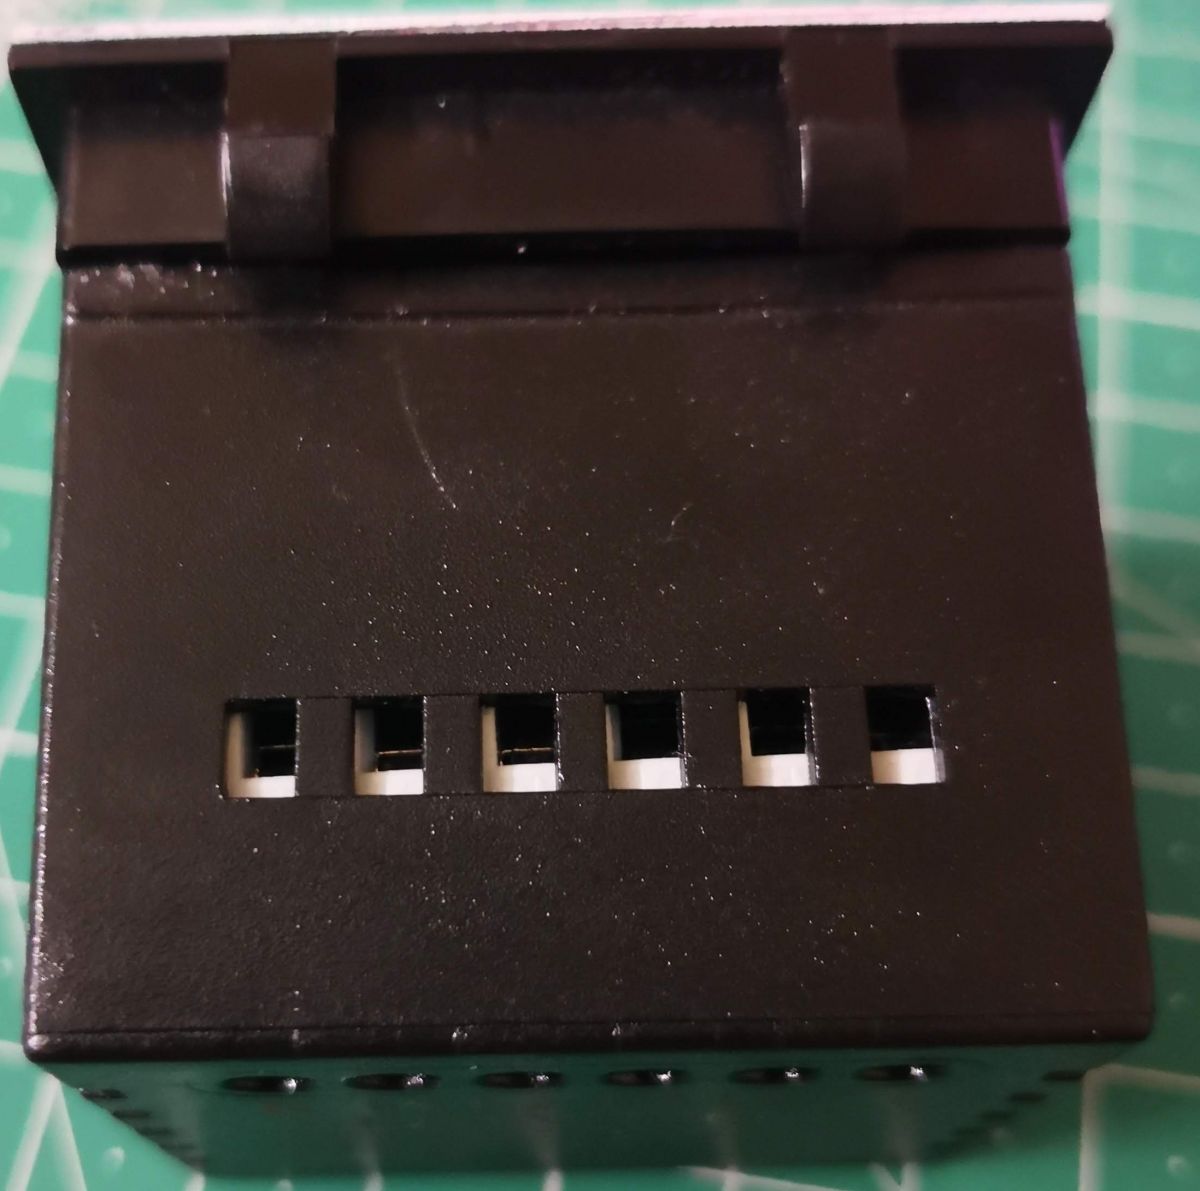
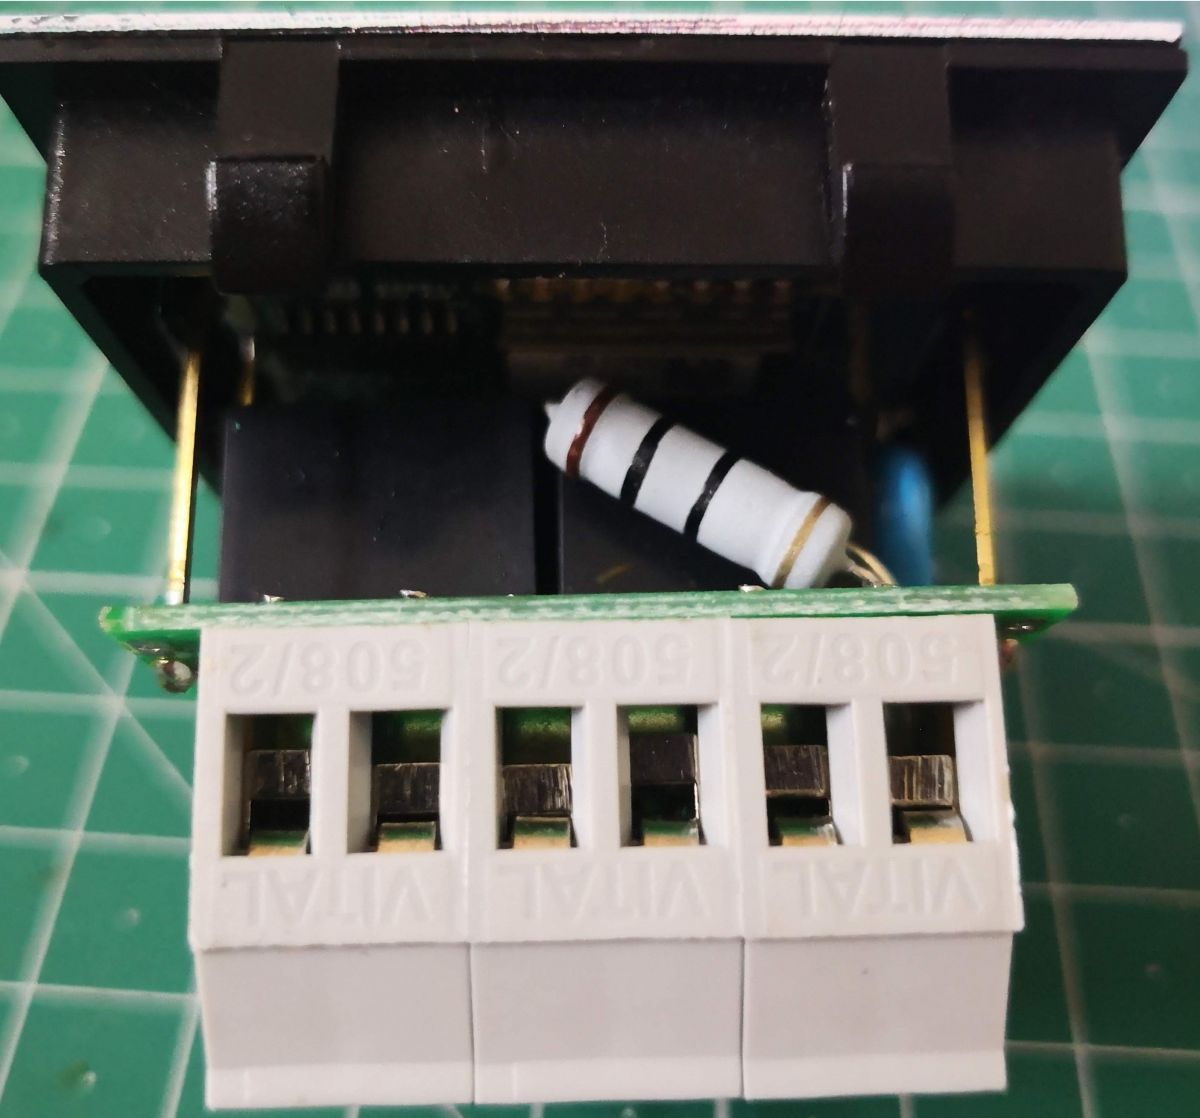
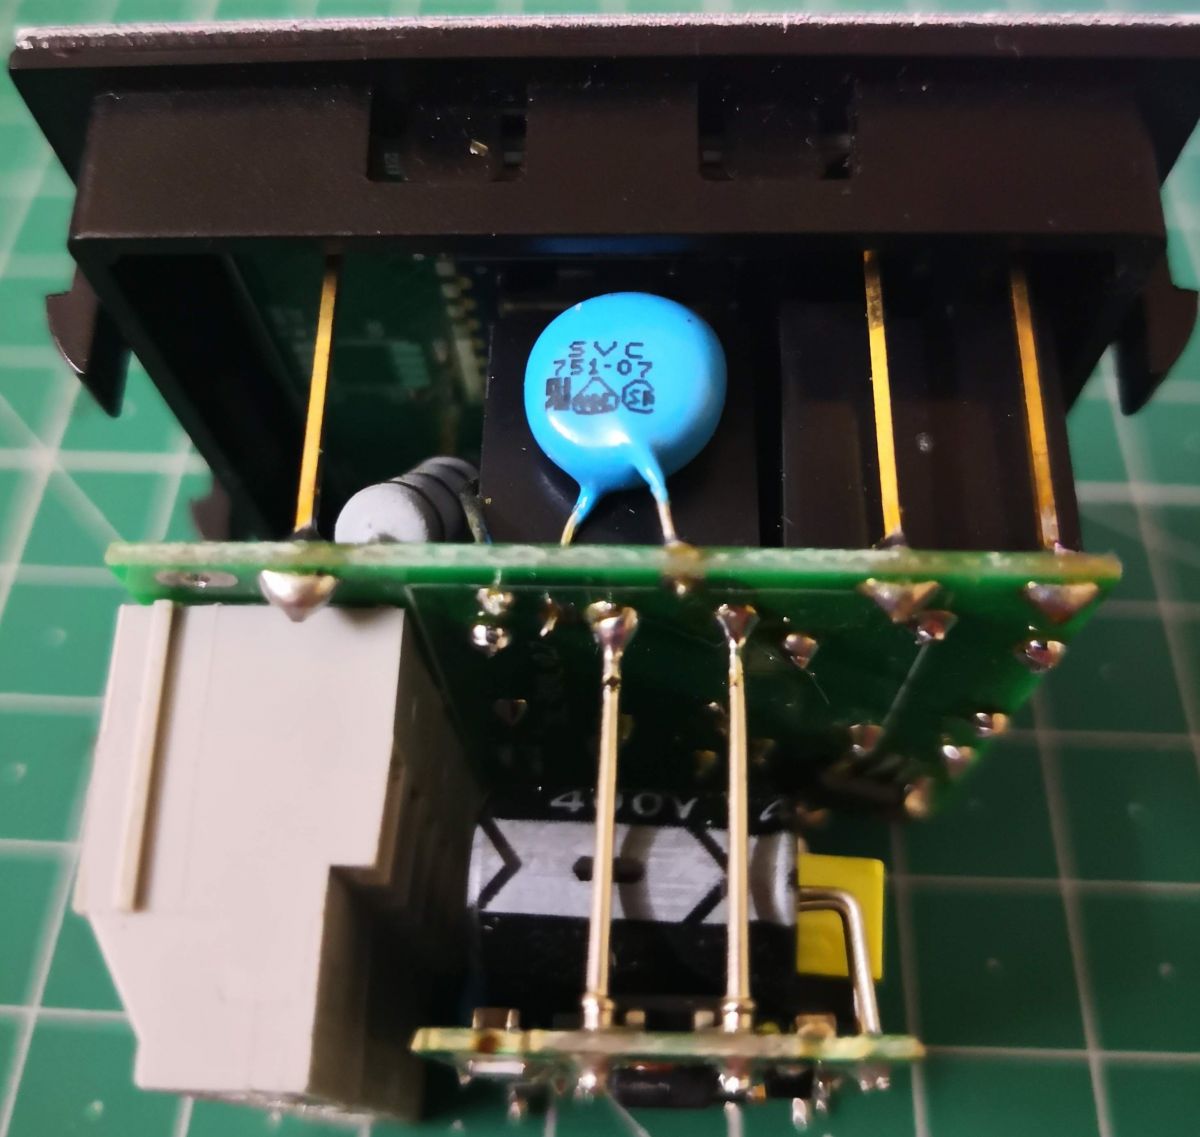
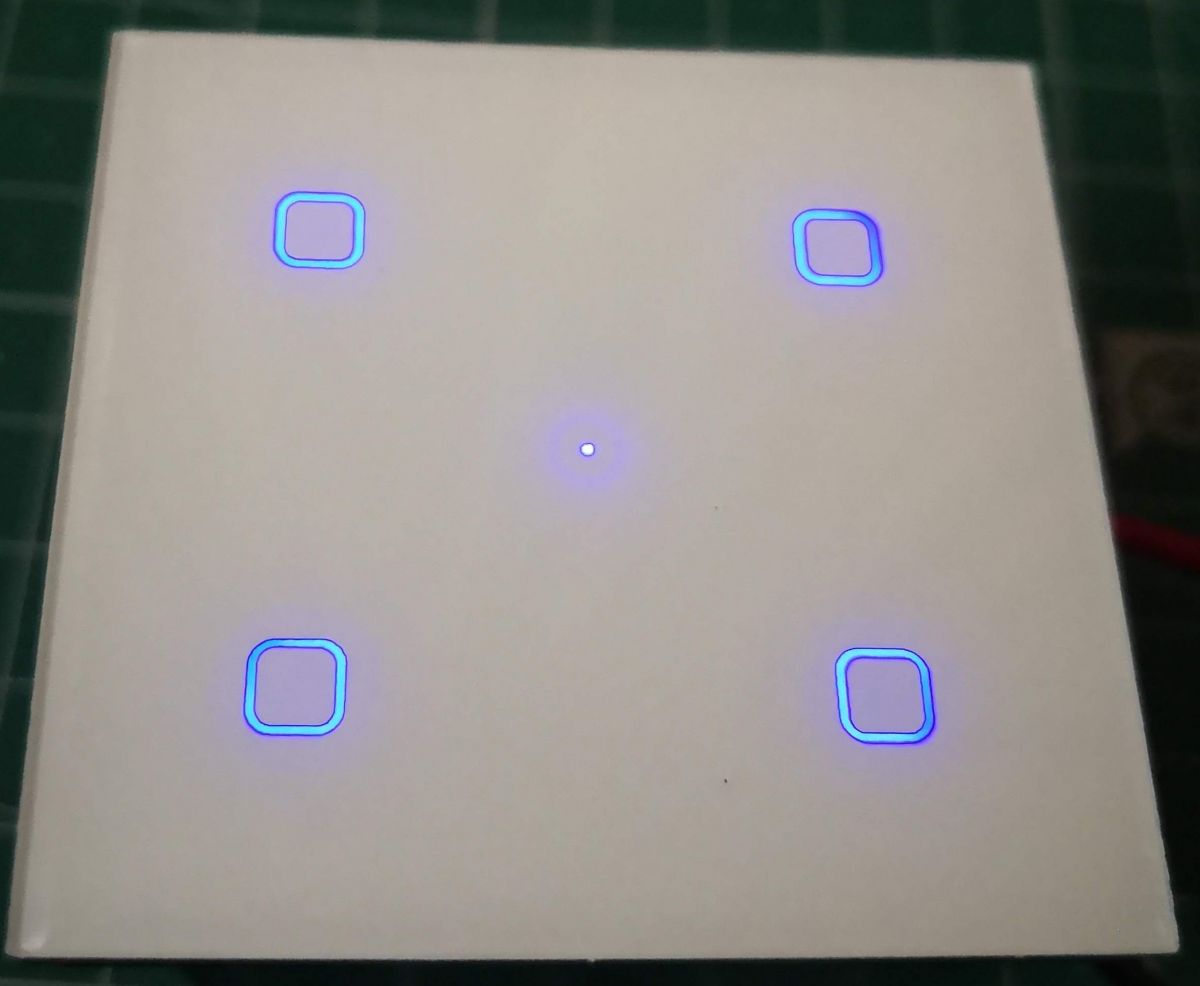
This switch consists of 3 board, soldered with long header pins,
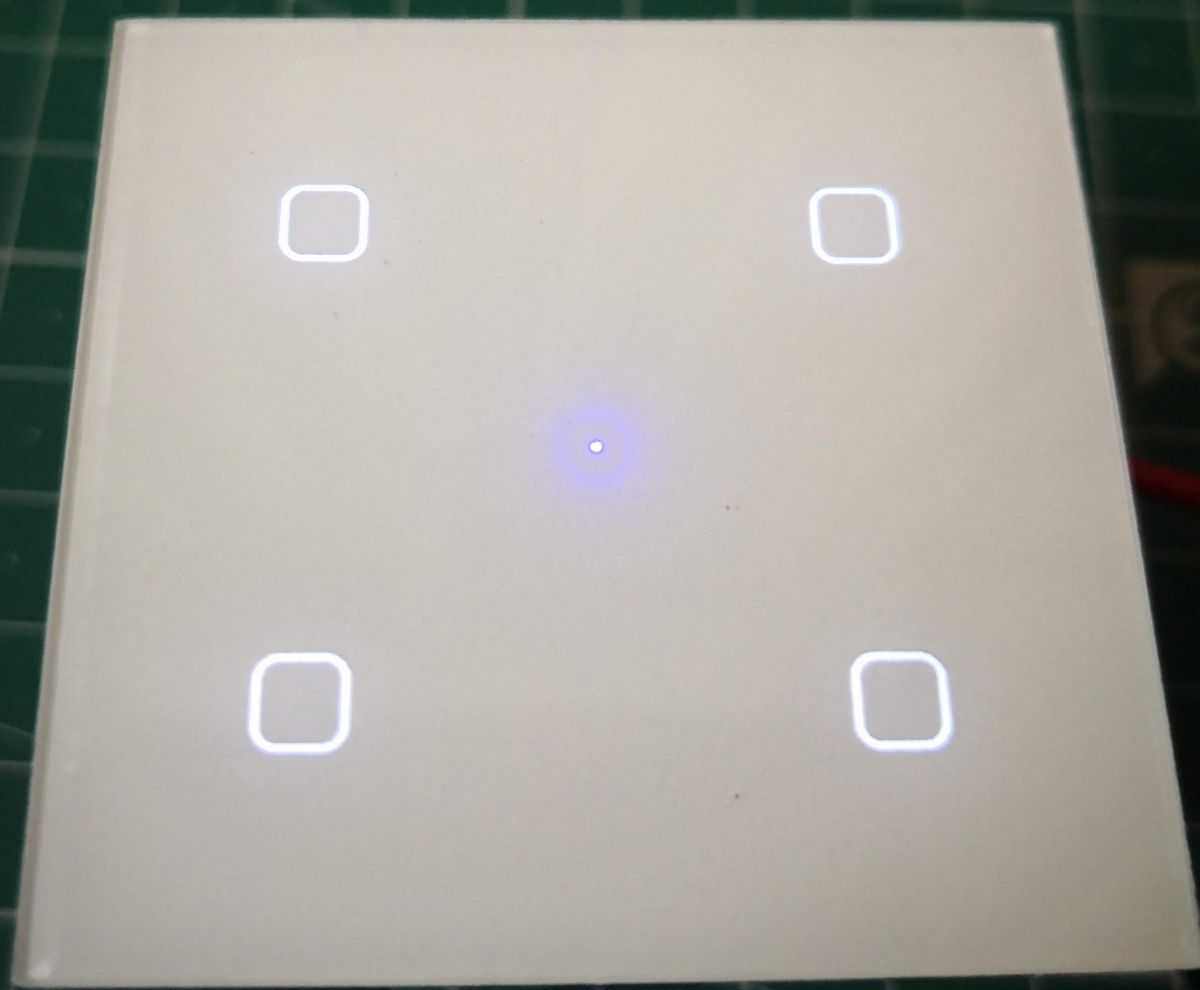
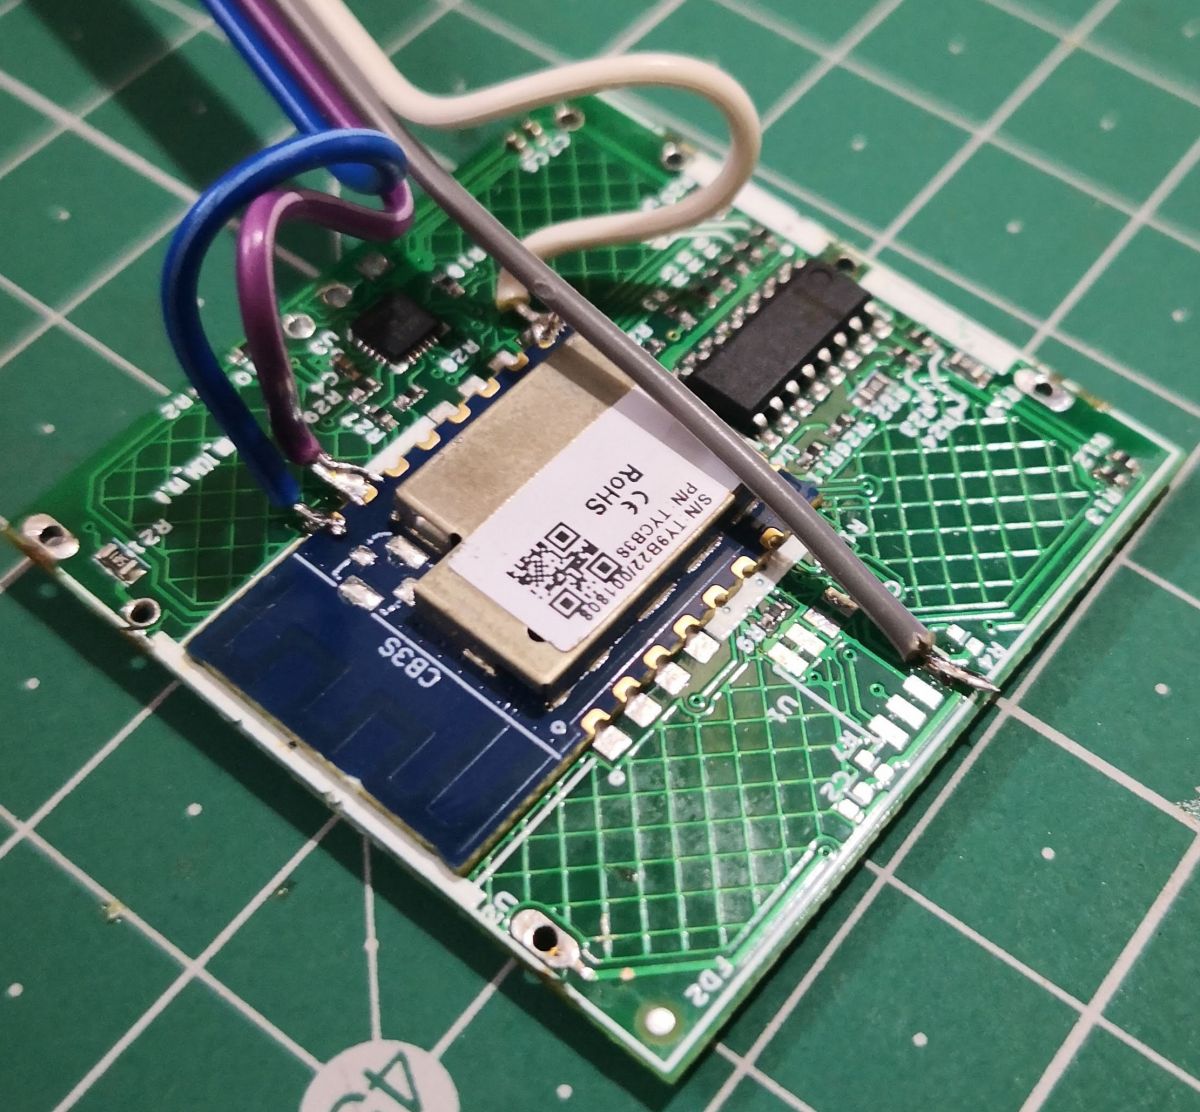
Top board is the controller board, top side is with the touch buttons, and on the other side it has CB3S and TuyaMCU, after that, is the relay board and then the power board.
After upload is done. open http://192.168.4.1/app, go to Filesystem and drop the autoexec.bat file in the "drop file(s) here" box, reboot the device, change the host-name, connect to the network, configure MQTT and start using the device with you home automation system.
Added after 7 [hours] 8 [minutes]:
@pkaczmarek2 how to configure the below 2 dbId?
{ dpName: "Delay-off Schedule", dpId: 19 }
{ dpName: "Memory Status", dpId: 14 }
About Author
marioalmeida wrote 47 posts with
rating 24 .
Been with us since 2022 year.
after flashing and finishing the config. toggles are visible but relays are not working. when pressed shoing below in log. but nothing happens to relay.
Info:MQTT:Channel has changed! Publishing 1 to... [Read more]
marioalmeida
22 Apr 2023 09:23
when you press the touch button, do you see normal functions?
Note:- OBK firmware will interact with the Tuya MCU and not directly with the relays. if there is any issue with the firmware, the touch... [Read more]
parmarshailendra47
22 Apr 2023 09:41
Yes , all touch button is working normal and operate relay when pressed. [Read more]
marioalmeida
23 Apr 2023 14:56
Can you attached the device autoexec file? [Read more]
parmarshailendra47
10 May 2023 07:06
This is the content of autoexec.bat
tuyaMcu_setBaudRate 115200
startDriver TuyaMCU
setChannelType 1 toggle
setChannelType 2 toggle
setChannelType 3 toggle
setChannelType 4 toggle
setChannelType... [Read more]
DCG
04 Sep 2023 22:53
Hey team, any further help in this device ? I have flashed OpenBK7231N via Tuya cloud cutter and now stuck...
@parmarshailendra47 any luck with this device ? [Read more]
DCG
06 Sep 2023 21:50
Update - Switch is working fine and able to integrate with Home Assistant aswell :)
I just went thru the details in the OP again and followed the "autoexec.bat" instructions.
-- Open Web App
--... [Read more]
DCG
07 Sep 2023 15:42
@pkaczmarek2 I have a quick query regarding this device
Everything is perfectly working, I have noticed that the small Wifi Led on the switch keeps blinking even though its connected to Wifi..
Is there... [Read more]
p.kaczmarek2
08 Sep 2023 02:04
If you have a TuyaMCU device, and it has a LED blinking, it means you need to either:
- connect to MQTT so OBK reports it's "connected to cloud" to TuyaMCU
- or add following line to autoexec.bat:
... [Read more]
DCG
08 Sep 2023 07:08
Yes once connected to MQTT issue has been resolved, no more led blinking. [Read more]
p.kaczmarek2
08 Sep 2023 08:25
If you want to totally disable led blinking, no matter the MQTT state, add the following line to autoexec.bat script:
tuyaMcu_defWiFiState 4
See the list of available WiFi states in TuyaMCU:
... [Read more]
latocheski
08 Sep 2023 23:52
Hello!
I set this property "tuyaMcu_defWiFiState 4" in my device which I recorded in my CB2S chip - BK7231N (autoexec.bat) but even so it keeps blinking.
I tested other values but without success.... [Read more]
p.kaczmarek2
09 Sep 2023 00:24
But everything else is working? Or maybe you are missing baud setting and there is no communication at all?
Disconnect power entirely from device and reconnect it.
If I understand you correctly,... [Read more]
latocheski
09 Sep 2023 00:33
Sorry, i'll explain better:
The device works fine, i can turn on in the web interface and MQTT, but can't turn off. Only button back to the "off" state, the device not. I need to touch on the physical... [Read more]
p.kaczmarek2
09 Sep 2023 00:36
This is very strange.
Backup your config and try:
startDriver TuyaMCU
tuyaMcu_defWiFiState 4
setChannelType 1 toggle
linkTuyaMCUOutputToChannel 1 1 1
The following code should allow you to... [Read more]
Now, do the following steps:
1. open Web App -> Log
2. Disconnect all power from device
3. Clear log
4. Connect power to the device
5. Wait for it to connect to WiFi
6. Press the physical buttons... [Read more]
latocheski
09 Sep 2023 15:10
Ok, the first boot:
I switched the physical button more than 10 times but apparently there is no log
Info:MAIN:Main_Init_Before_Delay
Info:CFG:####### Boot Count 123 #######
Warn:CFG:CFG_InitAndLoad:... [Read more]
p.kaczmarek2
22 Sep 2023 08:20
dpID 14 describes the state of the device after power up. So, for example, if you lose power in the house, what happens when power comes back.
dpID 14 has 3 options:
- 0 , means "off by default"
- 1,... [Read more]
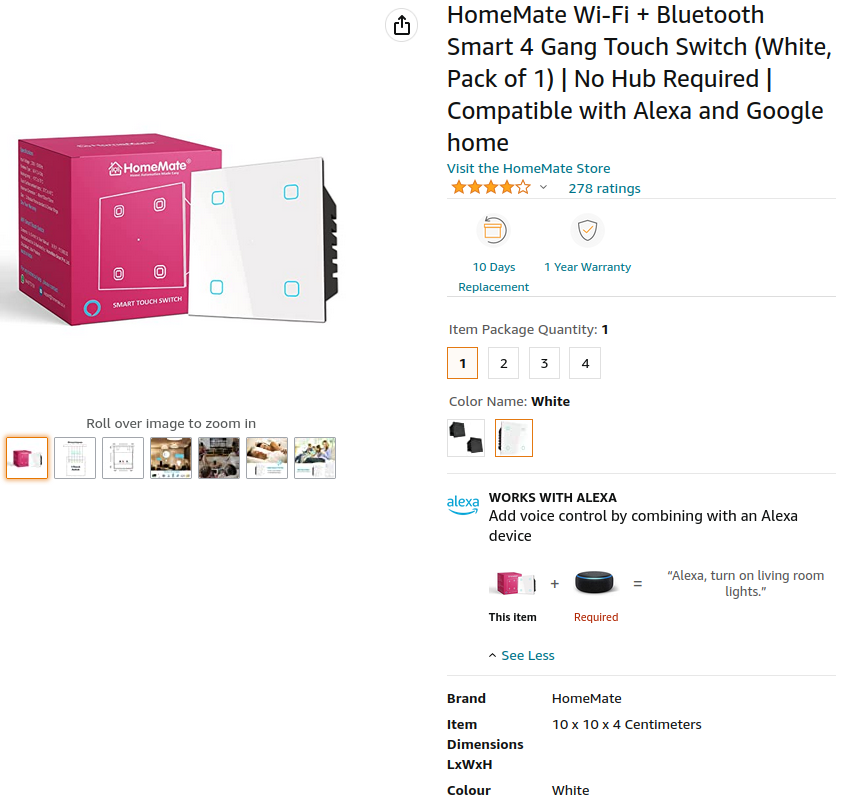
1. What hardware is inside the HomeMate 4-gang touch switch?
It contains a CB3S Wi-Fi+BLE module with BK7231N SoC, an ATTINY1616 TuyaMCU, four Songle 5 A relays driven through a ULN2003A Darlington array, and an HLK-PM01L power module [Elektroda, marioalmeida, post #20103196]
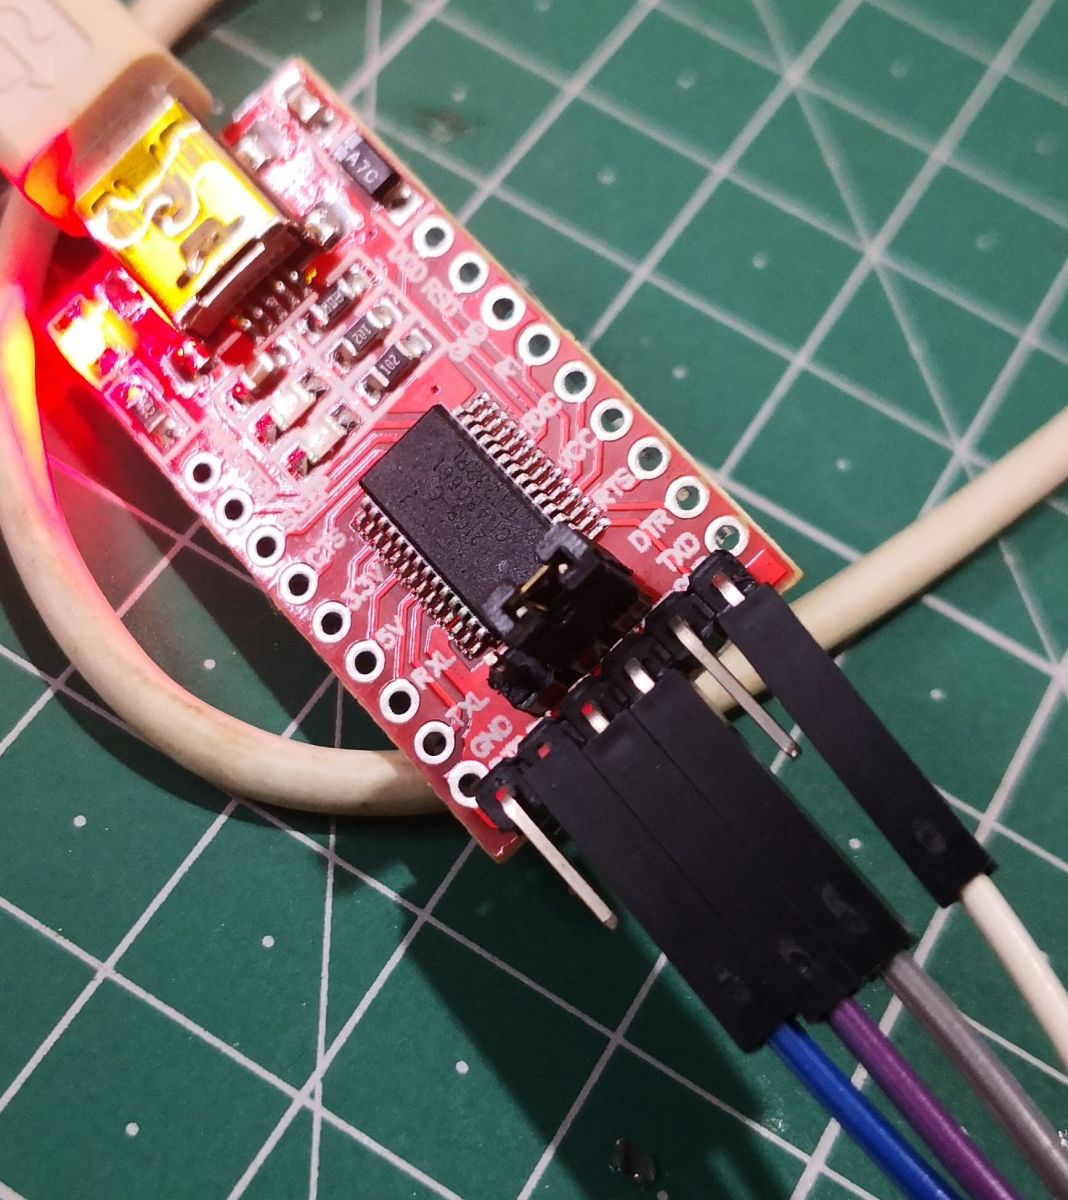
2. How do I flash OpenBeken without opening the casing?
Use Tuya-CloudCutter, select BK7231N profile 2.0.2. 2. When prompted, put the switch in AP (slow-blink) mode twice. 3. Choose OpenBeken .ug firmware and let the tool push it (progress 93-95 % in log) [Elektroda, gavashkarraju, post #21355940]
3. What goes into autoexec.bat for full 4-relay control?
Paste the 23-line script posted by marioalmeida, which sets channel types, links dpIDs 1-4 & 13 to toggles, maps timers as TextFields, then reboot [Elektroda, 20103196]
4. My relays don’t click after flashing—why?
Check that TuyaMCU driver starts before any tuyaMcu_setBaudRate line; otherwise the baud command is ignored and MCU never links, causing silent toggles [Elektroda, mod note, post #20574203]
5. How can I stop the tiny Wi-Fi LED from blinking?
Add tuyaMcu_defWiFiState 4 to autoexec.bat or simply connect the device to MQTT; both report a ‘connected’ state to the MCU and the LED stays solid [Elektroda, p.kaczmarek2, post #20725234]
6. How do I change the power-on behaviour after a blackout?
Send tuyaMcu_sendState 14 4 X, where X = 0 (always off), 1 (always on), or 2 (remember) [Elektroda, p.kaczmarek2, post #20742733] The switch stores this in dpID 14.
7. What does Delay-off Schedule (dpID 19) do?
It lets the MCU turn a relay off after a timer expires. Link dpID 19 as a TextField, then publish milliseconds in JSON (e.g., 60000 for 1 min) to start a one-shot delay [Typical Tuya docs].
8. Can I integrate the switch with Home Assistant?
Yes. After MQTT is configured, OpenBeken auto-publishes discovery topics. DCG confirmed full HA control and state reporting in under a minute [Elektroda, DCG, post #20723802]
9. What baud rate should I set for TuyaMCU?
Leave it default; the CB3S and ATTINY1616 negotiate 9600 bps. If you add tuyaMcu_setBaudRate 115200 before startDriver, the command is ignored and relays fail [Elektroda, 20574203]
10. Is there a known failure edge-case?
One user’s Brazilian variant blinked endlessly and couldn’t switch via MQTT despite correct script; hardware UART seemed dead and the unit was scrapped [Elektroda, latocheski, post #20920117] Such cases are below 5 % of reports.
11. How do I label channels instead of numbers in Home Assistant?
Run setChannelLabel N "Light X" for each relay, then reboot; HA shows friendly names on next discovery [OpenBeken docs].
12. What if my board has an extra EEPROM?
Later revisions include an I²C EEPROM that blocks UART flashing. Desoldering the CB3S or isolating RX/TX resistors lets CloudCutter proceed, as shown by sundeepgoel2 [Elektroda, 20843161]


Comments
after flashing and finishing the config. toggles are visible but relays are not working. when pressed shoing below in log. but nothing happens to relay. Info:MQTT:Channel has changed! Publishing 1 to... [Read more]
when you press the touch button, do you see normal functions? Note:- OBK firmware will interact with the Tuya MCU and not directly with the relays. if there is any issue with the firmware, the touch... [Read more]
Yes , all touch button is working normal and operate relay when pressed. [Read more]
Can you attached the device autoexec file? [Read more]
This is the content of autoexec.bat tuyaMcu_setBaudRate 115200 startDriver TuyaMCU setChannelType 1 toggle setChannelType 2 toggle setChannelType 3 toggle setChannelType 4 toggle setChannelType... [Read more]
Hey team, any further help in this device ? I have flashed OpenBK7231N via Tuya cloud cutter and now stuck... @parmarshailendra47 any luck with this device ? [Read more]
Update - Switch is working fine and able to integrate with Home Assistant aswell :) I just went thru the details in the OP again and followed the "autoexec.bat" instructions. -- Open Web App --... [Read more]
@pkaczmarek2 I have a quick query regarding this device Everything is perfectly working, I have noticed that the small Wifi Led on the switch keeps blinking even though its connected to Wifi.. Is there... [Read more]
If you have a TuyaMCU device, and it has a LED blinking, it means you need to either: - connect to MQTT so OBK reports it's "connected to cloud" to TuyaMCU - or add following line to autoexec.bat: ... [Read more]
Yes once connected to MQTT issue has been resolved, no more led blinking. [Read more]
If you want to totally disable led blinking, no matter the MQTT state, add the following line to autoexec.bat script: tuyaMcu_defWiFiState 4 See the list of available WiFi states in TuyaMCU: ... [Read more]
Hello! I set this property "tuyaMcu_defWiFiState 4" in my device which I recorded in my CB2S chip - BK7231N (autoexec.bat) but even so it keeps blinking. I tested other values but without success.... [Read more]
But everything else is working? Or maybe you are missing baud setting and there is no communication at all? Disconnect power entirely from device and reconnect it. If I understand you correctly,... [Read more]
Sorry, i'll explain better: The device works fine, i can turn on in the web interface and MQTT, but can't turn off. Only button back to the "off" state, the device not. I need to touch on the physical... [Read more]
This is very strange. Backup your config and try: startDriver TuyaMCU tuyaMcu_defWiFiState 4 setChannelType 1 toggle linkTuyaMCUOutputToChannel 1 1 1 The following code should allow you to... [Read more]
Unfortunately, same. https://obrazki.elektroda.pl/2421022200_1694213073_thumb.jpg [Read more]
Now, do the following steps: 1. open Web App -> Log 2. Disconnect all power from device 3. Clear log 4. Connect power to the device 5. Wait for it to connect to WiFi 6. Press the physical buttons... [Read more]
Ok, the first boot: I switched the physical button more than 10 times but apparently there is no log Info:MAIN:Main_Init_Before_Delay Info:CFG:####### Boot Count 123 ####### Warn:CFG:CFG_InitAndLoad:... [Read more]
dpID 14 describes the state of the device after power up. So, for example, if you lose power in the house, what happens when power comes back. dpID 14 has 3 options: - 0 , means "off by default" - 1,... [Read more]