Product information
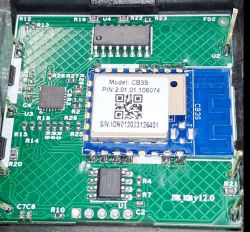
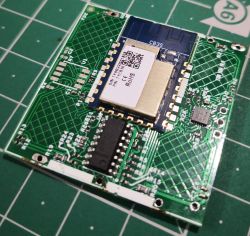
Tuya 4 CH touch switch for Roma fitting for Indian homes, it has CB3S chip (BK7231N)
https://amzn.eu/d/3K8uk6I
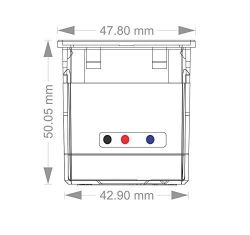
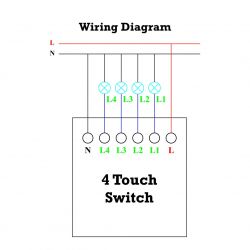
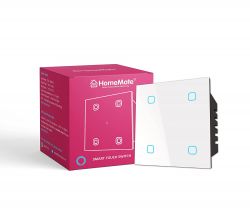
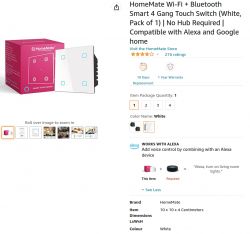
Technical Specs
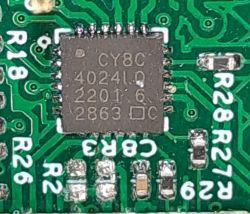
TuyaMCU: T1616-N TH 2720E (ATTINY1616)
Darlington transistor array ULN2003A
Relay: 5A 230V x 4
Power Module: HLK-PM01L
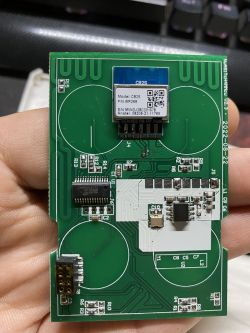
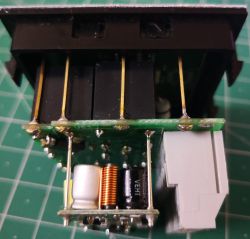
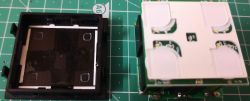
This switch consists of 3 board, soldered with long header pins,
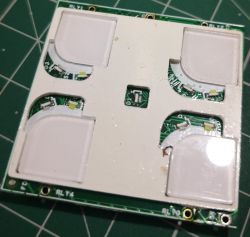
Top board is the controller board, top side is with the touch buttons, and on the other side it has CB3S and TuyaMCU, after that, is the relay board and then the power board.
Total dpId 12
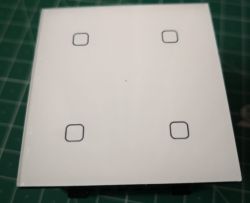
Teardown
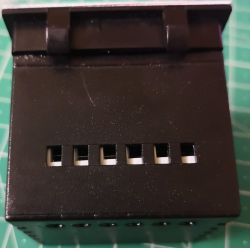
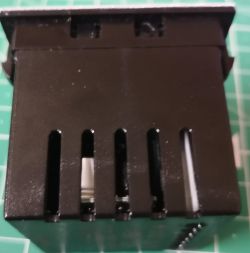
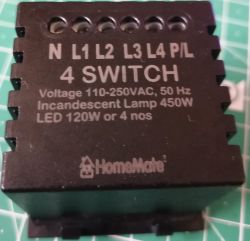
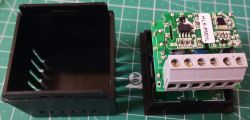
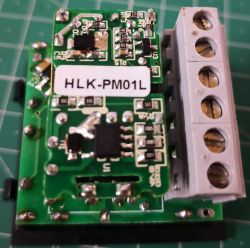
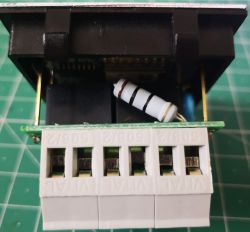
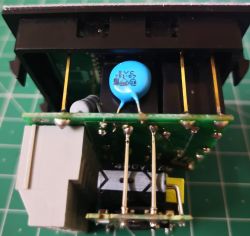
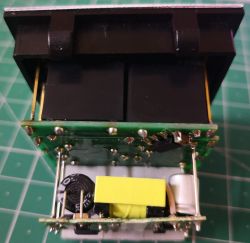
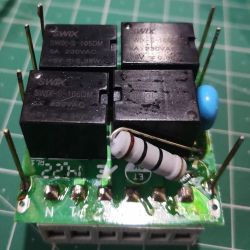
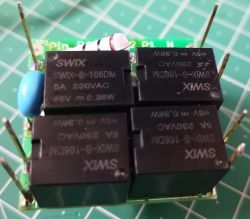
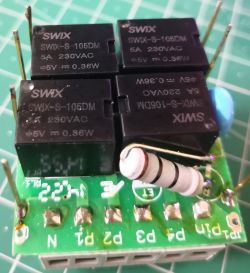
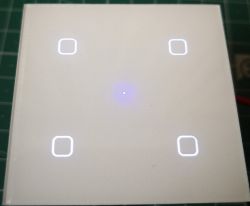
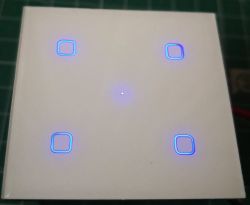
Prepare for firmware upload
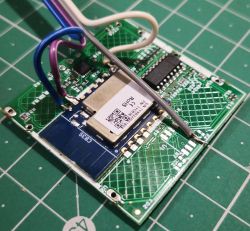
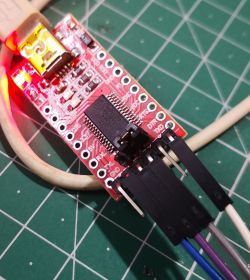
download the latest firmware from https://github.com/openshwprojects/OpenBK7231T_App/releases/
Create autoexec.bat file with below content
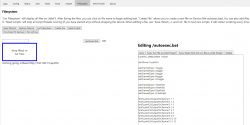
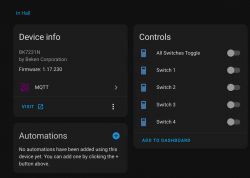
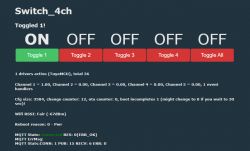
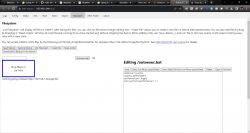
After upload is done. open http://192.168.4.1/app, go to Filesystem and drop the autoexec.bat file in the "drop file(s) here" box, reboot the device, change the host-name, connect to the network, configure MQTT and start using the device with you home automation system.
Added after 7 [hours] 8 [minutes]:
@p.kaczmarek2 how to configure the below 2 dbId?
{ dpName: "Delay-off Schedule", dpId: 19 }
{ dpName: "Memory Status", dpId: 14 }
Tuya 4 CH touch switch for Roma fitting for Indian homes, it has CB3S chip (BK7231N)
https://amzn.eu/d/3K8uk6I


Technical Specs
TuyaMCU: T1616-N TH 2720E (ATTINY1616)
Darlington transistor array ULN2003A
Relay: 5A 230V x 4
Power Module: HLK-PM01L
This switch consists of 3 board, soldered with long header pins,
Top board is the controller board, top side is with the touch buttons, and on the other side it has CB3S and TuyaMCU, after that, is the relay board and then the power board.
Total dpId 12
0 Object { dpName: "Switch 1", dpId: 1 }
1 Object { dpName: "Switch 2", dpId: 2 }
2 Object { dpName: "Switch 3", dpId: 3 }
3 Object { dpName: "Delay-off Schedule", dpId: 19 }
4 Object { dpName: "Switch 4", dpId: 4 }
5 Object { dpName: "Timer 1", dpId: 7 }
6 Object { dpName: "Timer 2", dpId: 8 }
7 Object { dpName: "Test Bit", dpId: 24 }
8 Object { dpName: "Timer 3", dpId: 9 }
9 Object { dpName: "Timer 4", dpId: 10 }
10  Object { dpName: "Master Switch", dpId: 13 }
11  Object { dpName: "Memory Status", dpId: 14 }
Teardown


Prepare for firmware upload


download the latest firmware from https://github.com/openshwprojects/OpenBK7231T_App/releases/
Create autoexec.bat file with below content
startDriver TuyaMCU

setChannelType 1 toggle
setChannelType 2 toggle
setChannelType 3 toggle
setChannelType 4 toggle
setChannelType 13 toggle

setChannelType 7 TextField
setChannelType 8 TextField
setChannelType 9 TextField
setChannelType 10 TextField

linkTuyaMCUOutputToChannel 1 1 1
linkTuyaMCUOutputToChannel 2 1 2
linkTuyaMCUOutputToChannel 3 1 3
linkTuyaMCUOutputToChannel 4 1 4
linkTuyaMCUOutputToChannel 7 2 7
linkTuyaMCUOutputToChannel 8 2 8
linkTuyaMCUOutputToChannel 9 2 9
linkTuyaMCUOutputToChannel 10 2 10
linkTuyaMCUOutputToChannel 13 1 13
After upload is done. open http://192.168.4.1/app, go to Filesystem and drop the autoexec.bat file in the "drop file(s) here" box, reboot the device, change the host-name, connect to the network, configure MQTT and start using the device with you home automation system.
Added after 7 [hours] 8 [minutes]:
@p.kaczmarek2 how to configure the below 2 dbId?
{ dpName: "Delay-off Schedule", dpId: 19 }
{ dpName: "Memory Status", dpId: 14 }
Cool? Ranking DIY


