
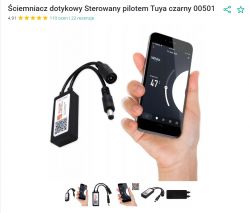
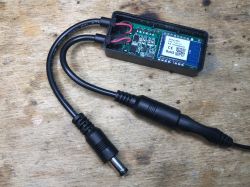
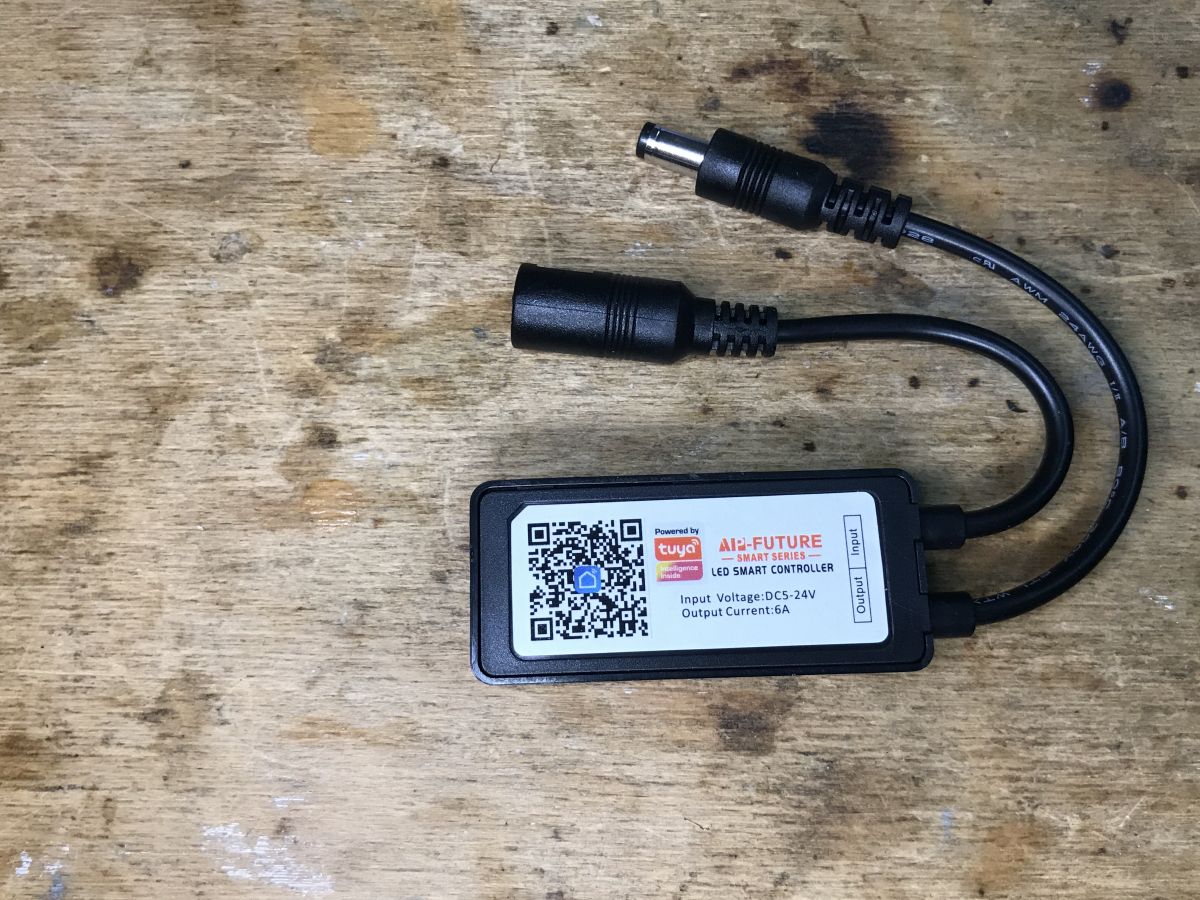
I will show here the interior, programming, and configuration of the single-color Tuya WiFi strip controller sold under the AIP-Future (Smart Series) / SmartLife logo with the designation TY-02-1CH. The strip works on voltages DC5-24V, current (according to the manufacturer) up to 6A. By the way, we'll see what transistors are inside.
The controller can be purchased in various places on the web, also on the Polish shipping portal, it costs PLN 40 here:
 The belt was given to me by one of our users so that I could change the batch - after programming the belt returns to the user. Thank you for providing me with the device to take tests and photos!
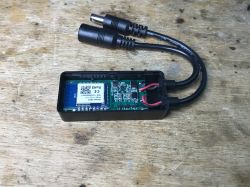
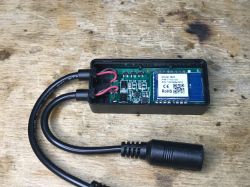
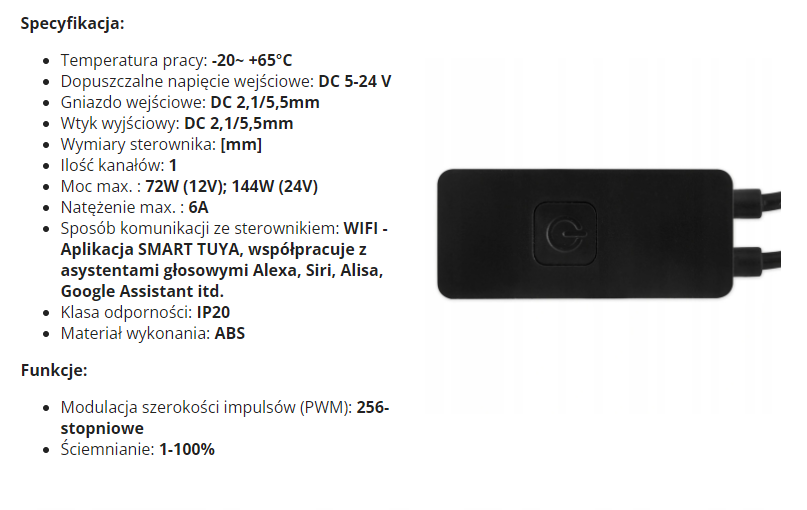
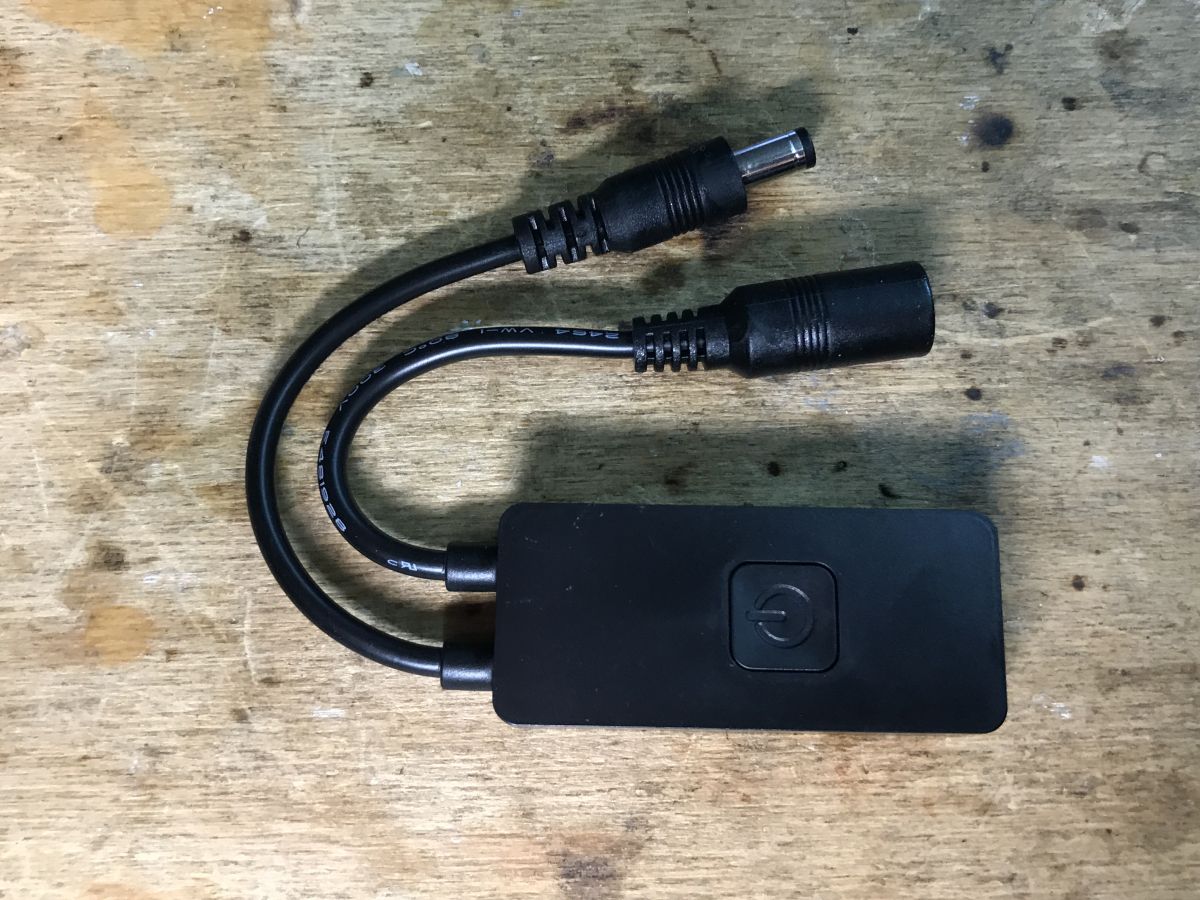
 Specification, types of plugs (both are classic DC Jack, dimensions below):

Package:
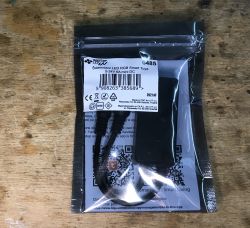
Very poor this time. They didn't even provide double sided tape for fixing.
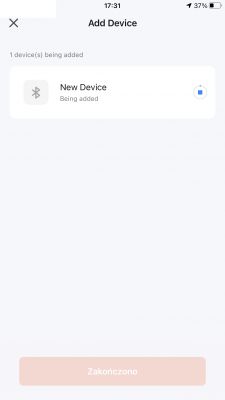
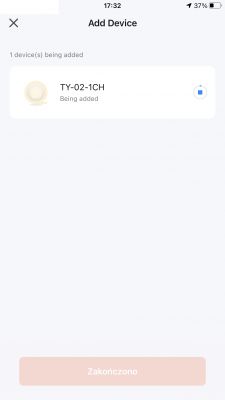
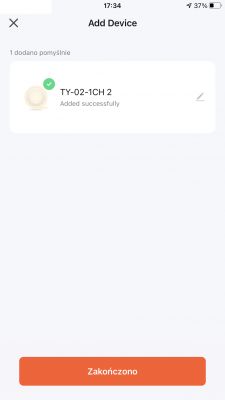
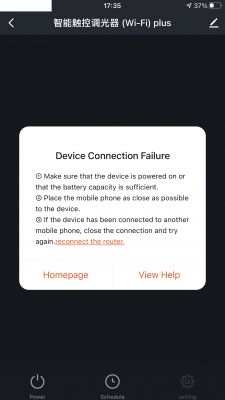
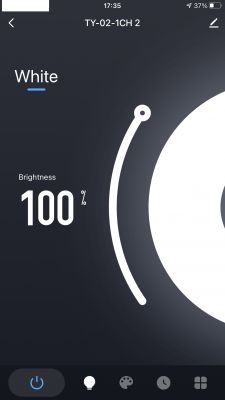
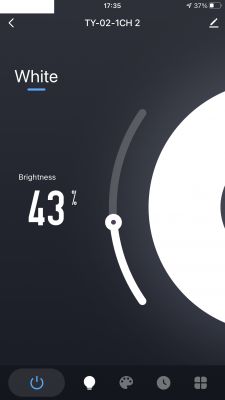
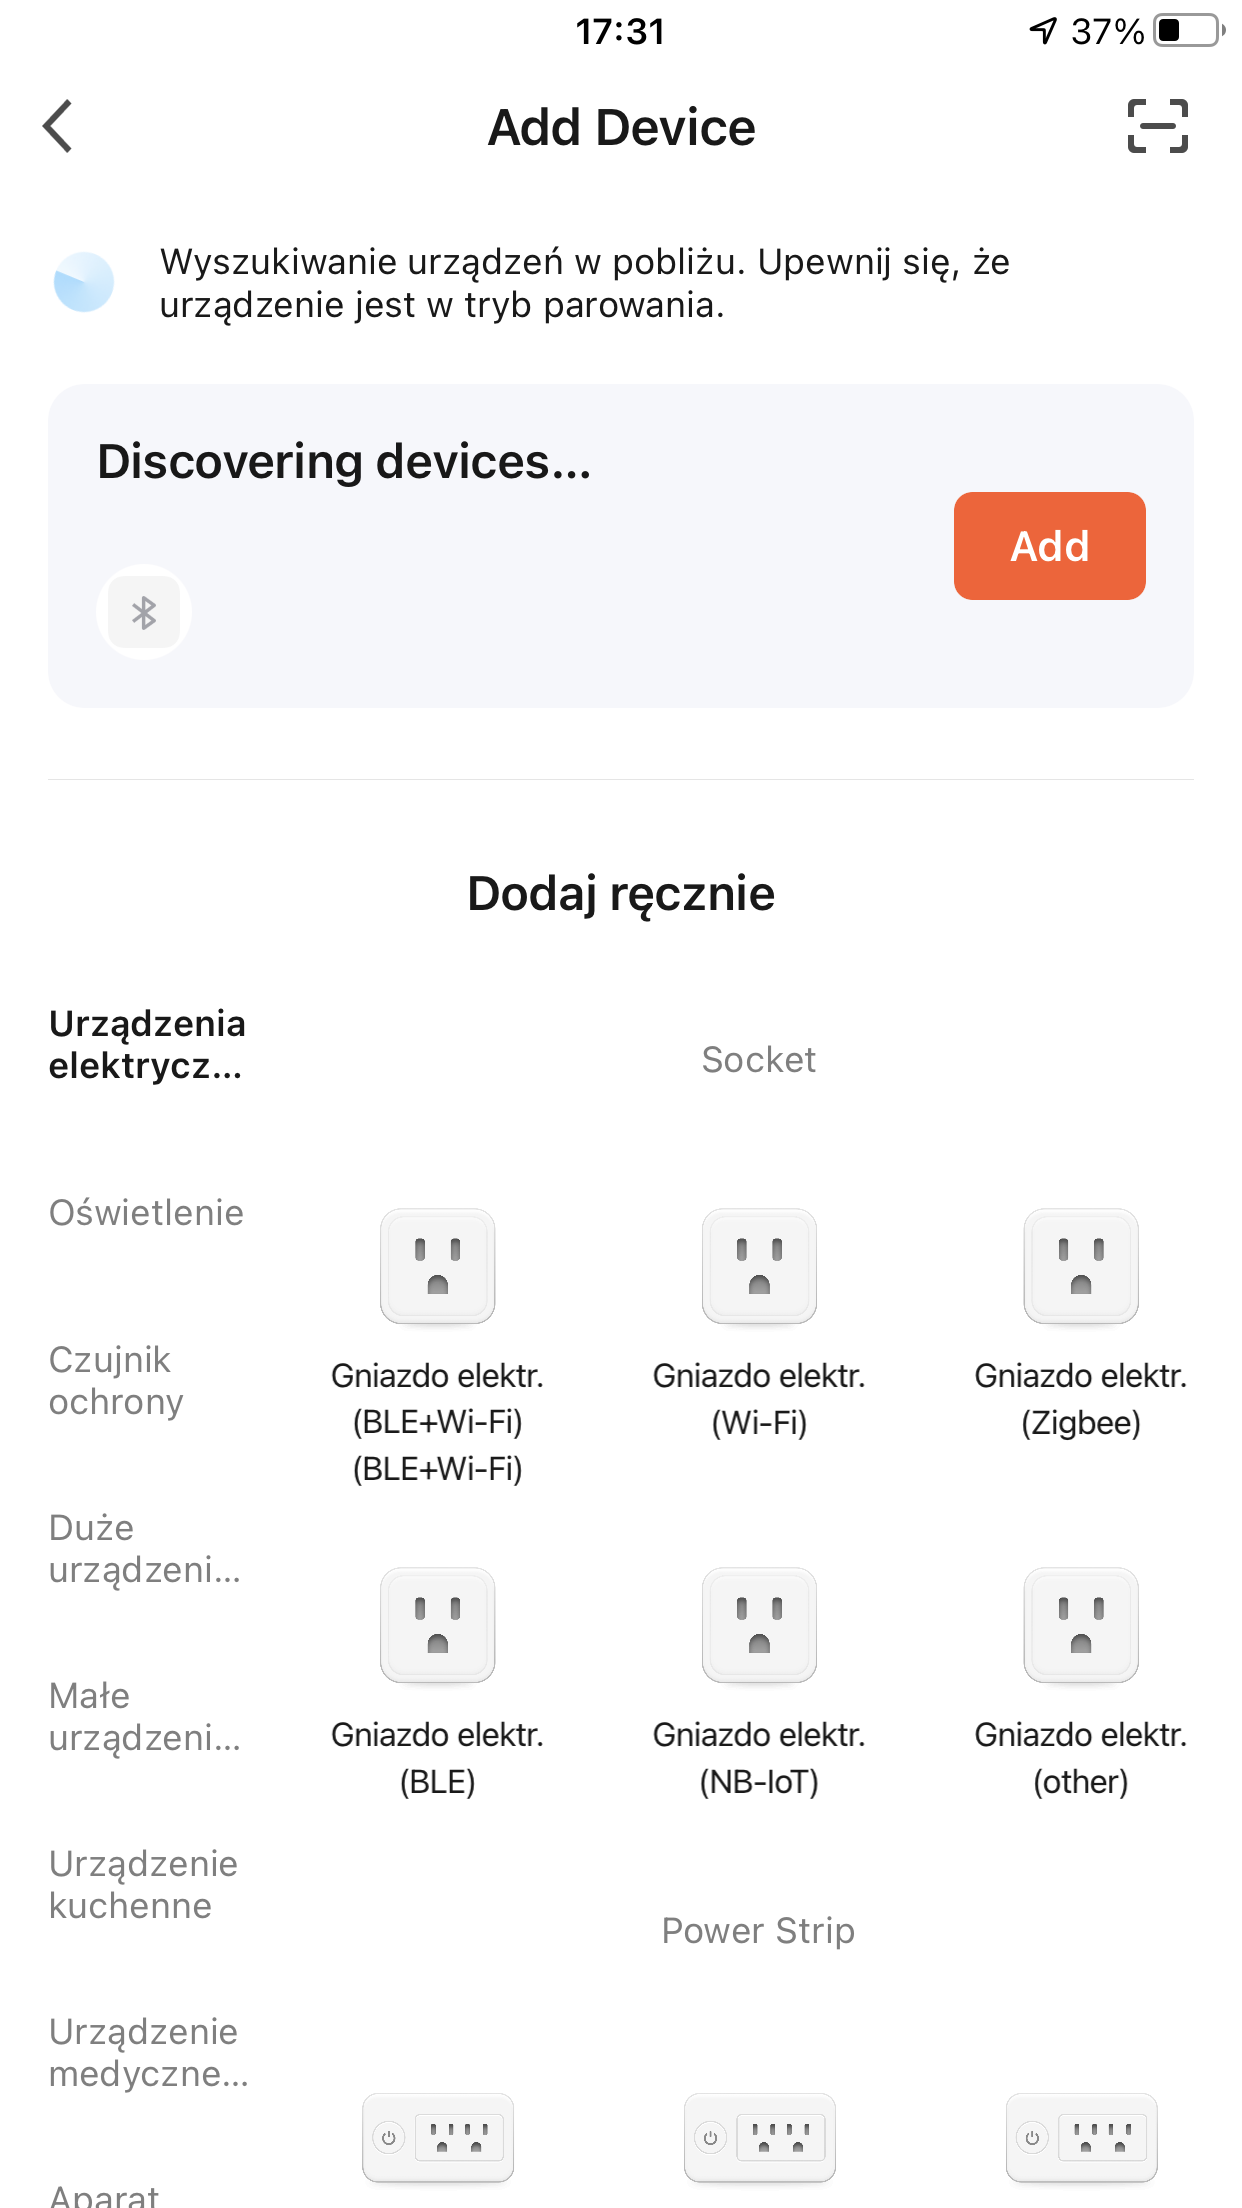
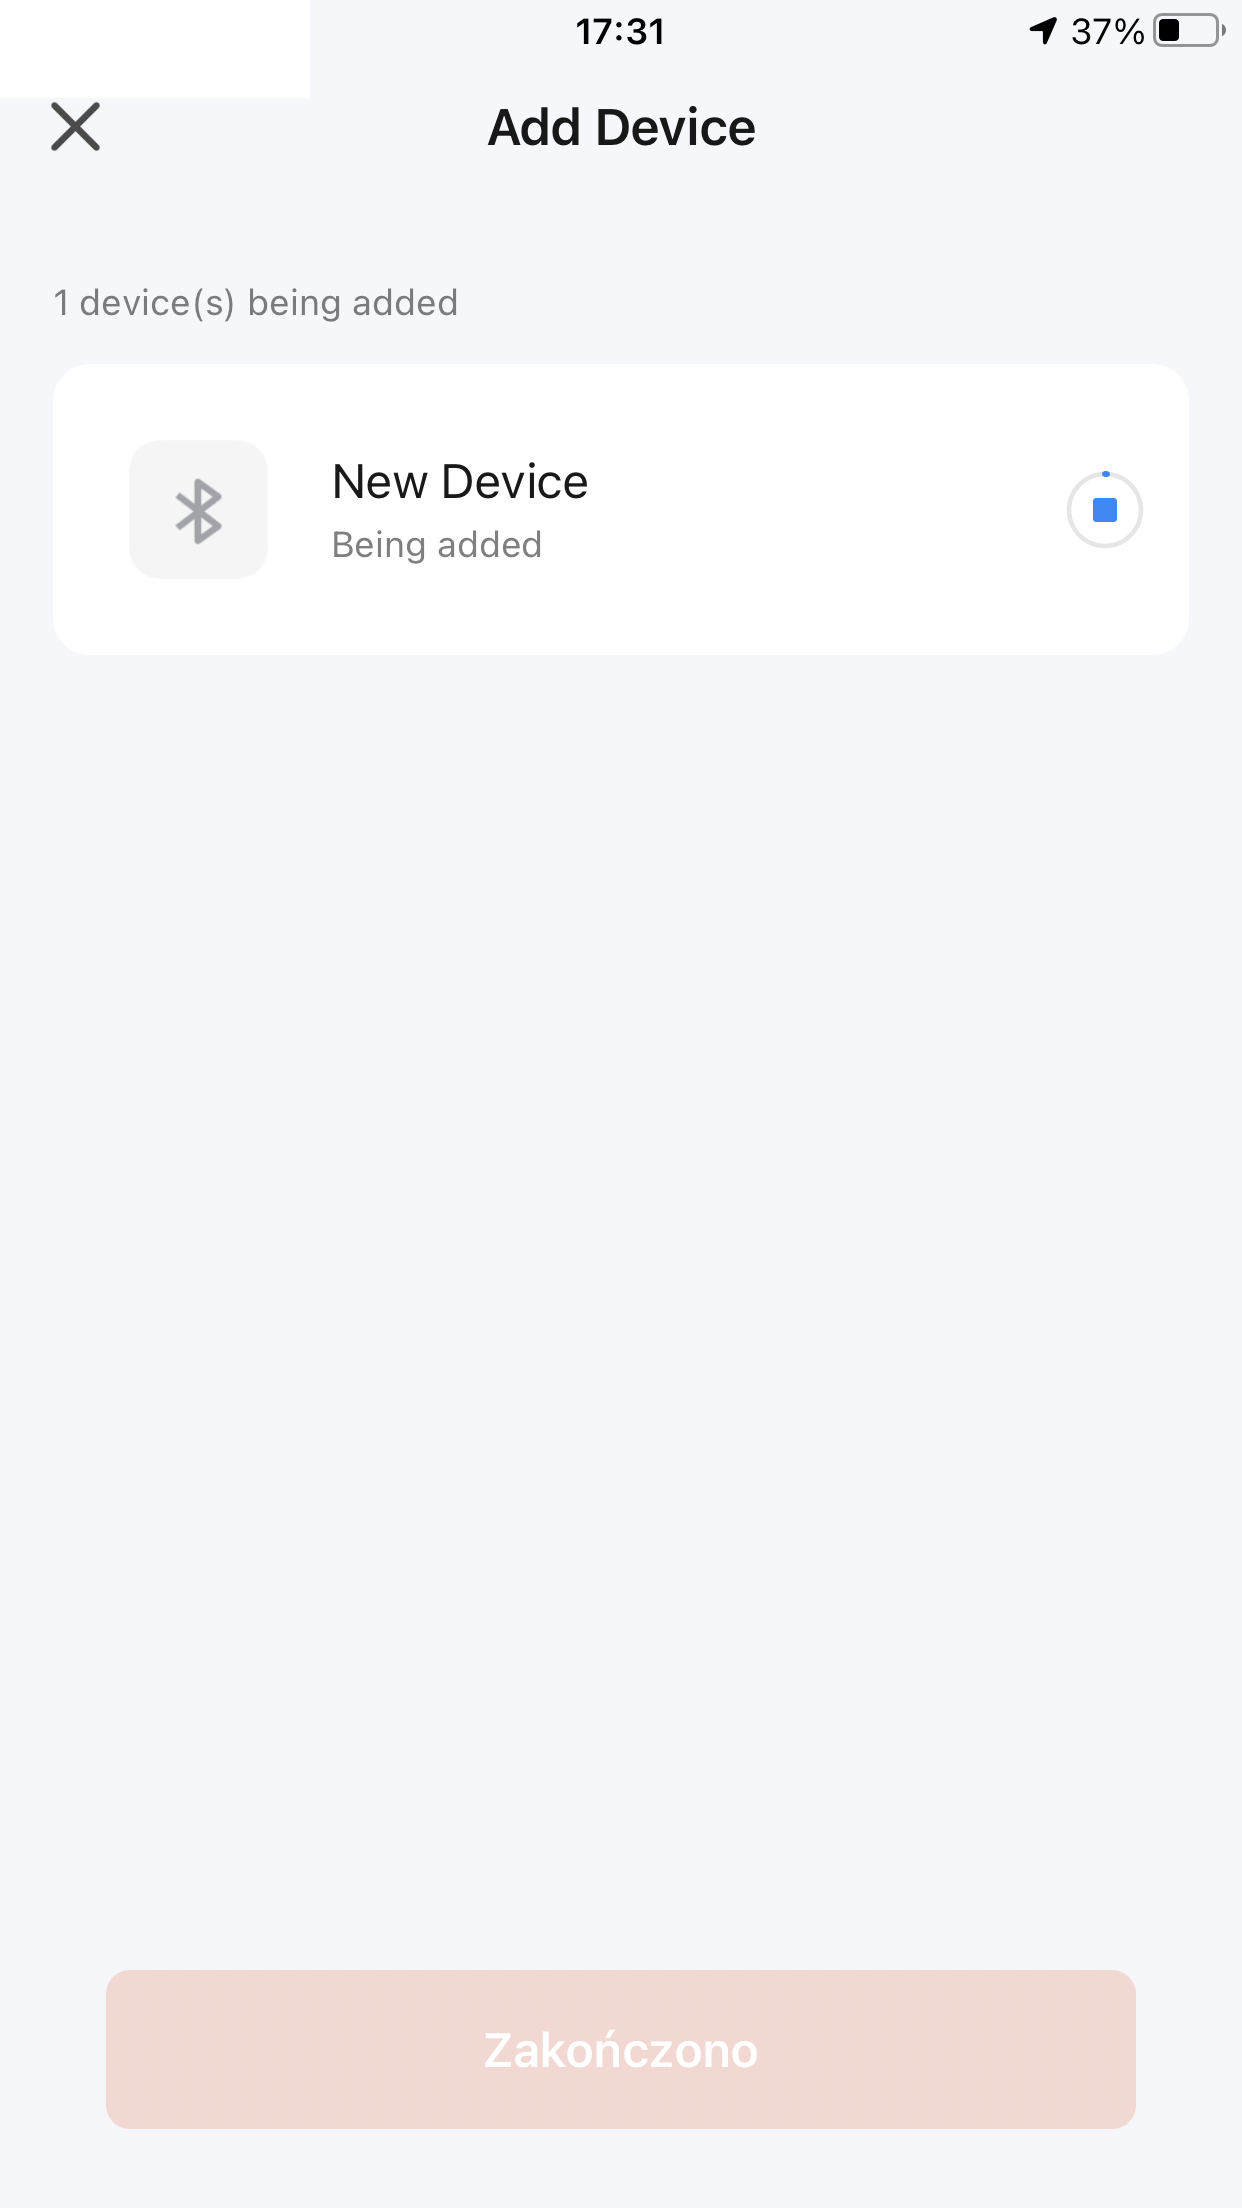
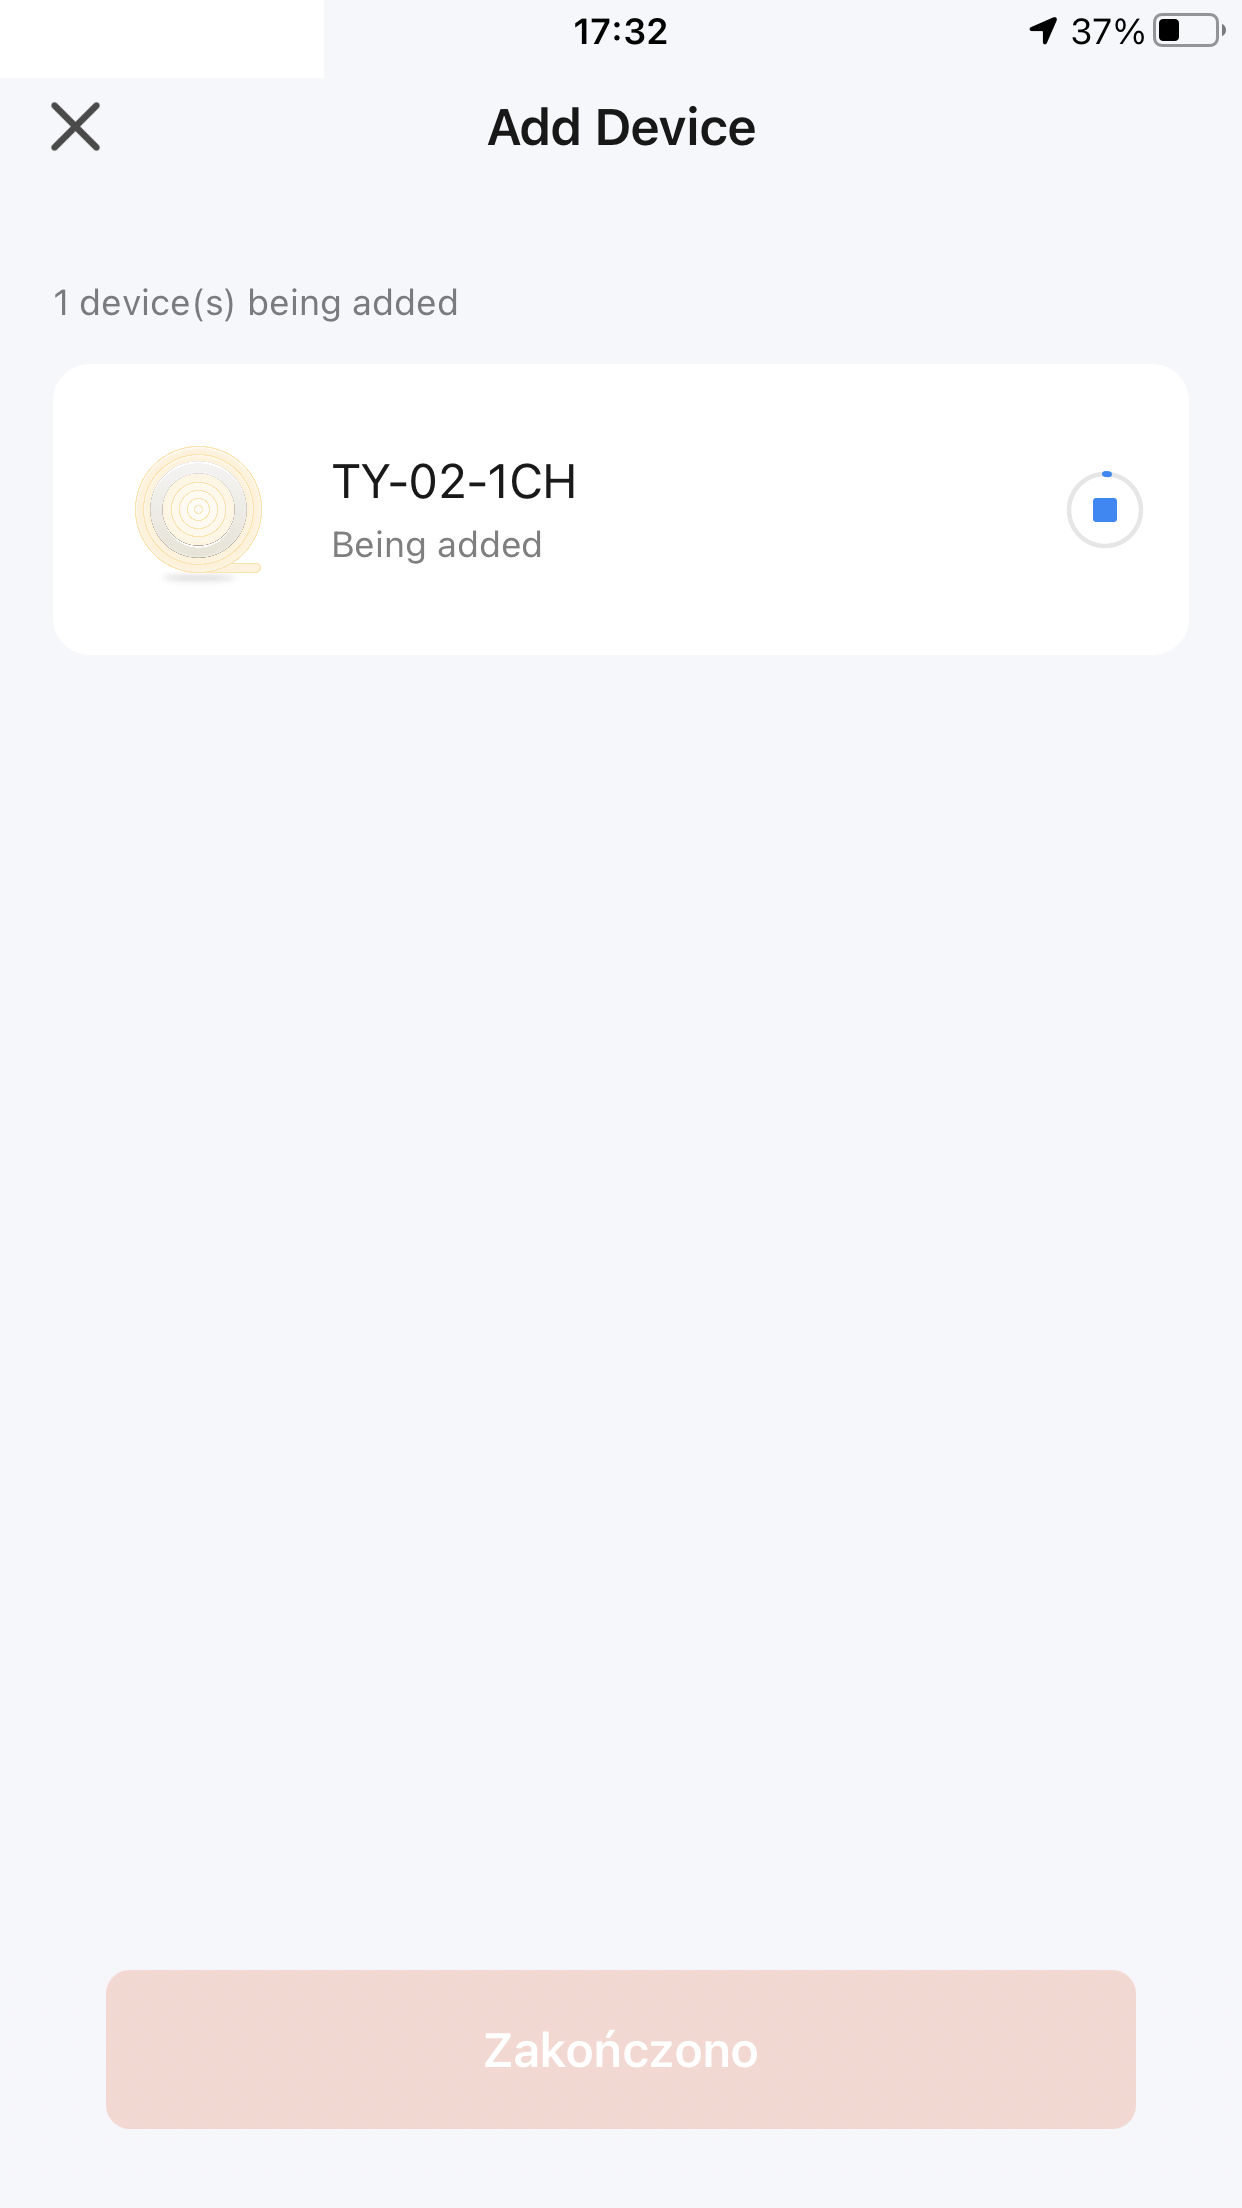
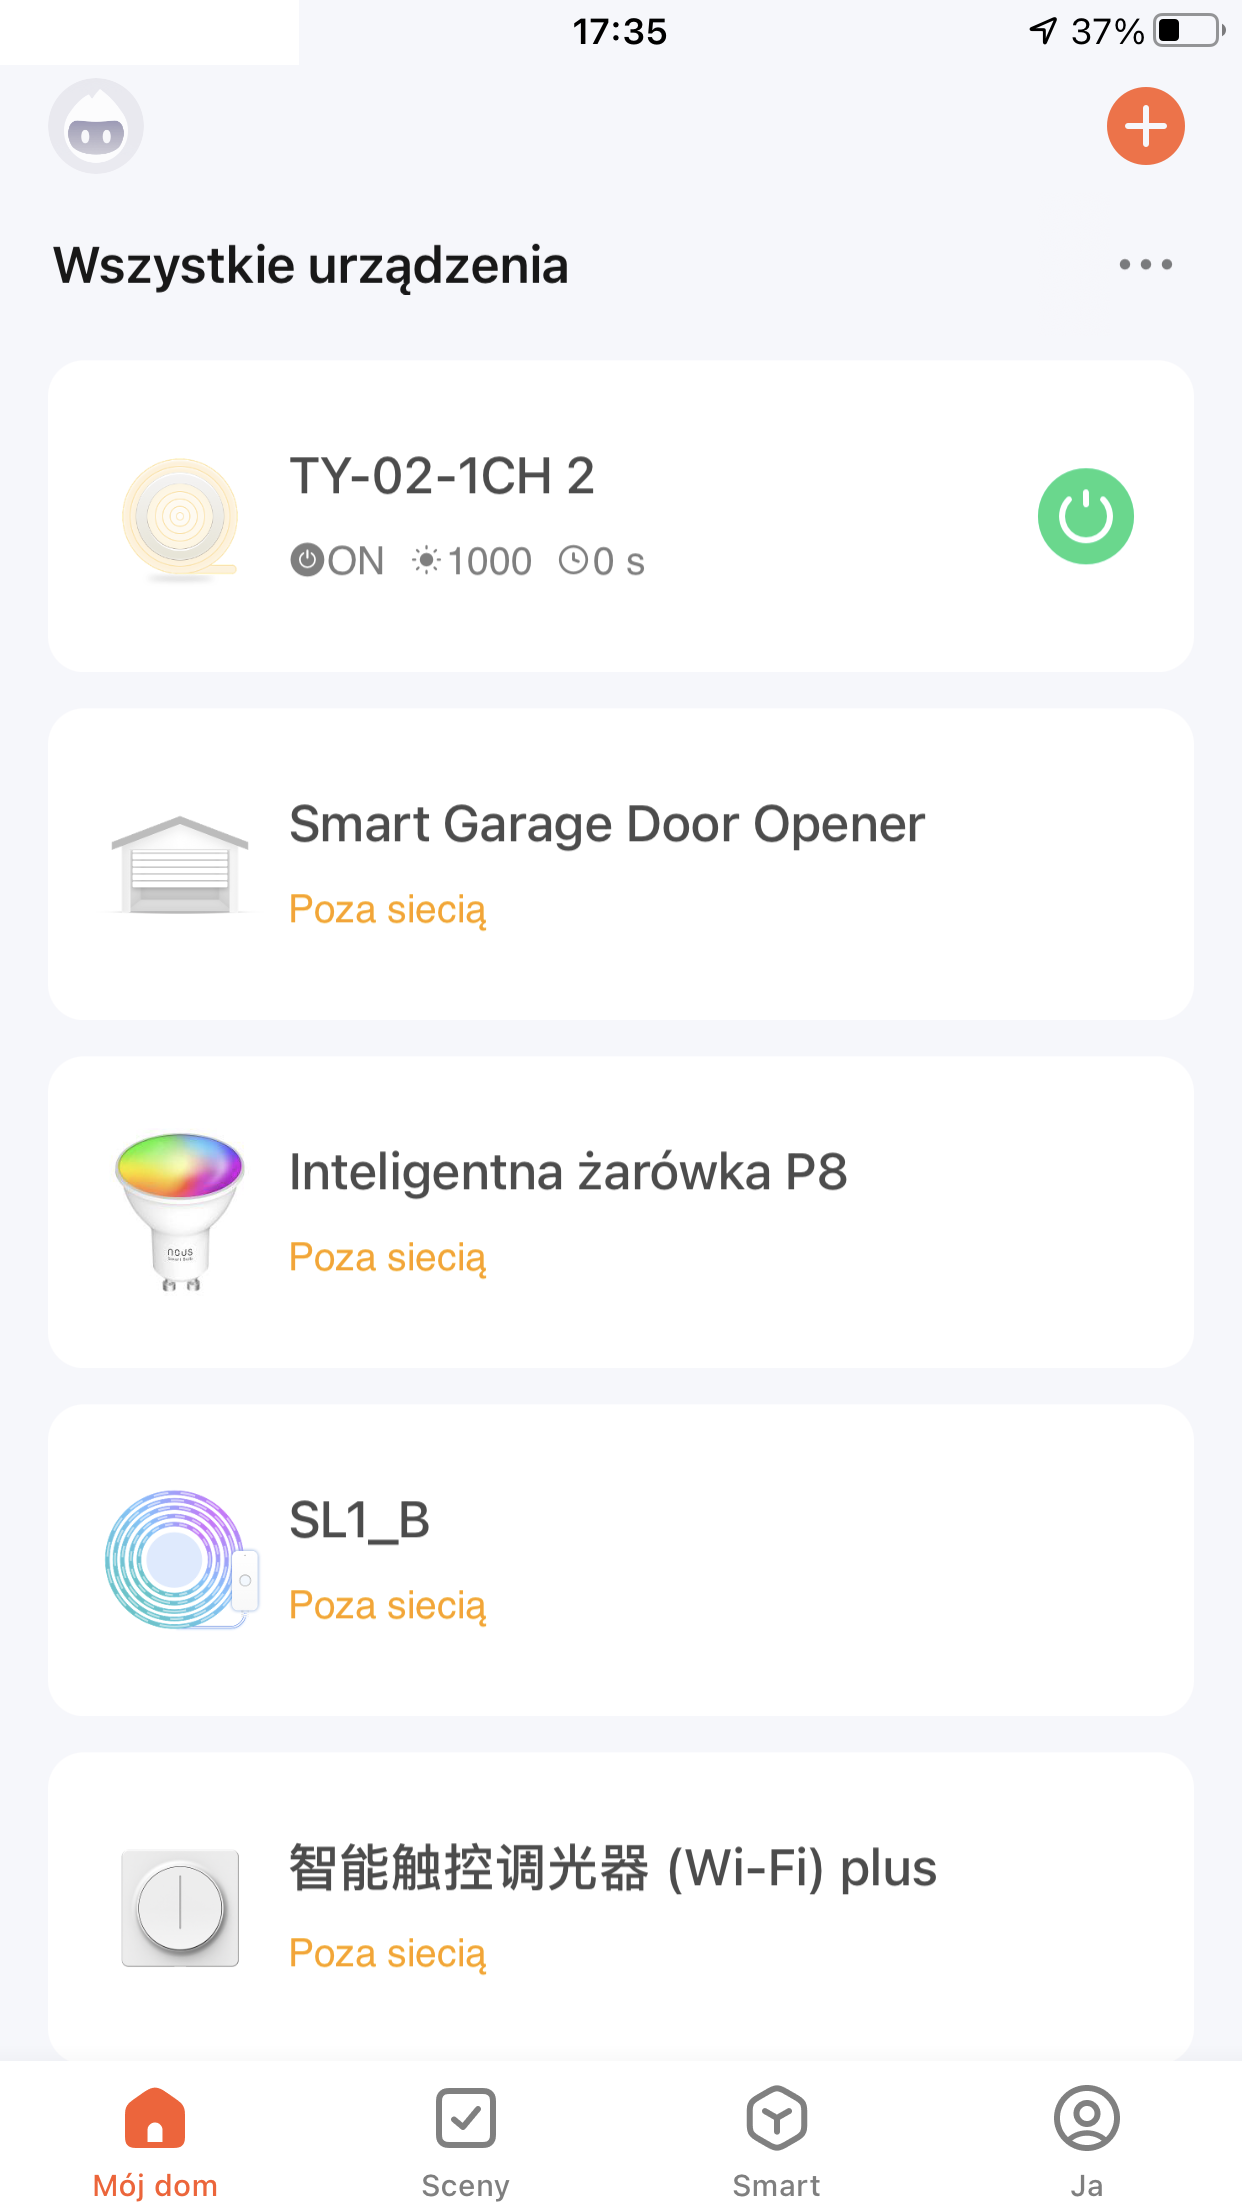
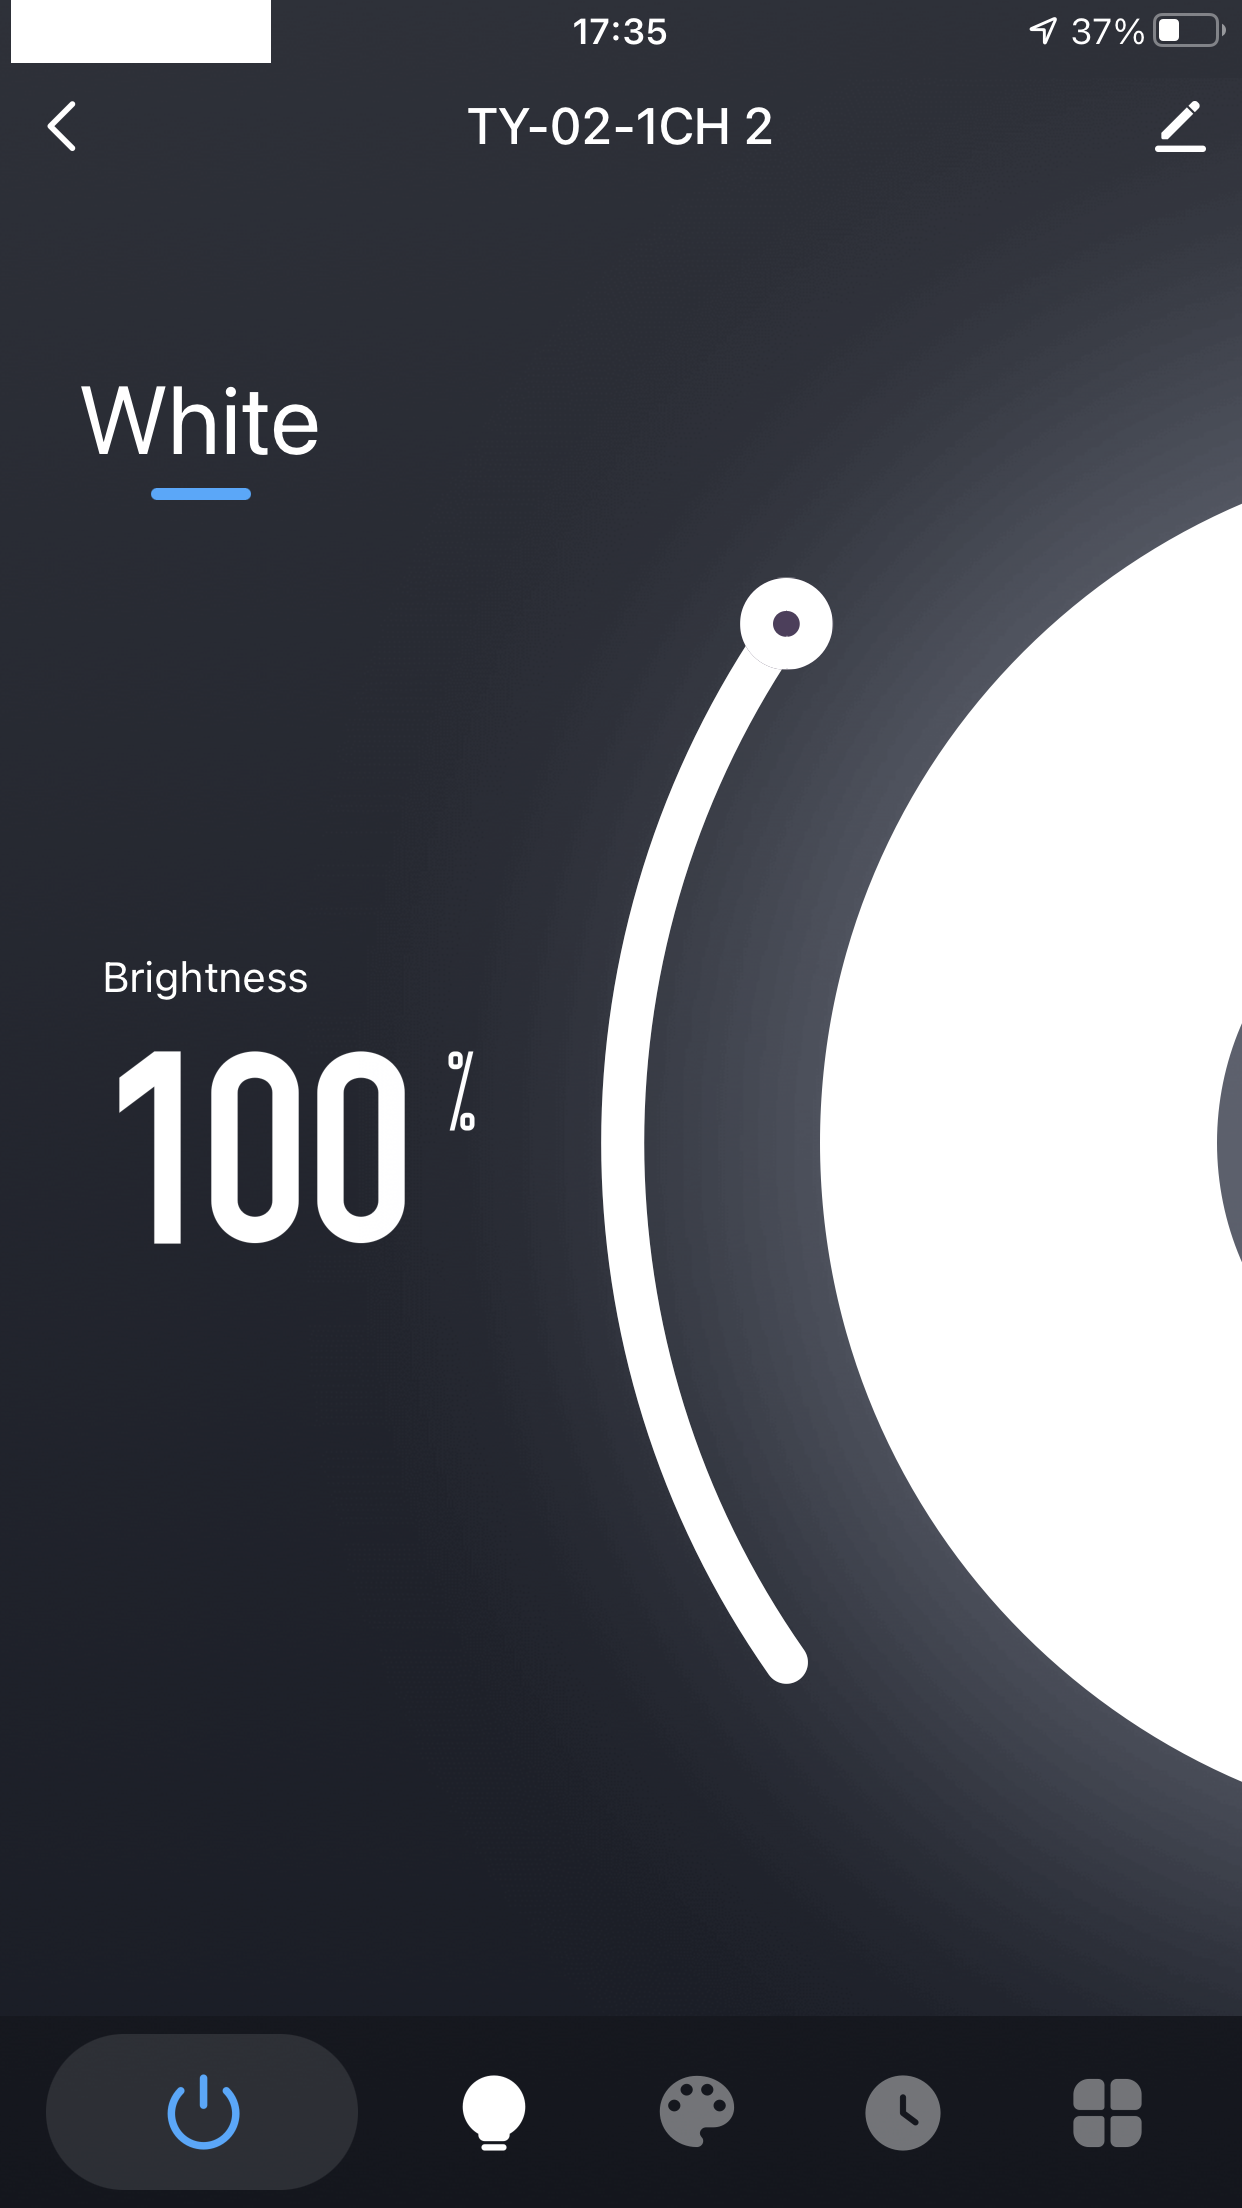
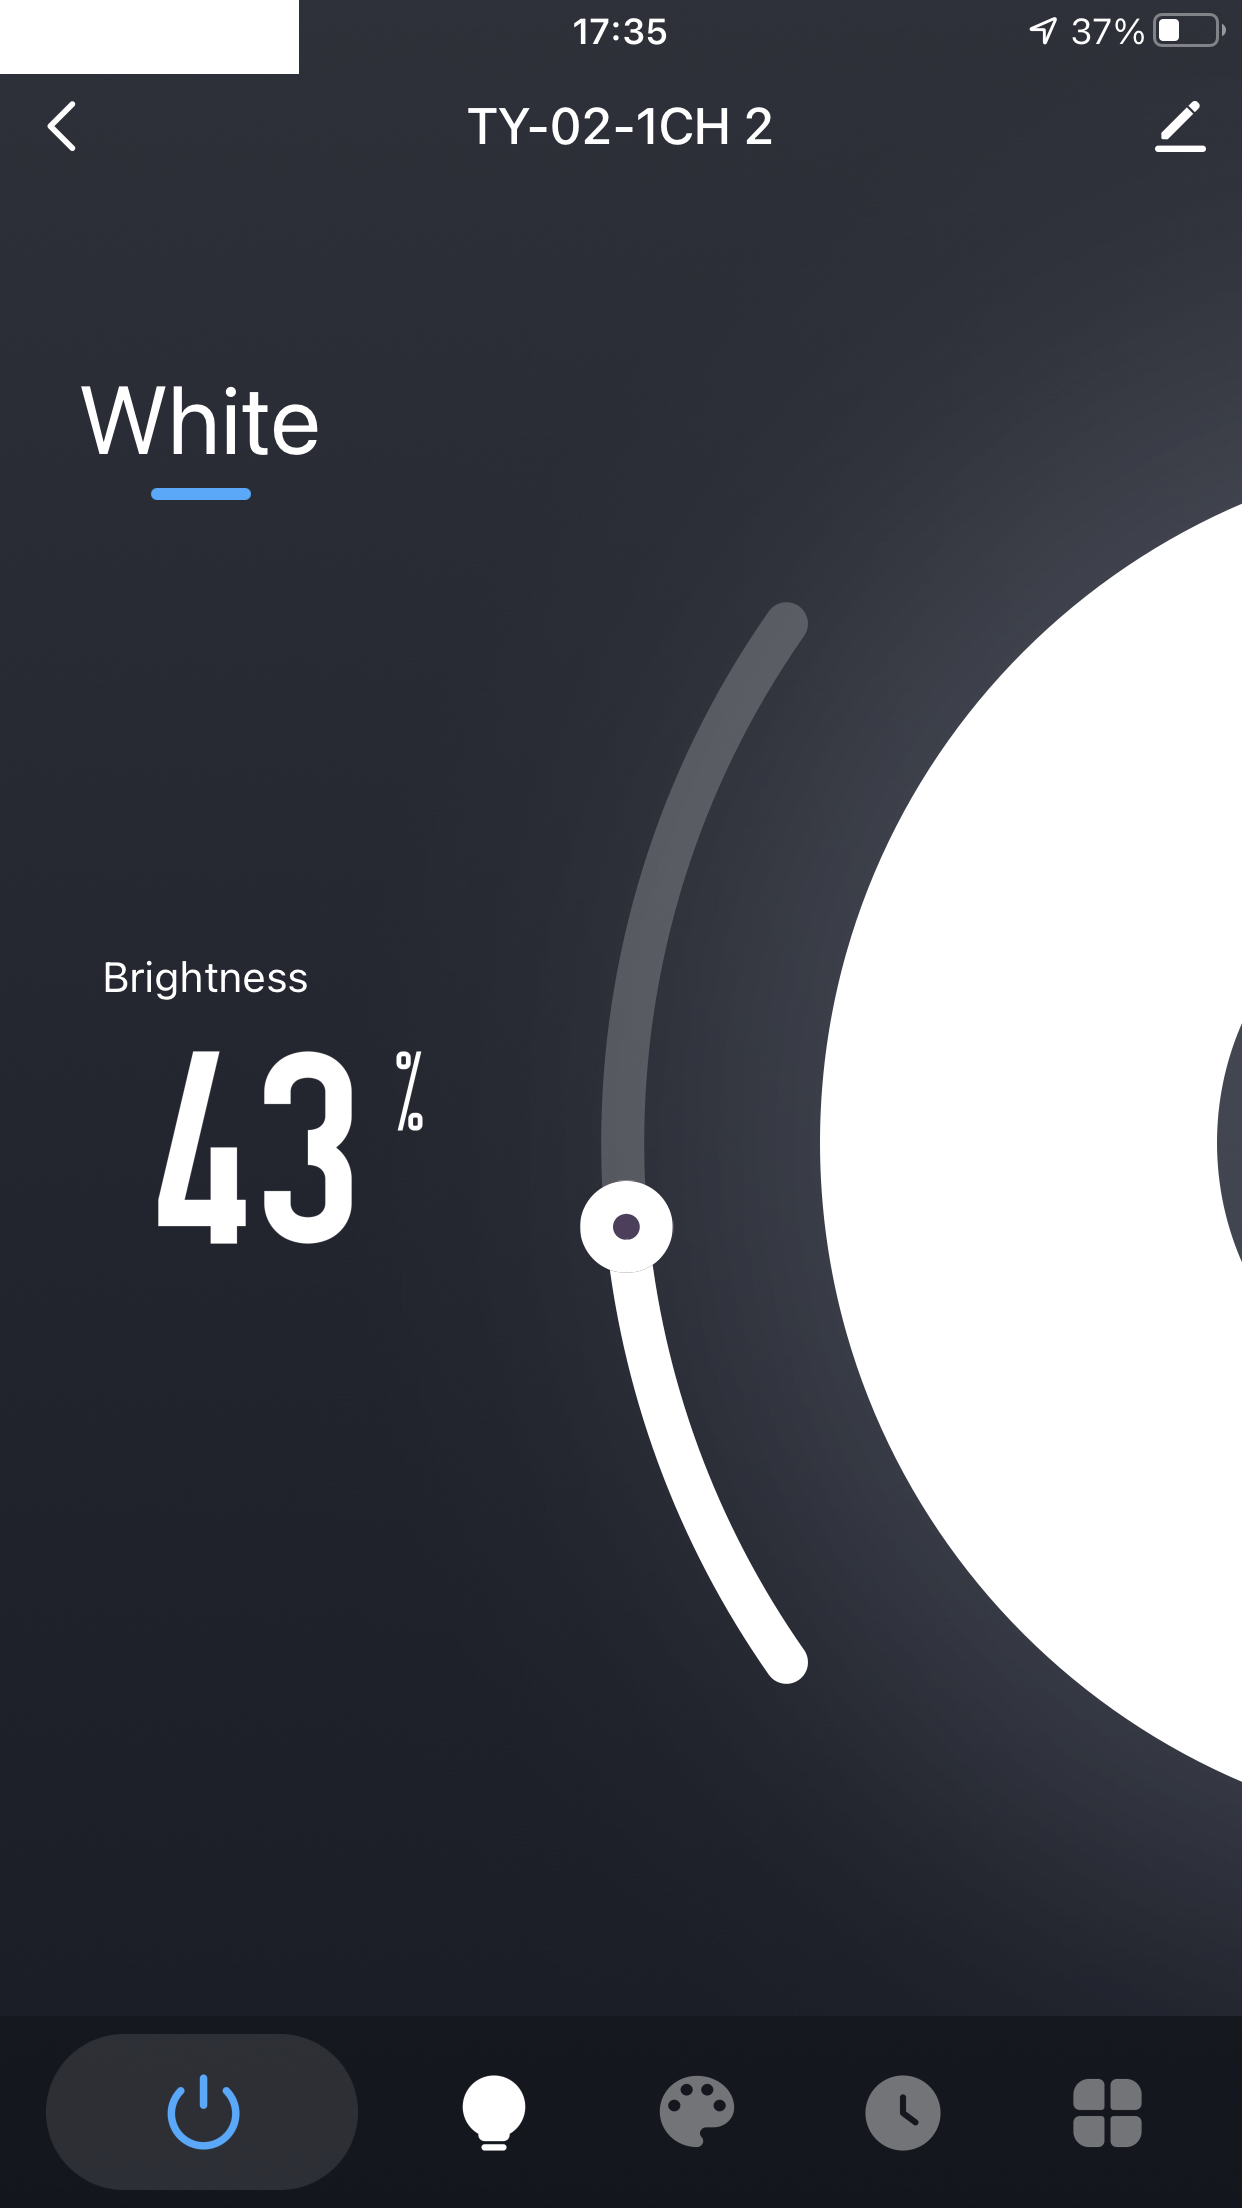
A short test with the Tuya application The Tuya application and its automations/scenarios have already been discussed many times. I won't repeat it here. I just want to show that Tuya pairs without any problems and how the bar interface looks like in this application:


 Interior and programming of the TY-02-1CH
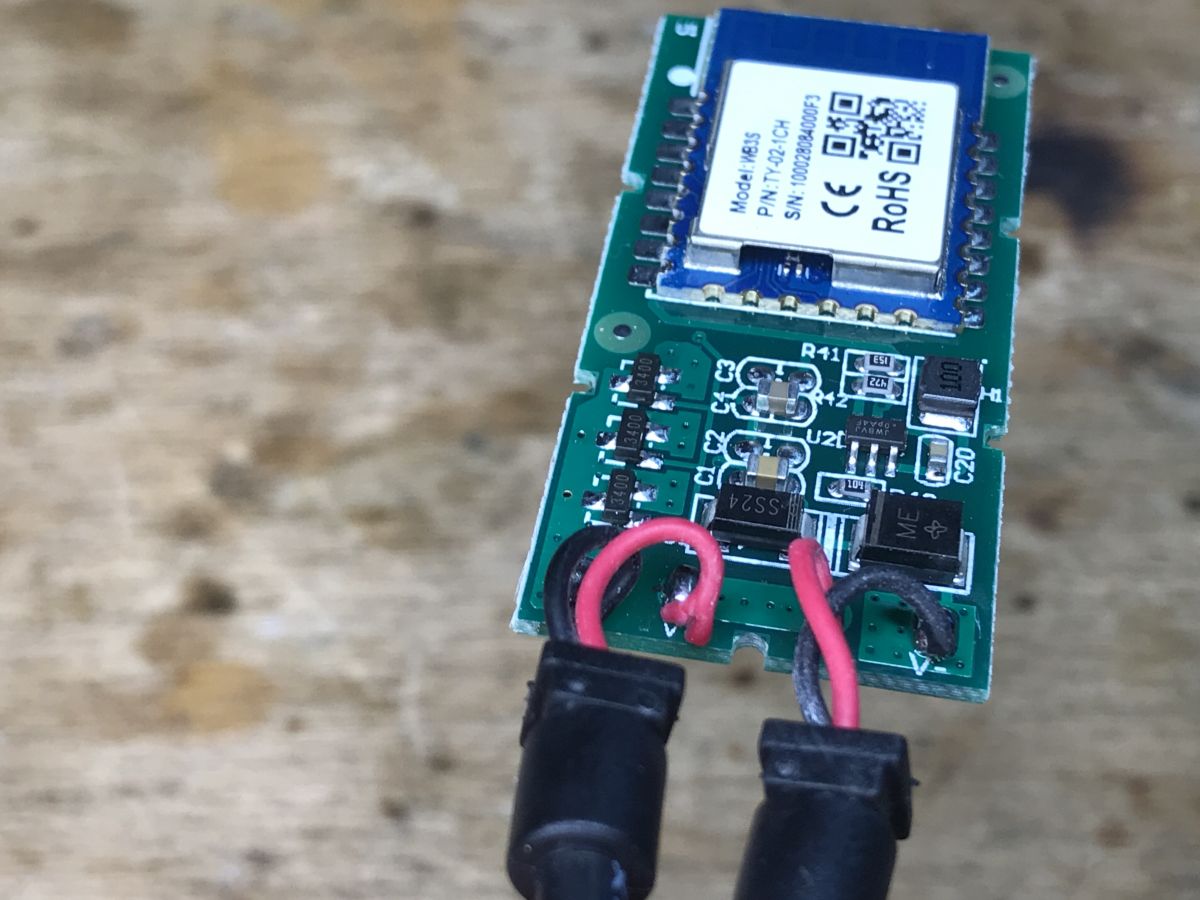
 The product does not have screws, the housing is simply held on with a latch:

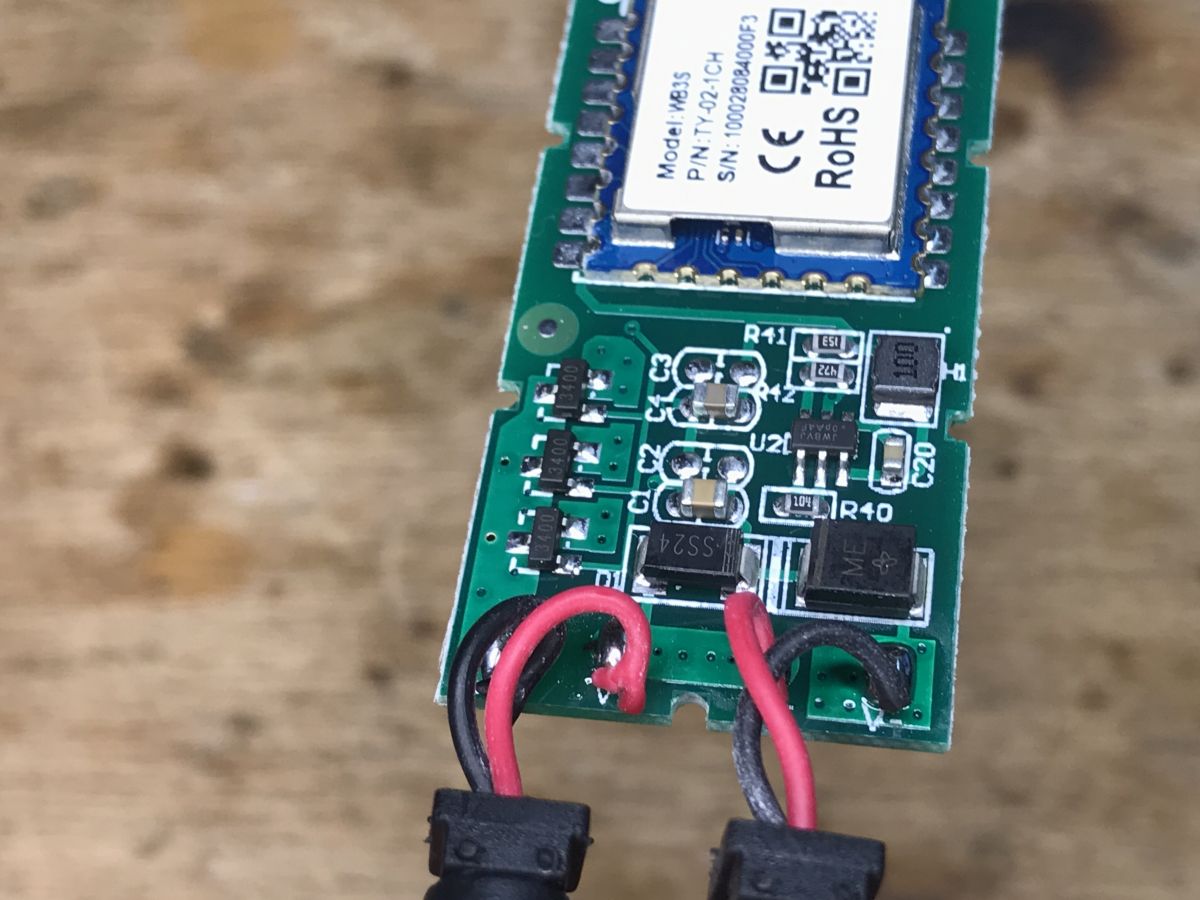
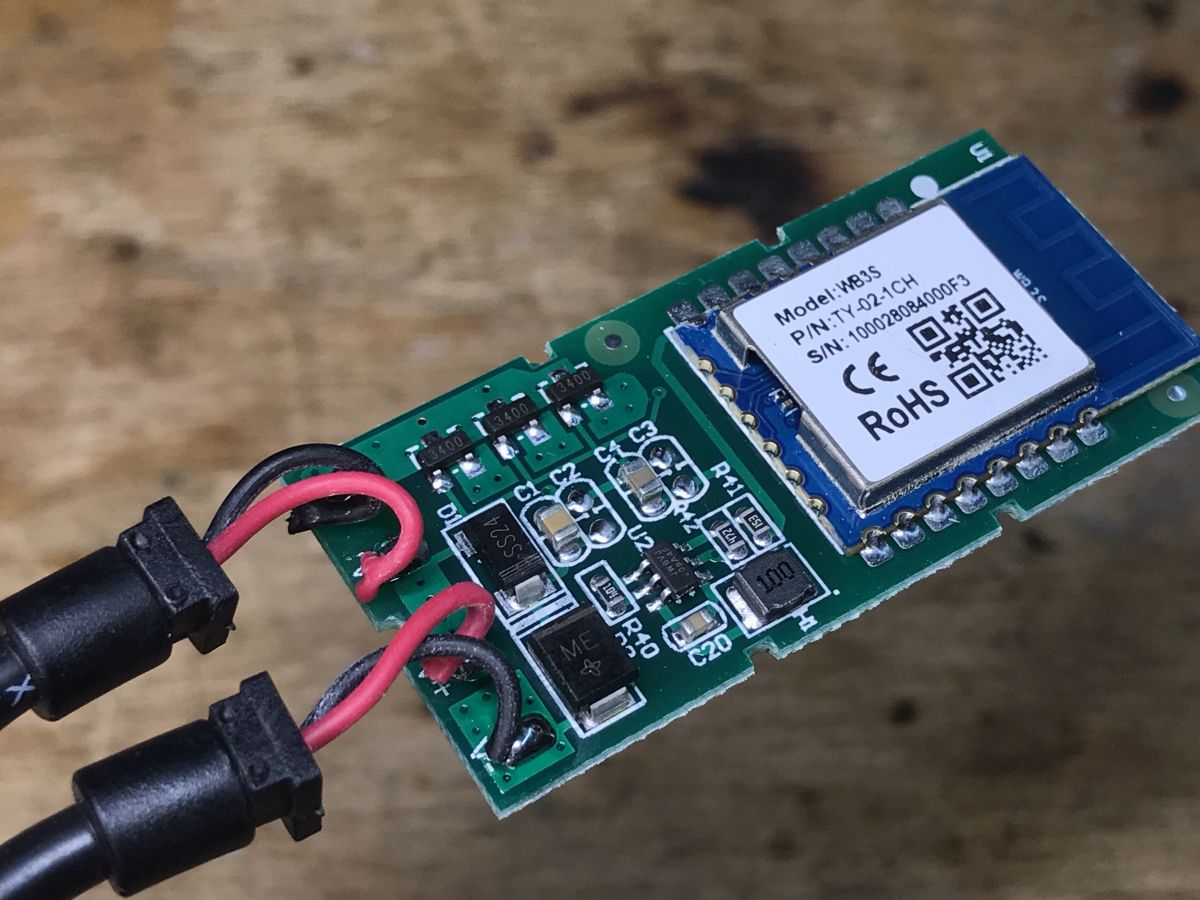
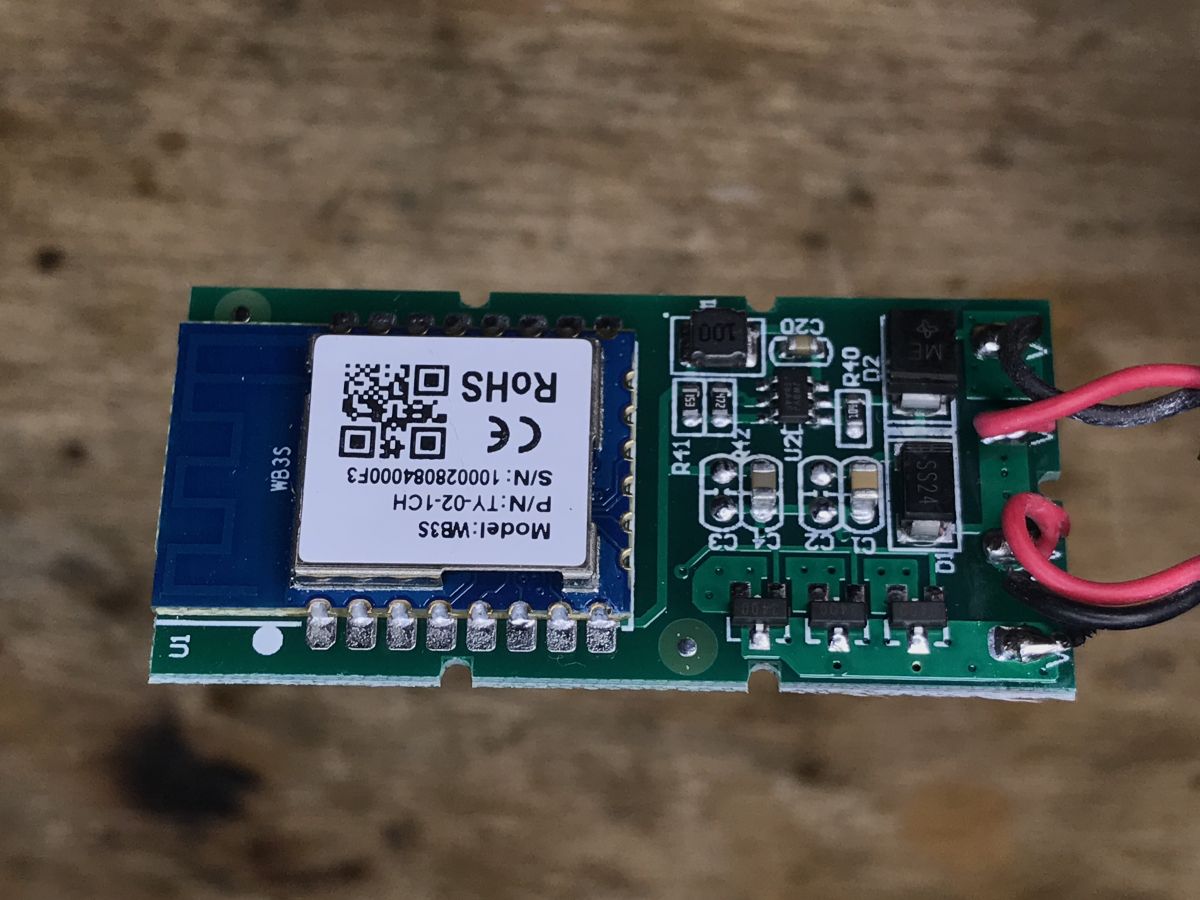
Inside is ... the WB3S module, i.e. BK7231T:
Its derivations are well described in the Tuya documentation:
 https://developer.tuya.com/en/docs/iot/wb3s-module-datasheet?id=K9dx20n6hz5n4
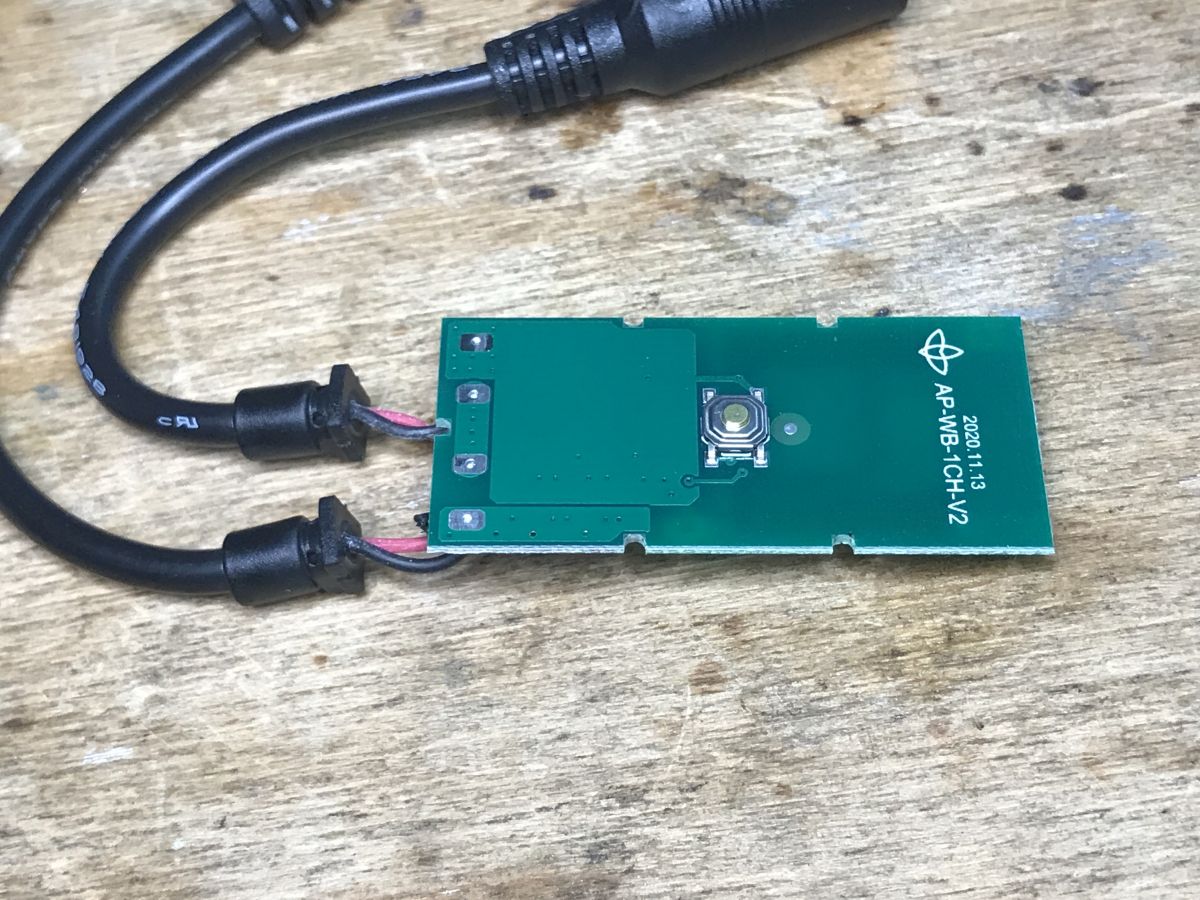
 The plate is also pressed in.
It can be removed:
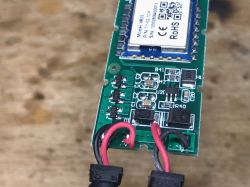


On board we have a step down converter (you can see the chip signed JWBVJ 0pA4F with a coil and Schottky diode SS24) that converts 24-5V DC to 3.3V DC for the WiFi module and three 3400 transistors working together. These transistors are directly connected to the PWM pin of the WB3S, even without a resistor.
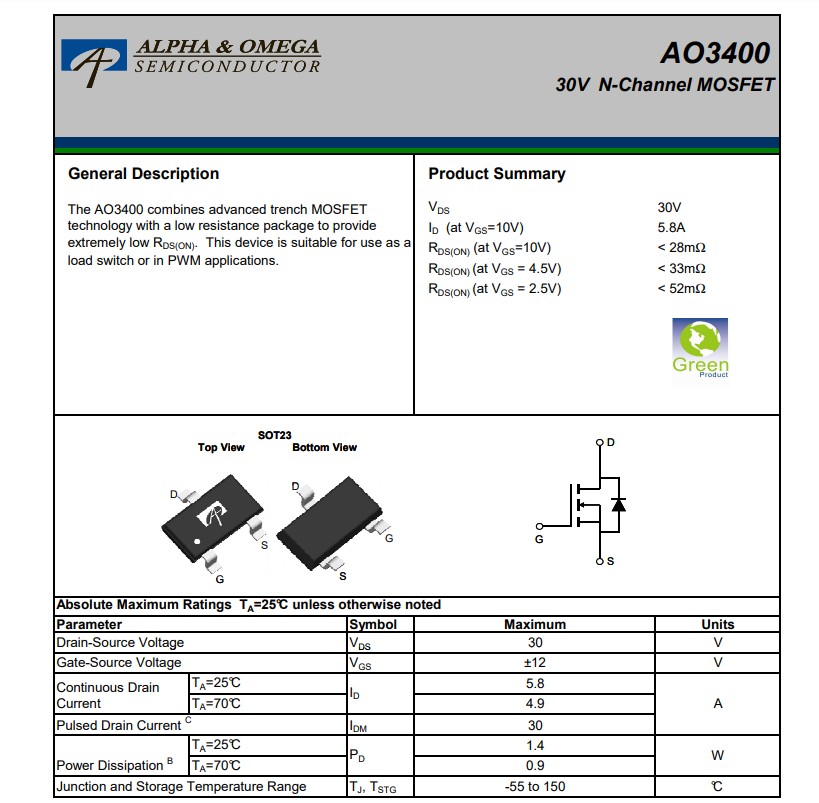
3400 is probably AO3400:
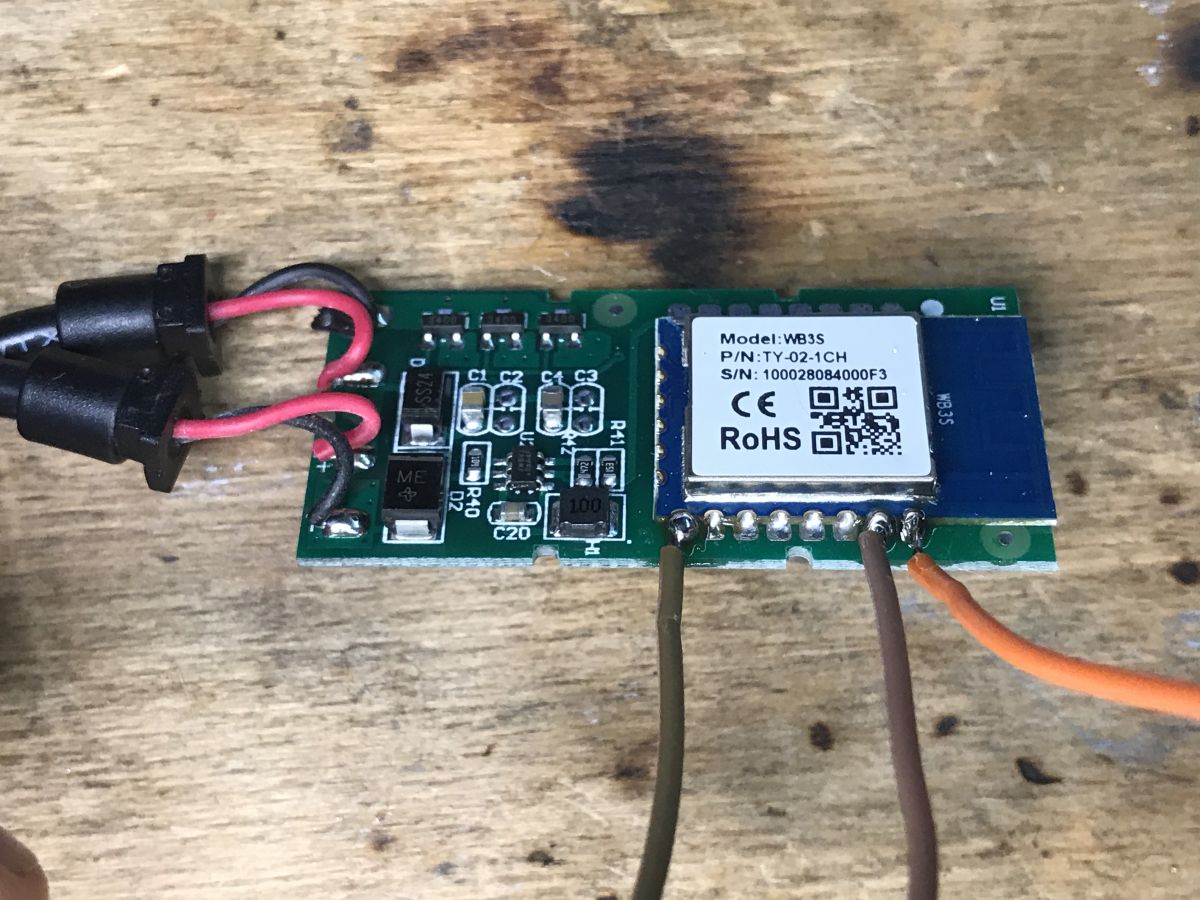
 In order to program the BK7231T, I soldered TX, RX and GND. I connected a USB to UART converter to it. I used a 9V power supply anyway. I did the reboot/RESET of the system without the CEN pin, simply cutting off the power for a moment.
In the OpenBeken panel, set:
- P14 - Button (channel 0)
- P8 (aka PWM2) - PWM (channel 0)
Setup Home Assistant as usual - either manually via Yaml code or via Home Assistant Discovery.
Slightly better setup We can further improve the control of this bar by using OpenBeken scripts.
We script it so that the button can both turn it on/off and control the brightness.
We change the role of the button to Btn_ScriptOnly, and in the Web panel, in the autoexec.bat tab, we create the script:
addEventHandler OnClick 14 led_enableAll toggle
addEventHandler OnHold 14 backlog led_enableAll 1; add_dimmer 5 1
Once I have already described a single-color LED strip controller based on WB3S, but as it turns out, this model here has one small advantage:
it uses all three transistors, and not just one, like the strip described before .
I do not recommend letting them run too high currents anyway, but with longer LED strips it can be really important.
Plus, it's a classic. A very simple bar that has been supported by OpenBeken for a long time. Standard connectors too. And the point is that there is a button - I have already encountered products of this type without buttons at all, controlled only by WiFi.
The bar could, for example, be enriched with an IR receiver taken for free from an old RTV device (and then properly configured in OpenBeken through scripts) and then controlled by a remote control, but I will show it in another topic.


Comments
Rhetorical question: Where does energy saving in modern installations start if the number of devices permanently connected to electricity is constantly increasing? [Read more]
Unfortunately, IoT fun has its cost, it's a fact. This is one of the reasons why I have not replaced all my switches with "smart" ones so far, only those that the family considered to have the potential... [Read more]