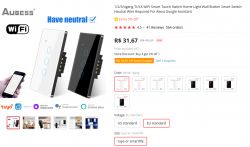
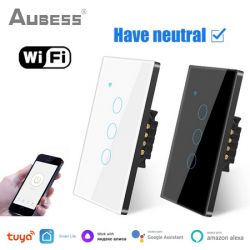
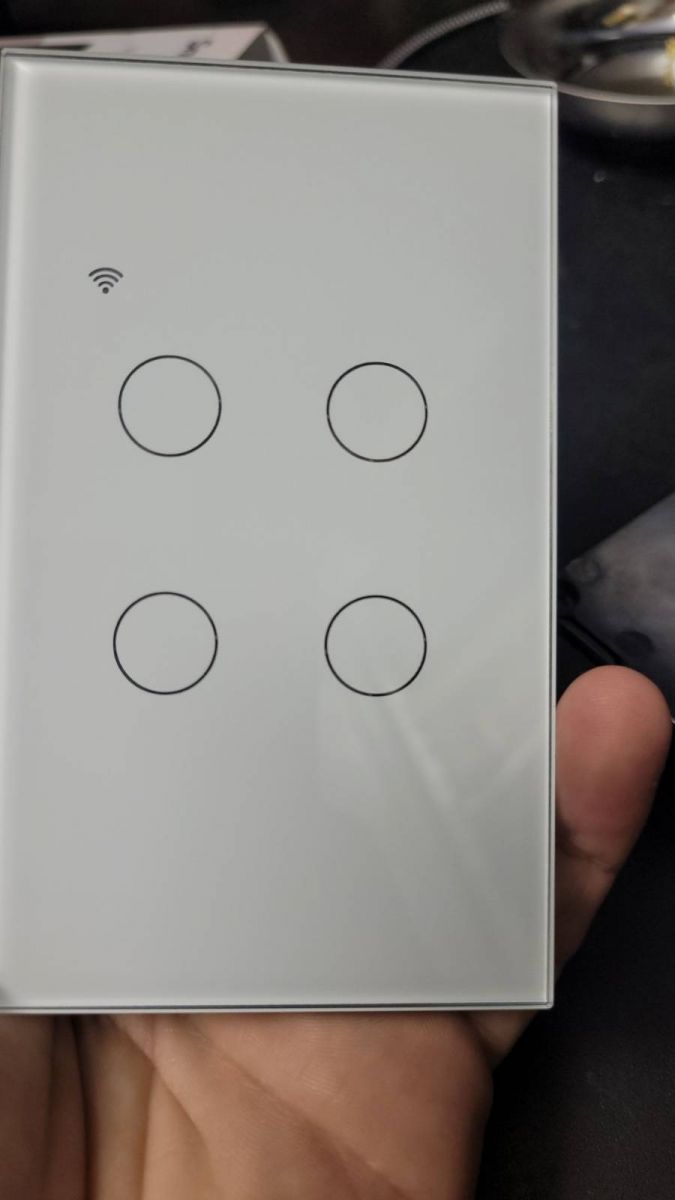
I've bought a wall switch from Aubess for my home, with 4 capacitive (touch) buttons.
I ordered it from AliExpress:
https://www.aliexpress.com/item/1005005009473461.html


With the device in hands, it was time to begin the fun part - disassembly and converting it to OpenBK!


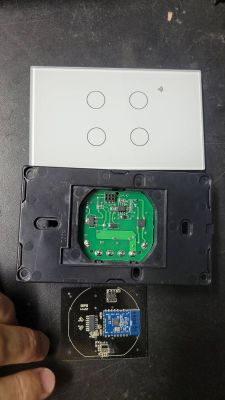
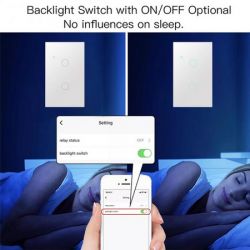
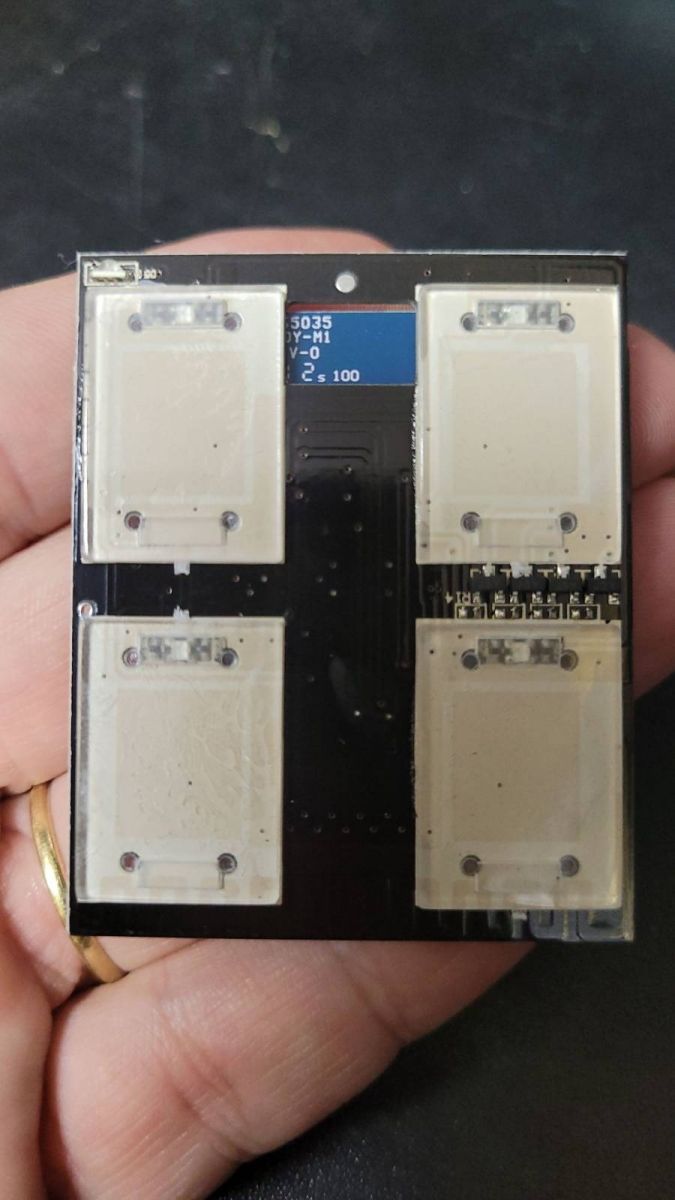
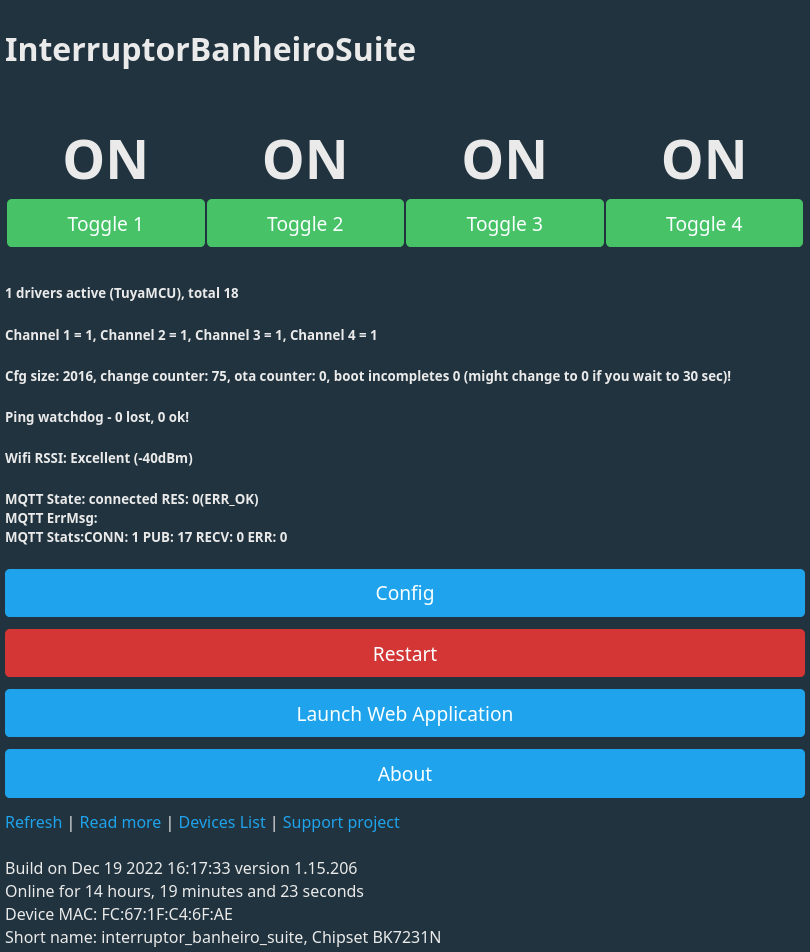
Regarding functionality, when a button is touched/pressed, the corresponding relay is triggered. The button has a light that shows whether the relay is open or closed - it will show up as blue when the relay is ON and red when the relay is OFF.
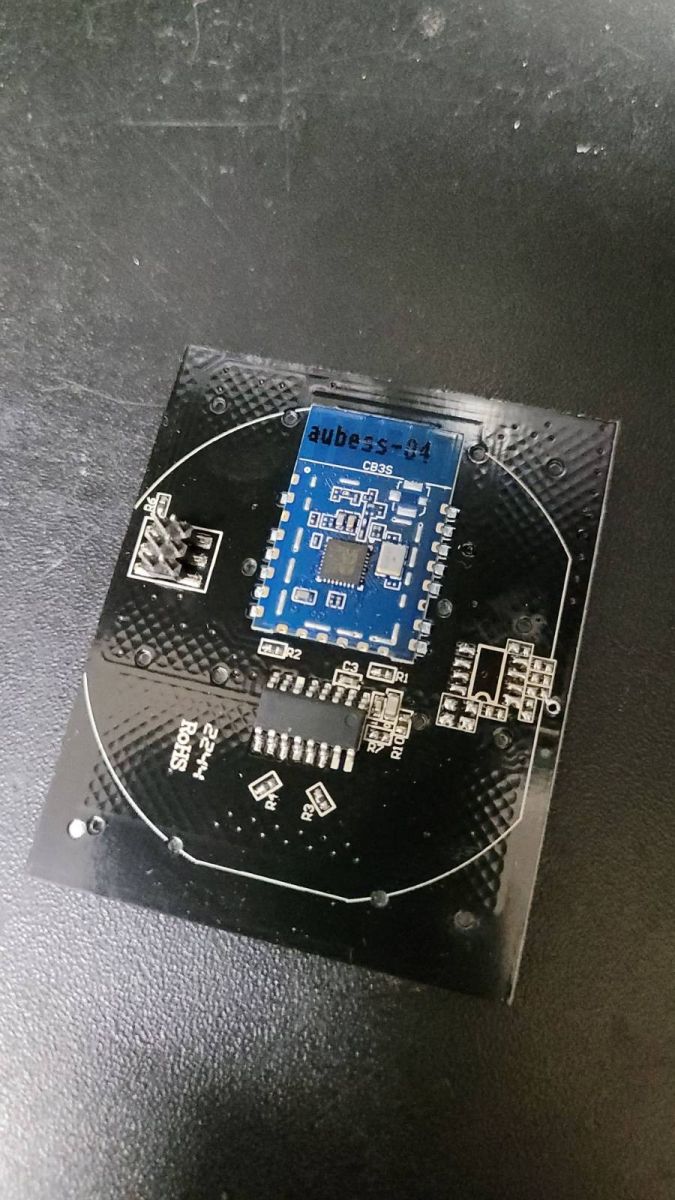
As you can see, the device is powered by a CB3S chip, although not all of its pins are soldered on the PCB. Upon checking the datasheet for the MCU, we can determine the required pins to flash the device:
Datasheet:
https://developer.tuya.com/en/docs/iot/cb3s?id=Kai94mec0s076
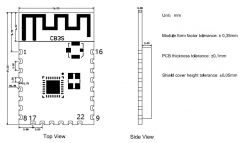

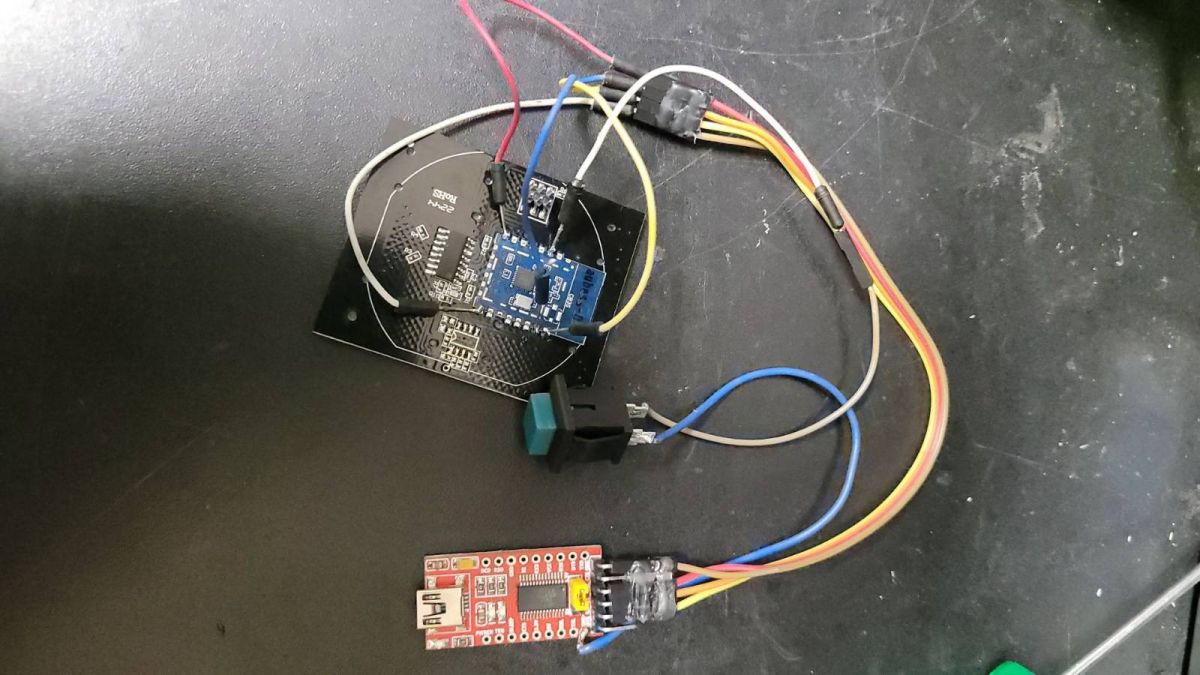
I've connected a push button to drive the CEN pin to low level to put the device into bootloader mode in order to flash a new firmware.
| Pin Name | Pin Number |
| CEN | 3 |
| VCC | 8 |
| GND | 9 |
| RX1 | 15 |
| TX1 | 16 |
NOTE: these devices are 3.3v, so the VCC pin is connected to the 3V3 pin on the USB UART programmer.
Flashing:

At first, it wasn't possible to flash and I thought it could be that the CEN is connected to the wrong ping - according to the datasheet, the RST pin corresponds to the CEN pin of the IC, so I tried changing the CEN to that pin, but it didn't work. Every time I pressed the button before flashing, the device would simply reboot and the flash would fail because it couldn't communicate with the UART bus.
Then I found out looking at other teardowns that some devices have an extra chip (highlighted in pink) that connects to either the TX/RX lines of the wifi module, so you need to find a way to cut the communication between the wifi module and this IC. For me, the easiest way was to completely remove the IC using an air reflow station and resoldering it back with flux.
So I reconnected the push button to the CEN pin (pin 3) and this time, without the extra IC, I was able to flash OpenBK. I used the command line tool, hid_download, as I run Linux on my PCs, but you should be able to flash it using the new BK7231GuiFlashTool.
- BK7231GuiFlashTool:
https://github.com/openshwprojects/BK7231GUIFlashTool
- hid_download:
https://github.com/OpenBekenIOT/hid_download_py
Flashing command:
python uartprogram OpenBK7231N_QIO_1.15.206.bin --unprotect -d /dev/ttyUSB0 -w --startaddr 0x0
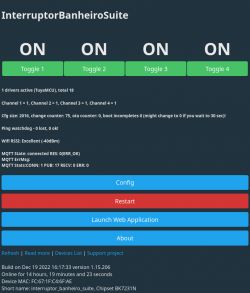
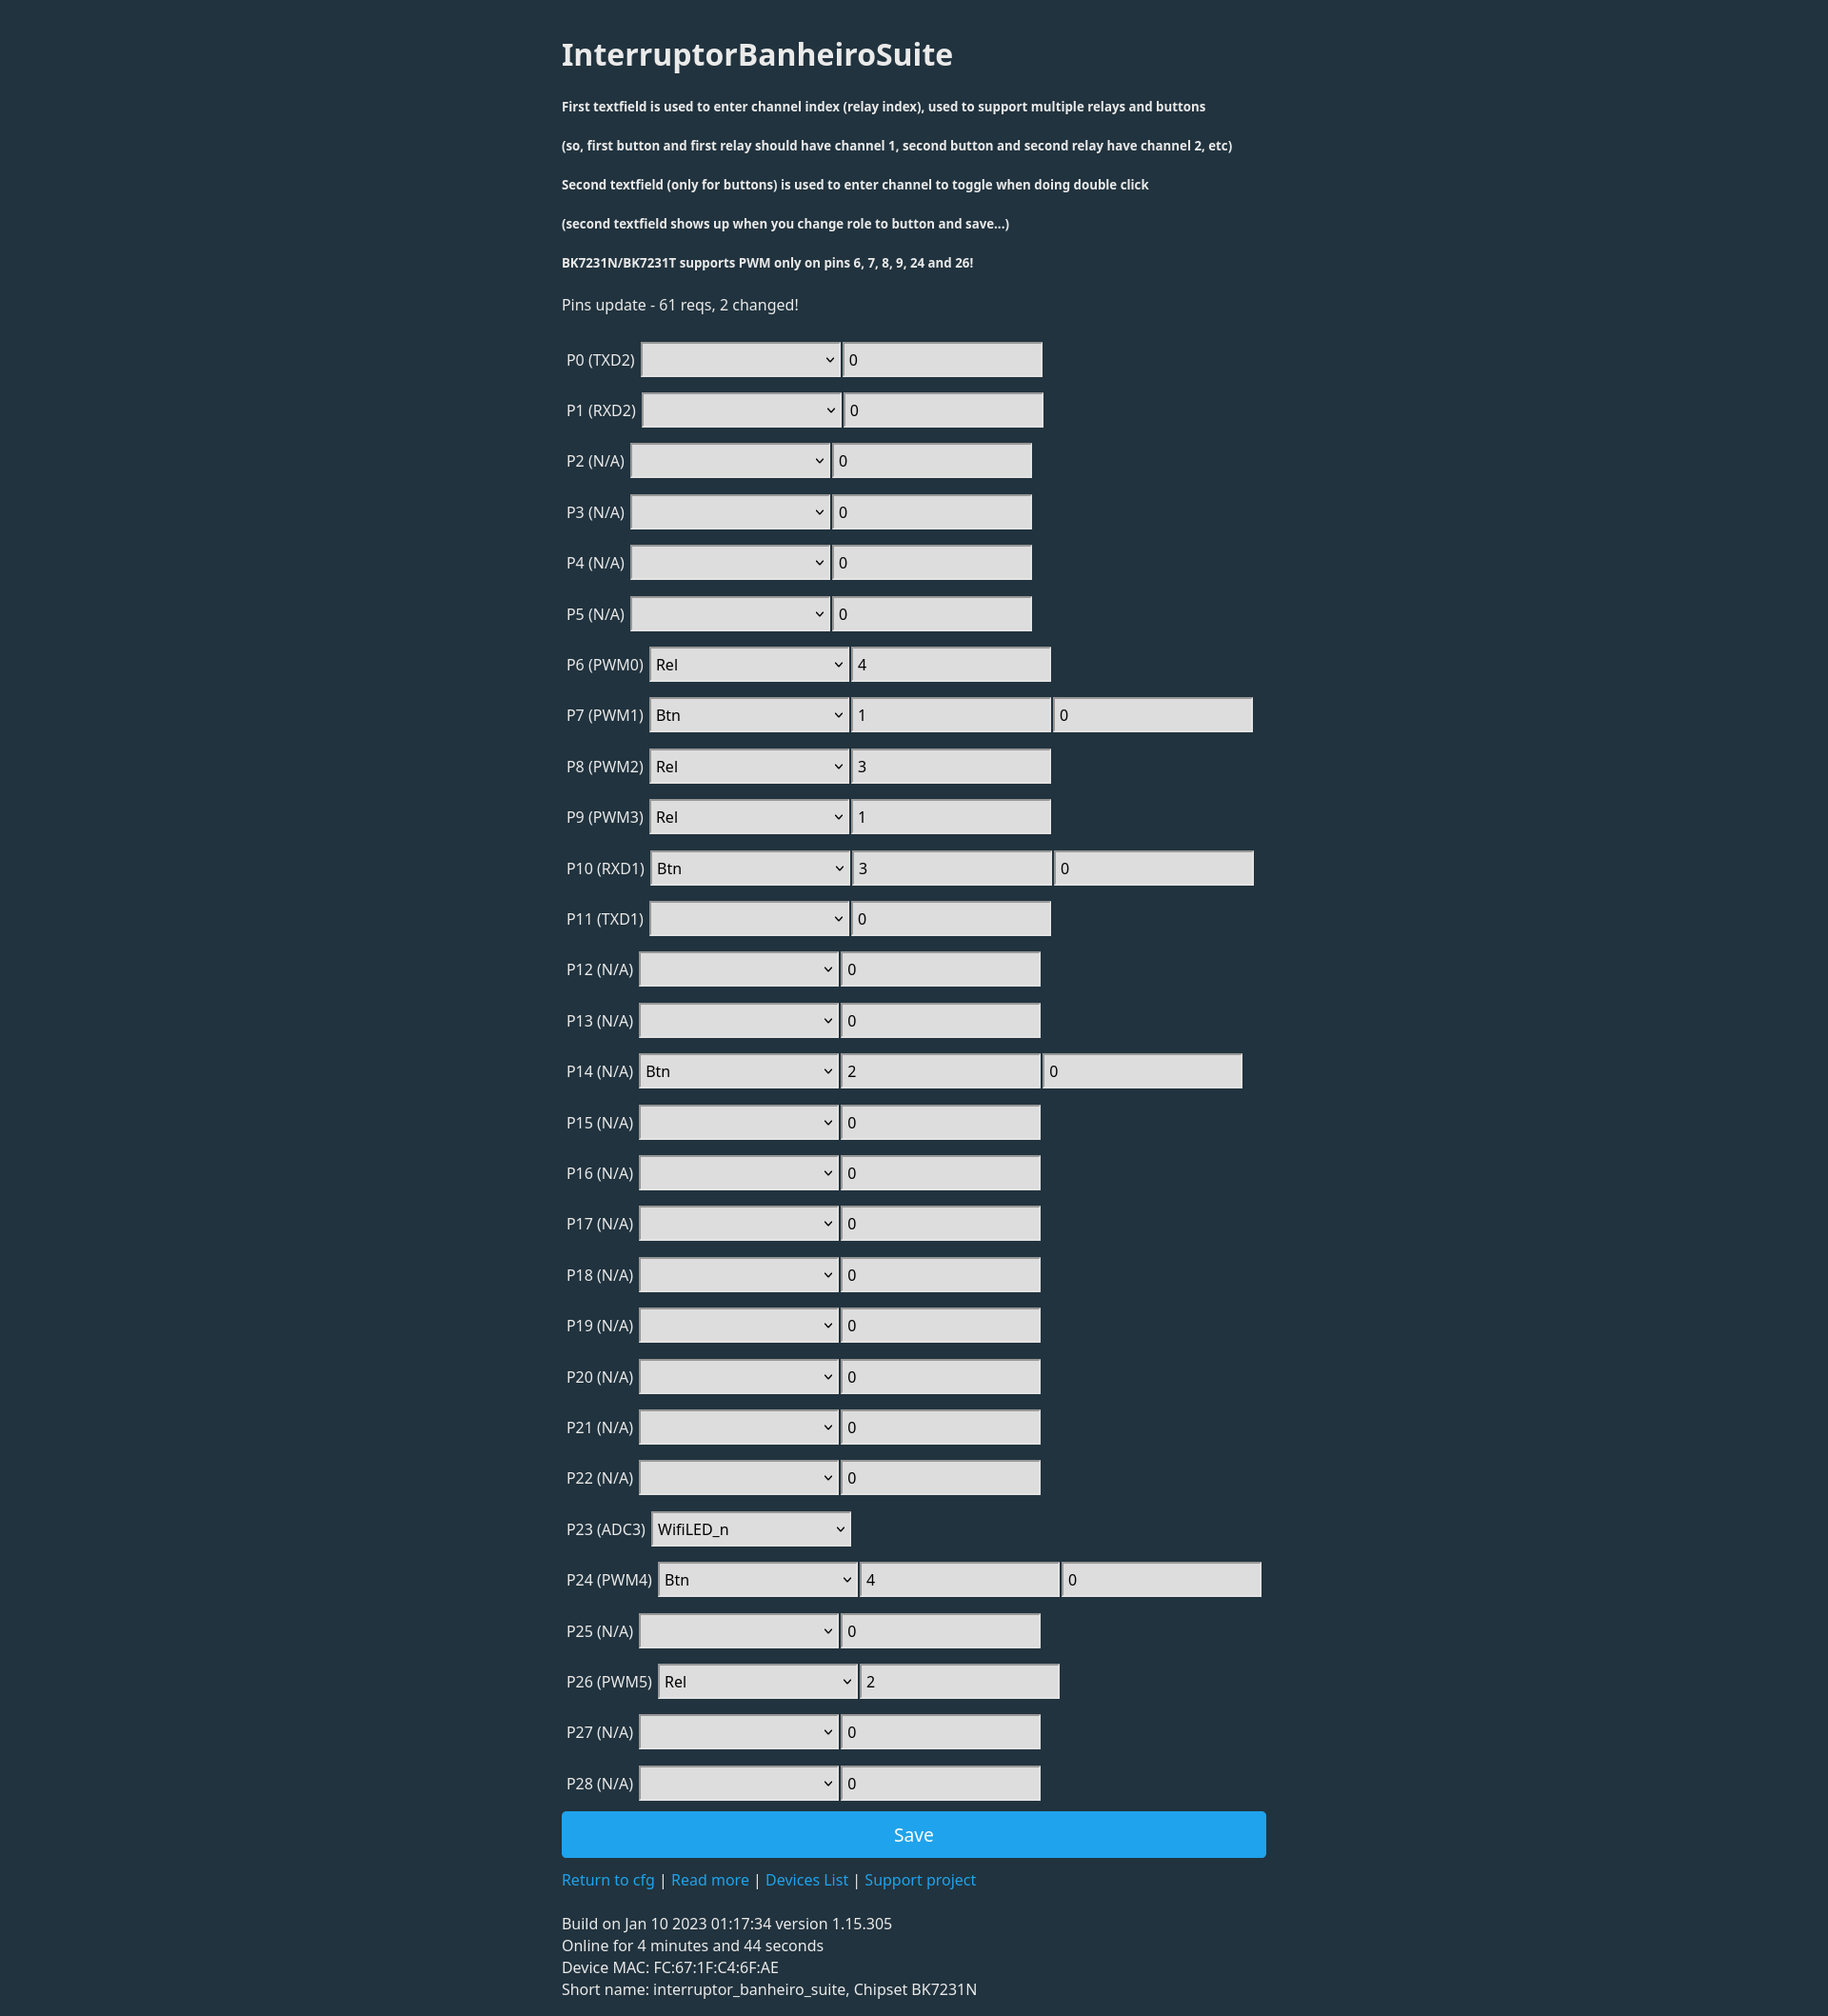
I have configured it after flashing by using the web app and selecting Tuya Smart Wifi Switch 4 Gang from the pre-configured devices list. Some pins were wrong, but luckily the relays were mapped correctly.
| Pin | Type | Channel |
| P6 | Rel | 4 |
| P7 | Btn | 1 |
| P8 | Rel | 3 |
| P9 | Rel | 1 |
| P10 | Btn | 3 |
| P14 | Btn | 2 |
| P23 | WifiLED_n | - |
| P24 | Btn | 4 |
| P26 | Rel | 2 |
I could setup the relays, but unfortunately I couldn't map the physical buttons on OpenBK. I found out that pins P7, P14, P20 and P24 might be connected to the touch buttons; the way I tested it was by trial and error and set those pins as digital inputs. By doing so, the light of the corresponding touch button would turn red but nothing happened if I touched the button. When I change the state via the web interface, the lights change accordingly and the relays get triggered, but when touching the capacitive buttons nothing happens. I even tried setting those pins as actual buttons, but nothing worked.
EDIT: turns out when resoldering the button controller IC I messed up and the IC wasn't properly soldered. After soldering it once again the buttons started working.
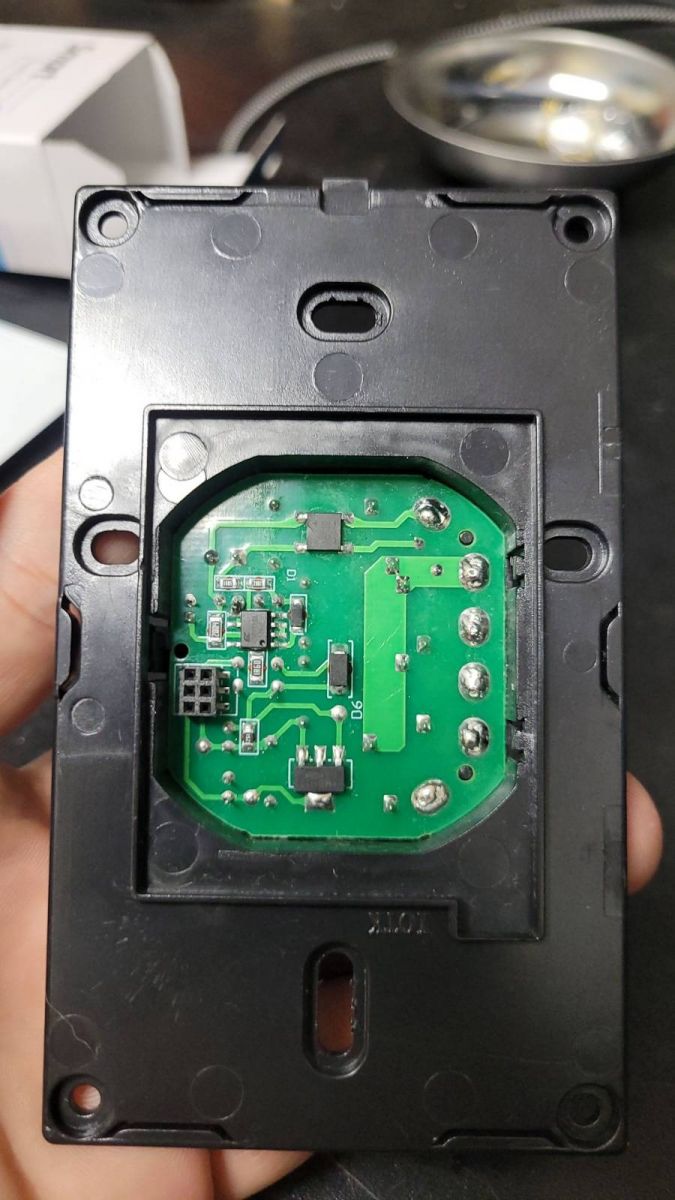
As for the extra IC that I removed to flash OpenBK, I suspect it's a driver for the relays, as I tested with a multimeter and found out some of its pins are connected to the CB3S pins that drive the relays.


Comments
Very good and detailed review. I must admit that here, in Poland, I didn't see much of quadruple smart switches. We usually only seem to go up to 3. Or, to be precise, up to 3 in a single form factor,... [Read more]
I've updated the OP. No, it doesn't need the TuyaMCU driver, I was testing and forgot to remove it. And I'll try the SSDP driver. I don't know if it's planned but ESPHome (and maybe Tasmota?) support mDNS... [Read more]
Sorry, I don't have much knowledge about mDNS yet. I might look into it soon, as it sounds like a nice feature, but I remember that just a few days ago, one user here: https://www.elektroda.com/rtvforum/viewtopic.php?p=20375796#20375796 was... [Read more]
I'm not sure, maybe because they're using OpenWRT the router automatically takes care of that, resolving local hostnames to their host address. Also, one thing I noticed from this wall switch module.... [Read more]
Some of the devices have separate pins used for LEDs and that's why you have "LED_n" roles, but if they are on the same pin, then only some hardware hackery is possible. Are you using all relays? That... [Read more]
I have a question if there are switches on the market, switches that do not need to be "login" to the cloud. To clarify what I mean. I buy one, set it with an IP address (because it has some default set... [Read more]
Looks like you're looking for something with Tasmota already loaded. There are stores that sell these types of products. Some sellers of ordinary Tuya products, in turn, charge themselves, for example,... [Read more]
Thanks for the hint. There isn't much of it. I wonder why they don't make such devices. Not everyone has to want to set up an account with a software producer and etc. In my opinion, it is not... [Read more]
Are you planning to implement roller shutters in OB? Tasmota can be a good cheat sheet. [Read more]
Roller blinds could even be done in the current version through scripts, without modifying the firmware, but I intend to do them soon in a dedicated driver anyway. I just don't have blinds myself so... [Read more]
@pkaczmarek2 I will have it installed soon. Any switch with two relays will suffice. Maybe I'll buy a dual channel Aubess and help with the testing. As far as I know, LoraTap flush and panel roller... [Read more]
What exactly functionality would we need for roller shutters? Control such that one relay is opening, the other is closing, two separate time factors (separate for closing and opening, configurable) and... [Read more]
@pkaczmarek2 Yes exactly. In addition, configurable stop time between up and down operation (e.g. 500 ms), support for button actions (e.g. single click - 0% position, double click - 50%, triple 24%,... [Read more]
Check Aliexpress. https://www.aliexpress.com/w/wholesale-tasmota-pre-flashed.html?catId=0&initiative_id=AS_20230206104053&SearchText=tasmota+pre+flashed&spm=a2g0o.productlist.1000002.0 https... [Read more]
Nice, but at average, how much more expensive are preflashed devices with TAS than average cheap Tuya device (with most likely BK)? [Read more]
@SilverX here someone activated the blinds fully with a script: https://www.elektroda.com/rtvforum/viewtopic.php?p=20433363#20433363 [Read more]
Dose anyone else have issues with these going offline randomly? [Read more]
I haven't experienced anything like that for wall switches, but for a simple switch module for me the cure was to add "PowerSave 1" in short startup command, because it has turned out that original device... [Read more]
Thanks, I'll give that a go! [Read more]