
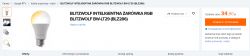
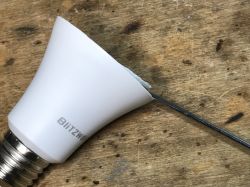
Blitzwolf BW-LT29 is a WiFi-controlled LED lamp with an E27 socket, offering control of brightness and white temperature (range 2700-6500K). This lamp deserves special attention because, like other Blitzwolf products, it allows you to easily change its charge to such a cloud-independent one, what's more, I have not yet encountered a situation where someone found a Blitzwolf product on a different WiFi module than one based on ESP8266 or ESP8285, so you can easily flash Tasmota.
Here I will show its interior, programming procedure and provide a proven Tasmota template.
Purchase of the LT-29 I got the lamp to upload the firmware to a friend, unfortunately the lamp was bought some time ago, so we do not know where it was ordered from. A short search on the web shows that it is quite cheap, you could even get it for PLN 40 back in the day.
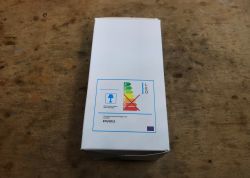
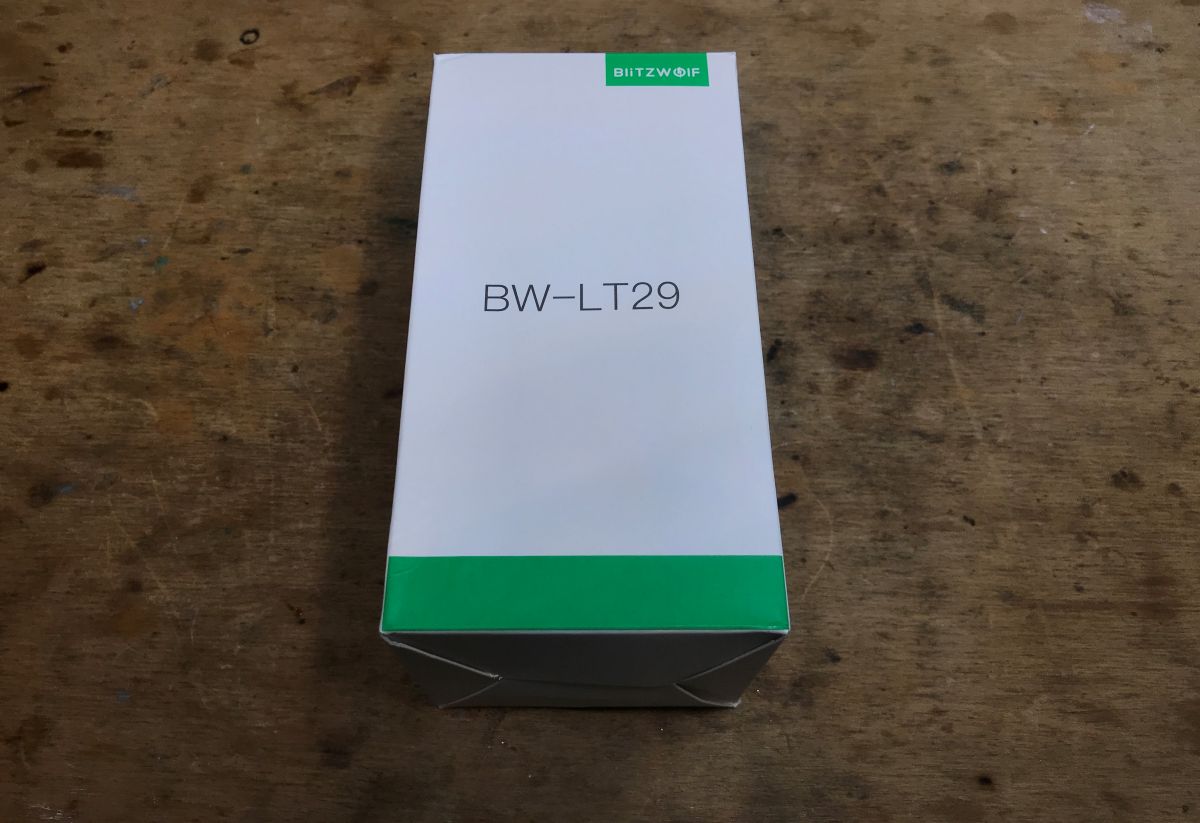
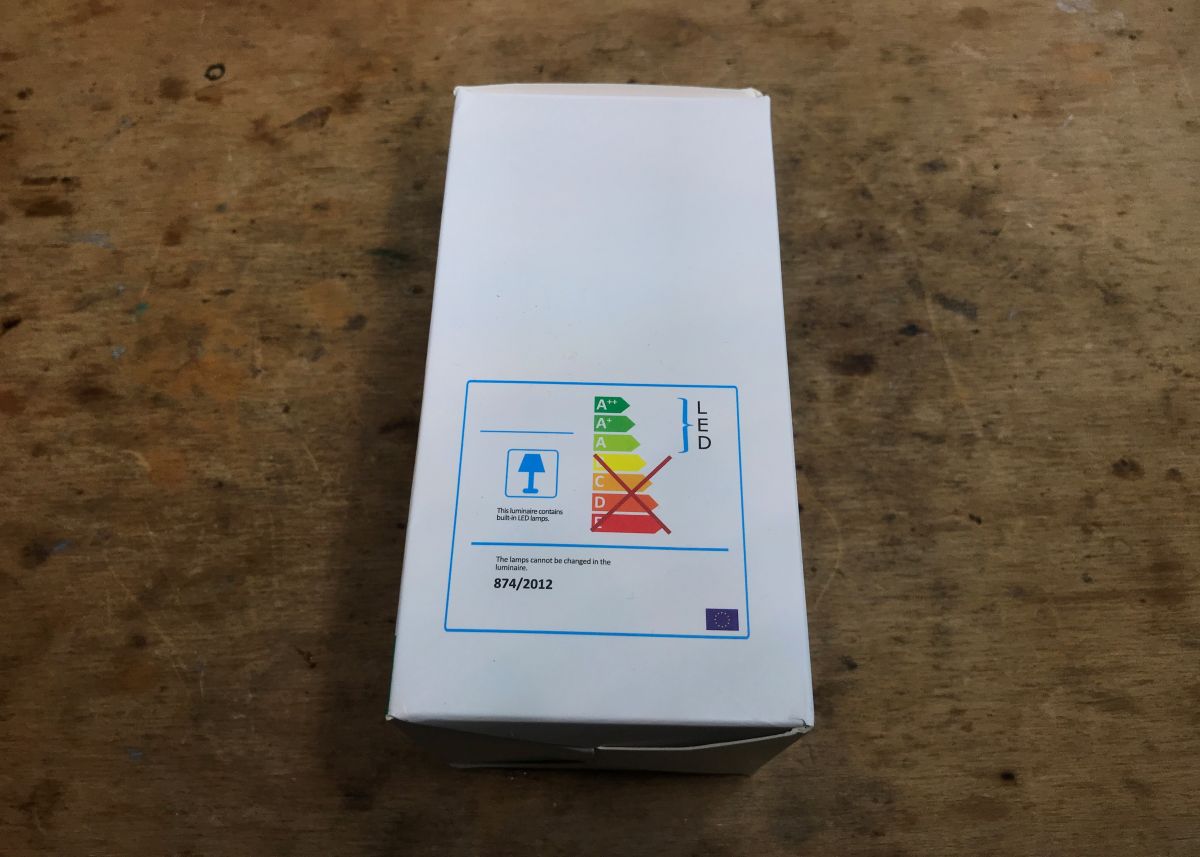
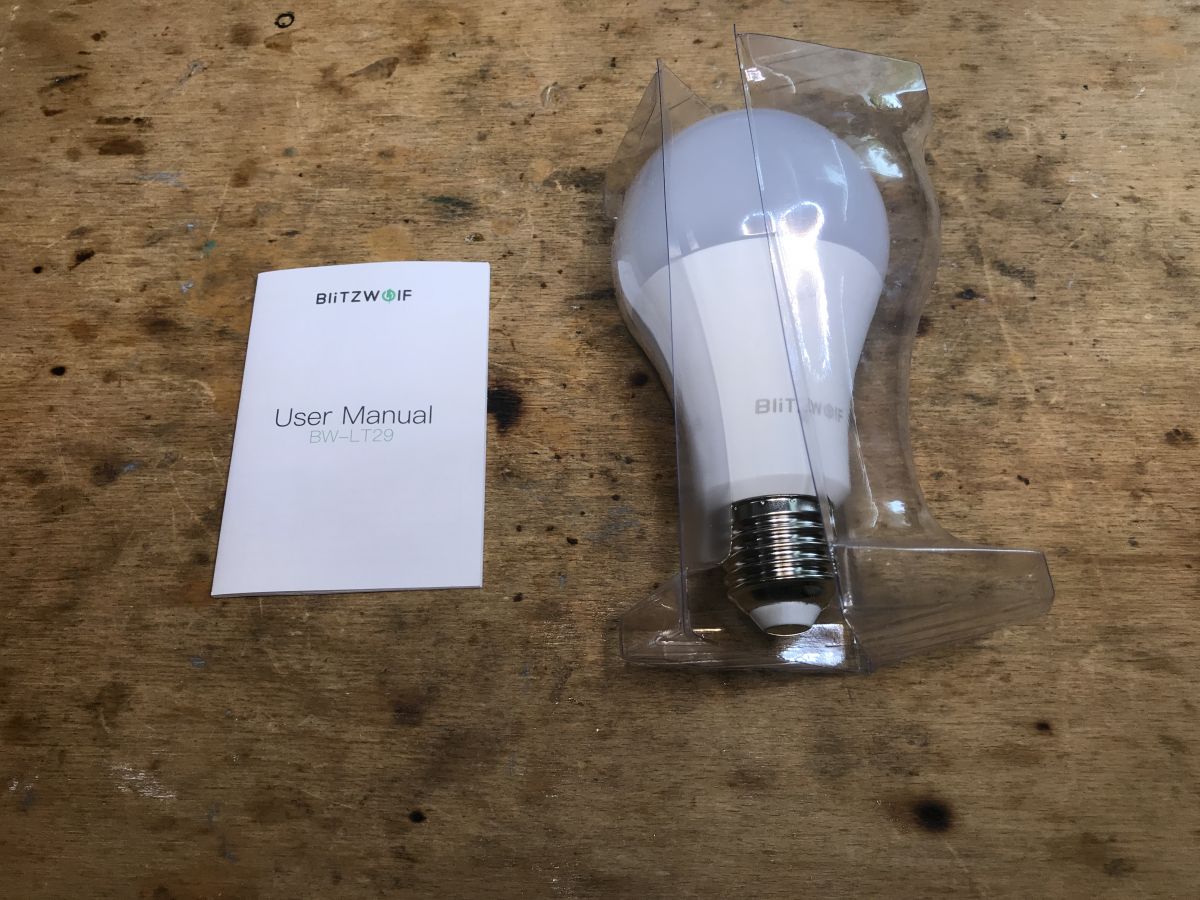
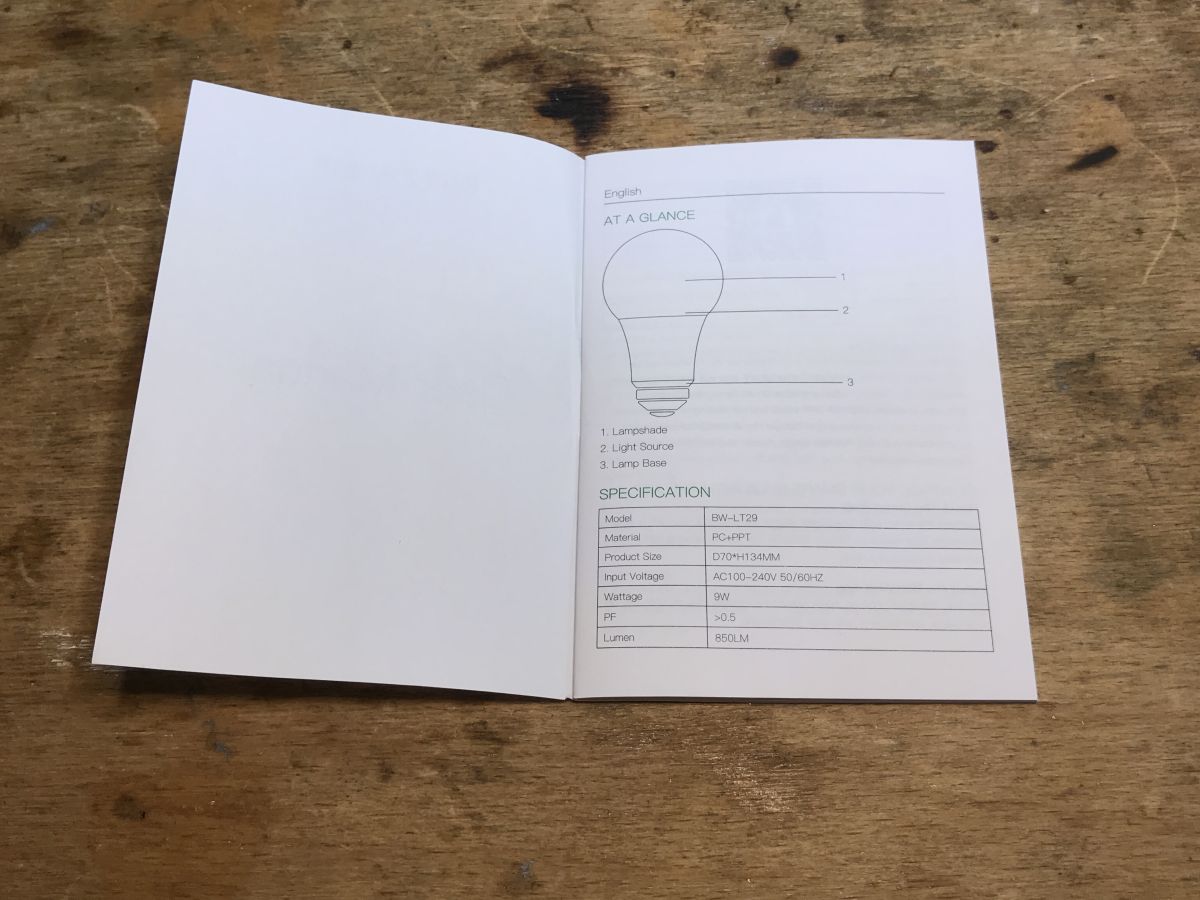
Let's take a look at its packaging:


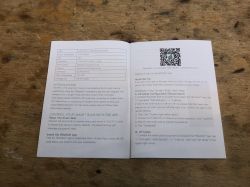
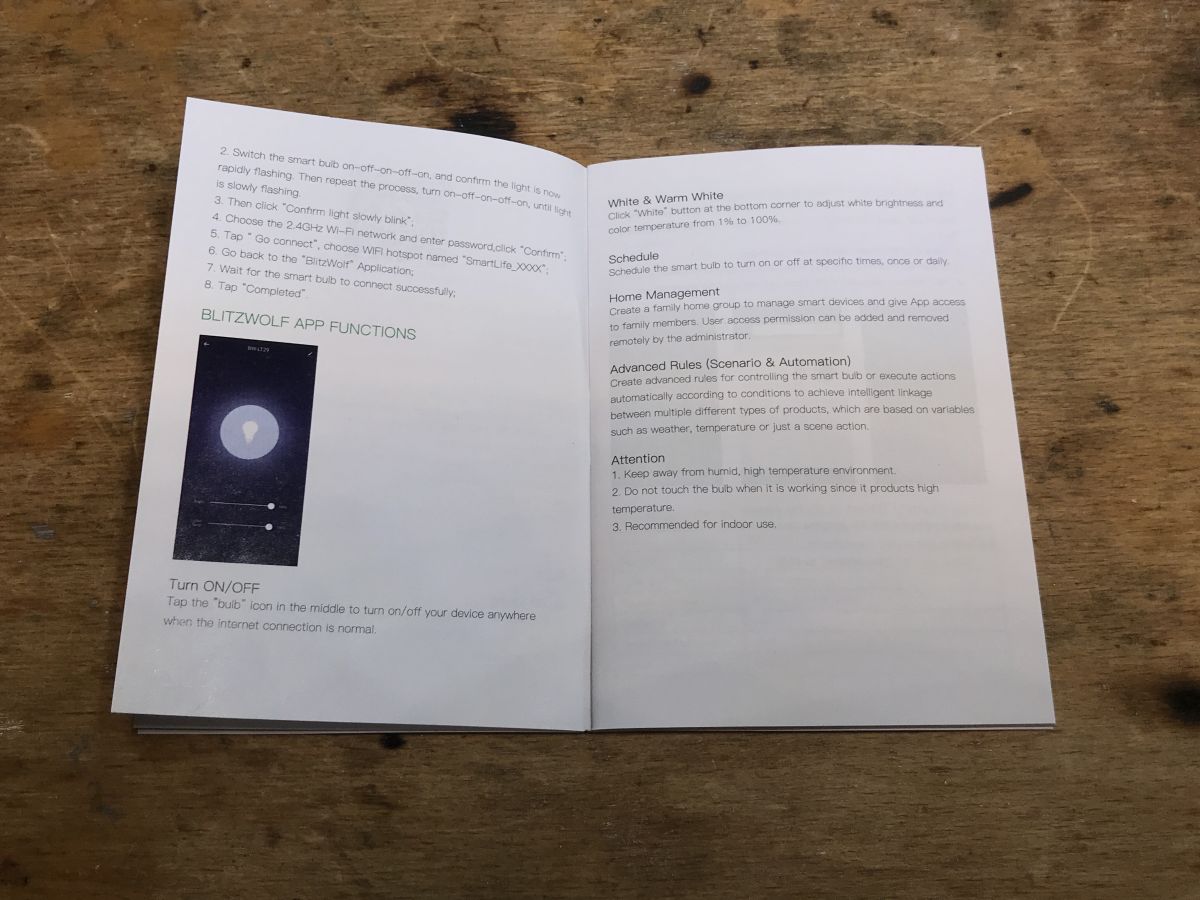
Here is the pairing instruction, it will be useful if we want to use it with the Blitzwolf application:


But the Blitzwolf application and the similar Tuya and SmartLife have already been discussed, so it's time to look inside the product.
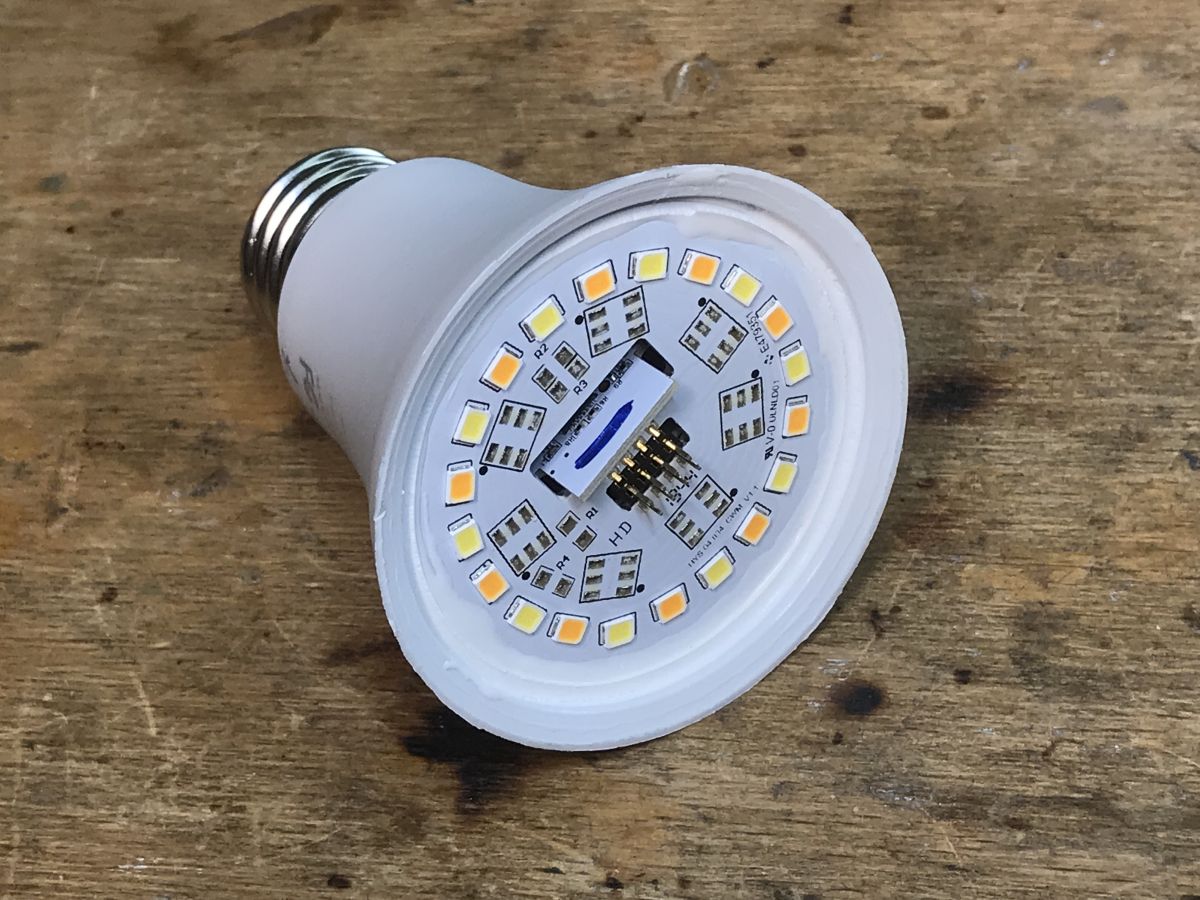
The interior of the LT-29 We start quite typically, we undermine the glued dome and reveal the LEDs:

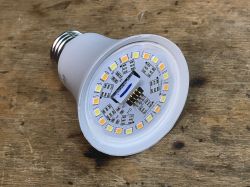
Then we pry the plate with LEDs, do not pull the connector because we will tear it off, we pry the whole plate:
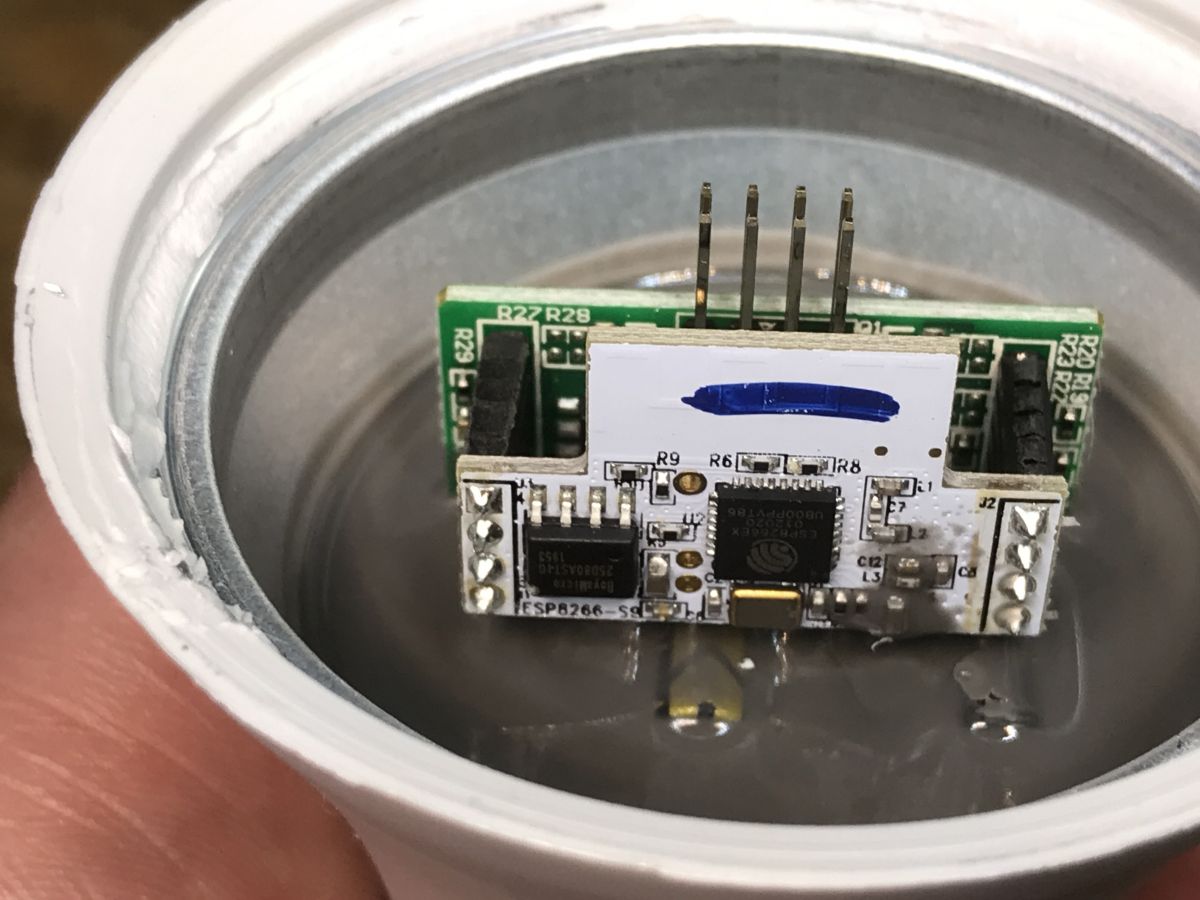
And then we have a surprise - the PCB is flooded with silicone or a similar material:

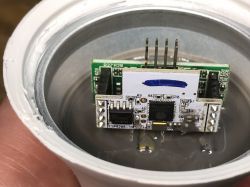

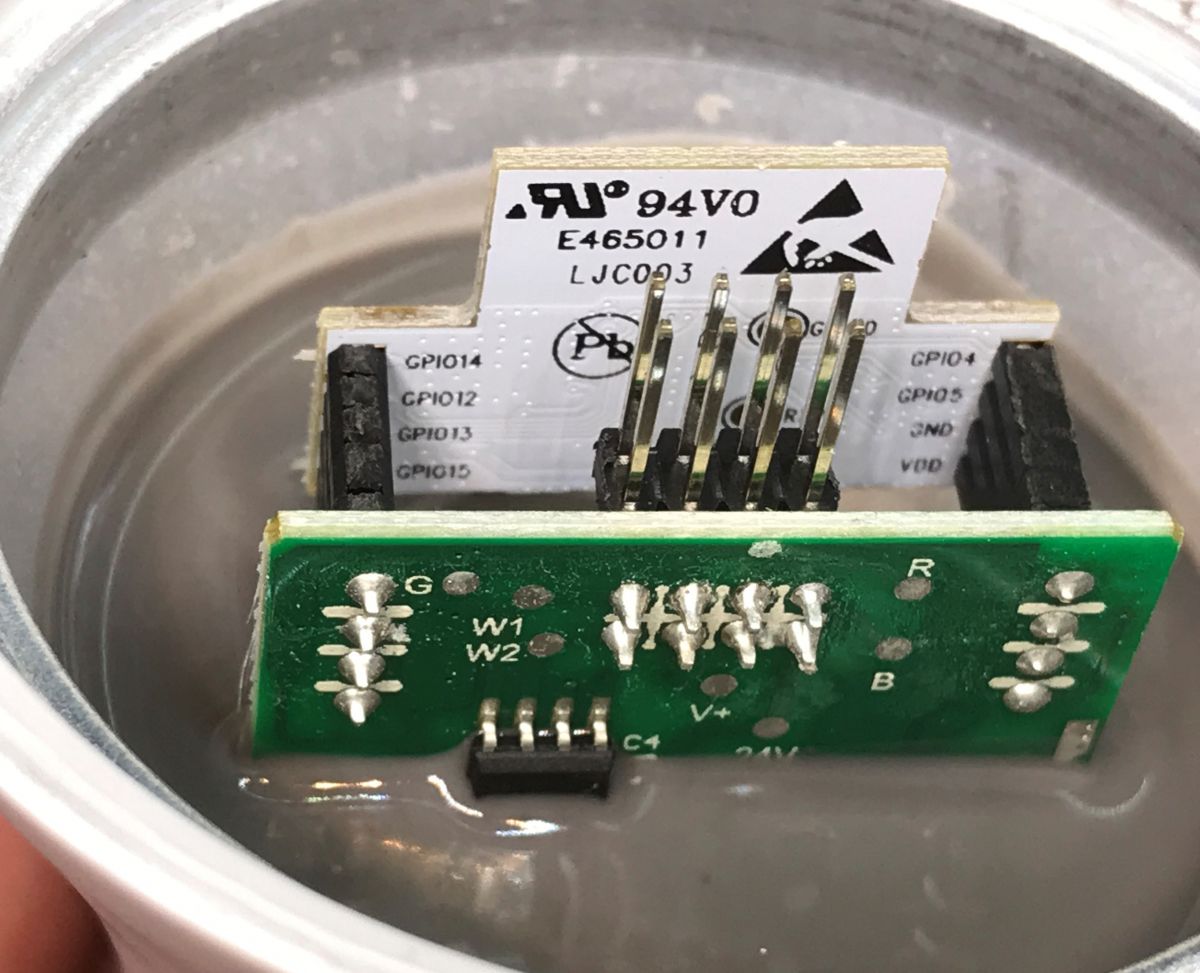
Indeed, there is the ESP8266EX, you can also see its Flash memory chip next to it, you can see its resonator, there is even an IO0 pad that we need to enter the programming state (IO0 must be low) ... you just need to get there.
 Change of LT-29 firmware
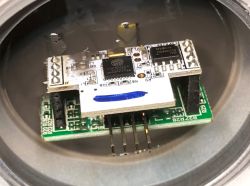
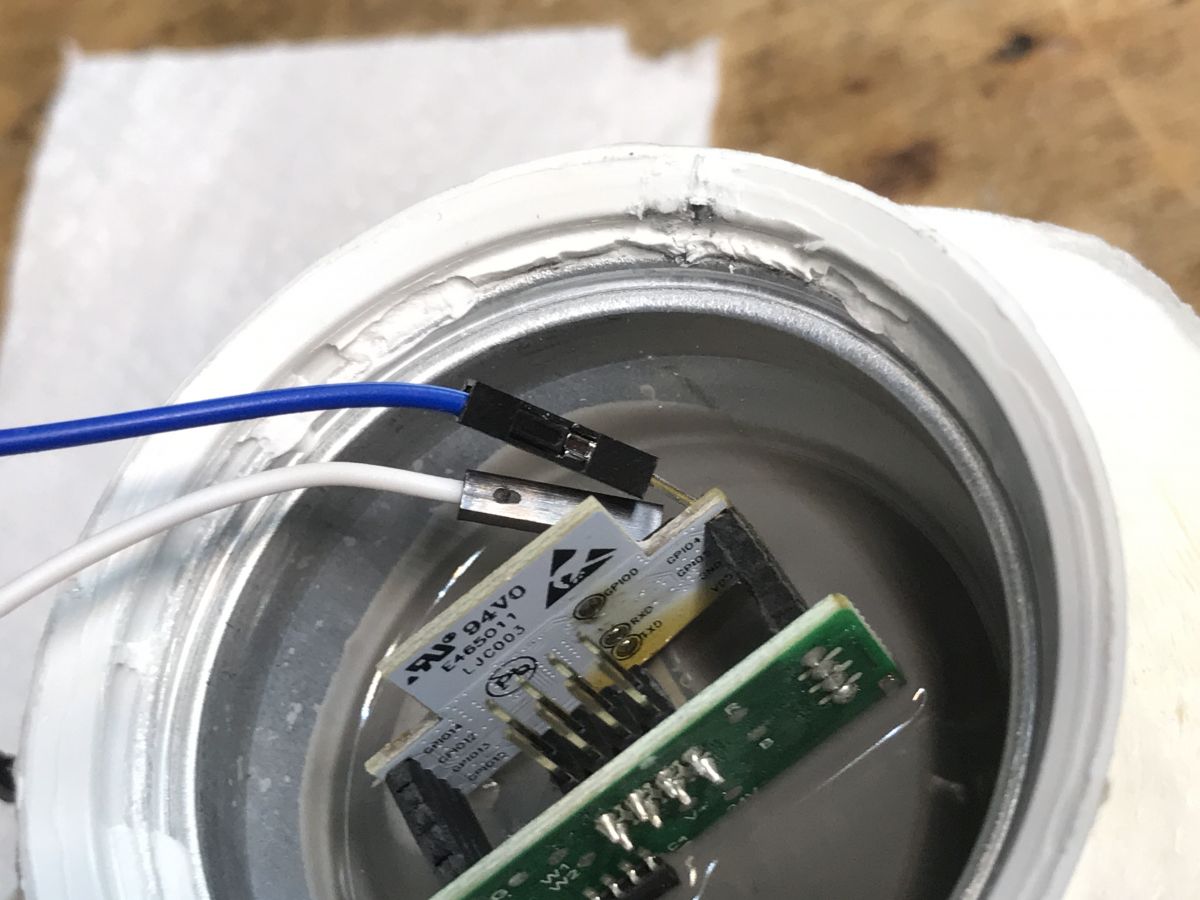
 There is no way out - we apply flux, whiten the pads, wires and try to solder. We need 3.3V, GND, RX, TX and IO0:

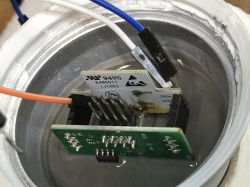
I power the whole thing from the LDO TC1264 regulator (I just had one), 3.3V must have high current efficiency, I also use a USB to UART converter in 3.3V mode:


I do not connect RESET, I just cut off the power and reconnect it when I want, for example, after the read operation (batch read - backup) to write (upload Tasmota).
I upload the batch via esptool.py, of course I upload Tasmota.
Details include here:
ESP8266 and Tasmota - controlling the WiFi relay step by step SmartLife switch - test, interior and programming of the WiFi light switch Here is the device template:
{"NAME":"BW-LT29","GPIO":[0,0,0,0,0,0,0,0,0,47,0,37,0],"FLAG":0,"BASE":18}
then you need to enable:
SetOption92, as documented:
Some CCT lights use PWM1 for brightness and PWM2 for color temperature (instead of PWM1 for Cold White and PWM2 for Warm White)
turns on the alternative CCT control mode, i.e. one PWM controls the brightness level and the other the temperature (as opposed to the situation when the first PWM controls the filling of the cold white LEDs and the second warm white)
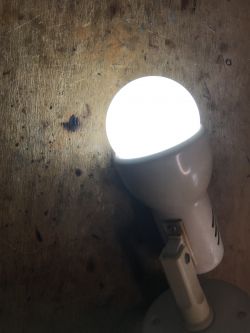
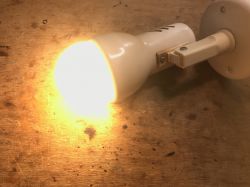
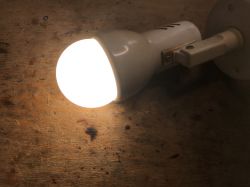
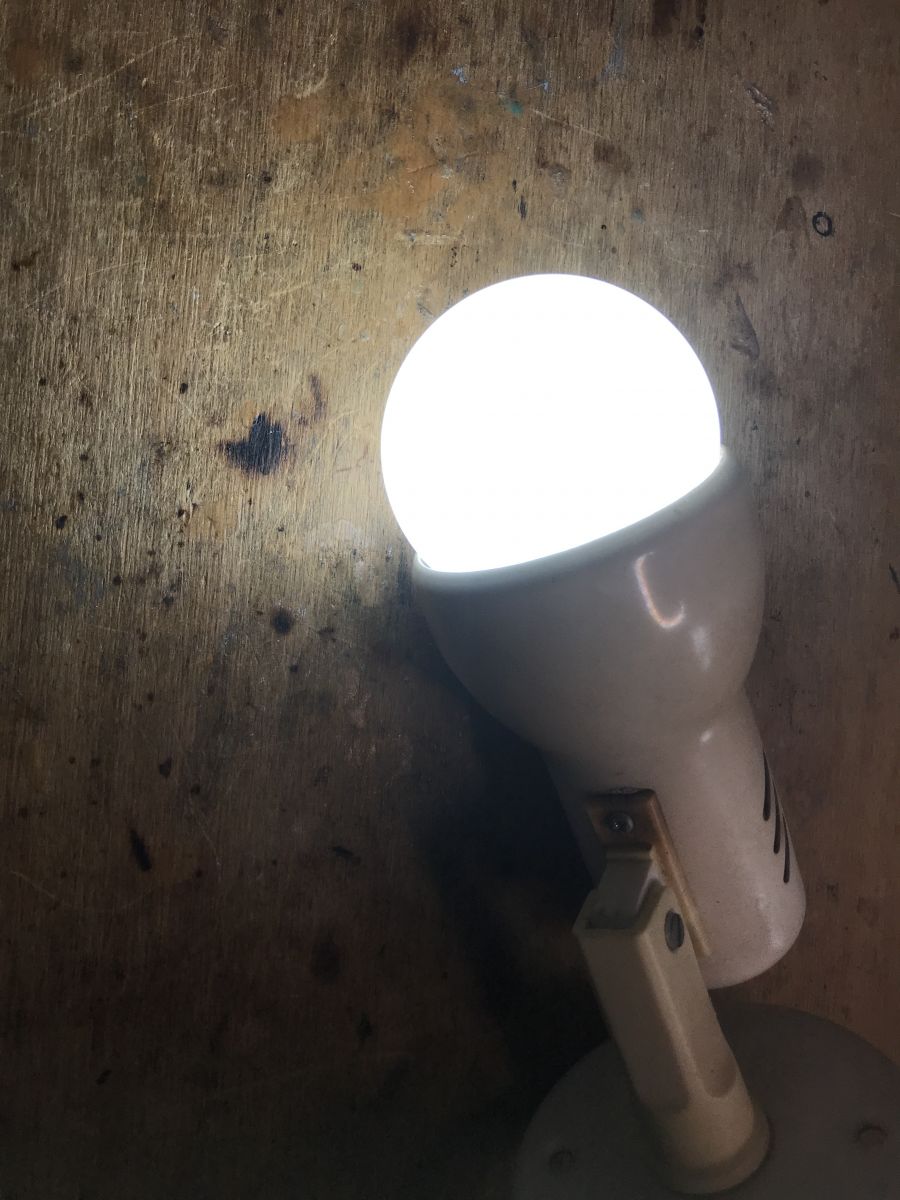
After that, we can enjoy a fully local LED lamp without the manufacturer's cloud:
 Summary
 It was a bit harder than usual, but was it really? After all, there was no need to disassemble the thread or pull out the PCB at all. All in all, maybe even on the one hand it was easier than usual and this time we managed to change the input of this LED lamp without much interference in its structure. It was enough to remove the dome and PCB with LEDs. Getting to the pads is also not as difficult as it might seem.
The price of this product also seems to be okay, especially since I have not heard that anyone got Blitzwolf on a system other than ESP, but maybe I'm wrong?
Now you can easily pair this lamp with Home Assistant, but this has been discussed many times before...


Comments