[CB2S/BK7231N/BL0937] Interior, firmware change and AVATTO template N-WOT10-EU-W
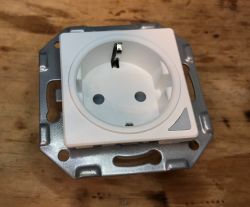
AVATTO N-WOT10-EU-W is an electrical socket that offers control via WiFi, additionally performing current, voltage and power measurement.
Here I will present its interior and try to change its firmware to OpenBeken so that it is cloud free and can connect to Home Assistant.
Purchase AVATTO socket N-WOT10-EU-.W I received several pieces of this socket from a reader to upload his OBK, but normally this gadget costs £68:
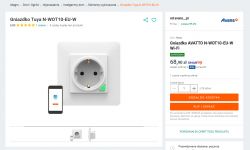
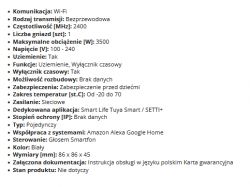
Short specification, dimensions:
 Let's see what we get after ordering:
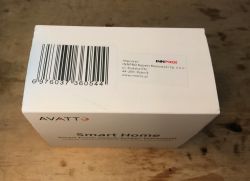
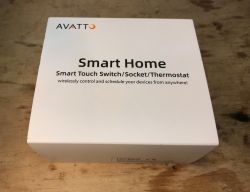
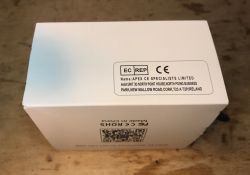 Full designation: N-WOT10-EU-W:
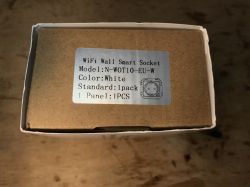
Content:
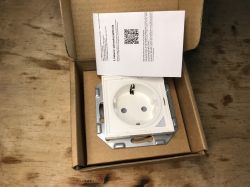
There is a manual in Polish:
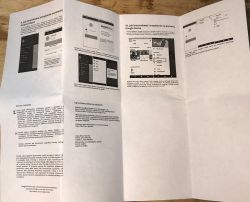
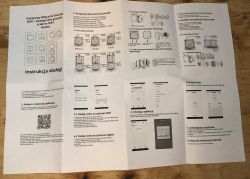
The whole set:
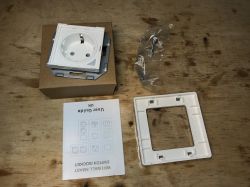
English language instructions:


Well, and the socket itself:
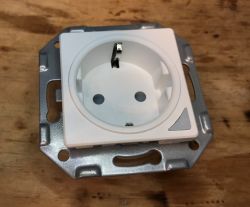
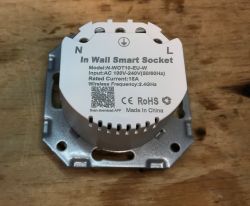
Interior and firmware change I thought, that I would again be analysing a new PCB version and creating a new GPIO template, but not this time.
This socket is practically identical to the Kraslaw piece already discussed:
[BK7231N/CB2S] Socket with energy measurement SWP86-01OG For sure, vendors simply order the same products in China and then put their logo on them.
Thus, I will simply just post pictures from the inside here:
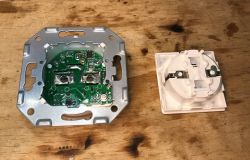
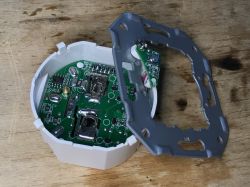
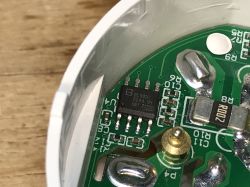
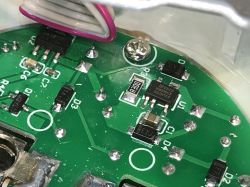
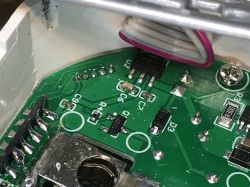
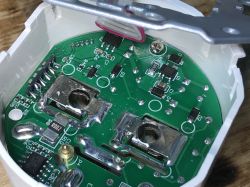
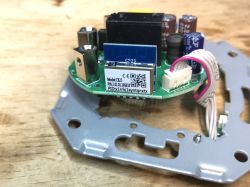
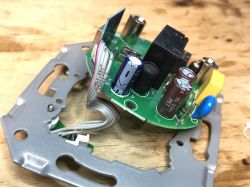
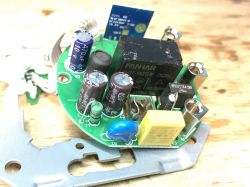
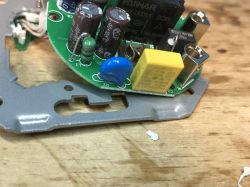
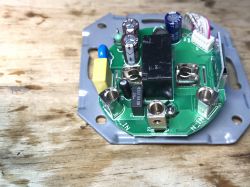
All as in SWP86-.01OG.
In order to change the firmware I soldered out CB2S:
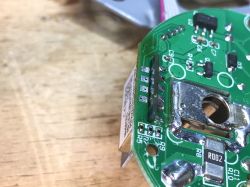
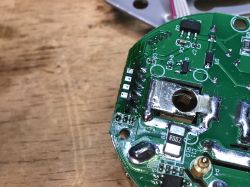

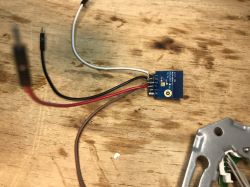
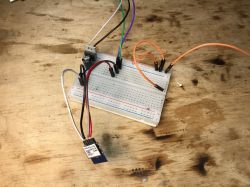
I liked this mechanism for connecting the earth, there is a small pin on a spring that presses against the plate:
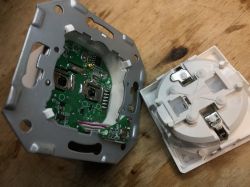
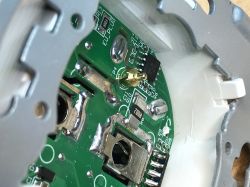
Other than that - all unchanged.
What next with such a socket? This topic in a way got very short, because I ended up with 1:1 of the same product as I discussed earlier, so it might be worth quoting a bit more other information that might help someone. So what can be done afterwards with such a socket?
Can be paired with Home Assistant:
Can be grouped with other devices (also Tasmota) without HA:
Can be controlled from a simple mobile app on our LAN:
You can script the device to turn itself on or off at given times:
OpenBeken scripts - Time and schedule using NTP and addClockEvent And much more - it's worth seeing for examples of OBK scripts:
https://github.com/openshwprojects/OpenBK7231T_App/blob/main/docs/autoexecExamples.md
Summary
This time I didn't gain much new information. This device has a PCB compatible with the SWP86-01OG. Nevertheless, I put a copy of the original batch here:
https://github.com/openshwprojects/FlashDumps/commit/cdf78db4eff5a457781bda214e4f0efc8f393741
Template:
Code: JSON
Template should be added according to the video:
The rest of the comments rather like the previous review - it's not so bad, in this type of product a varistor is a luxury.


Comments
hi i posted an other variant with w600/tw-02 https://www.elektroda.com/rtvforum/viewtopic.php?p=21244273 [Read more]