NiceMCU BK7238/T1 IR remote control support presentation tutorial - Home Assistant automations
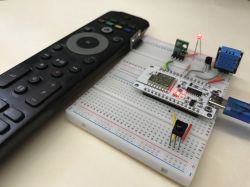
How can you receive IR events on a Tuya BK7238 device (T1, T5) using a development board or a universal remote? How do you forward IR codes to Home Assistant in Tasmota JSON format? How can you trigger HA automations with any remote? And how can you control another device directly from an IR receiver-without involving Home Assistant?
In this guide, I’ll walk you step-by-step through setting up a simple IR receiver on a BK7238 development board and scripting it to work with Home Assistant. I’ll also show you how to use it for direct device control, bypassing HA entirely.
This tutorial is using NiceMCU BK7238 board. Please consult our previous NiceMCU tutorial for more details.
NiceMCU XH-WB3S BK7238 tutorial - quickstart, flashing, sensors, MQTT and Home Assistant
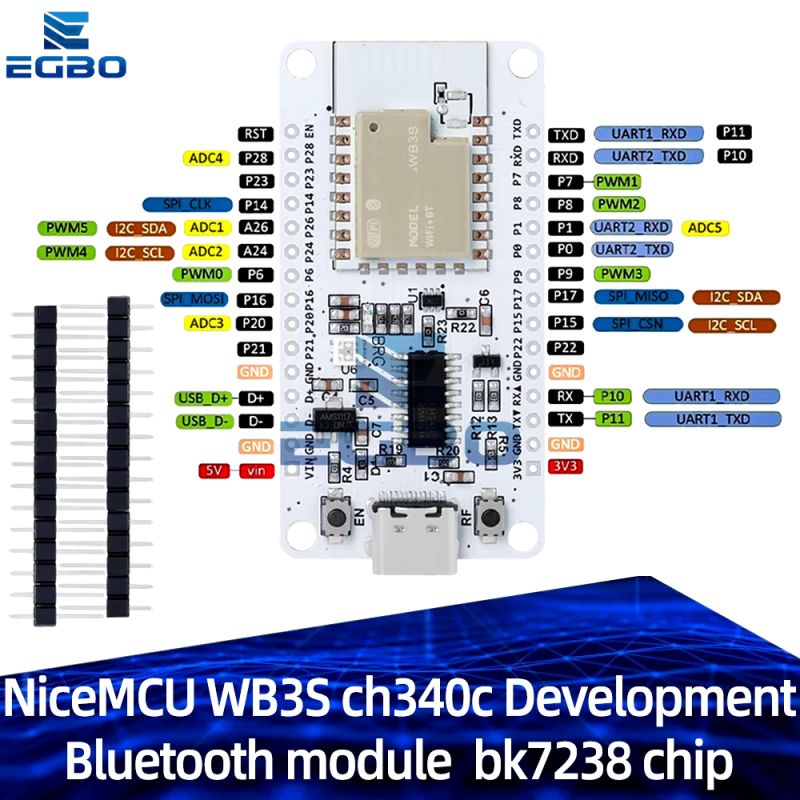
Initial BK7238 flashing
Just use our Flasher:
https://github.com/openshwprojects/BK7231GUIFlashTool
Check our related guides here:
NiceMCU XH-WB3S BK7238 tutorial - quickstart, flashing, sensors, MQTT and Home Assistant
T1, T1-M, T1-3S Tuya BK7238 module datasheet, pinout and flashing, Home Assistant
Configuring the onboard LED
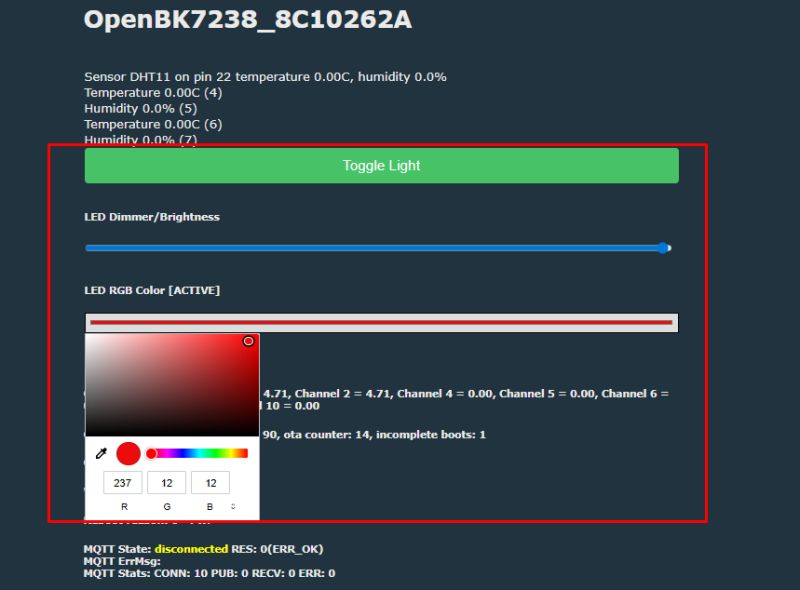
For the purpose of this demo, I decided to use onboard RGB LED. The onboard LED resides on P6, P24 and P26, but logic levels are inverted. So, I had to set PWM_n (inverted) roles. Either do it manually in Config->Configure Module or import my template:
Code: JSON
Now, you should get this on your main panel and be able to control the LED:
Configuring the IR receiver
First you need to know IR receiver pinout. If you are reusing old receiver from old scrap board, follow the traces on PCB. Check for capacitors and ground plane. Check for silkscreen marking.
If you bought new IR receiver, then check manufacturer/seller datasheet.
Also check working voltage - for me, only 5V worked.
Here is my connection:
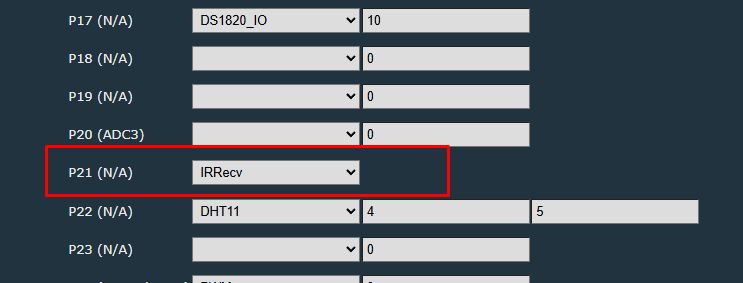
I chose P21 as IR input and configured it in Configure Module section:
IR events in OBK Web App Log
Point your remote towards the receiver and press some button - observe the log.
As you can see, the 1, 2, 3 buttons on my remote have the following codes:
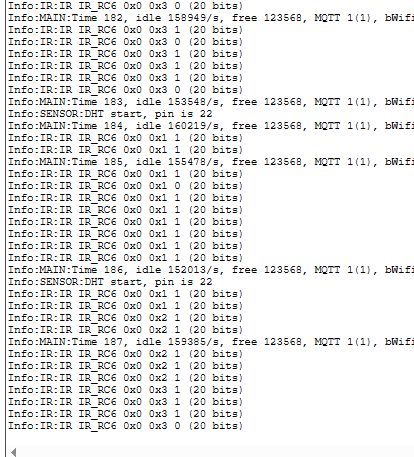
IR events in OBK
You can script IR events directly in OBK. For example, you can use them to control LED. Create following autoexec.bat:
startDriver IR
addEventHandler2 IR_RC6 0x0 0x1 led_basecolor_rgb FF0000
addEventHandler2 IR_RC6 0x0 0x2 led_basecolor_rgb 00FF00
addEventHandler2 IR_RC6 0x0 0x3 led_basecolor_rgb 000FF0
IR events in Home Assistant - raw format
First enable flag 14:

Also make sure that you have MQTT configured.
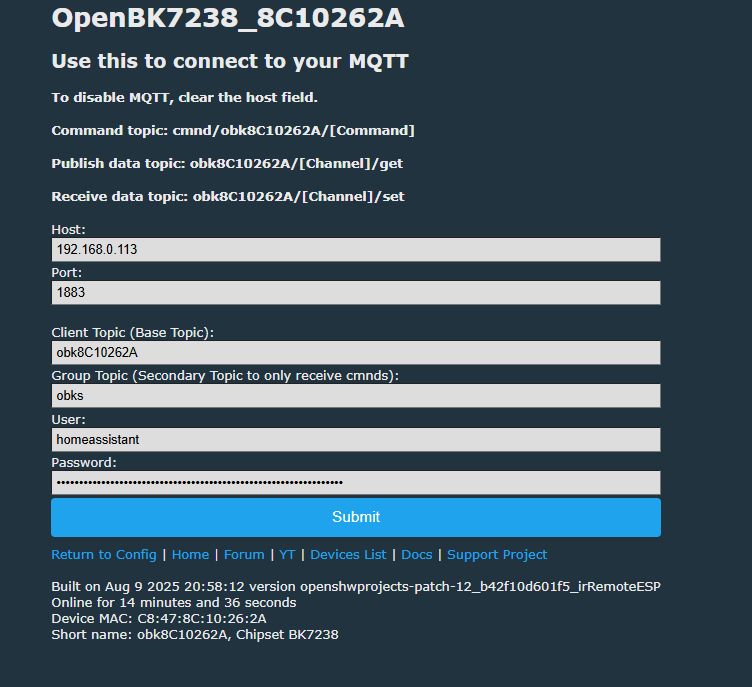
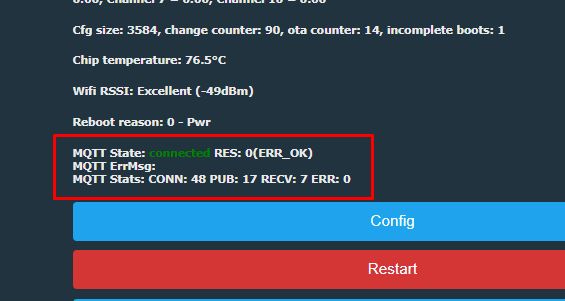
Main panel will tell you if the connection has succeeded:
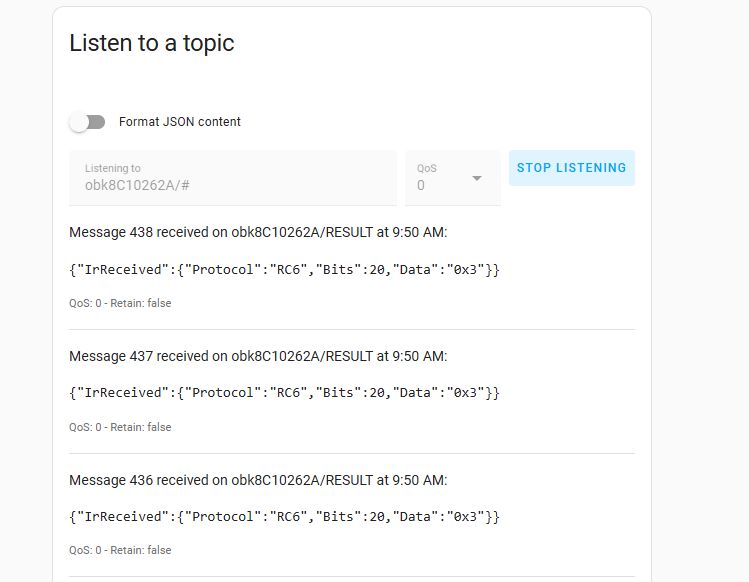
Then you can listen to device topic in Home Assistant:

IR events in Home Assistant - Tasmota format
Just like before, but use flag 21.

Then, again, you can listen to device topic in Home Assistant:
IR automations in Home Assistant
There are many ways to do it, let's start with simplest one.
First, let's assume you have some other device to control. Let's say, RGBCW bulb:
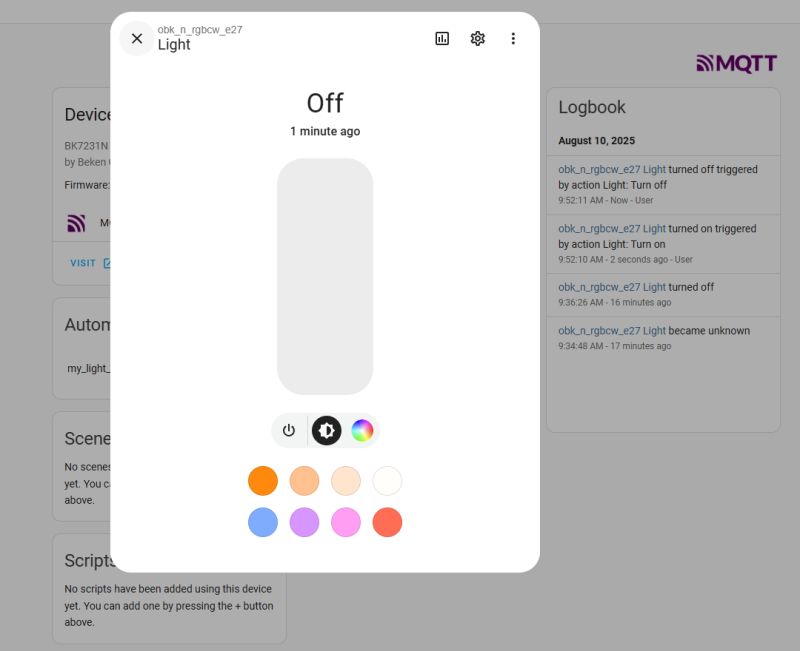
It's called obk_n_rgbcw_e27.
Now, let's create automation. First, set trigger to MQTT topic RESULT:
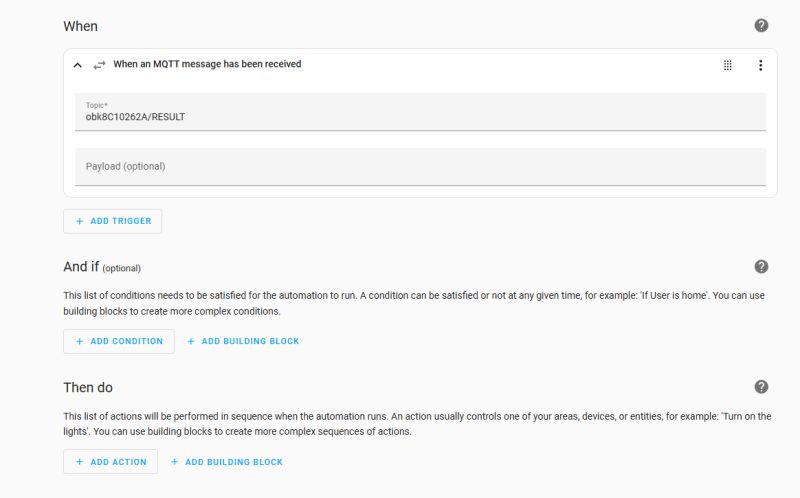
Then, the simplest way would be to set raw payload:

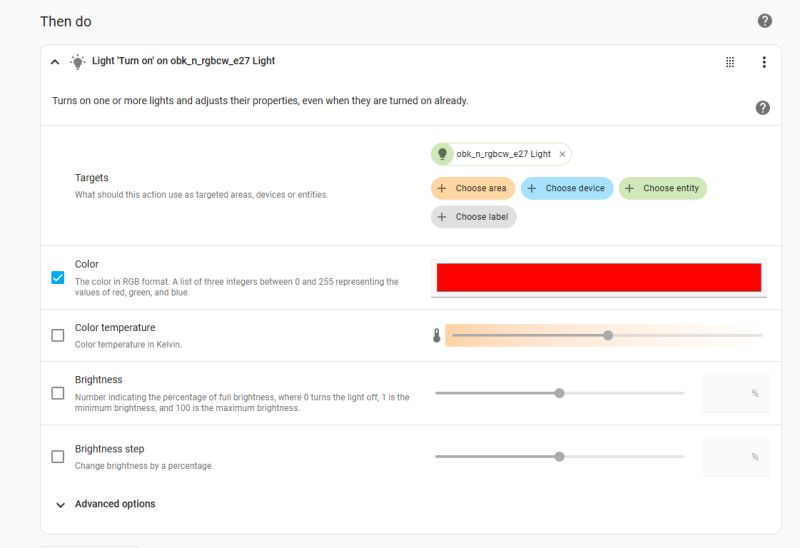
and set action to do:
You may also notice that sometimes IR data contains extra press/hold bit. You can handle both messages in single automation to work around it:
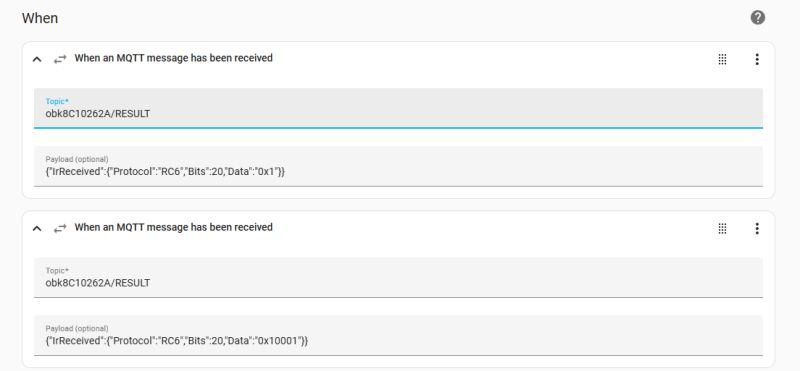
It works well now:
Here are my automation sources in YAML:
Code: YAML
Code: YAML
Direct control of another device without HA
It is also possible to control another device directly, without Home Assistant. You can use OBK SendGet command for that. Here is a short sample controlling target light brightness via HTTP GET command:
startDriver IR
addEventHandler2 IR_RC6 0x0 0x1 SendGET http://192.168.0.212/cm?cmnd=add_dimmer%2010
addEventHandler2 IR_RC6 0x0 0x2 SendGET http://192.168.0.212/cm?cmnd=add_dimmer%20-10
Both buttons are sending add_dimmer commands, first adds 10 to the dimmer, second subtracts it.
This will send GET on initial press and on hold tick. You can reduce the traffic by sending GET only on initial press.
startDriver IR
addEventHandler3 IR_RC6 0x0 0x1 0 SendGET http://192.168.0.212/cm?cmnd=add_dimmer%2010
addEventHandler3 IR_RC6 0x0 0x2 0 SendGET http://192.168.0.212/cm?cmnd=add_dimmer%20-10
Toggling light and initial press versus hold
At some point you might want to send a TOGGLE command to a light. The correct way to do it is the following:
startDriver IR
addEventHandler3 IR_RC6 0x0 0x1 0 SendGET http://192.168.0.212/cm?cmnd=POWER%20TOGGLE
The third argument, 0, means "initial press". So it gets called once.
Do not use it without this argument:
startDriver IR
addEventHandler2 IR_RC6 0x0 0x1 SendGET http://192.168.0.212/cm?cmnd=POWER%20TOGGLE
In this case, it may fire multiple times if you hold button longer.
Alternate IR library version
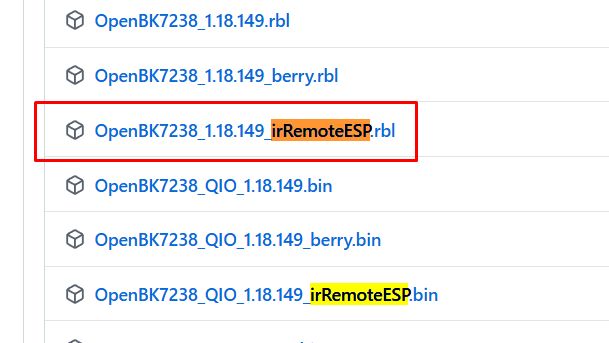
Stock obk uses Arduino-IRRemote port, you may also want to try extended version in a form of ESP8266IrRemote. Get it from releases:
https://github.com/openshwprojects/OpenBK7231T_App/releases/
Summing up
This is how you can control devices via IR receiver with OBK. You can either use Home Assistant automations or control them directly - via GET request.
This guide was made with BK7238 board, but the same logic applies for other supported Beken chips, like BK7231T or BK7231N.
Don't forget that OBK has also Berry script integration, which could be used to make more advanced logic.
That's all for now, if you have any question, just feel free to ask - we'll do our best to help.
You can also check our docs here: https://github.com/openshwprojects/OpenBK7231T_App/blob/main/docs/README.md
and our devices list: https://openbekeniot.github.io/webapp/devicesList.html
and our YT channel: https://www.youtube.com/@elektrodacom


Comments
nice. im glad there's the IR variant for BK7238. BK7238 seems to be gaining in popularity. I have a new device with T1/BK7238/TuyaMCU coming to a new post soon. Gave the new build a spin myself... [Read more]
I think we can now try to connect WS2812 LED strip to it, P16 is nicely routed out on NiceMCU [Read more]