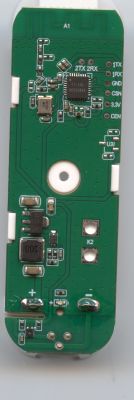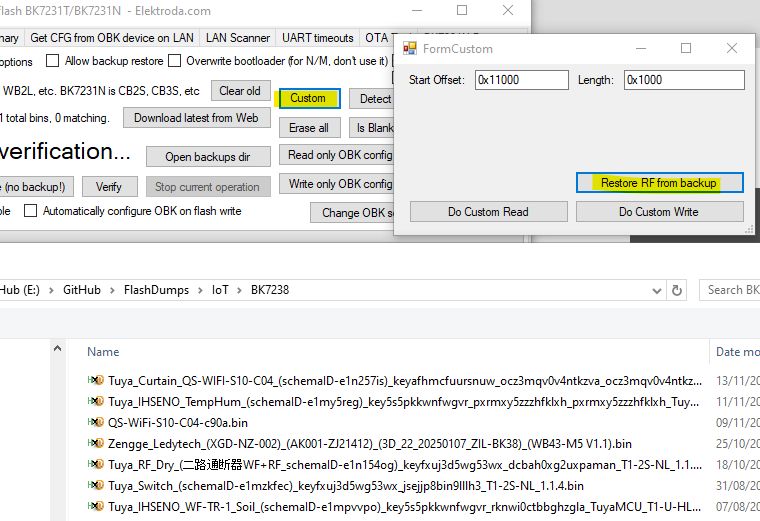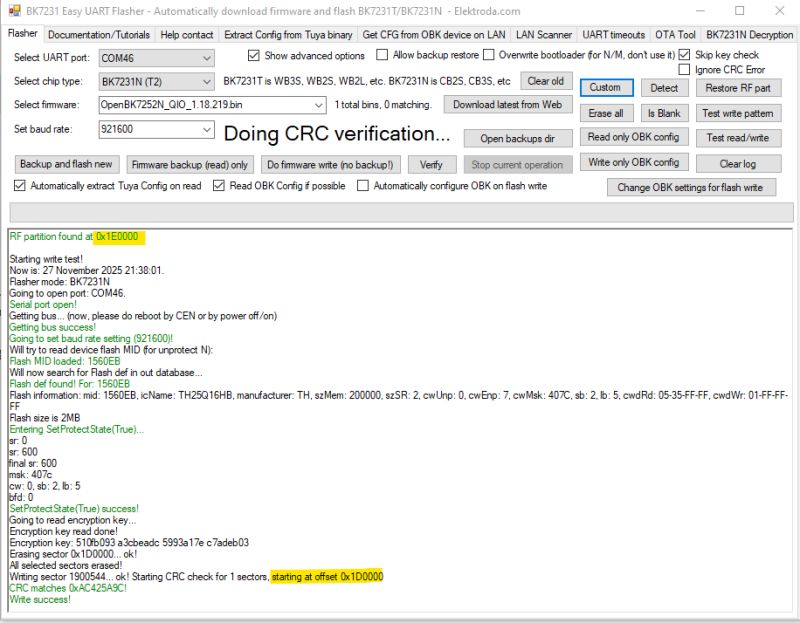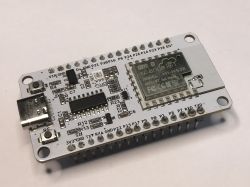
NiceMCU WB3S is a cheap WiFi+Bluetooth development board featuring 120MHz 32-bit CPU and 2MB of Flash. It can be easily flashed with open source firmware and paired with Home Assistant. Futhermore, you can script it to suit your needs and compile custom firmware versions/drivers online, without having to setup toolchain on your PC.
The board can be usually bought for few $ and sometimes for as low as 1$:
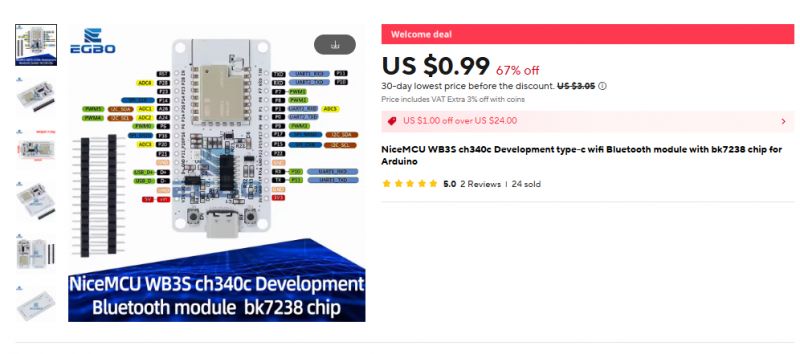
Board module is called WB3S, but it's not using BK7231T, but it's using BK7238, which binary code is different.
Here are some basic specs from the seller:

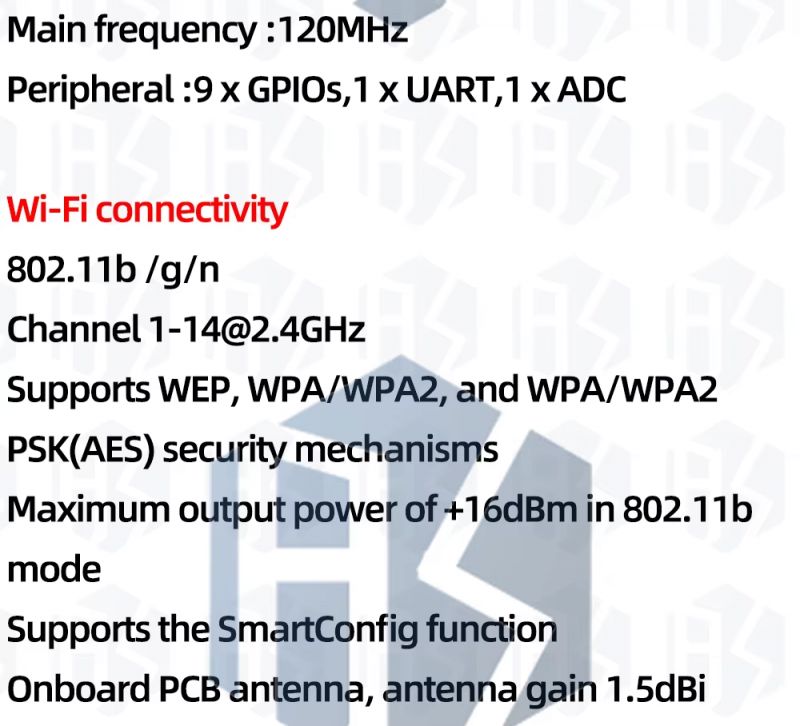
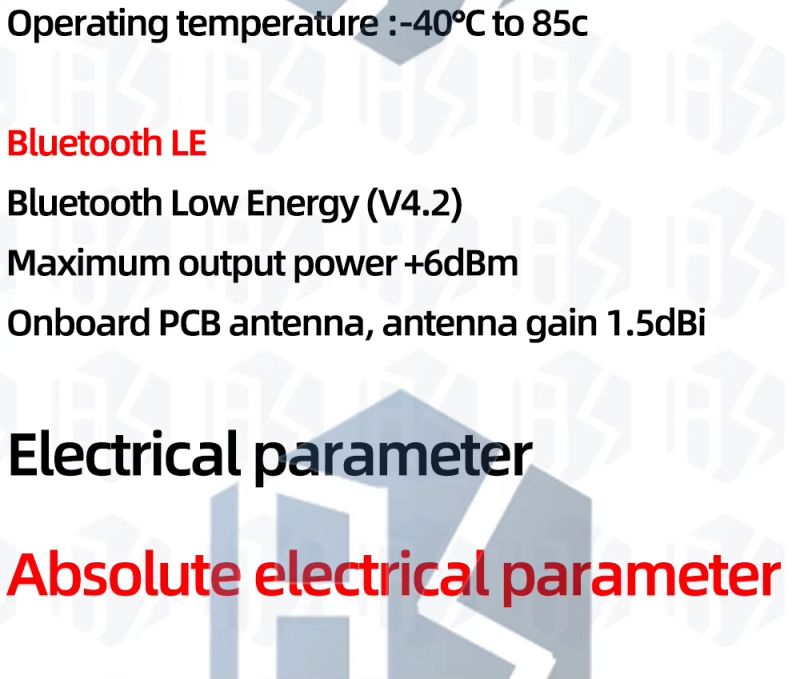
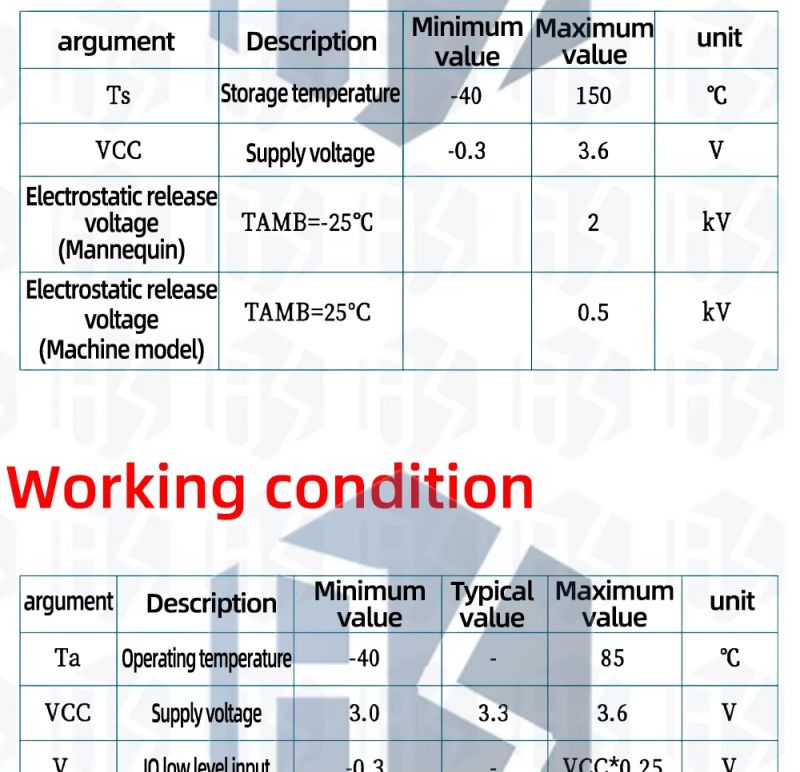

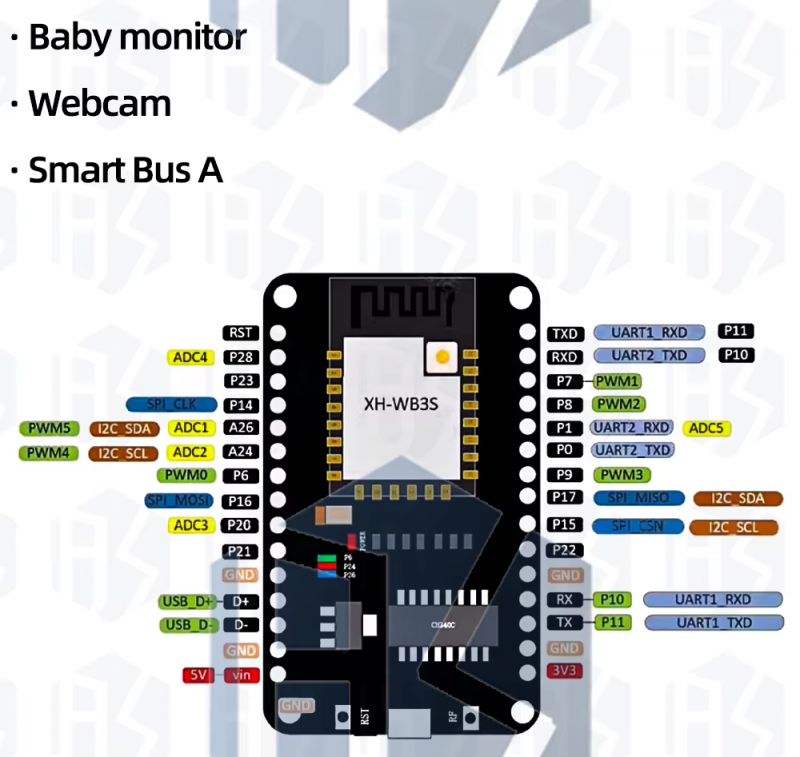
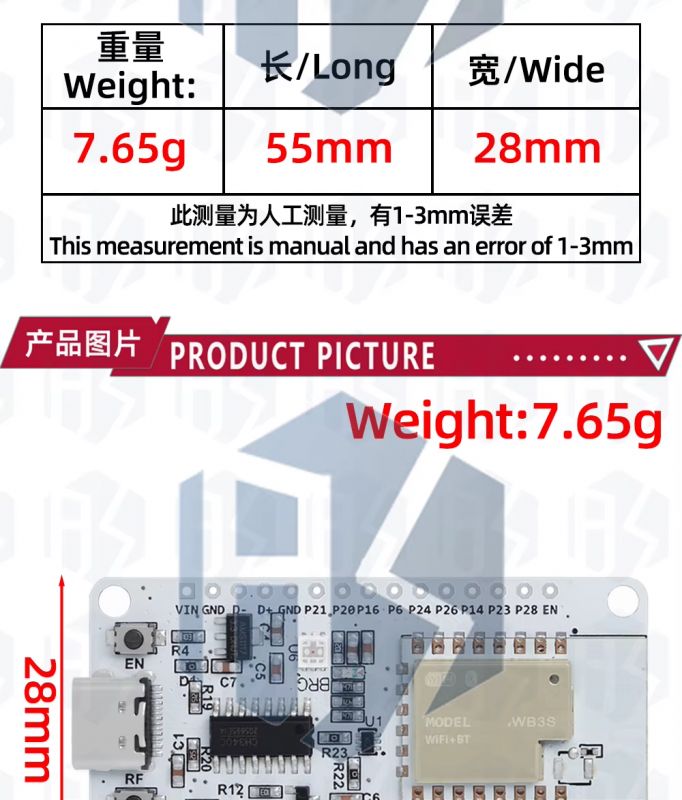
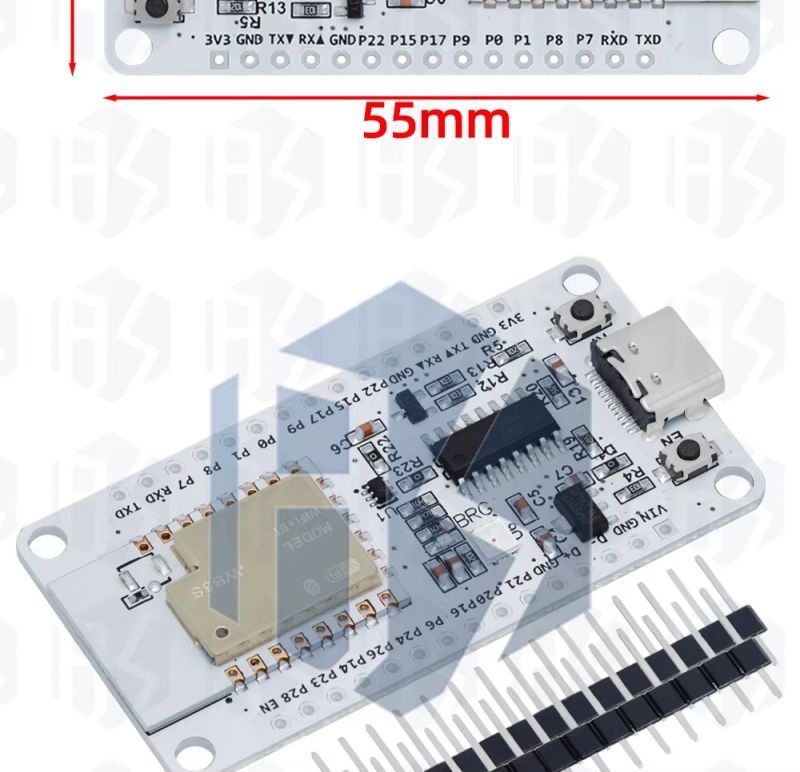
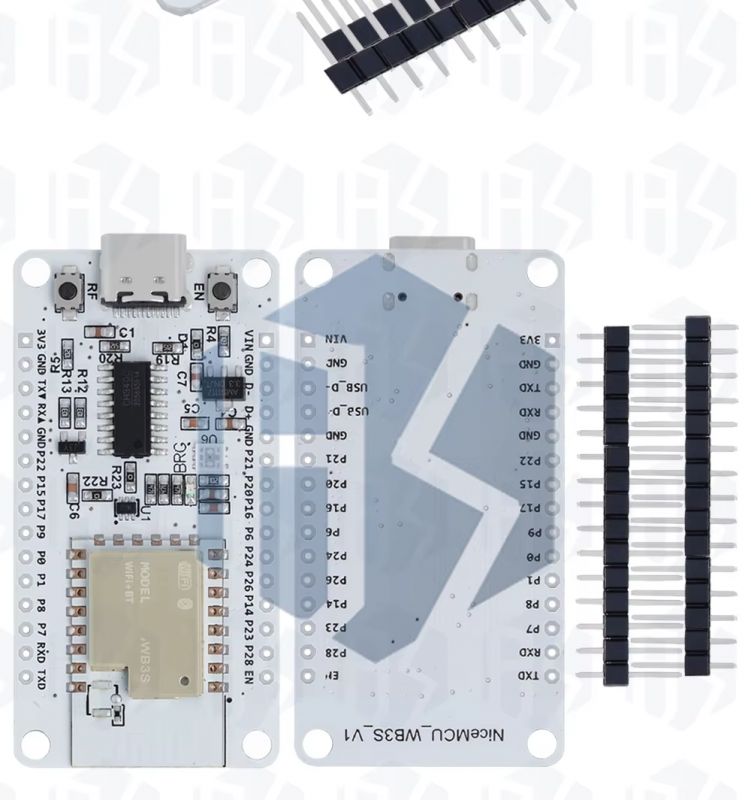
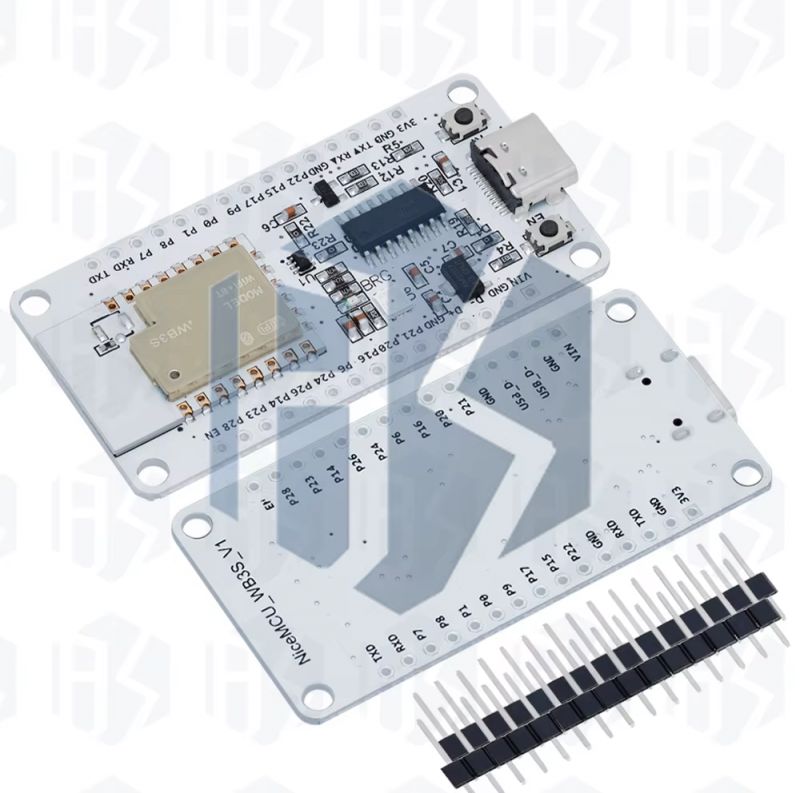
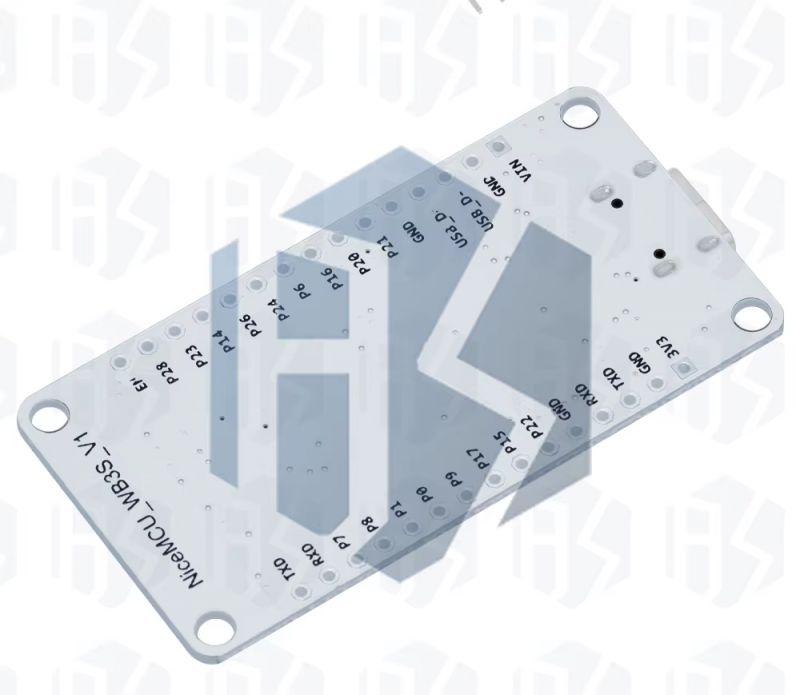
New firmware
BK7238 is now supported by OpenBeken:
https://github.com/openshwprojects/OpenBK7231T_App
This means that you should be able to use OBK on NiceMCU, along with OBK features, which includes:
- drivers: https://github.com/openshwprojects/OpenBK7231T_App/blob/main/docs/drivers.md
- commands: https://github.com/openshwprojects/OpenBK7231T_App/blob/main/docs/commands.md
- online build system: https://www.elektroda.com/rtvforum/topic4033833.html
- obk driver system: https://www.elektroda.com/rtvforum/topic4056286.html
You can also use our IoT OBK tutorials for this board:
https://www.elektroda.pl/rtvforum/forum517.html
https://www.youtube.com/watch?v=x4p3JHXbK1E&list=PLzbXEc2ebpH0I8m_Cfbqv1MTlQuBKYvlx
Flashing new firmware
Get our flasher from here:
https://github.com/openshwprojects/BK7231GUIFlashTool
To be precise, you can download binaries from Releases tab:
https://github.com/openshwprojects/BK7231GUIFlashTool/releases
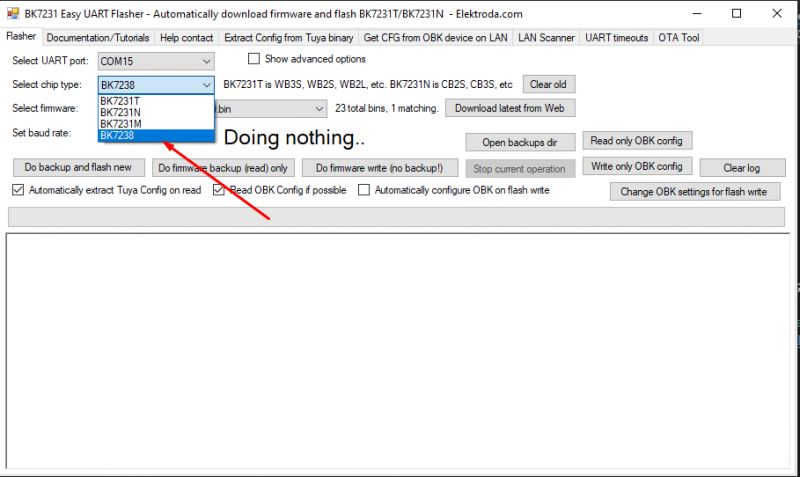
Choose BK7238 mode from the drop-down list:
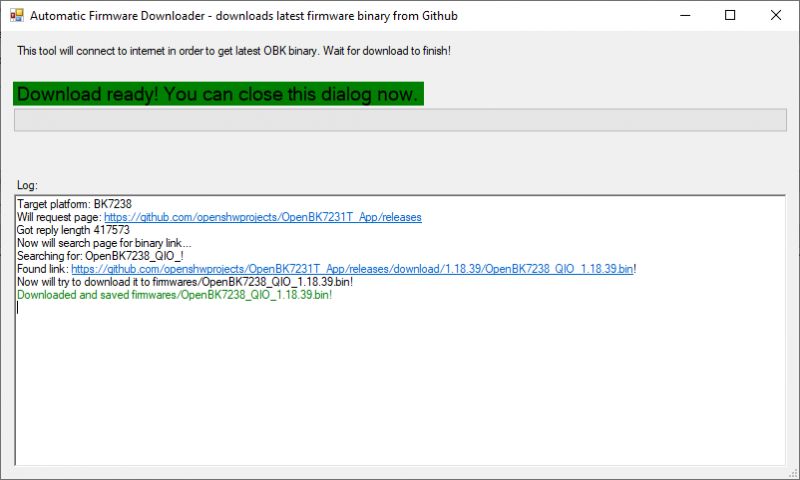
Click "download latest from web" to get latest firmware from our Github to your PC:
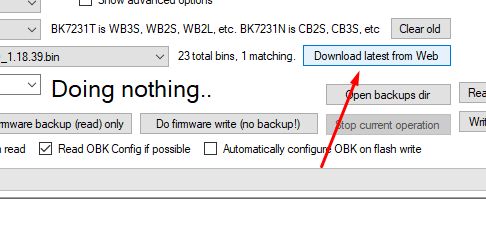
This will fetch from: https://github.com/openshwprojects/OpenBK7231T_App
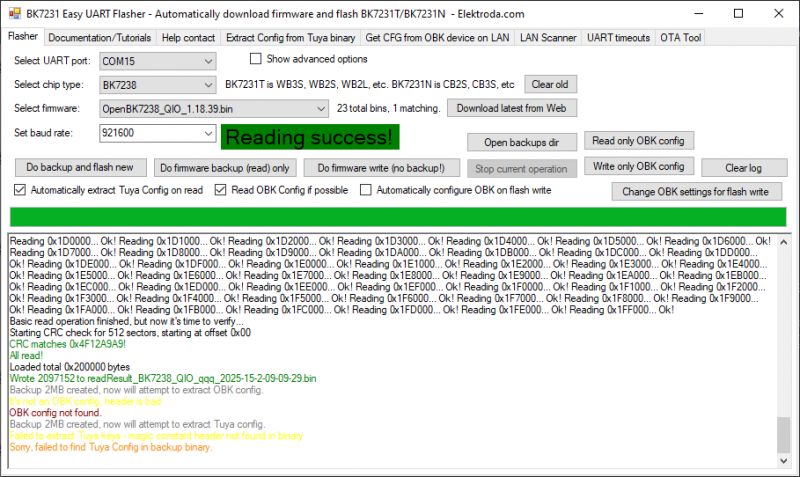
Then first, please do 2MB flash backup, as usual:
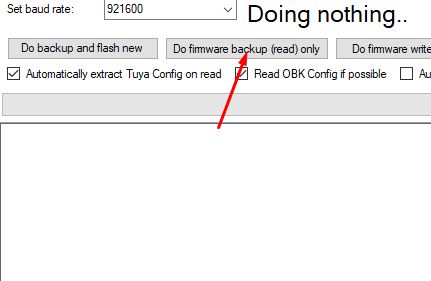
While the device is waiting to "get bus", press EN button on PCB once or twice. It may not be needed in the future when we add DTR RESET code on this board.
In case of raw NiceMCU module, you need to disconnect and reconned power while it's waiting to "get bus".
Then, finally, do firmware write:
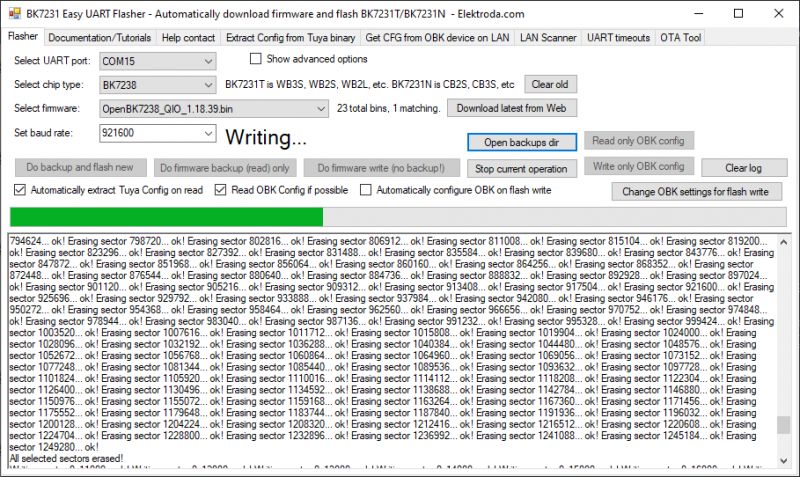
Press EN button to reboot.
Initial configuration
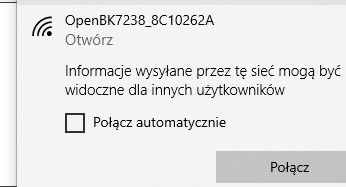
Connect to OBK access point, just like you'd do with Tasmota:
Go to Config->WiFi, enter your SSID and password:
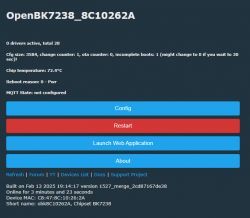
Get your new device IP from your router:

Playing around with pins
You can use GPIO doctor from OBK web App to guess roles of the pins:
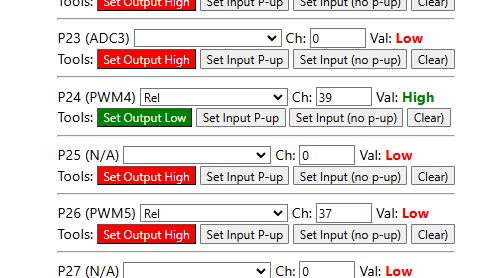
With this, you can determine that onboard LED is on P6, P24, P26:
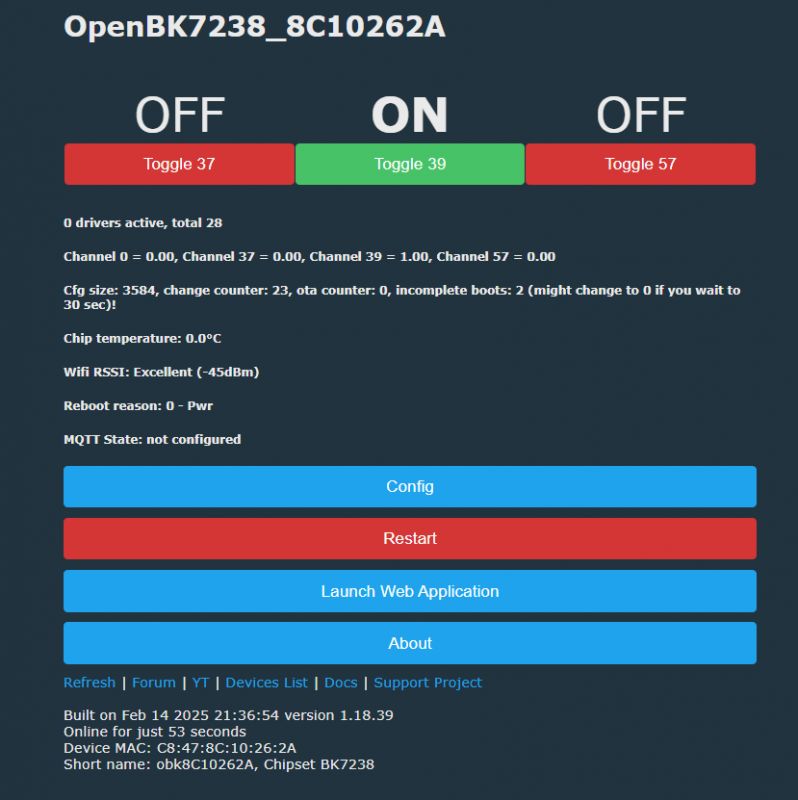
The logic seems to be inversed here, so you will need either a Relay_n or a PWM_n role.
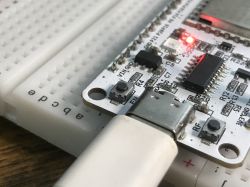
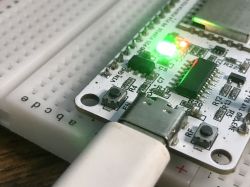
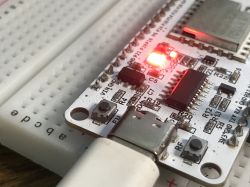
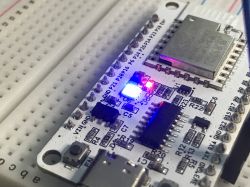
It is also good to correct channel indexes after using GPIO doctor. They are used to group together buttons and relays and to mark RGBCW PWM indexes (order).
With this config:
Code: JSON
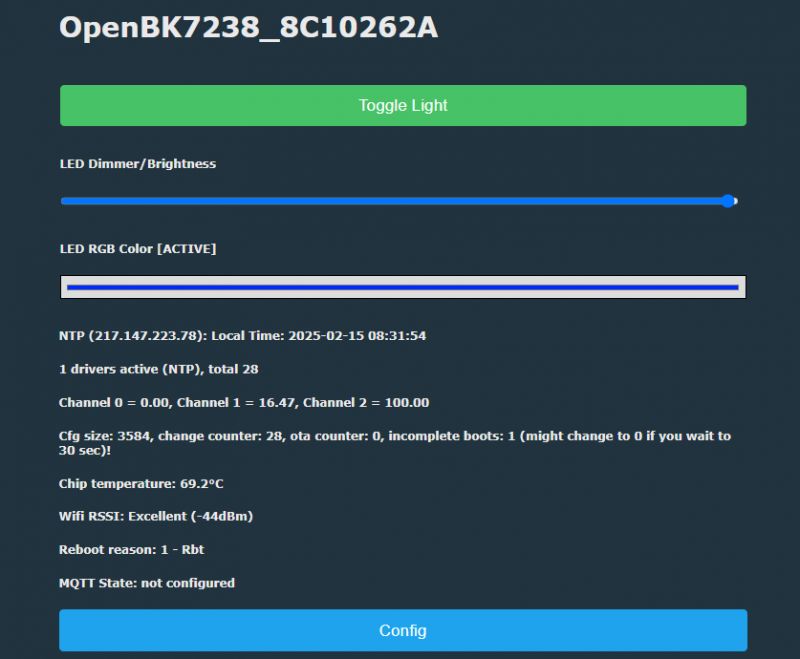
You can control onboard LED with OBK LED driver:
OTA to new version
If you want to update OBK on your board, just follow our tutorial:
Tasmota device groups
Tasmota Device Groups, also called DGR, can be used to group together devices (lights, or switches, or even lights and switches) into groups without any central server, without Home Assistant.
NTP driver
Go to Config->Startup command text. Enter:
startDriver NTP
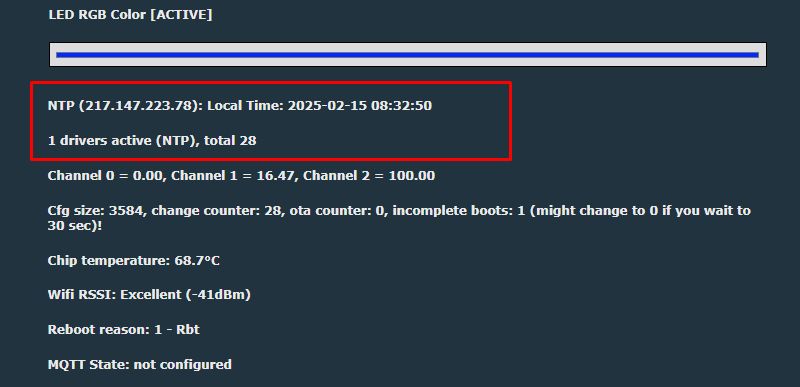
And then reboot. Now you will see that NTP driver is running:
Simple scripting
In OBK you can run simple scripts. For example, you can control LED programatically. This can be inserted in either startup command or LittleFS autoexec.bat file, see tutorial:
[inContentAd]

again:

led_enableAll 1
delay_s 1
led_basecolor_rgb FF0000
delay_s 1
led_basecolor_rgb 00FF00
delay_s 1
led_basecolor_rgb 0000FF
delay_s 1
led_basecolor_rgb FFFFFF
goto again
Save and reboot. LED is now animated:
See our scripting samples for more information:
https://github.com/openshwprojects/OpenBK7231T_App/blob/main/docs/autoexecExamples.md
DHT11 sample
OBK supports many sensors, including DHT11. It can be easily configured via GUI. You just need to select DHT11 pin and then select two channels used to store temperature and humidity:

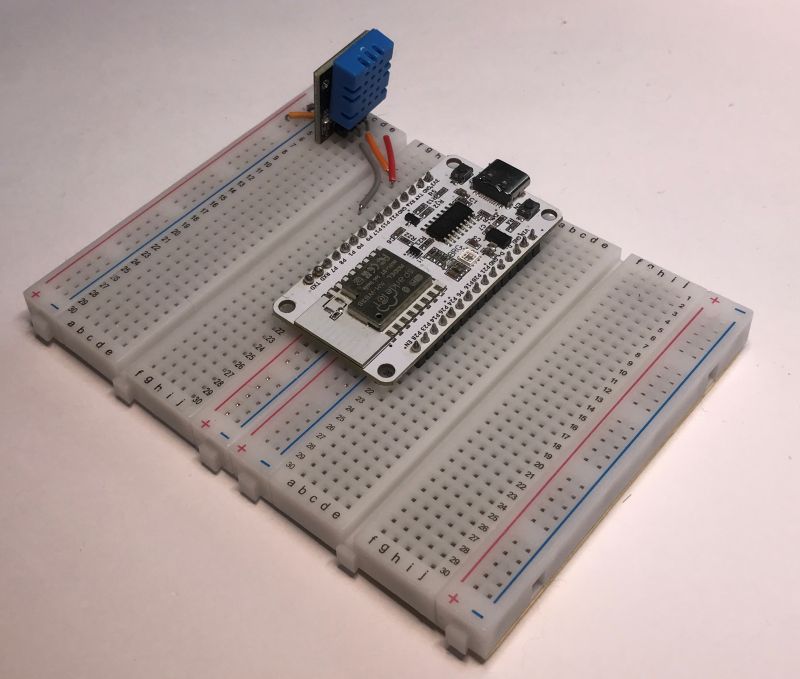
For this purpose, I've chosen pin P22 and did the hardware connection:
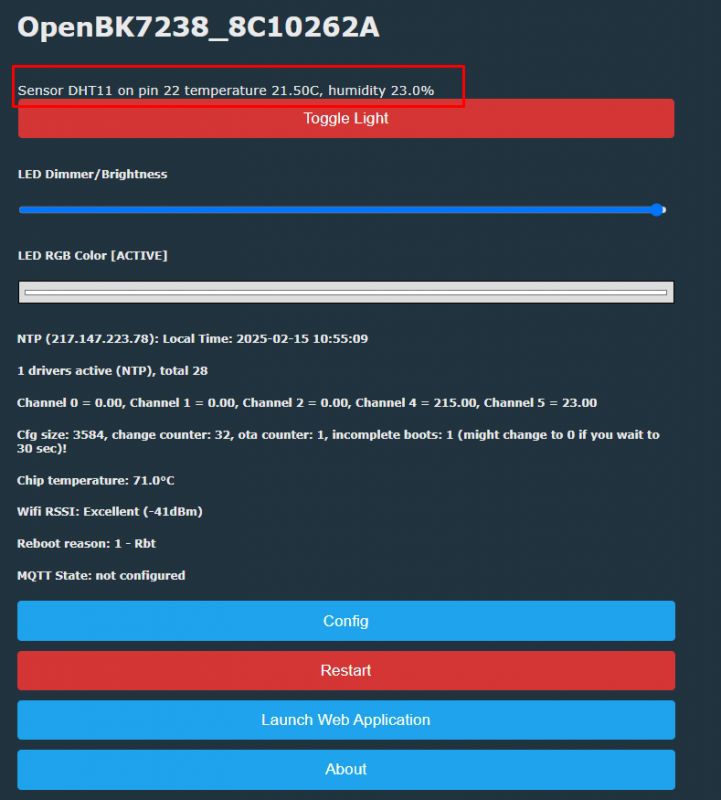
Everything should work out of the box, and keep in mind that DHT family is special and won't show up as a running driver:
AHT20 sensor sample
Let's make another sensor demo. This time we will use AHT20. Connect AHT20 to any two digital pins:
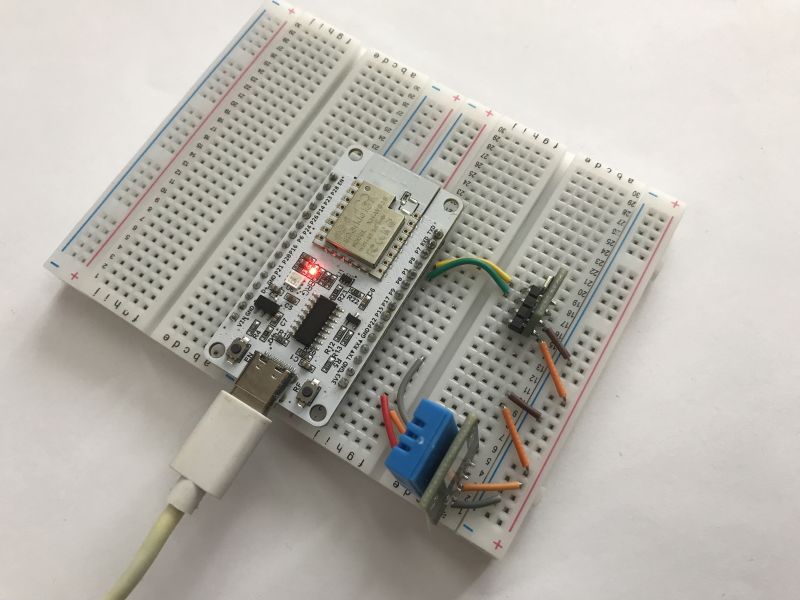
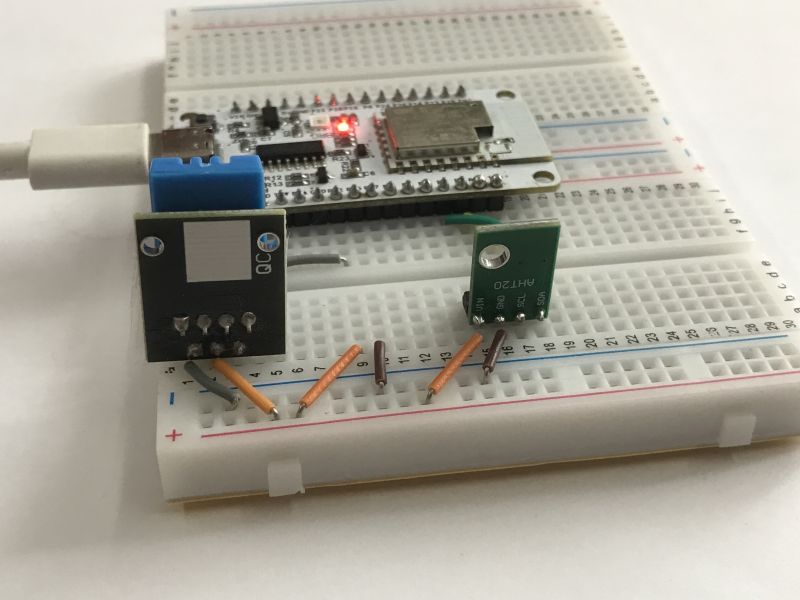
No pull-ups are needed. Now run it in the firmware.
First two arguments are pins - I used P8 and P7. Then we have channel indexes for temperature and humidity.
startDriver AHT2X 8 7 6 7
This should get you readings on main page:
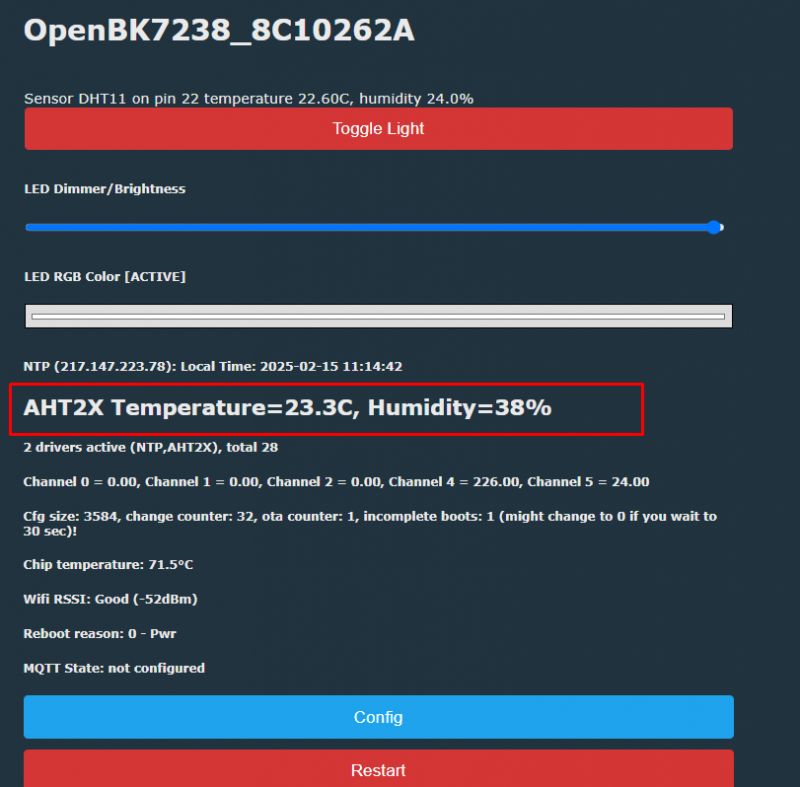
If it's not working, and you want to reconfigure without reboot, you can use:
stopDriver AHT2X
Remember to add startDriver command to either autoexec.bat or short startup command so it starts with each reboot.
MQTT Config
The more detailed information is in the "Pairing with HA" section, but in Config->MQTT you can set your MQTT broker info:
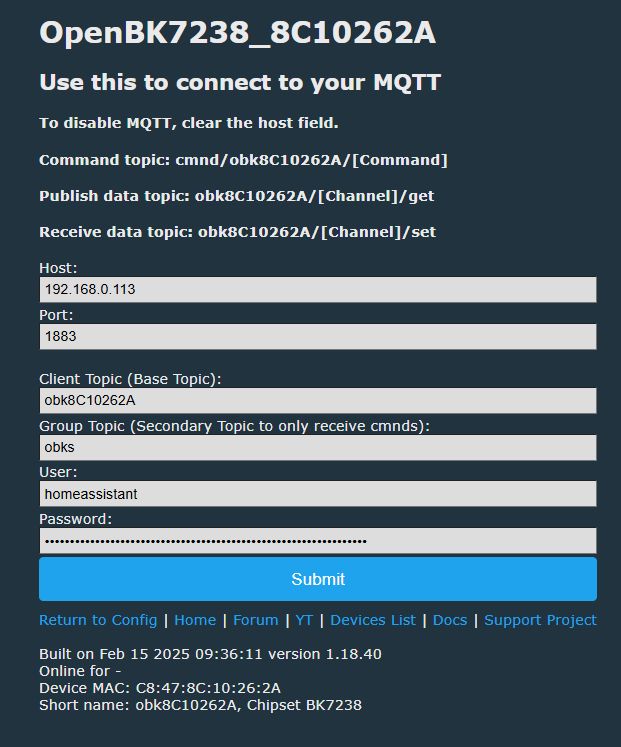
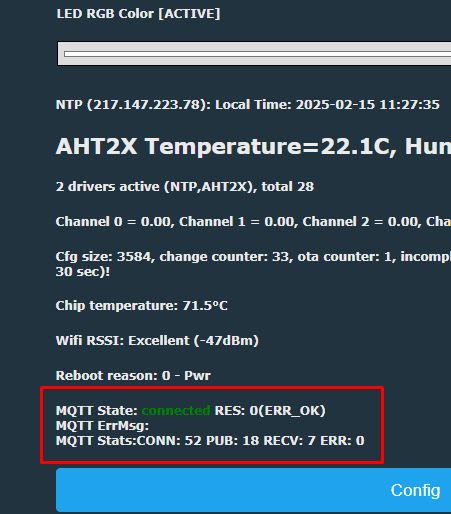
Then you'll have MQTT state shown on the main page:
Pairing with HA
Now you can pair your simple RGB LED device with Home Assistant. It will show up there with all the necesary controls. Use HA Discovery tutorial:
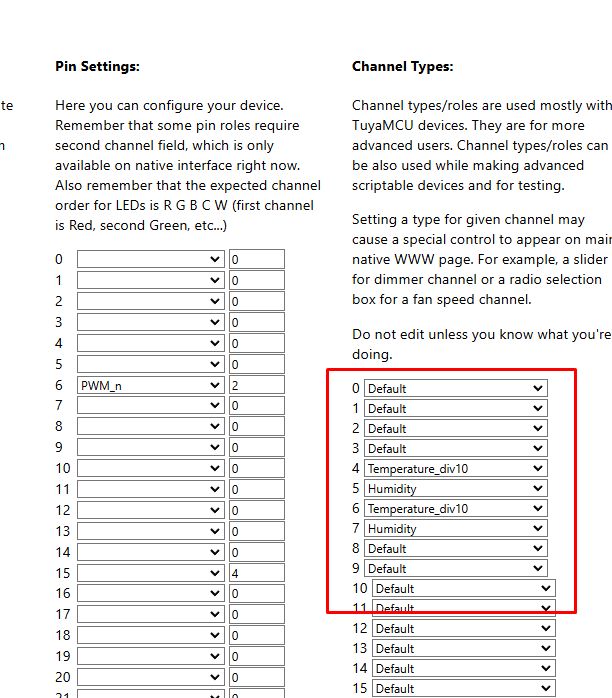
Important note: HA Discovery uses channel types to determine how to display channel. Remember to set them in the web app:
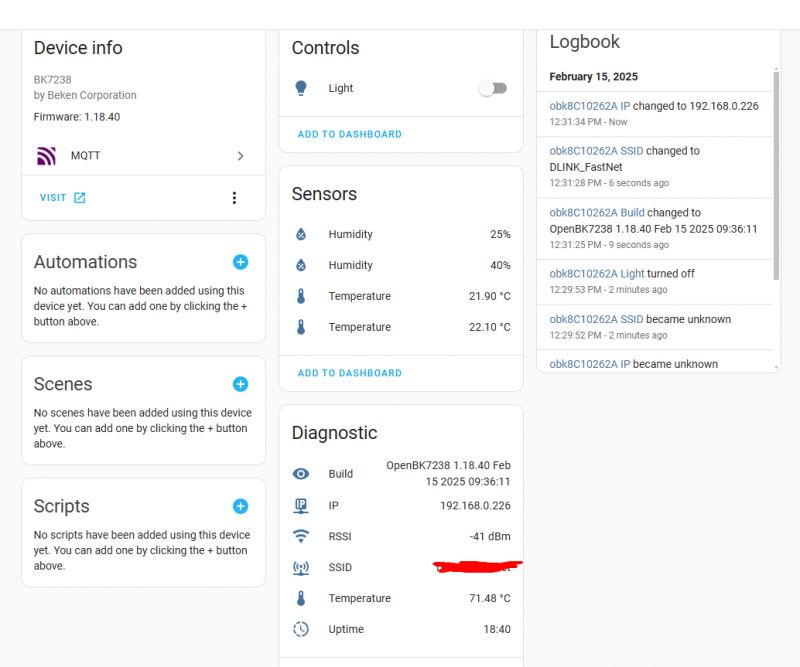
Here is how my device looks like in HA:
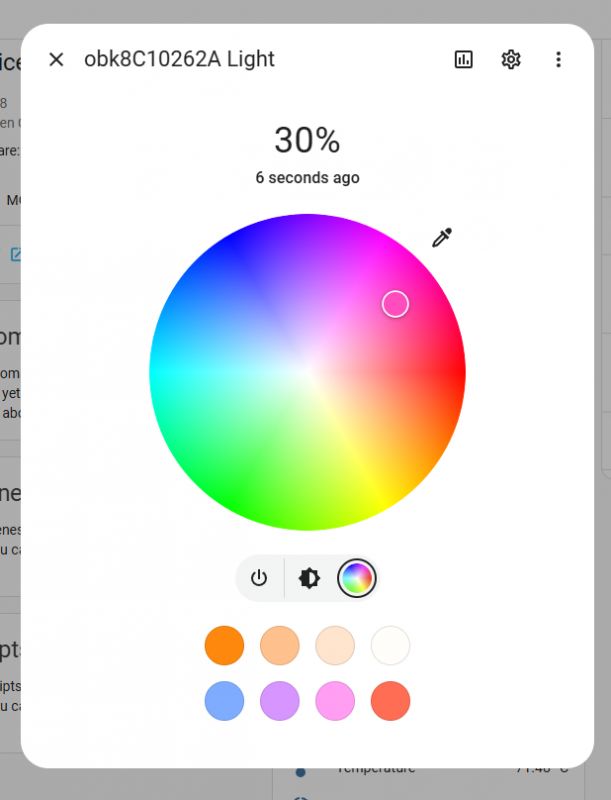
LED picker also works:
Summary
NiceMCU XH-WB3S BK7238 is a very cheap development board that is compatible with OBK and you can use it to run most of the OBK features, including Home Assistant pairing and Tasmota Device Groups support. For more information, please see our devices list:
https://openbekeniot.github.io/webapp/devicesList.html
and our documentation:
https://github.com/openshwprojects/OpenBK7231T_App/blob/main/README.md
Let us know if you have any questions, we'll do our best to help you.
Added after 10 [hours]:
More screenshots from Home Assistant:
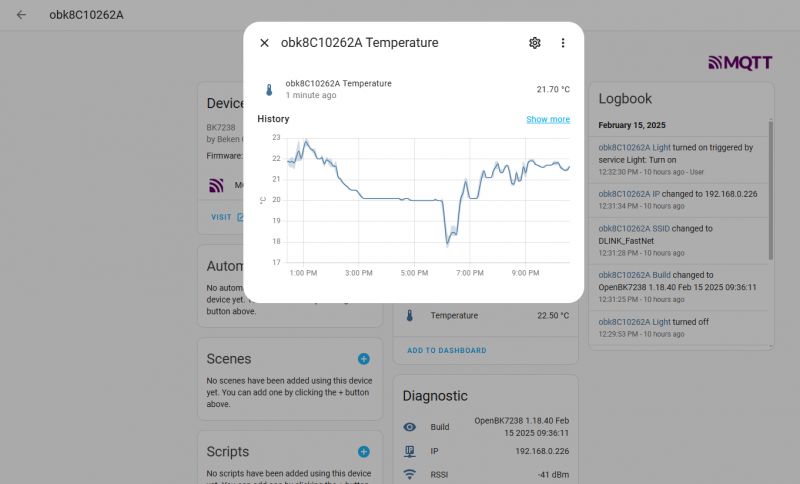
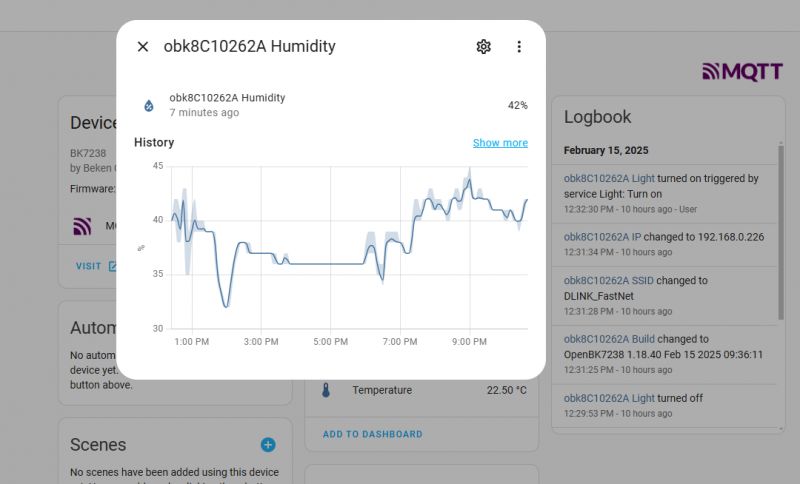
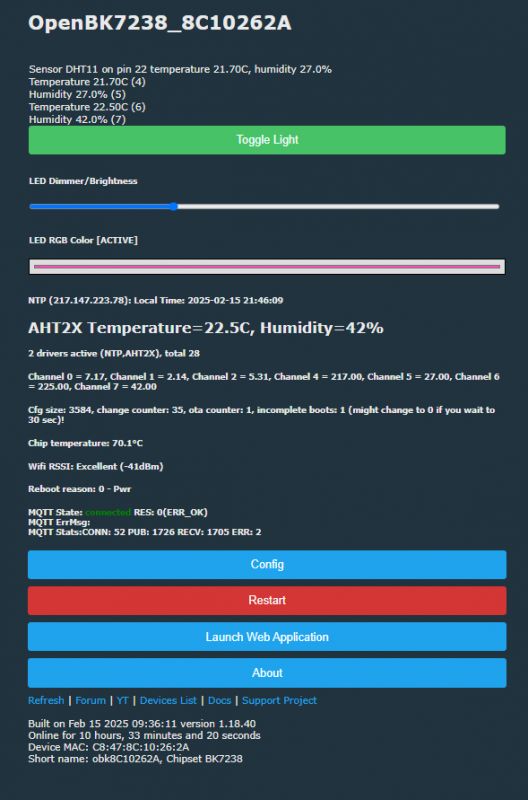
Everything seems stable and release-ready.
Cool? Ranking DIY Helpful post? Buy me a coffee.


