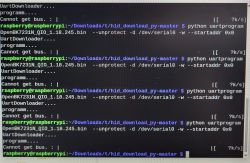
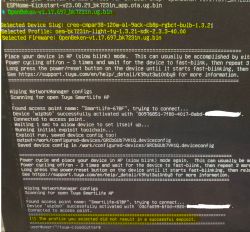
so i bought this cheap light from aliexpress, it's noname but 9w apparently. Here's the link https://nl.aliexpress.com/item/1005006770901732.html
it's also identifiable as SD GU10 from the tuya app and the front of the box looks like this
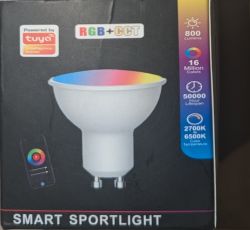
it's also gu10 mount and here's the markings
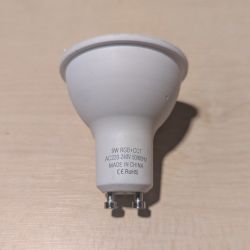
disassembly is easy:
1) pop off the plastic diffuser on top using something thin (a knife will do)
2) slice the silicone around the white pcb to free it
3) use something thin to lift the white pcb from the connector
4) now the green pcb is reachable to be removed
some pictures of the pcbs
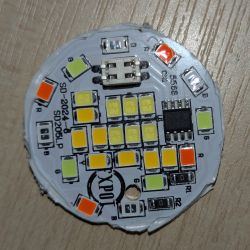
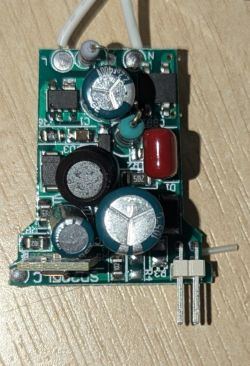
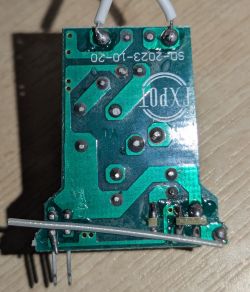
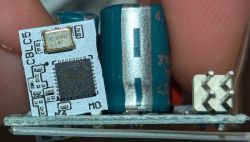
the bk7231n main chip is used and the bp5758d driver chip.
i used this guide https://www.elektroda.com/rtvforum/topic4040714.html#20992092 for the cblc5 module's pinout, i hope it's ok to reupload it
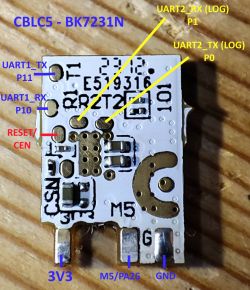
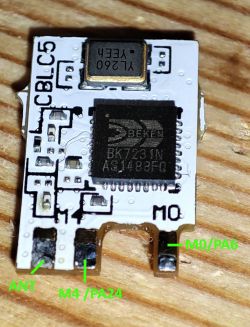
it's kind of possible to solder a serial converter to the module without desoldering it by first bending the capacitors away from it - then there's just enough space to fit a soldering iron in for the tx1 and rx1 pads. the underside of the pcb can be used for power:
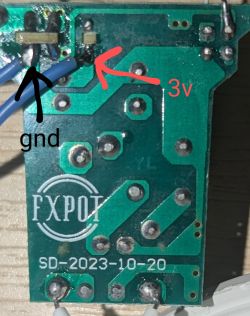
connect to a serial converter (probably rx to tx, tx to rx, don't forget to set 3v logic and use 3v voltage output) and use the flash tool to flash it (bk7231n chip) https://github.com/openshwprojects/BK7231GUIFlashTool
pin 24 is BP5758D_CLK and pin 26 is BP5758D_DAT
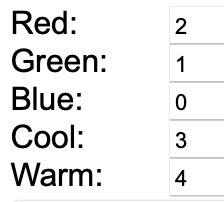
led map (which can be set by launching the webapp and going to tools) looks like this
aand it works!
it's also identifiable as SD GU10 from the tuya app and the front of the box looks like this

it's also gu10 mount and here's the markings

disassembly is easy:
1) pop off the plastic diffuser on top using something thin (a knife will do)
2) slice the silicone around the white pcb to free it
3) use something thin to lift the white pcb from the connector
4) now the green pcb is reachable to be removed
some pictures of the pcbs


the bk7231n main chip is used and the bp5758d driver chip.
i used this guide https://www.elektroda.com/rtvforum/topic4040714.html#20992092 for the cblc5 module's pinout, i hope it's ok to reupload it


it's kind of possible to solder a serial converter to the module without desoldering it by first bending the capacitors away from it - then there's just enough space to fit a soldering iron in for the tx1 and rx1 pads. the underside of the pcb can be used for power:

connect to a serial converter (probably rx to tx, tx to rx, don't forget to set 3v logic and use 3v voltage output) and use the flash tool to flash it (bk7231n chip) https://github.com/openshwprojects/BK7231GUIFlashTool
pin 24 is BP5758D_CLK and pin 26 is BP5758D_DAT
led map (which can be set by launching the webapp and going to tools) looks like this

aand it works!


