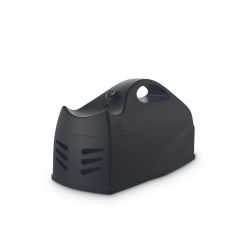
Neo Coolcam Mouse Trap NAS-MA01W

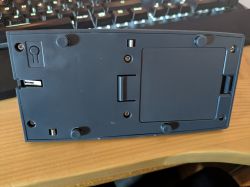
Opening of the trap is quite simple. Unscrew the 6 Phillips screws shown in the picture.

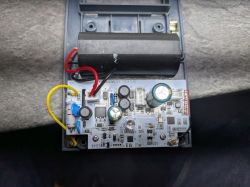
For flashing, labeled connectors are located on the right side of the board. In the photo, they are outlined in red.

Add Startup Command Text :
backlog startDriver tuyaMCU; startDriver tmSensor; linkTuyaMCUOutputToChannel 101 val 0; linkTuyaMCUOutputToChannel 102 val 1; linkTuyaMCUOutputToChannel 103 val 2;
Channel 0 and Channel 2 show mouse catch.
Channel 1 is Battery status. 0=100%, 1=75%, 2=50%, 3=25%

Opening of the trap is quite simple. Unscrew the 6 Phillips screws shown in the picture.

For flashing, labeled connectors are located on the right side of the board. In the photo, they are outlined in red.

Add Startup Command Text :
backlog startDriver tuyaMCU; startDriver tmSensor; linkTuyaMCUOutputToChannel 101 val 0; linkTuyaMCUOutputToChannel 102 val 1; linkTuyaMCUOutputToChannel 103 val 2;
Channel 0 and Channel 2 show mouse catch.
Channel 1 is Battery status. 0=100%, 1=75%, 2=50%, 3=25%


