Hello.
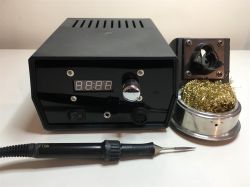
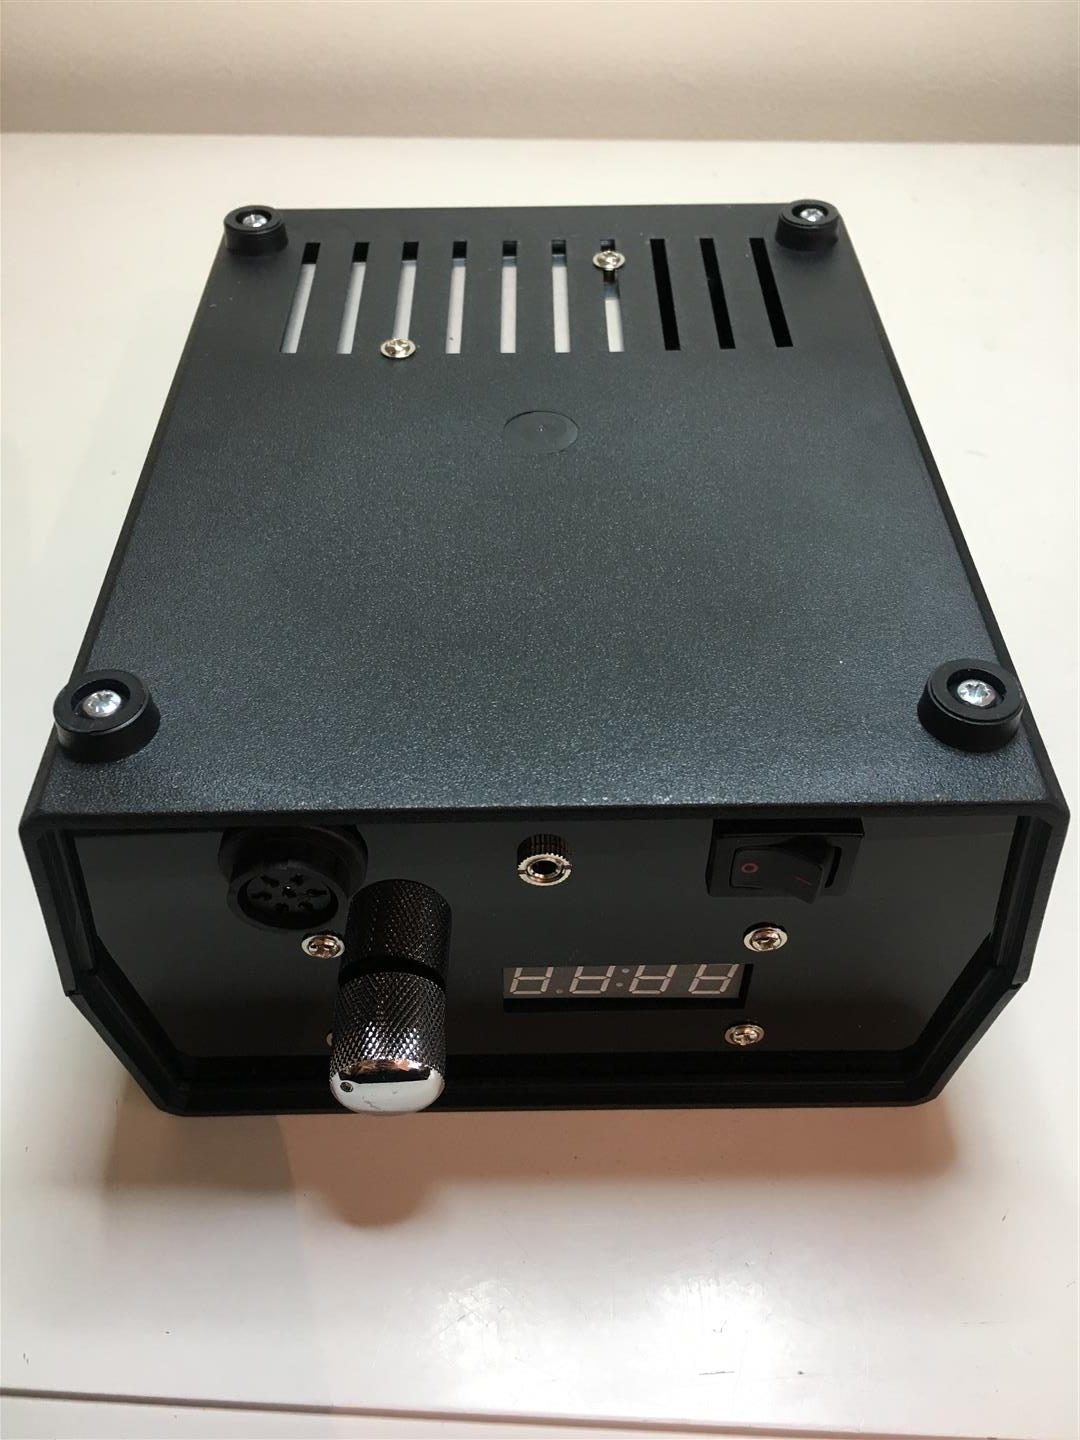
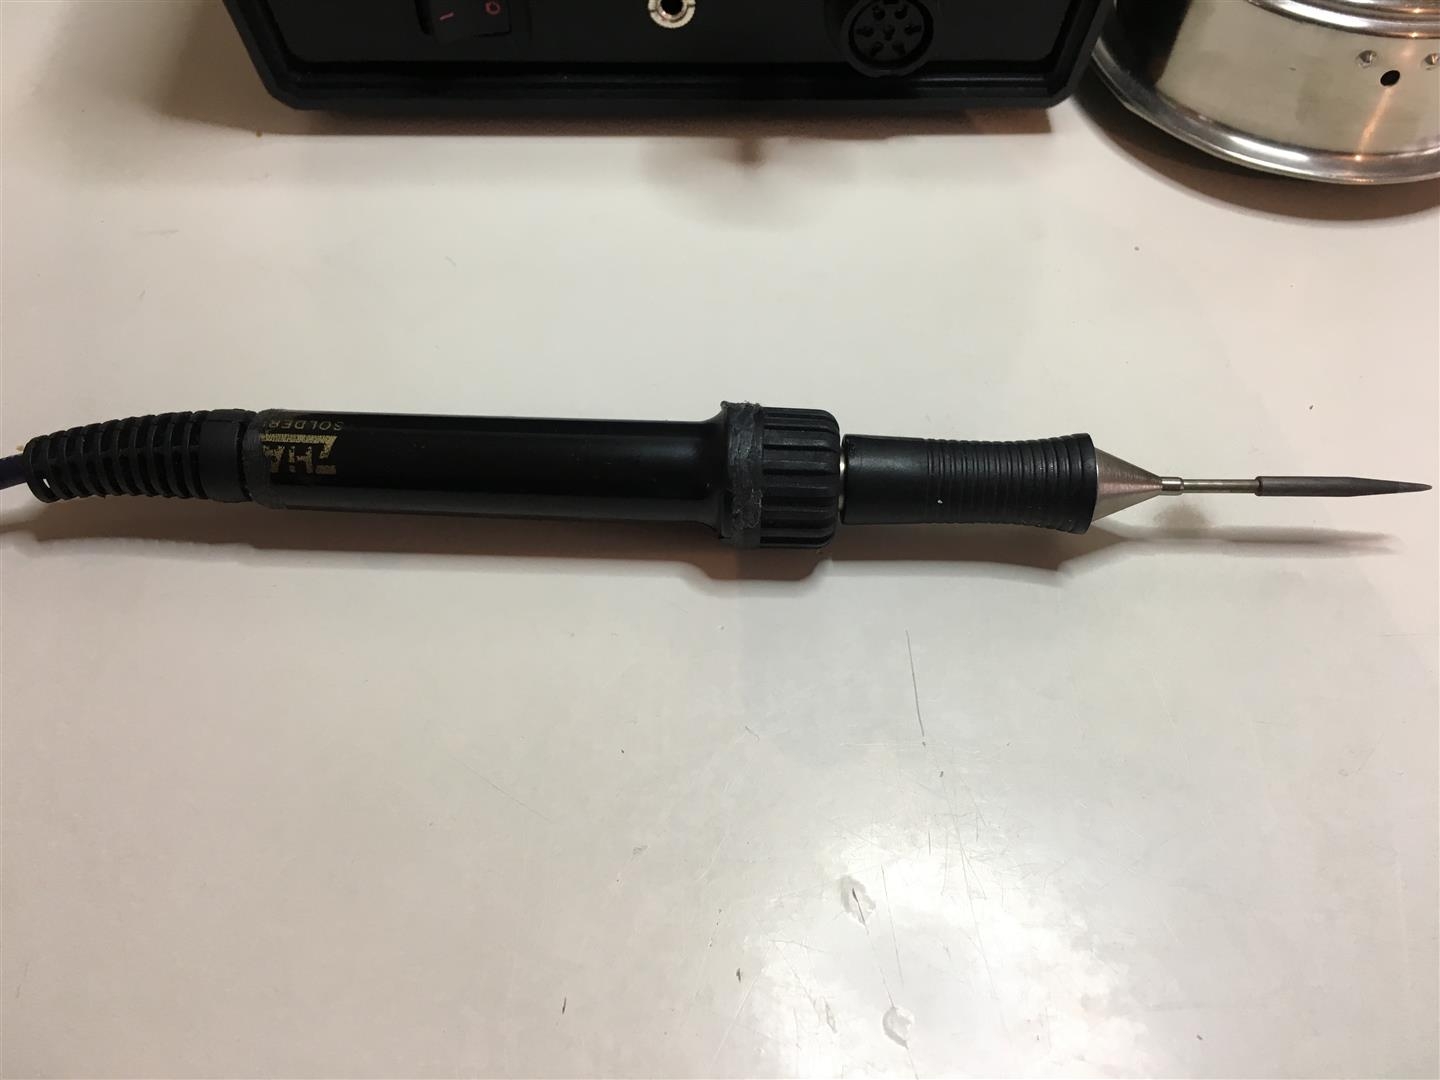
I would like to present a soldering station compatible with Weller WMRP and WMRT handles. The controller is based on the PIC16F1788 chip and the program occupies approximately 1/4 of its memory space. All control is done via one knob, behind which there is an Alps EC12E2424407 encoder. The display is Lite-On LTC-4627JR, or Youngsun ATA3492BR-1 can also be used.
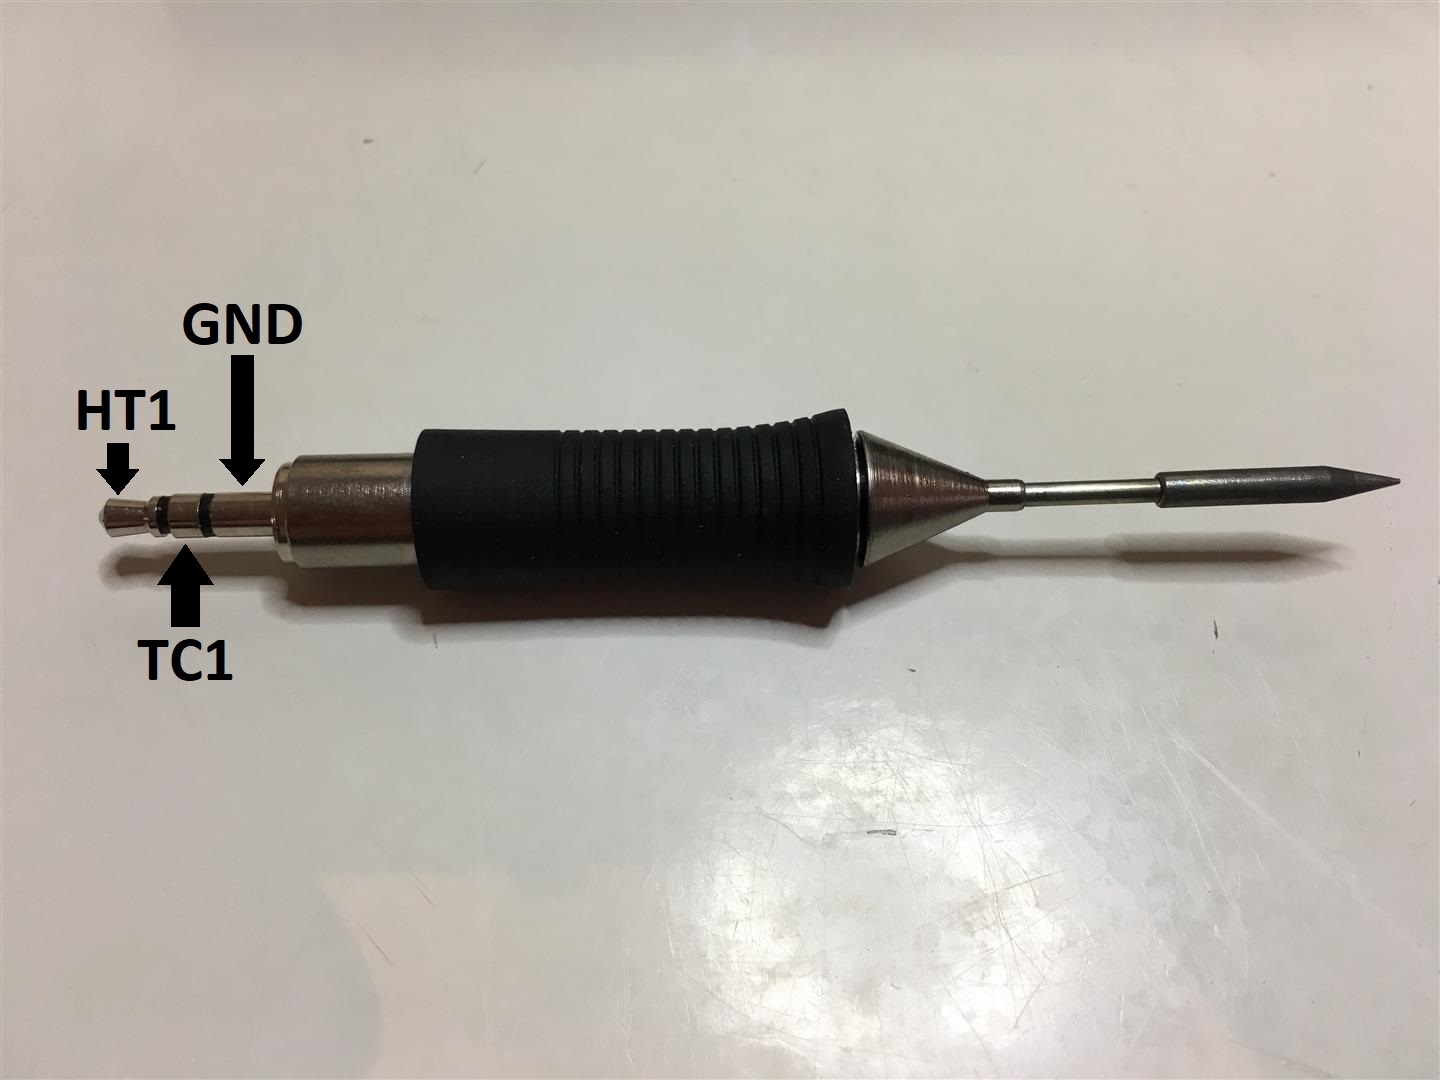
The most important features: - Possibility to use only Weller WMRP tips, which have a connection via a 3.5mm jack;
- Very fast heating;
- Supports original Weller holders including PTC reading for thermocouple cold end compensation and reading when the flask is in the holder;
- Setback, setback delay, standby, offset temperature settings as in the original Weller station;
- Possibility to set the temperature step and change the temperature scale between °C and °F;
- Diagnostic menu for two thermocouples in case of WMRT, cold end compensation, WMRT or WMRP handle identification or no NC;
- Uses the microcontroller's internal reference voltage;
- All functions controlled by just one knob.
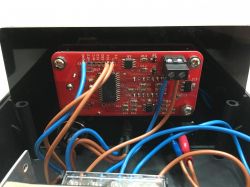
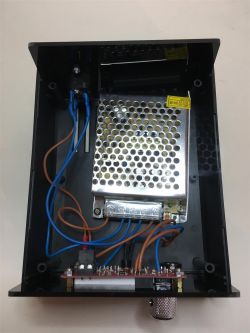
Construction: The PCBs were ordered in
DirtyPCB If someone uses the link provided, I advise you to choose the quantity as a protopack, personally they gave me 11 tiles. That's why I made 11 controllers and bought all the elements 11 times to have enough for all of them. I will provide the cost estimate at the very end.
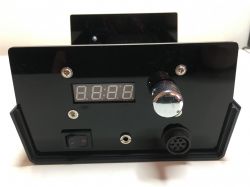
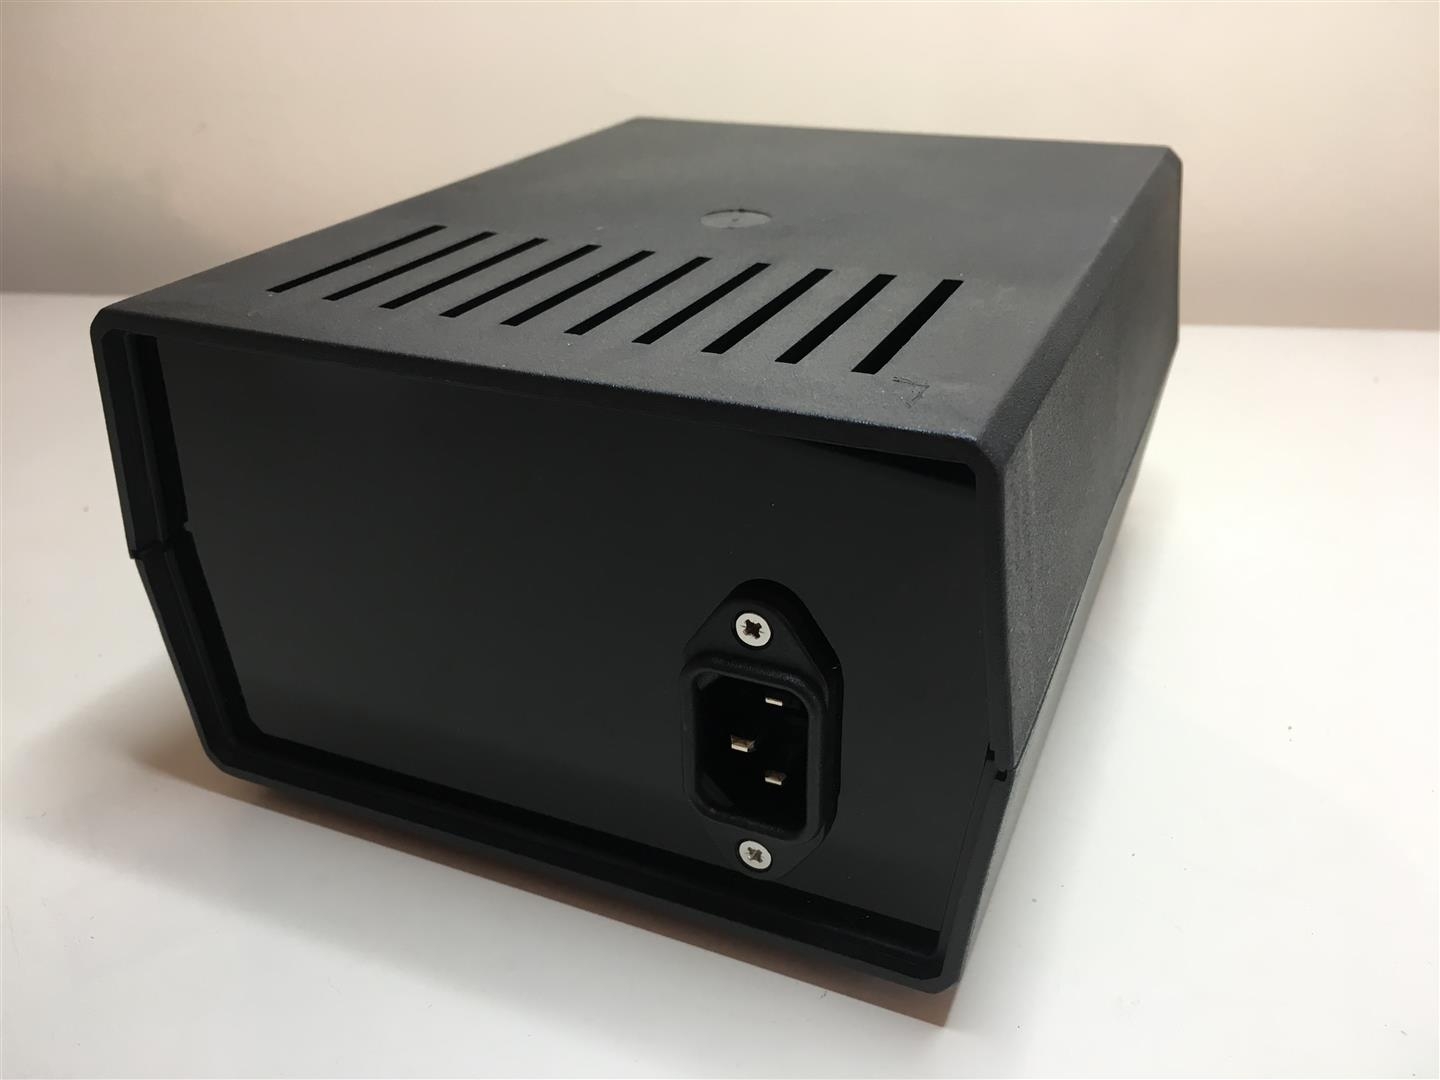
The case was ordered from eBay measuring 180mm x 150mm x 90mm. The front and rear panels were cut on a laser exactly for the housing and the mounting plate and sockets. I could only do this after measuring the original panels that came with the casing - they are matte and so is the entire casing. However, the ones I got from a company that cuts with a laser are mirror-like, which look better than matte ones.

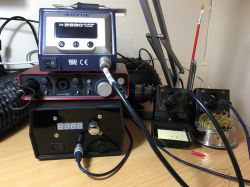
As for questions about why such a large casing could be accommodated in a smaller one, it was only to put my second station for large tips on it, and now there is also a sound card for YouTube. This is what it looks like on my desk:
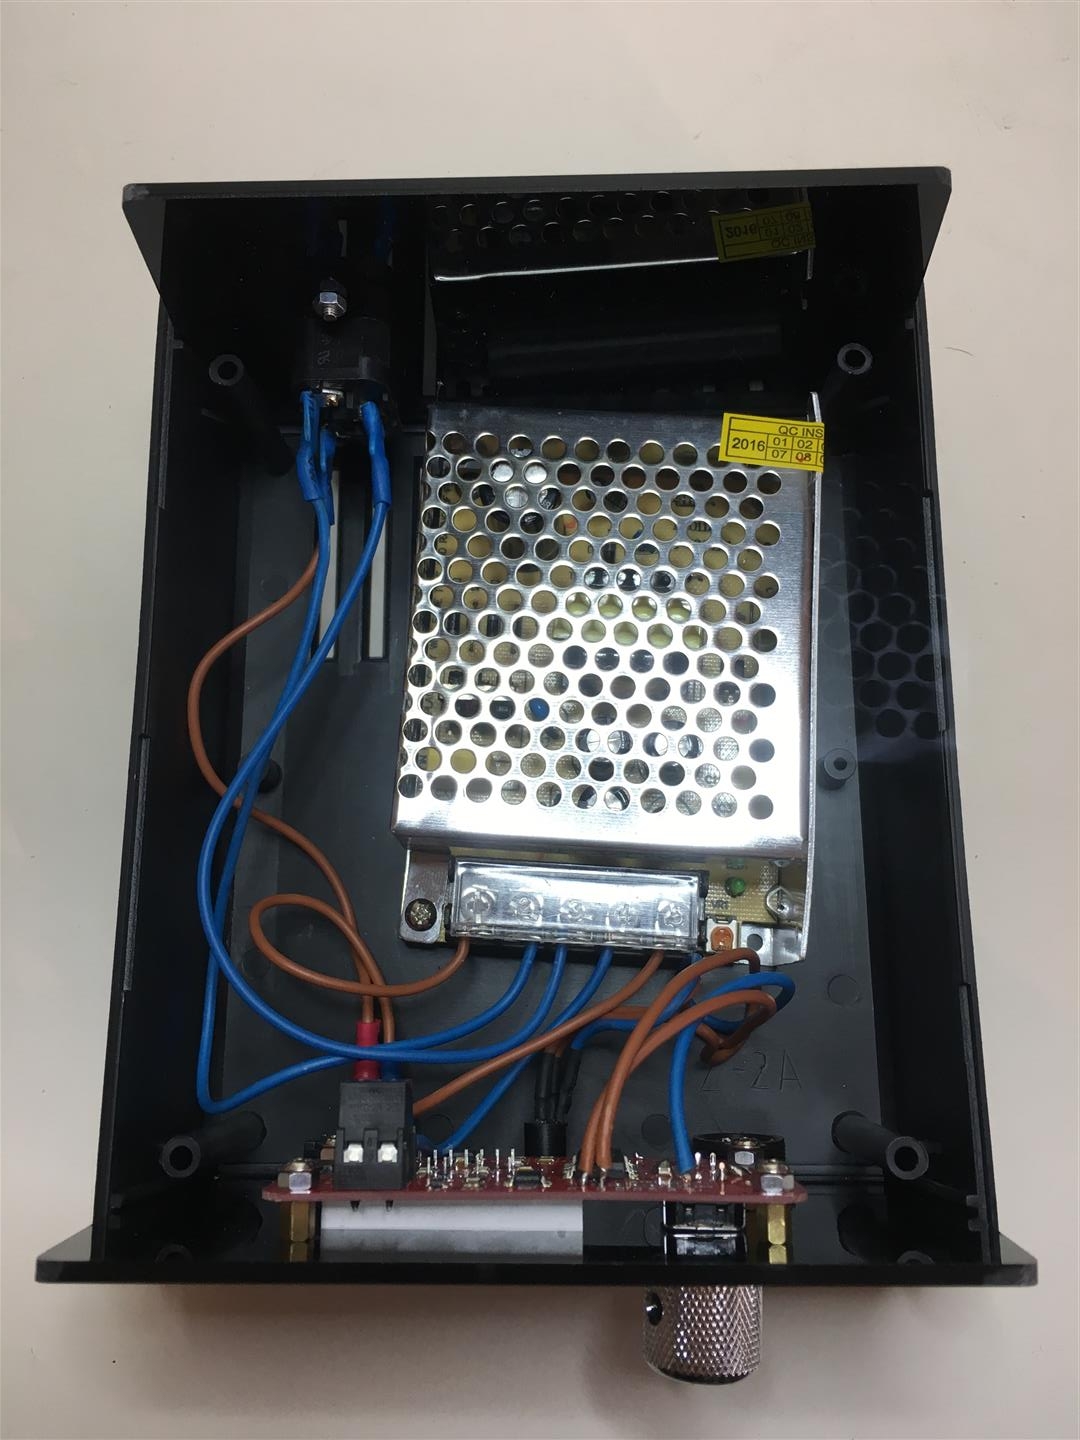
The power supply is provided by the cheapest switching power supply, which is offered as a power supply for 12V/5A LED strips. Dimensions 110mm x 79mm x 37mm. Perfectly sufficient for use with WMRP. Thanks to the holes in the housing, it was possible to screw on the power supply without drilling.

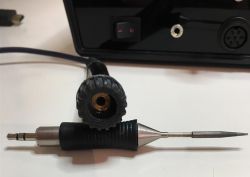
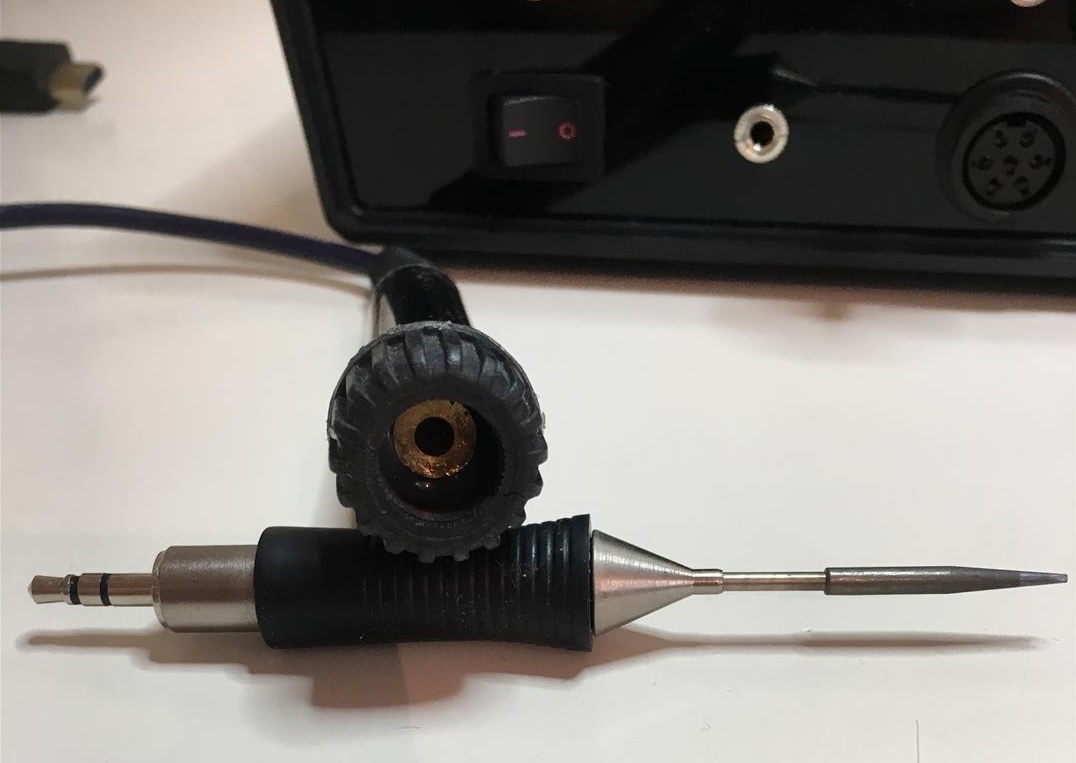
The stock was made of a stock from the Zhaoxin soldering station. I didn't want to use a tip plugged into the 3.5mm jack extension only, because it wasn't comfortable for me, and the tip itself was stuck in the holder stand. The stock is a little shorter because I had to cut it down until the hole was large enough to attach the end of the jack extension in a way that allows for easy replacement of points like in the original stock. Extensionglued with hot glue after proper adjustment to the inside of the stock, so that it cannot slide out over time due to changes in the tips.
 Programming:
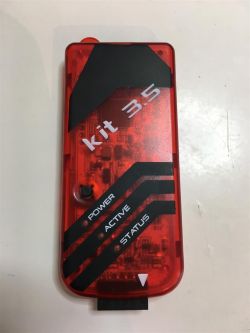
 To program the PIC, I used my PicKit clone marked with the number 3.5. On the board we can see fields called X1 - this is where you need to connect a special 6-pin cable for quick PIC programming. Unfortunately, it is definitely too expensive to invest in it, so I soldered each connection with the cable that came with the programmer. For programming, you need to use software called MPLAB IDE and select the option to power the system through the programmer. Otherwise, it will display an error about connection to the microcontroller.
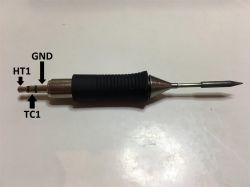
To use only the WMRP tip for the station, you need to connect it as shown in the photo and enable the poor option in the station menu.
 List of the entire menu below and the operation of the station in the author's video:
Station menu: Cost estimate approximately in Polish zlotys I paid $ or ?: PCB boards - 11 pieces when shipped by DHL? approximately PLN 120 / 11 = PLN 11 / 1 piece
Housing -PLN 35
DC power supply - PLN 34
Chrome knob - PLN 15
Programmer - PLN 68
Electronic parts, cables, screws, sockets, laser cutting, jack extension - about PLN 200-250.
Mainsail for WMRP about PLN 100 each.
The connector for the original Weller flasks is a modified Amphenol T 3437 000. The modification involves pulling out the center of the connector and moving it to the appropriate side to fit the Weller plug.
The main author of the station is
Jaakko Kairus Project page:
Link Below are the attachments, input to the station, documentation, parts list, assembly, compatible tips with a 3.5mm WMRP plug.


Comments
Did you only buy the tips, without the handles? This is probably a moderately accurate temperature measurement, right? [Read more]
There is some protection against short circuit. Nothing will happen if the Jack connector is turned on and the soldering iron falls out? [Read more]
You don't need the original handles because the thermocouple and heater are in the cave. There is only a magnetic sensor in the flask to sense when it is in the holder and then it goes to sleep or... [Read more]
A short circuit occurs when inserting or removing the plug. I once had a problem with this when I was wiring these plugs for a heated jacket. [Read more]
Here it is solved by sampling whether the plug is present or not, so that nothing happens :) [Read more]
Ok, so even plugging in halfway will not damage the system. I like this solution. Regards [Read more]
Thanks for the info. I always thought there was a second thermocouple there to compensate for the cold junction. [Read more]
Where did you buy your spearheads? [Read more]
The tips are purchased here, where I live in the UK, in the RS Components store. [Read more]
OK thanks. One more question... what is the model of the tweezers tip/head? [Read more]
The tips for the mini jack socket where the original stock is not needed are in the "Weller tips" attachment, but if you want to have thermotweezers, it is the WMRT model and you have to have the original... [Read more]
Weller tips are available on TME (at least some) https://www.tme.eu/pl/katalog/groty-lutownicze_100540/#search=weller+rt&s_field=artykul&s_order=ASC Regards [Read more]
You thought right, Weller also thought about temperature compensation of the cold junction for this one, in addition to the magnetic sensor, the handle also has a KTY 82 resistive temperature sensor. ... [Read more]
Very interesting idea, good execution. However, putting together a project from modules (especially Chinese ones) always arouses philosophical reflections in me. The big advantage here is the use of Weller's... [Read more]
I knew there was something like that there. I'm also curious how stable and accurate the temperature is without compensation. [Read more]
Sorry for the long response time, but I was away. I did a test today and there was a 9°C difference between the station indication (the tip itself) and the thermocouple of the meter. Below is a photo. ... [Read more]
In this case, a few degrees of deviation does not matter at all. Regards [Read more]
If it was 30-40°C, that would be something, and as for the temperature, when I measured it, the oscillation was only 1-2°C, but that was probably only due to the movement of my hand. [Read more]
In total, I made two stations based on this design and in both cases the temperature was too low, I didn't have time to figure it out further, so I inserted two multi-turn potentiometers in the amplifier... [Read more]