It took me a little bit, but as promised, I am presenting you a "Chinese" branded meter
UNI-T though I don't know how much truth there is

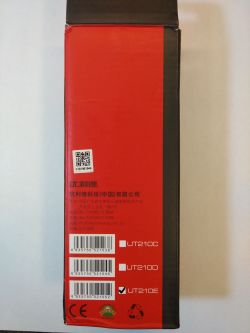
. This multimeter is available in several versions (from
AND down
E. ) that differ in their functions. I have purchased
UT210E , because I was interested in the small range of the measured current (although I must admit that I did not believe it was in the range
2 Amps it will be authoritative). All versions "can" measure the current
DC which at this price is practically unheard of.
I would not be myself if I had not put a screenshot from the auction here, so here I am

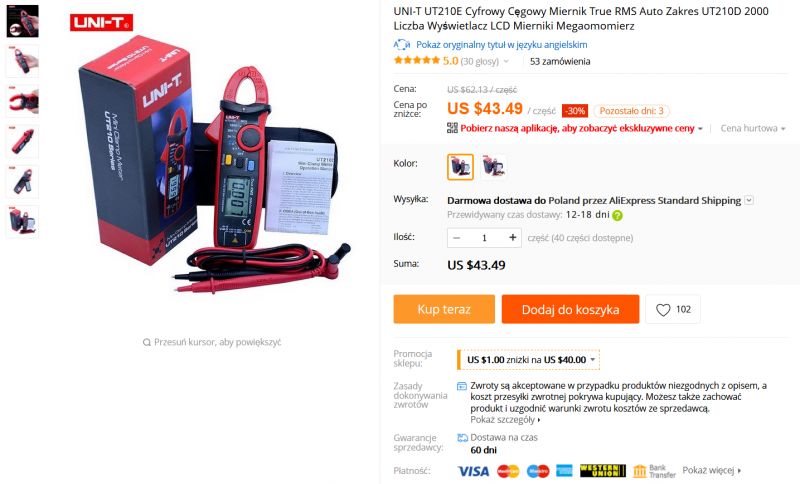
As you can see, the price is downright ridiculous forty-three and a half dollars, which is less than
170 Polish zlotys . In our country, we can buy at a slightly higher price our native clamp meter, but the operator
only AC .
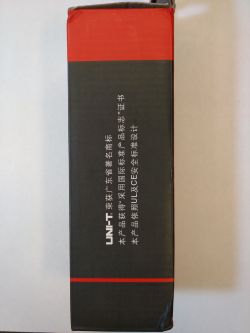
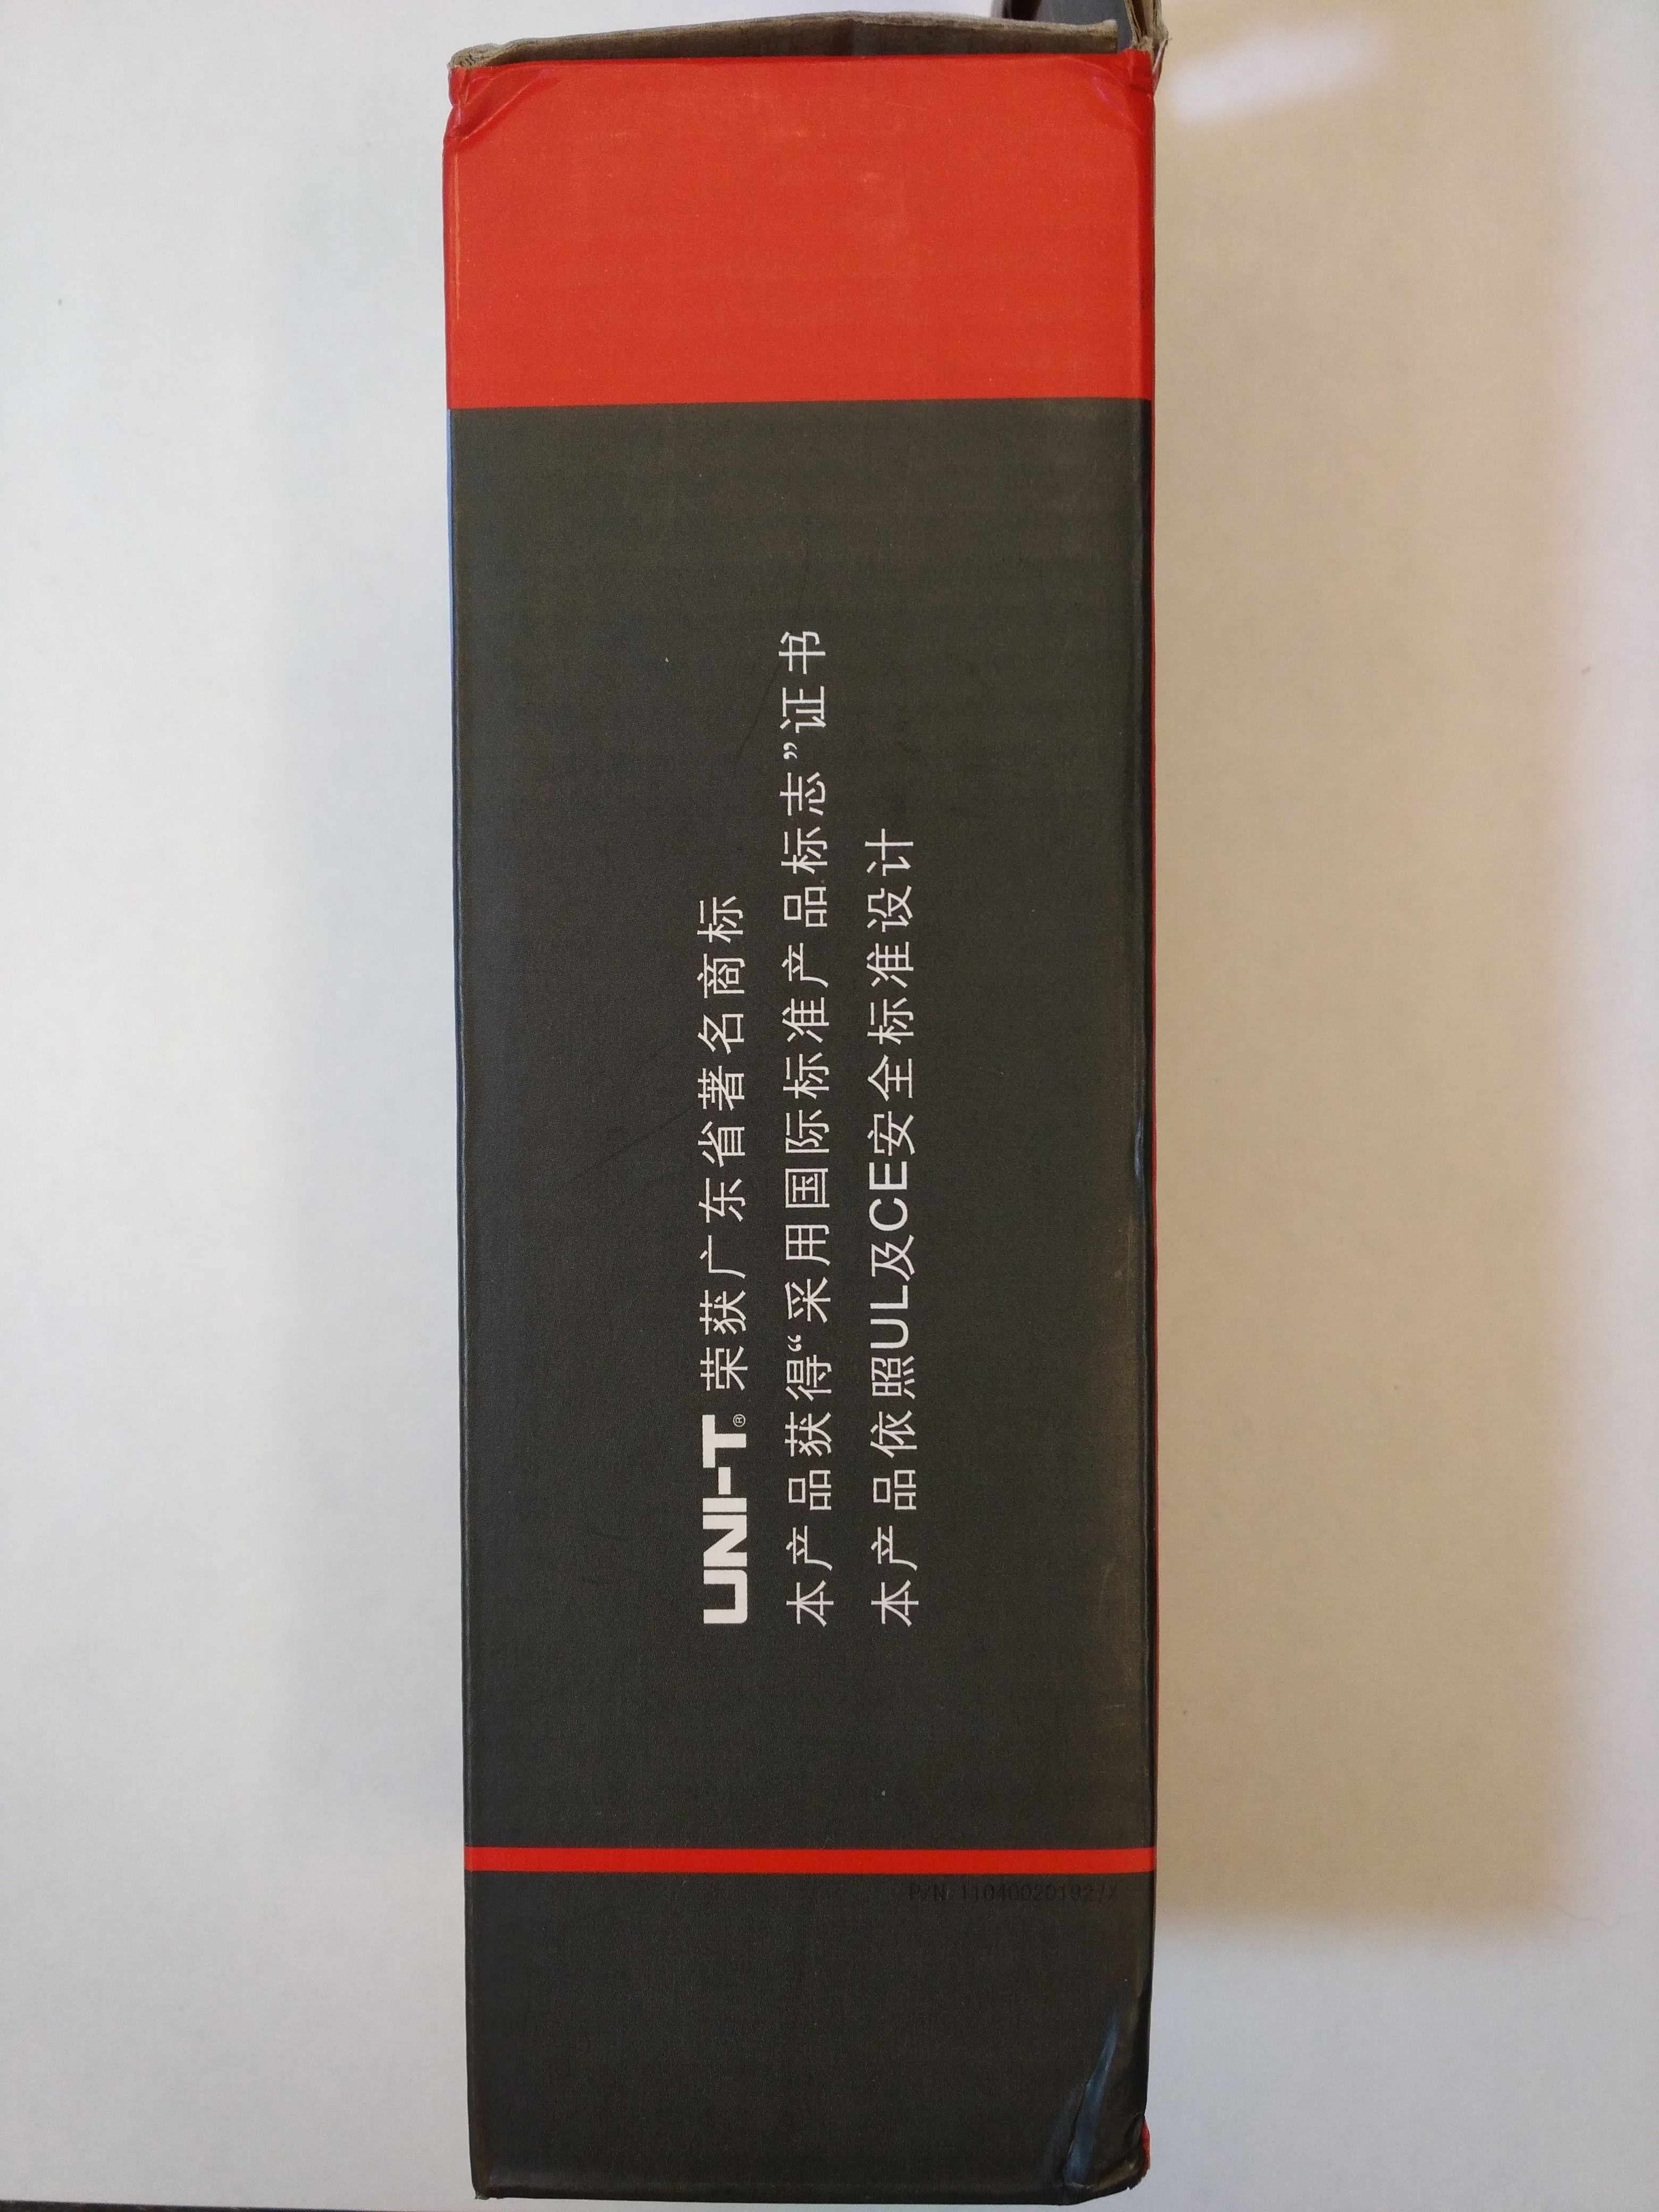
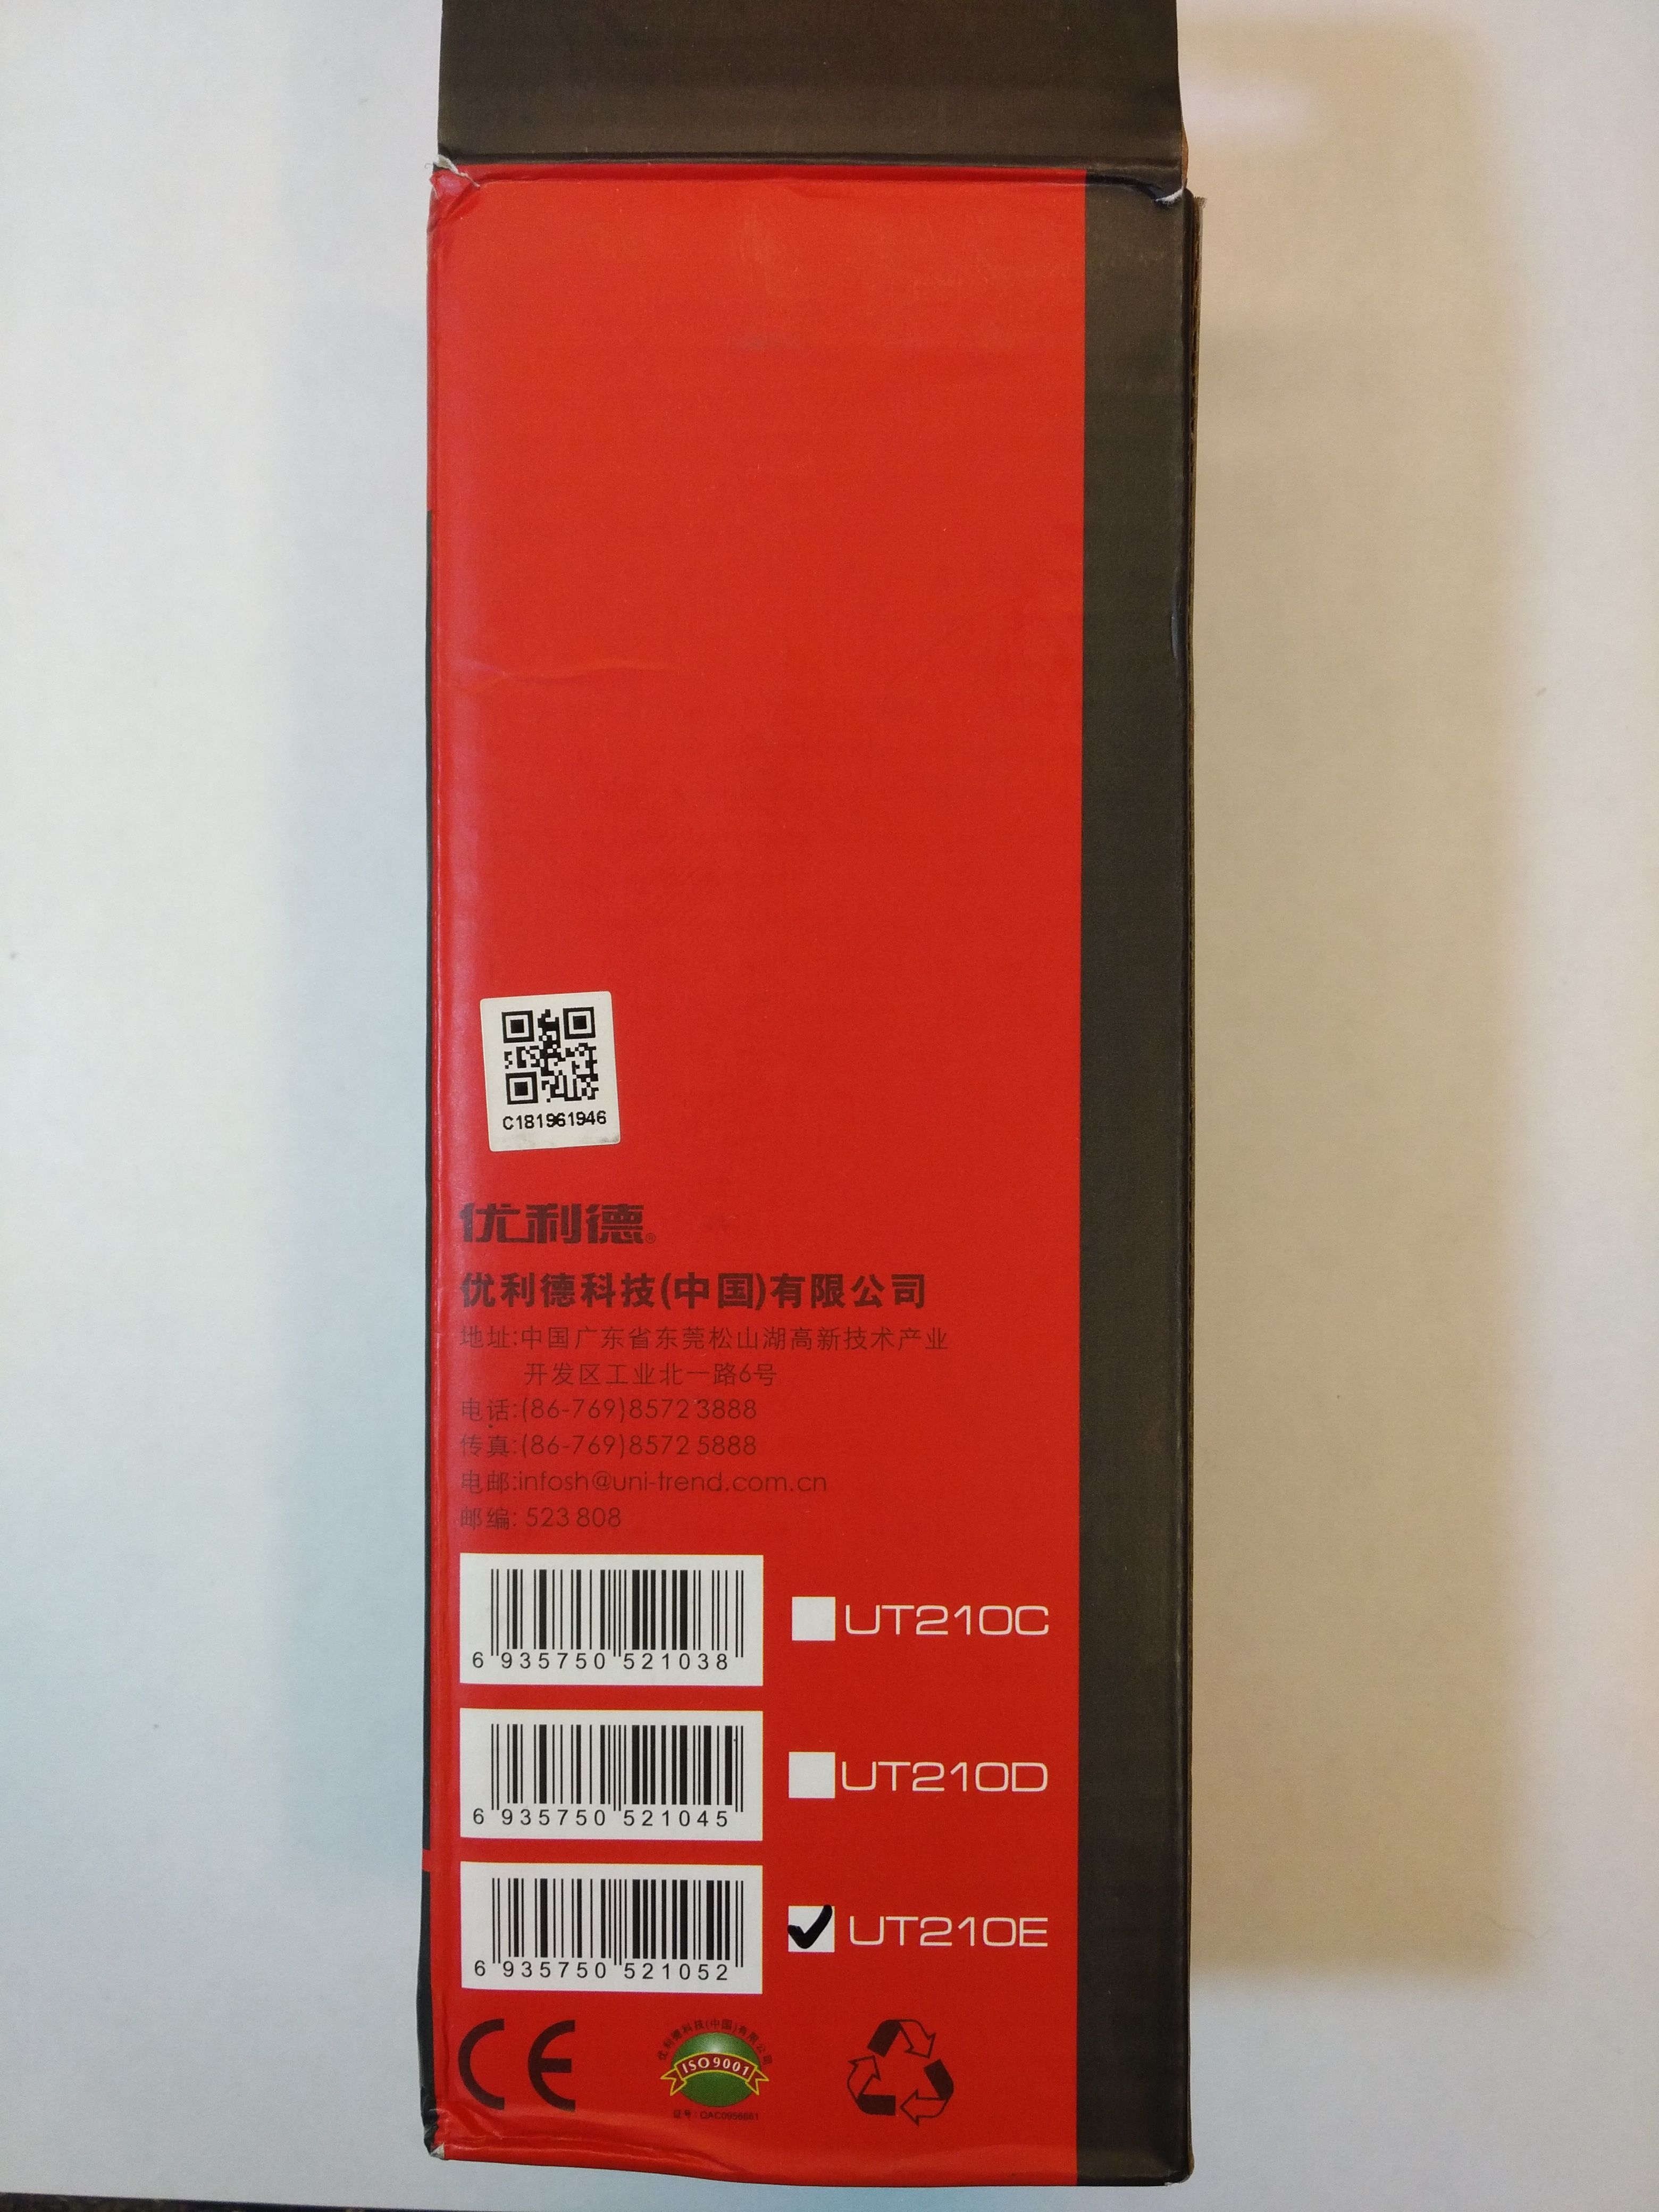
The photos below show the content of the shipment. It seems that it is either a product typically for the Chinese market (only the inscriptions in Mandarin on the packaging, except for one), or a very nice fake.


Here, as in the case of Aneng Q1, I have two copies at my disposal. When I got mine and was with him at a friend with whom I tested the reference voltage that you already know, my friend liked it and asked me to order him the same. Thanks to this, I have the opportunity to not only test but also check the repeatability of the results.
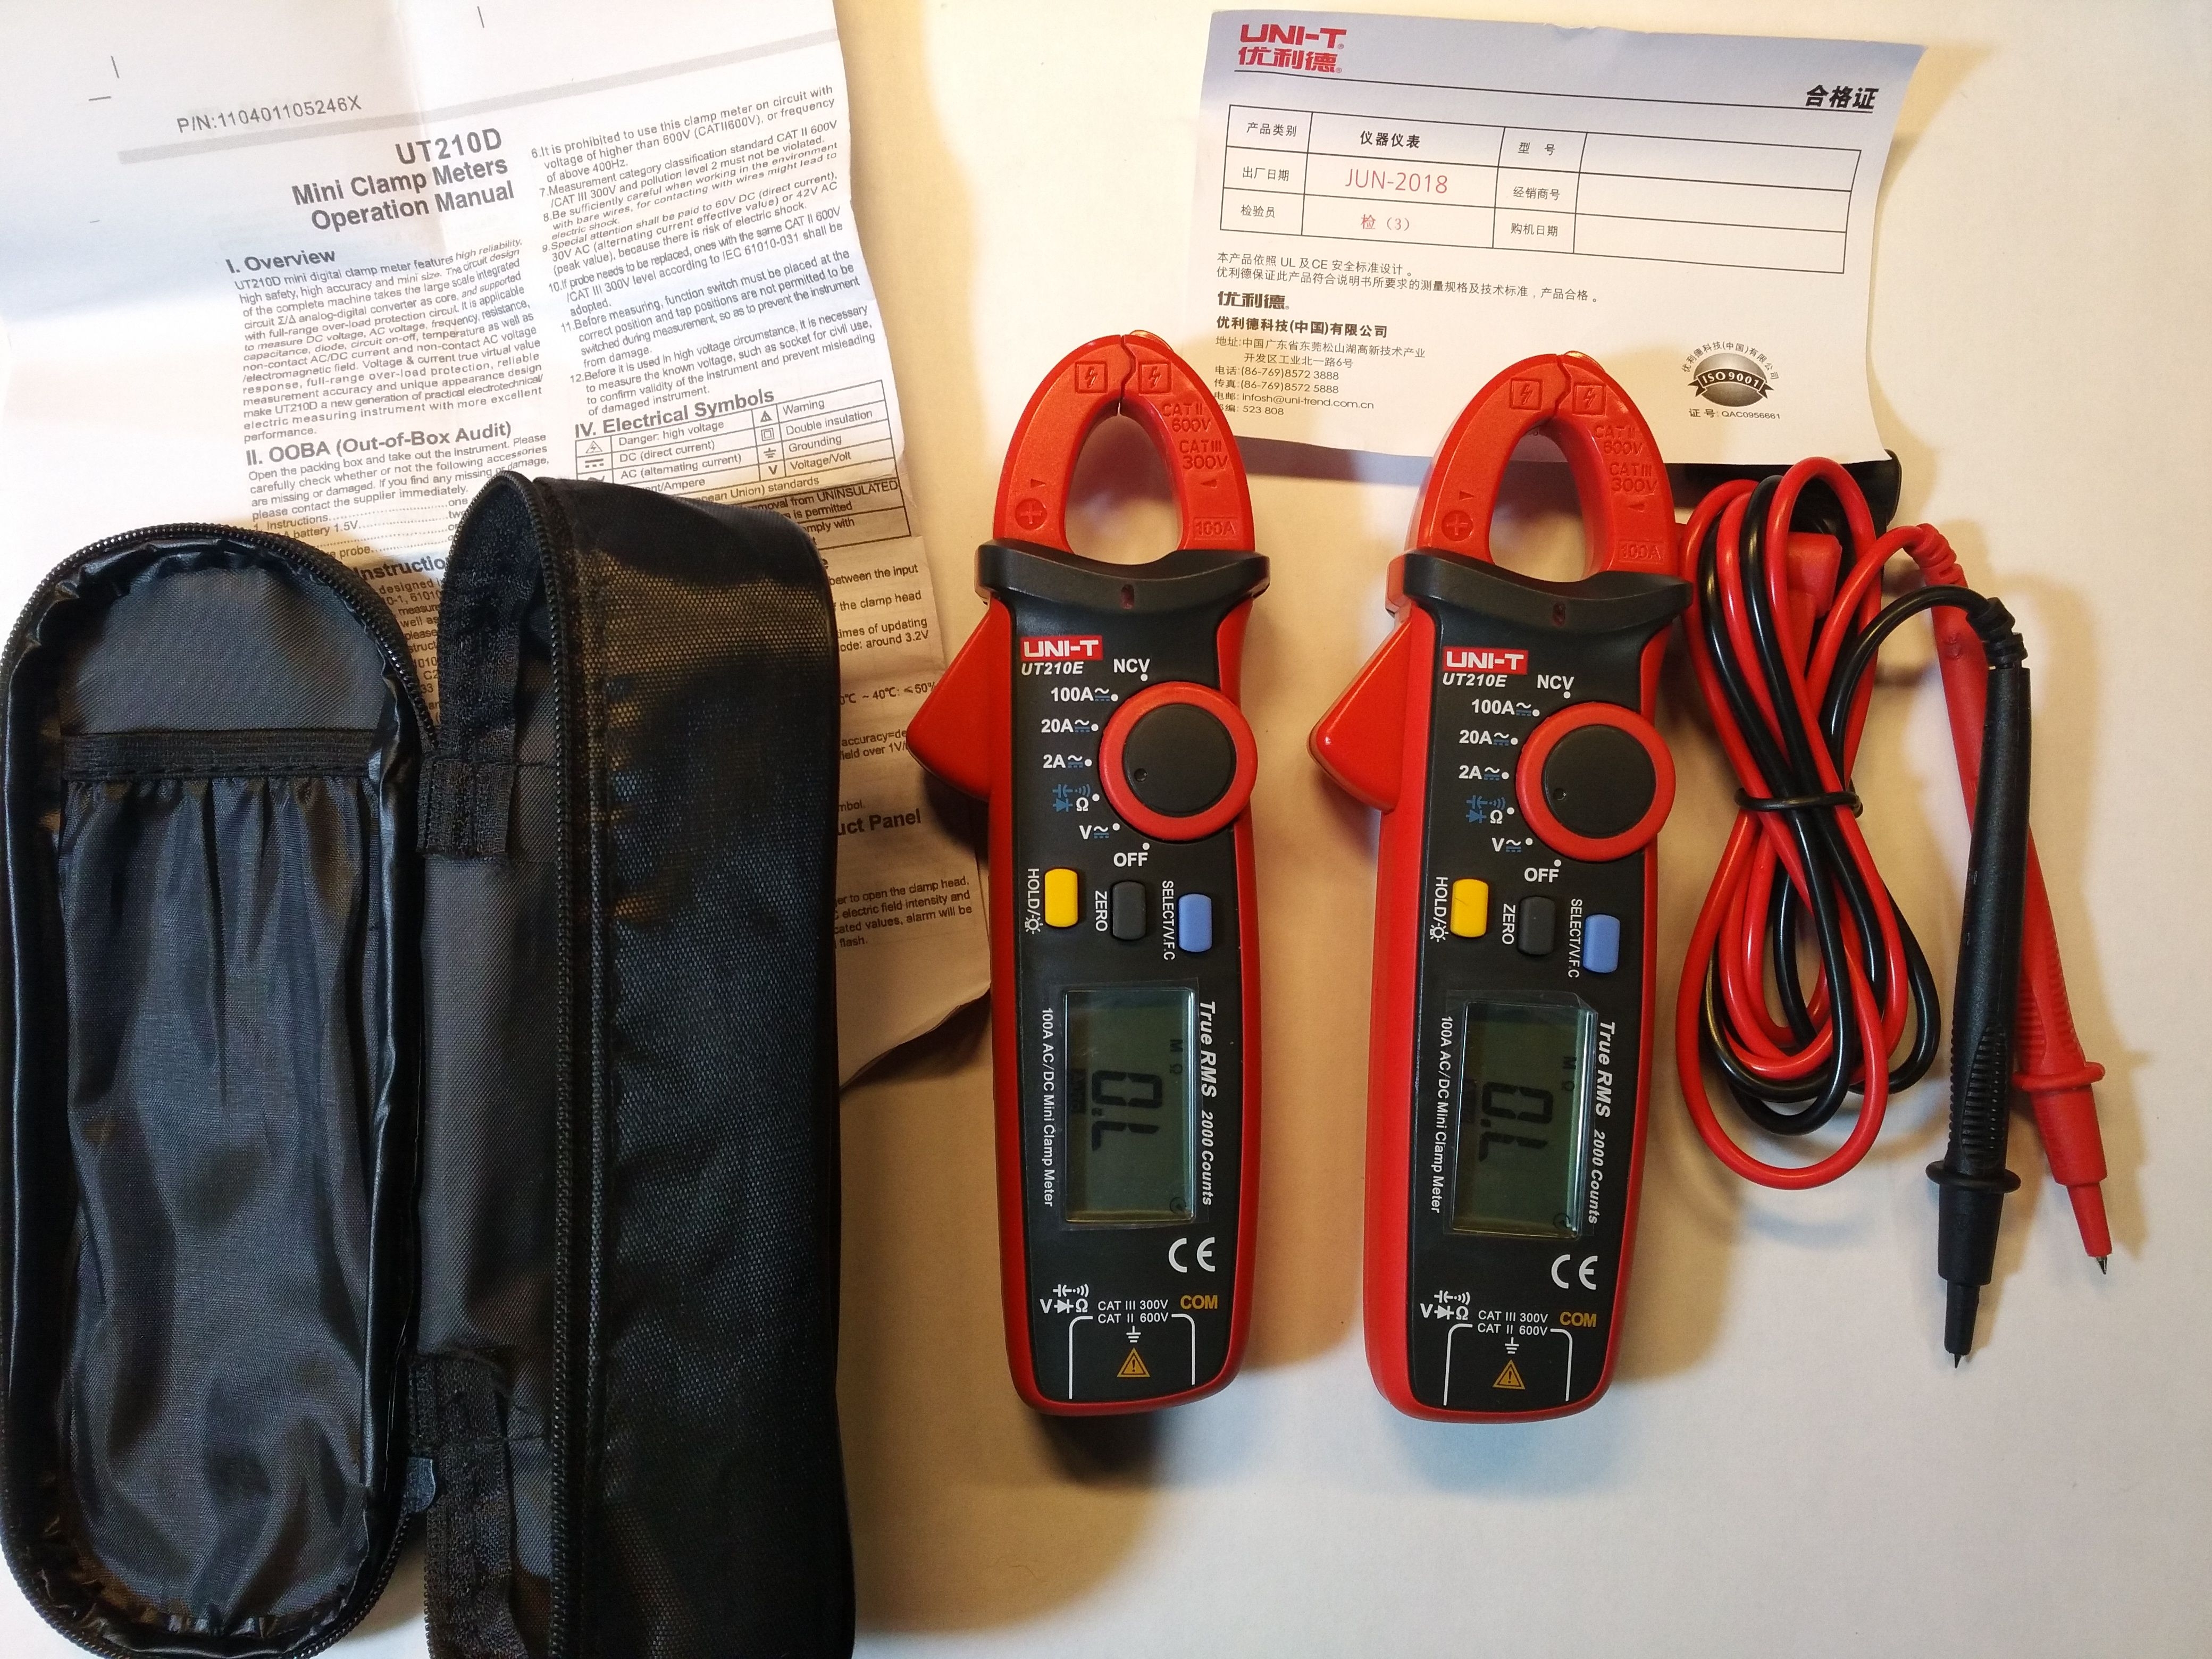
In this beautiful colorful box, from which nothing comes out, we find such treasures:

Of course, there is only one multimeter
.
The test leads seem solid, and they have insulating caps on the test tips, which I personally approve of. Although these are actually quite "thick skinned". A very nice addition is also a well-fitted cover with a zipper. Inside there is a pocket for cables, and an elastic band securing the multimeter against falling out, should someone forget to fasten the "zipper".
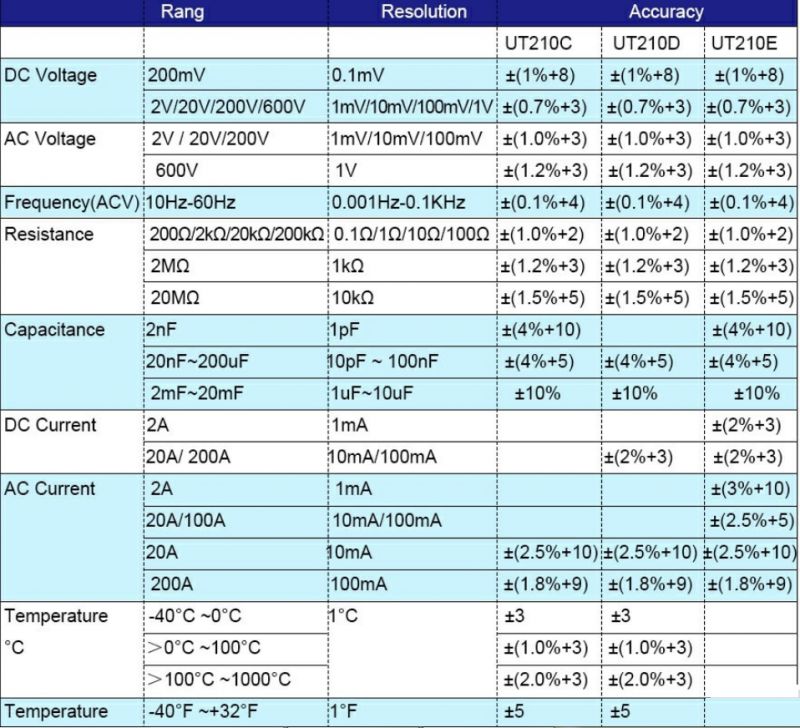
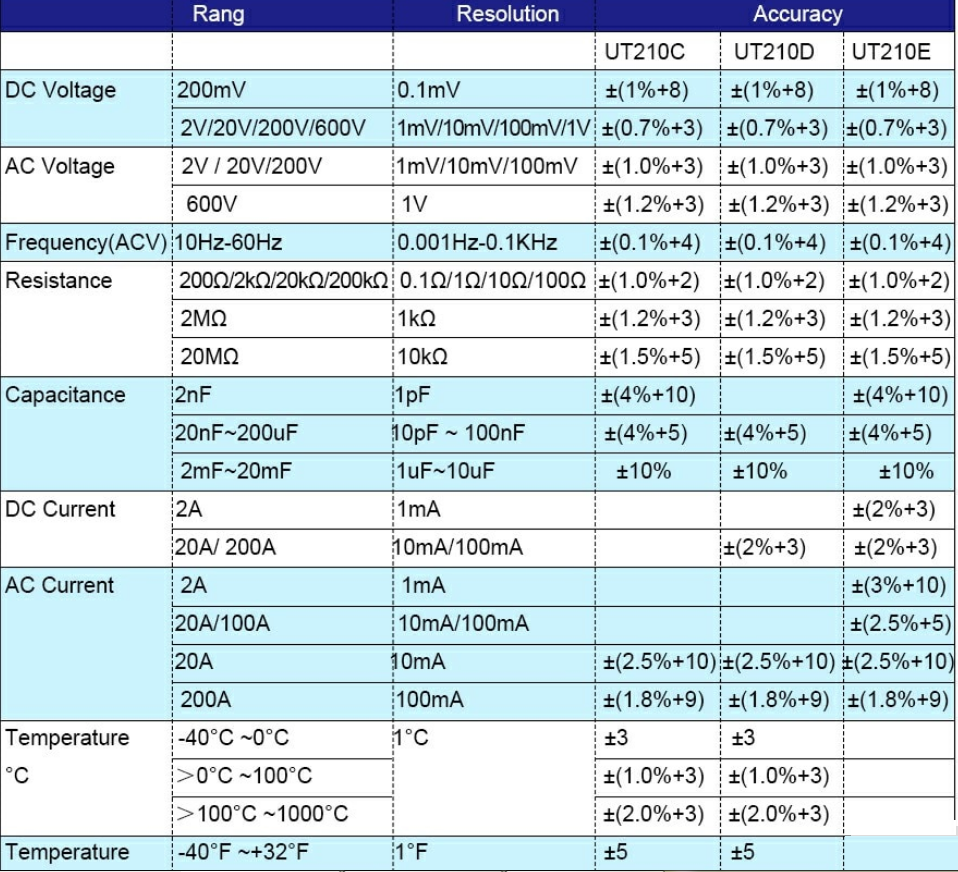
Let's take a look at the technical parameters, or if you prefer the specification.
I found a pretty nice table with my friends, so I'll steal it, I think the yellow brothers will not mind
.
I will not keep you in suspense anymore, because I know that you are waiting for practical tests.
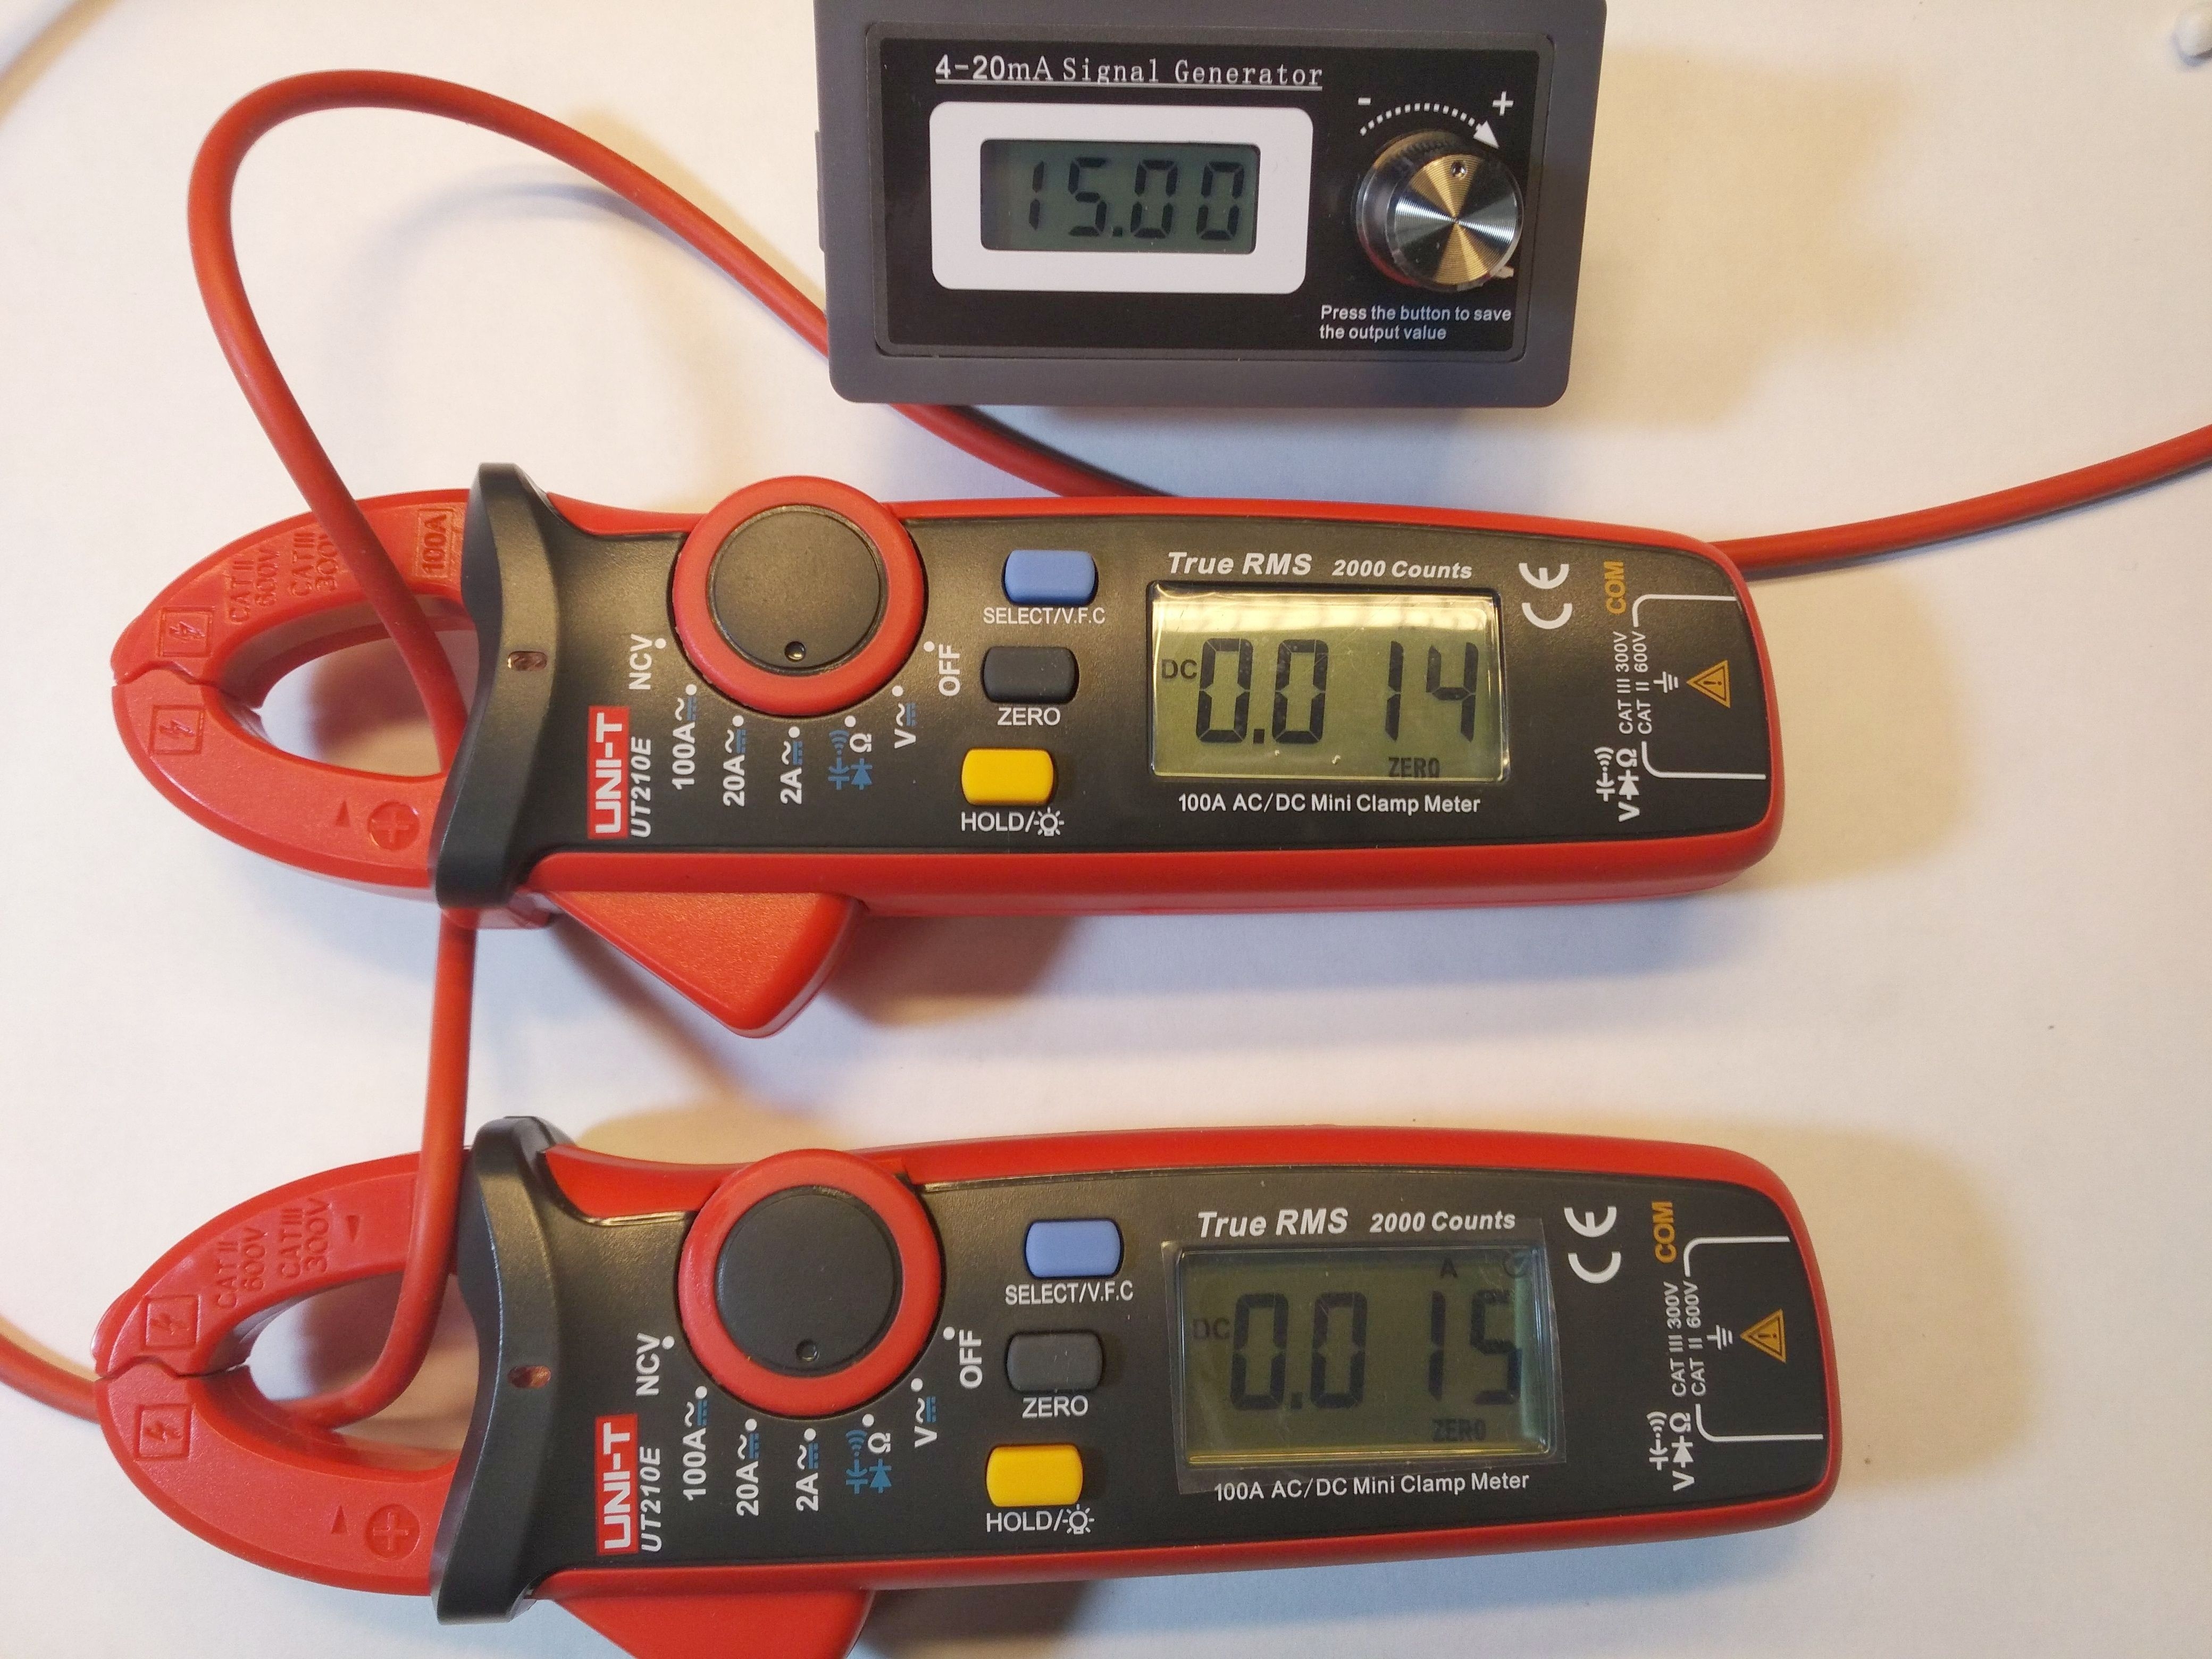
As I bought it mainly for non-contact current measurement, we will start with such tests. In the first phase, a well-known current source was used as the load. In the second, a 12V 21W bulb, scrolled to almost 17V, and a piece of "computer herring", because I did not have a suitable resistor at hand
. Stage three is an old iron and an autotransformer.
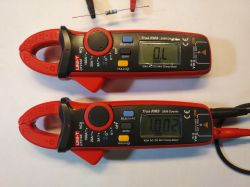
So let's start the photo stories:
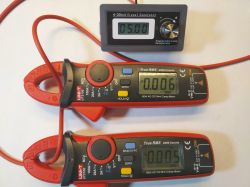


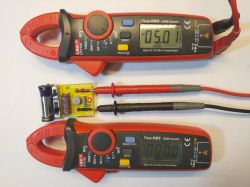
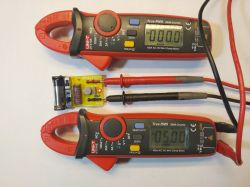
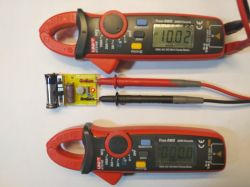
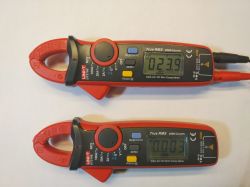
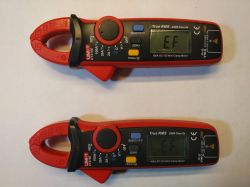
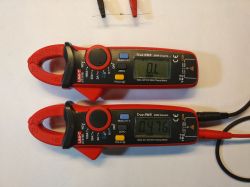
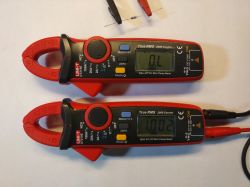
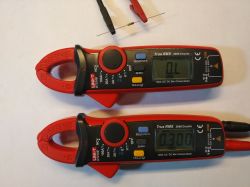
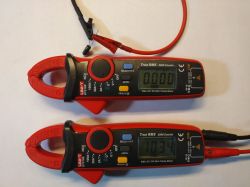
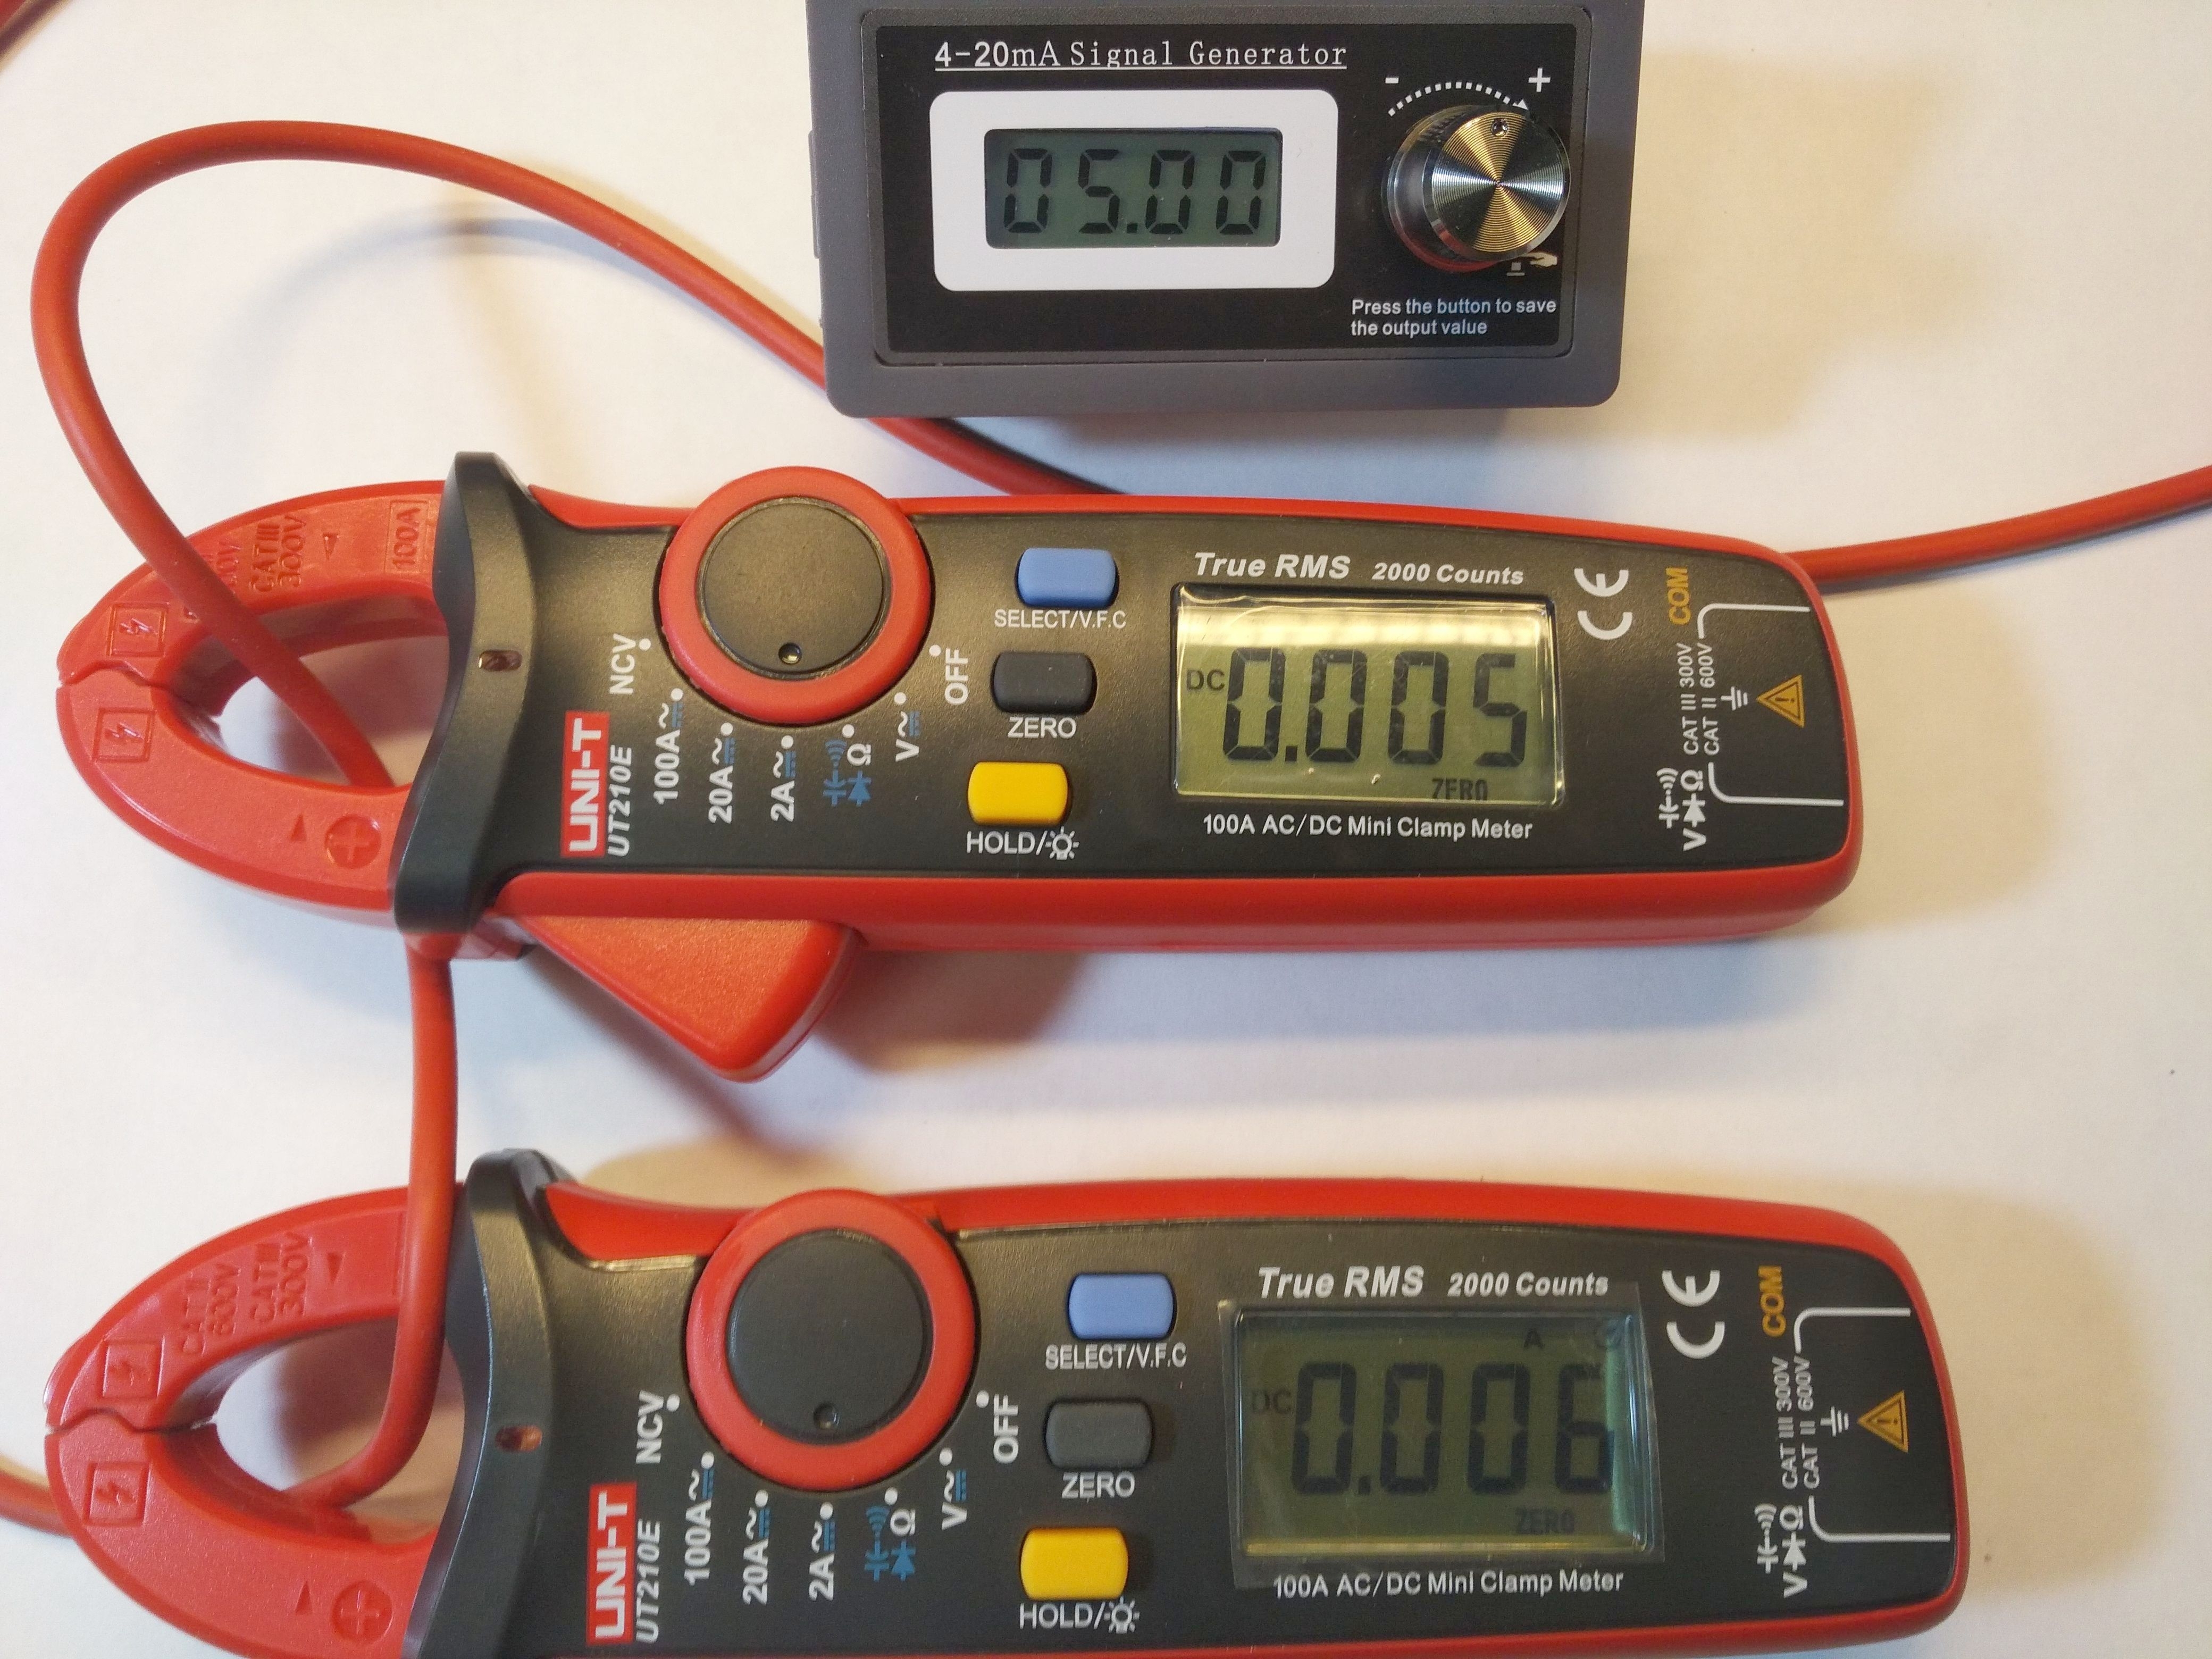
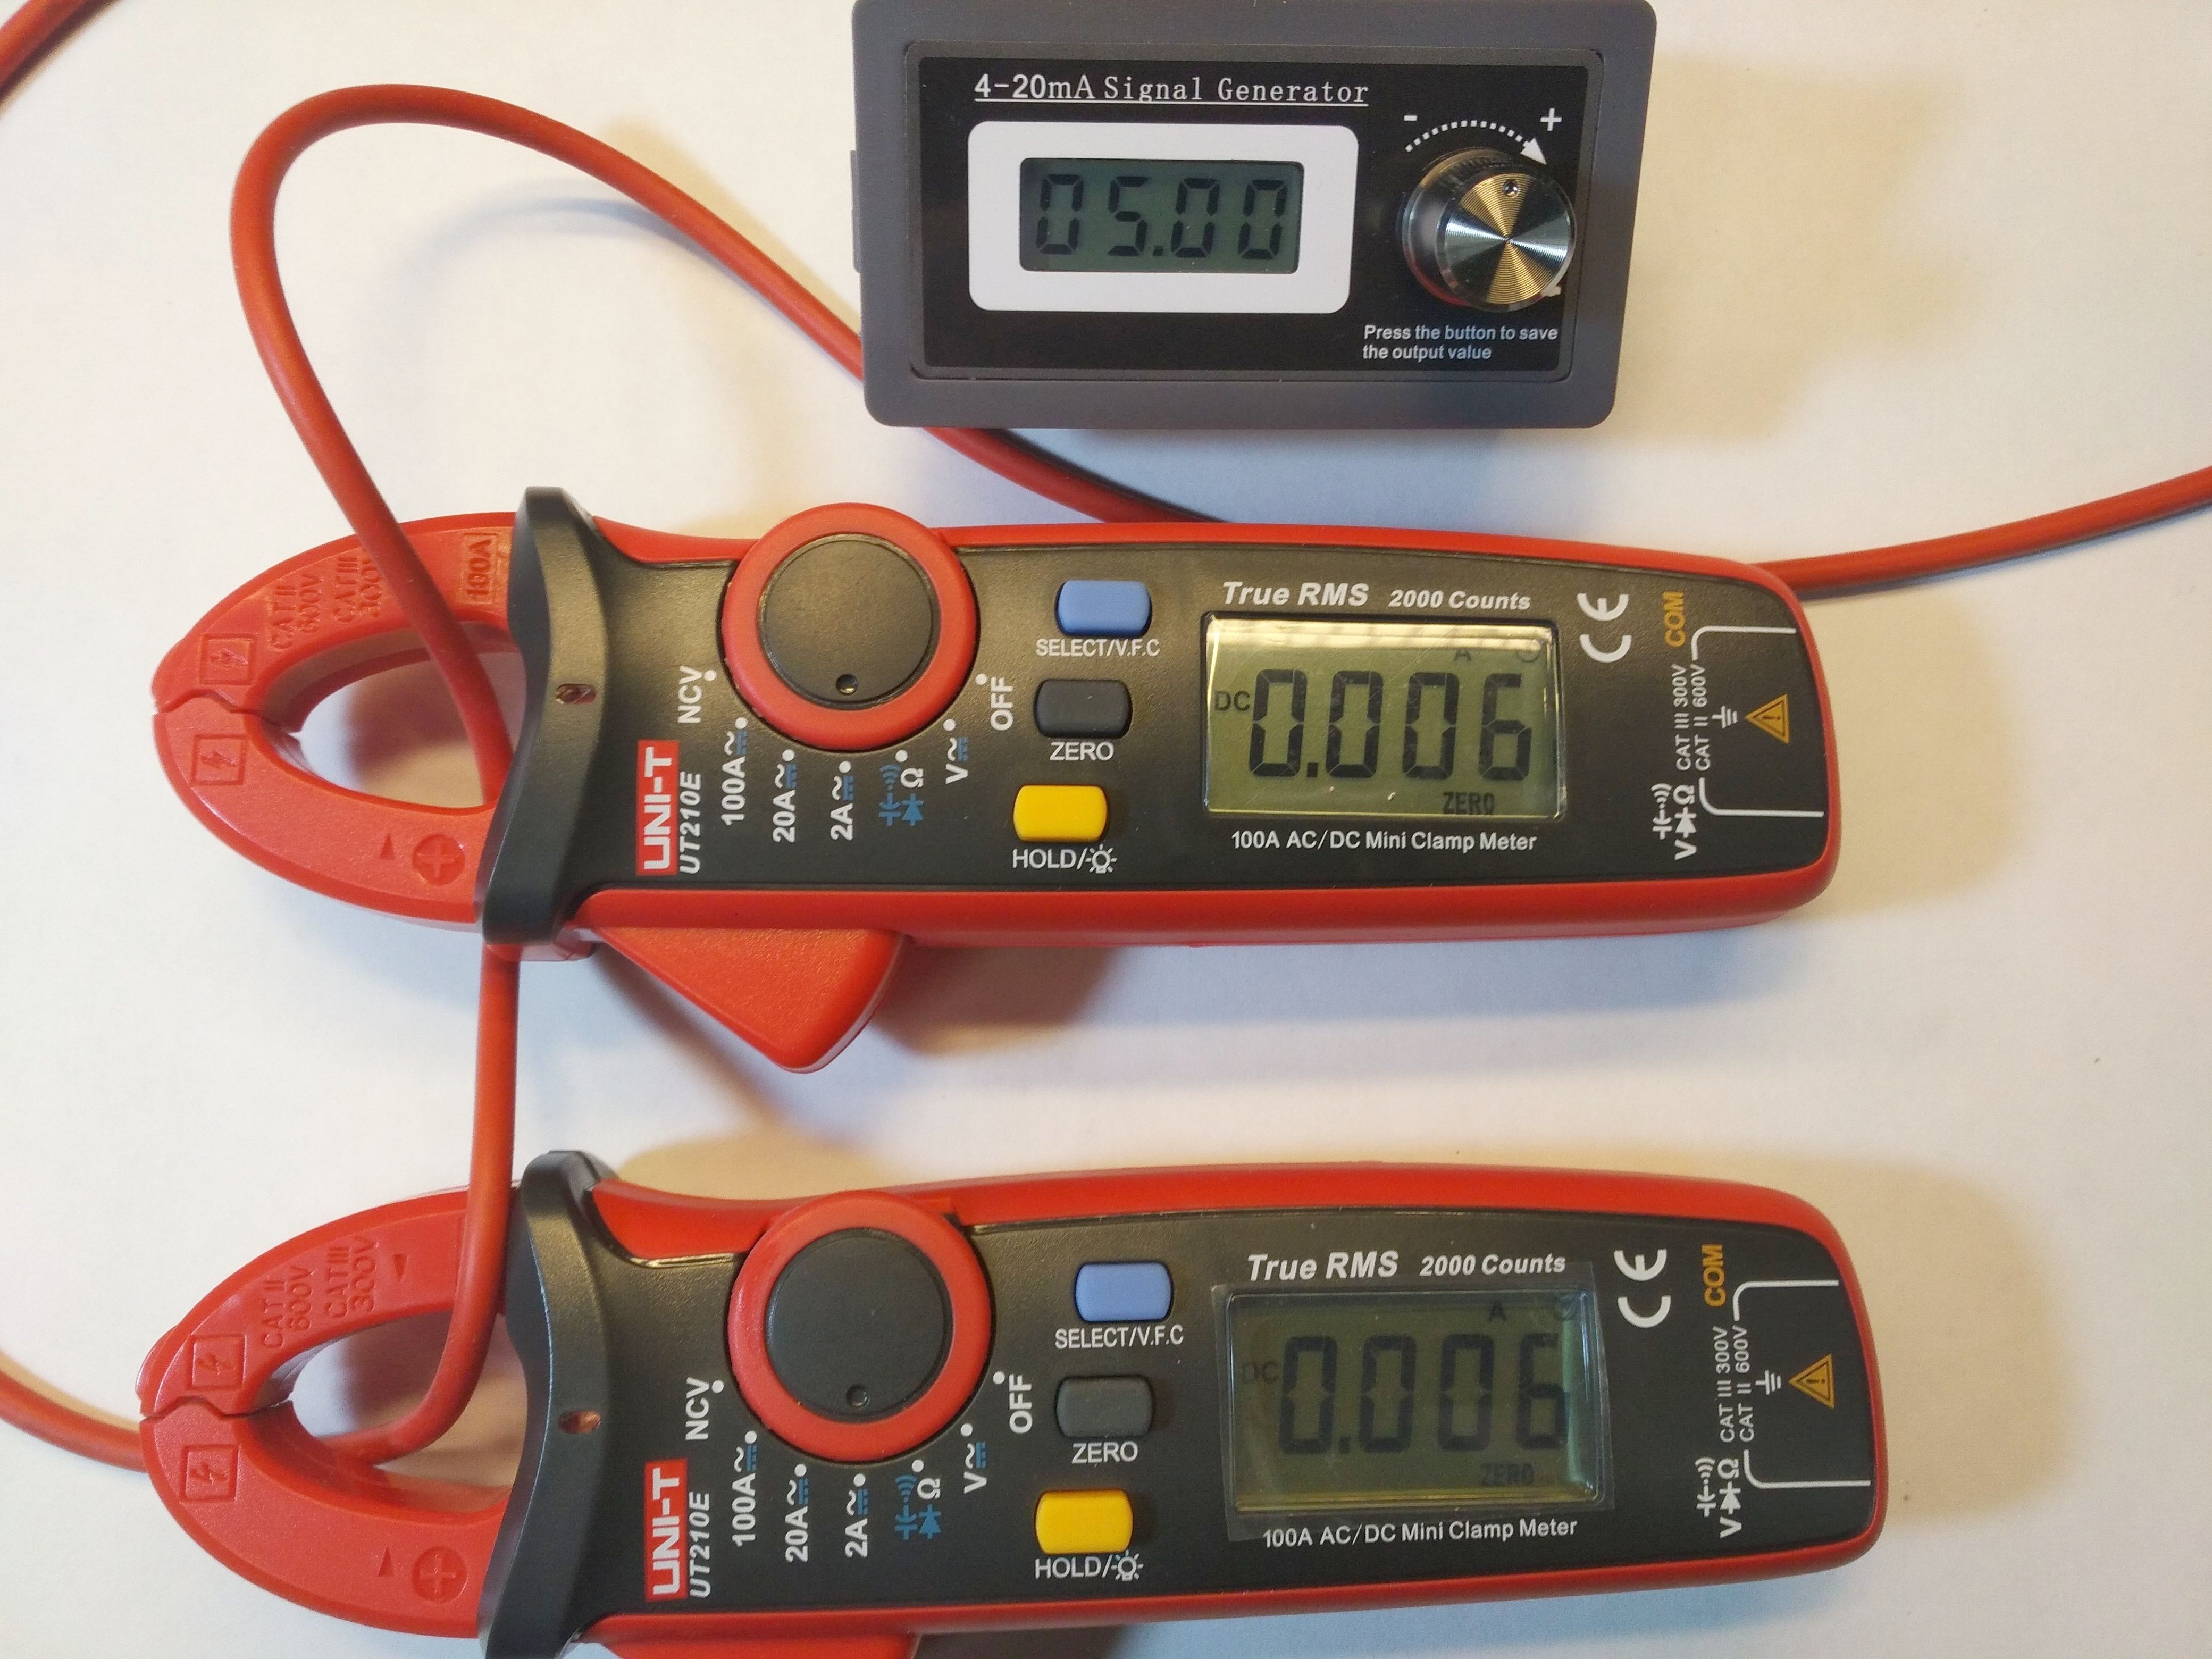
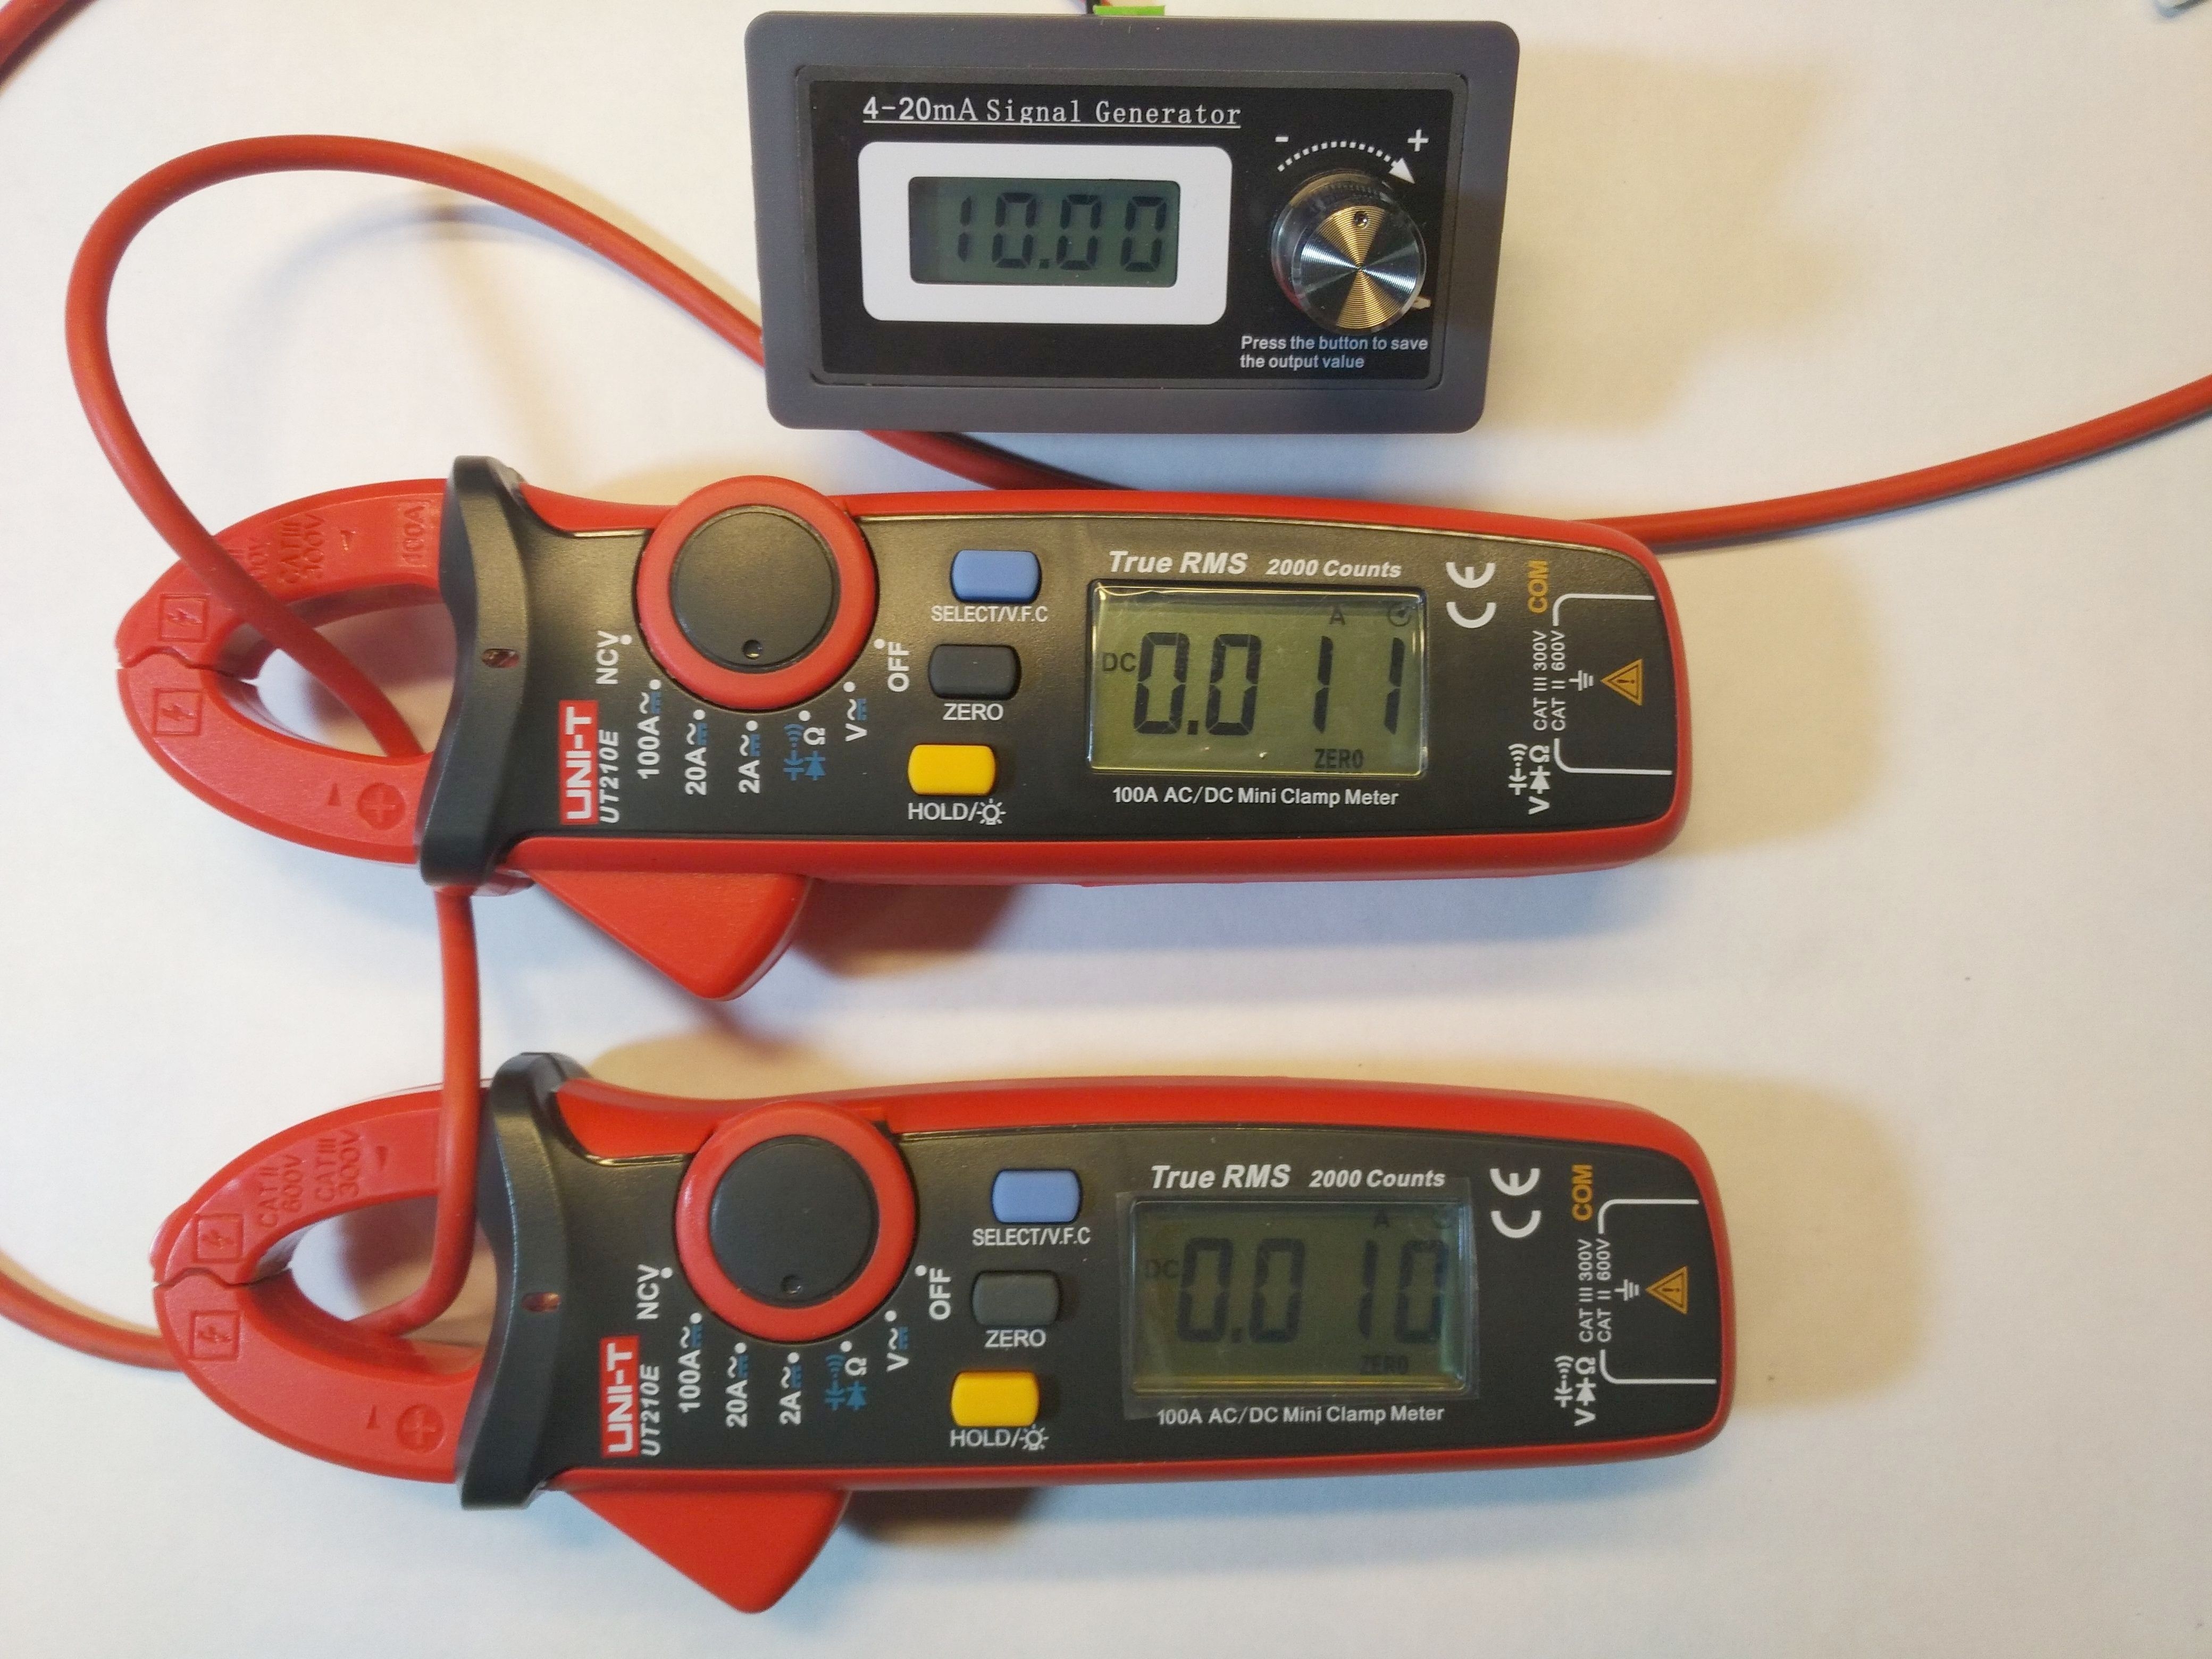
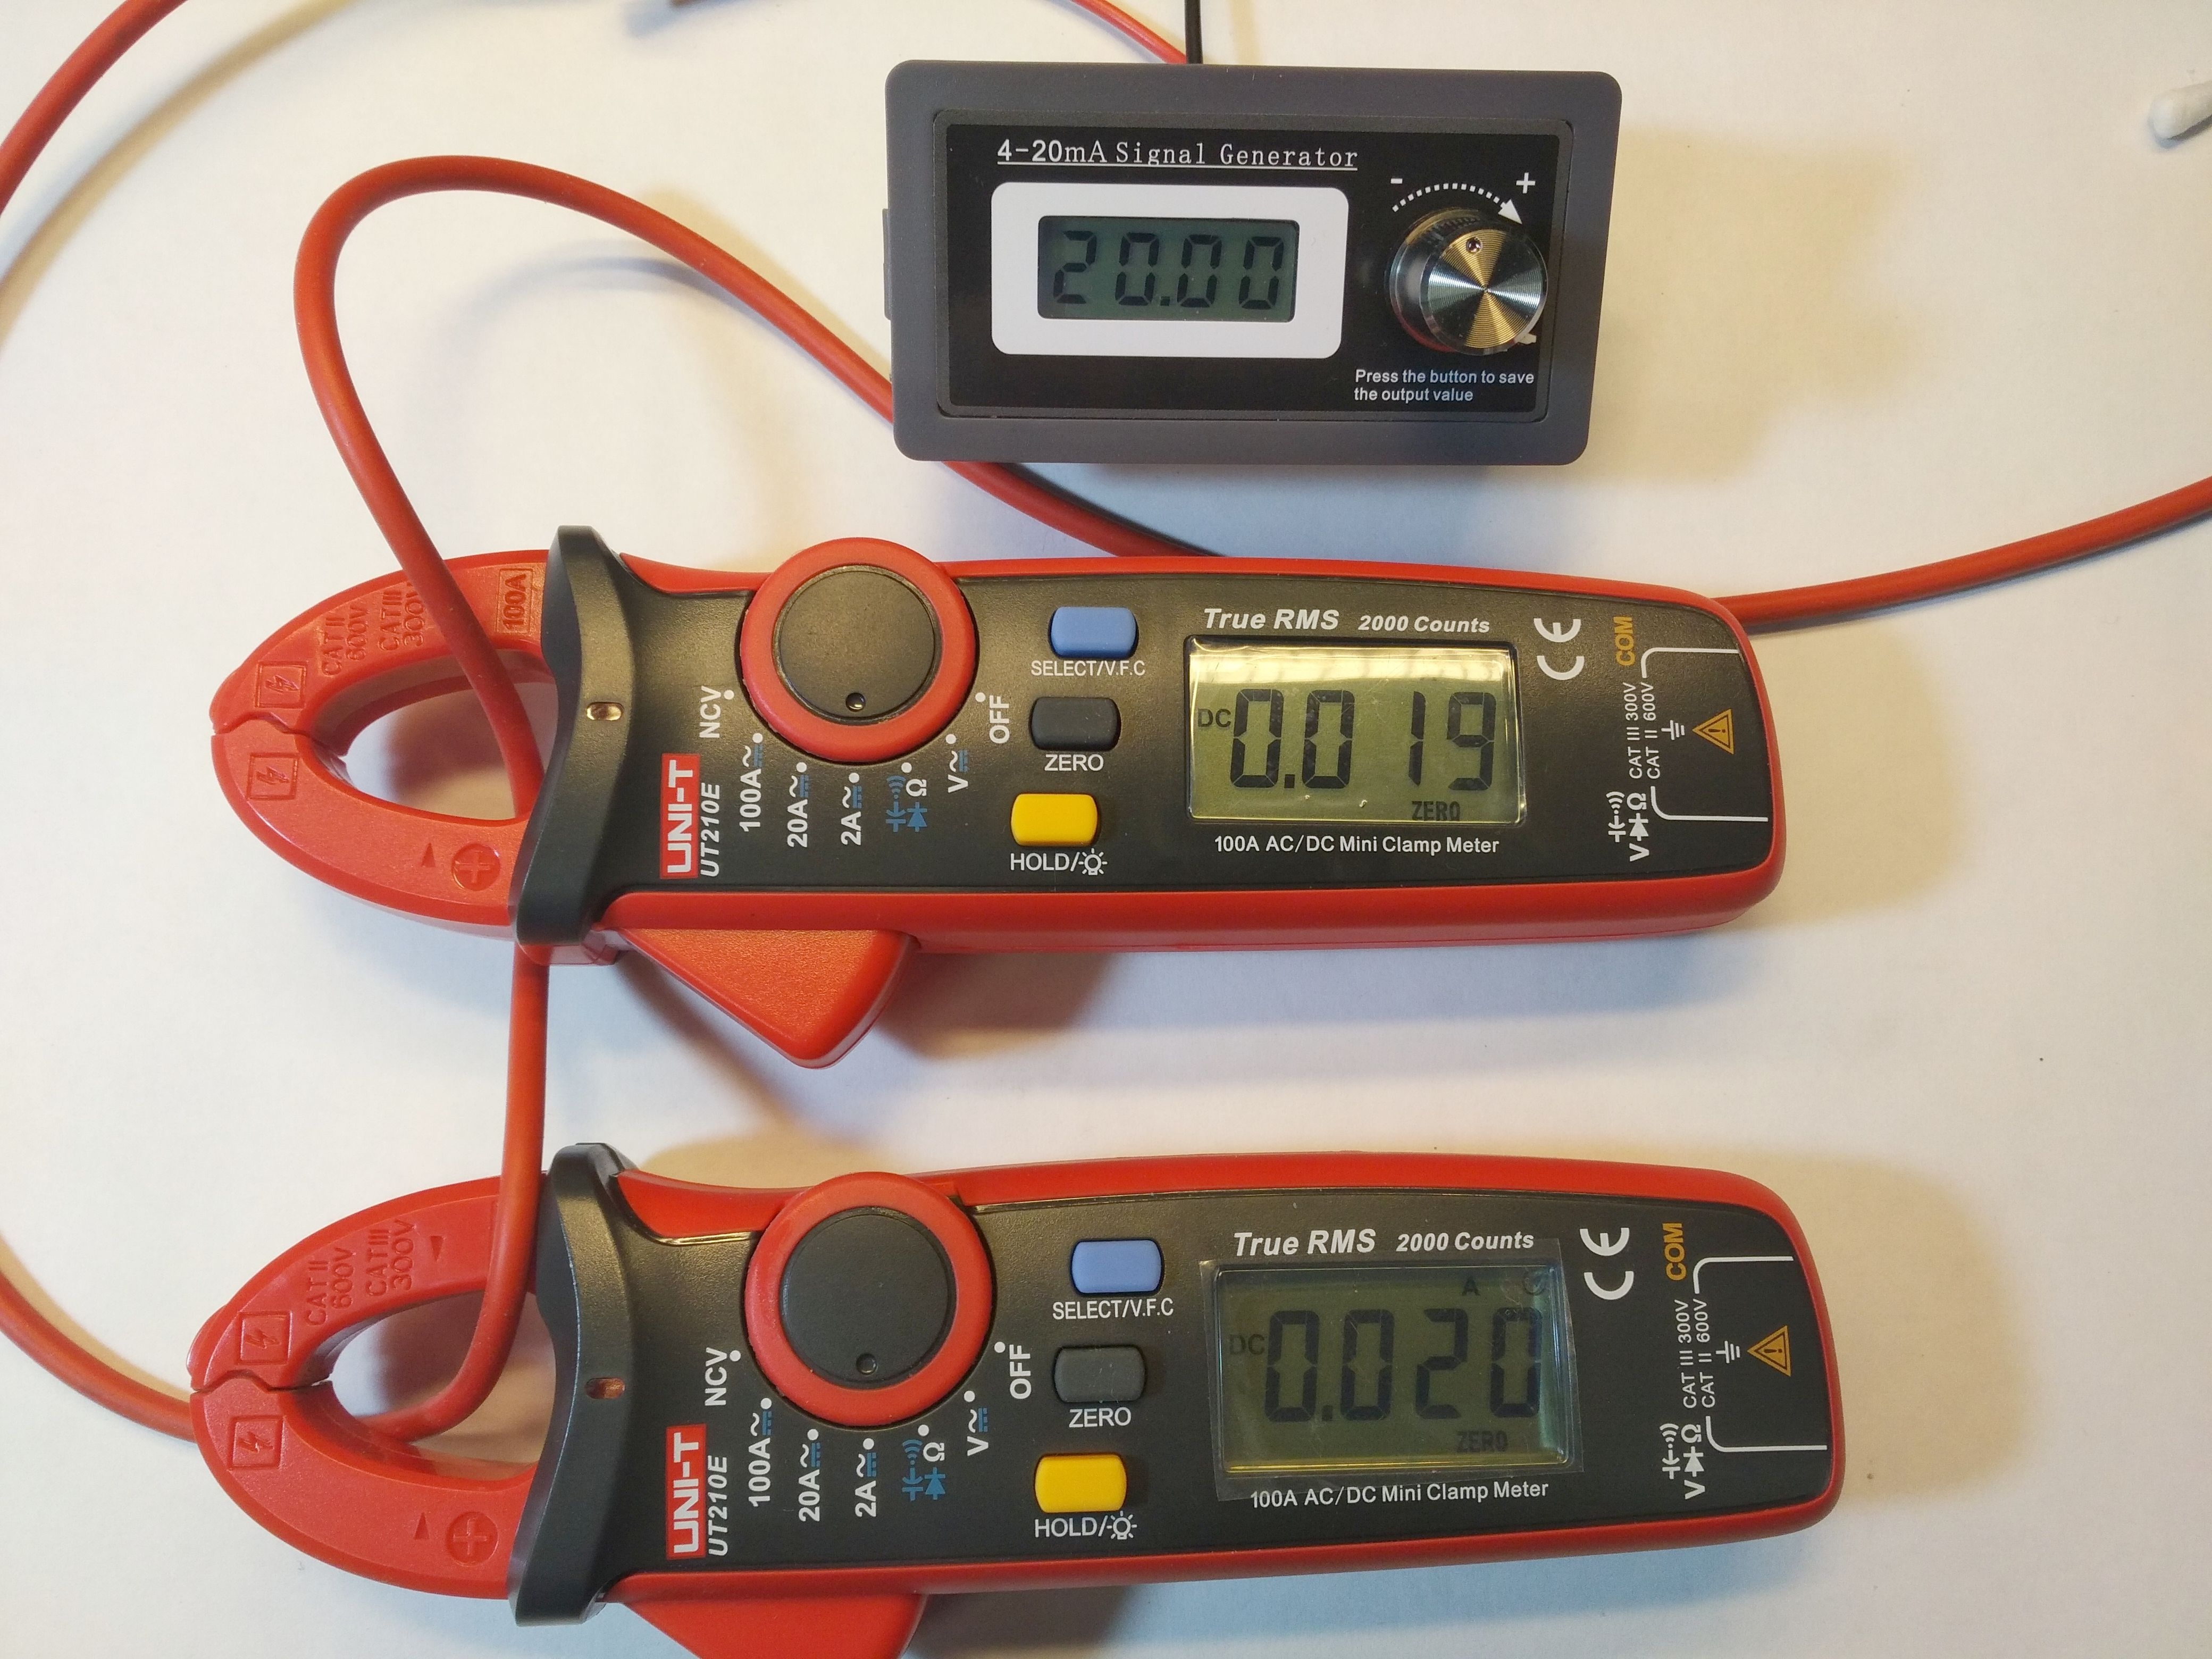
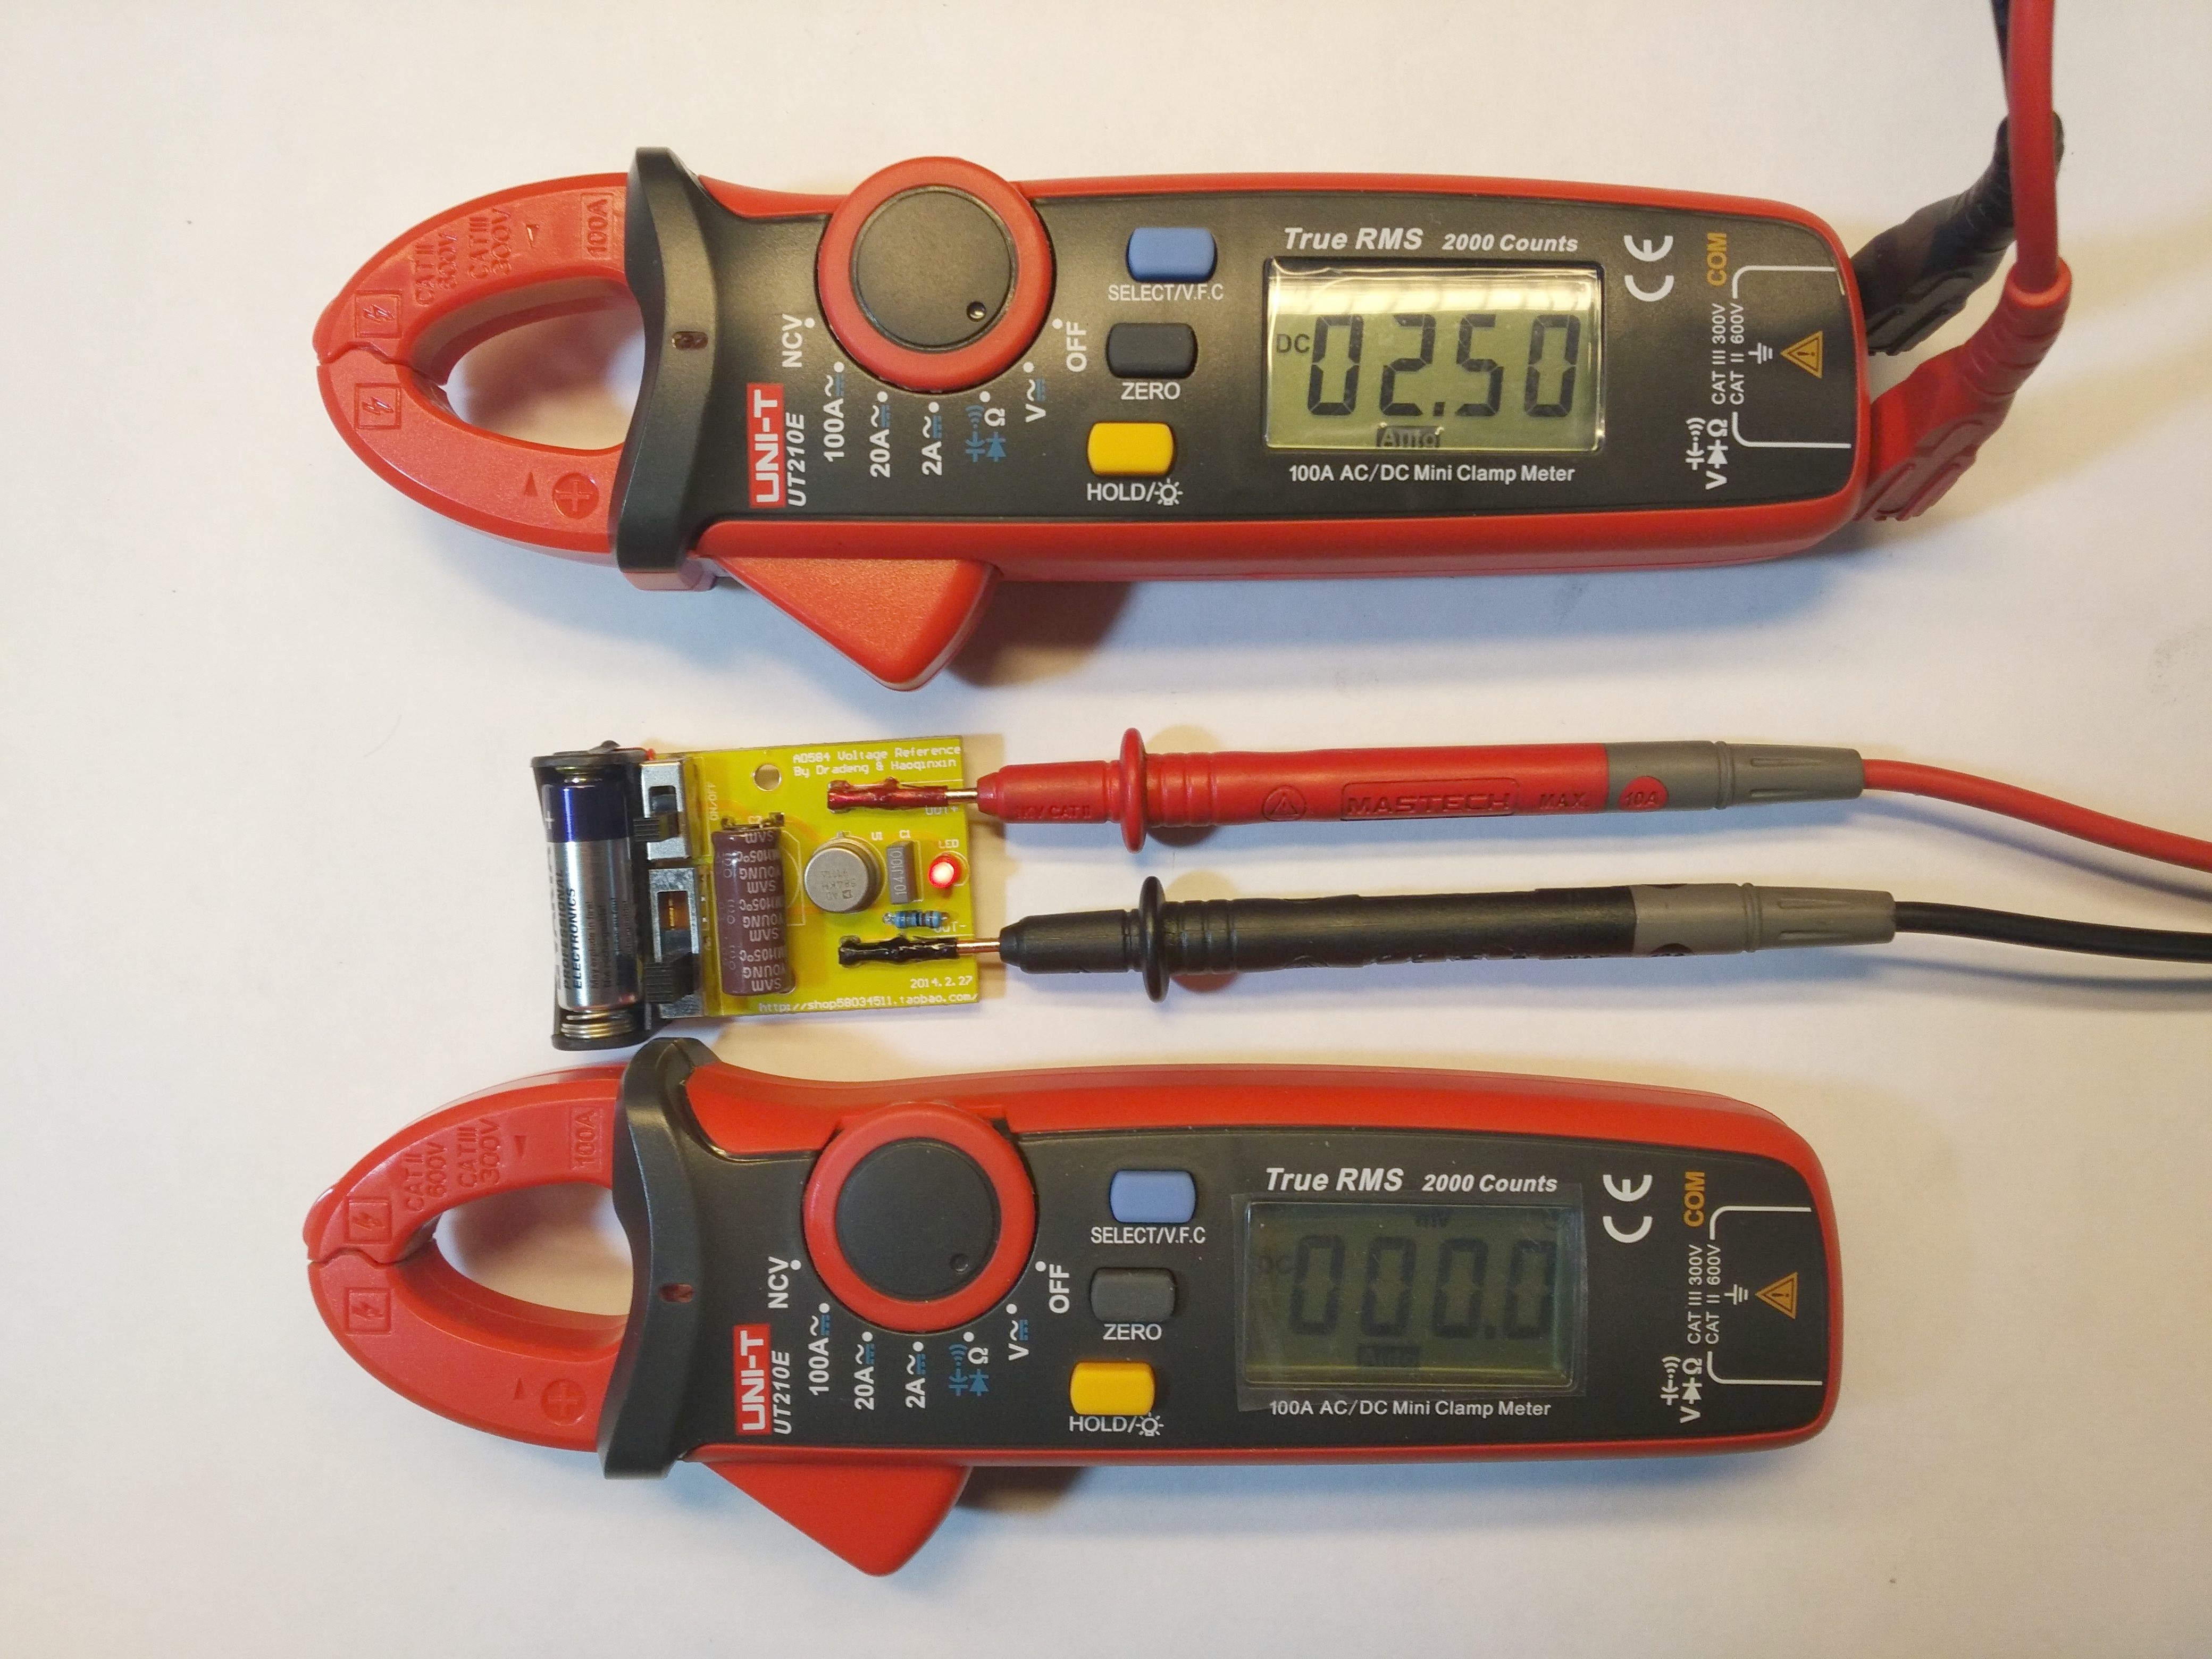
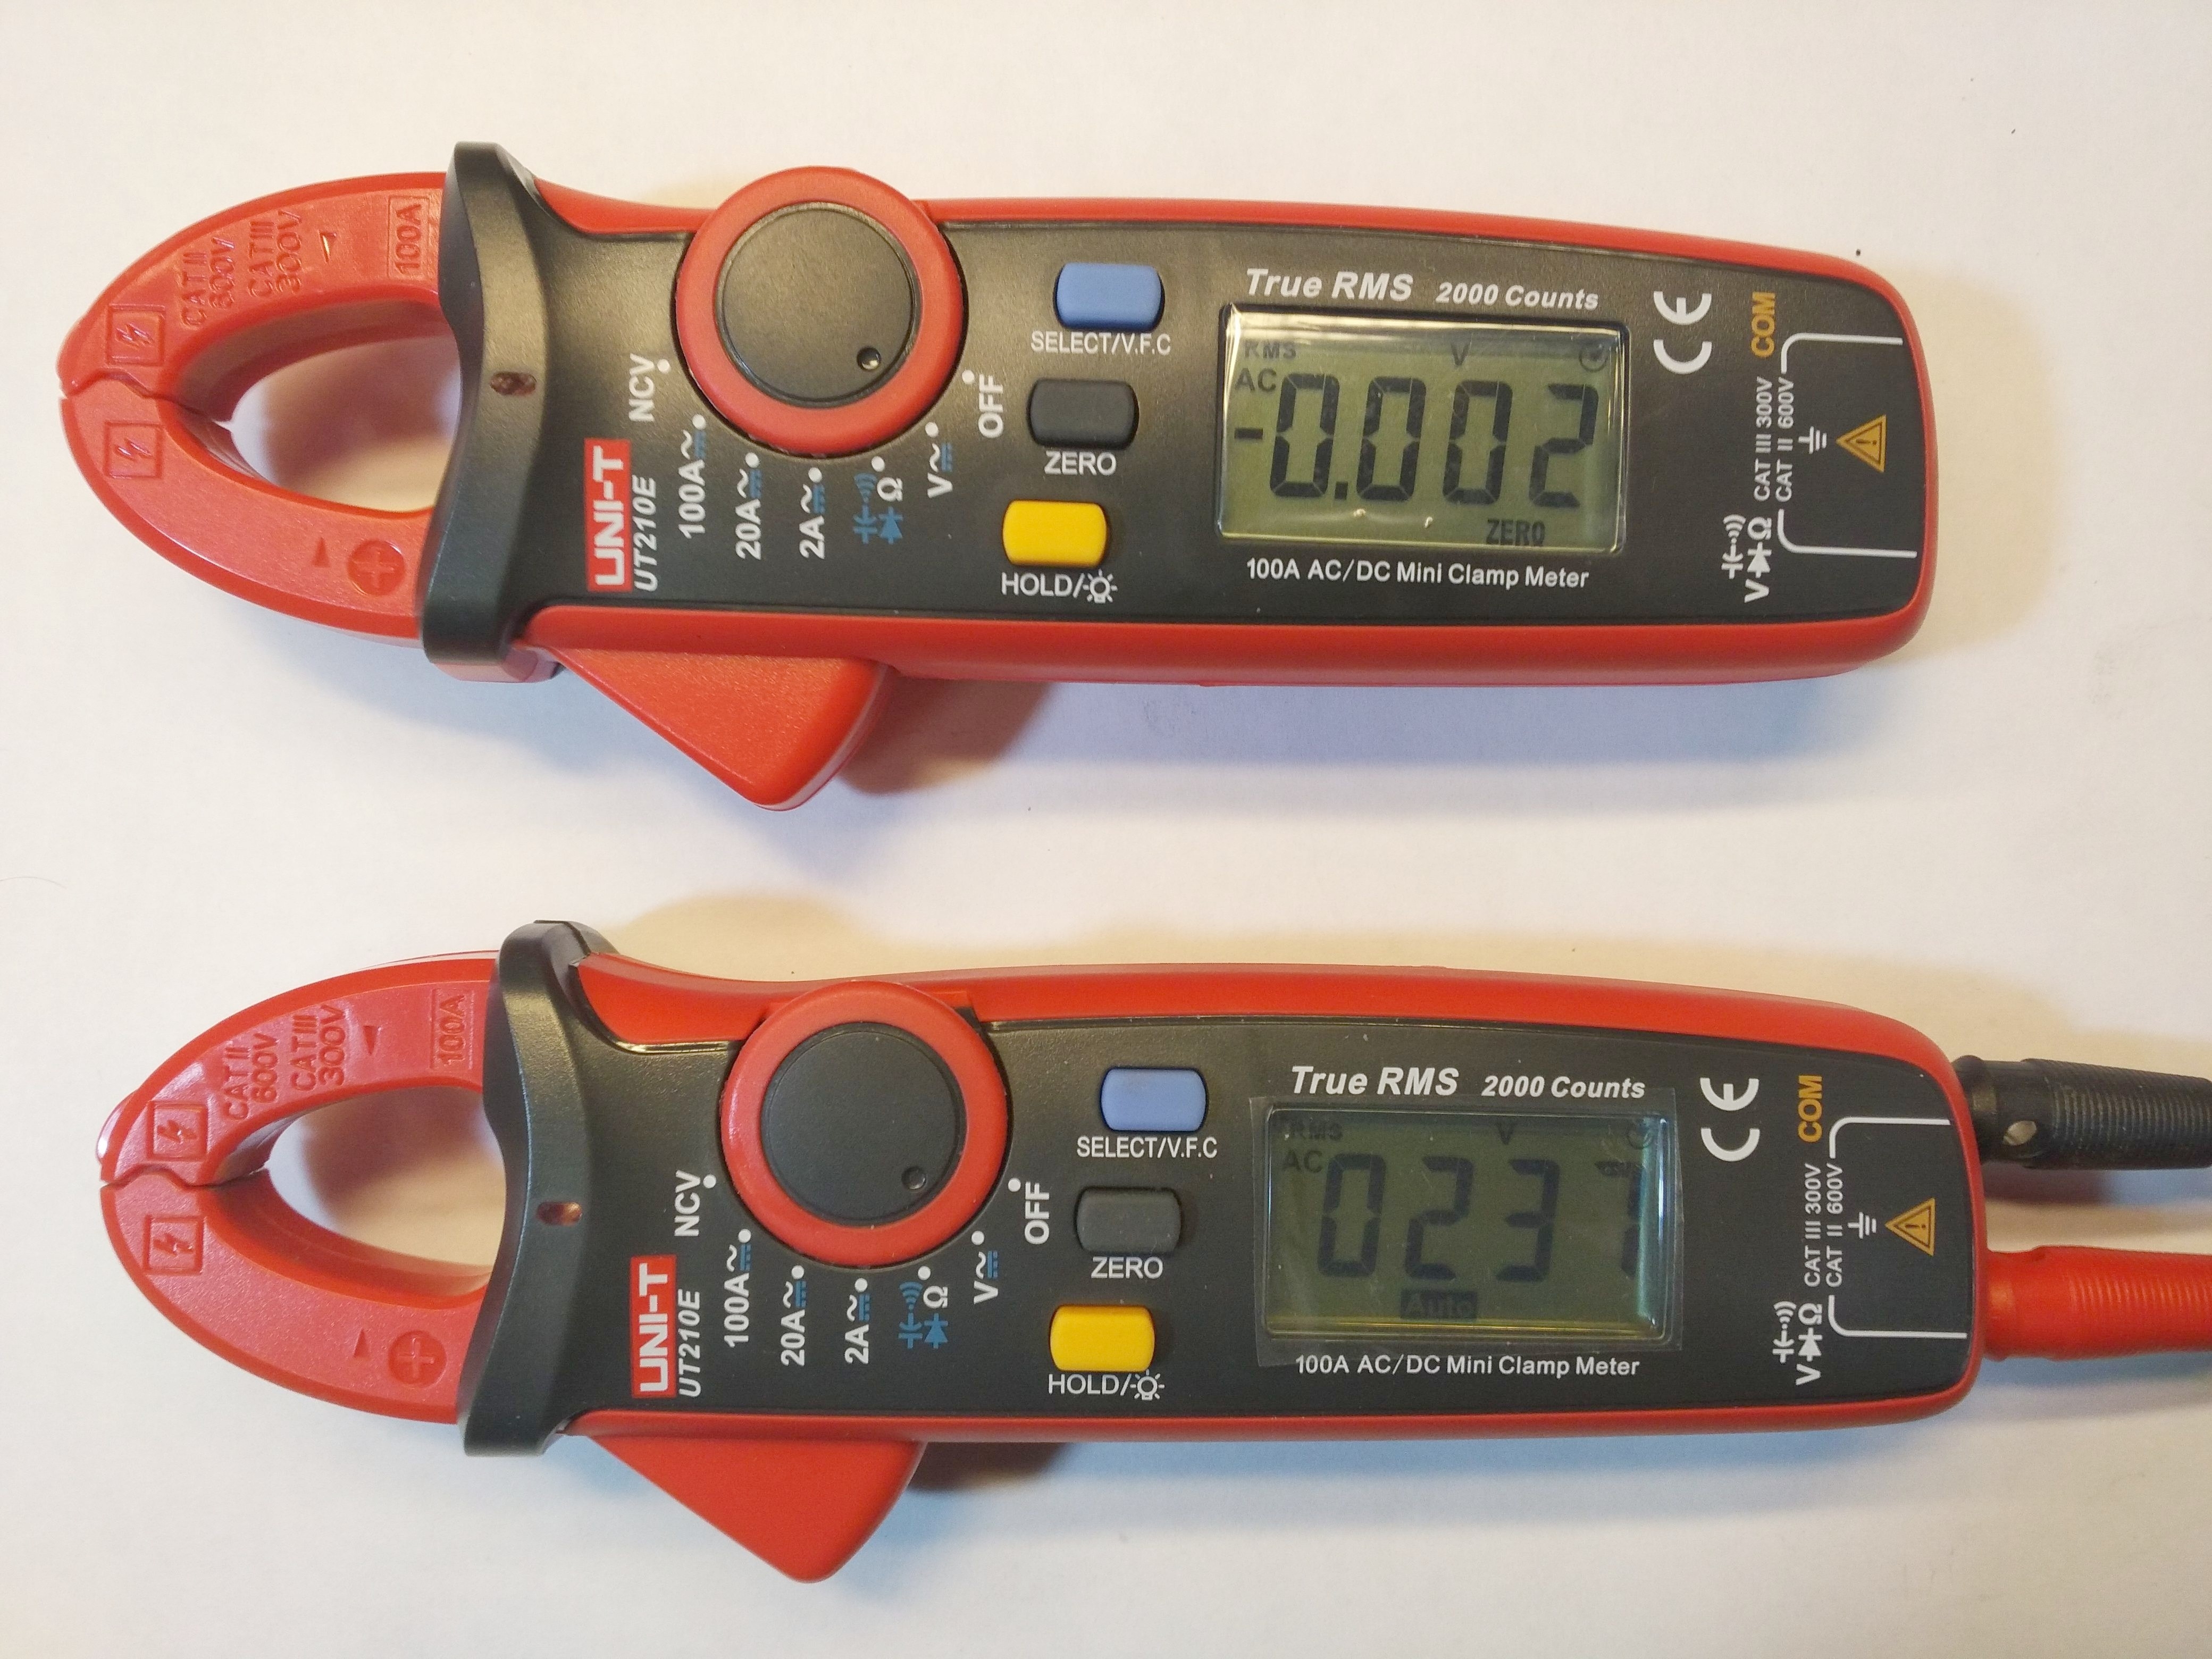
The readings below 10mA were "random", so to speak, as you can see in the first three photos.
You can see, however, that the measure is simply stunningly accurate. However, I would like to point out that before each measurement I pressed the "zero" key, otherwise the device could show total nonsense.
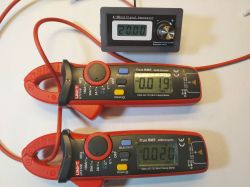
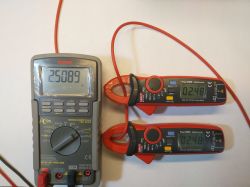
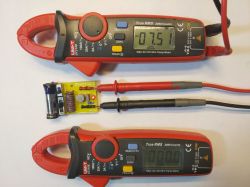
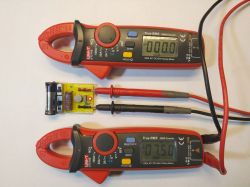
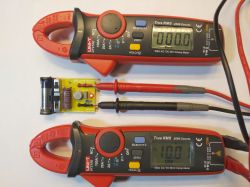
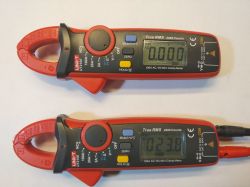
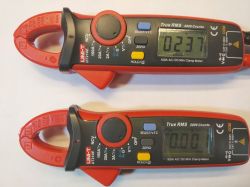
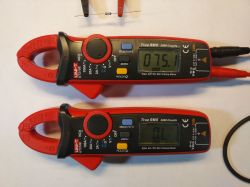
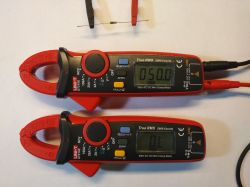
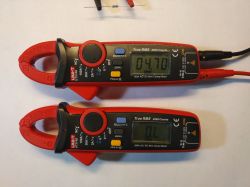
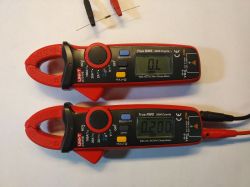
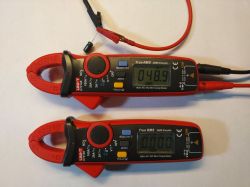
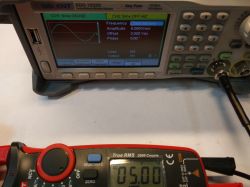
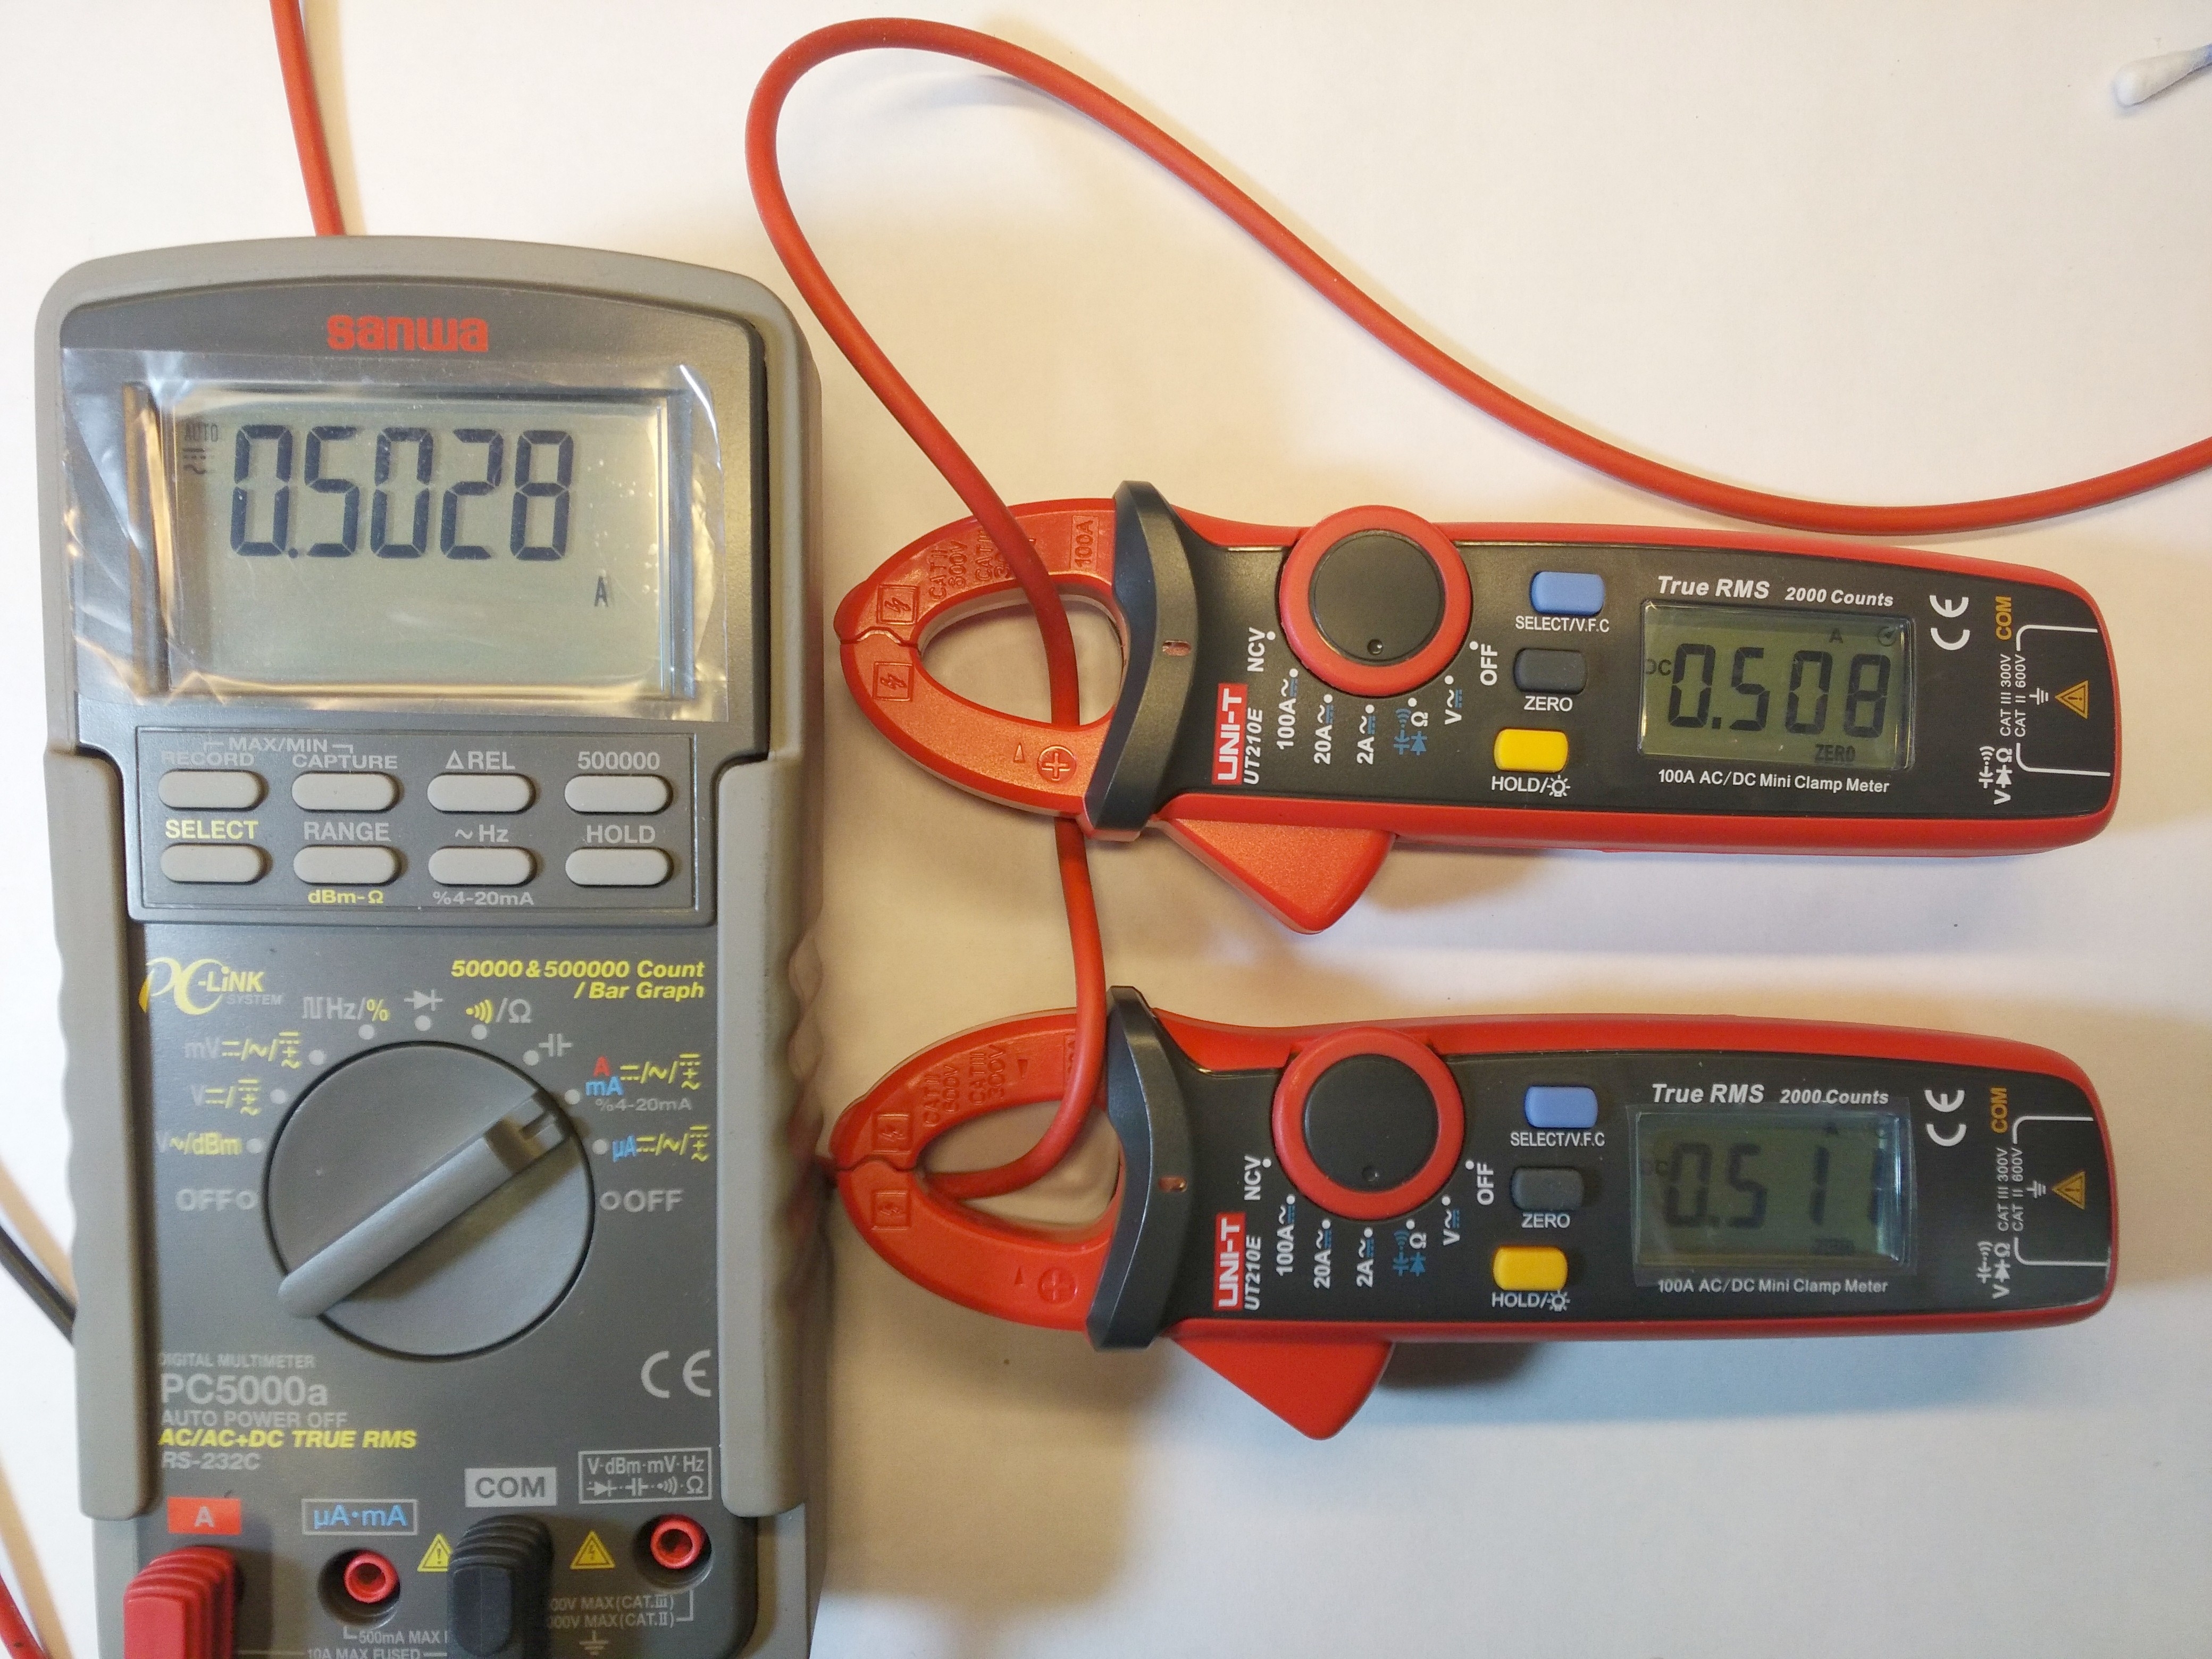
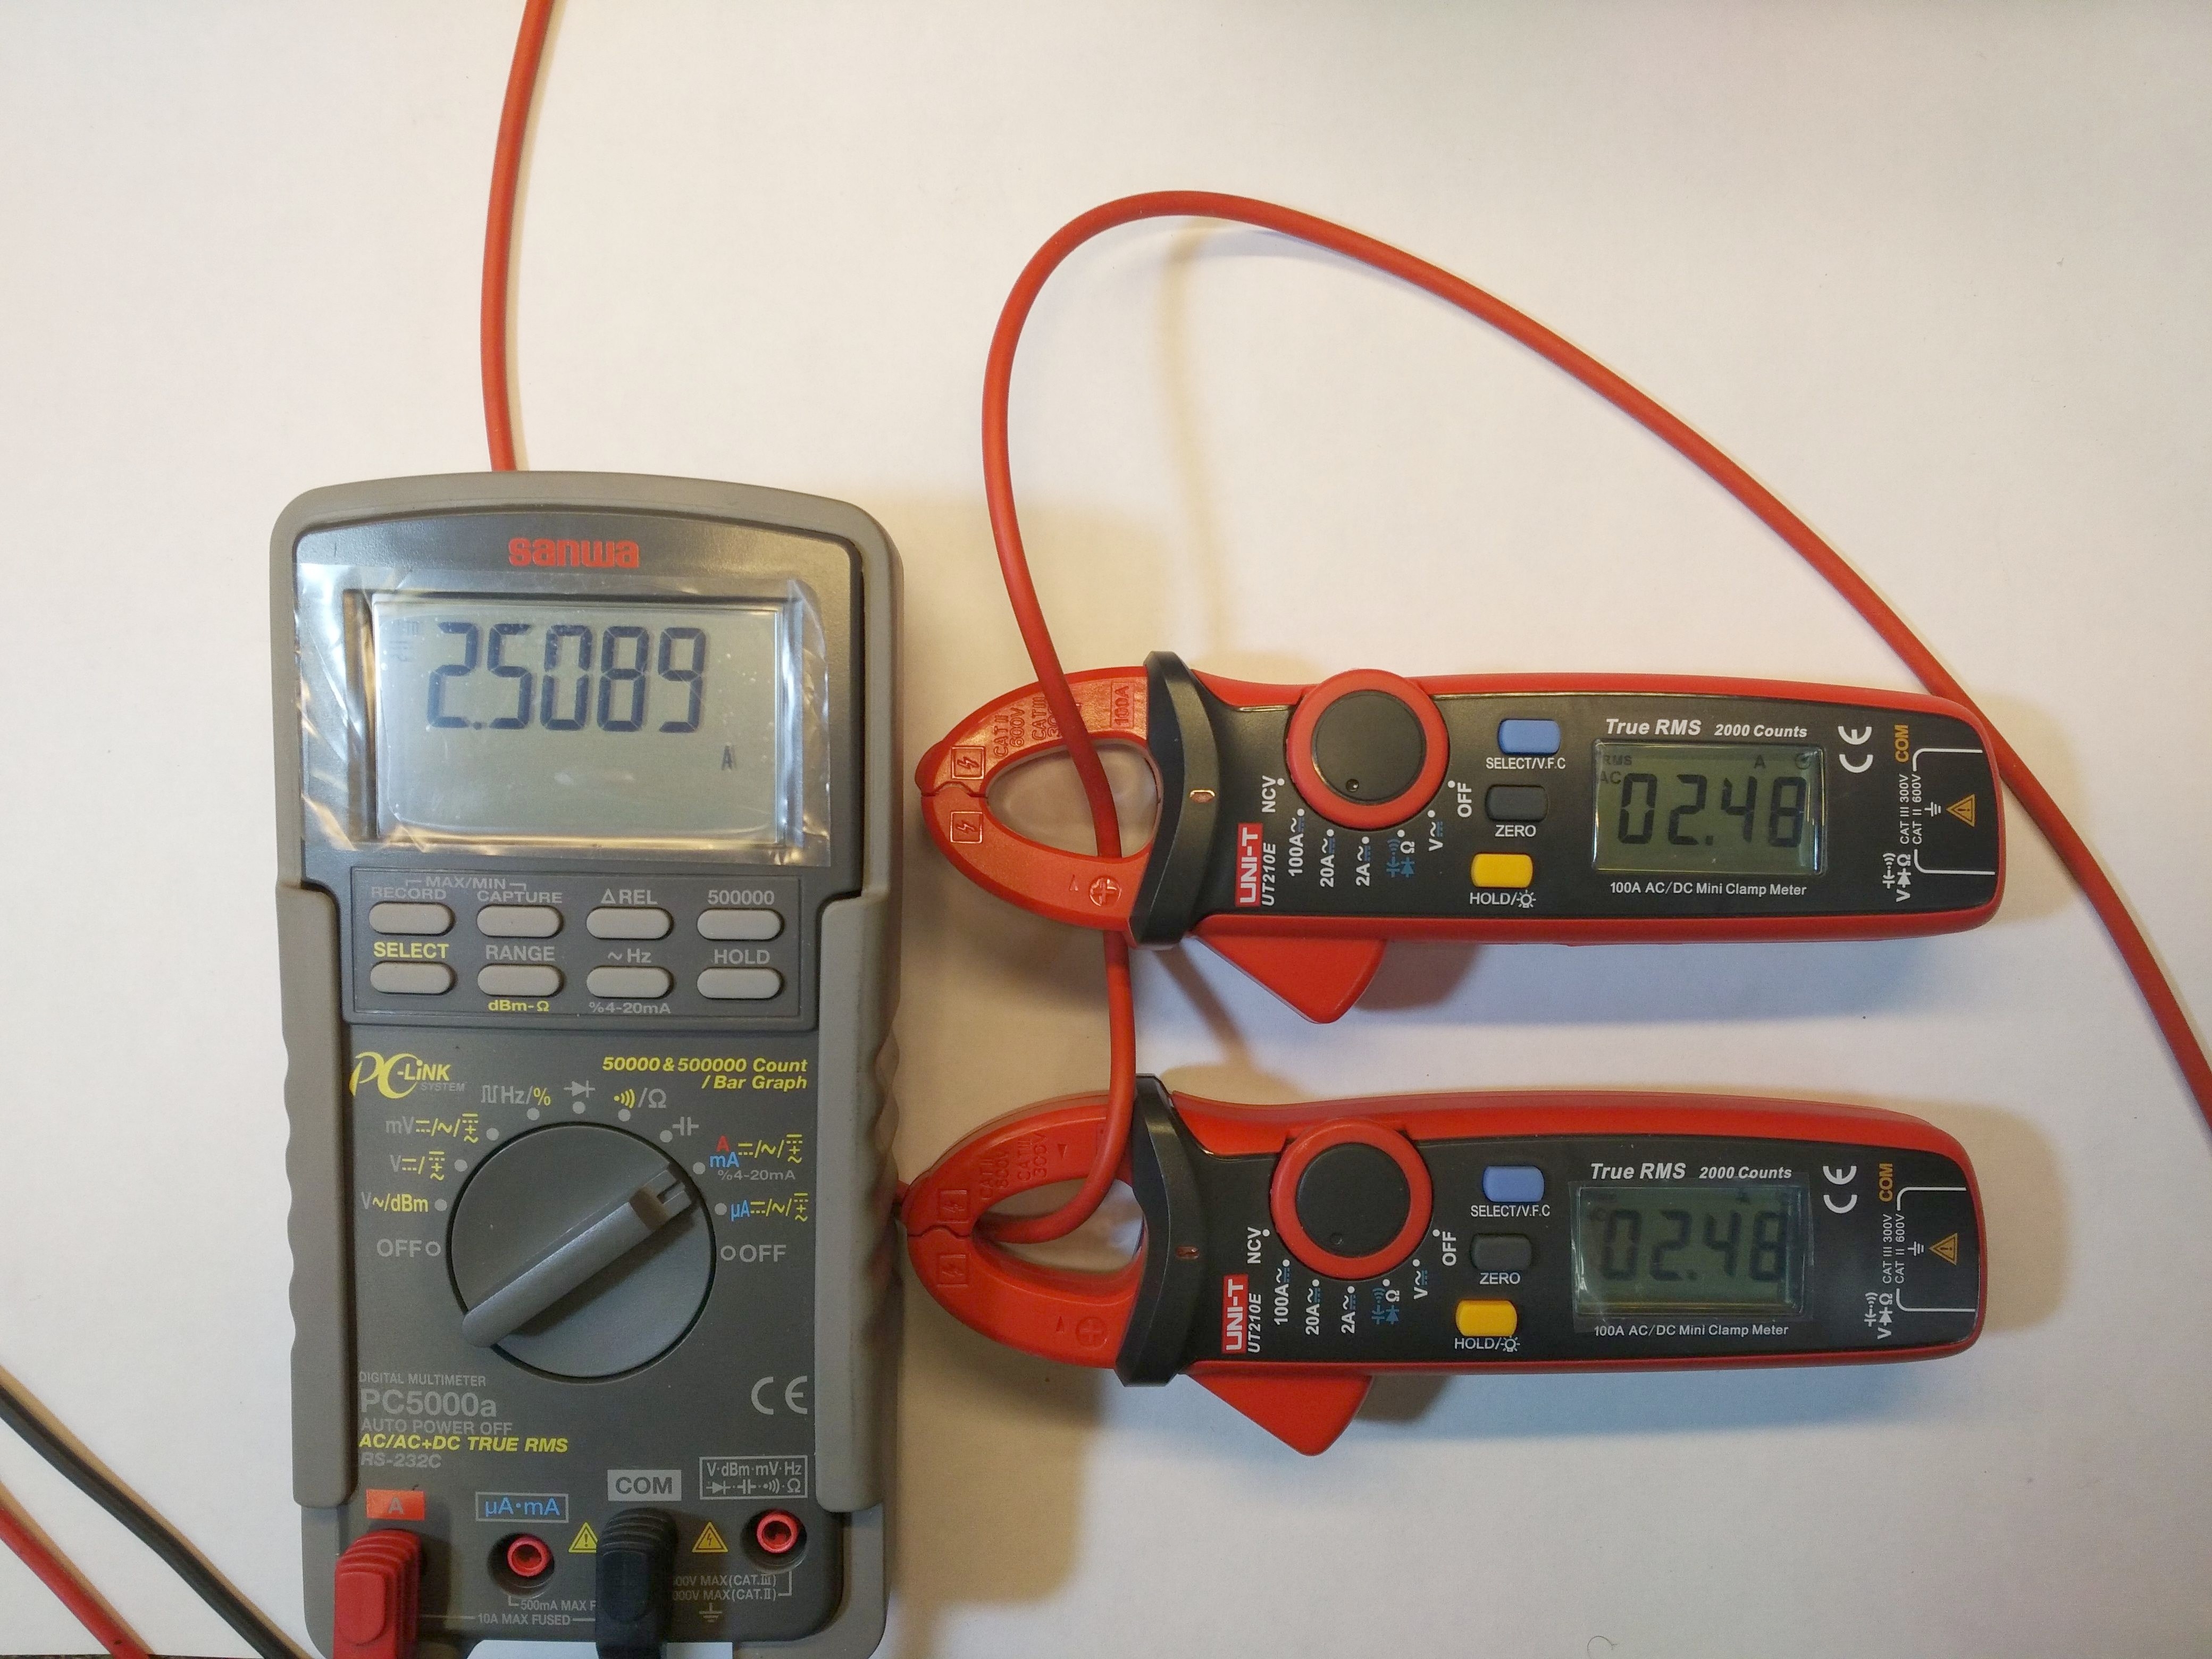
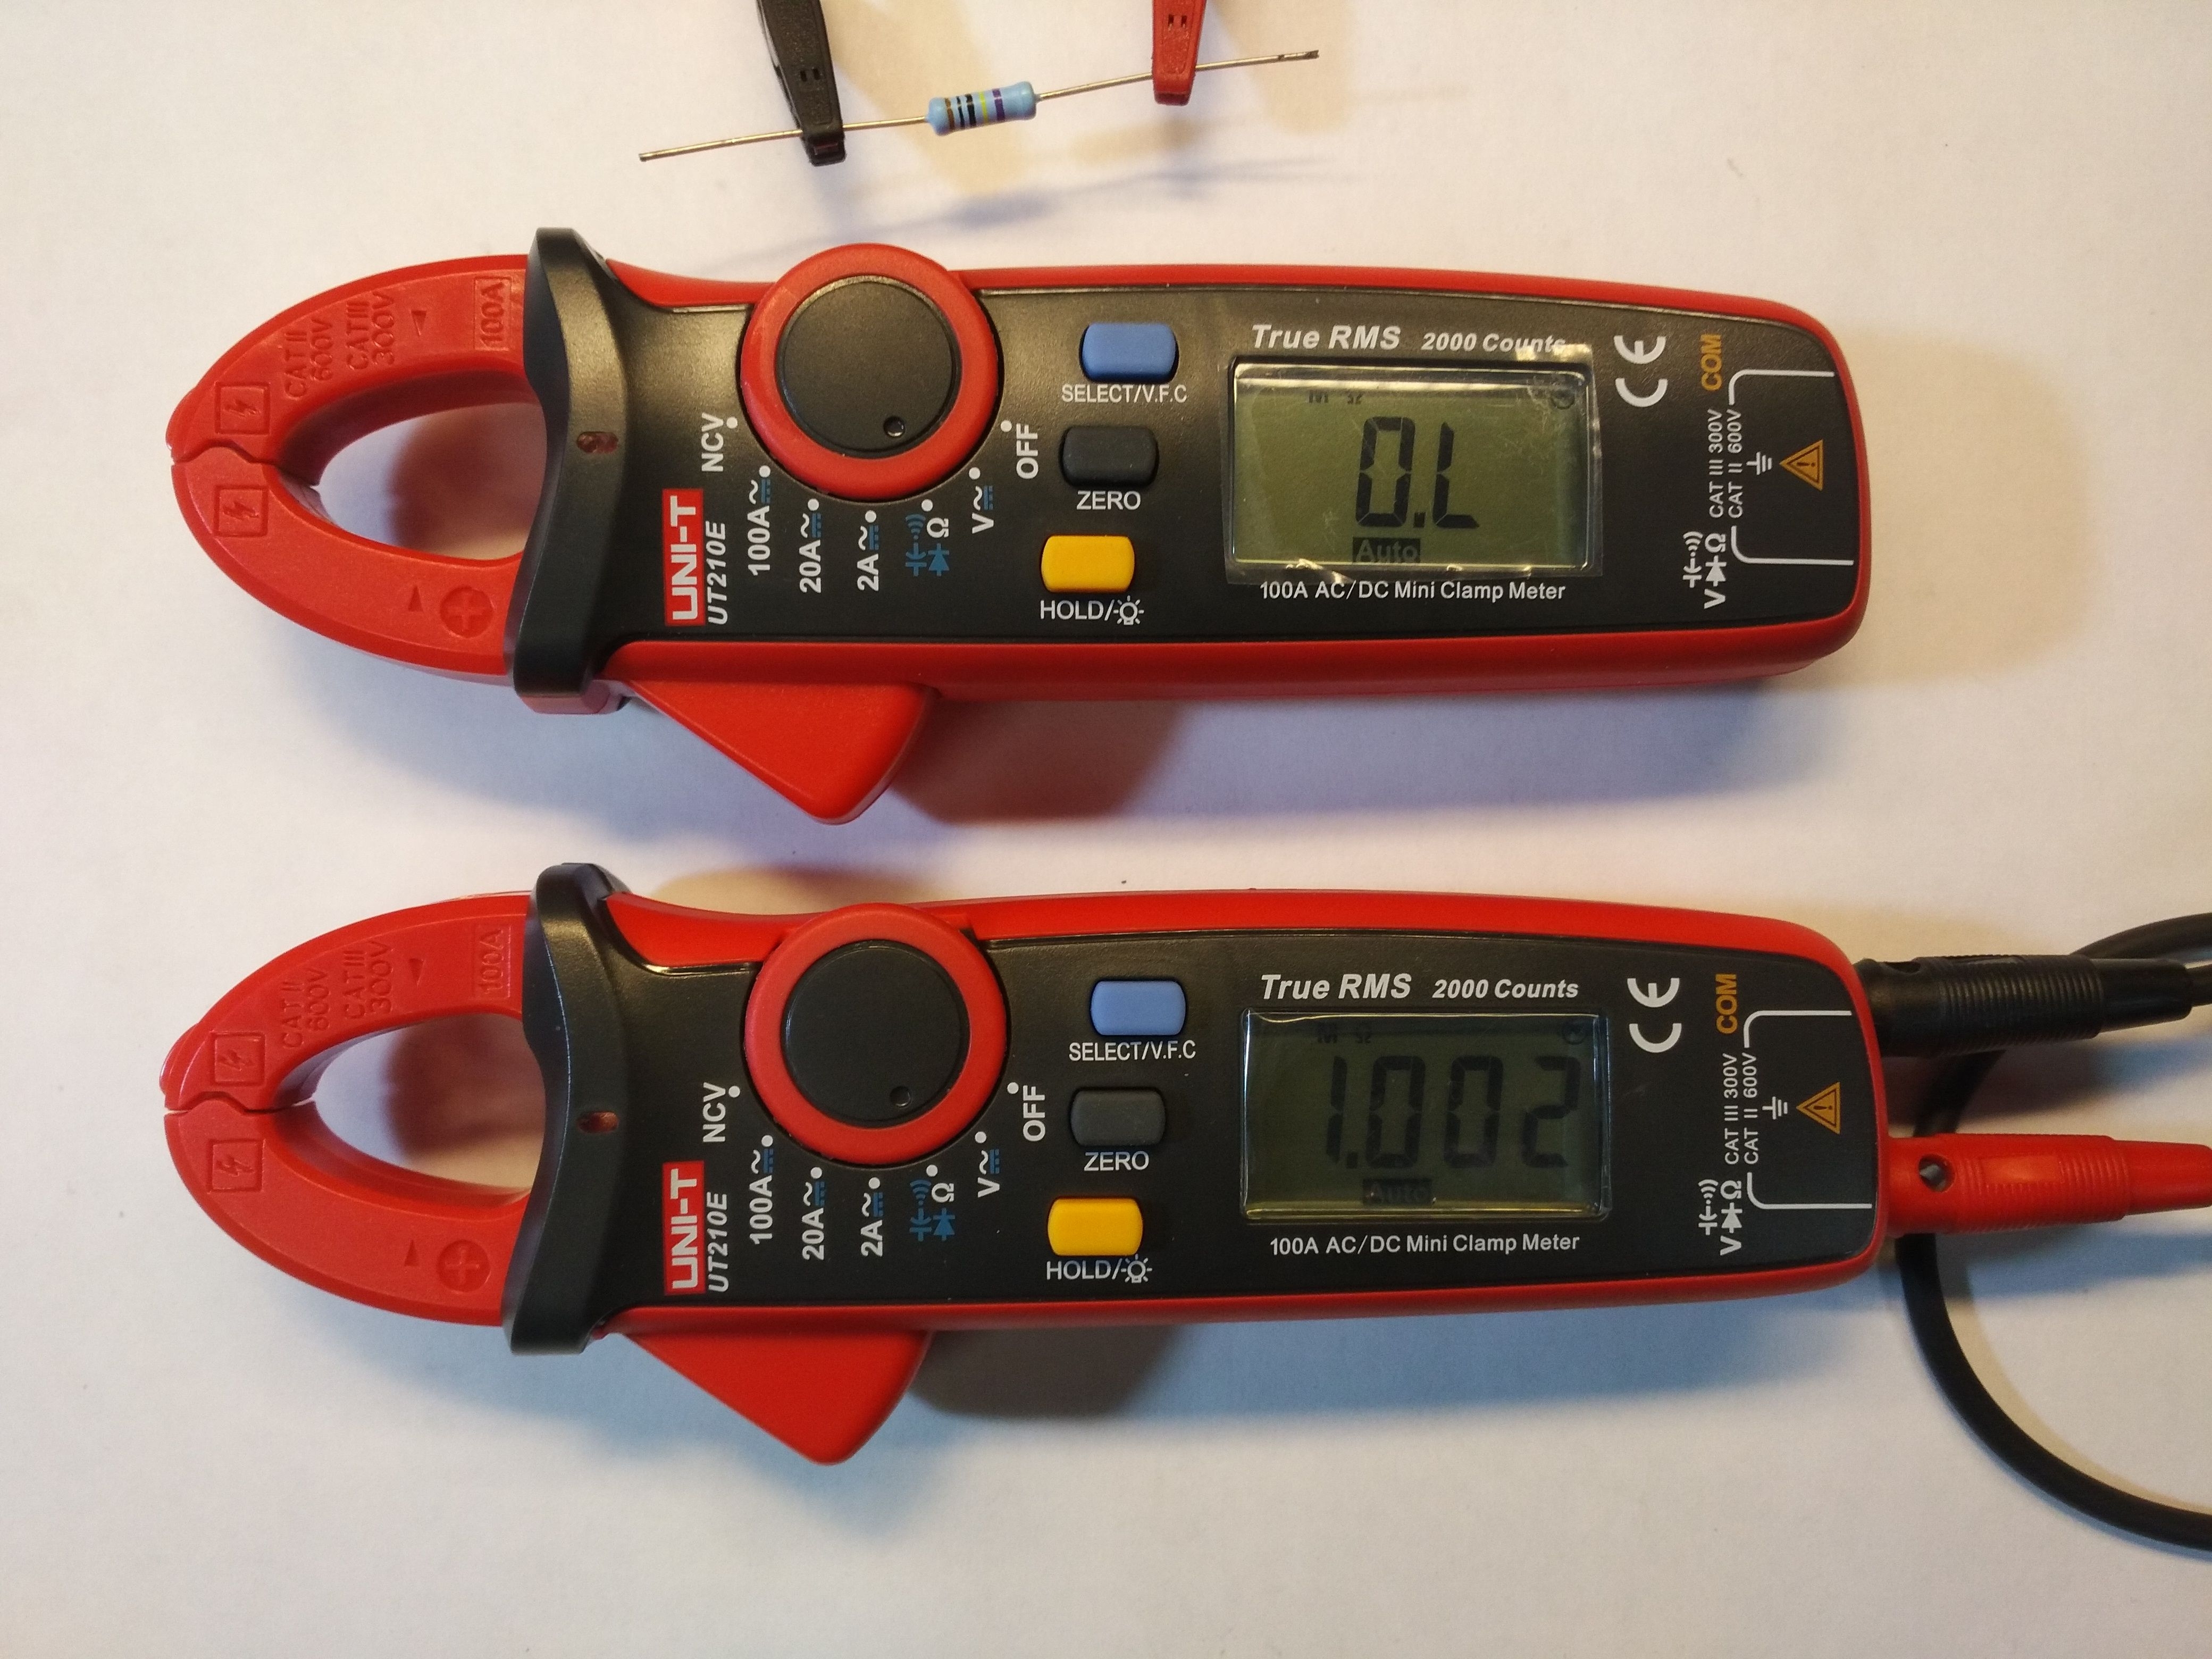
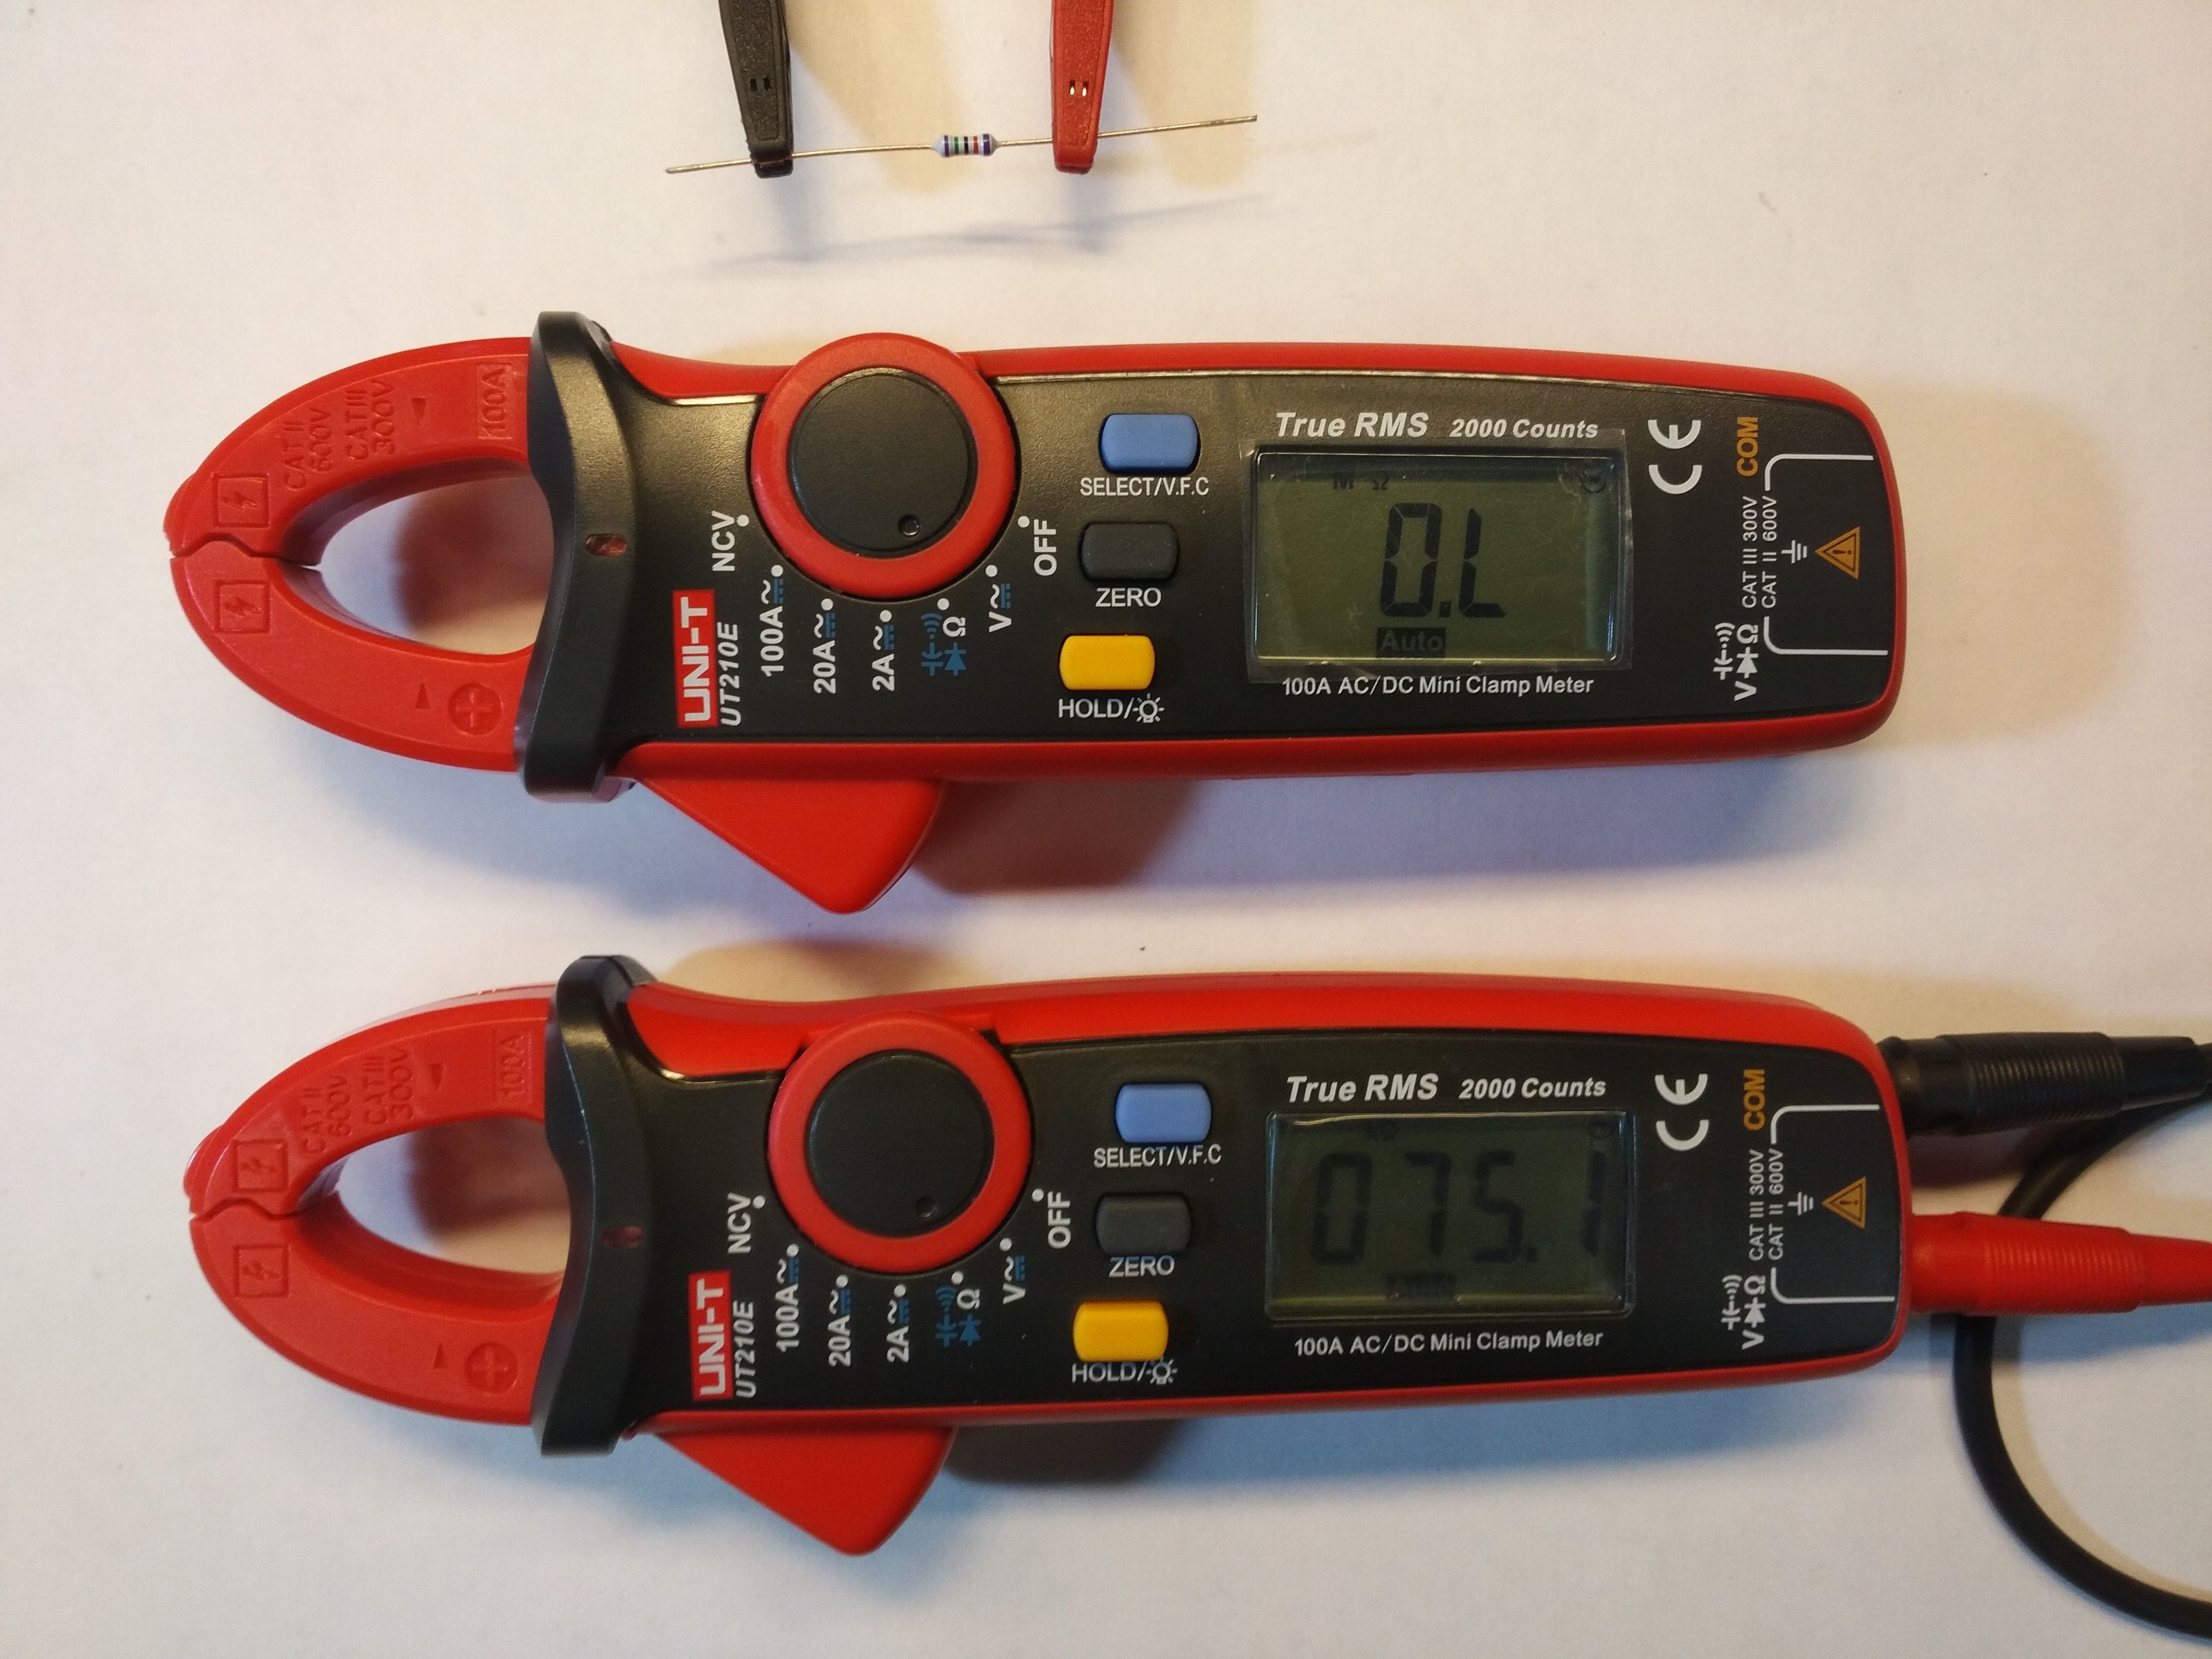
We increase the current a little and check the correctness of the readings, compared to the higher class multimer - Sanwa.
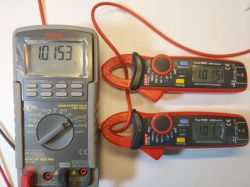
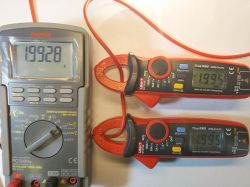
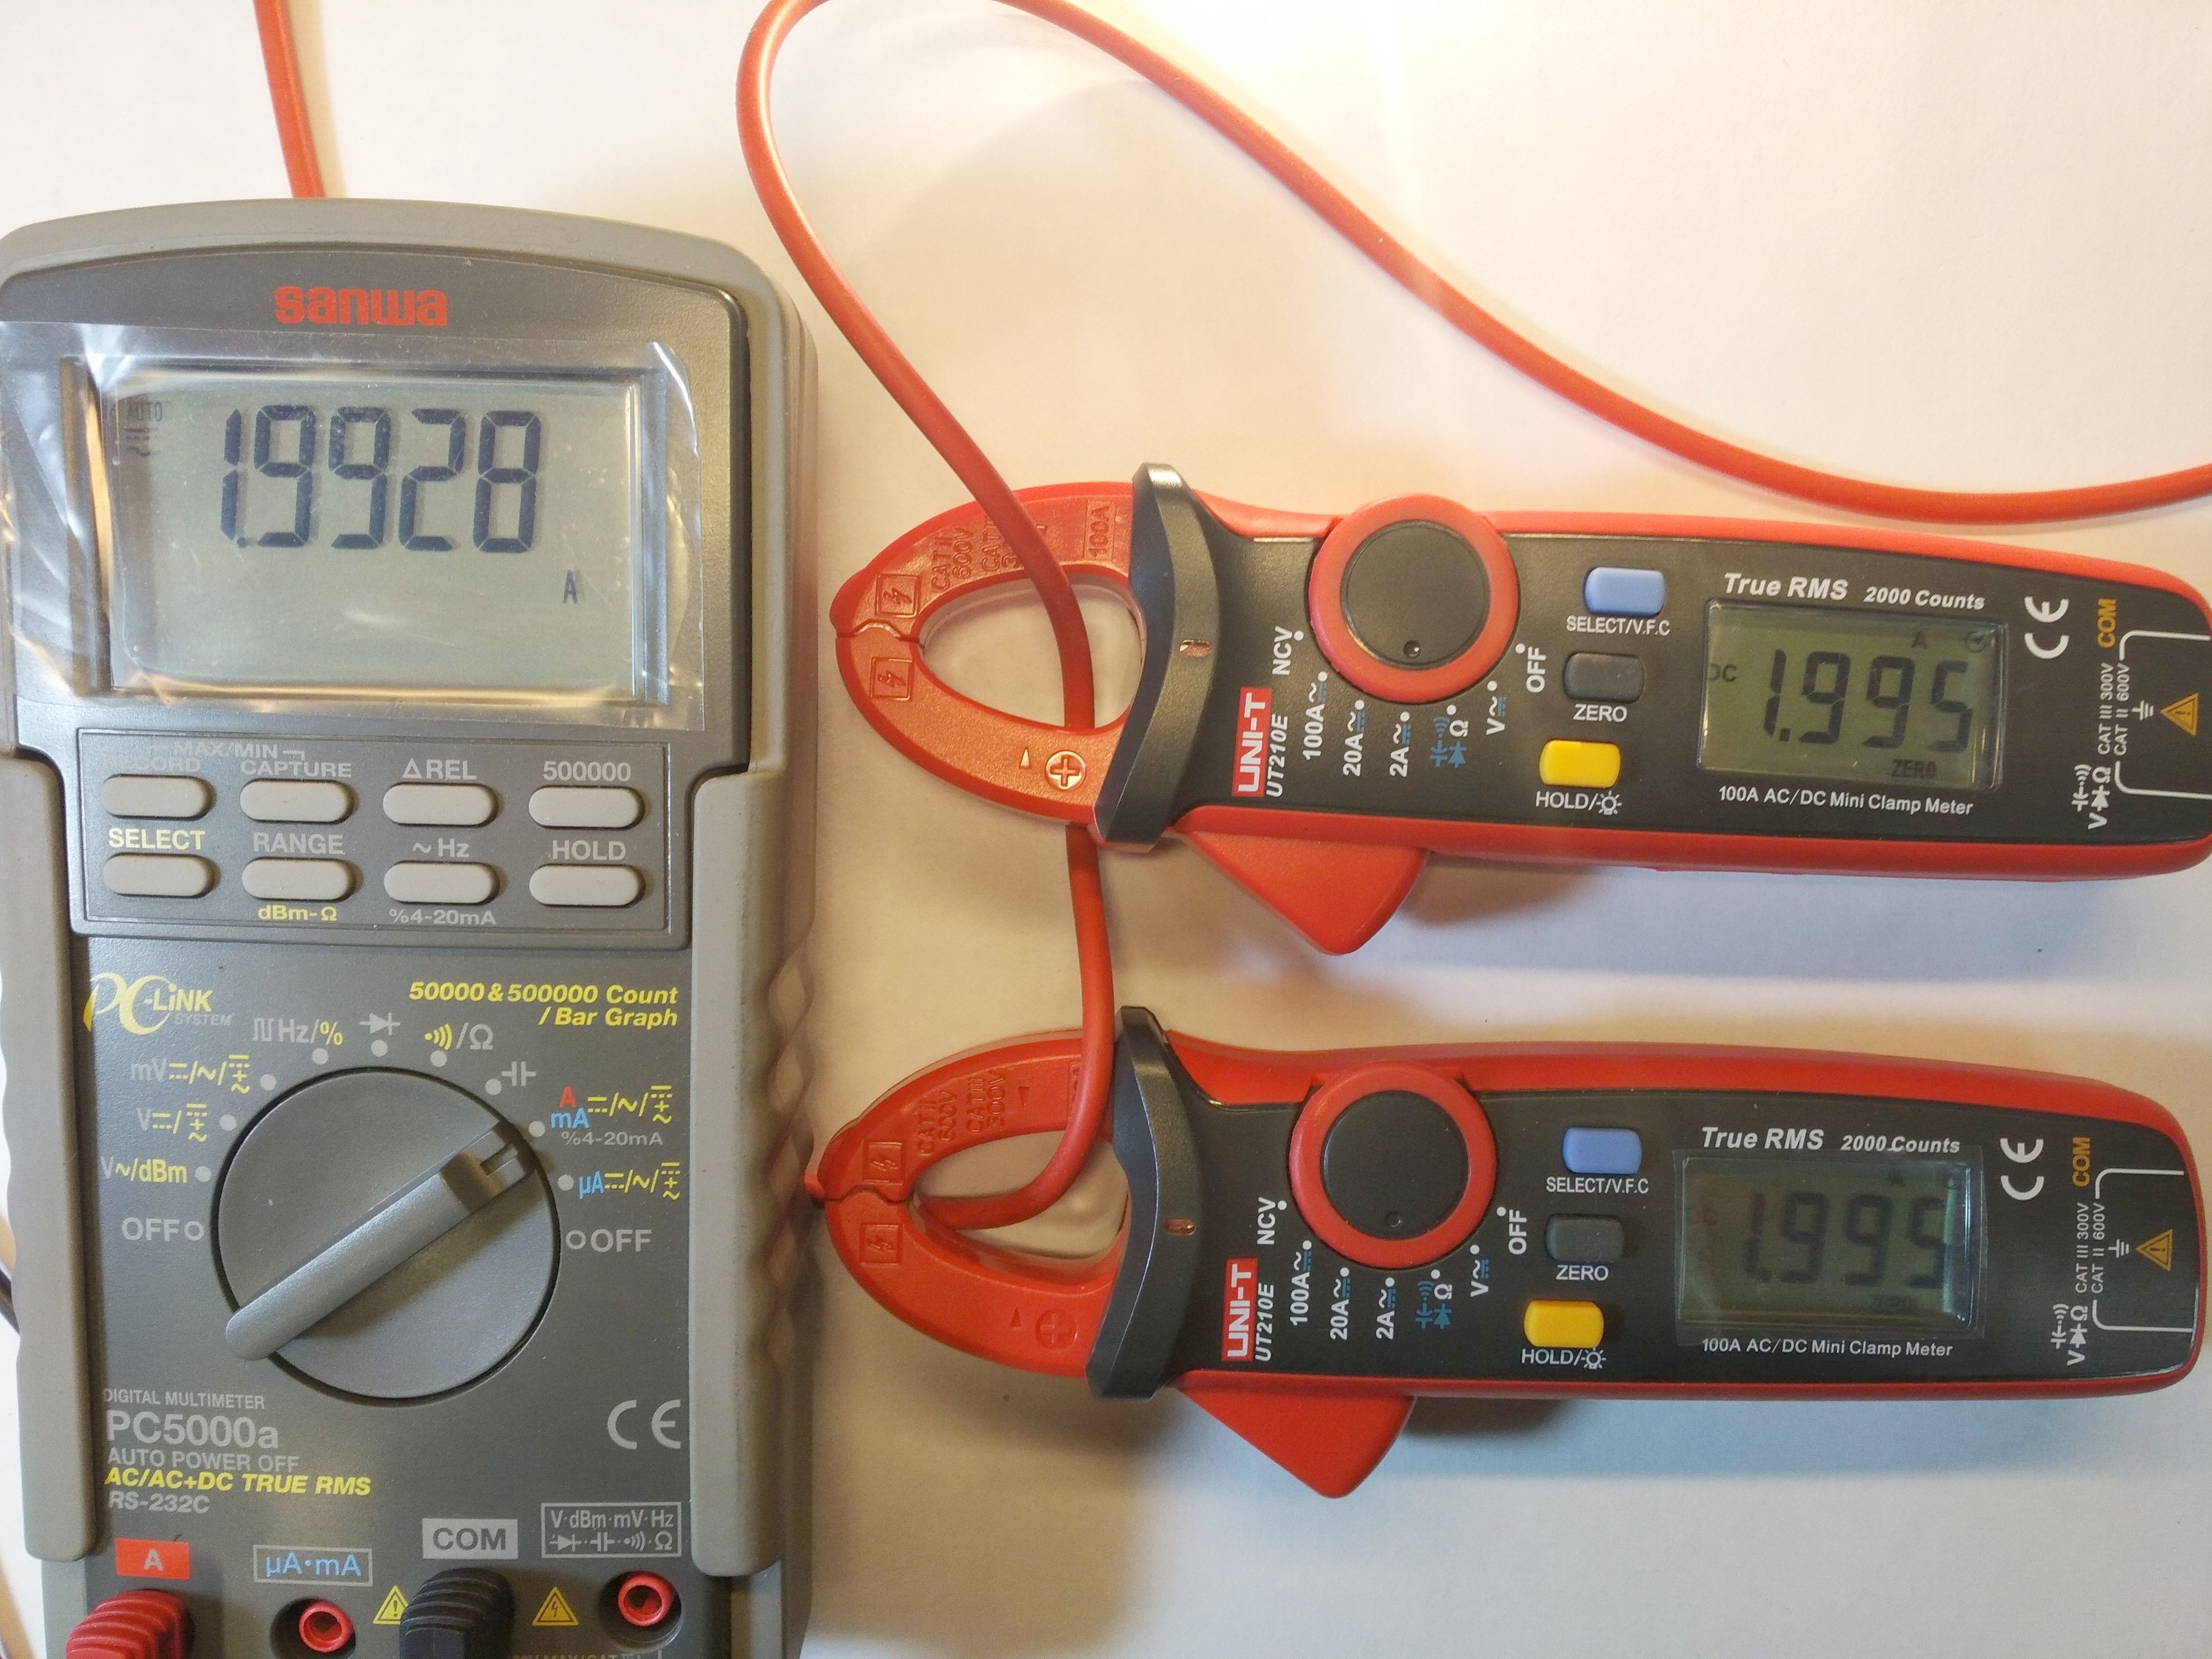
Here you have 0.5A in turn; 1A; 2A and how much the power supply could handle (on a piece of sheet metal called the herring, as a load).
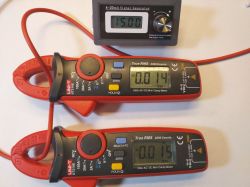
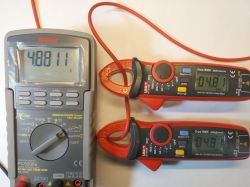
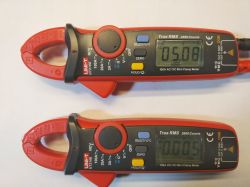
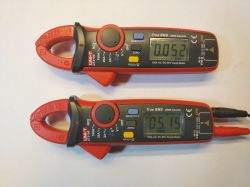
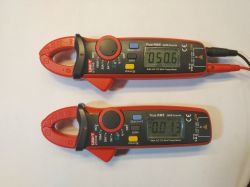
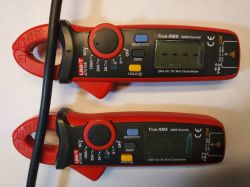
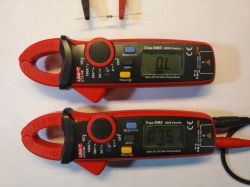
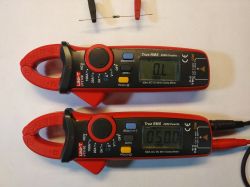
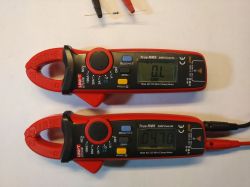
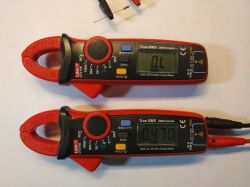
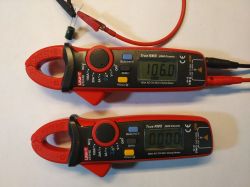
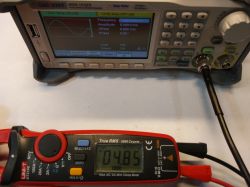
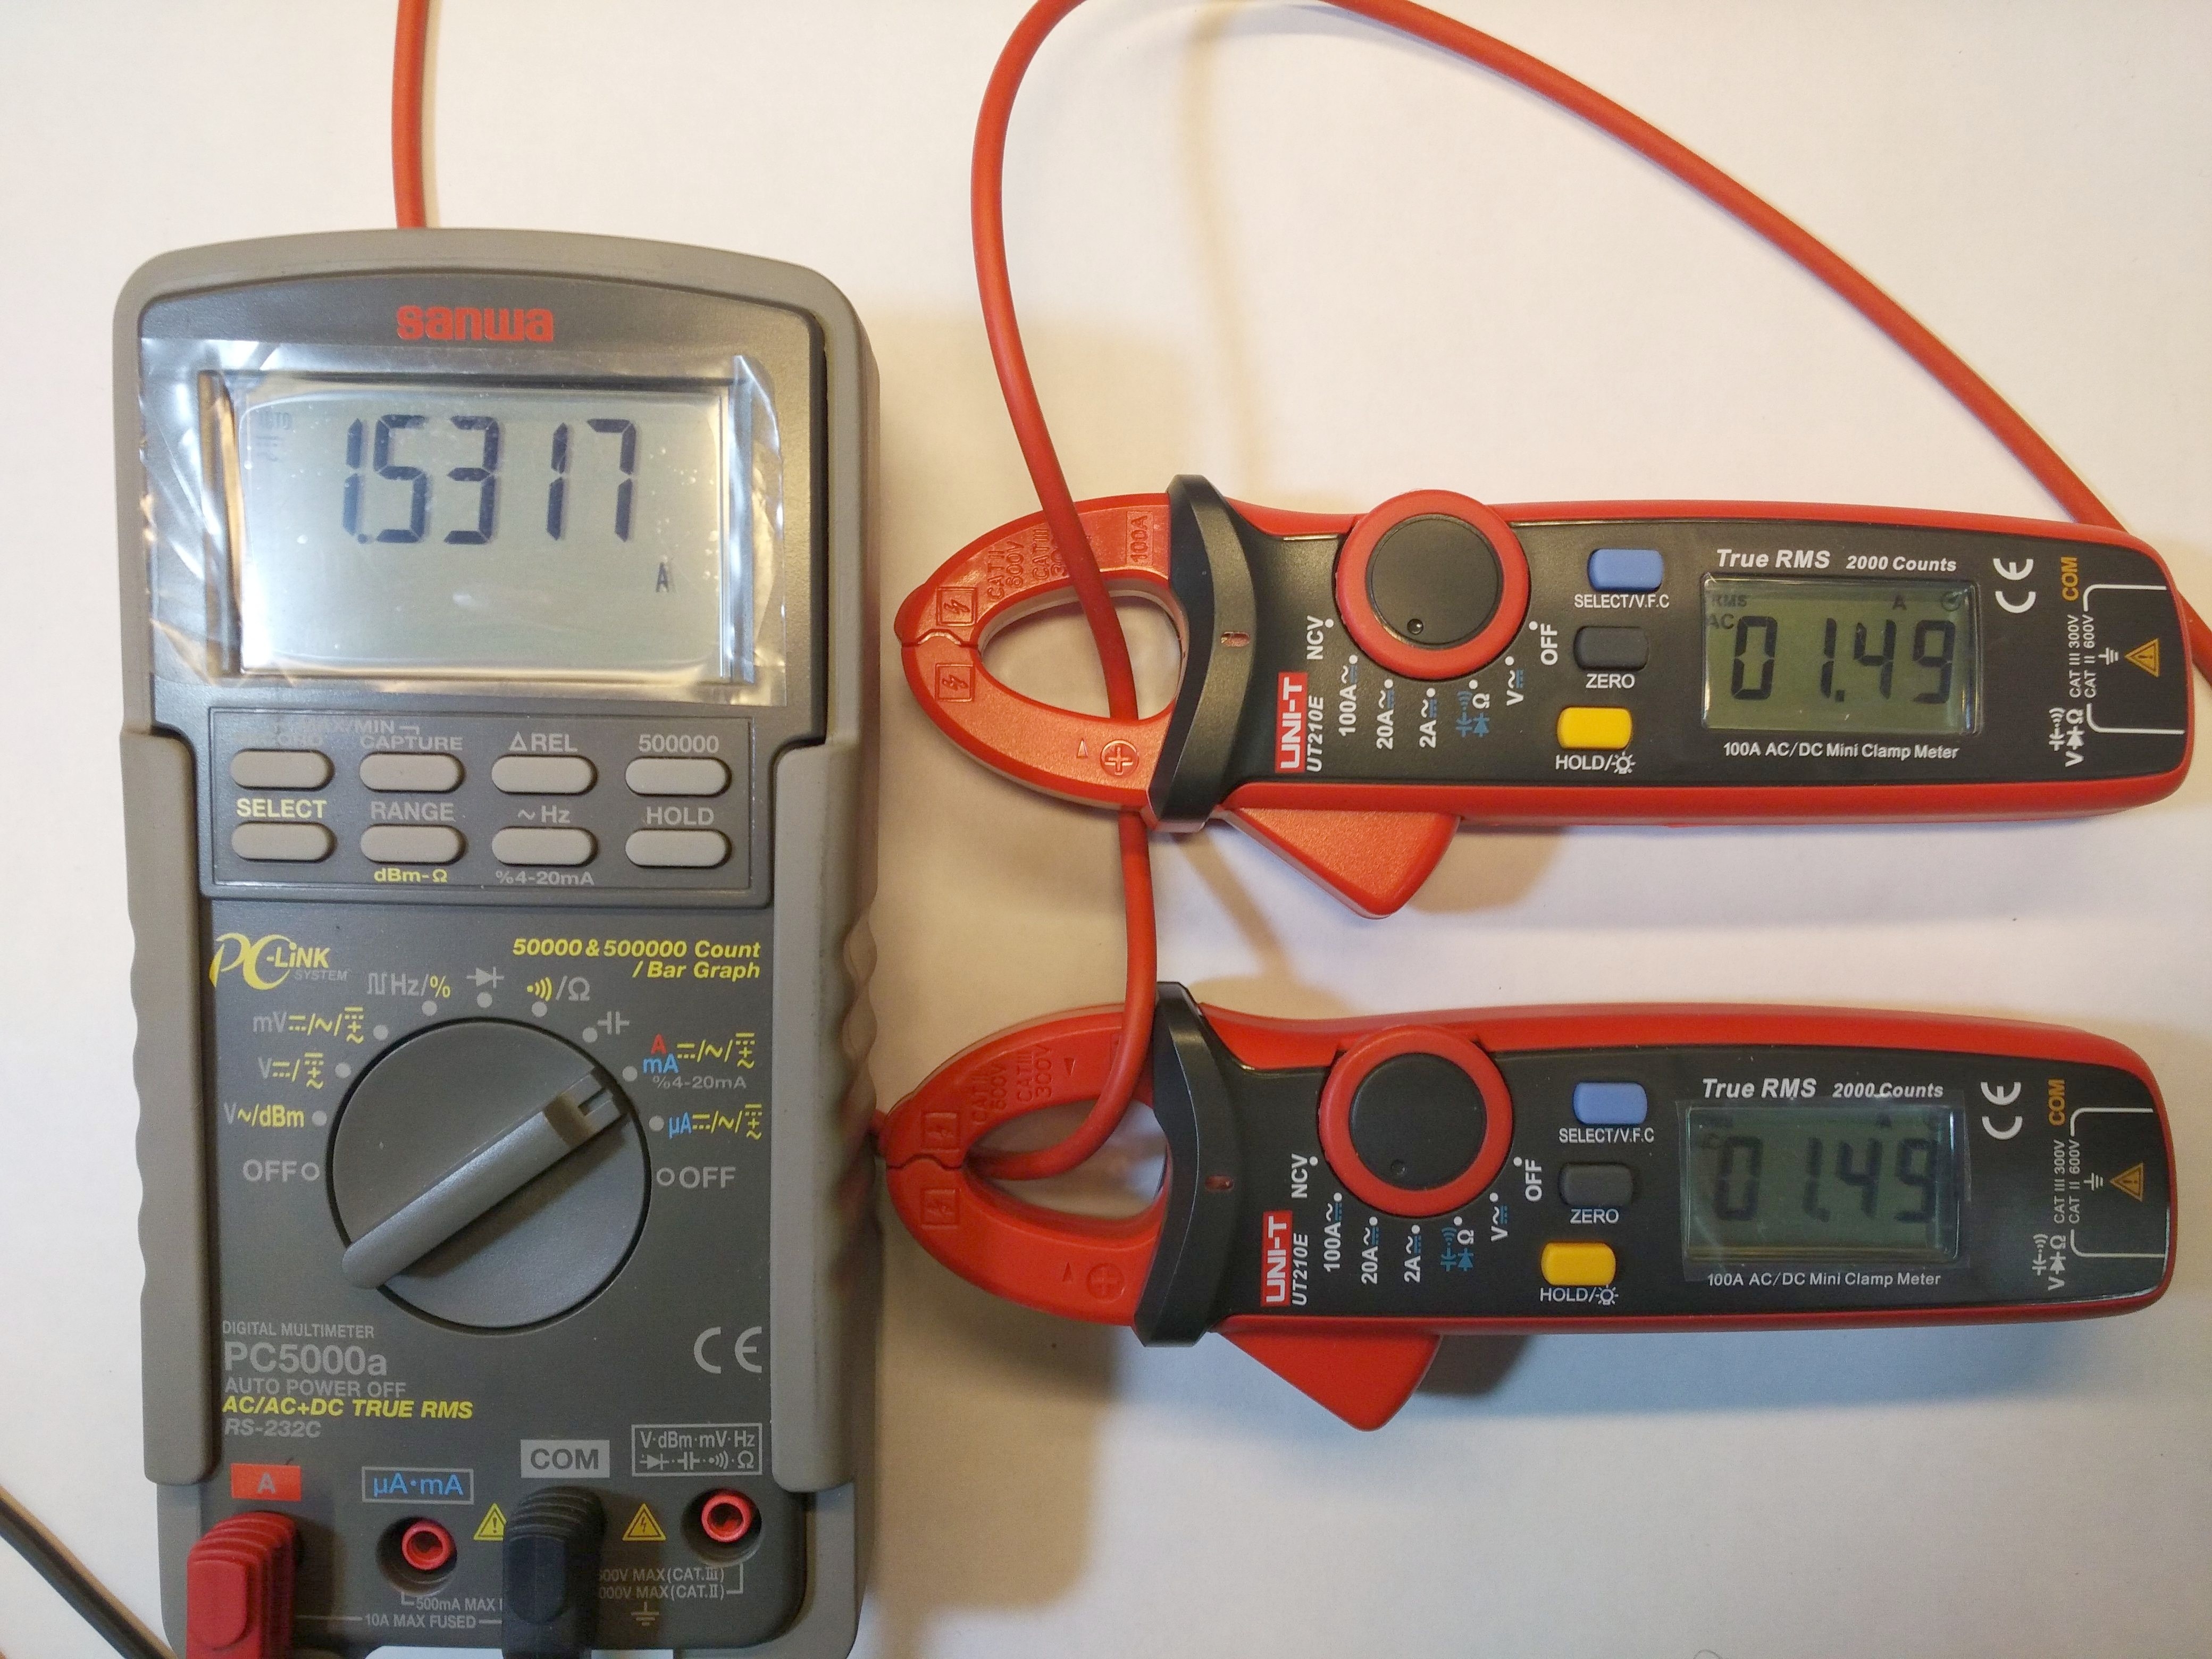
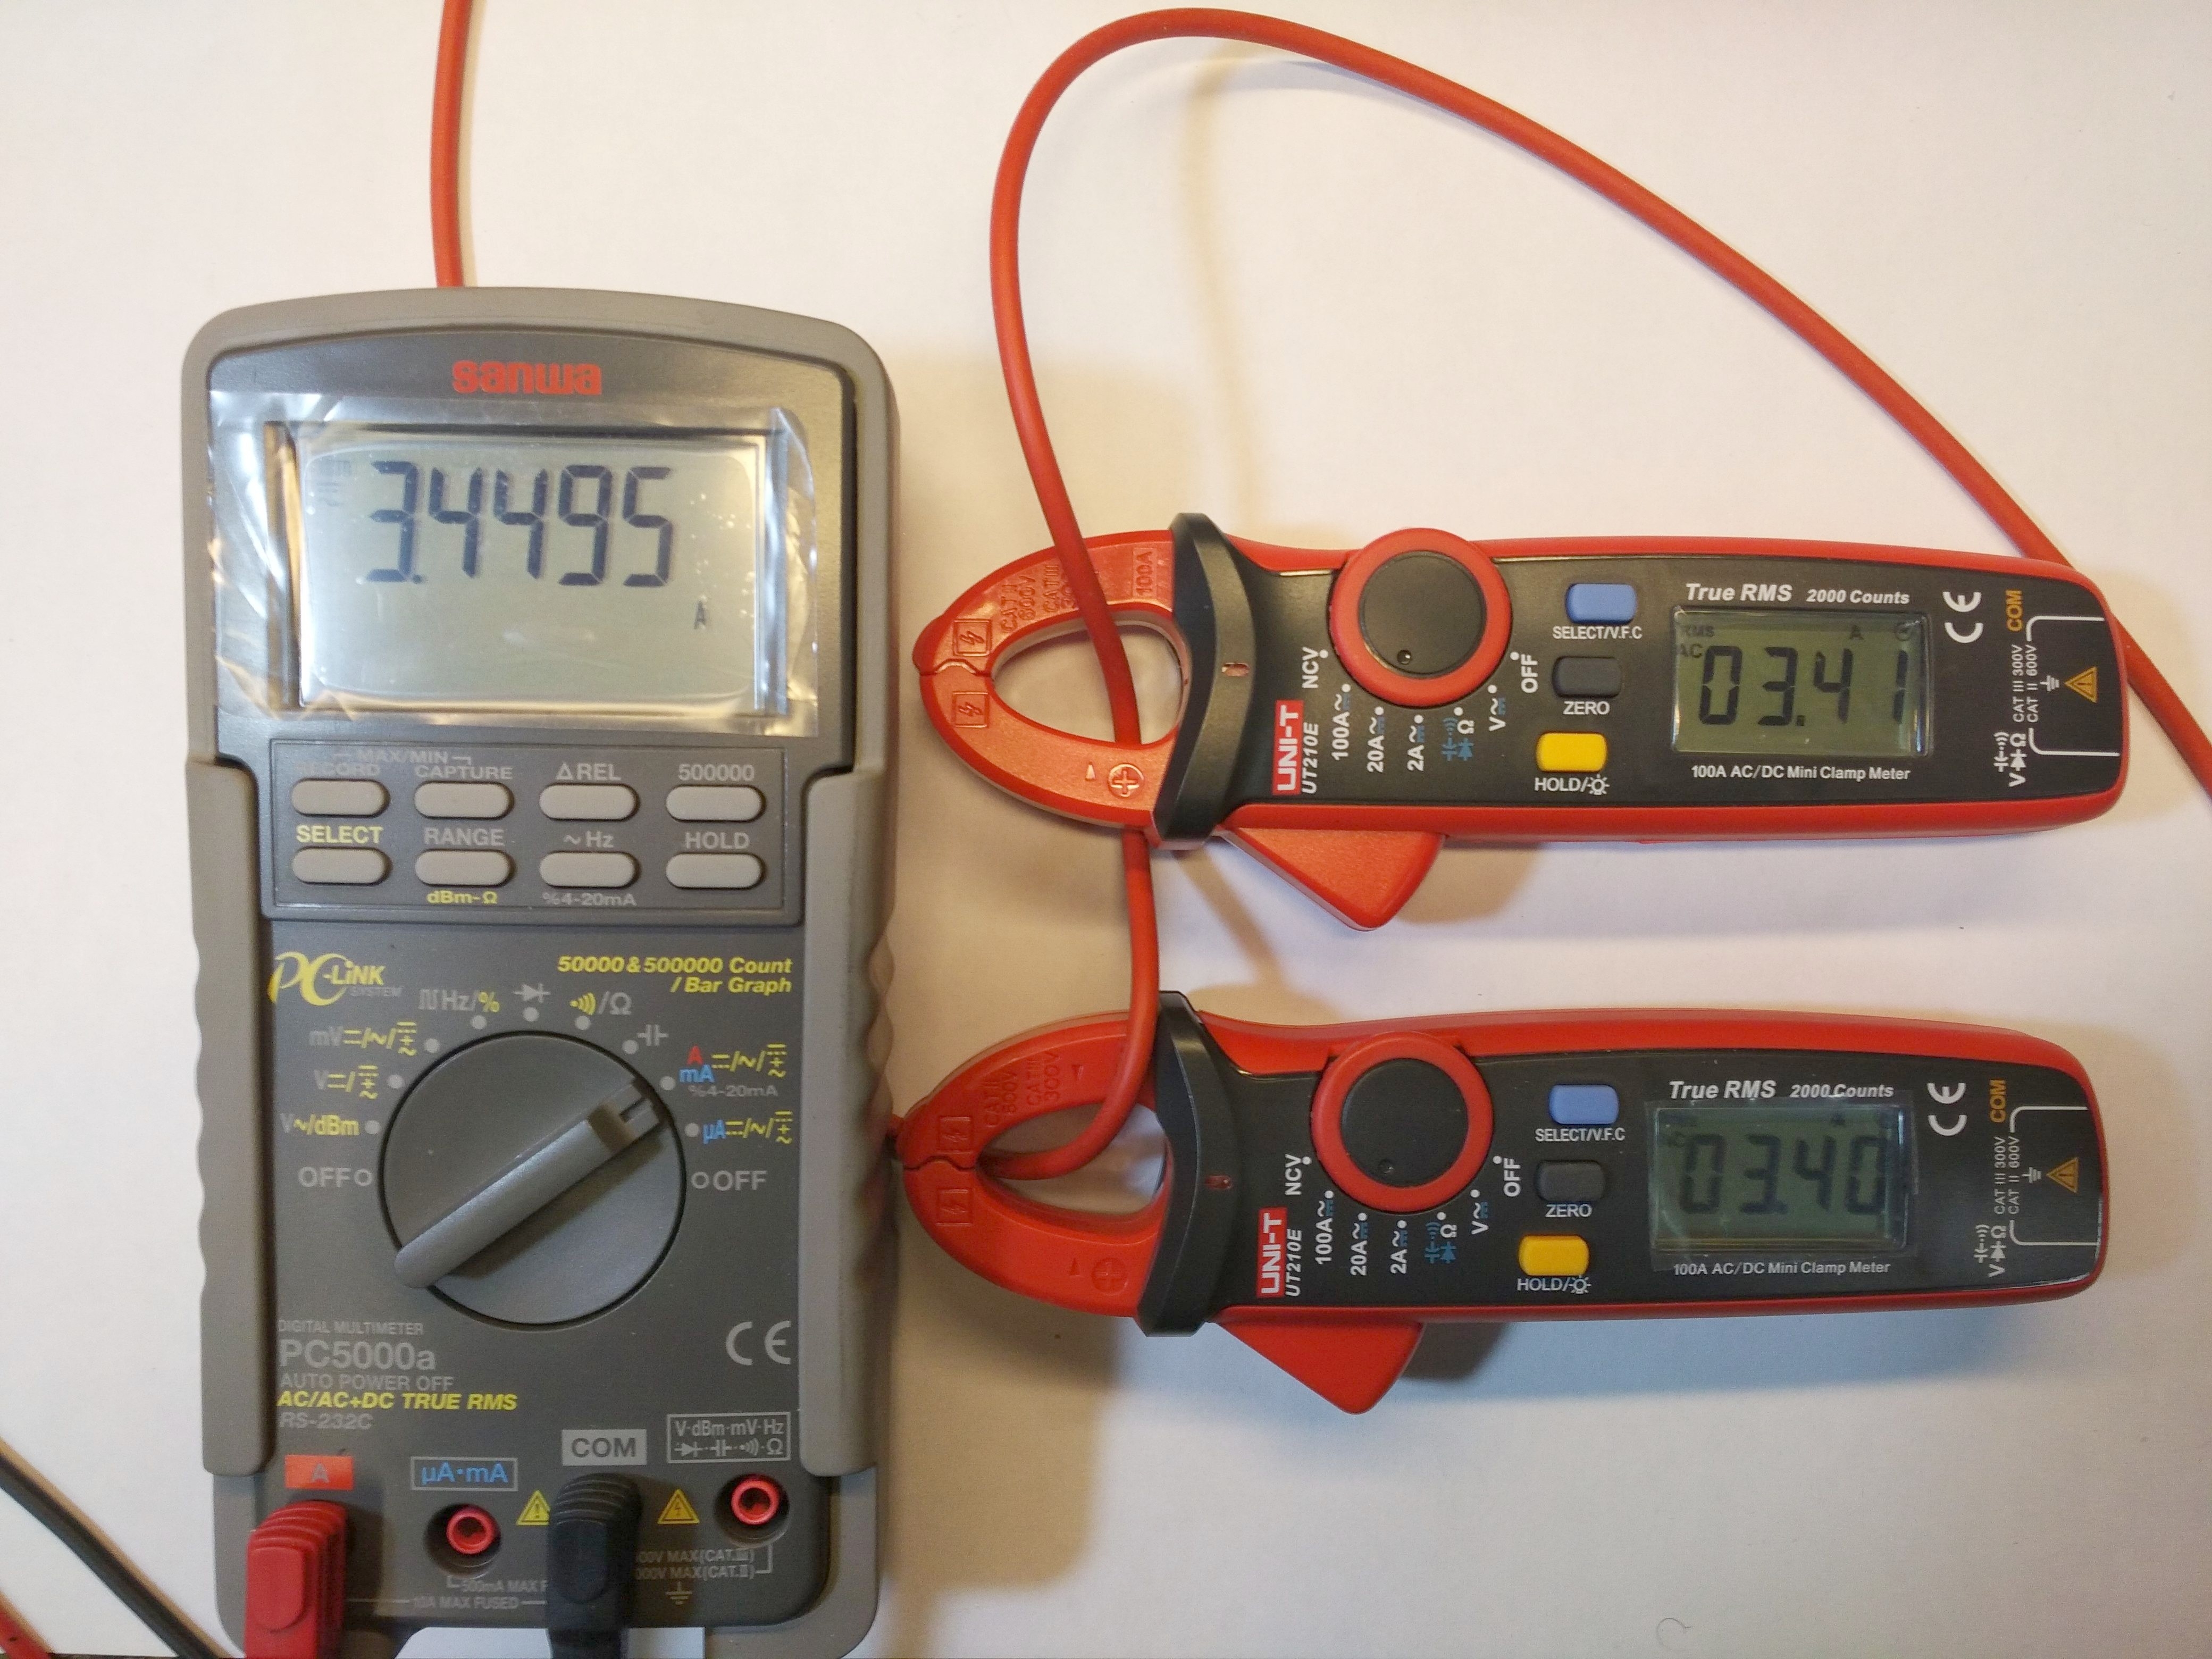
The next test is to measure the AC current. In the role of load, the old iron is connected via an autotransformer. Unfortunately, it only has a load capacity of 3.42A, so I couldn't go crazy :(
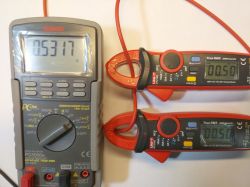

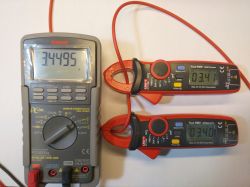
Here in turn: 0.5A; 1.5A; 2.5A and as much as possible, i.e. 3.44A AC.
I also wanted to do a rehearsal with some very high current. So I decided to measure the starting current of the (warm, and importantly) 2.0 petrol engine.
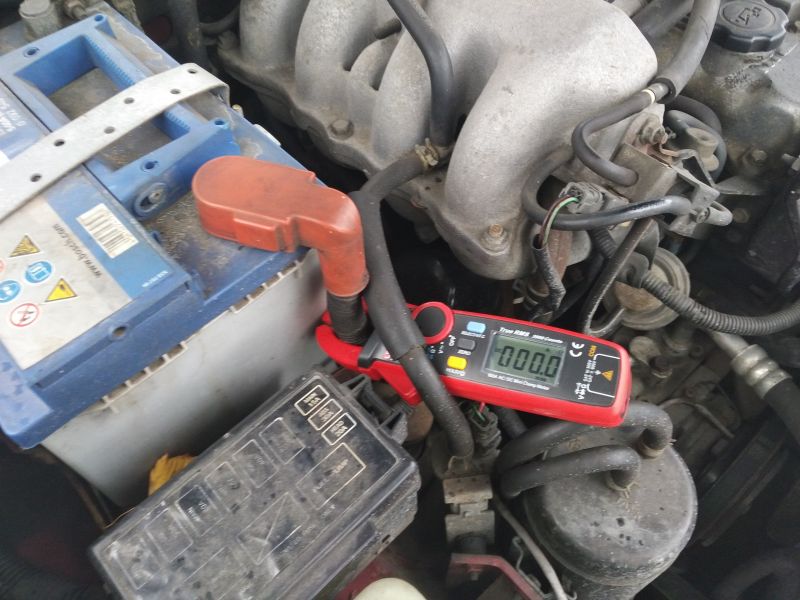
Unfortunately, despite a few attempts, it turned out that my reflexes are too weak to press HOLD in time. however, I noticed that it looks something like this, 57-58A - 69-70A - 95-97A - and it drops down to a dozen Amps, but everything happens very quickly. I think the cold engine would run out of scale
Anyway, never mind. For me, the 20A range is enough.
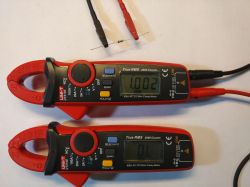
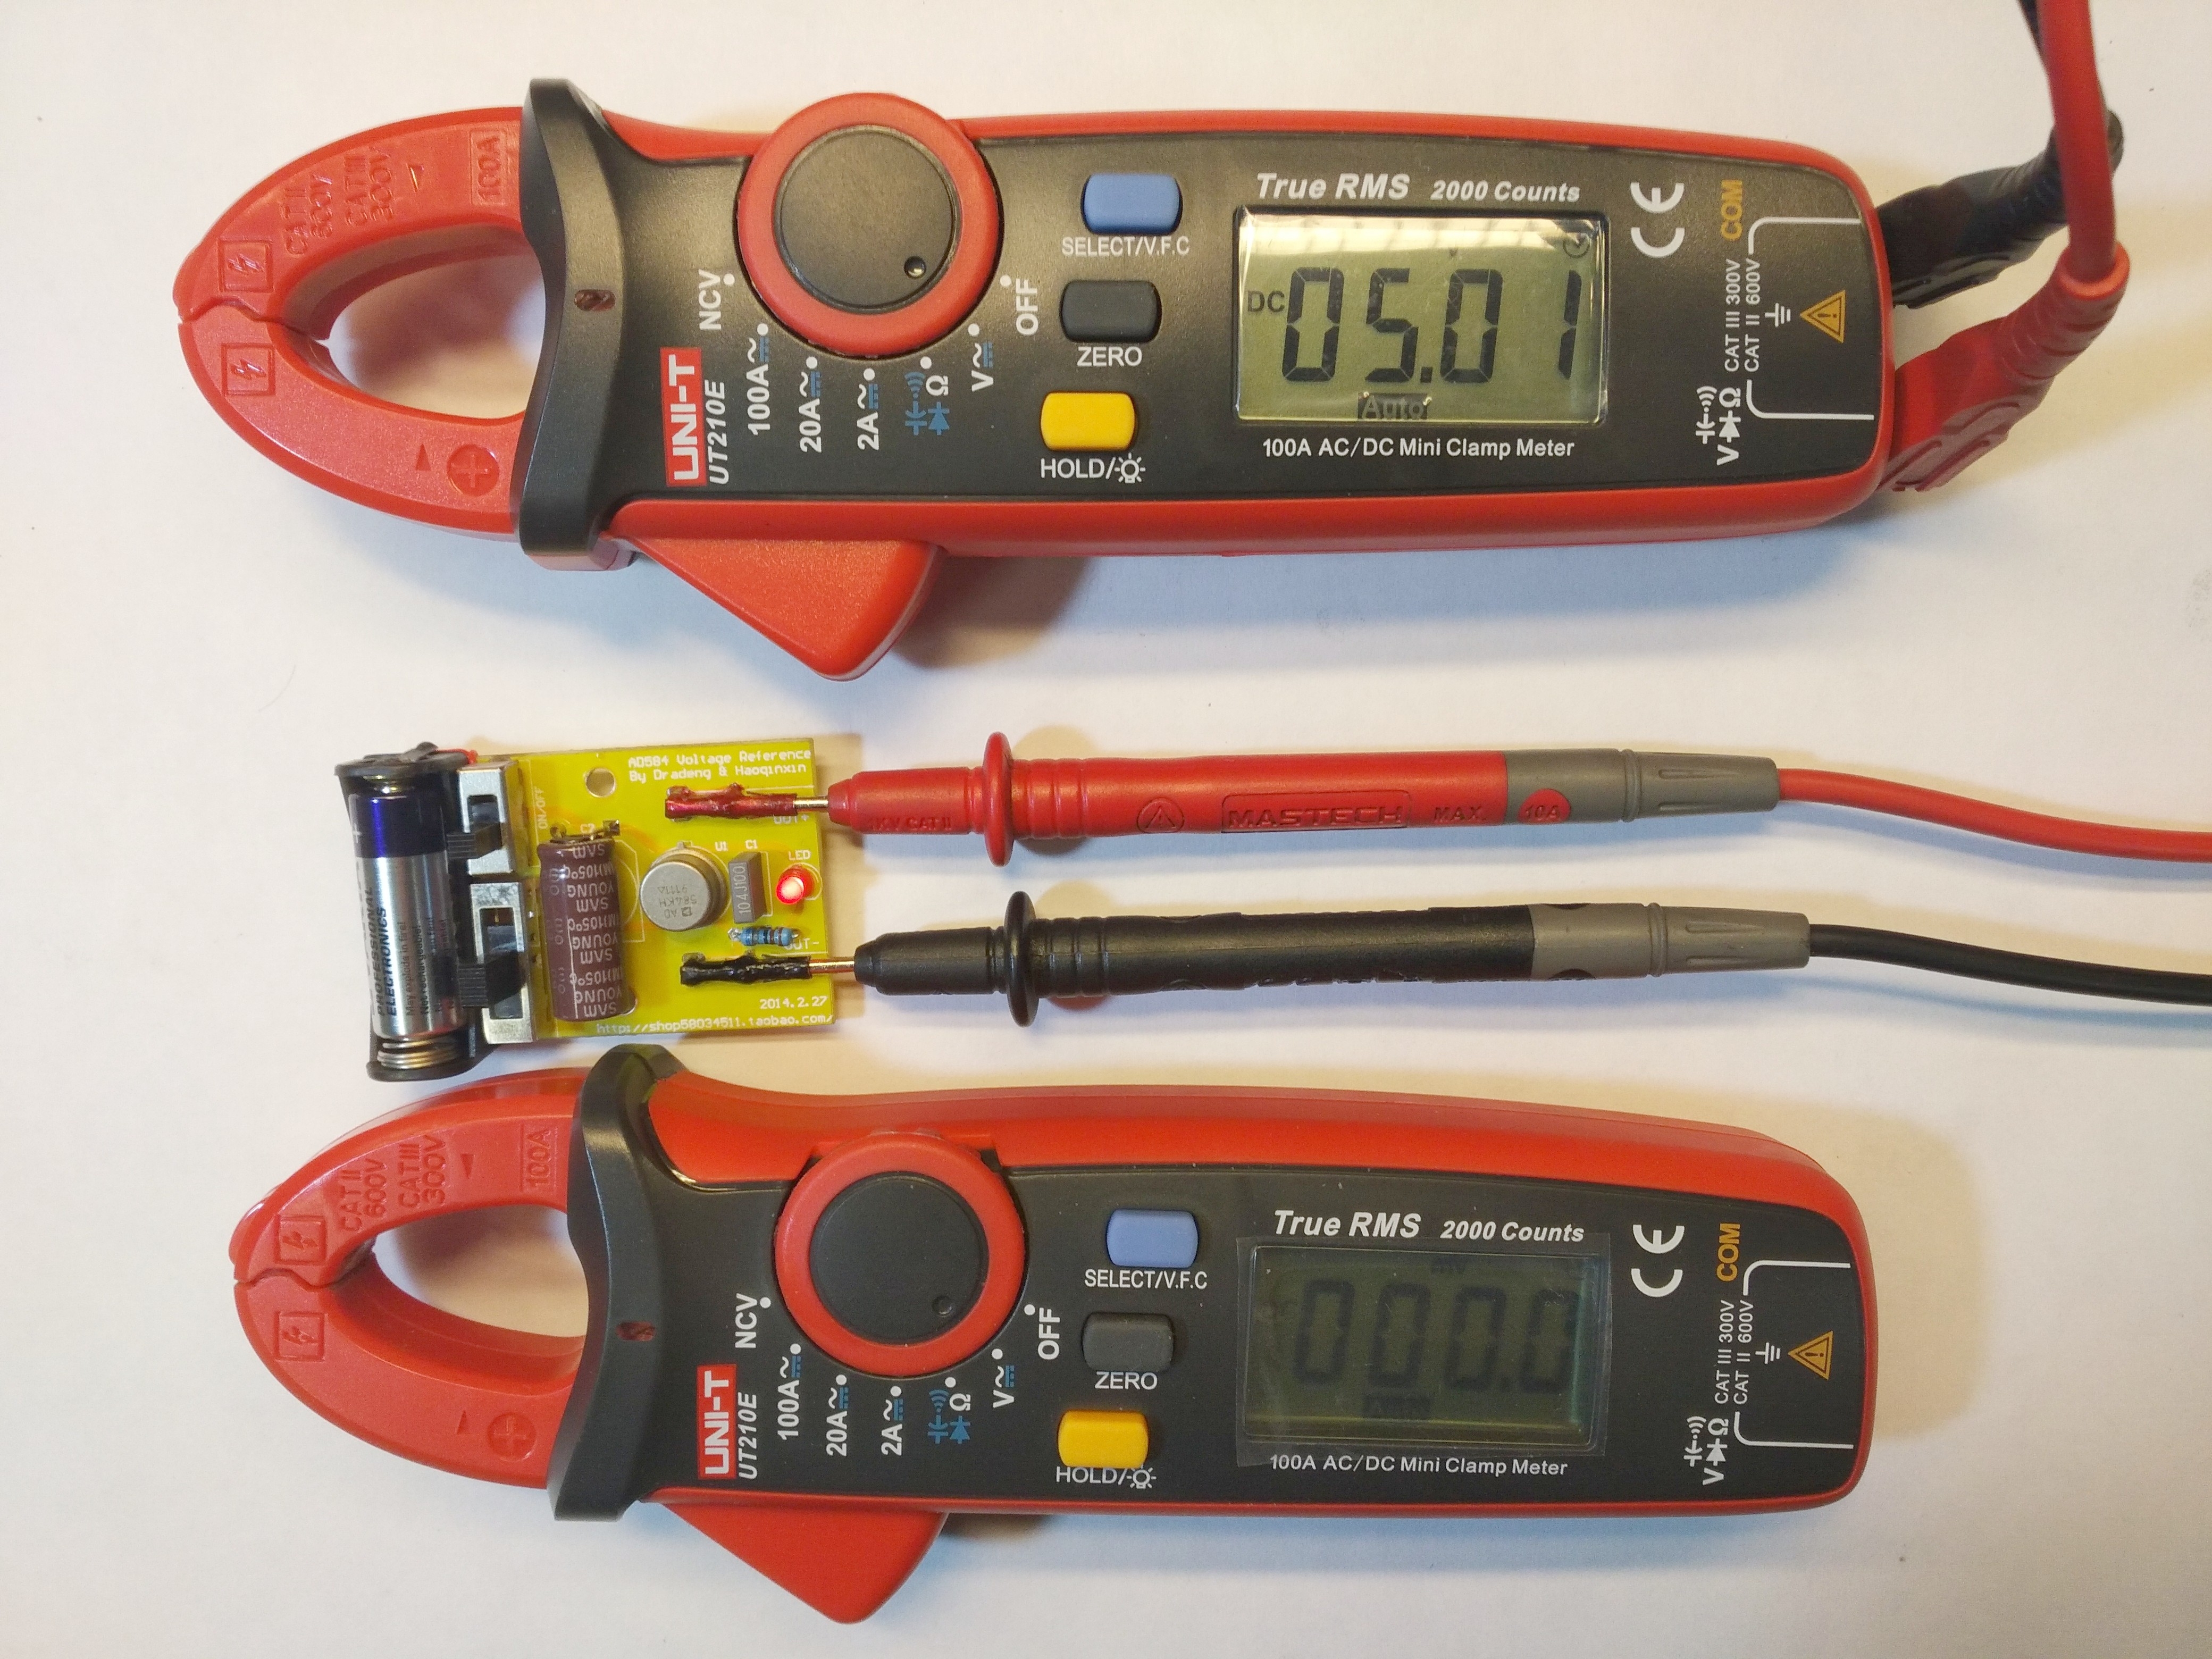
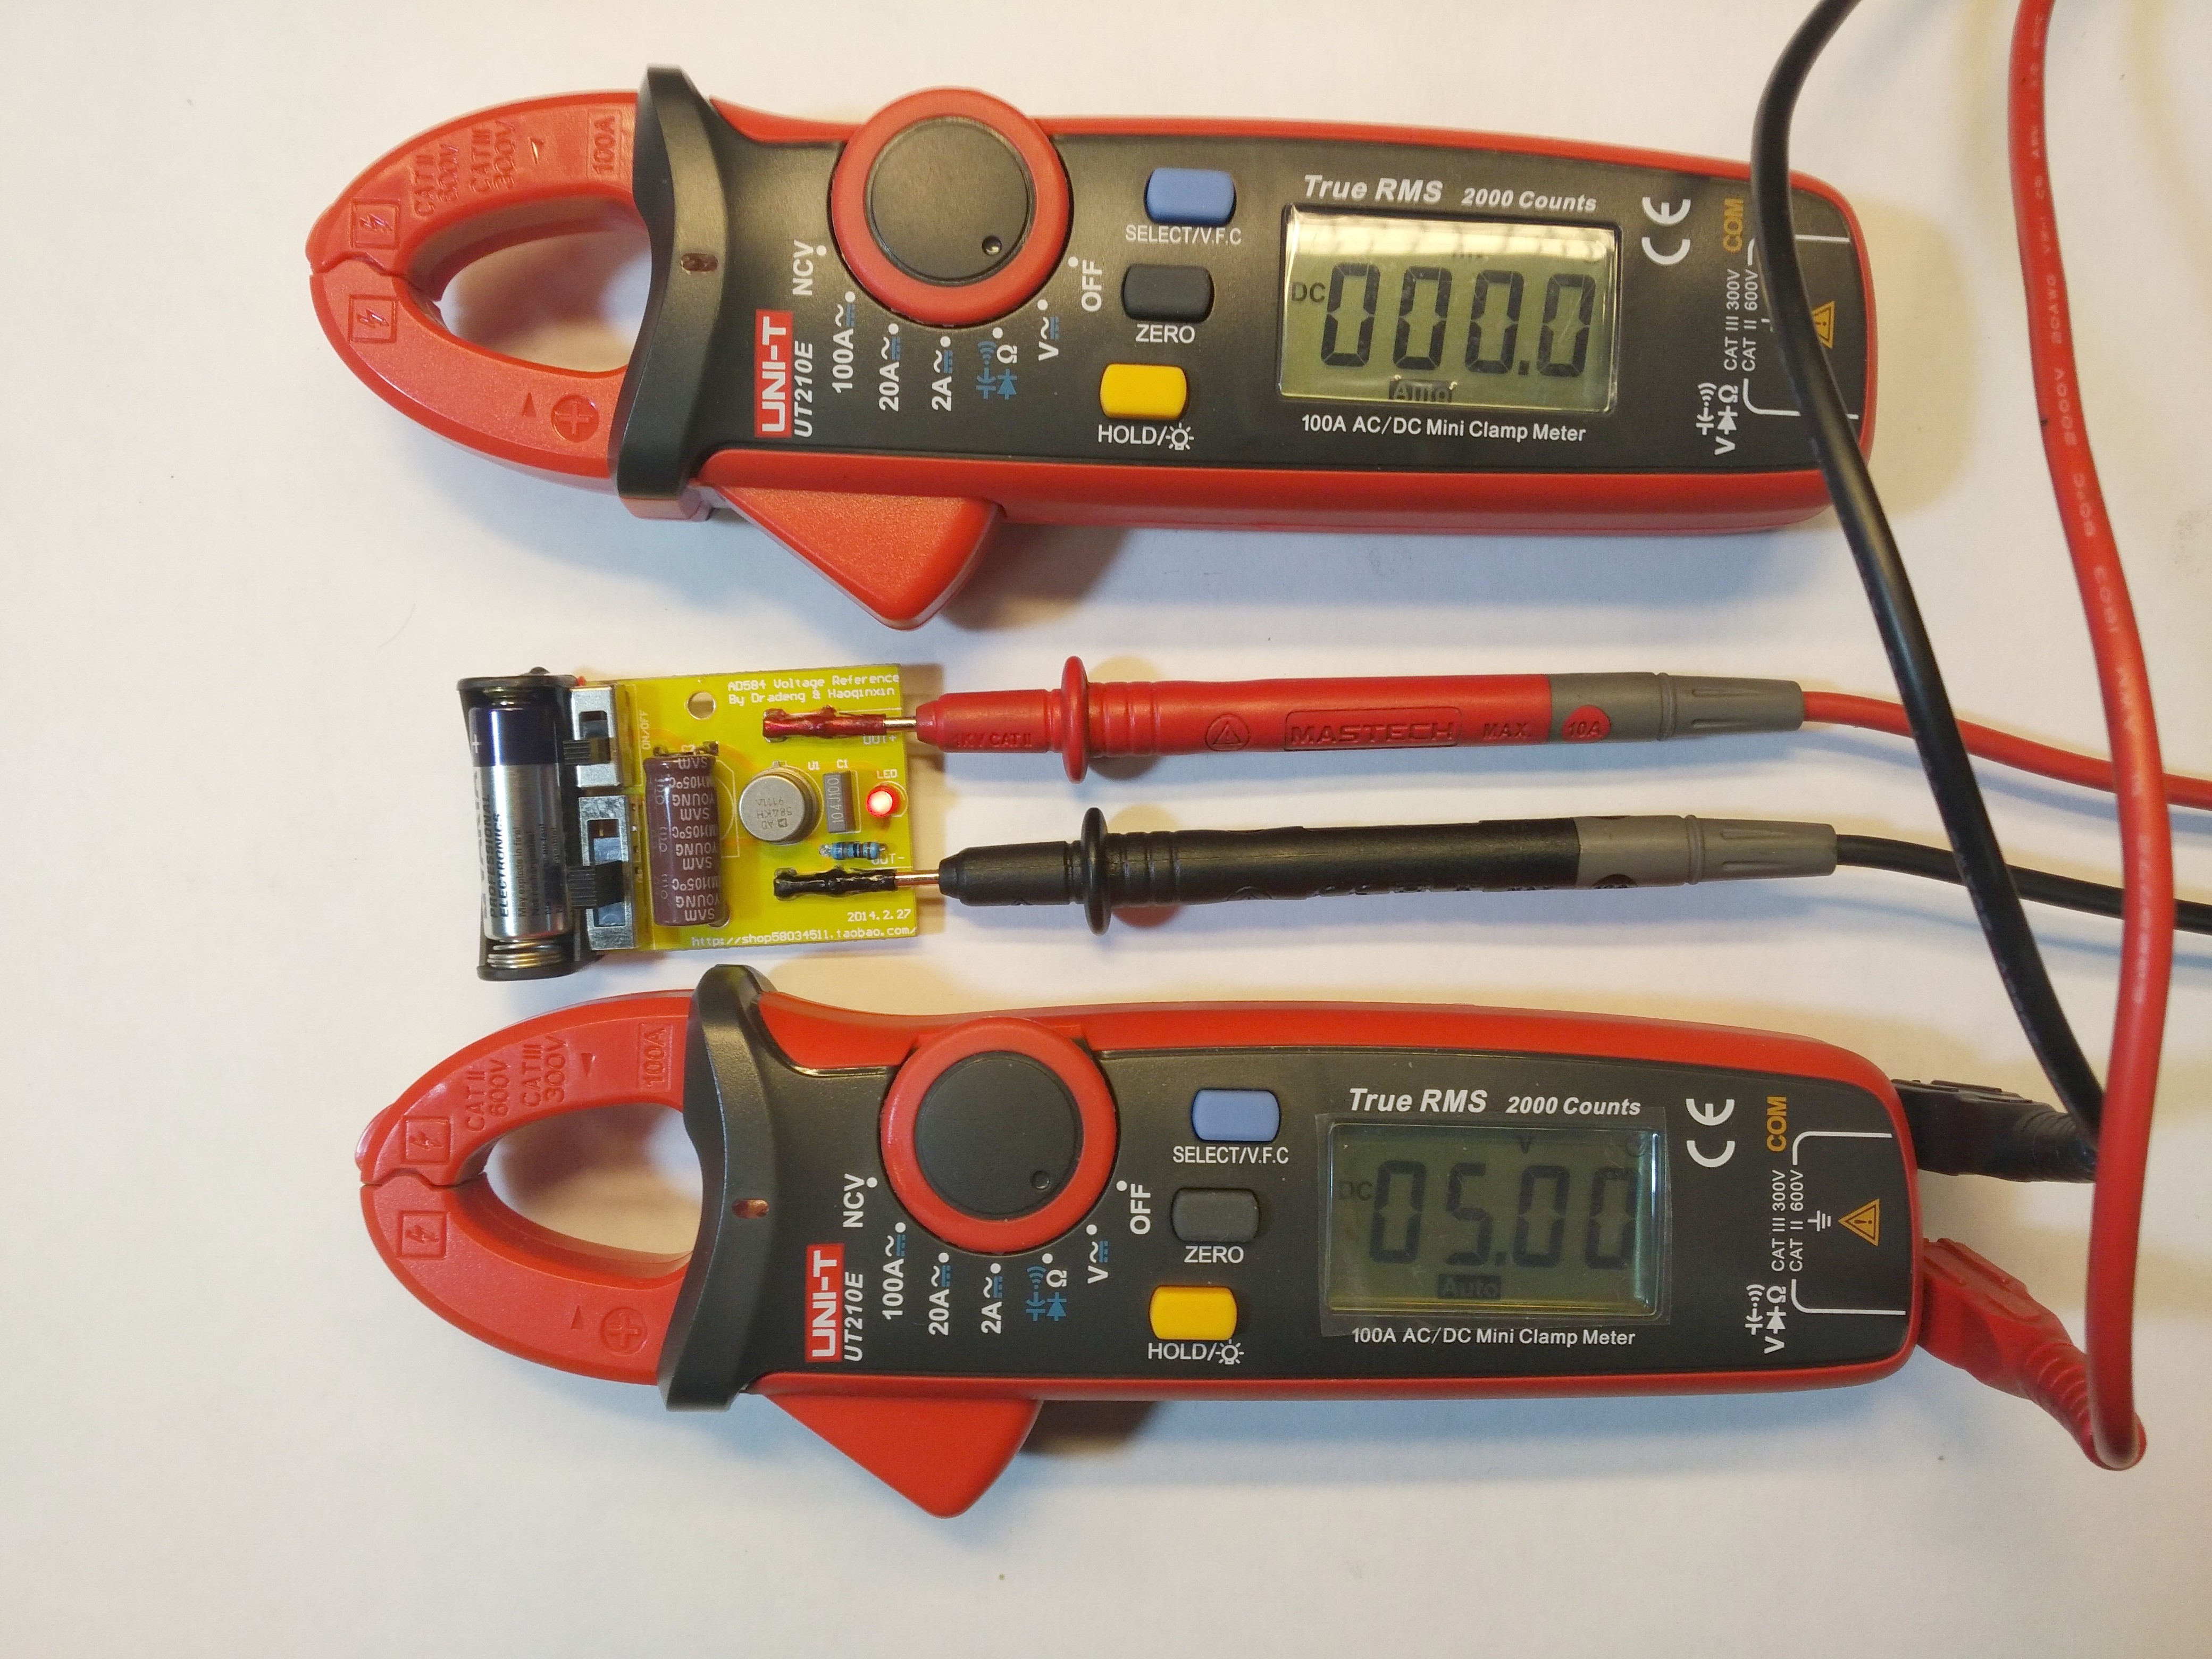
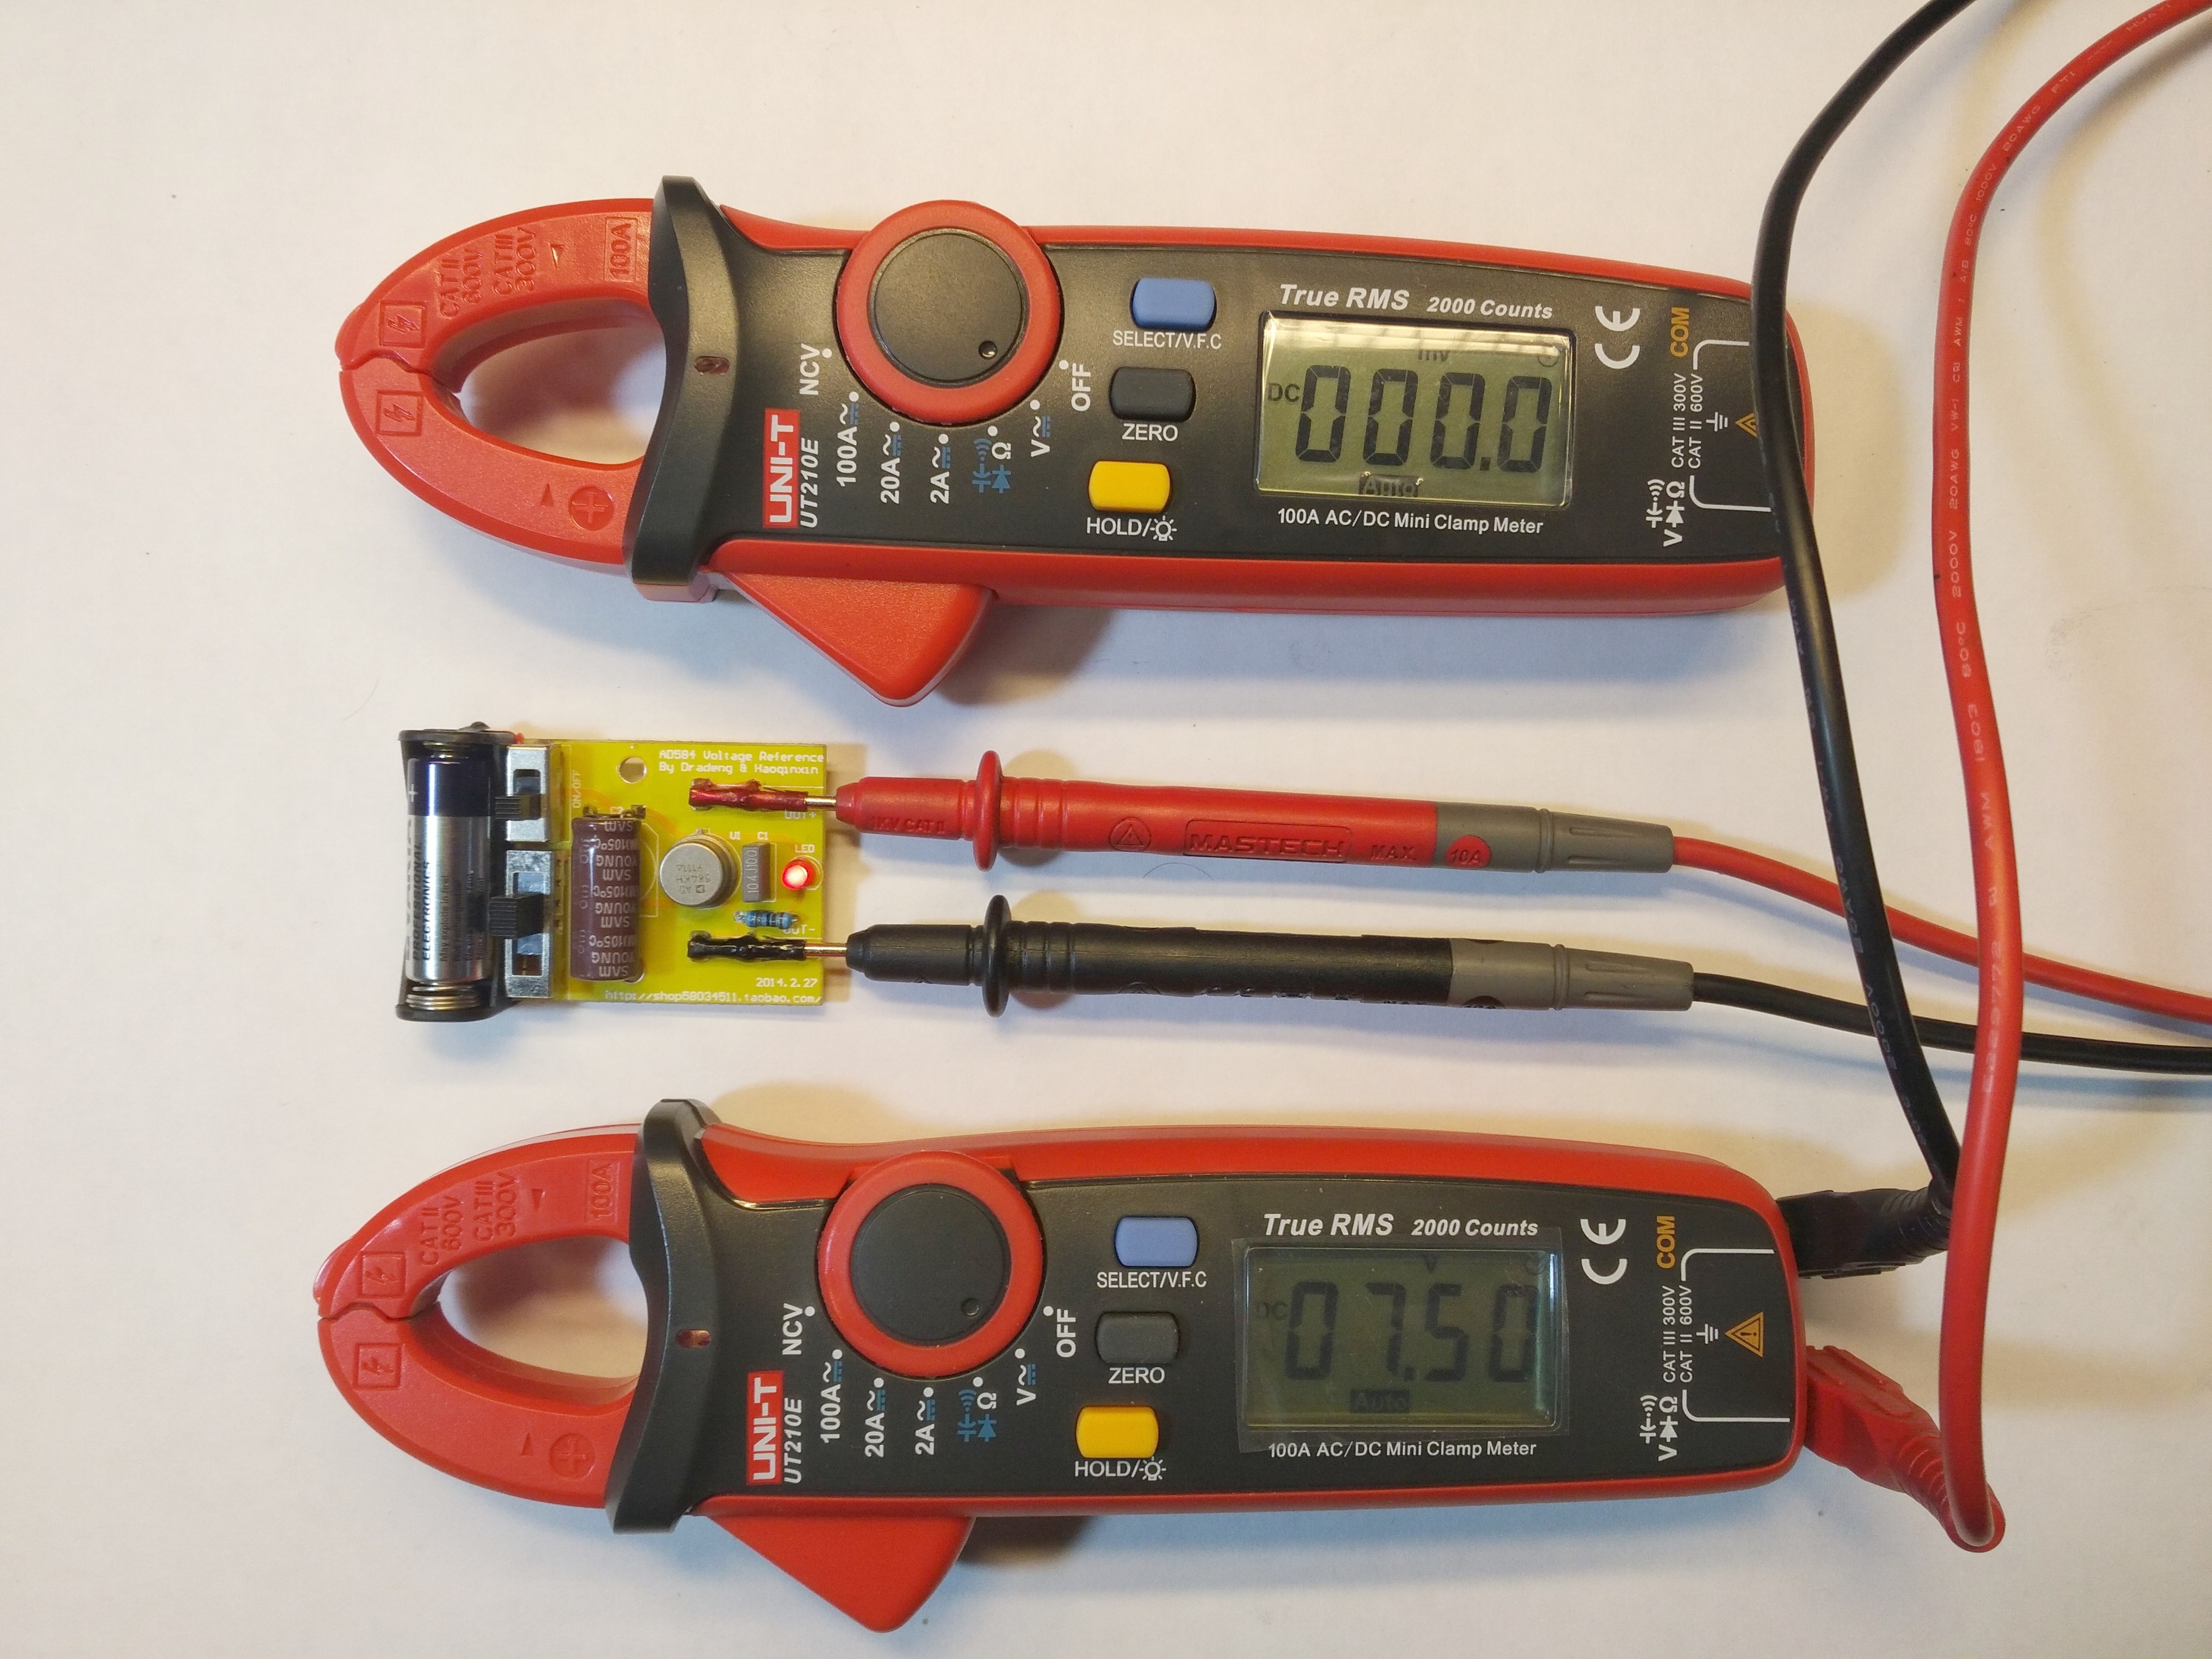
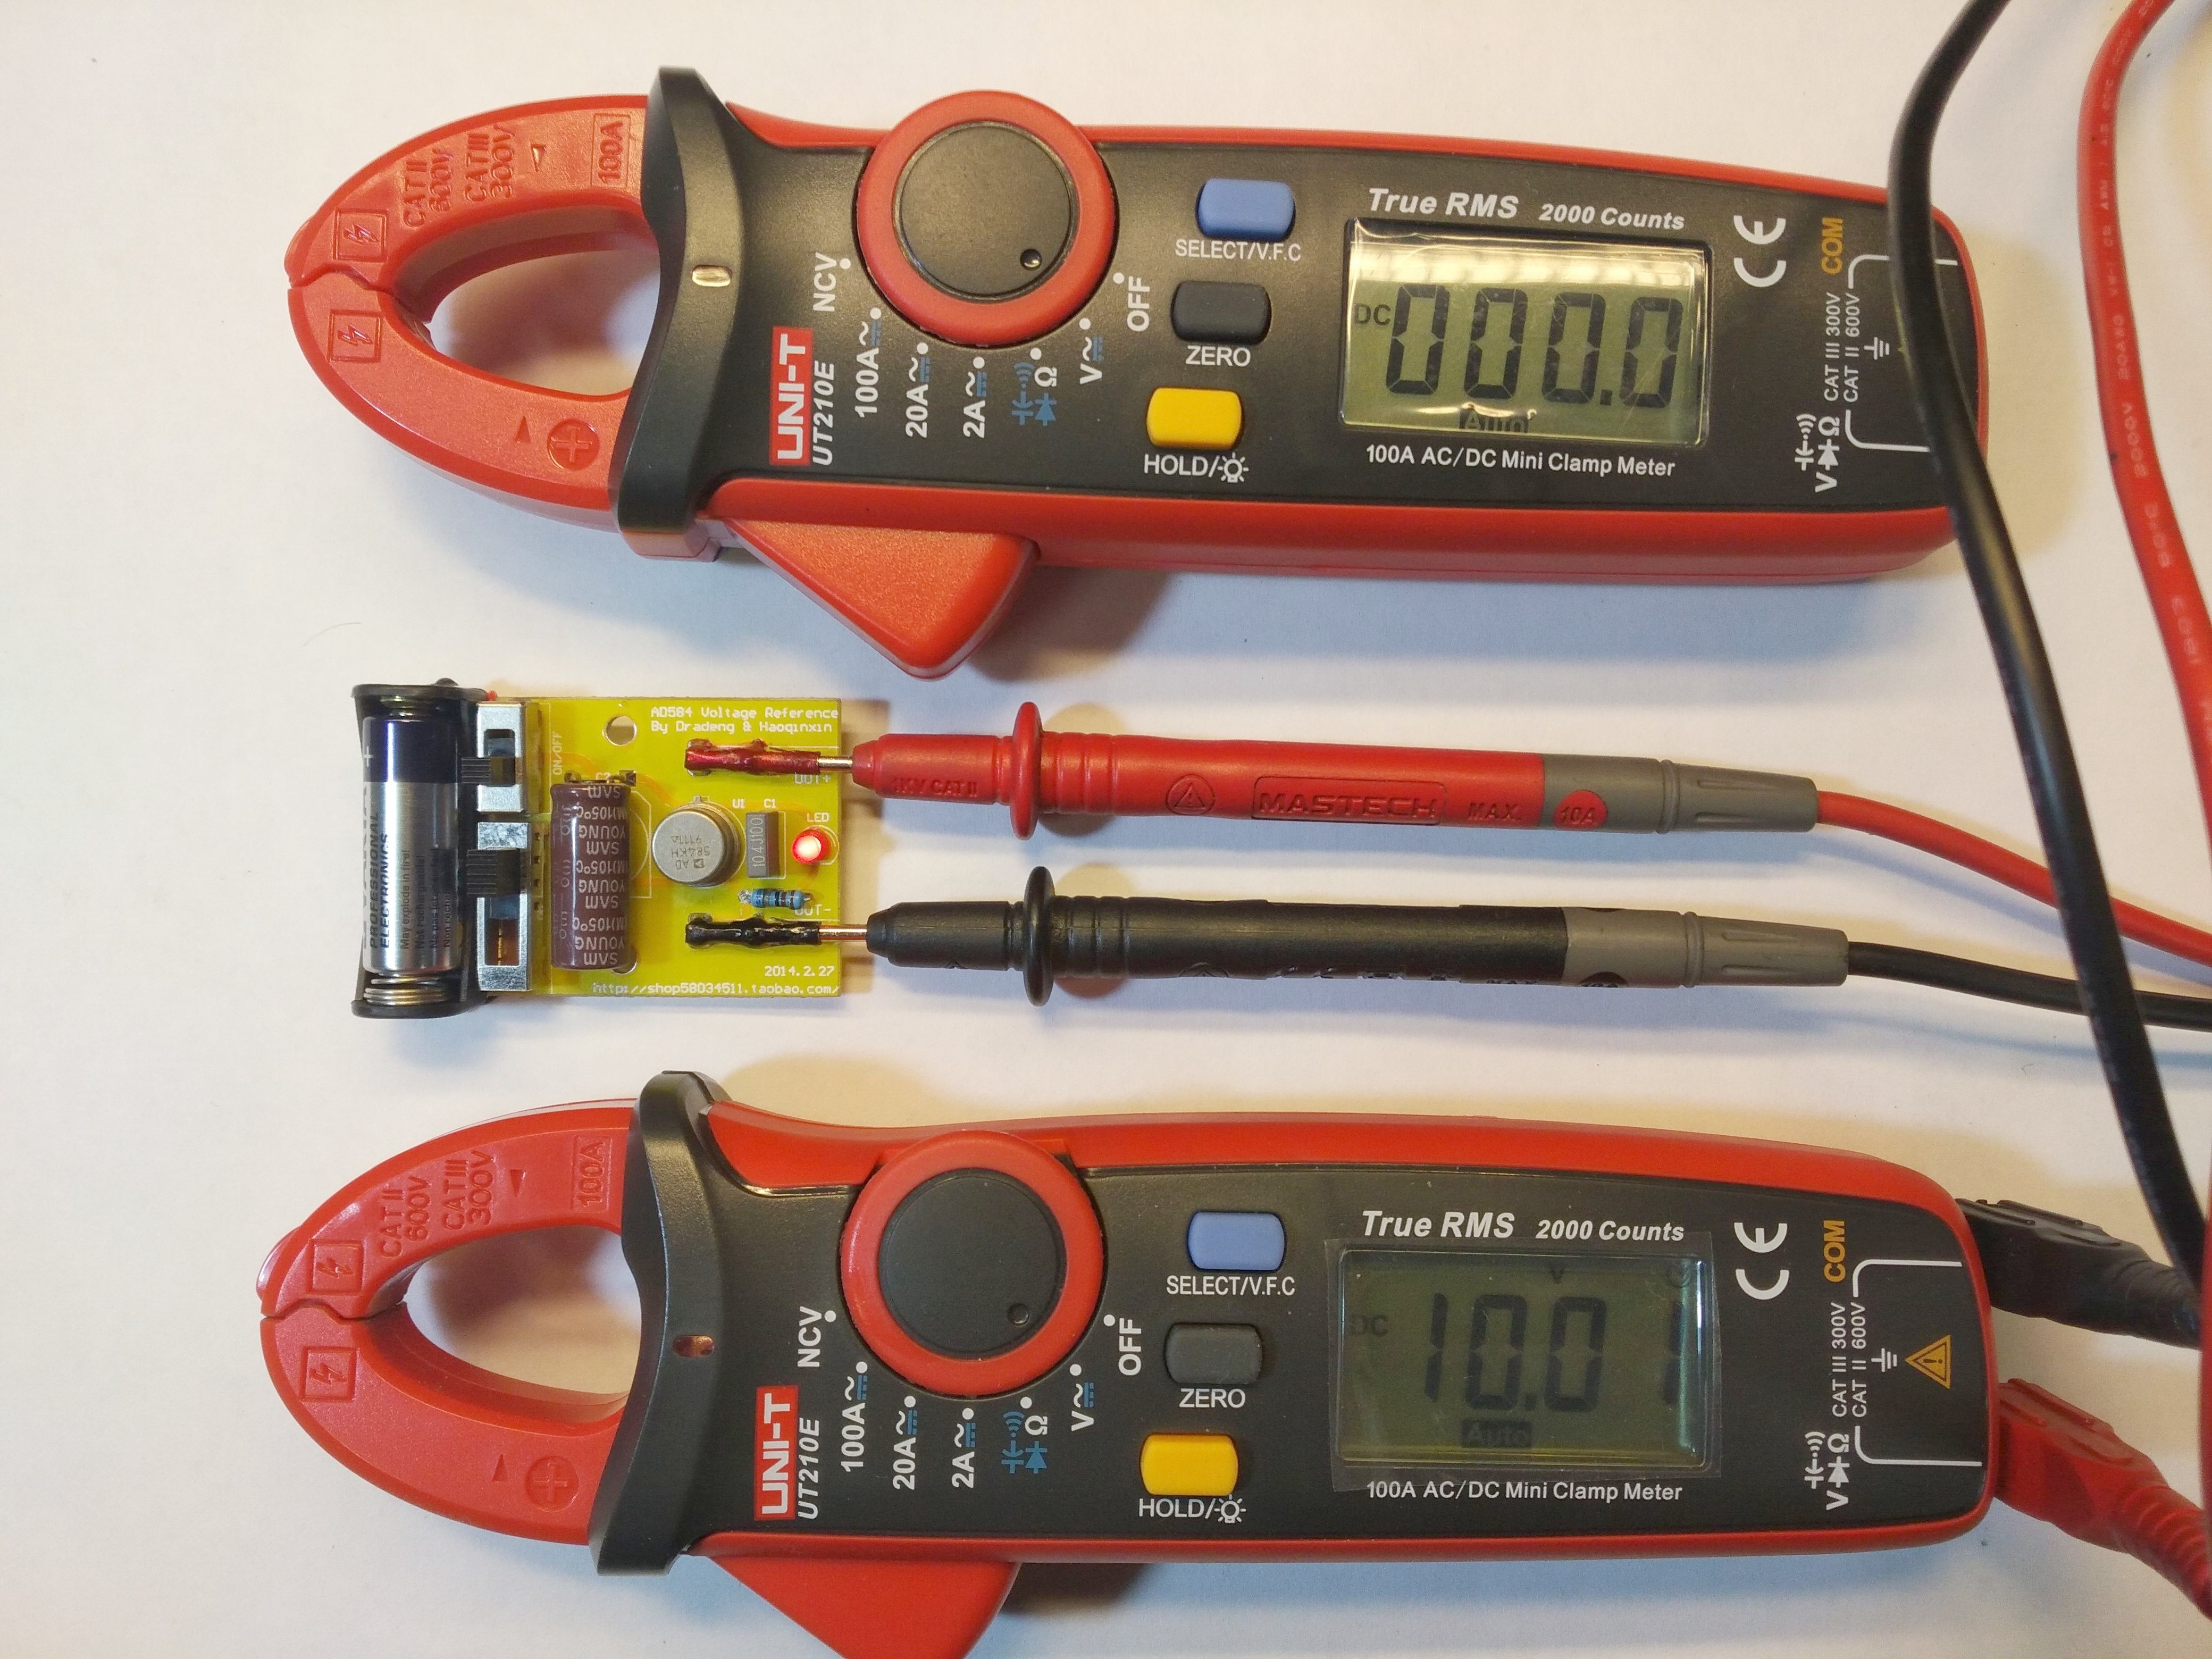
So let's check how this meter handles voltage measurement. To begin with, we will use the reference voltage that you already know.

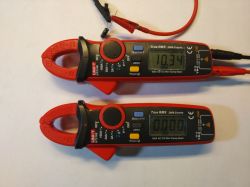
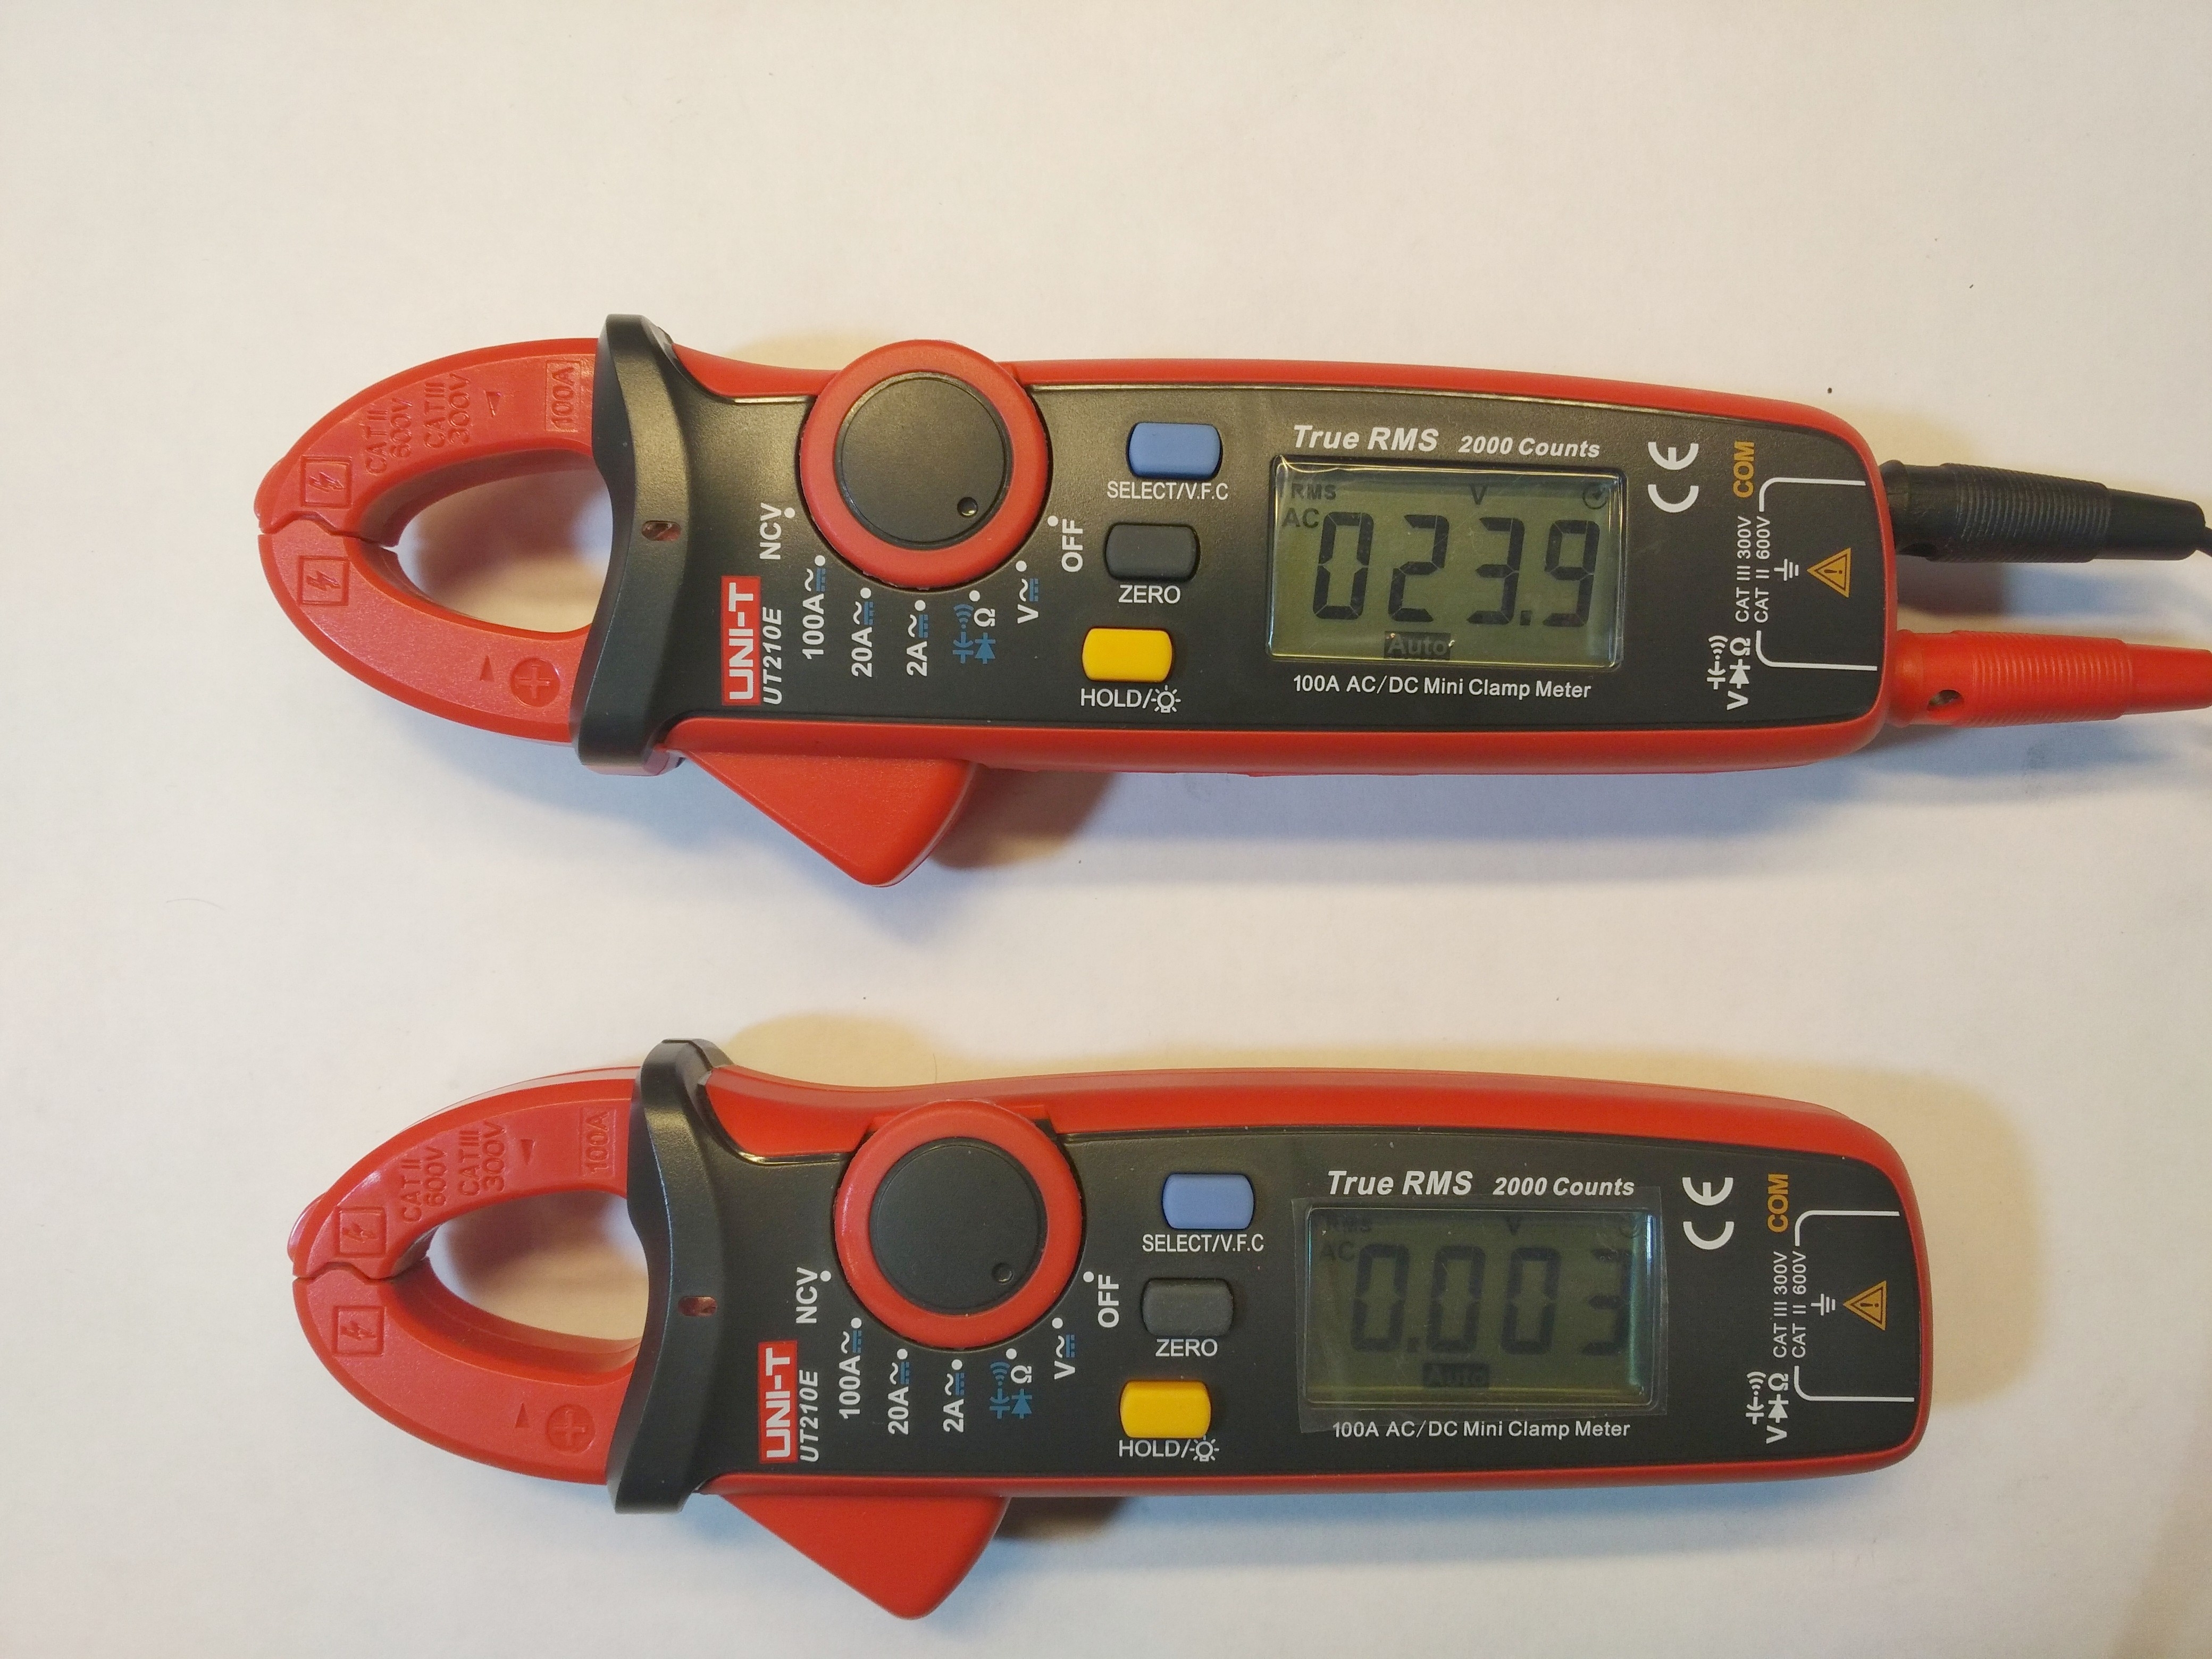
Now measure the AC voltage
5VAC
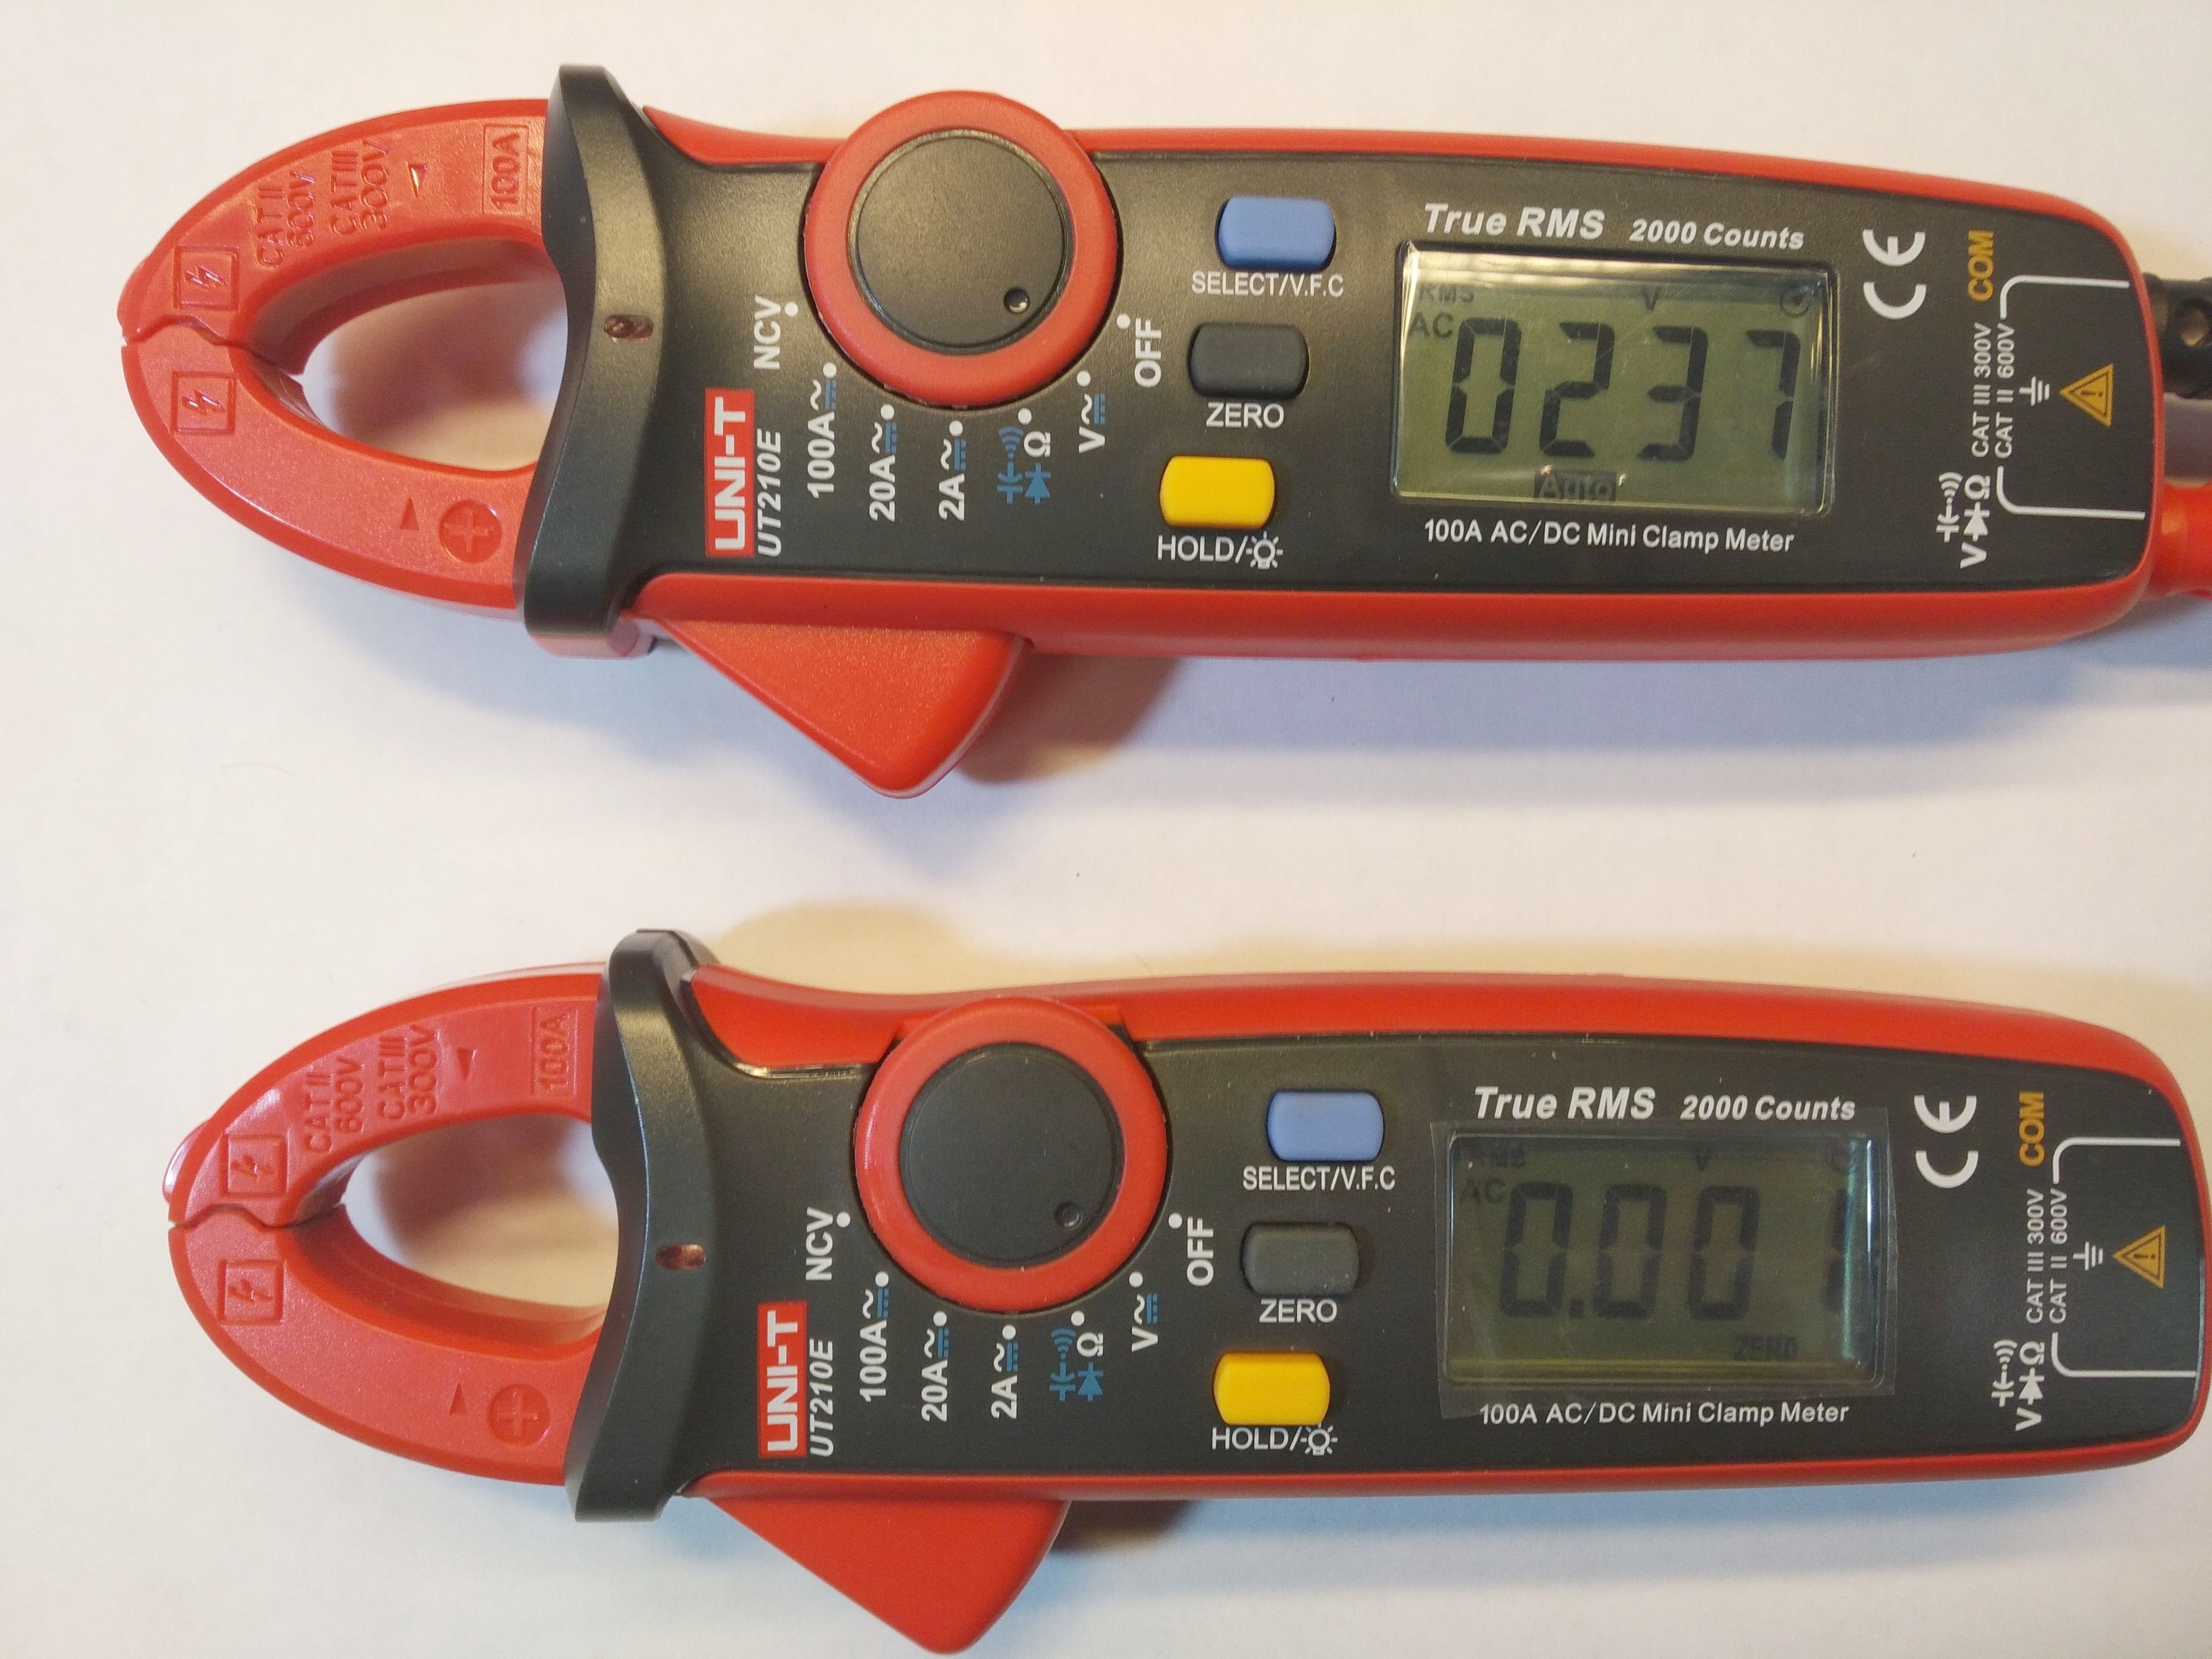
24VAC

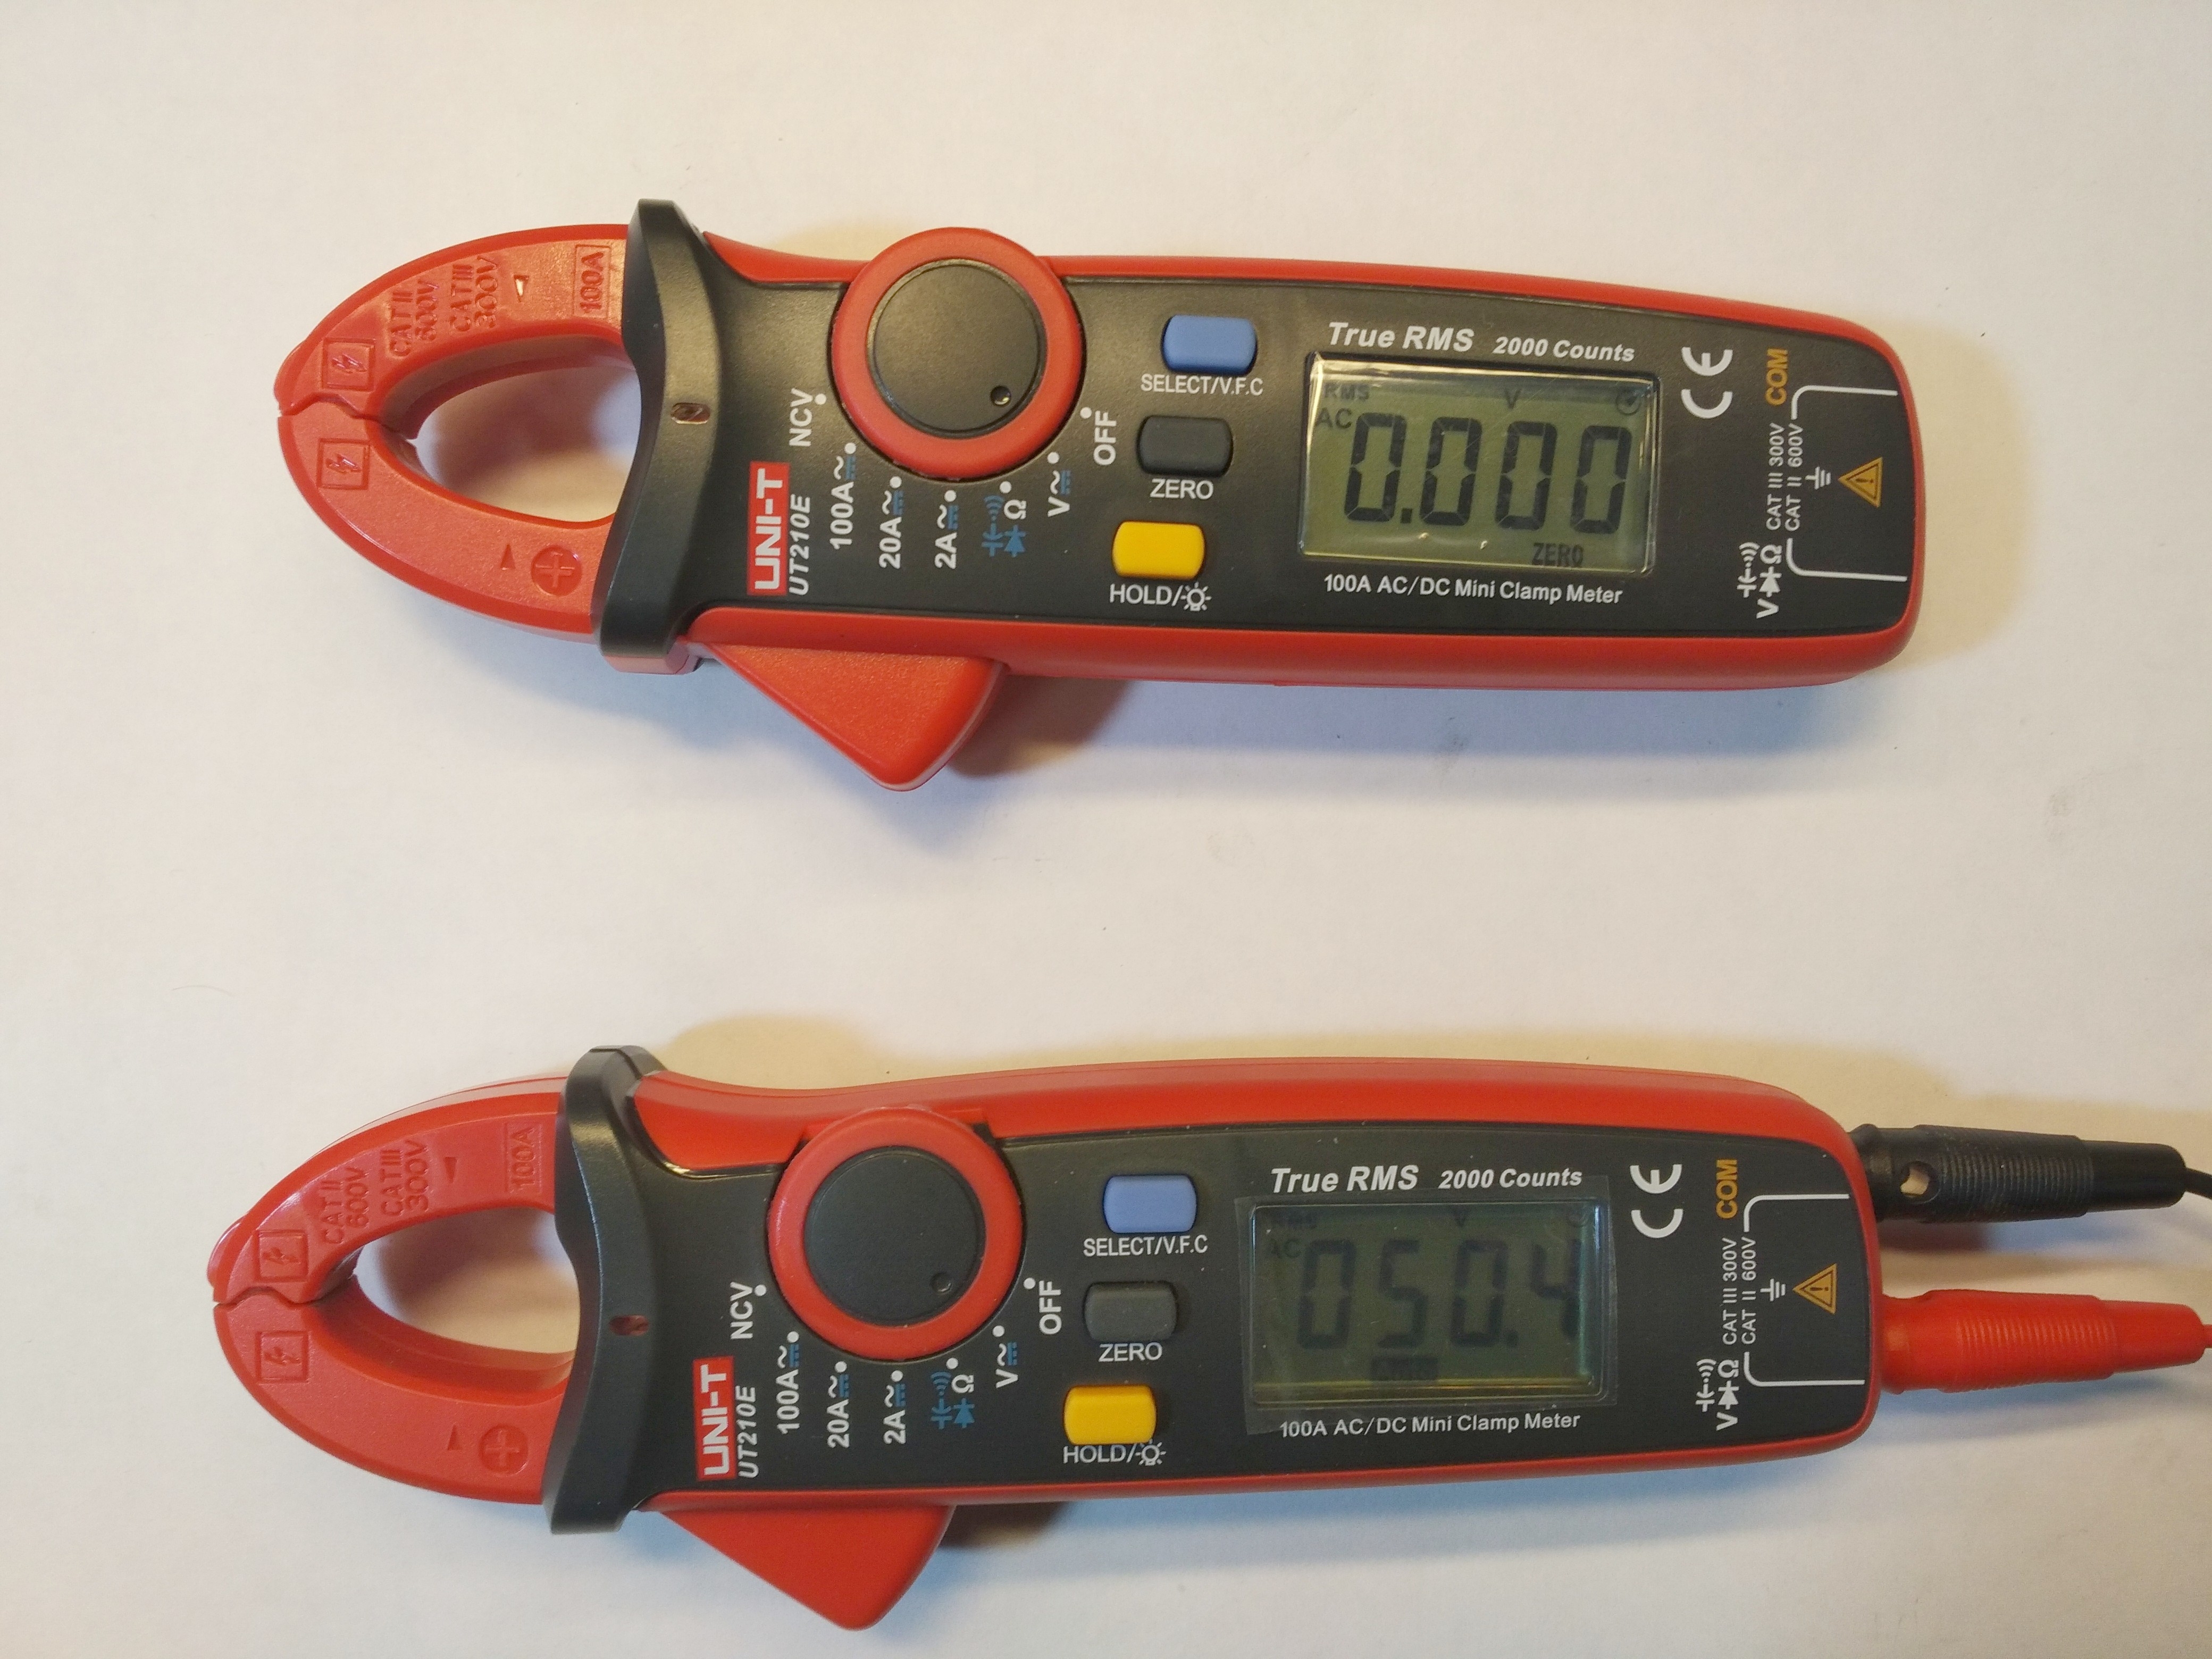
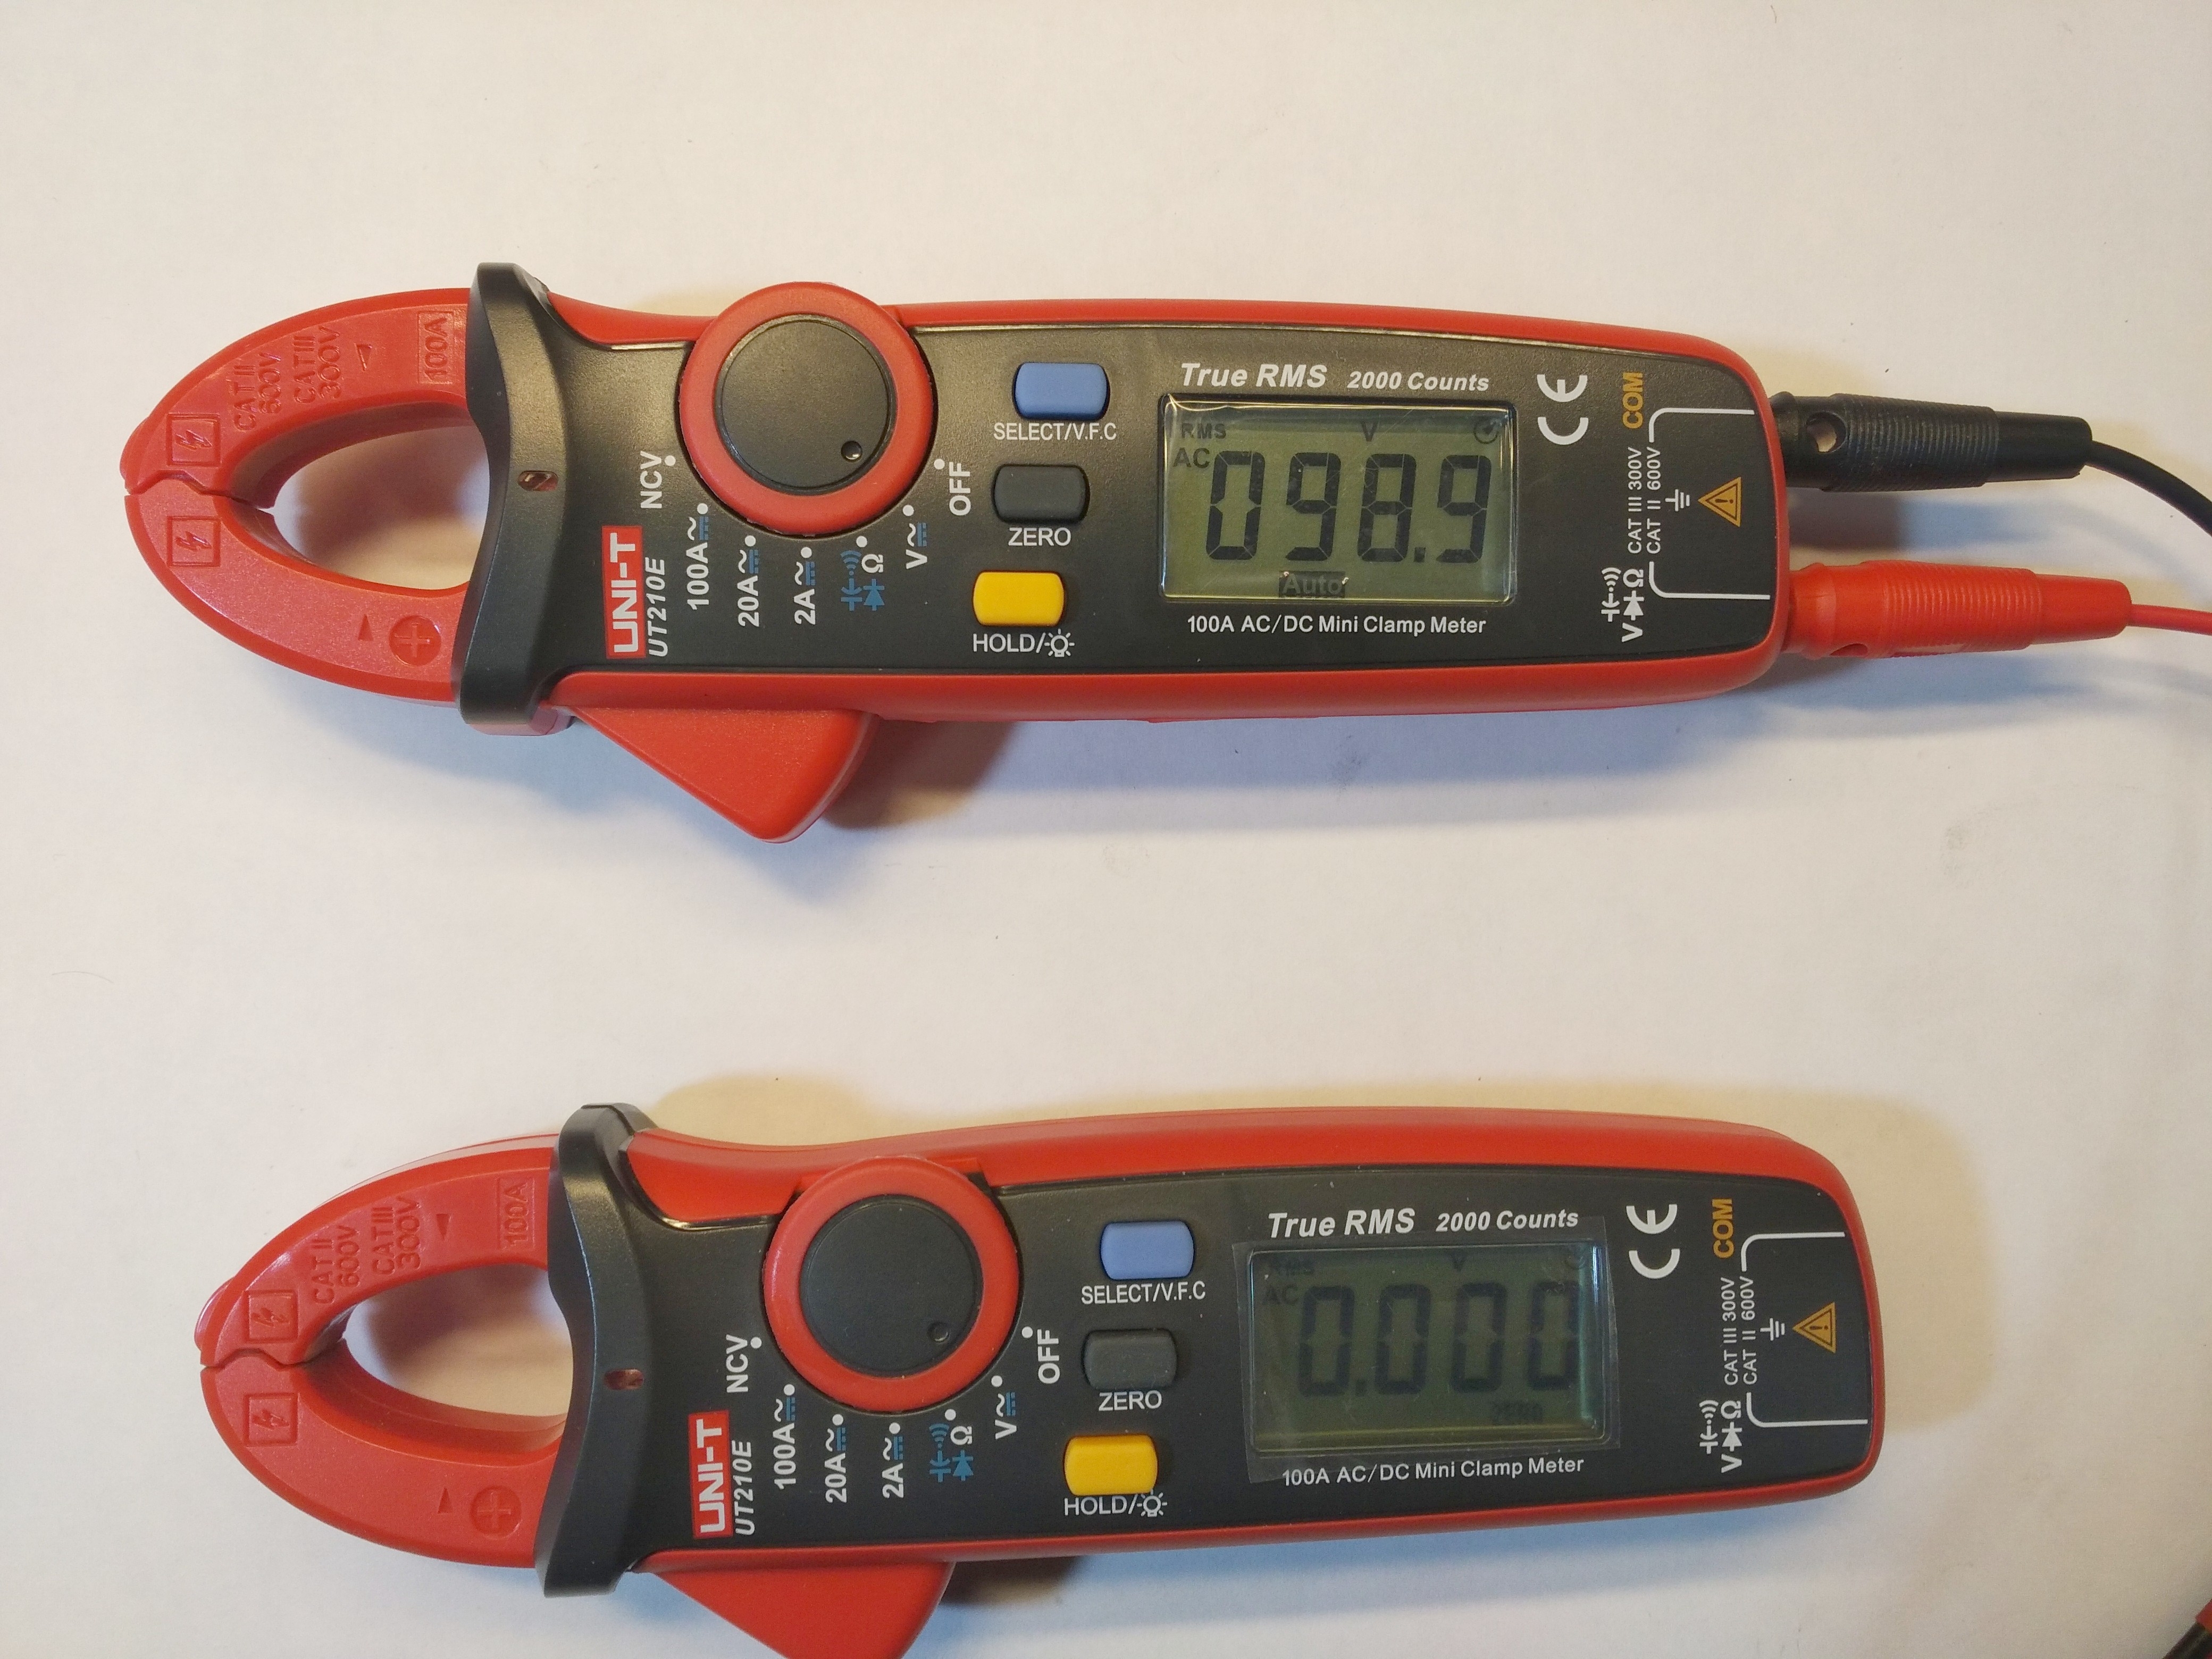
50VAC
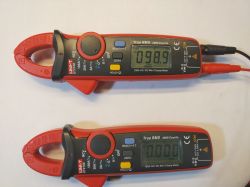
100VAC Here, unfortunately, I lost a photo somewhere, from the second meter.

Finally, the full voltage of the 230VAC network.
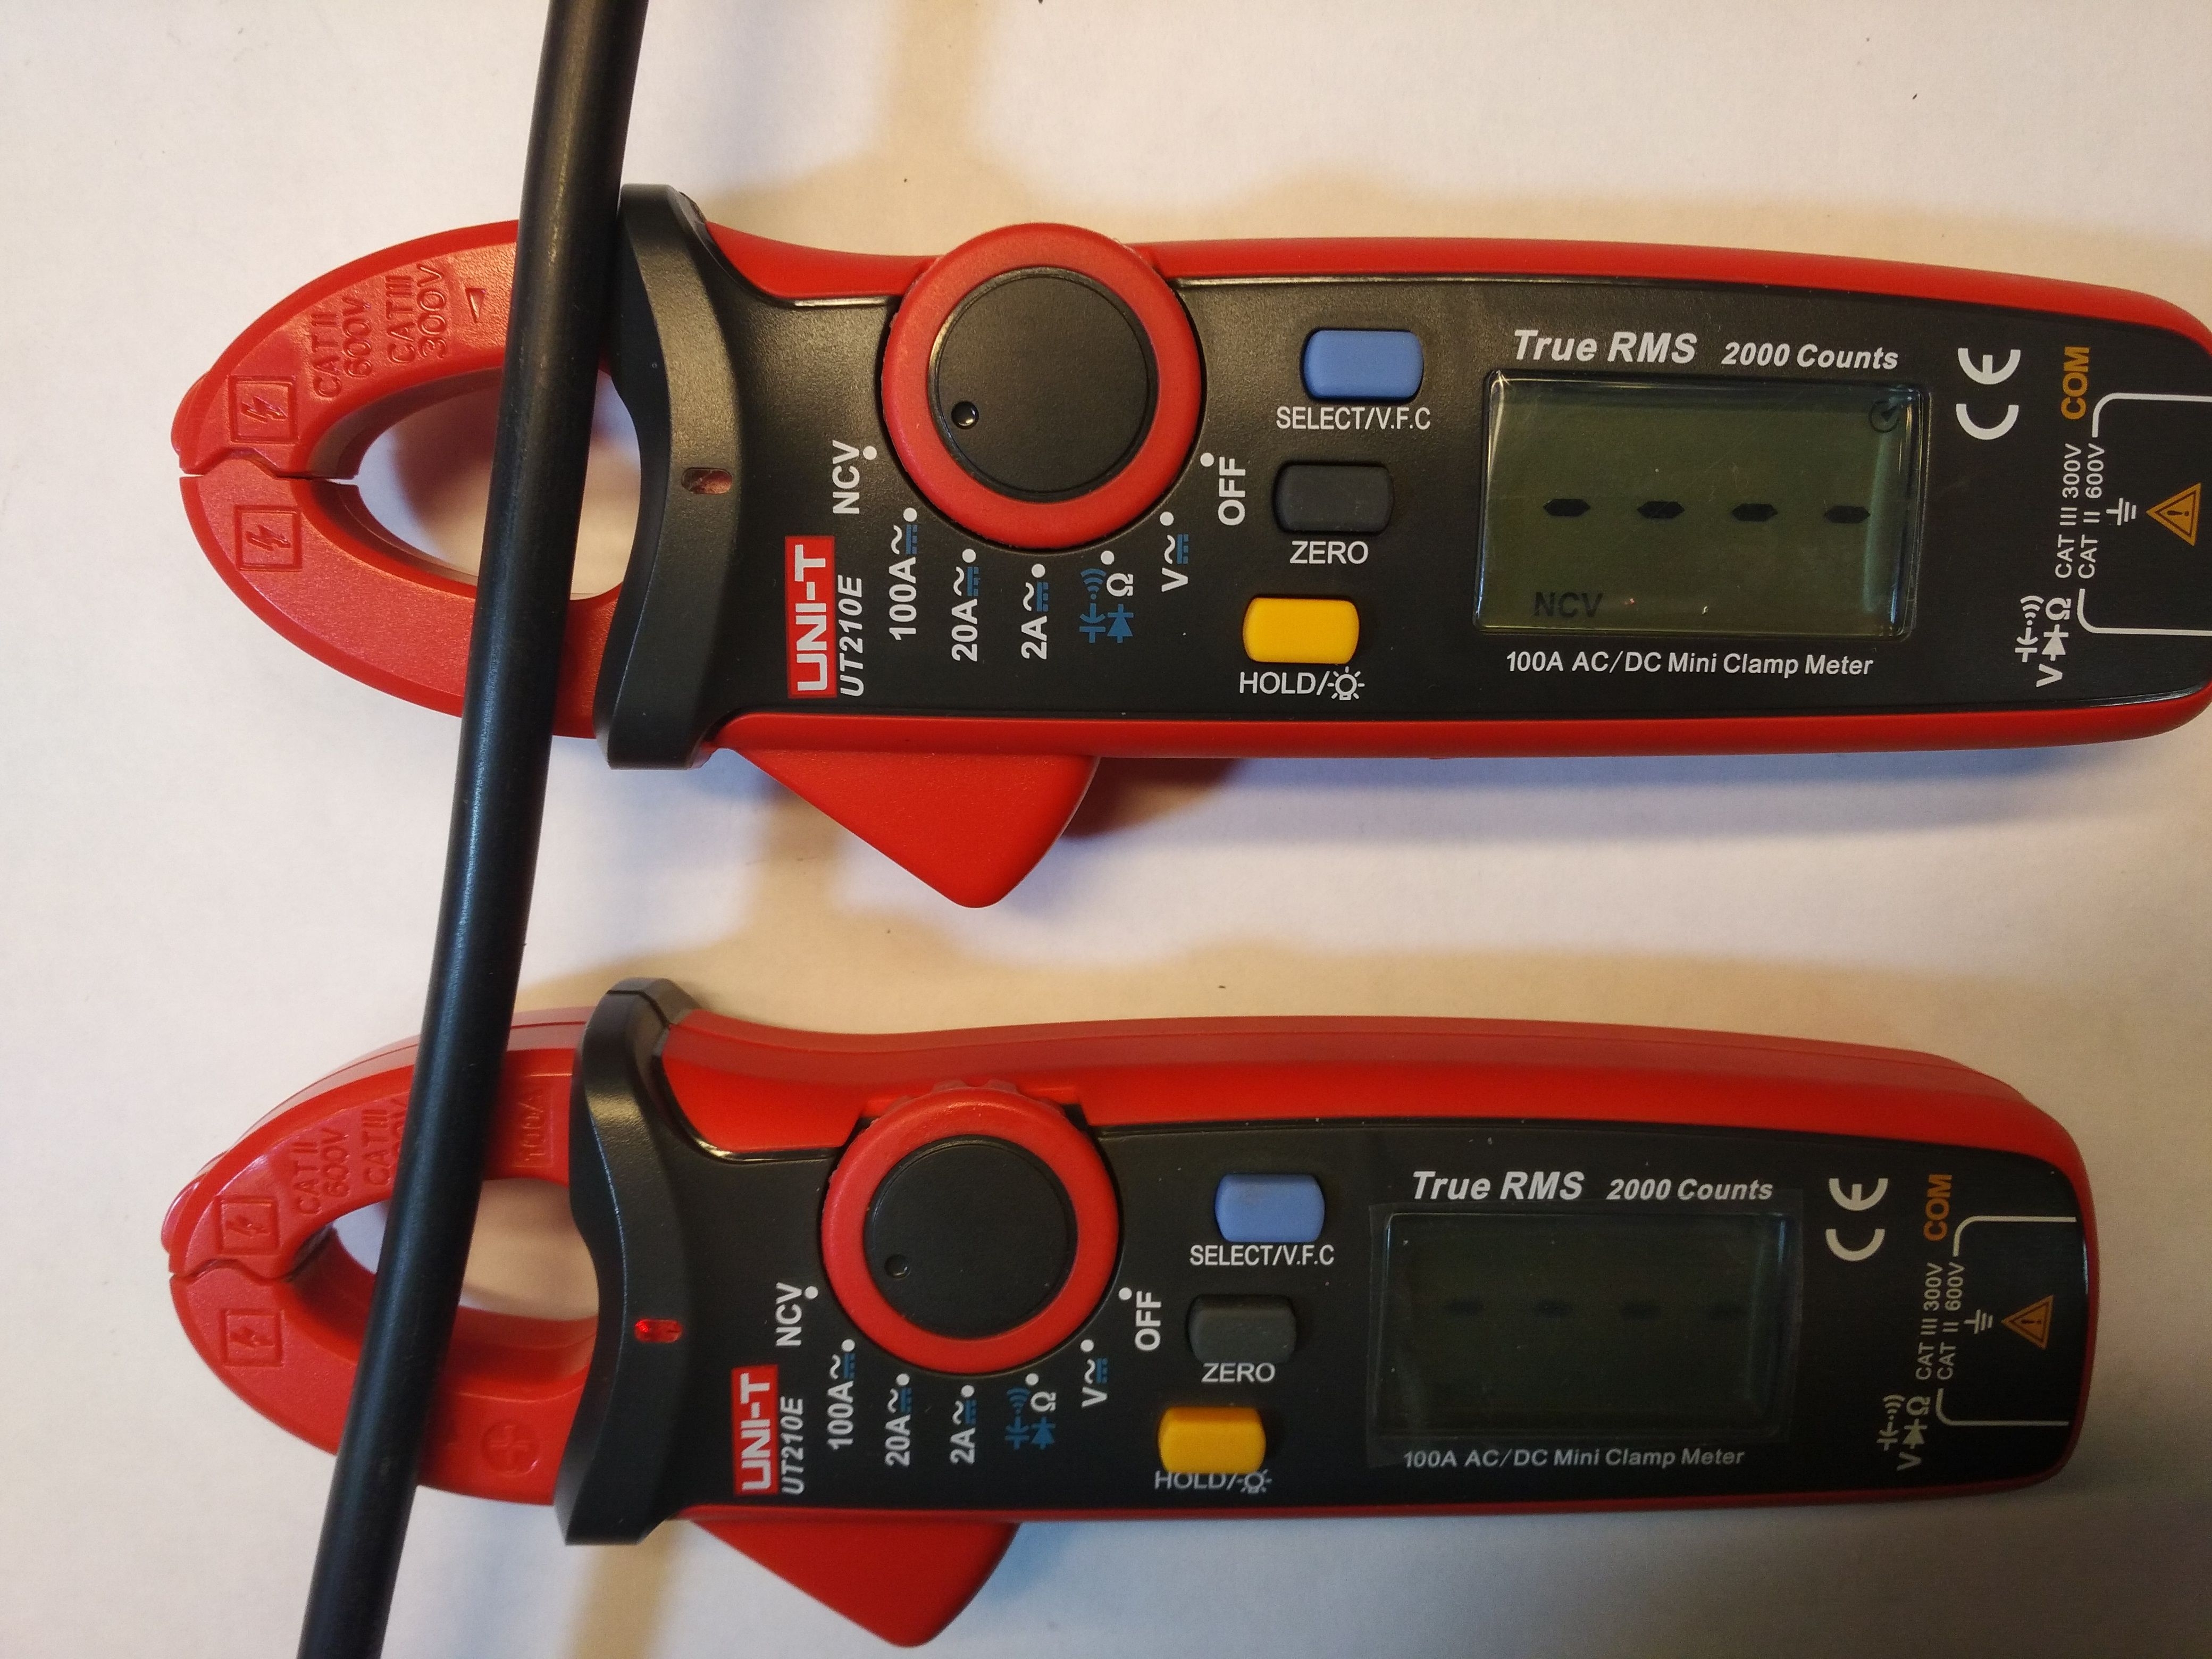
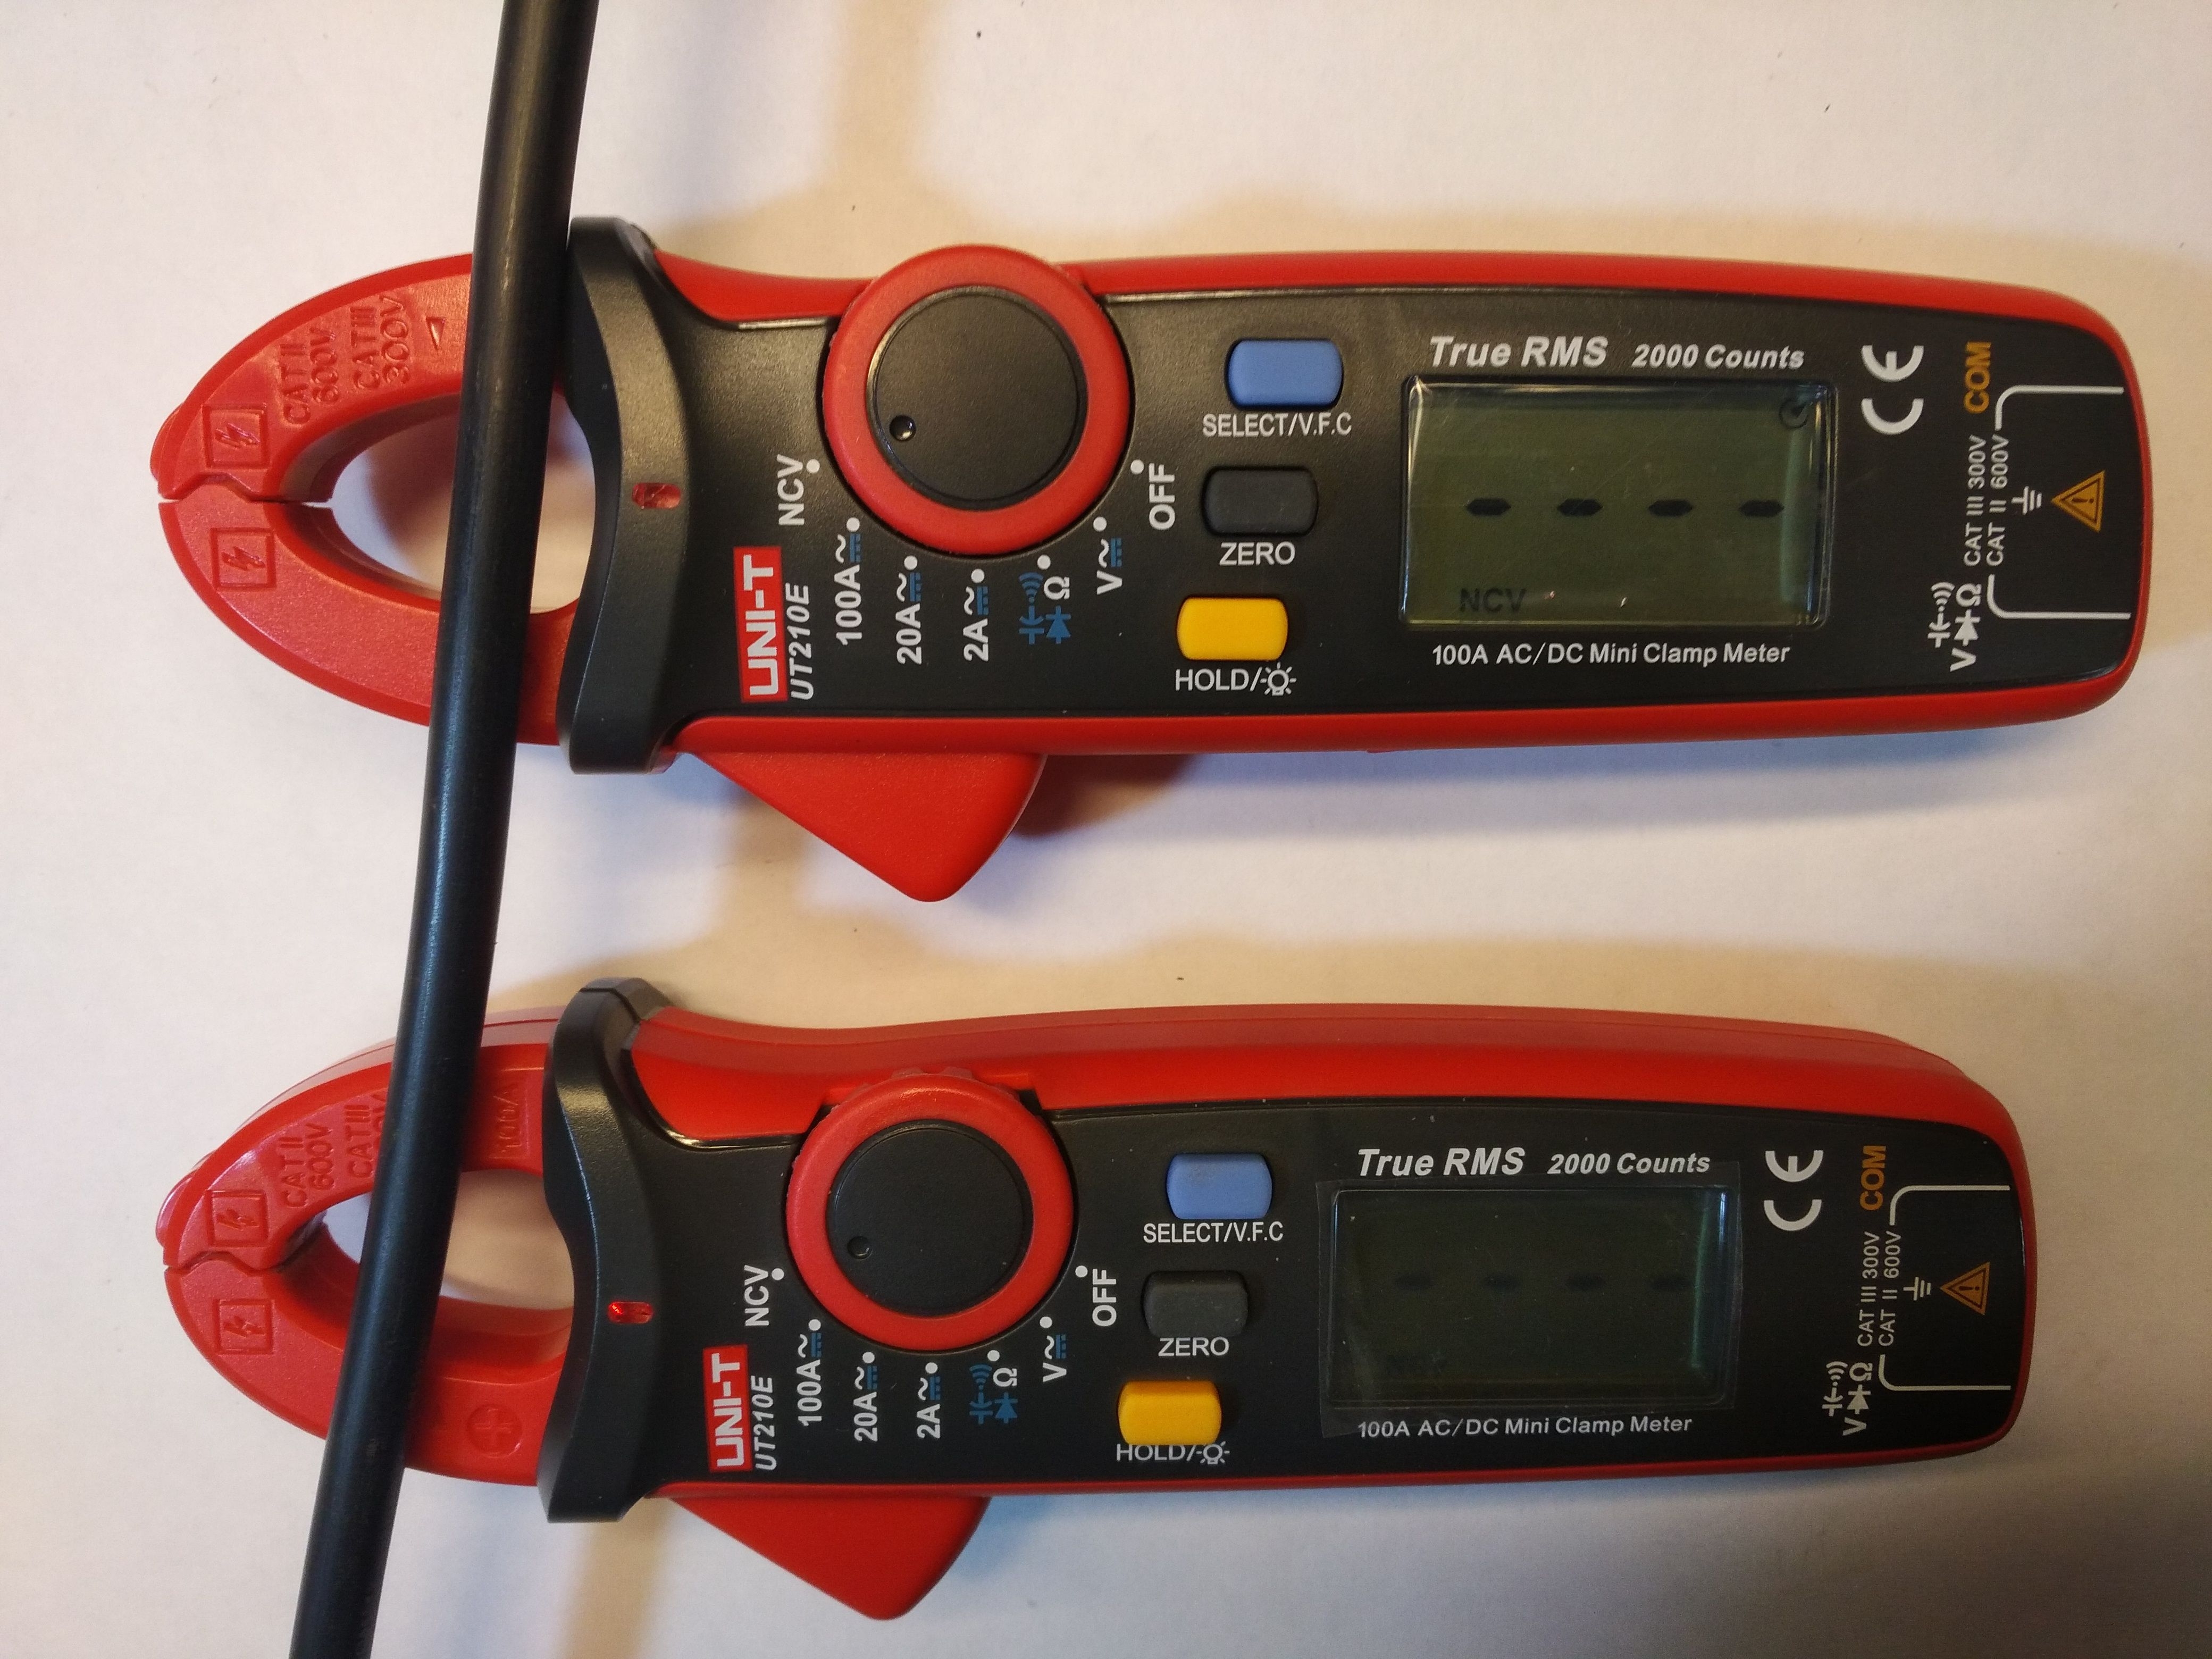
As with most clamp multimeters, we have the NCV (Non Contact Voltage) function. This function allows for non-contact checking of voltage presence in the cable. It can be very useful, for example, when looking for a damaged lamp on a Christmas tree :D


If you quickly "mix the photos" you will see that the LED in the middle of the clamps is blinking
. I really didn't want to make a video for it
.
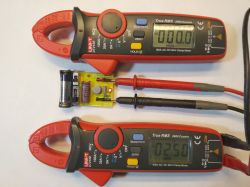
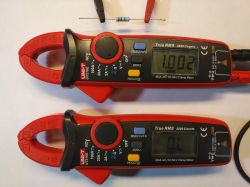
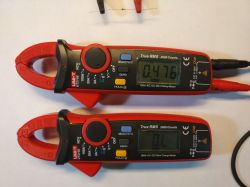
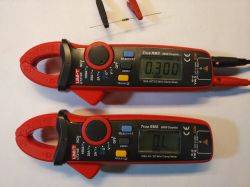
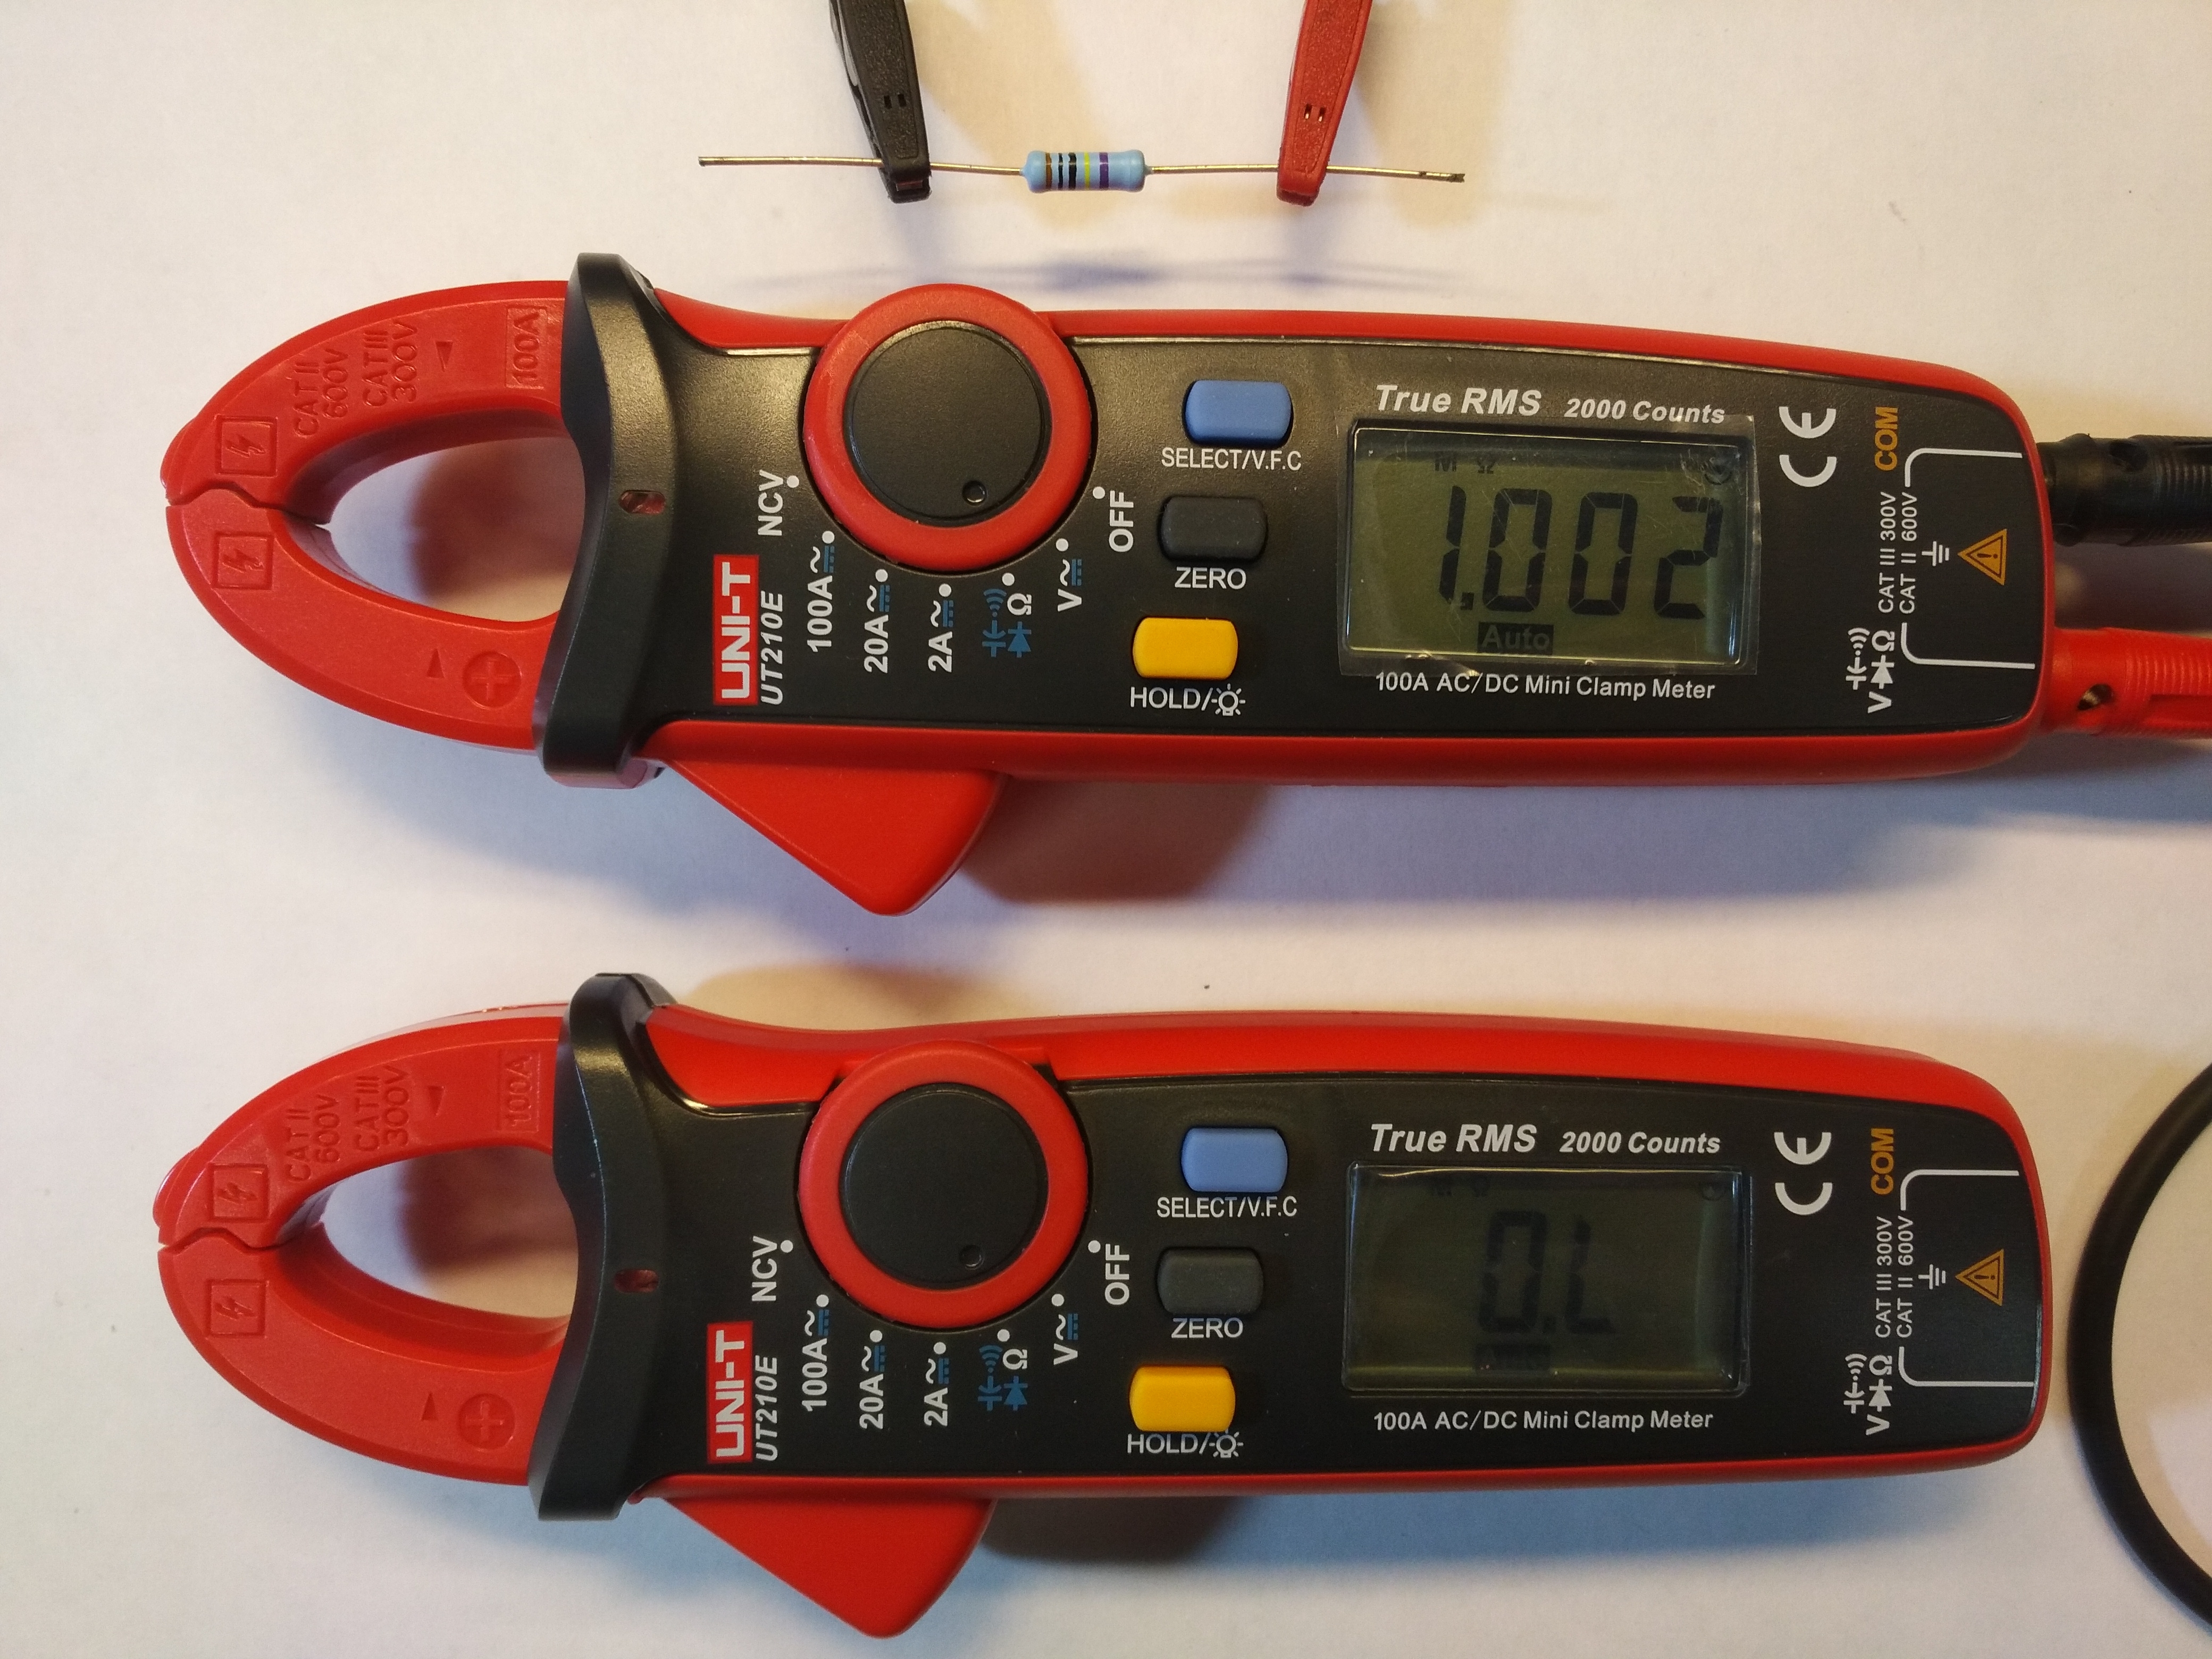
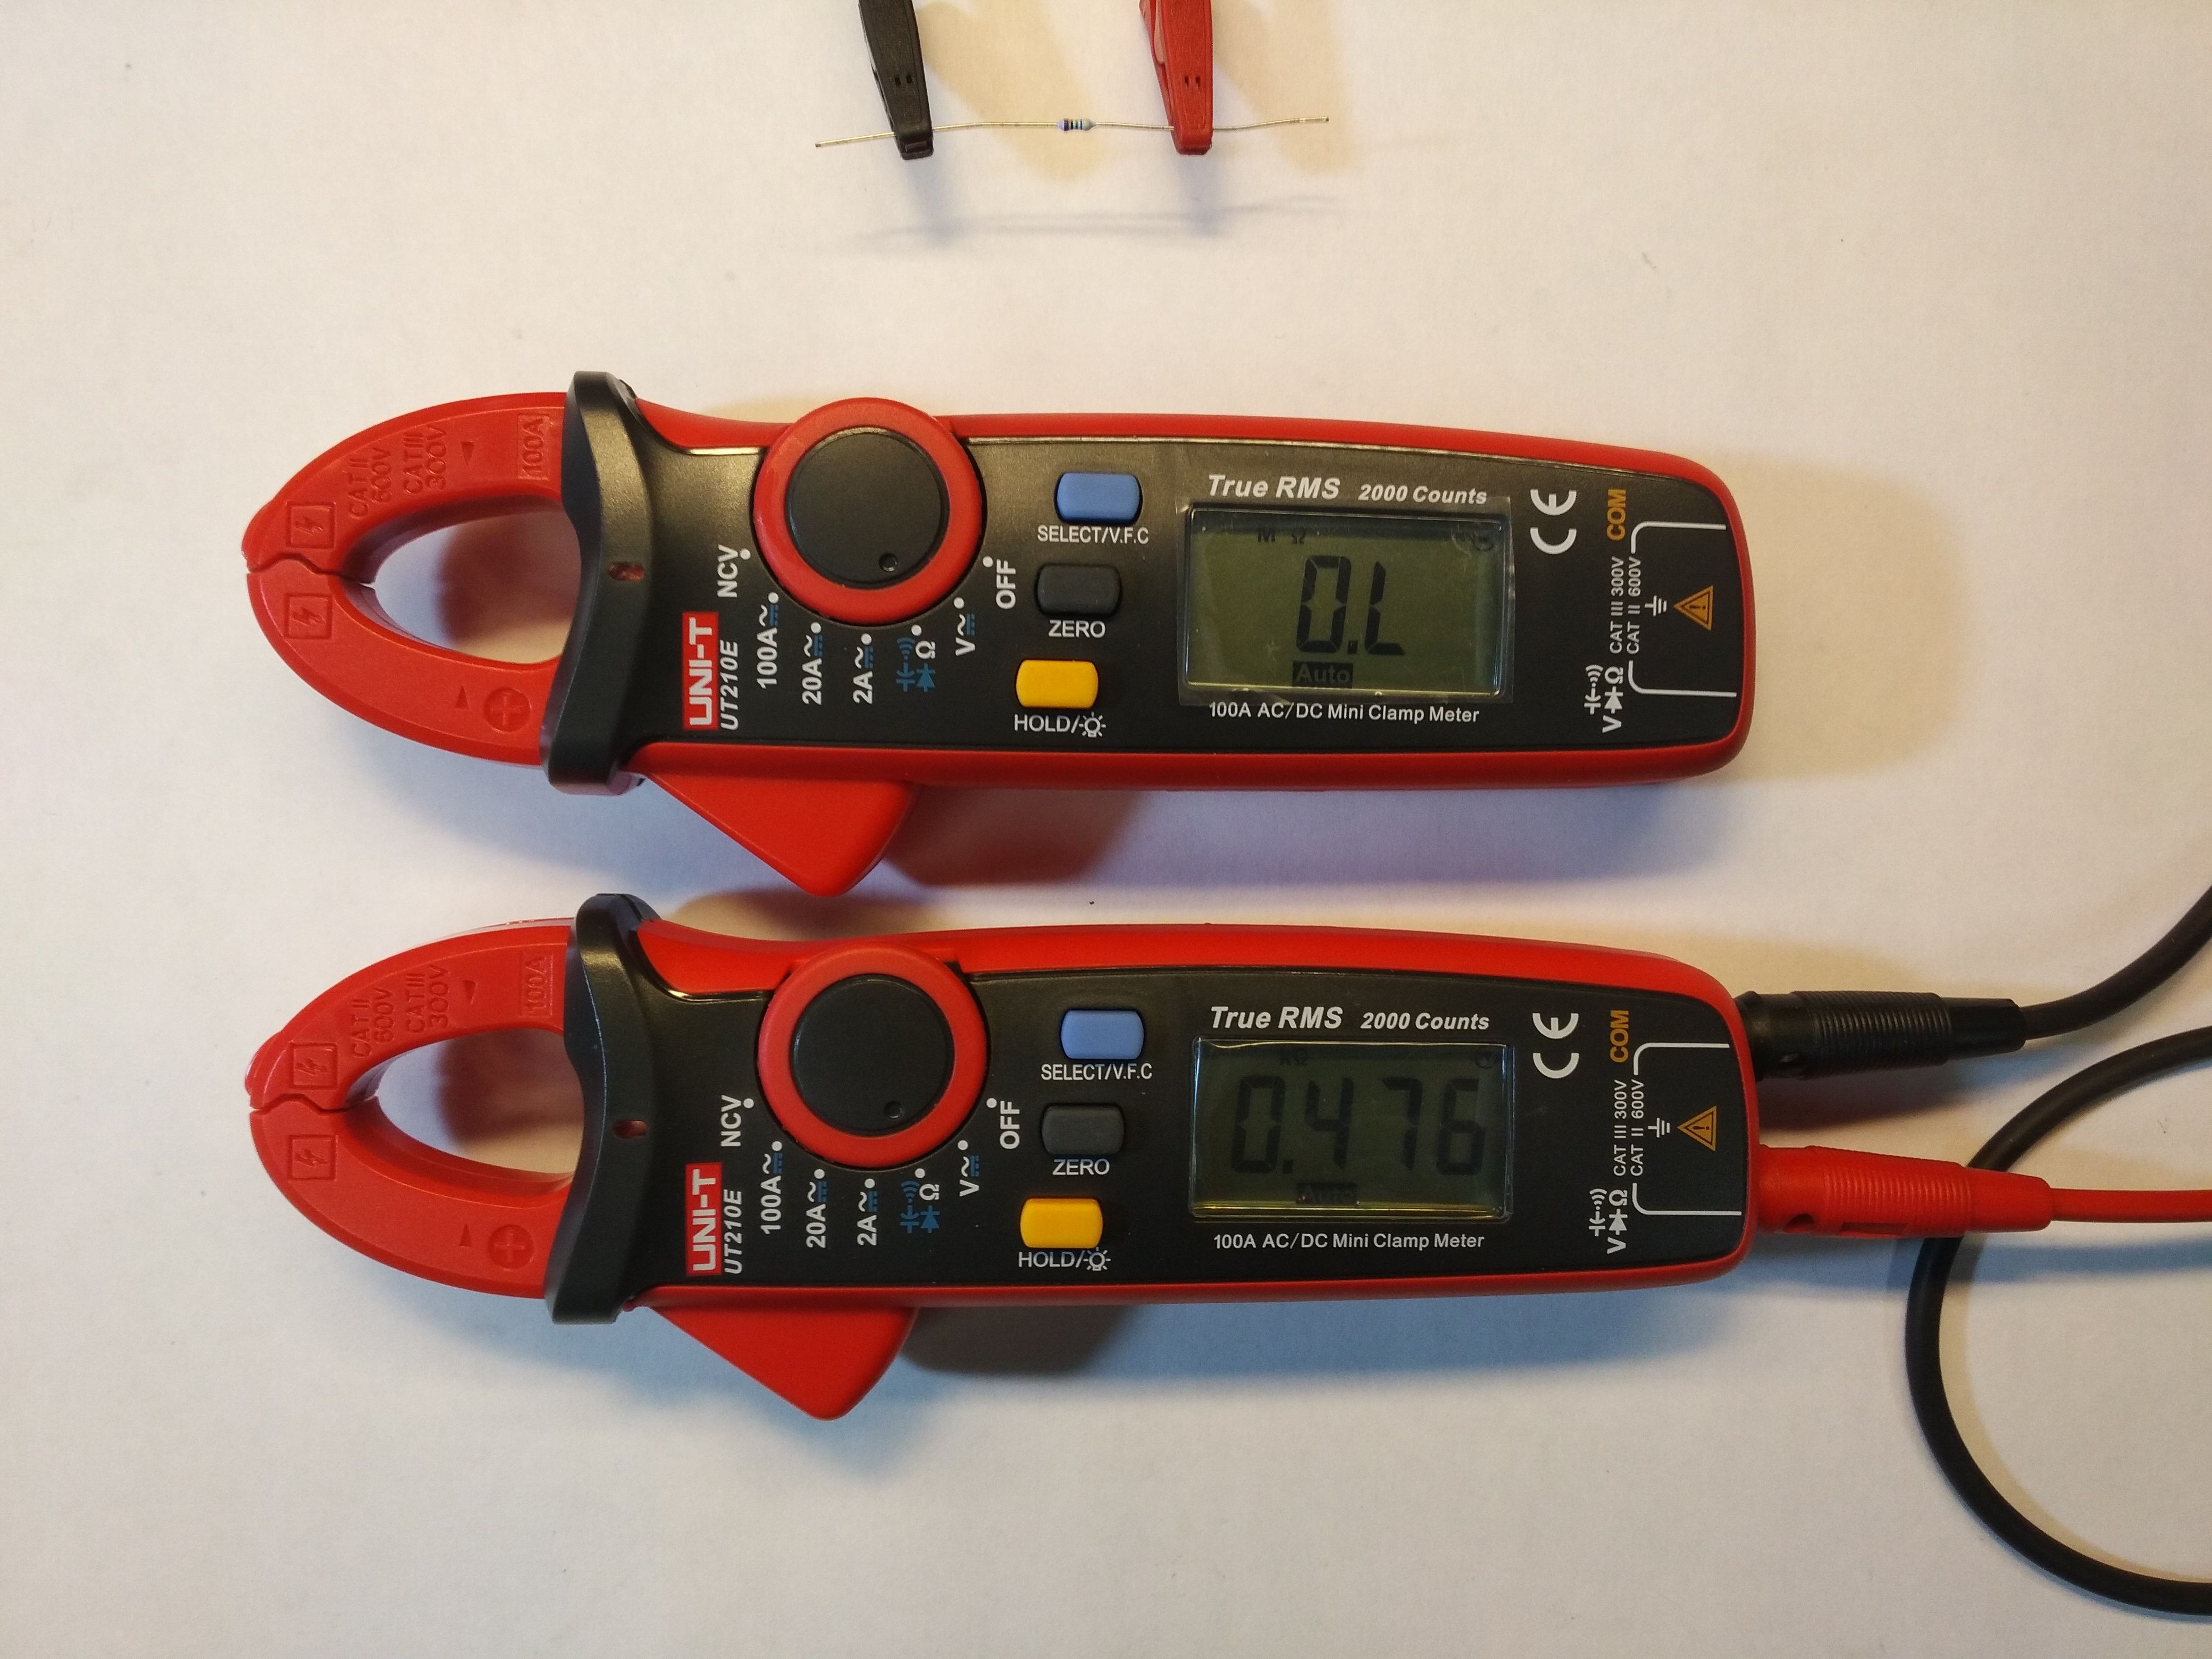
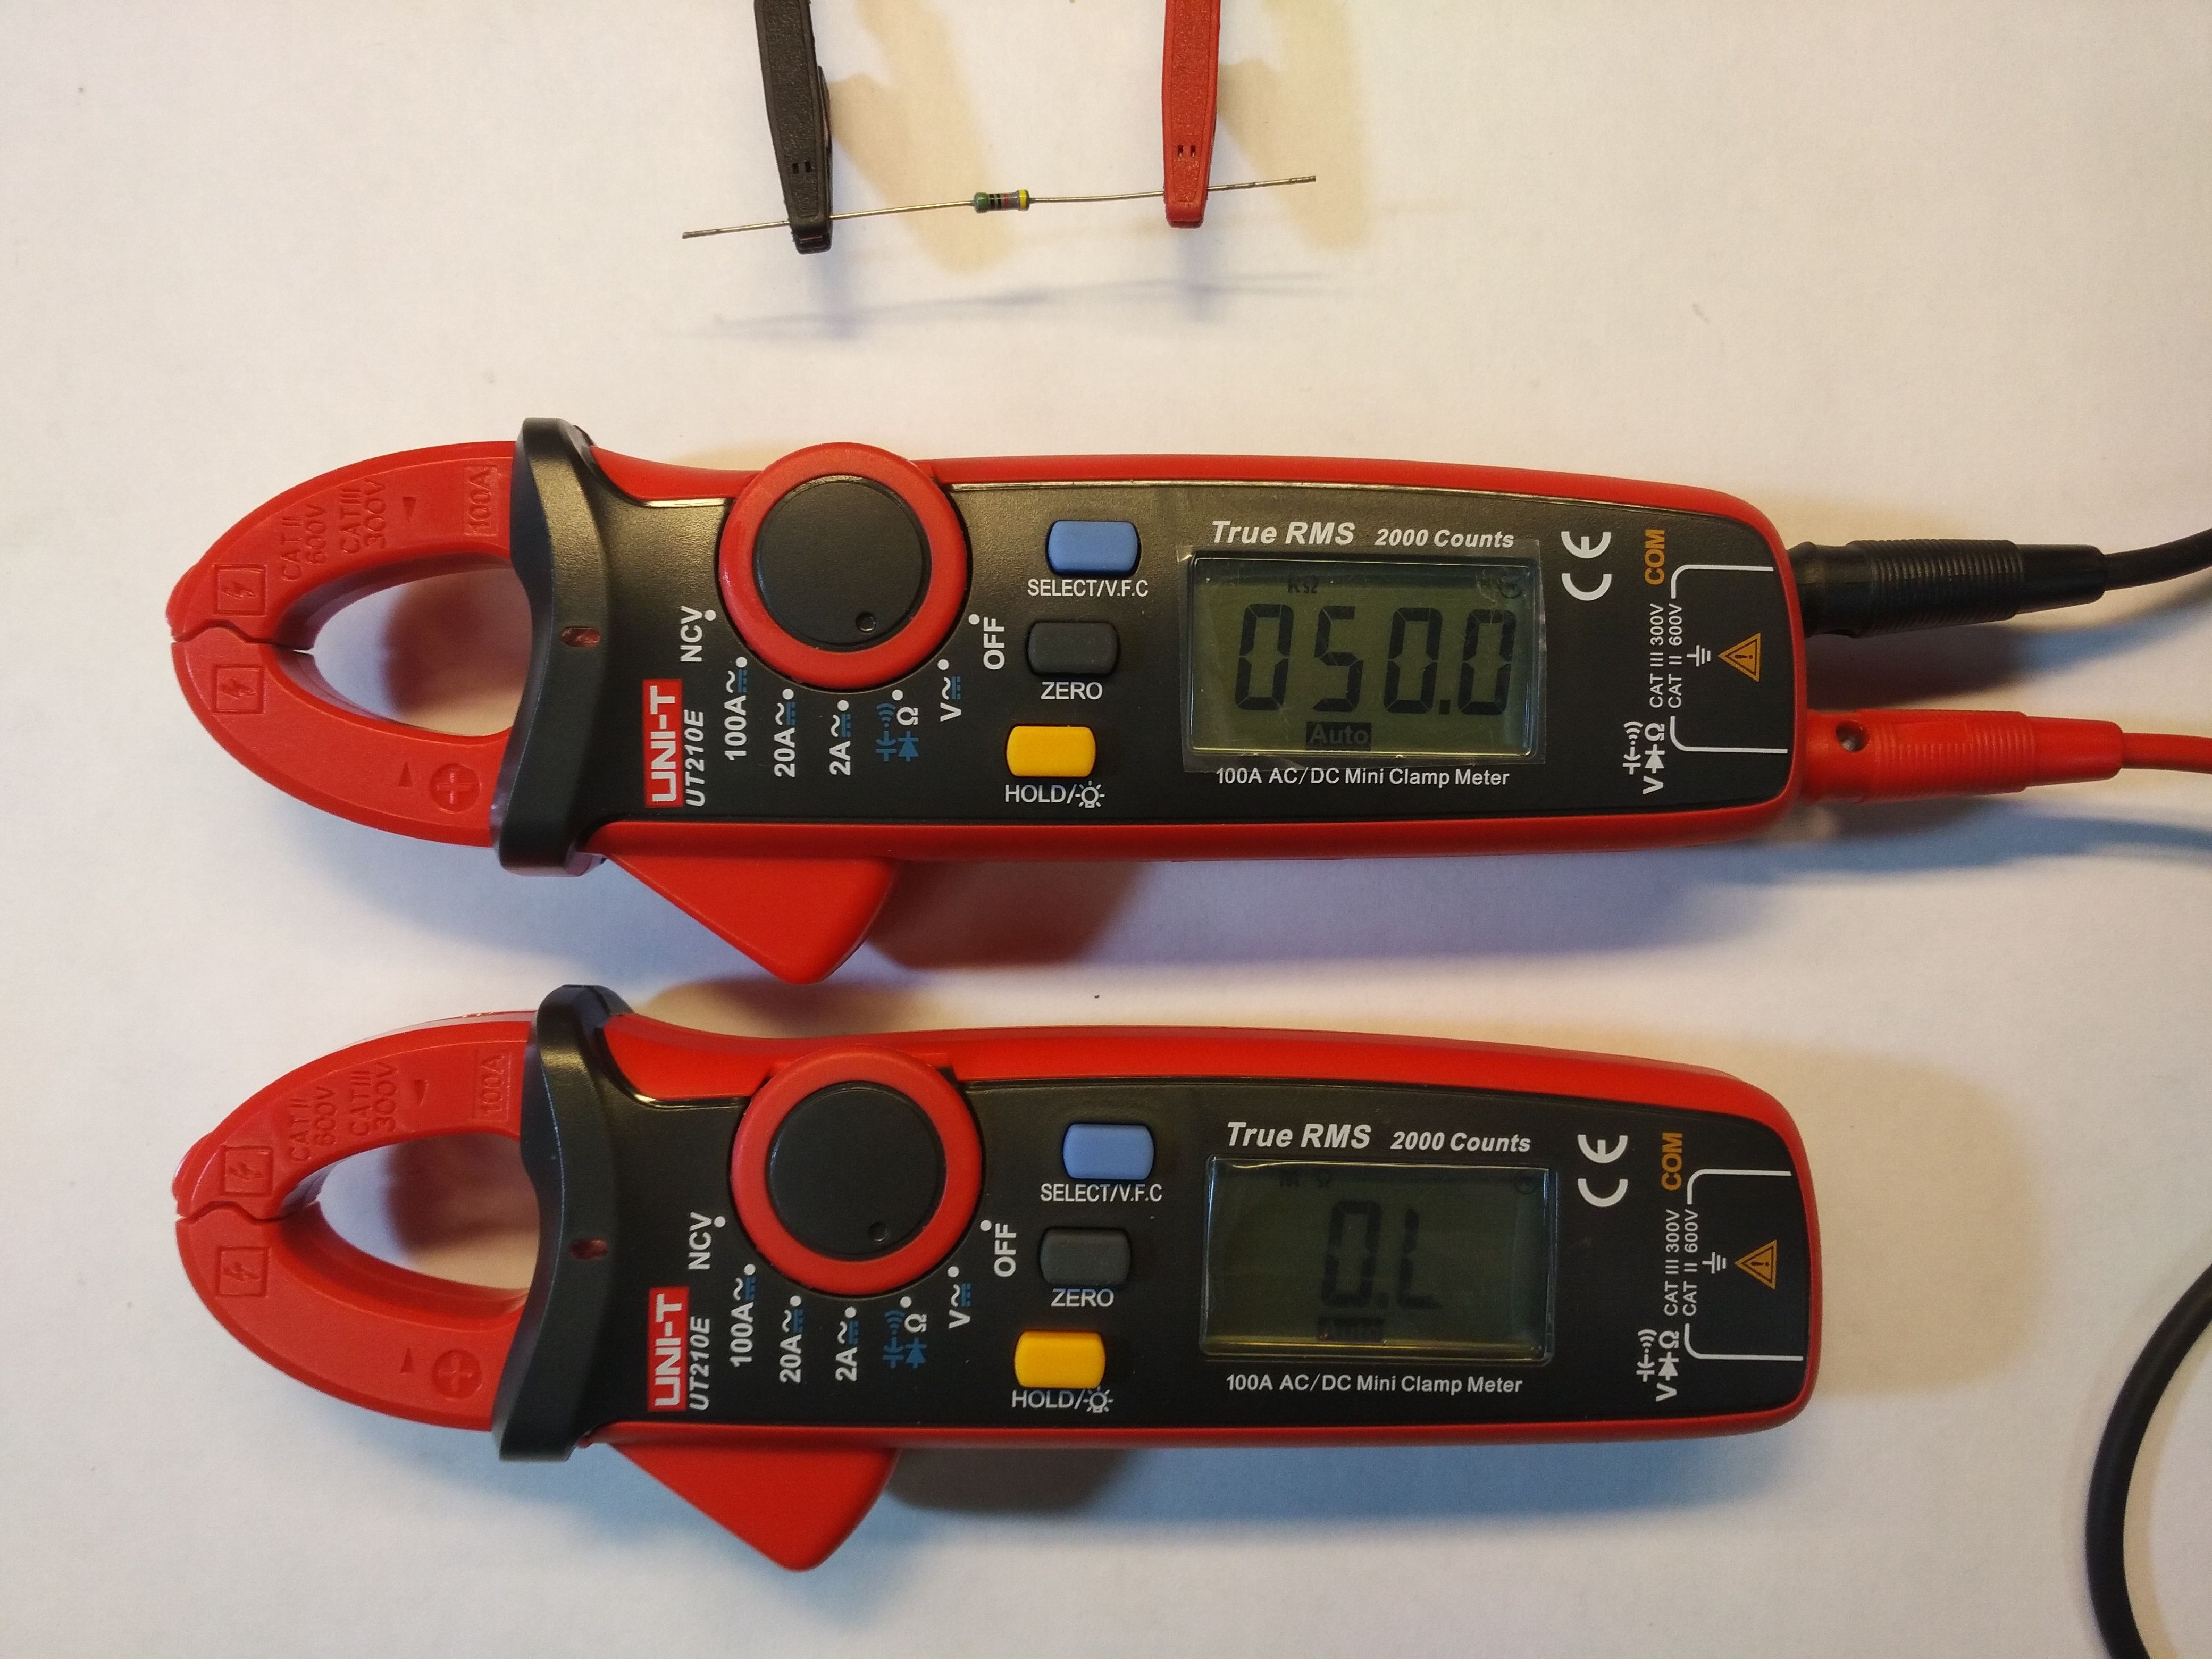
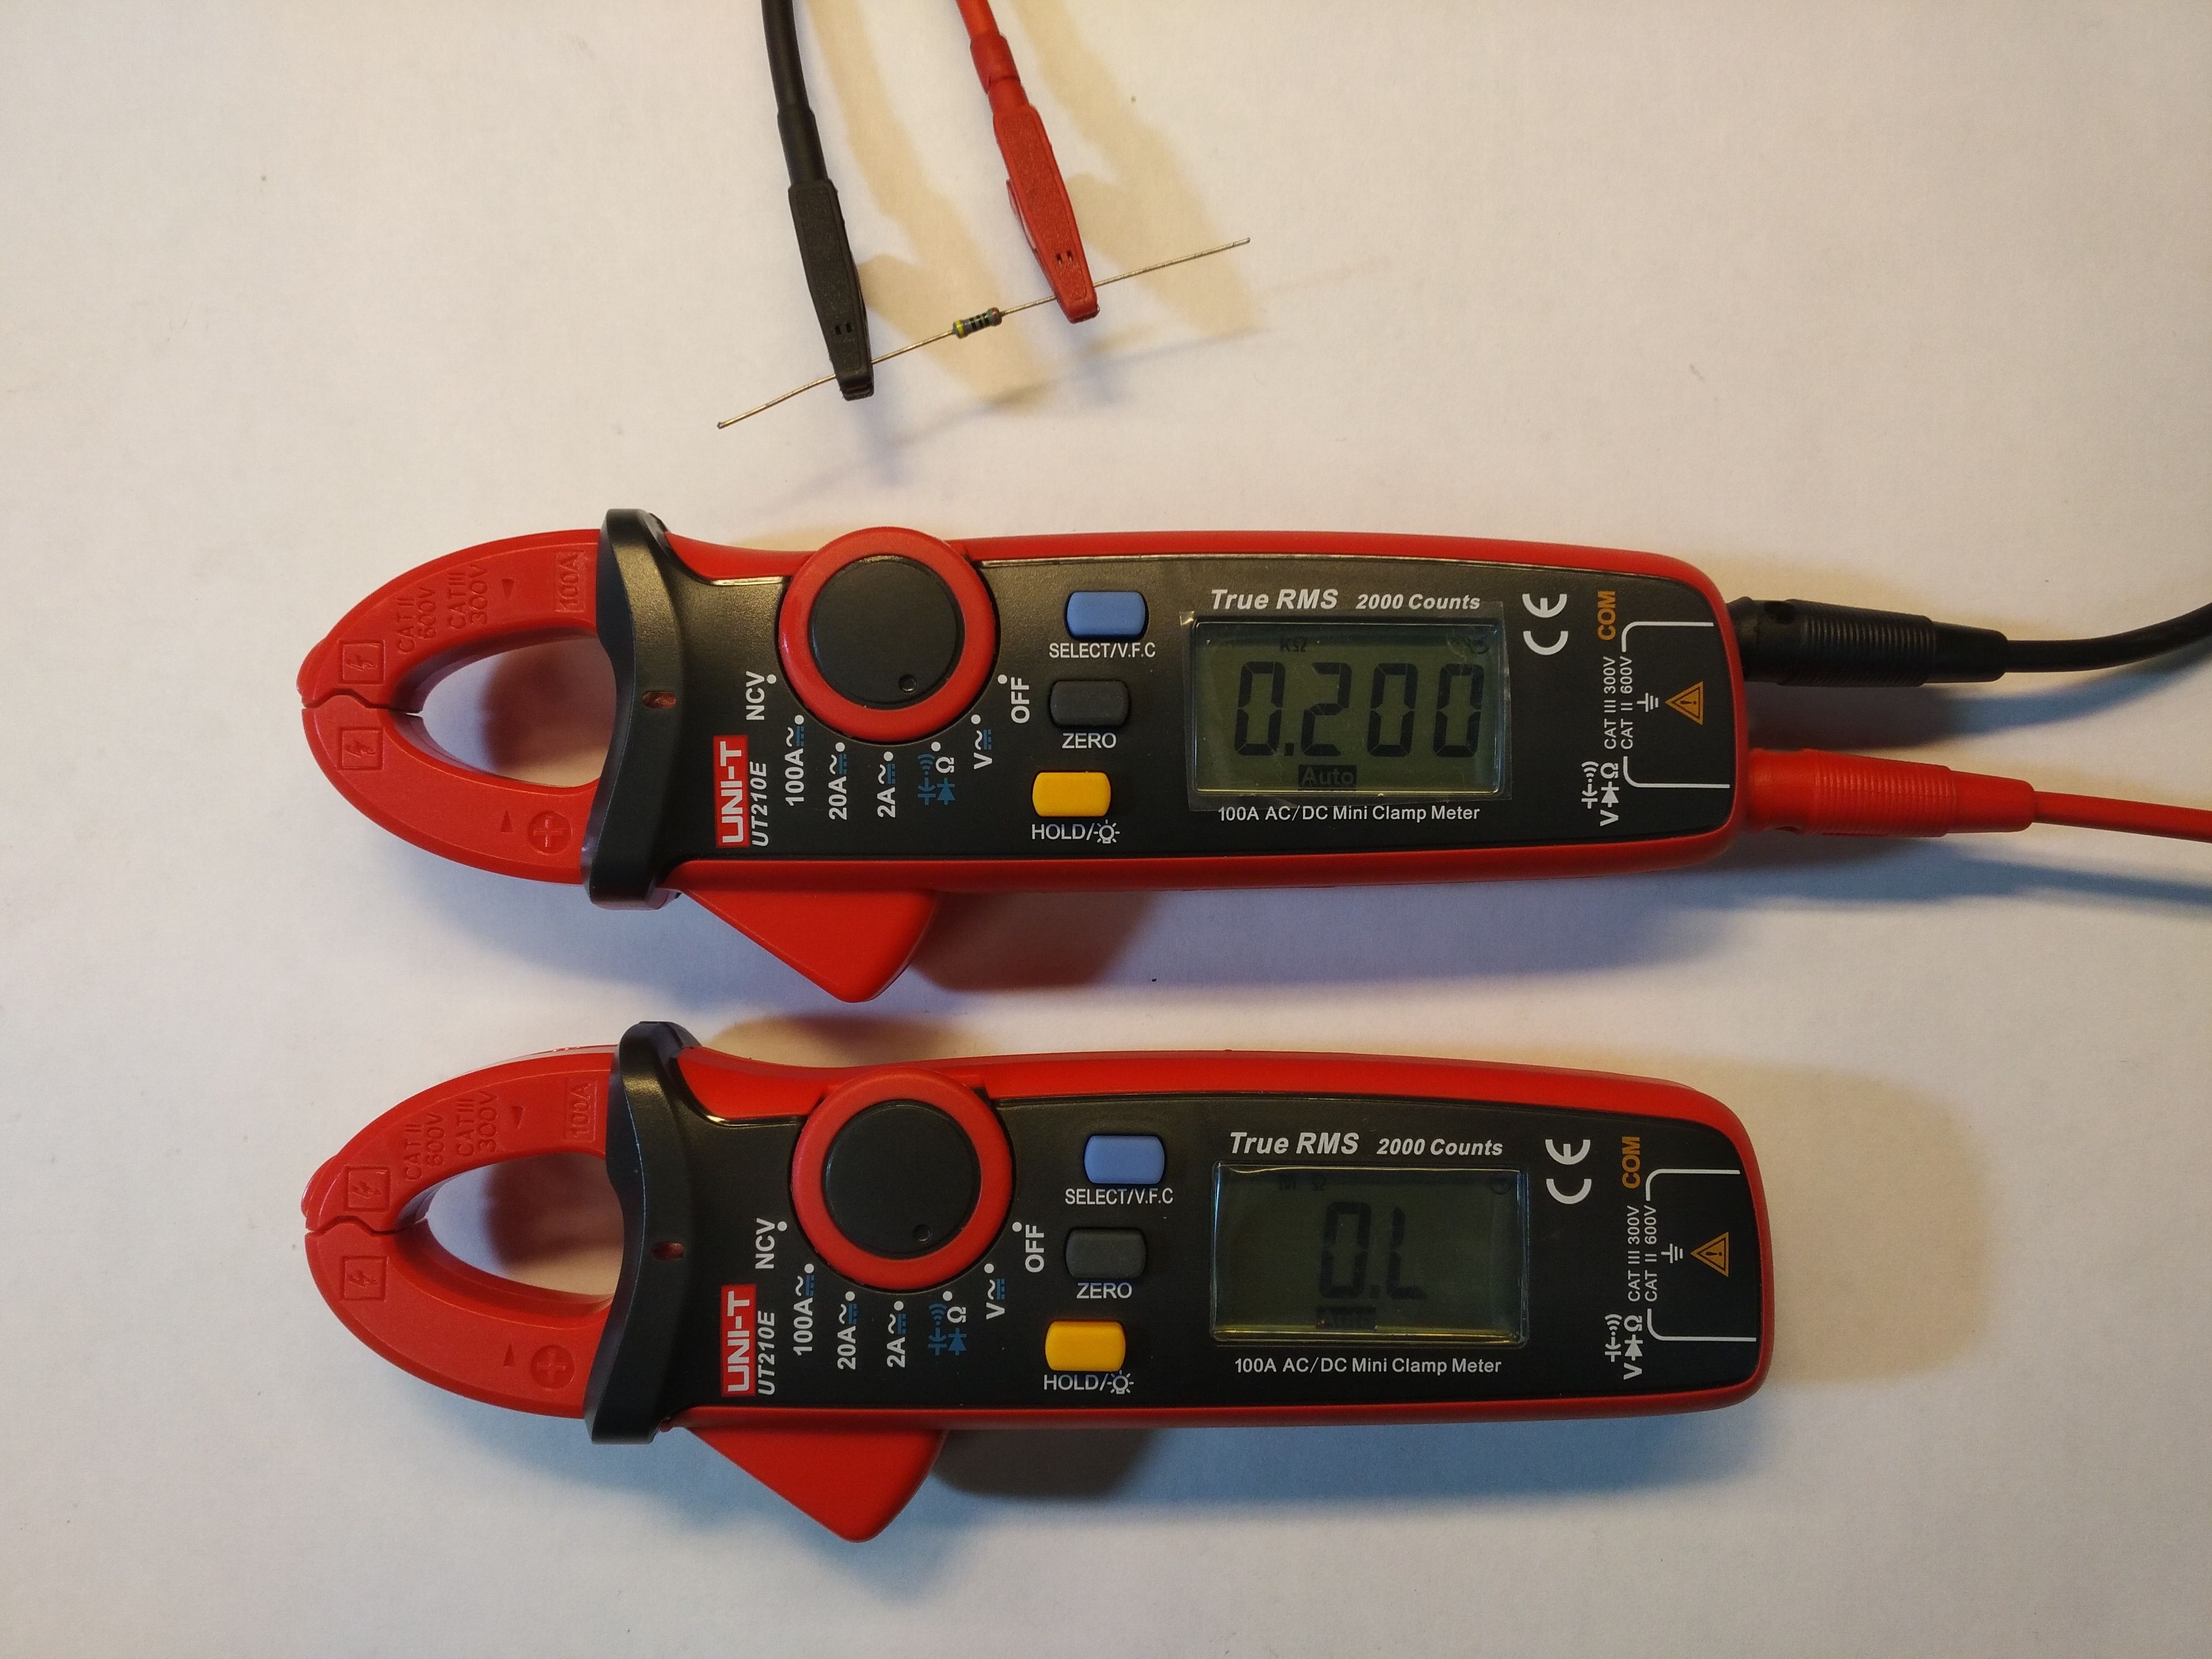
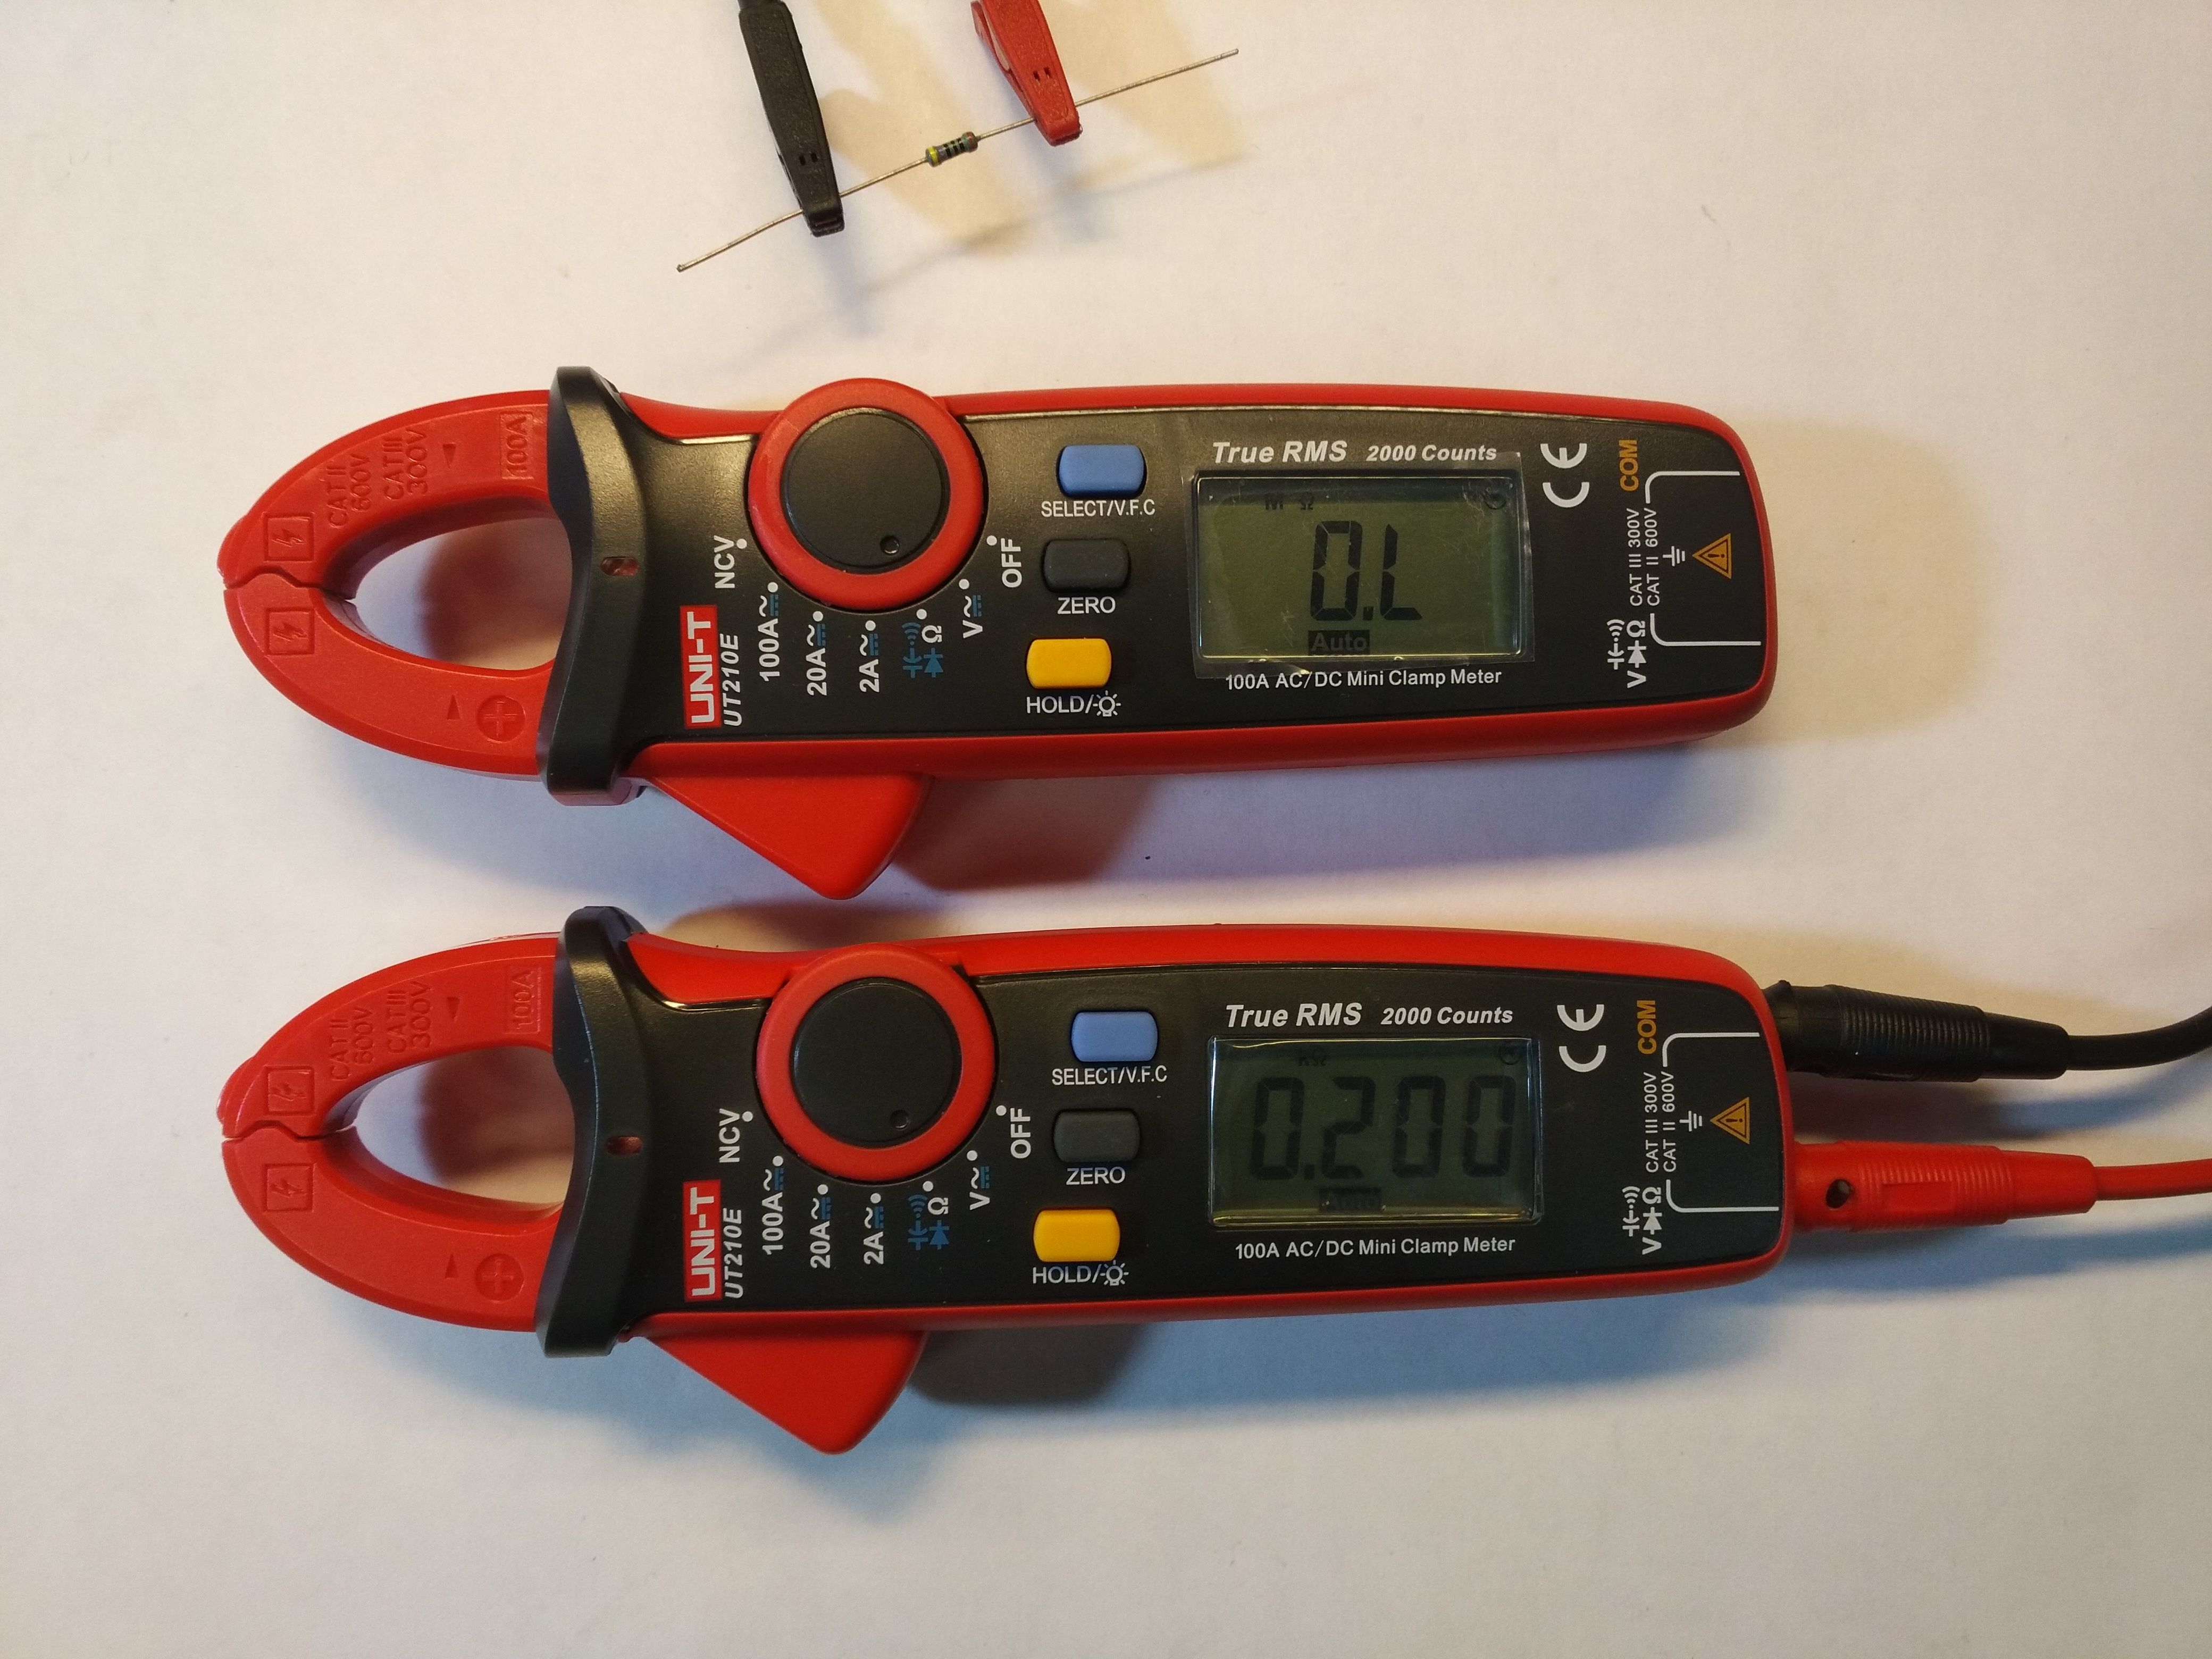
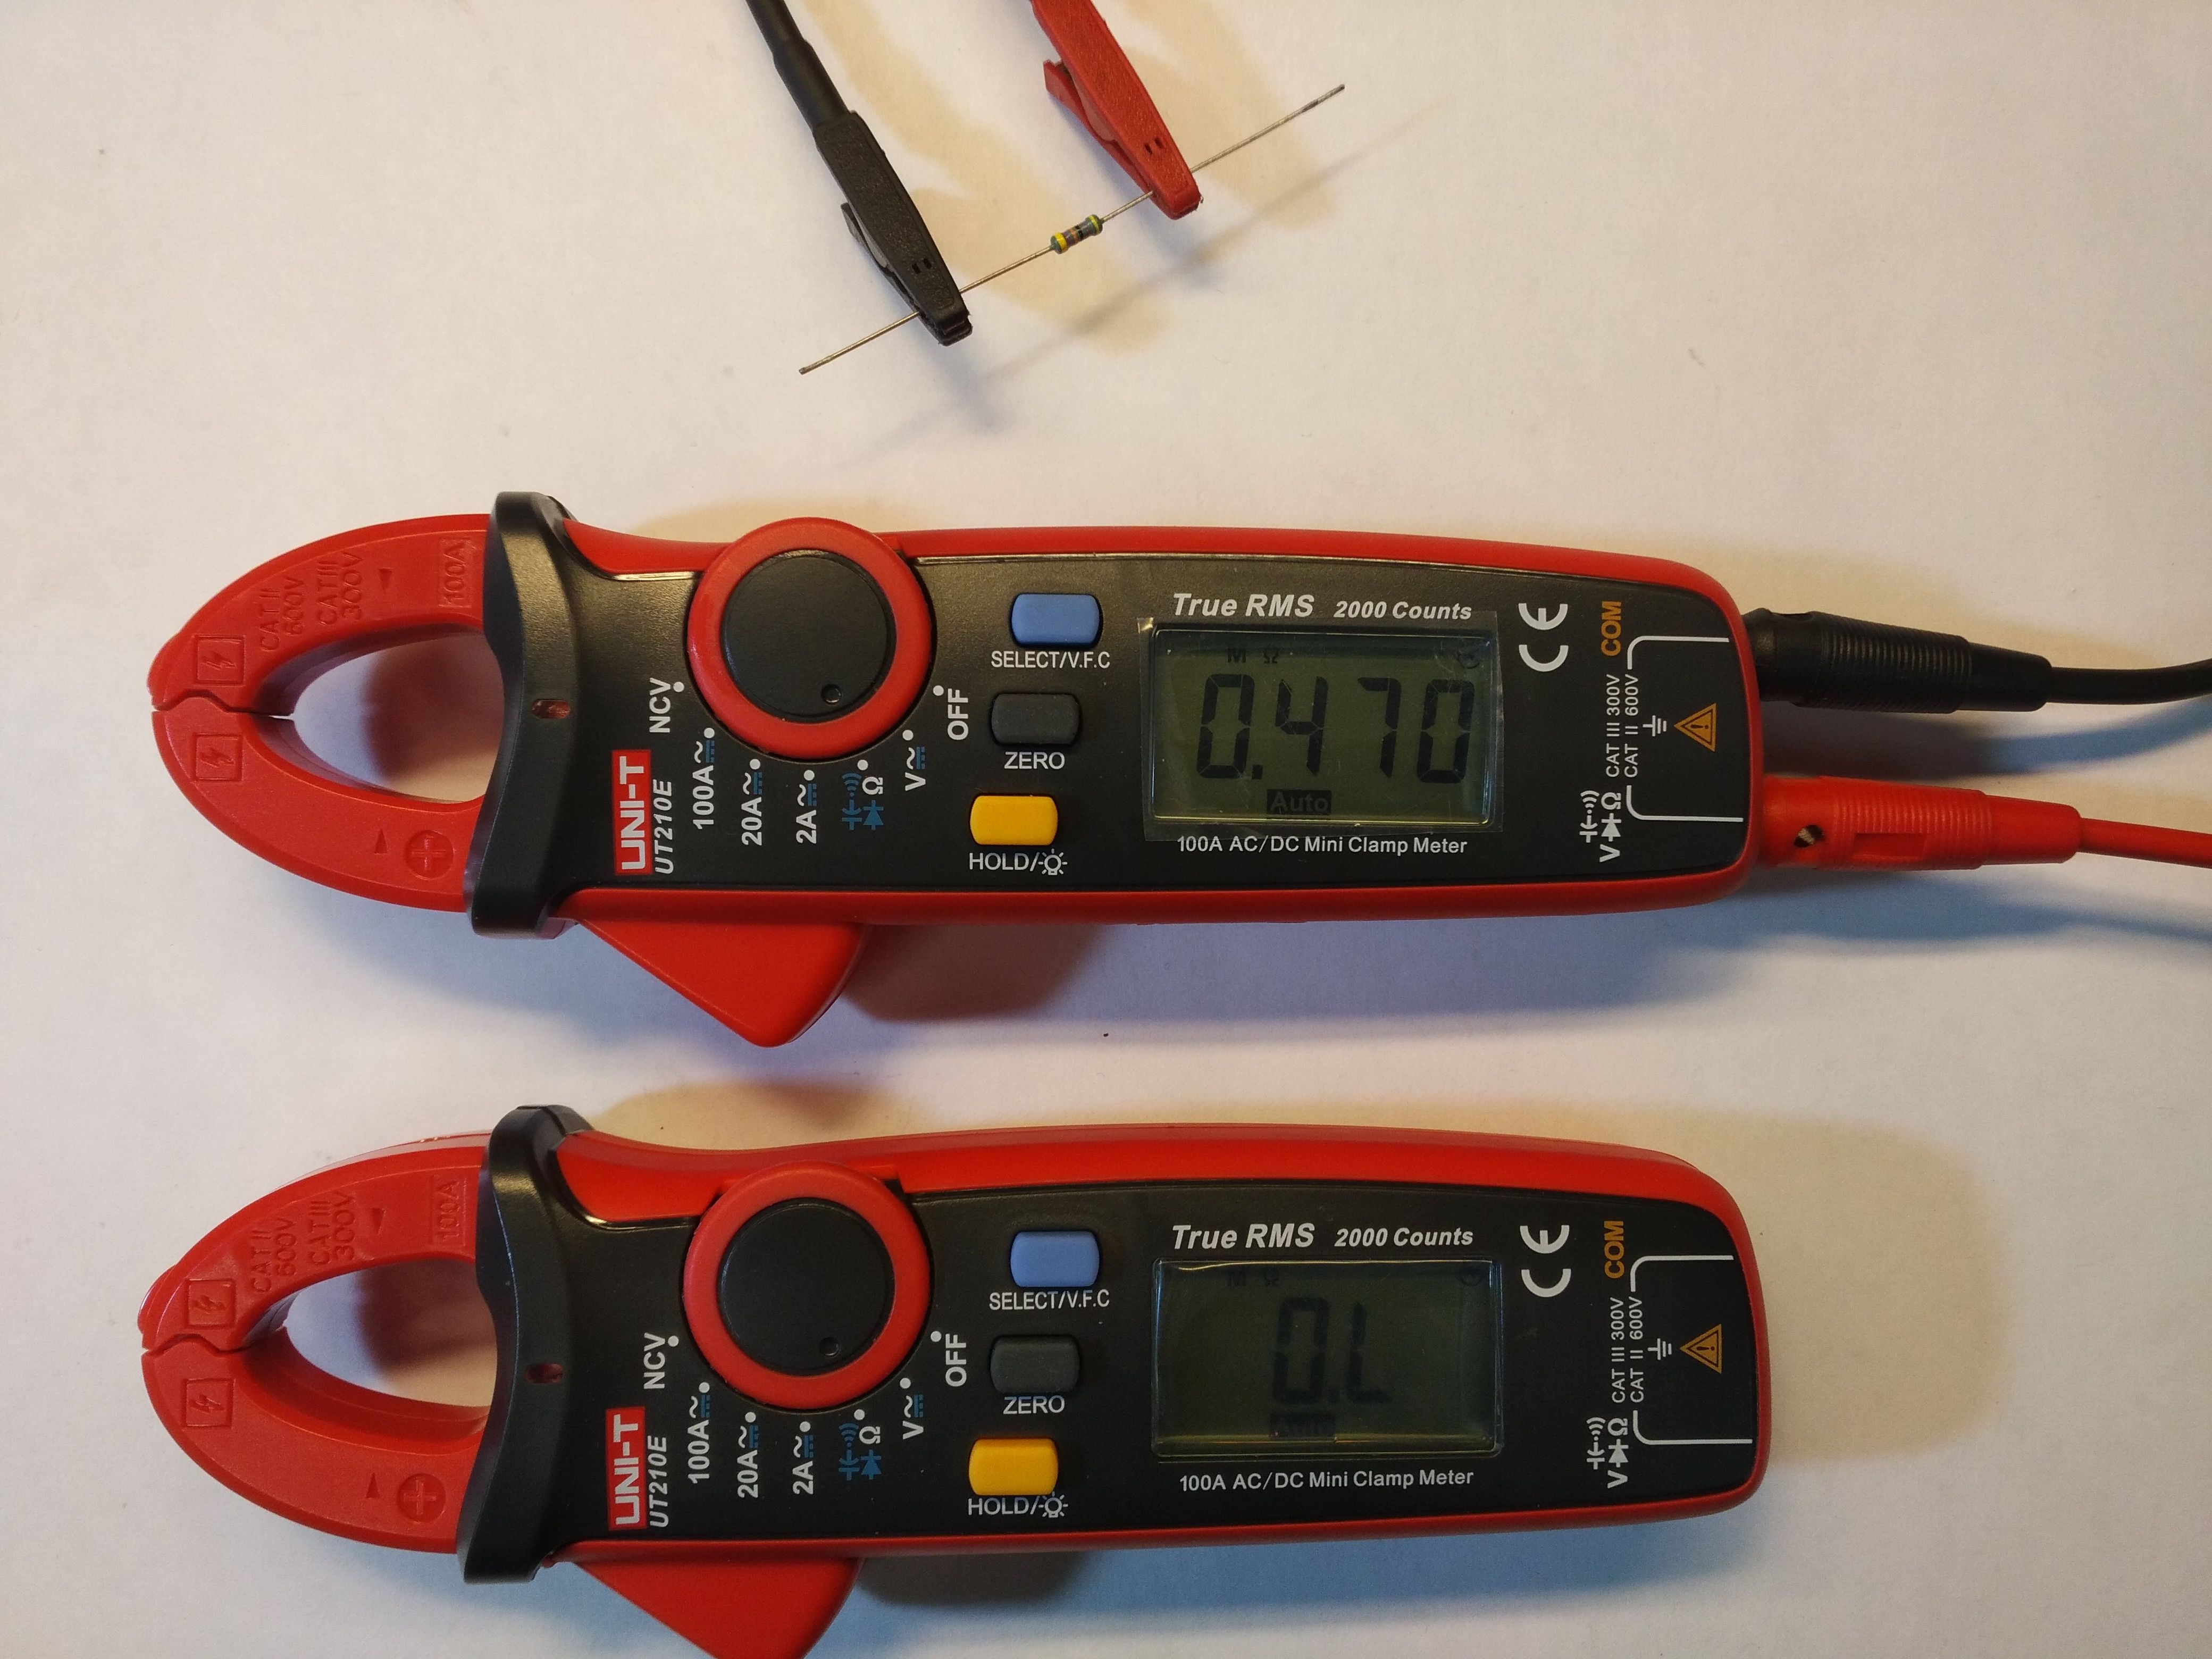
A few more tests remain. I bought nine resistors with a tolerance of 0.1% and with reasonable values. So let's see how the resistance measurement works.


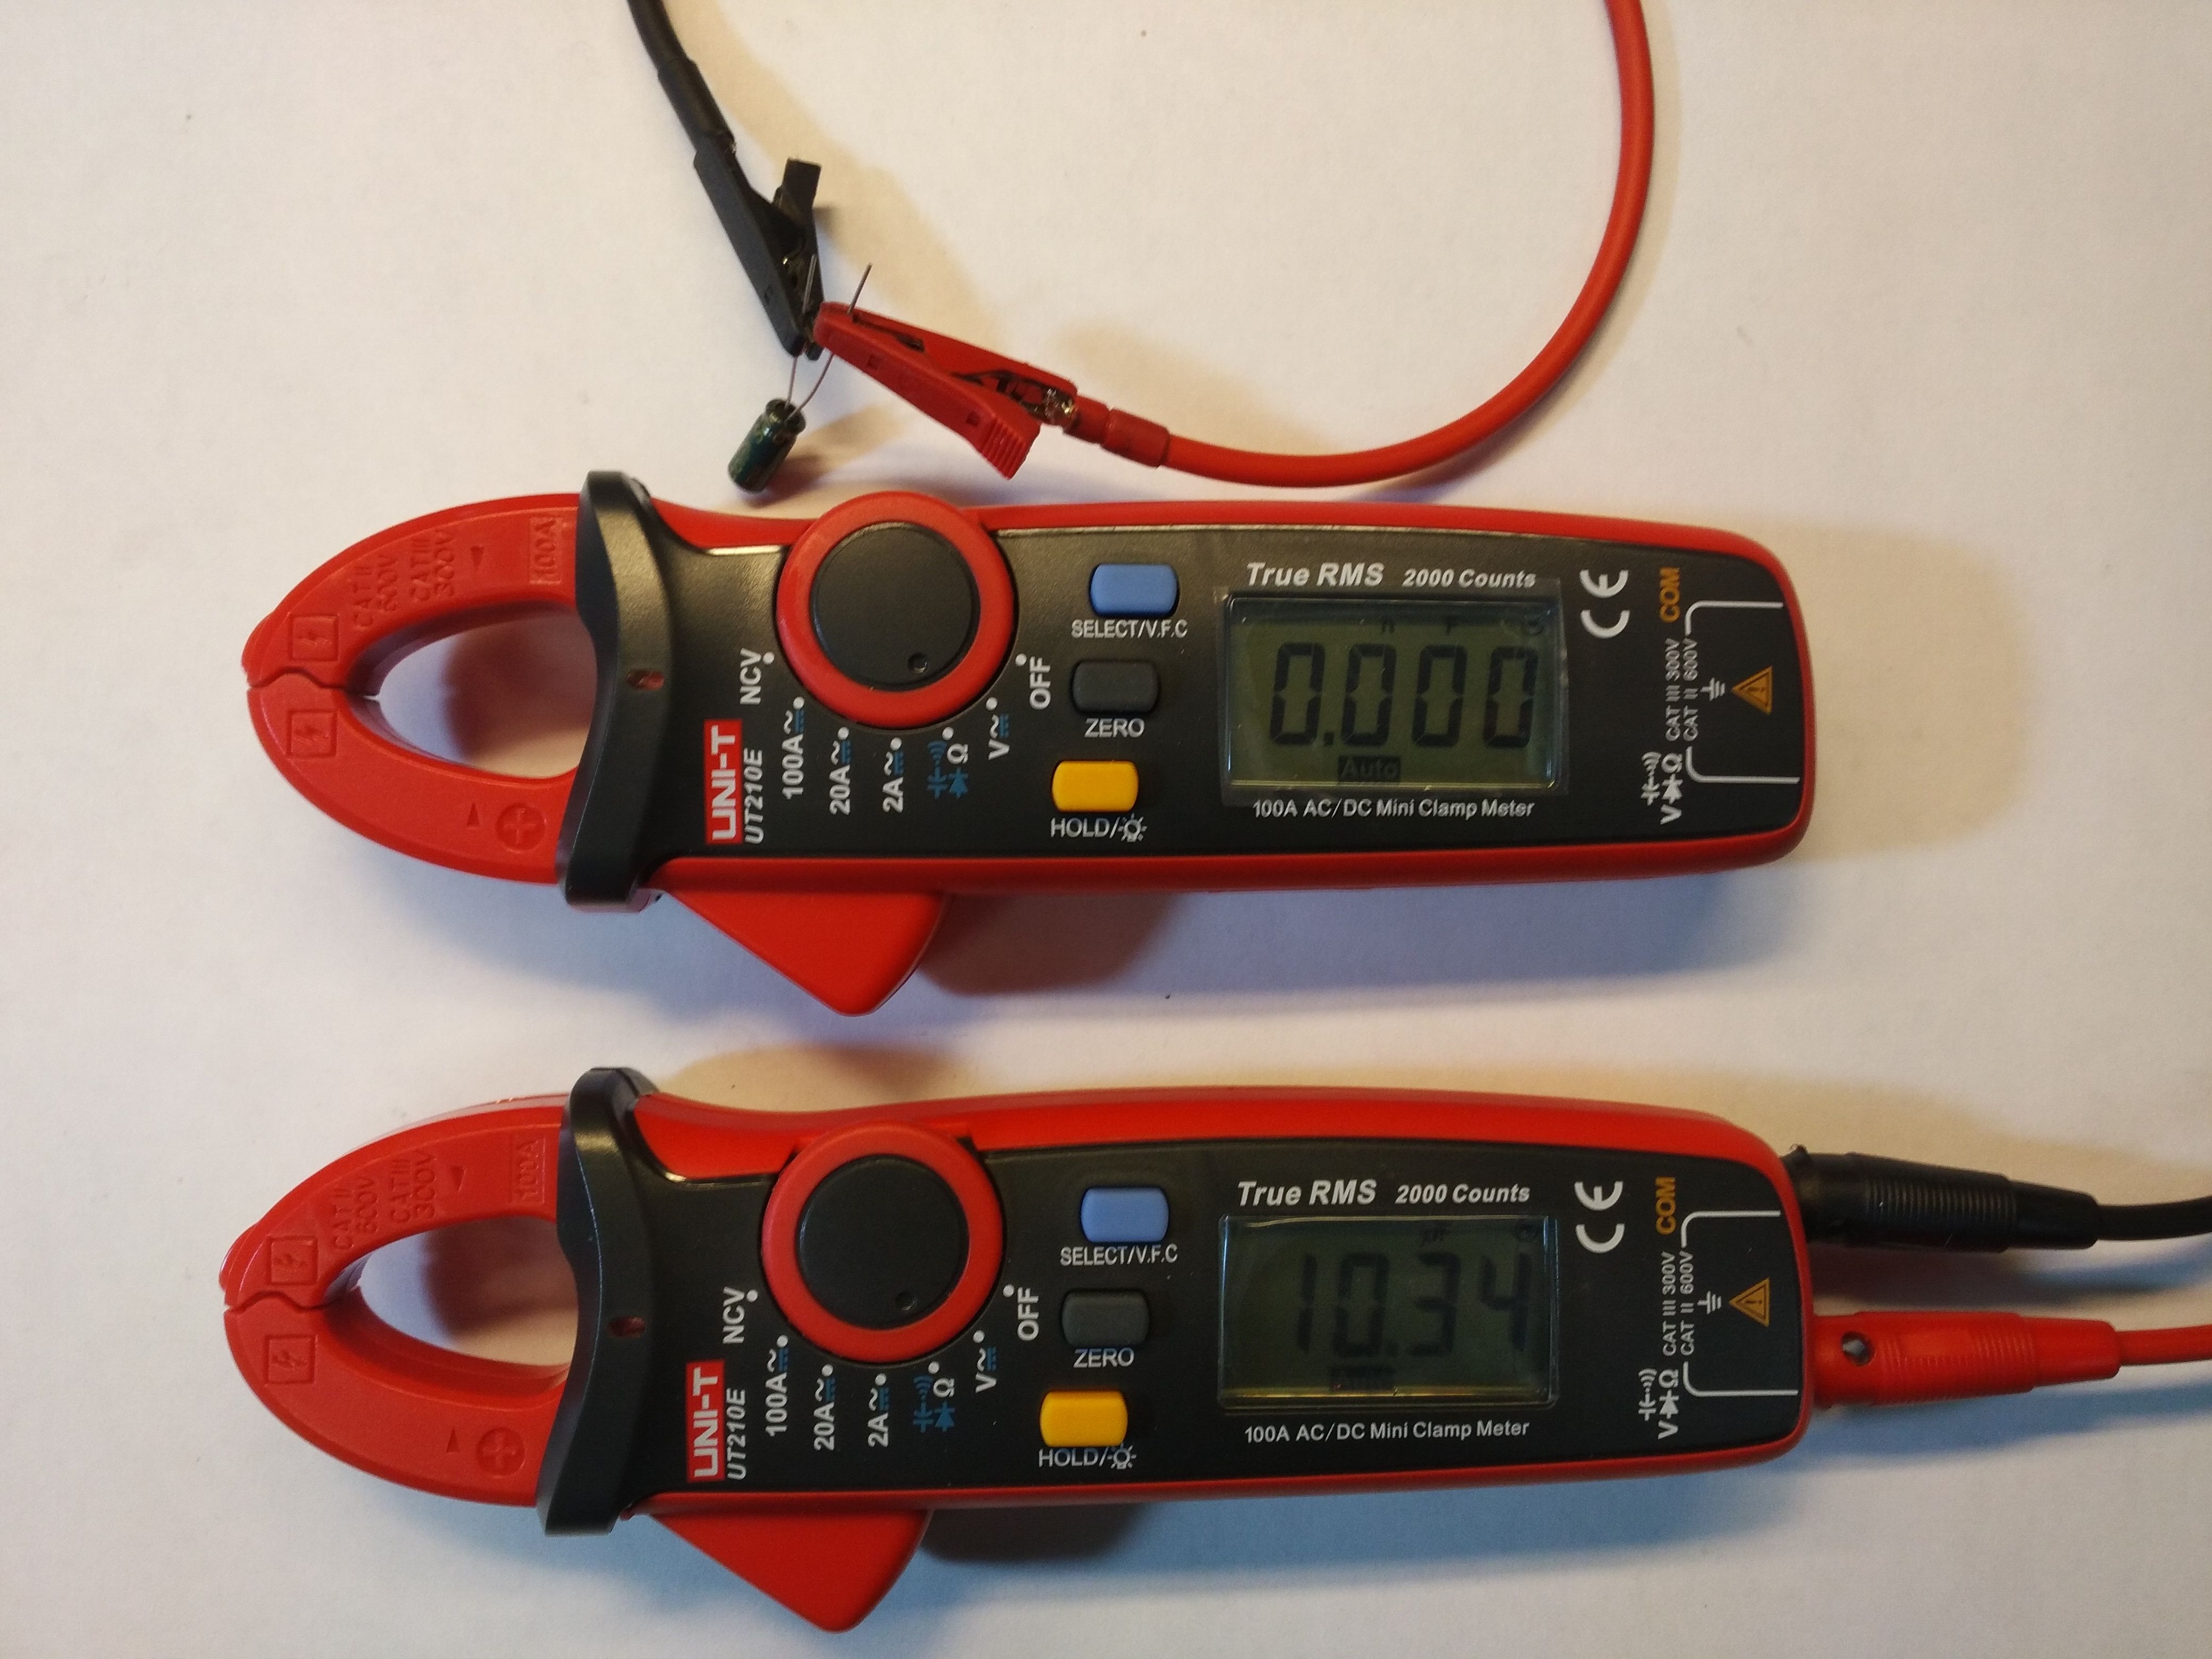
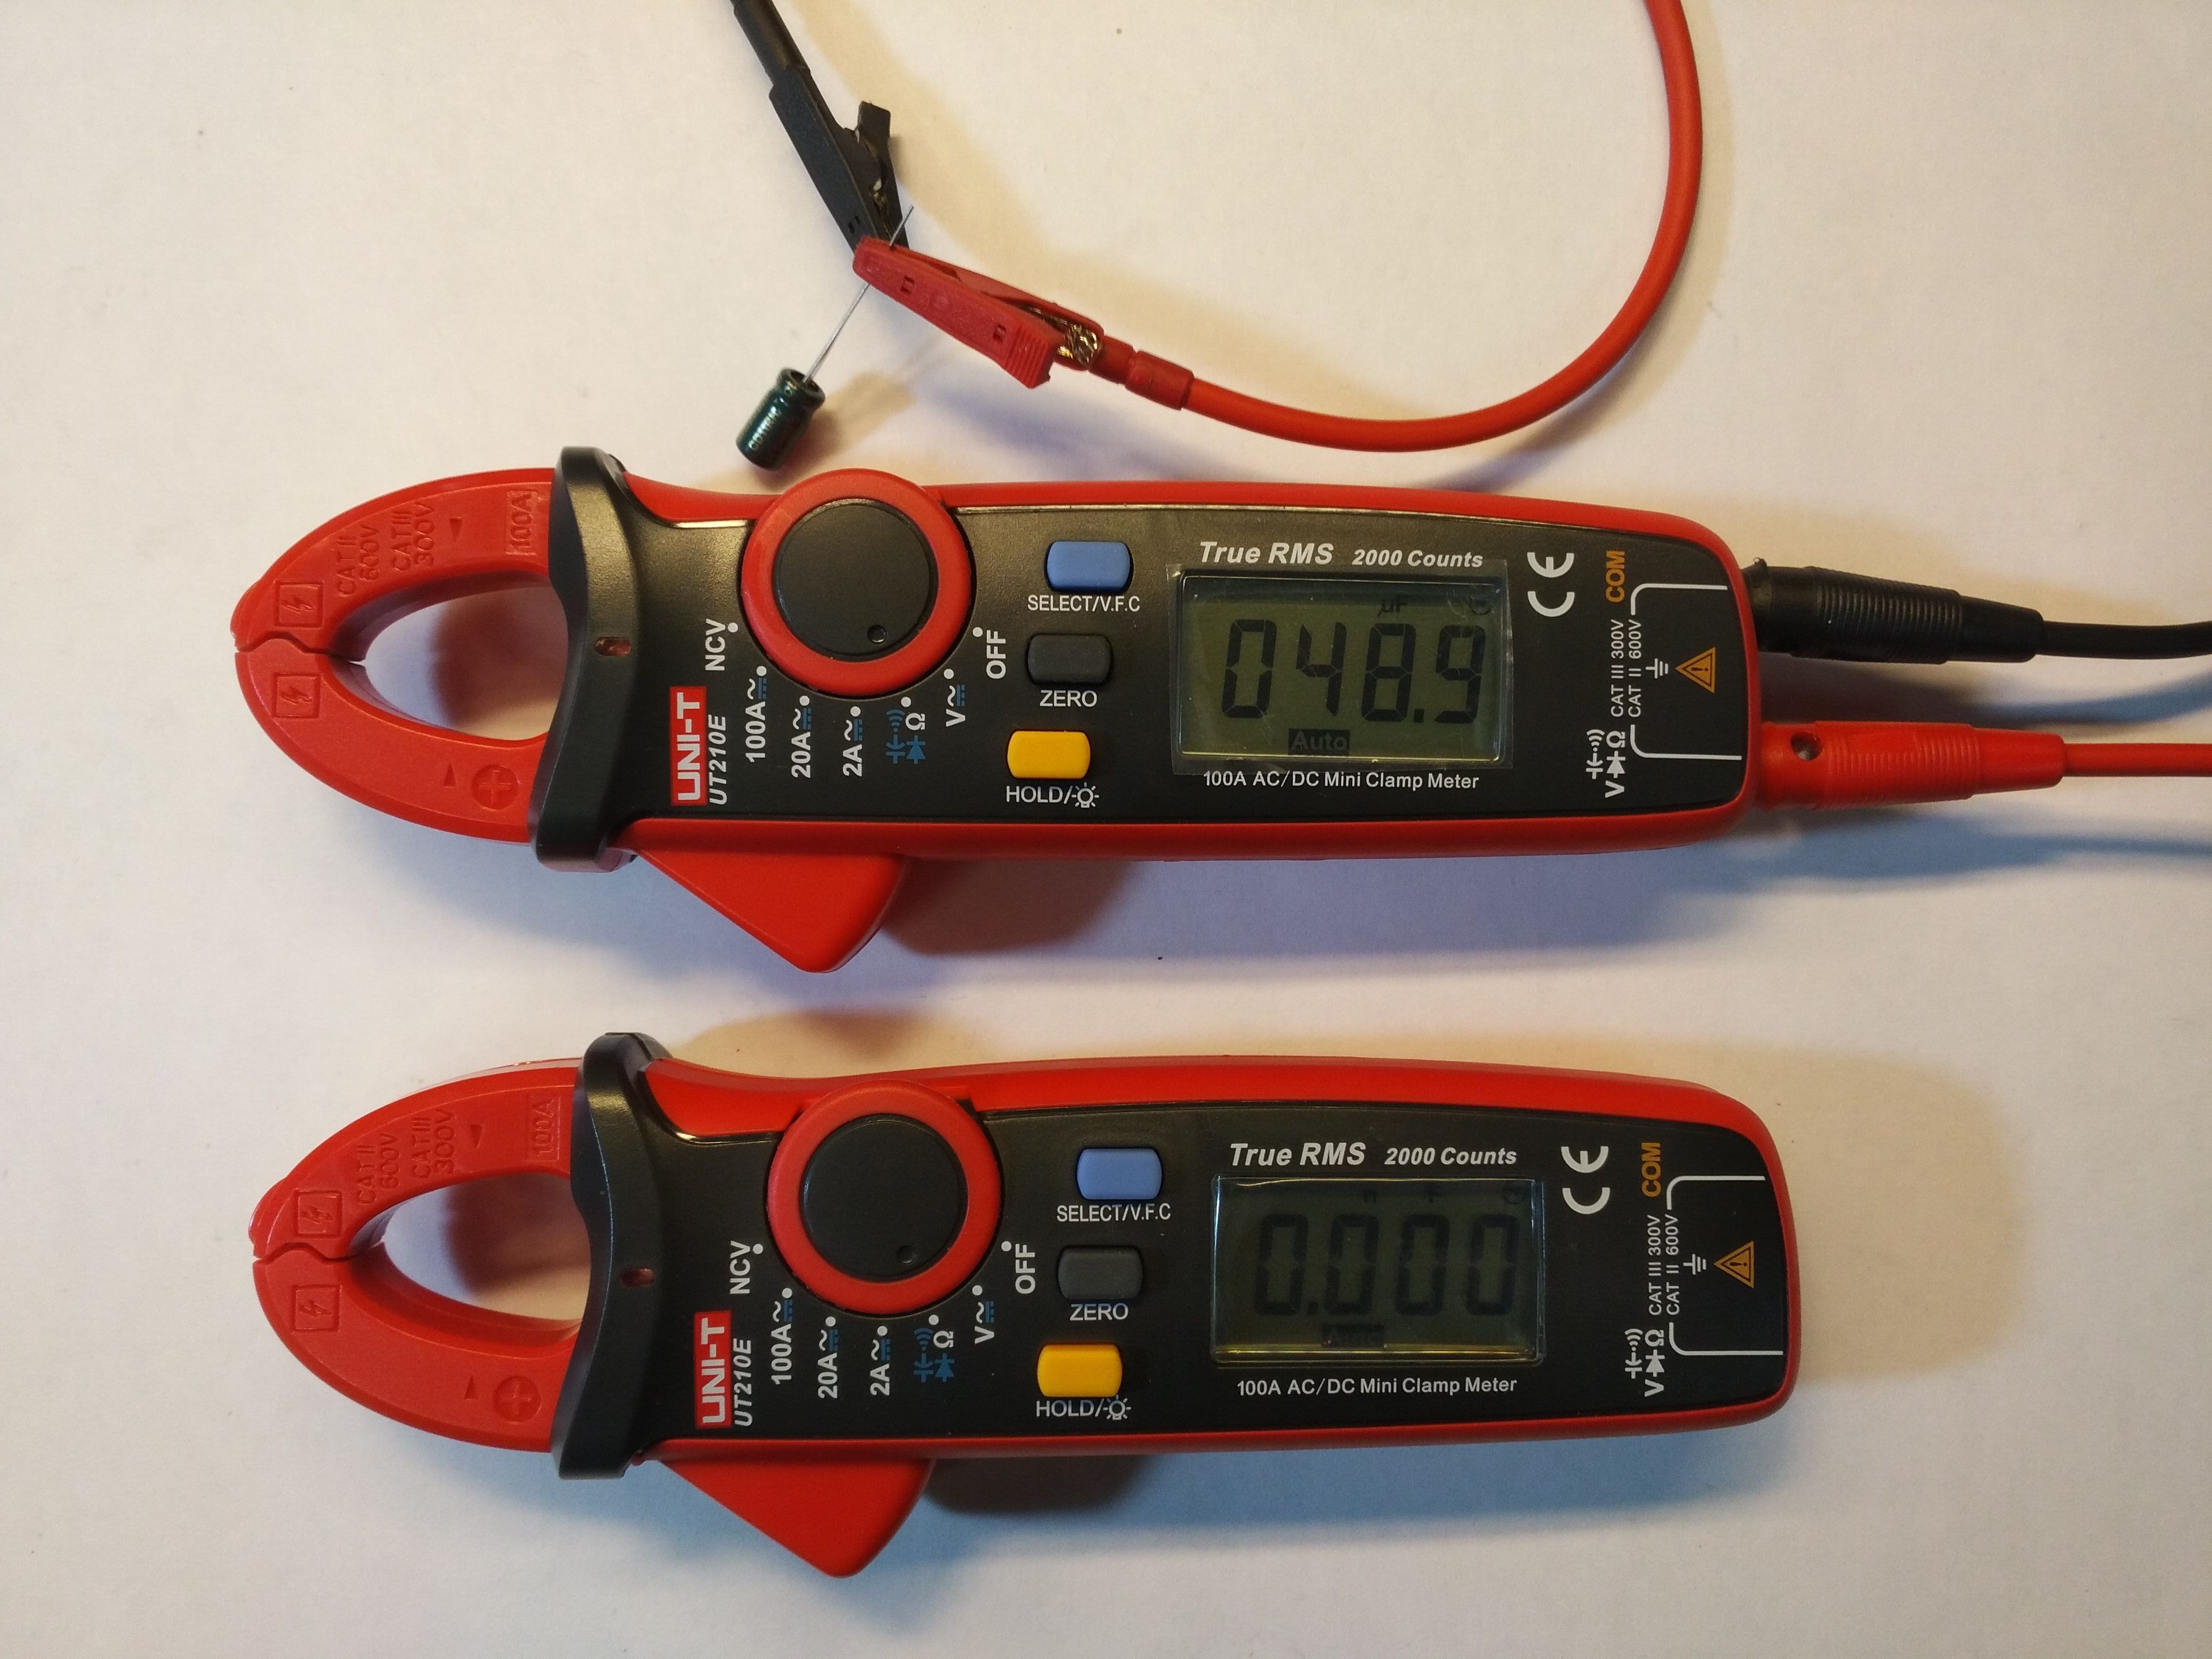
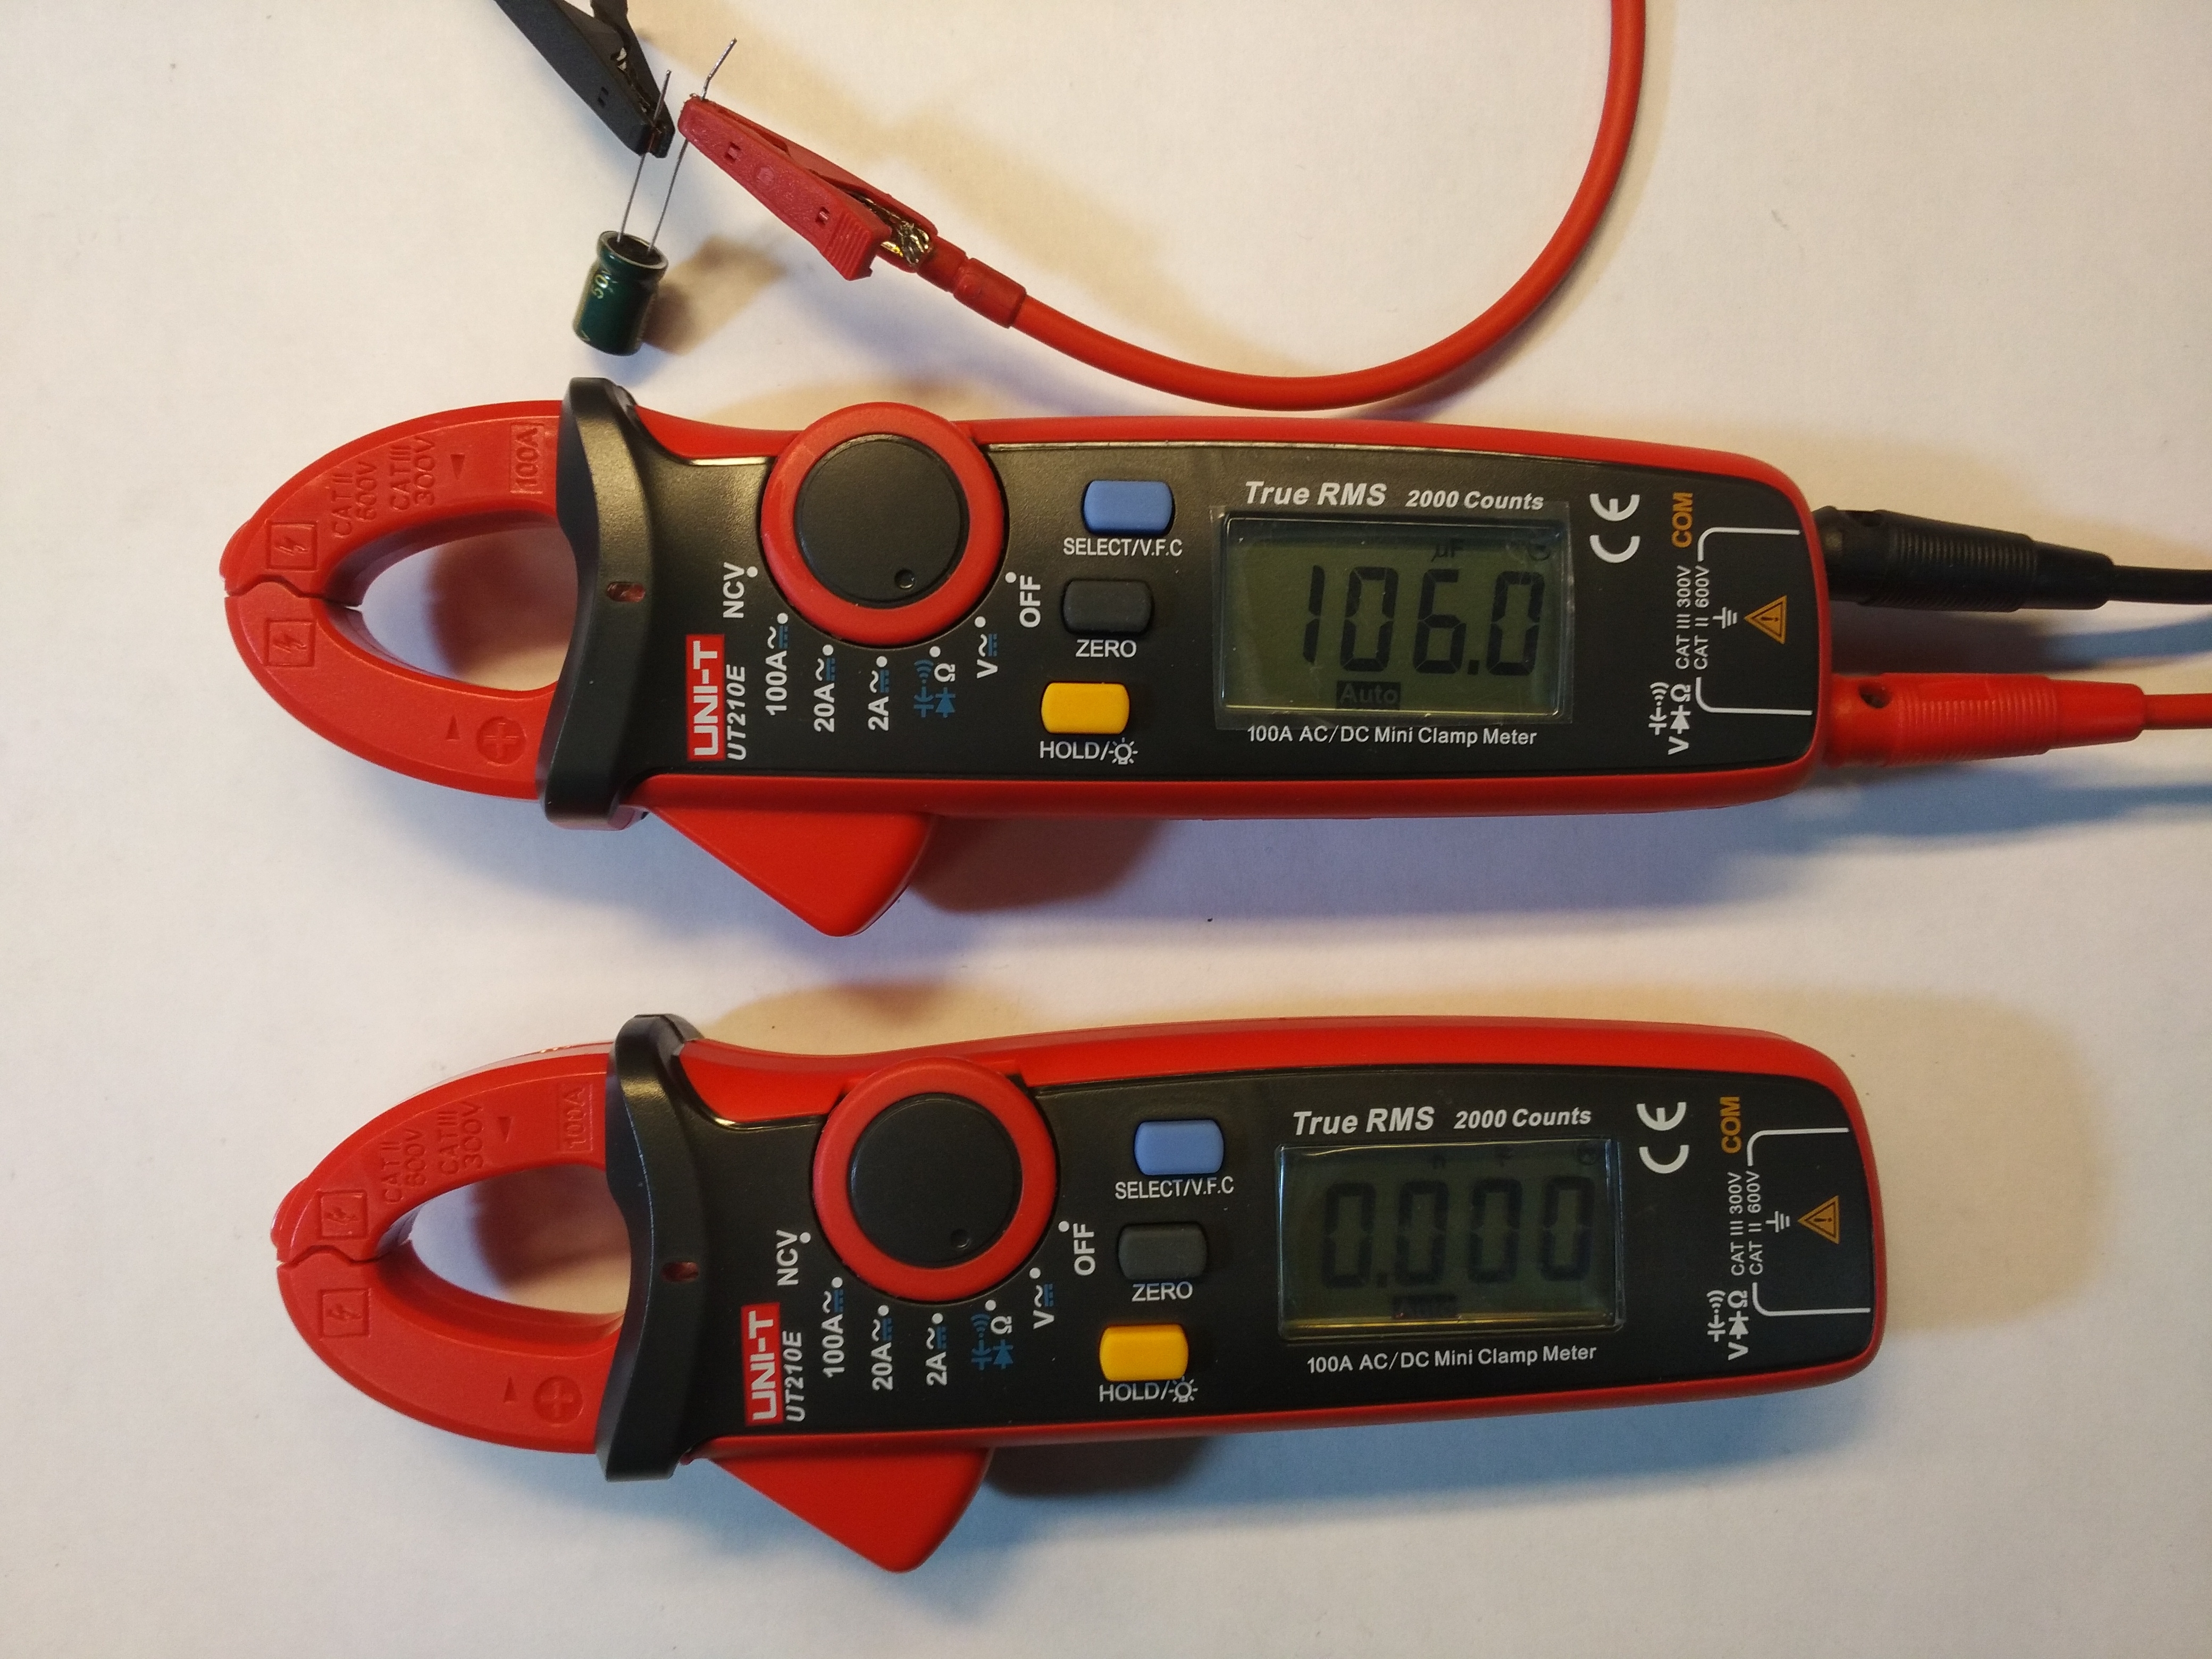
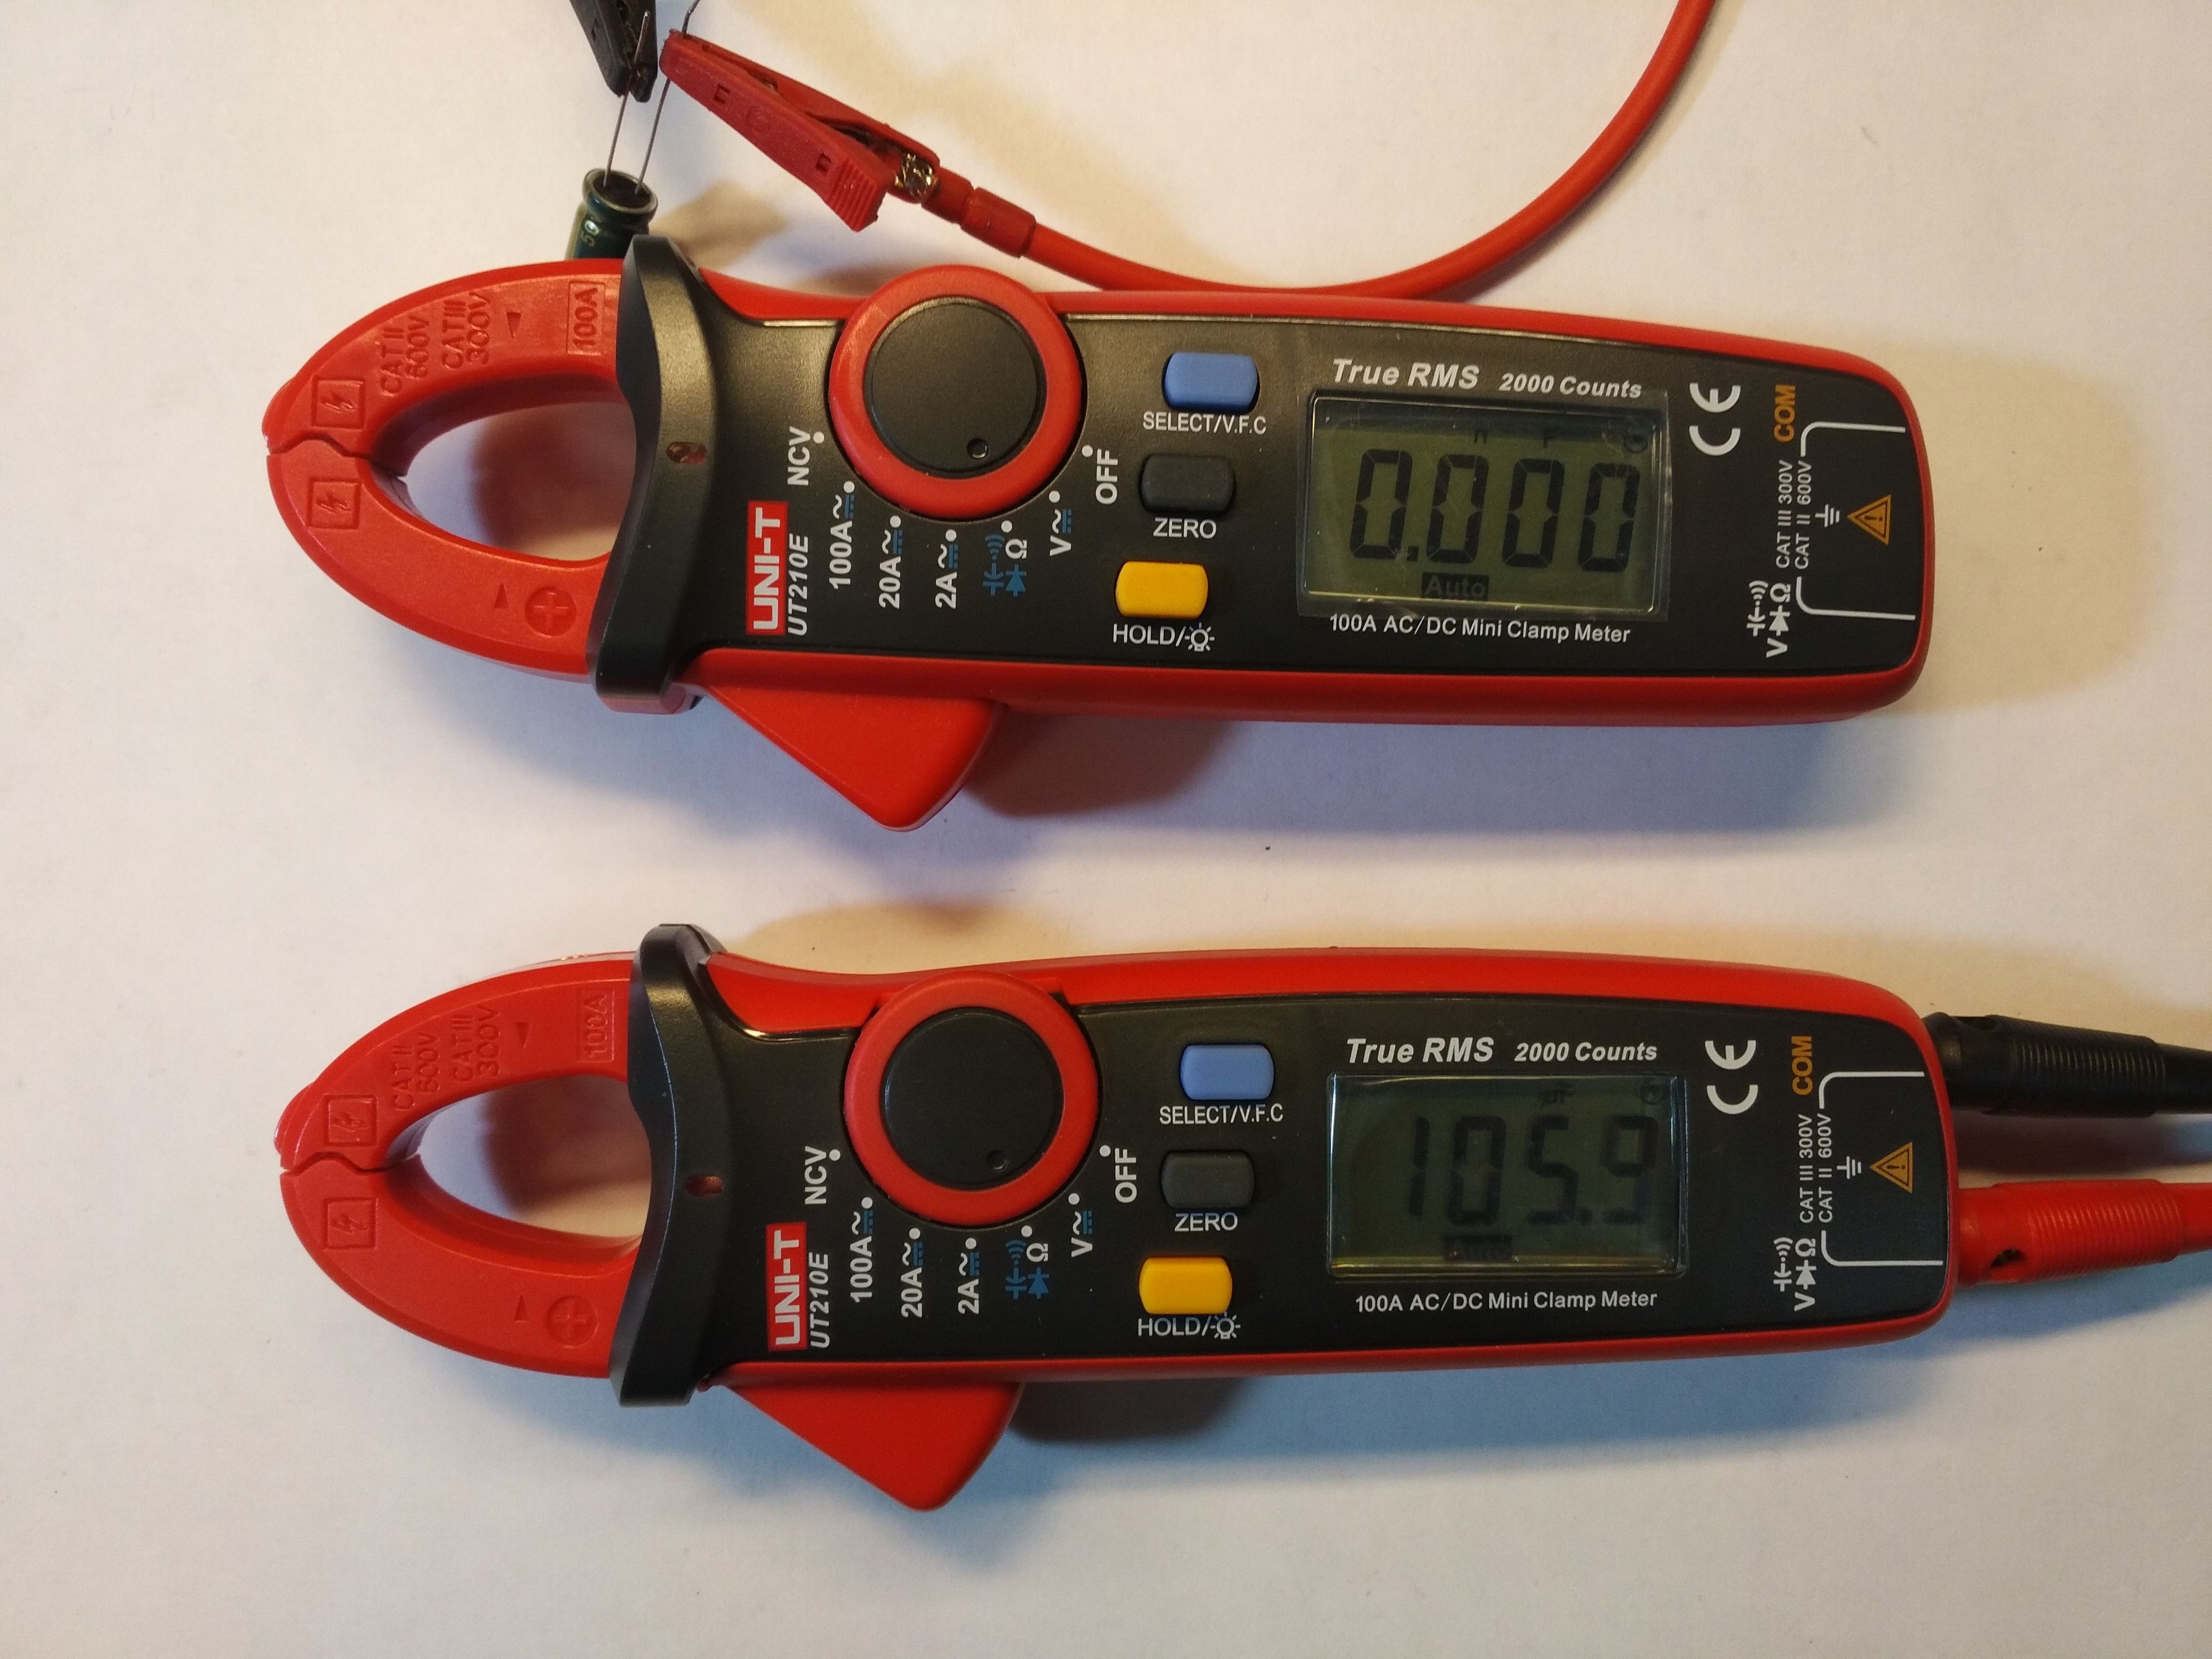
For formalities, a few more measurements of capacity:


You can see that the gauges go head to head, with minimal deviations. However, I think it can be corrected with the help of the three peers mentioned earlier.
As befits a multimeter, we also have a circuit continuity tester, which works very well, the sound from the "squeak" comes out literally when the first atoms of the measuring probes touch each other
. It is highly praised because my favorite UNI-T, which I use every day, has a huge delay, I did not measure it, but I think it is at least 0.2s, which, contrary to appearances, can be very onerous.
We also have a "diode test" of course.
Finally, using the courtesy
Arthur 'and
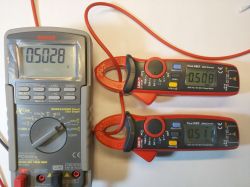
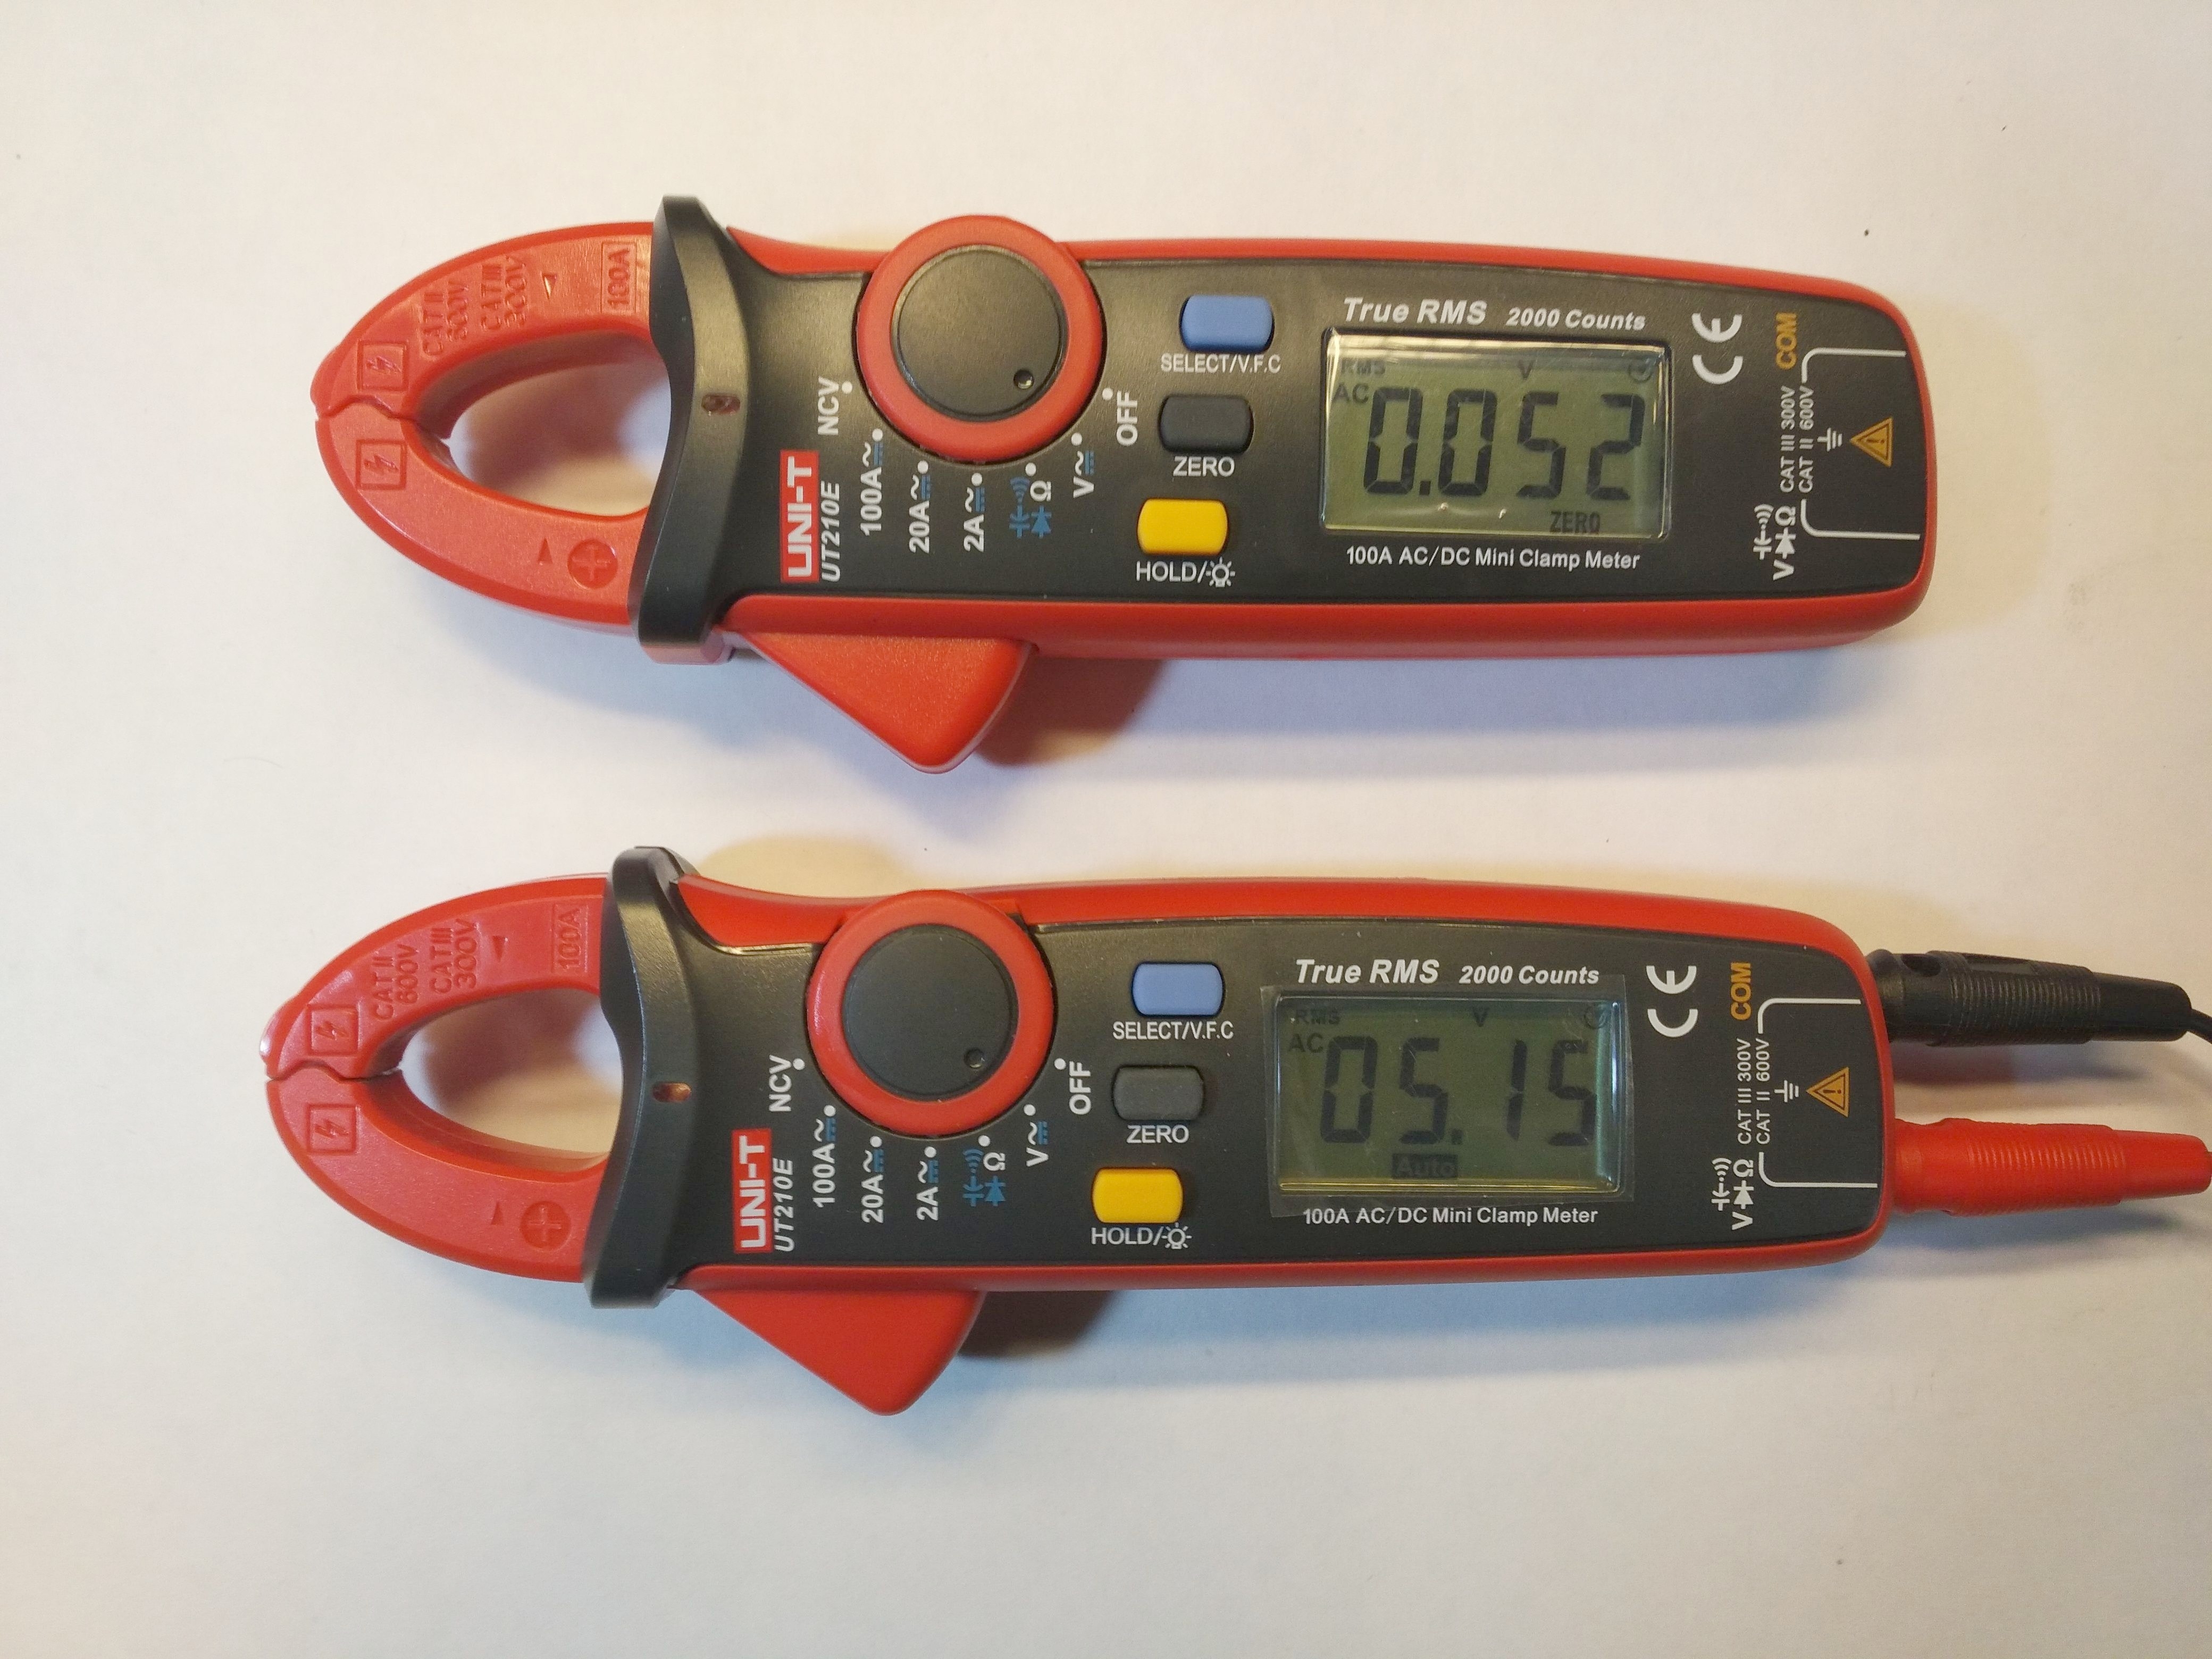
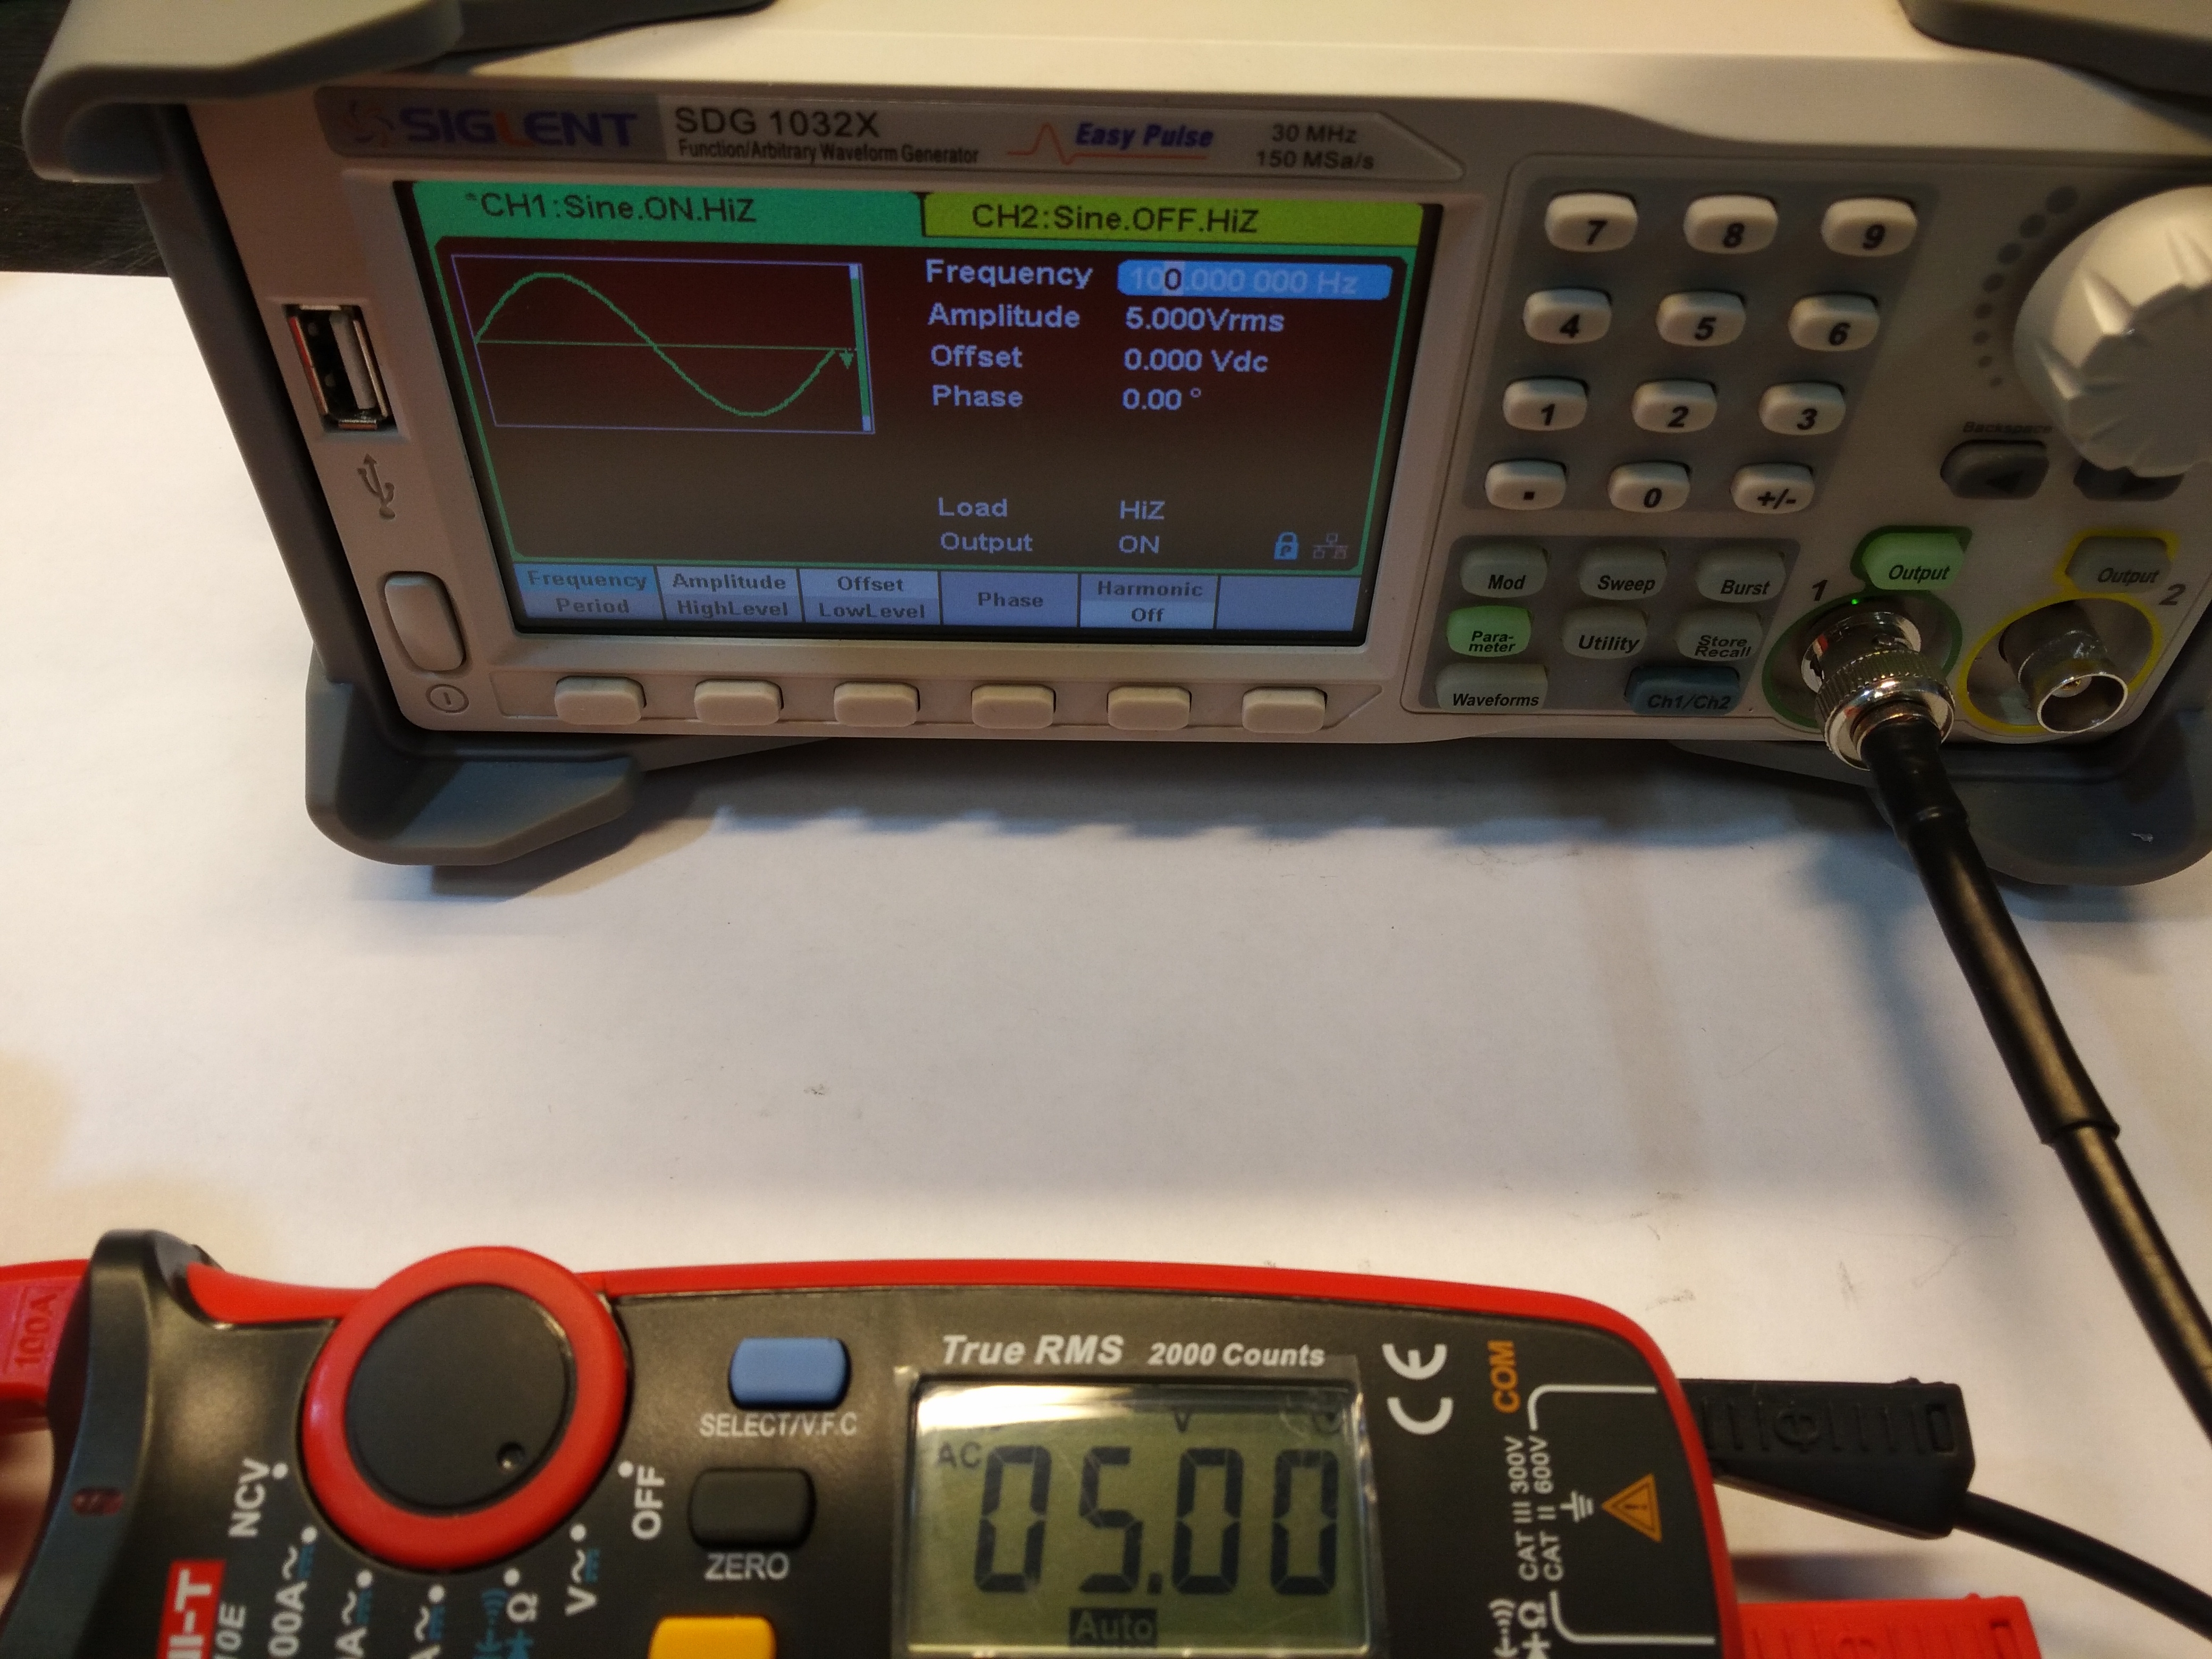
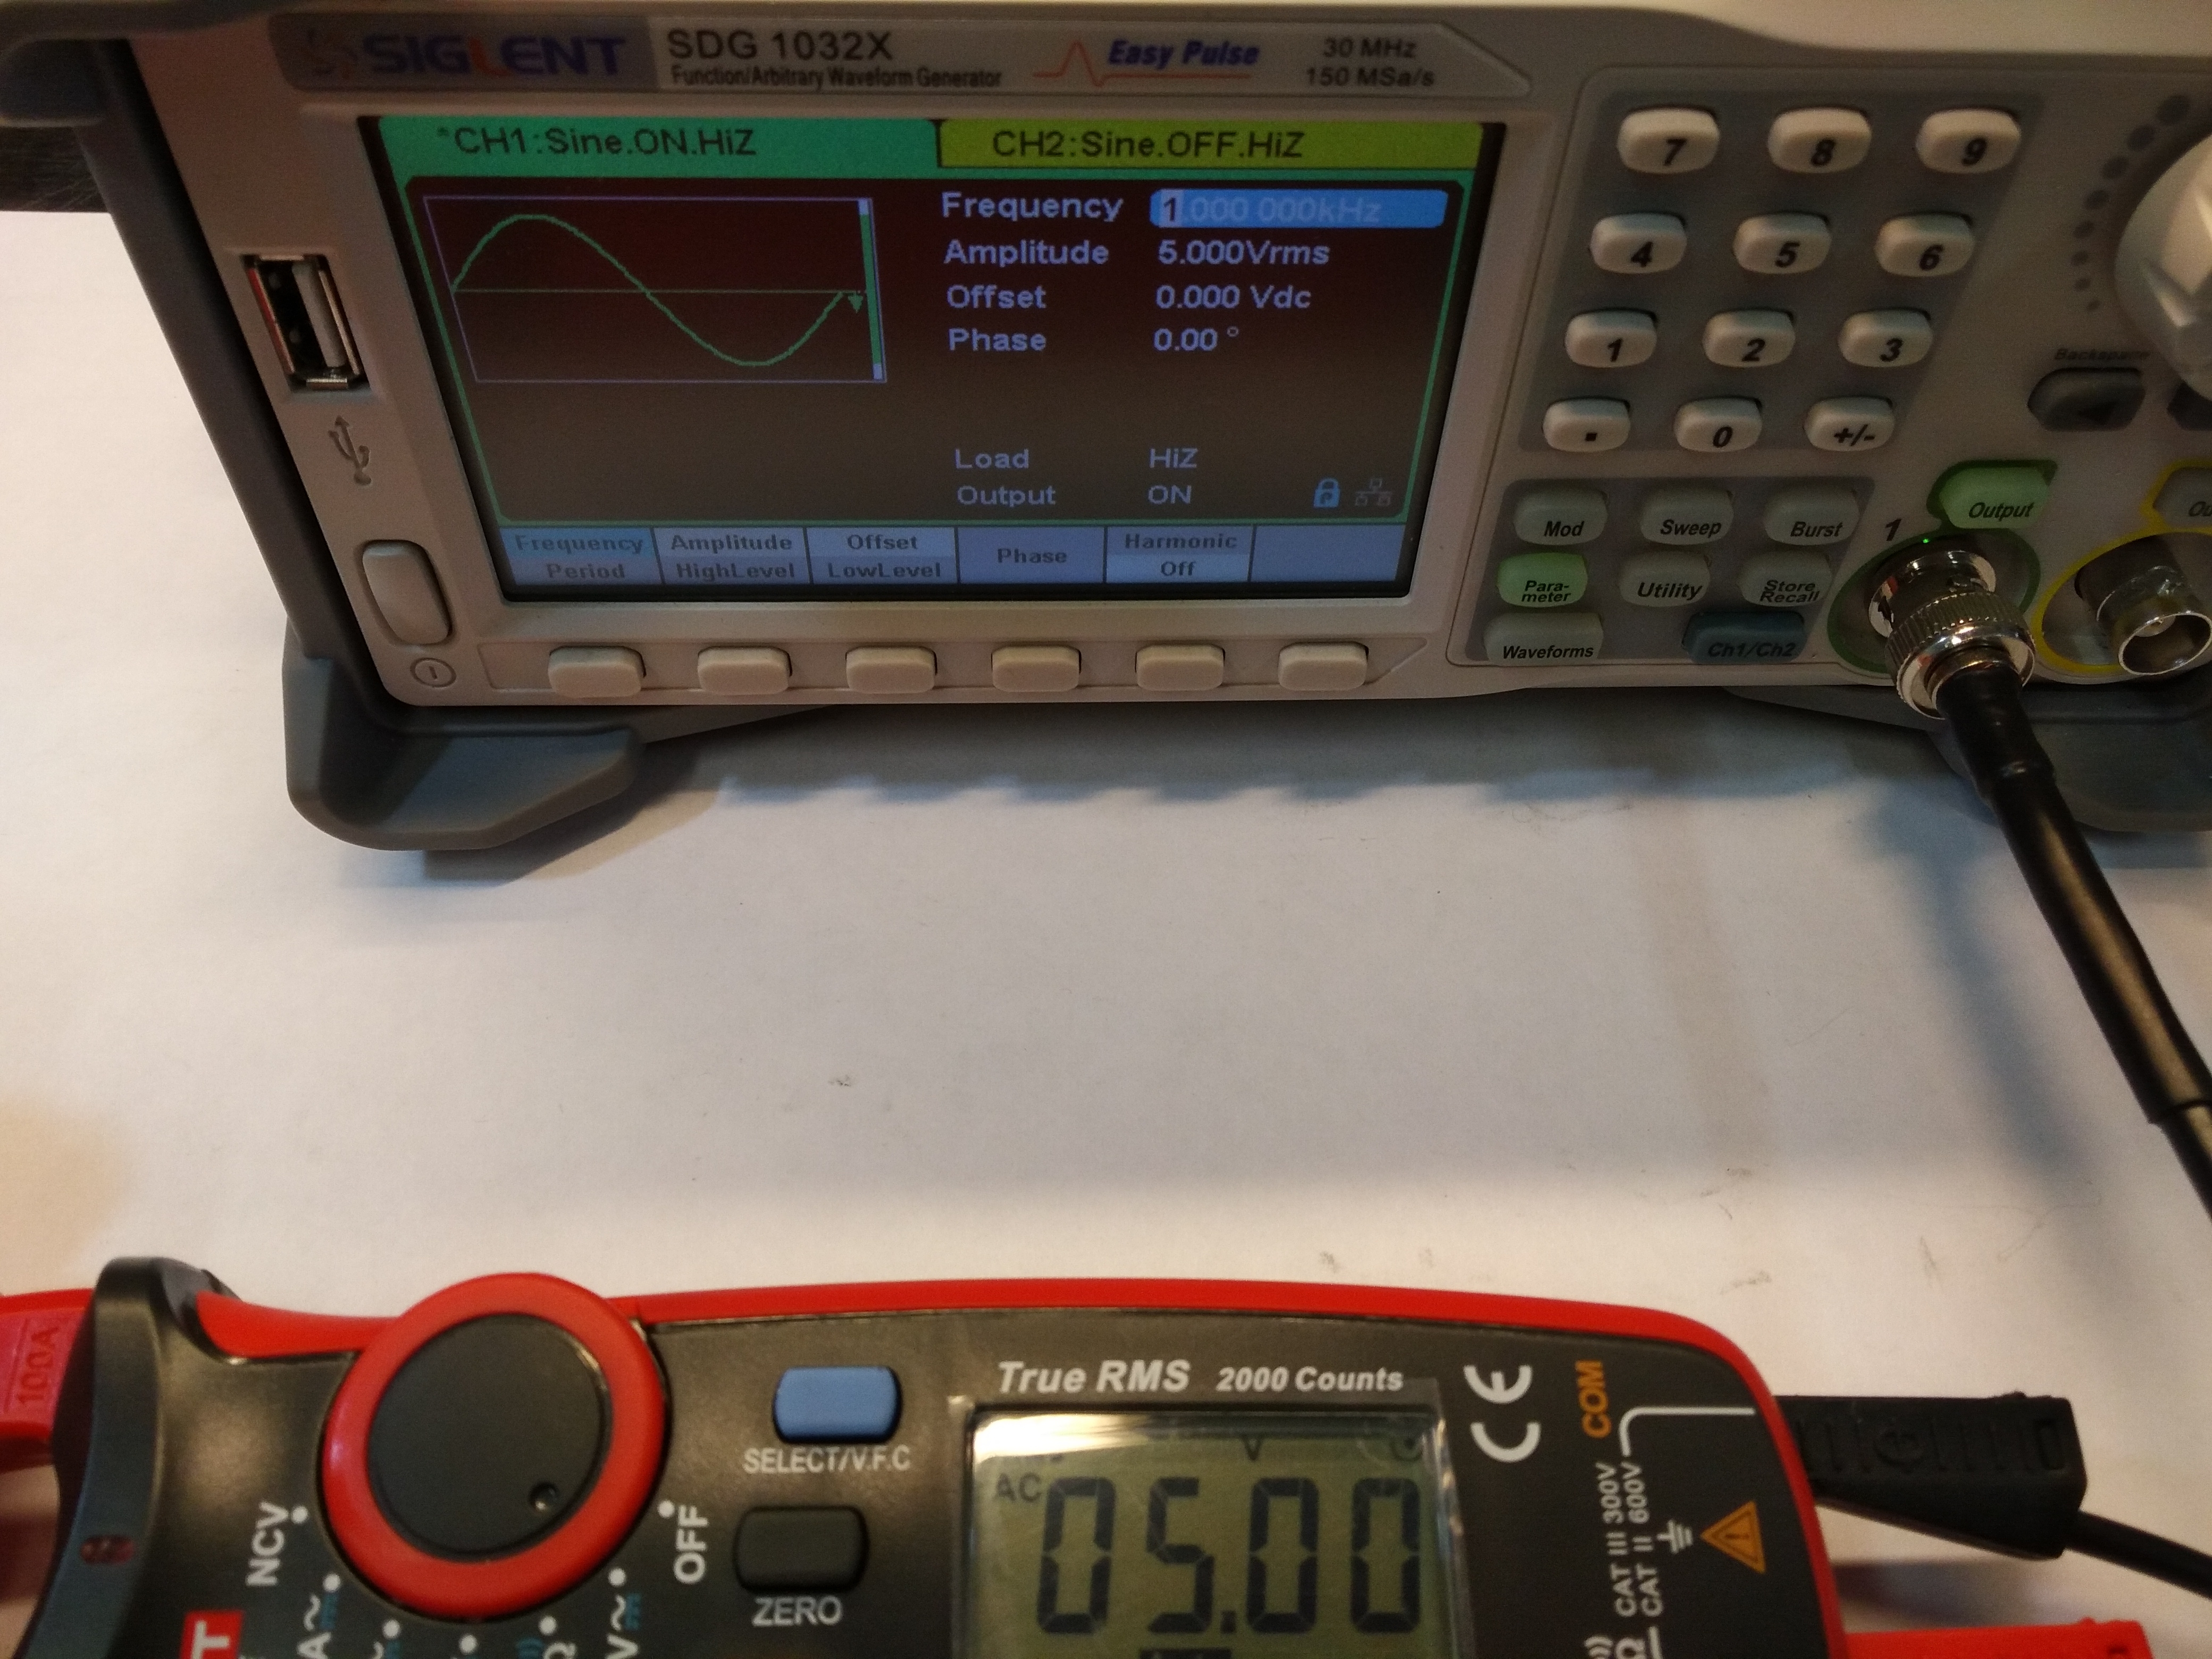
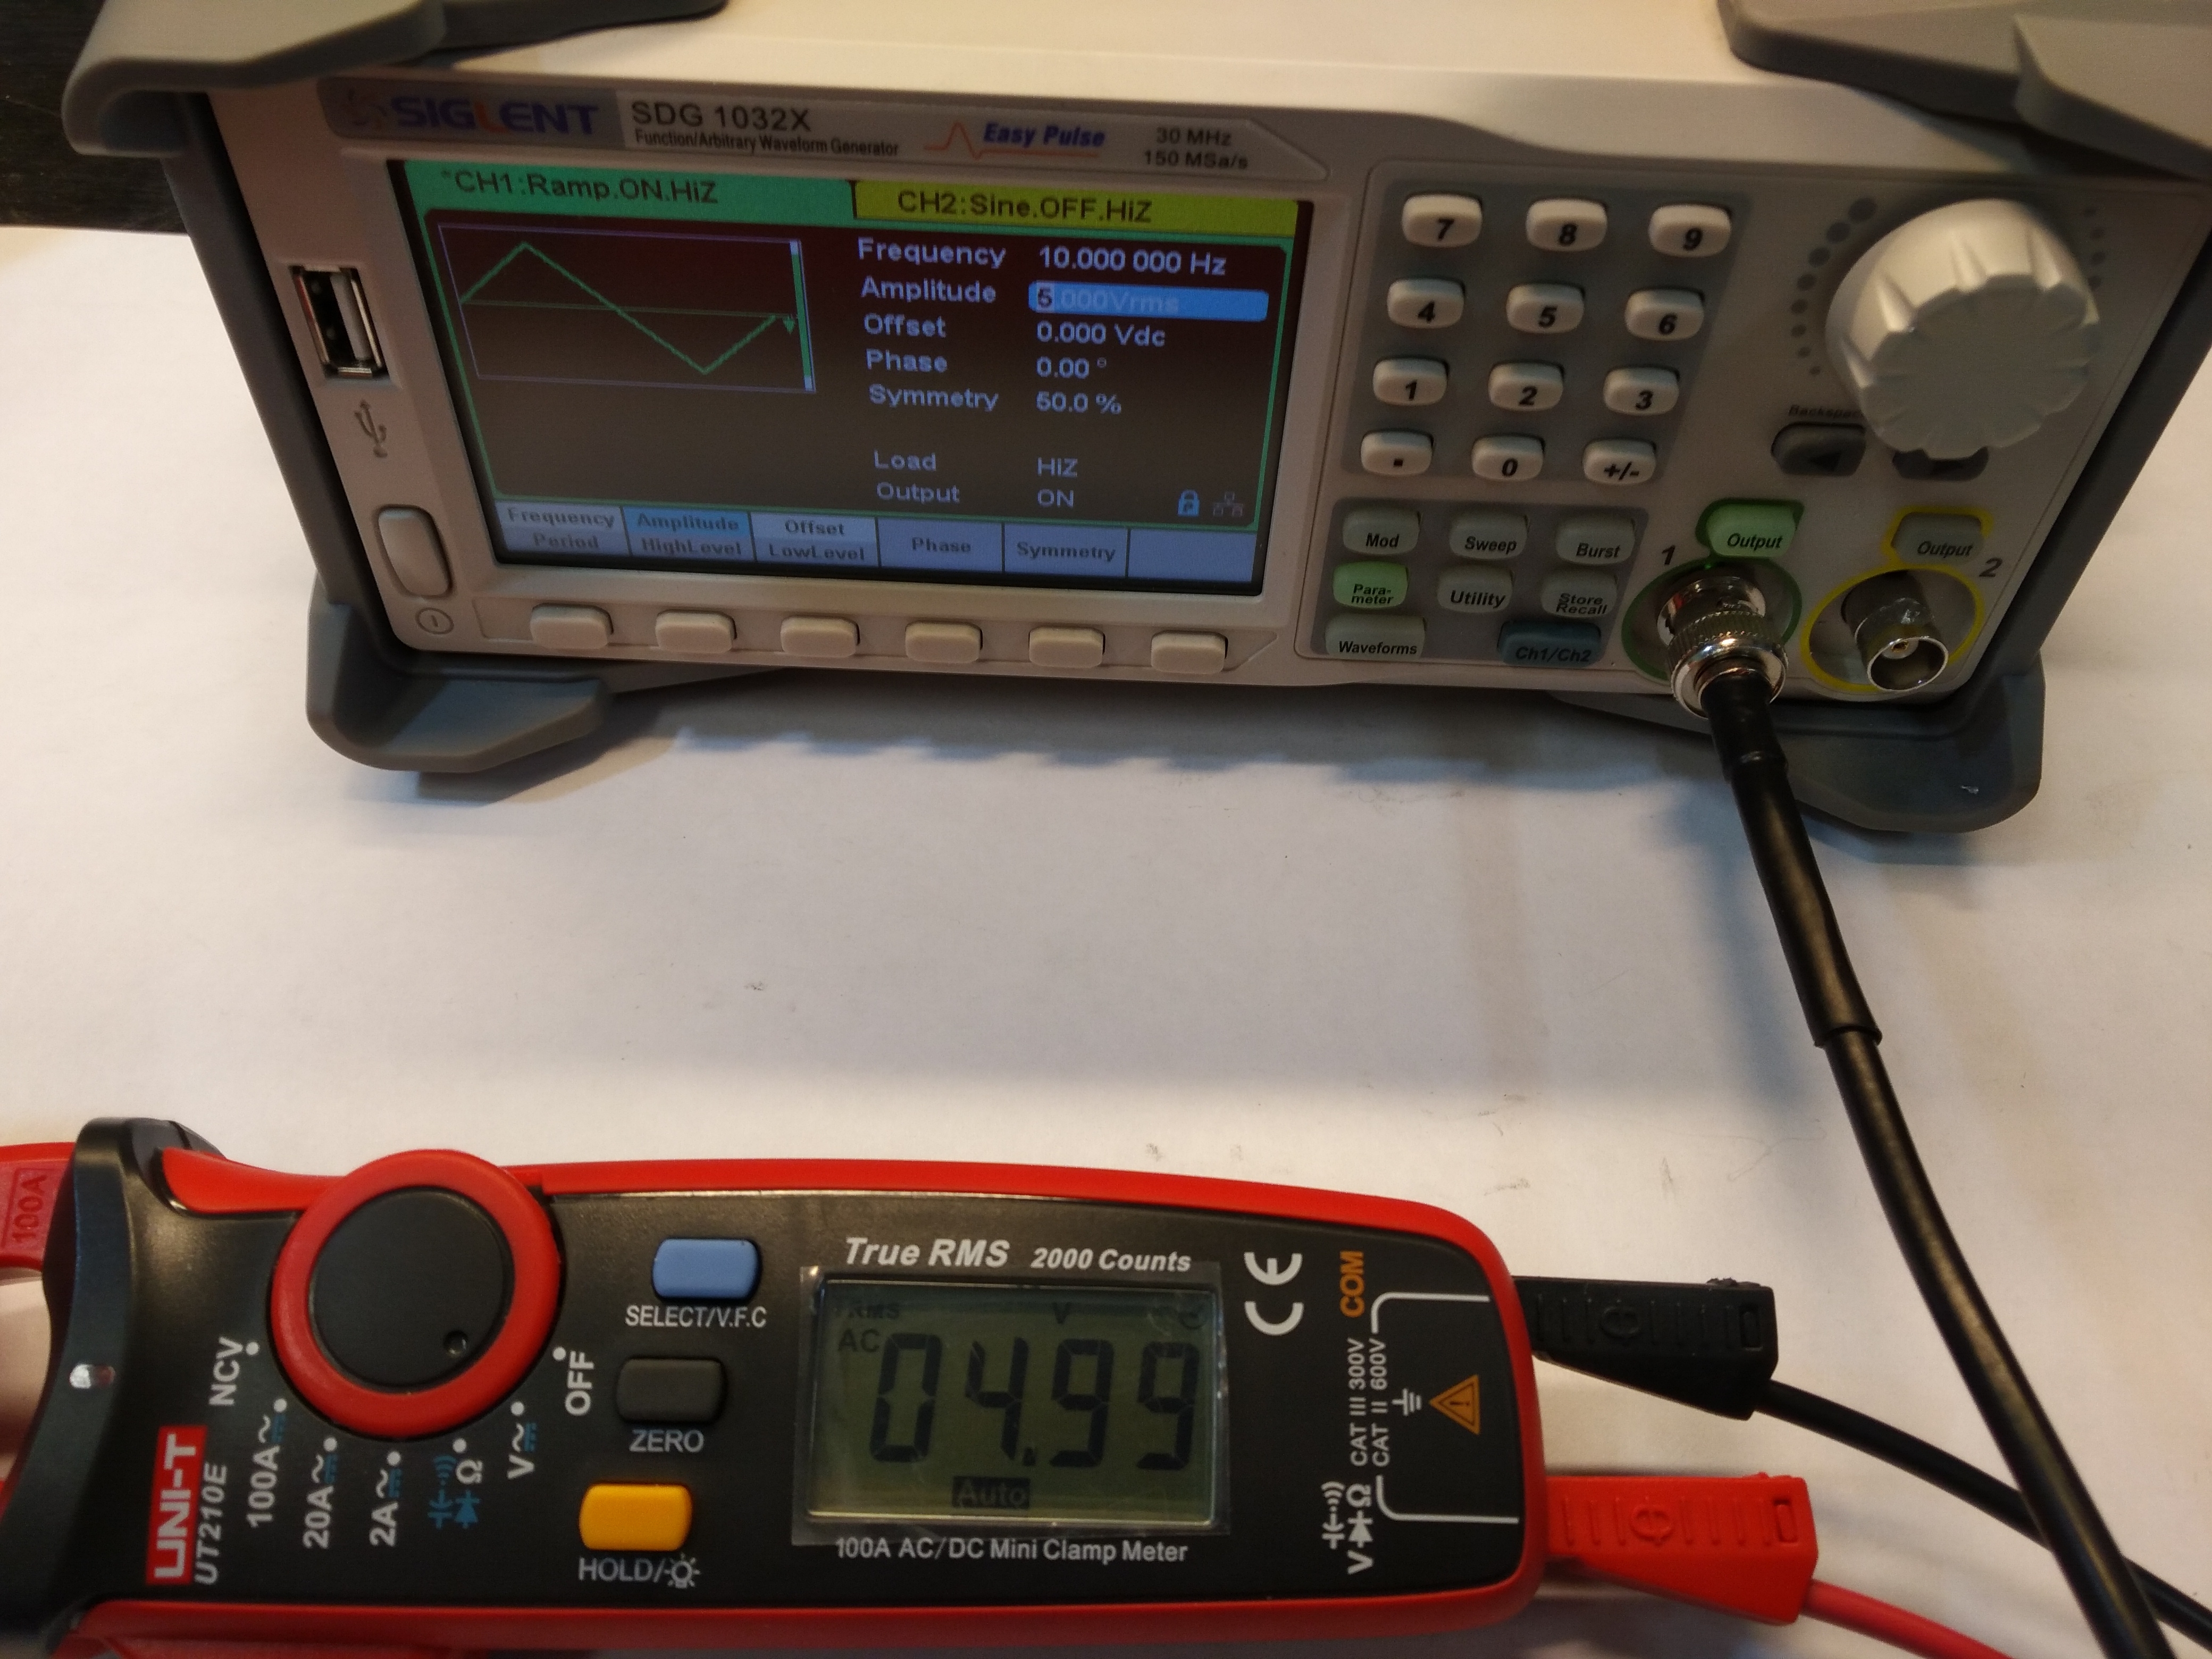
k who lent me a decent generator, we will check how True RMS works and whether this function is actually implemented, or is it just an inscription on the housing.
So far, the gauges are doing very well, but it can't be that rosy, not for that little money. So what made me suddenly not fit something after such successful attempts? You'll see for yourself ...
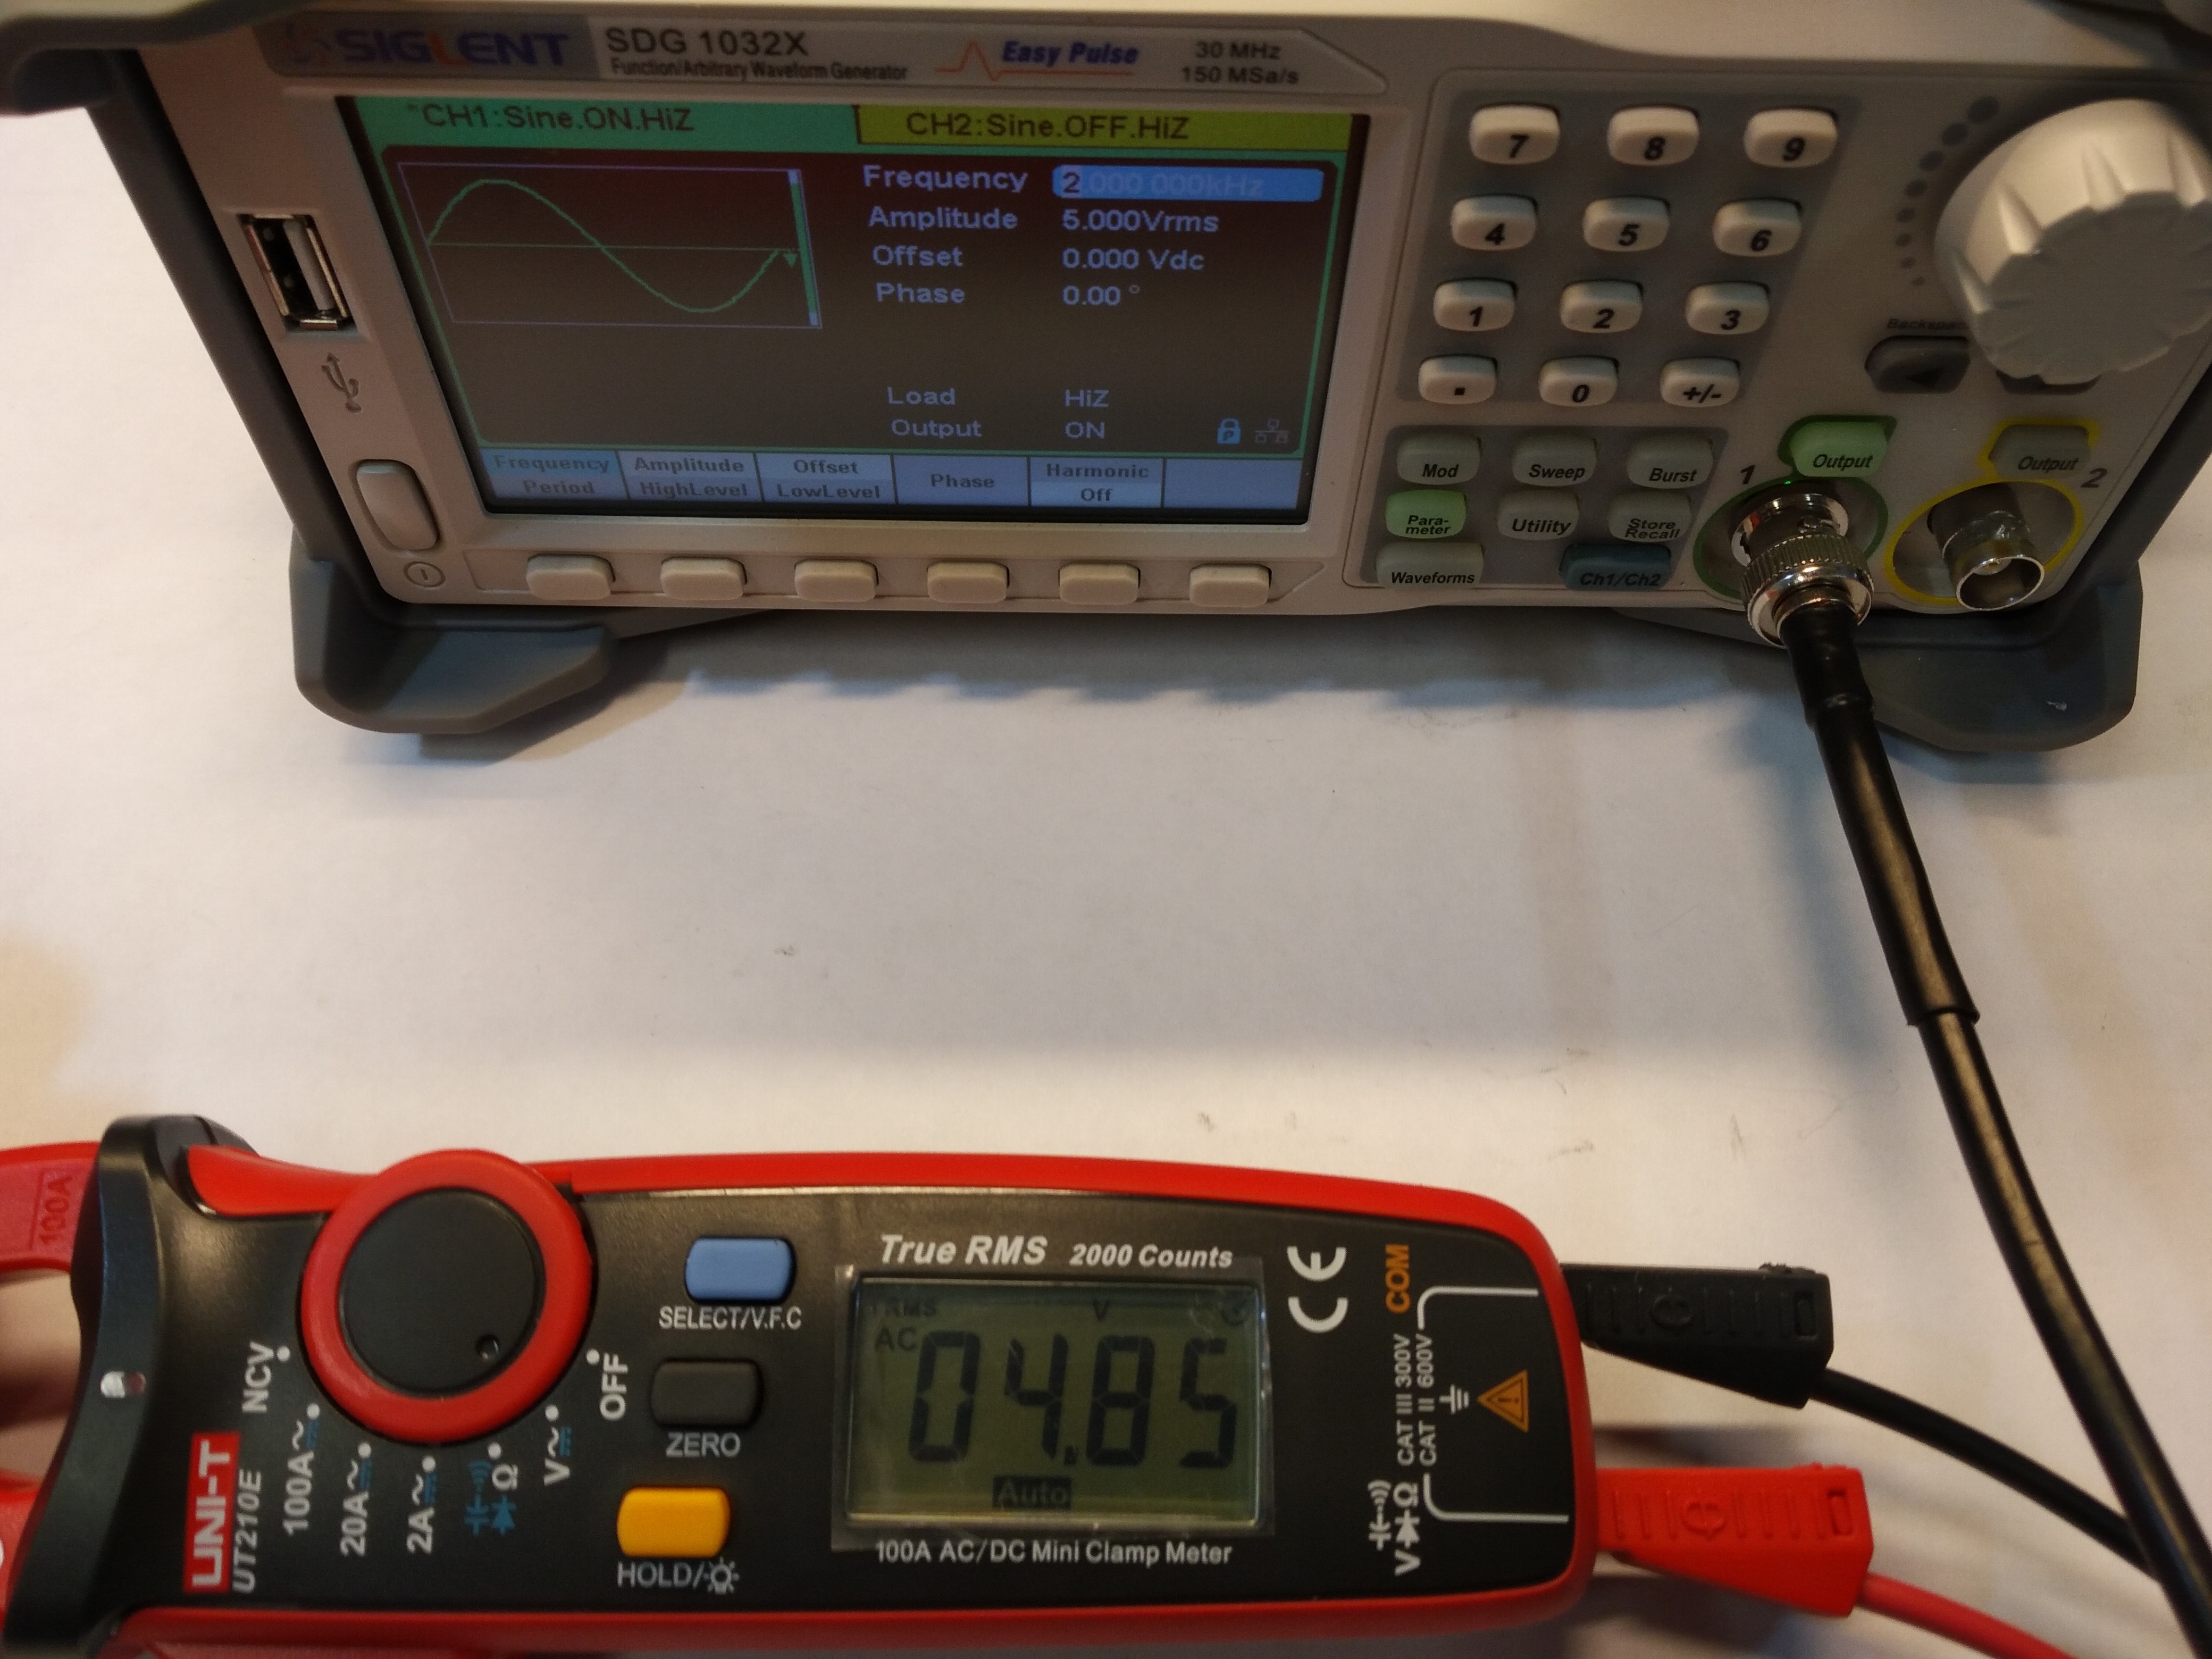
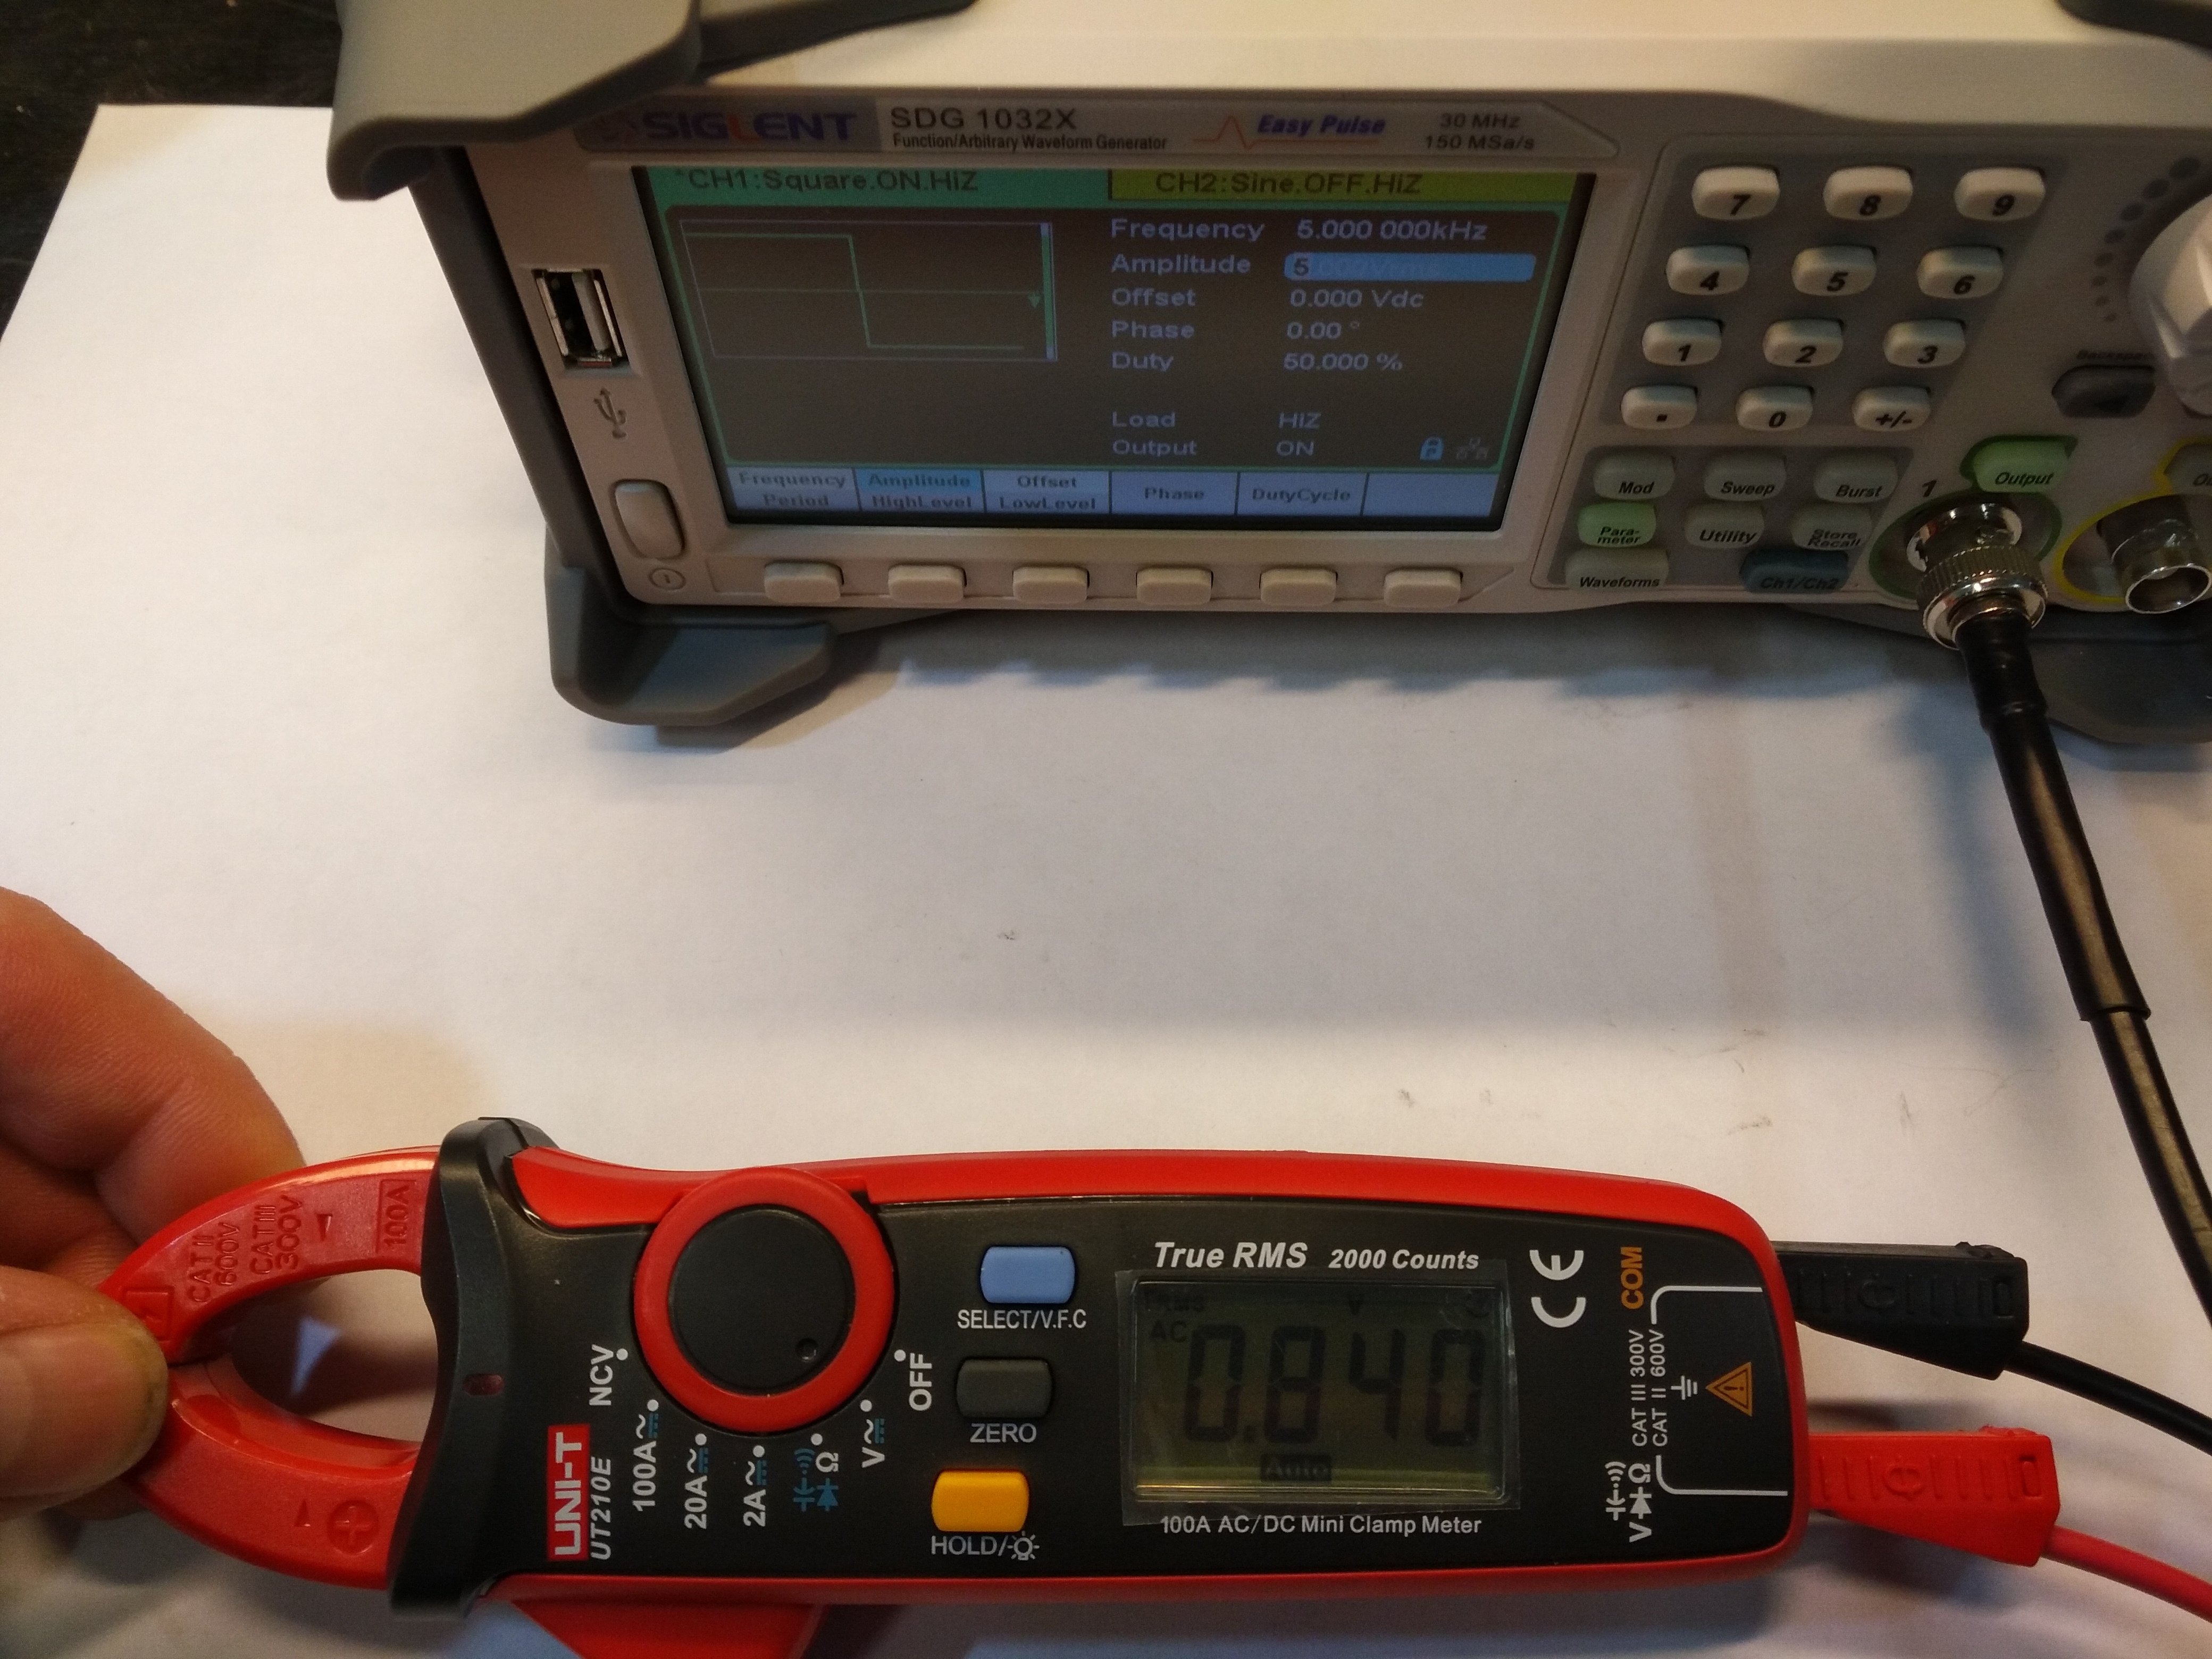
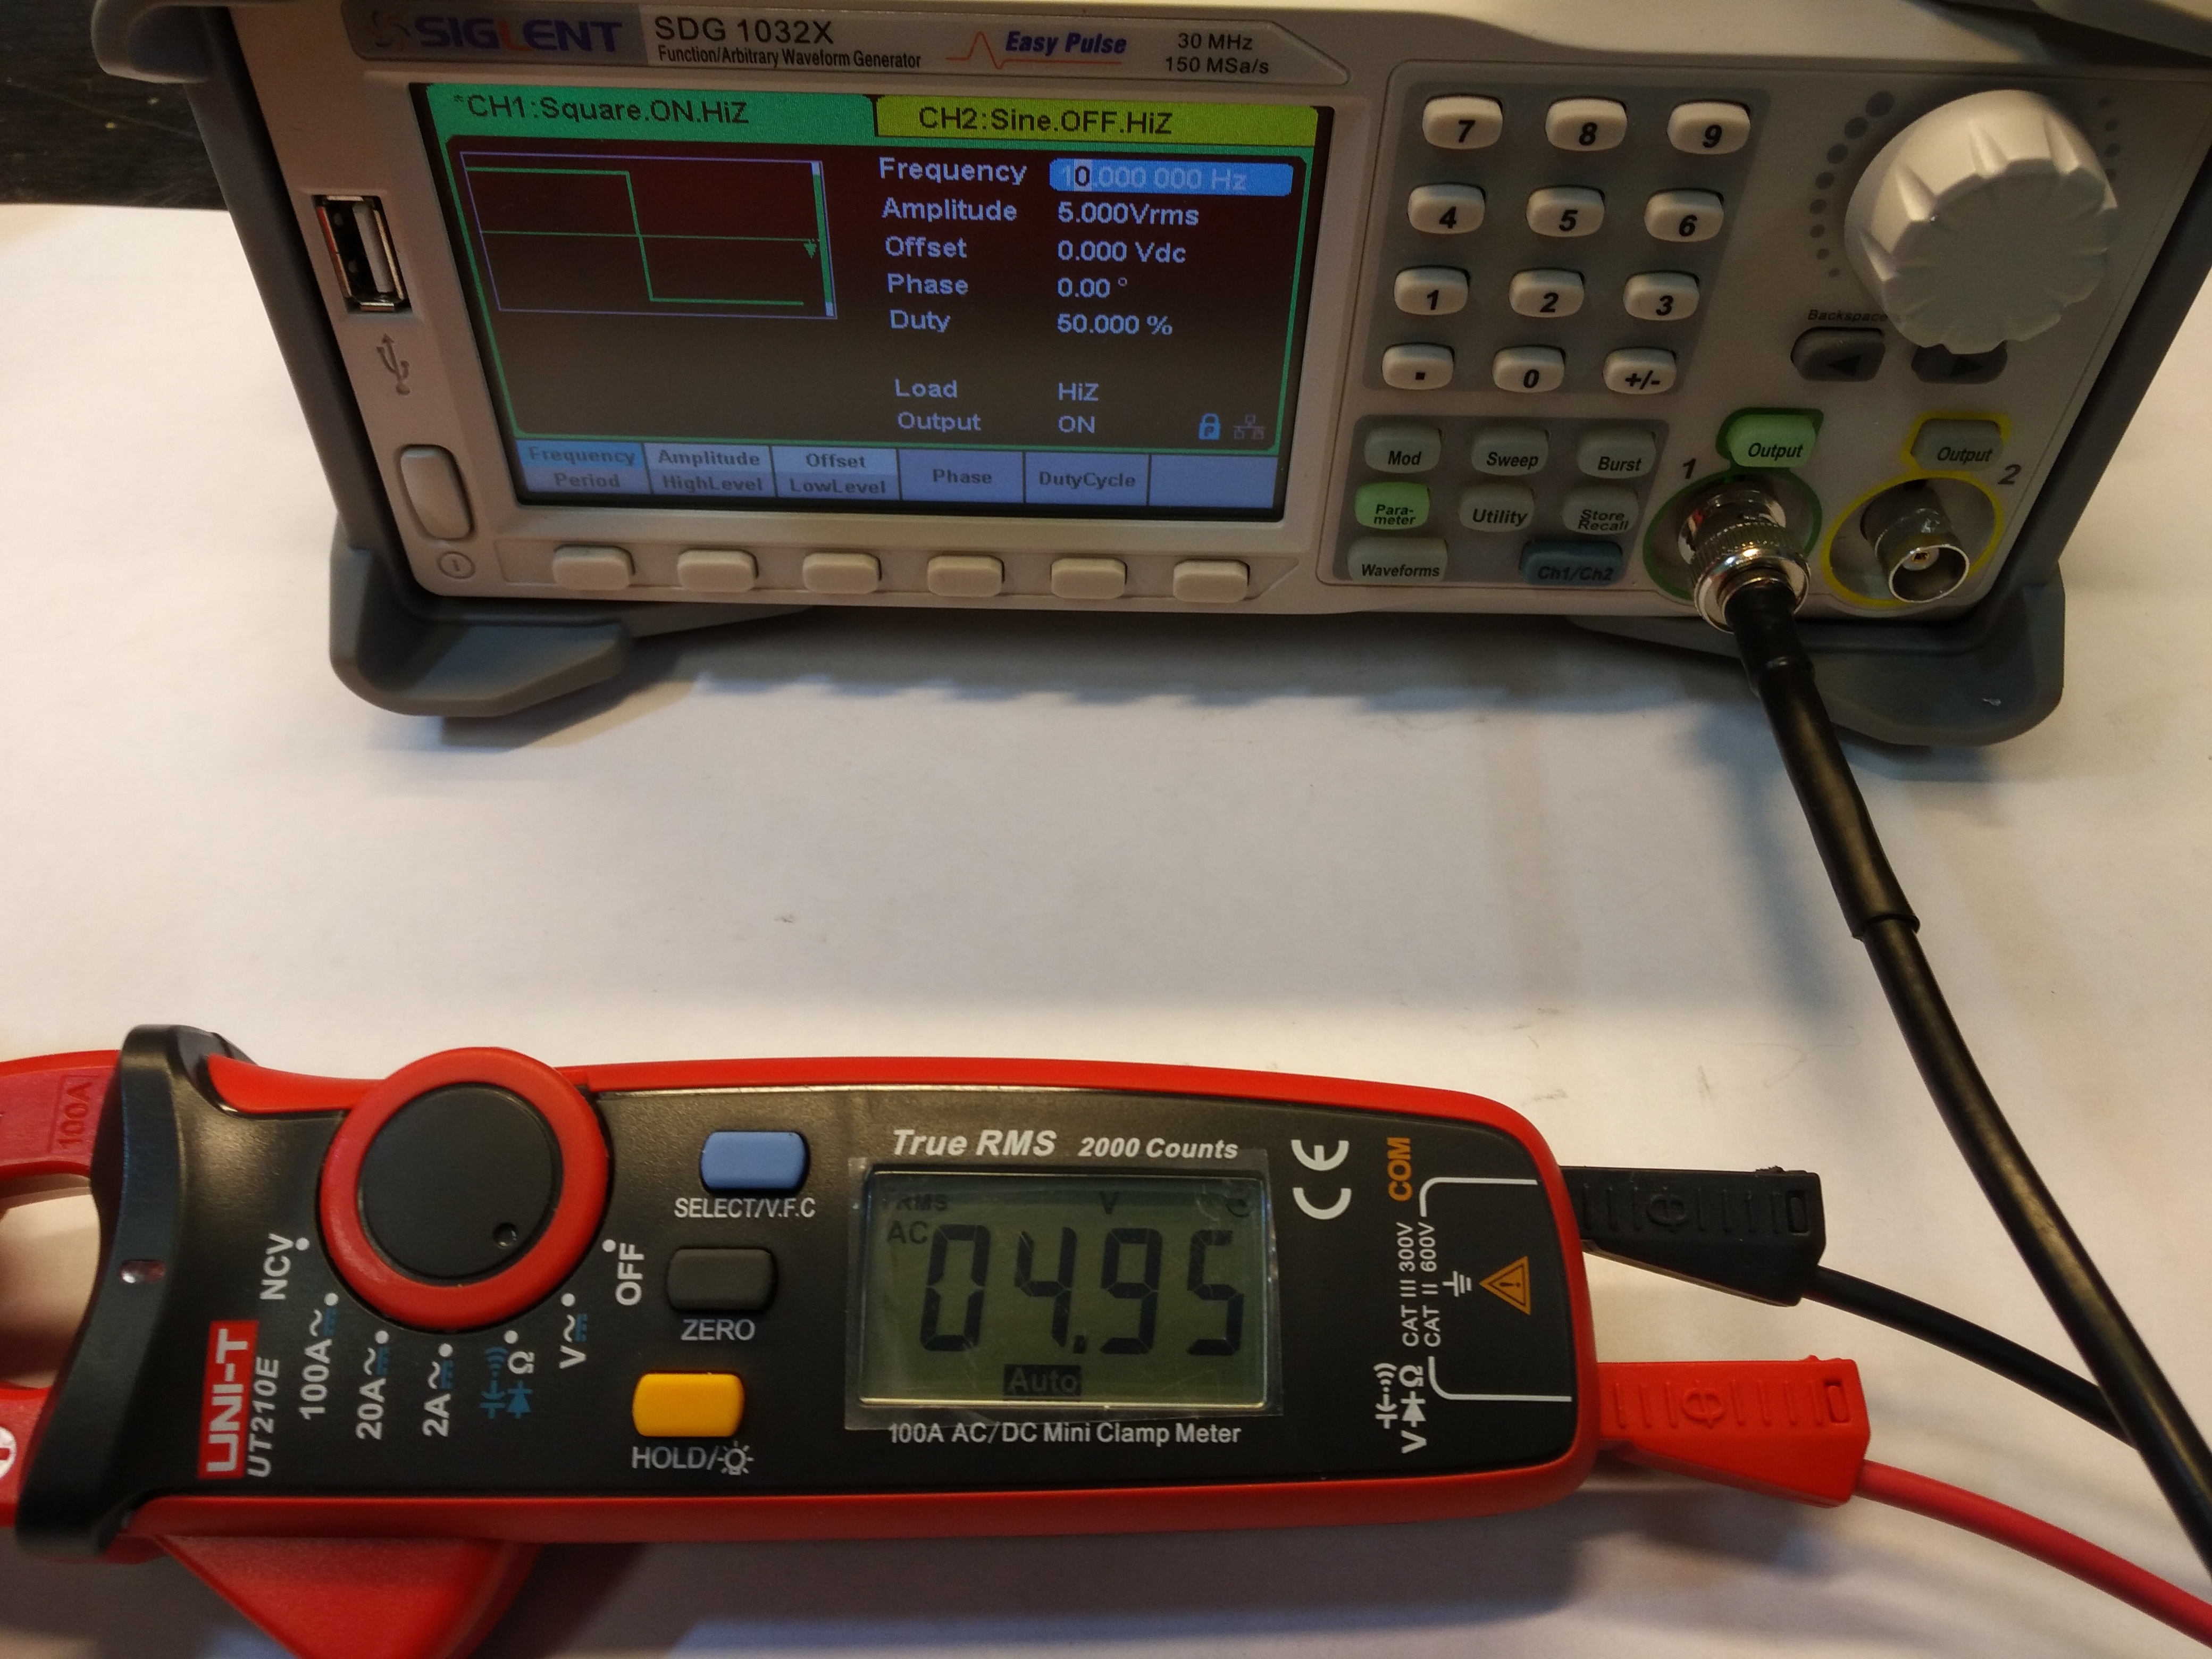
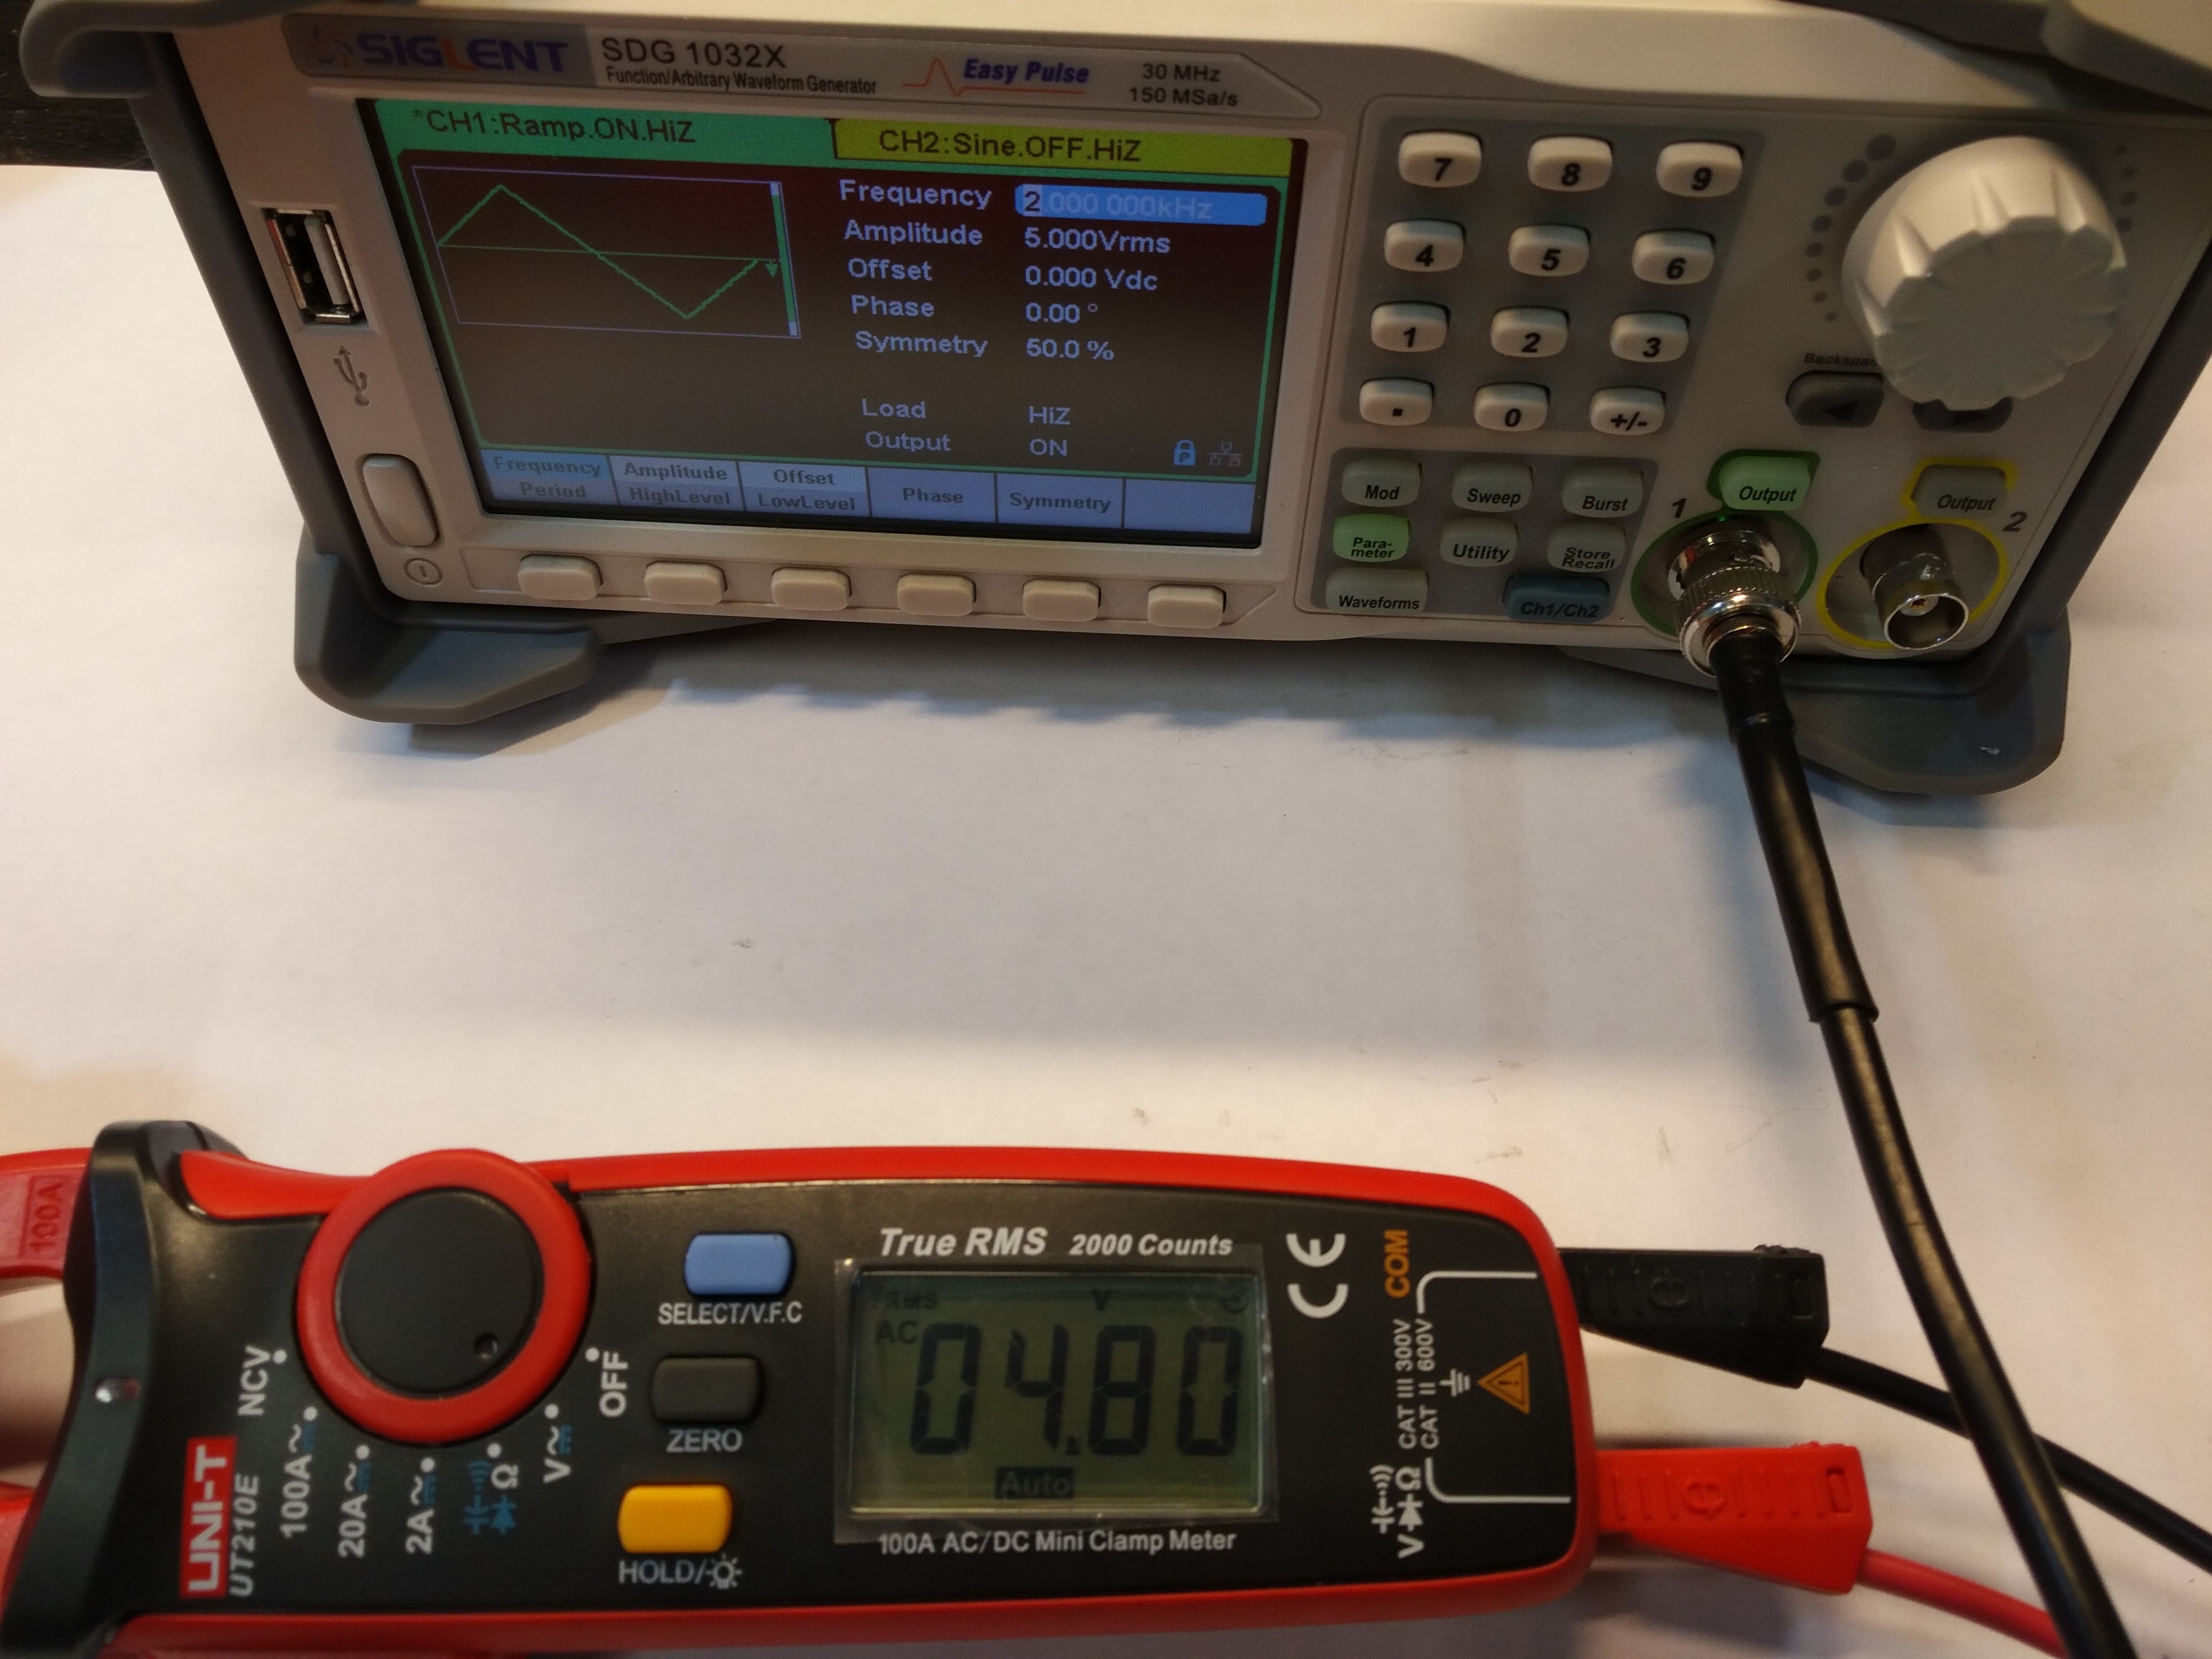
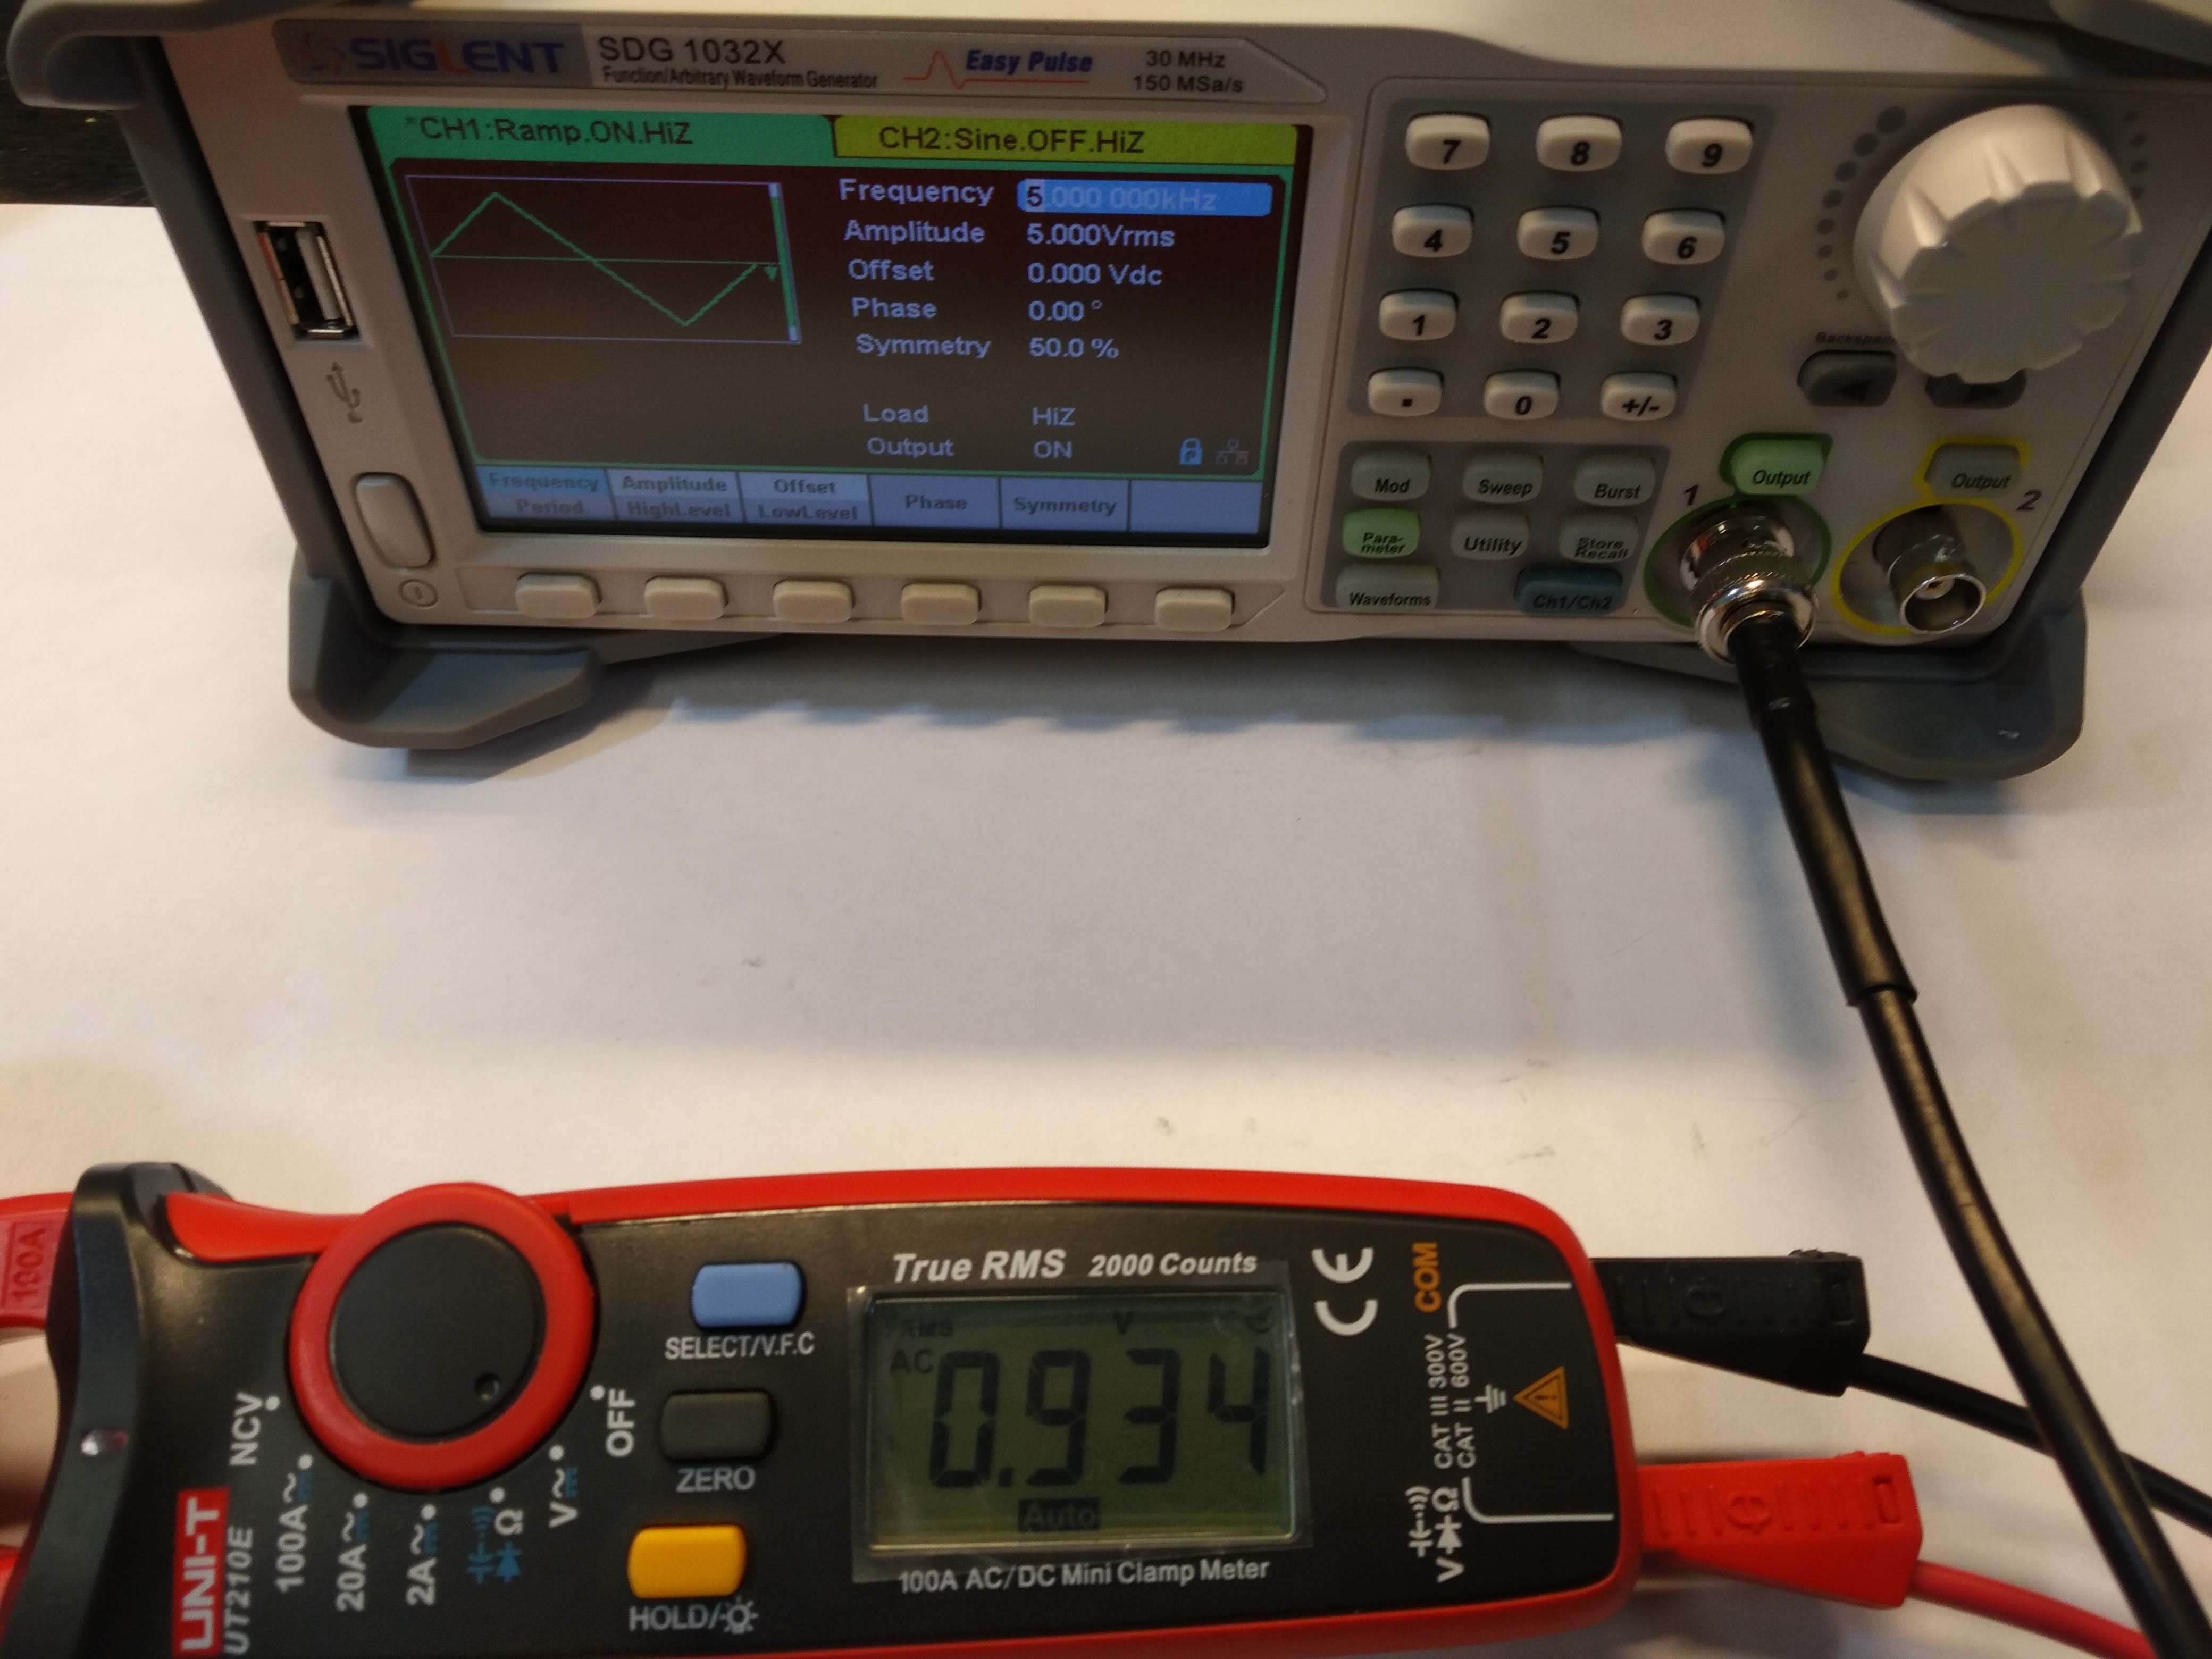
As the last one, I will present you the TRUE RMS test. In the photos below you can see that T-RMS actually works, but only in a fairly narrow frequency range. But there is nothing to write home about, see for yourself.
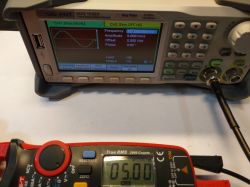
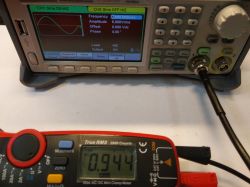

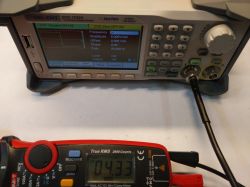

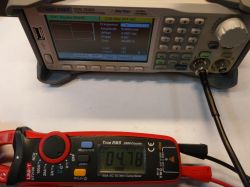
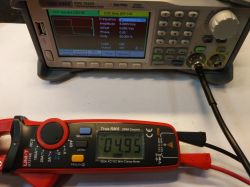

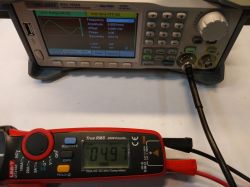

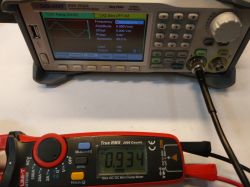
As you can see in the photo story above, this meter has something like T-RMS, but it only works in a certain frequency range. As we do not know what to expect when measuring frequently, the reading can be very misleading. However, for my needs, the "pincers" are more than enough.
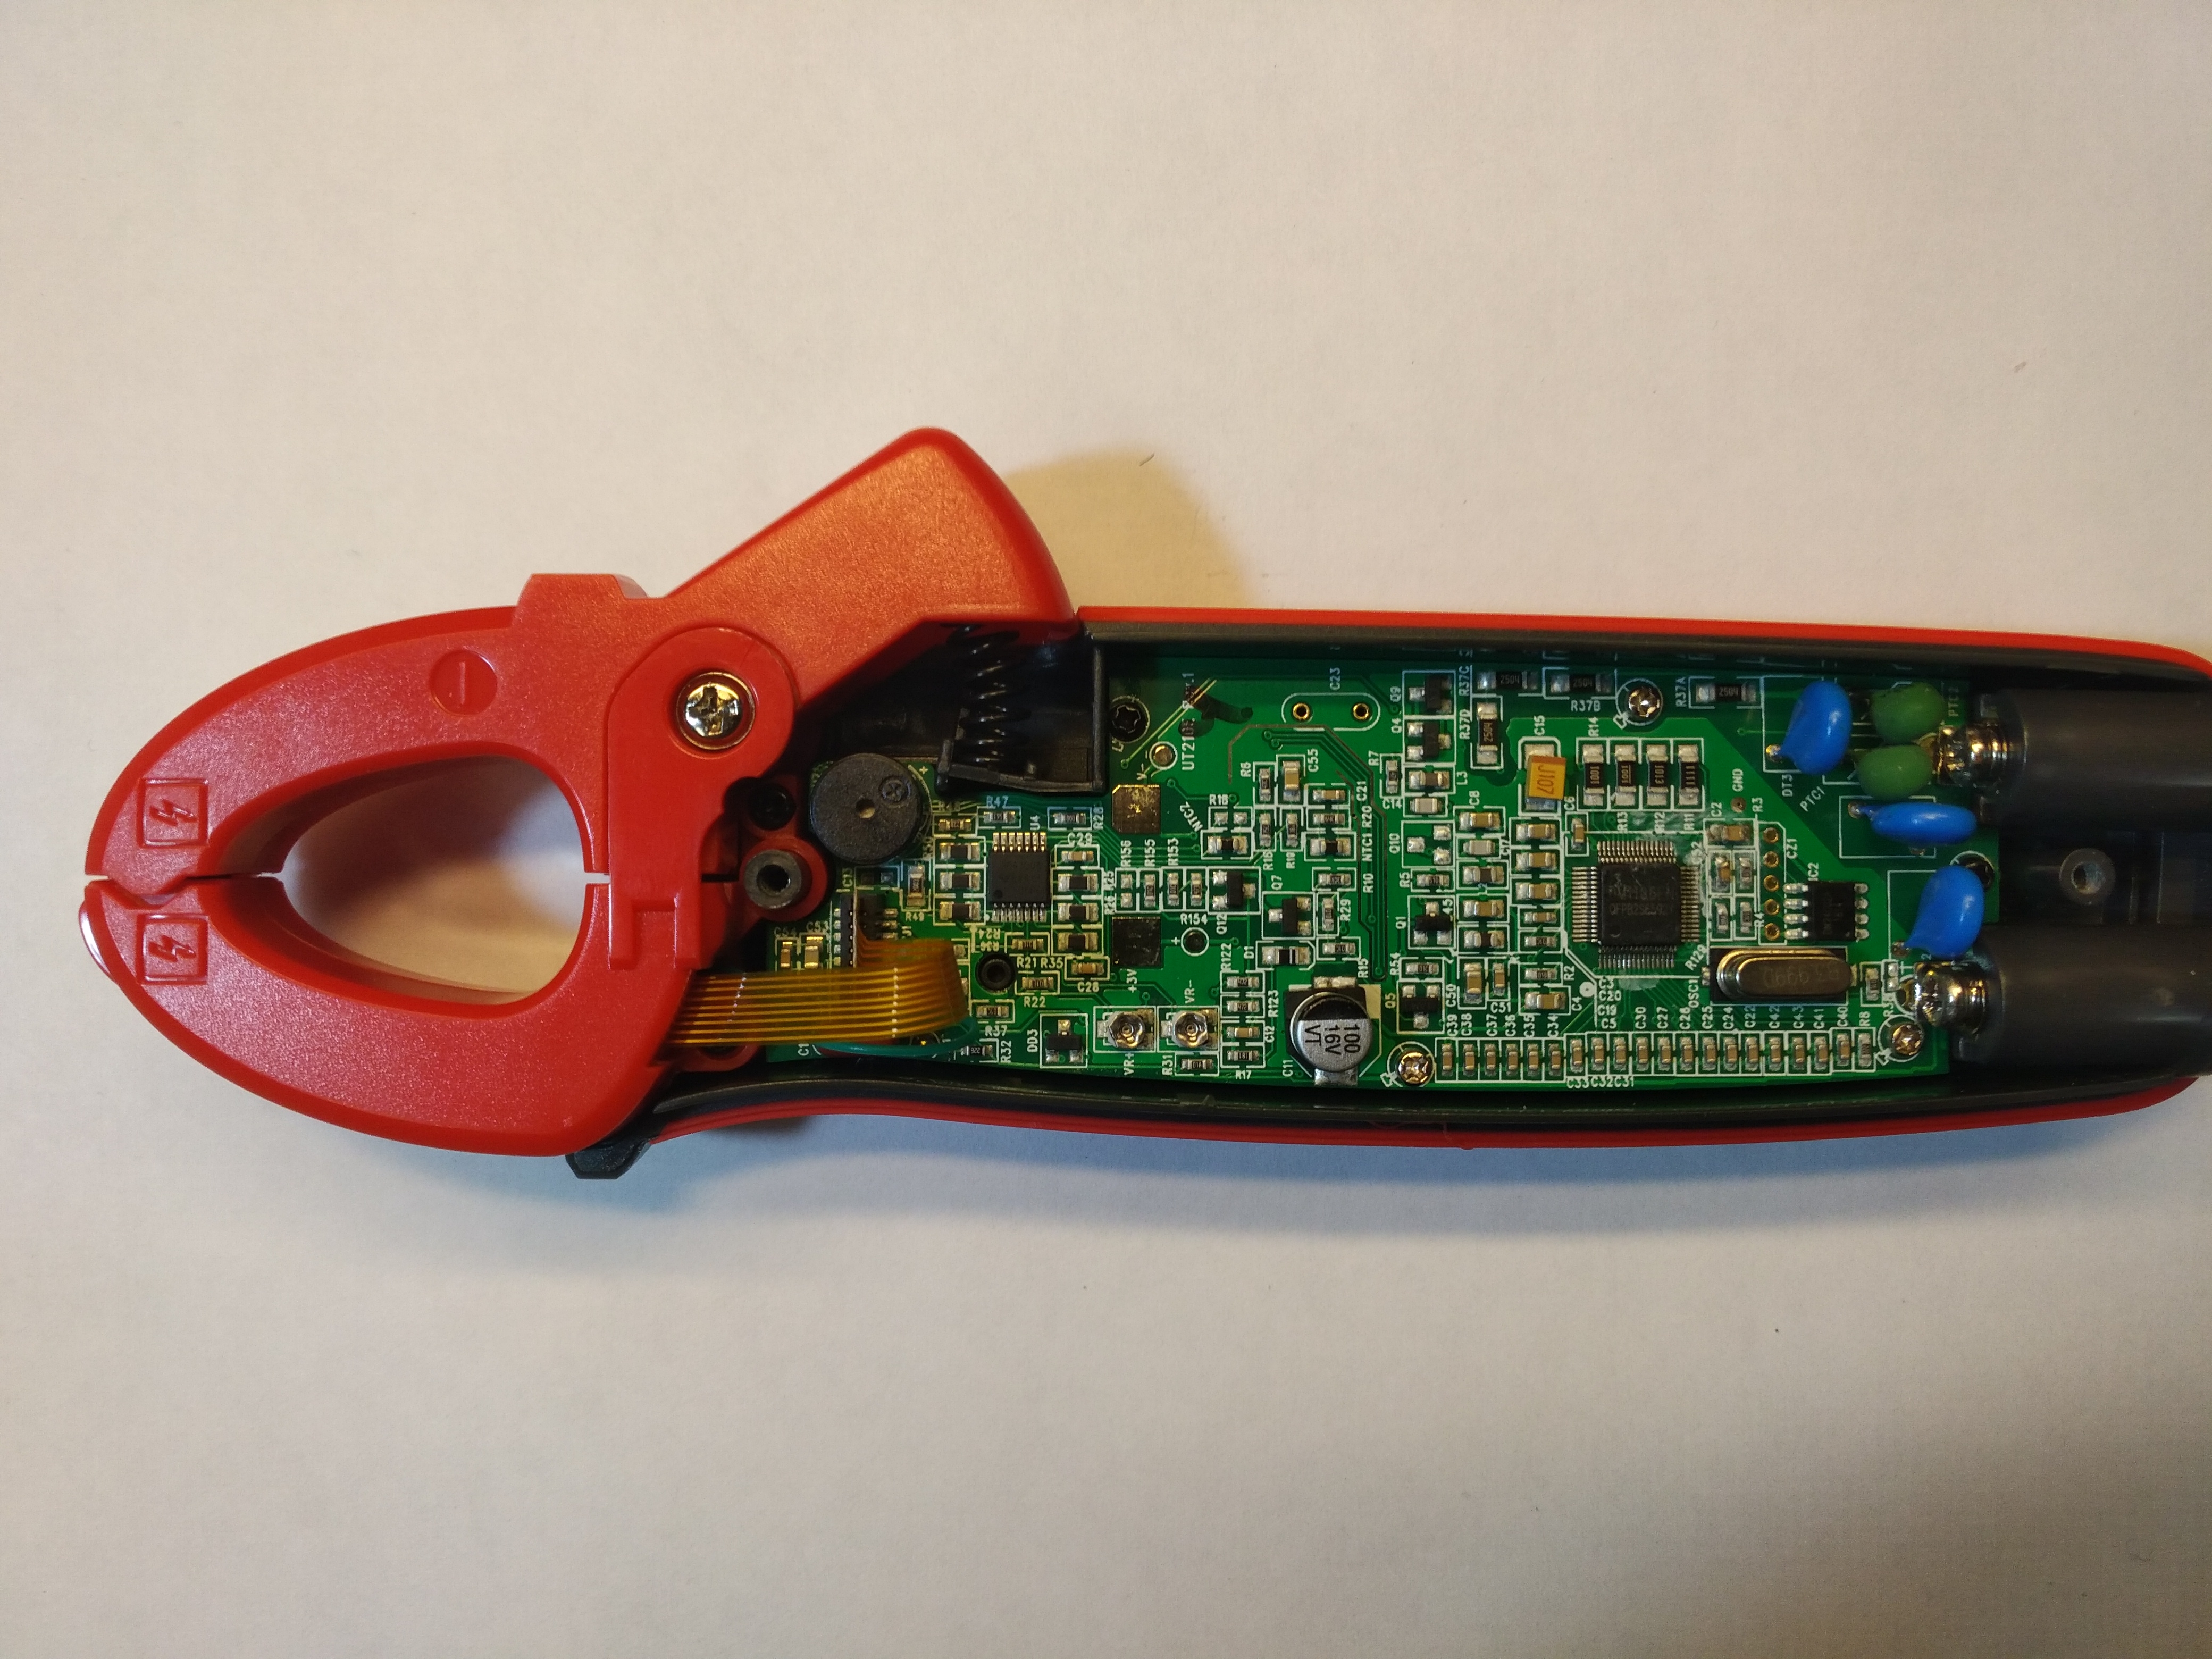
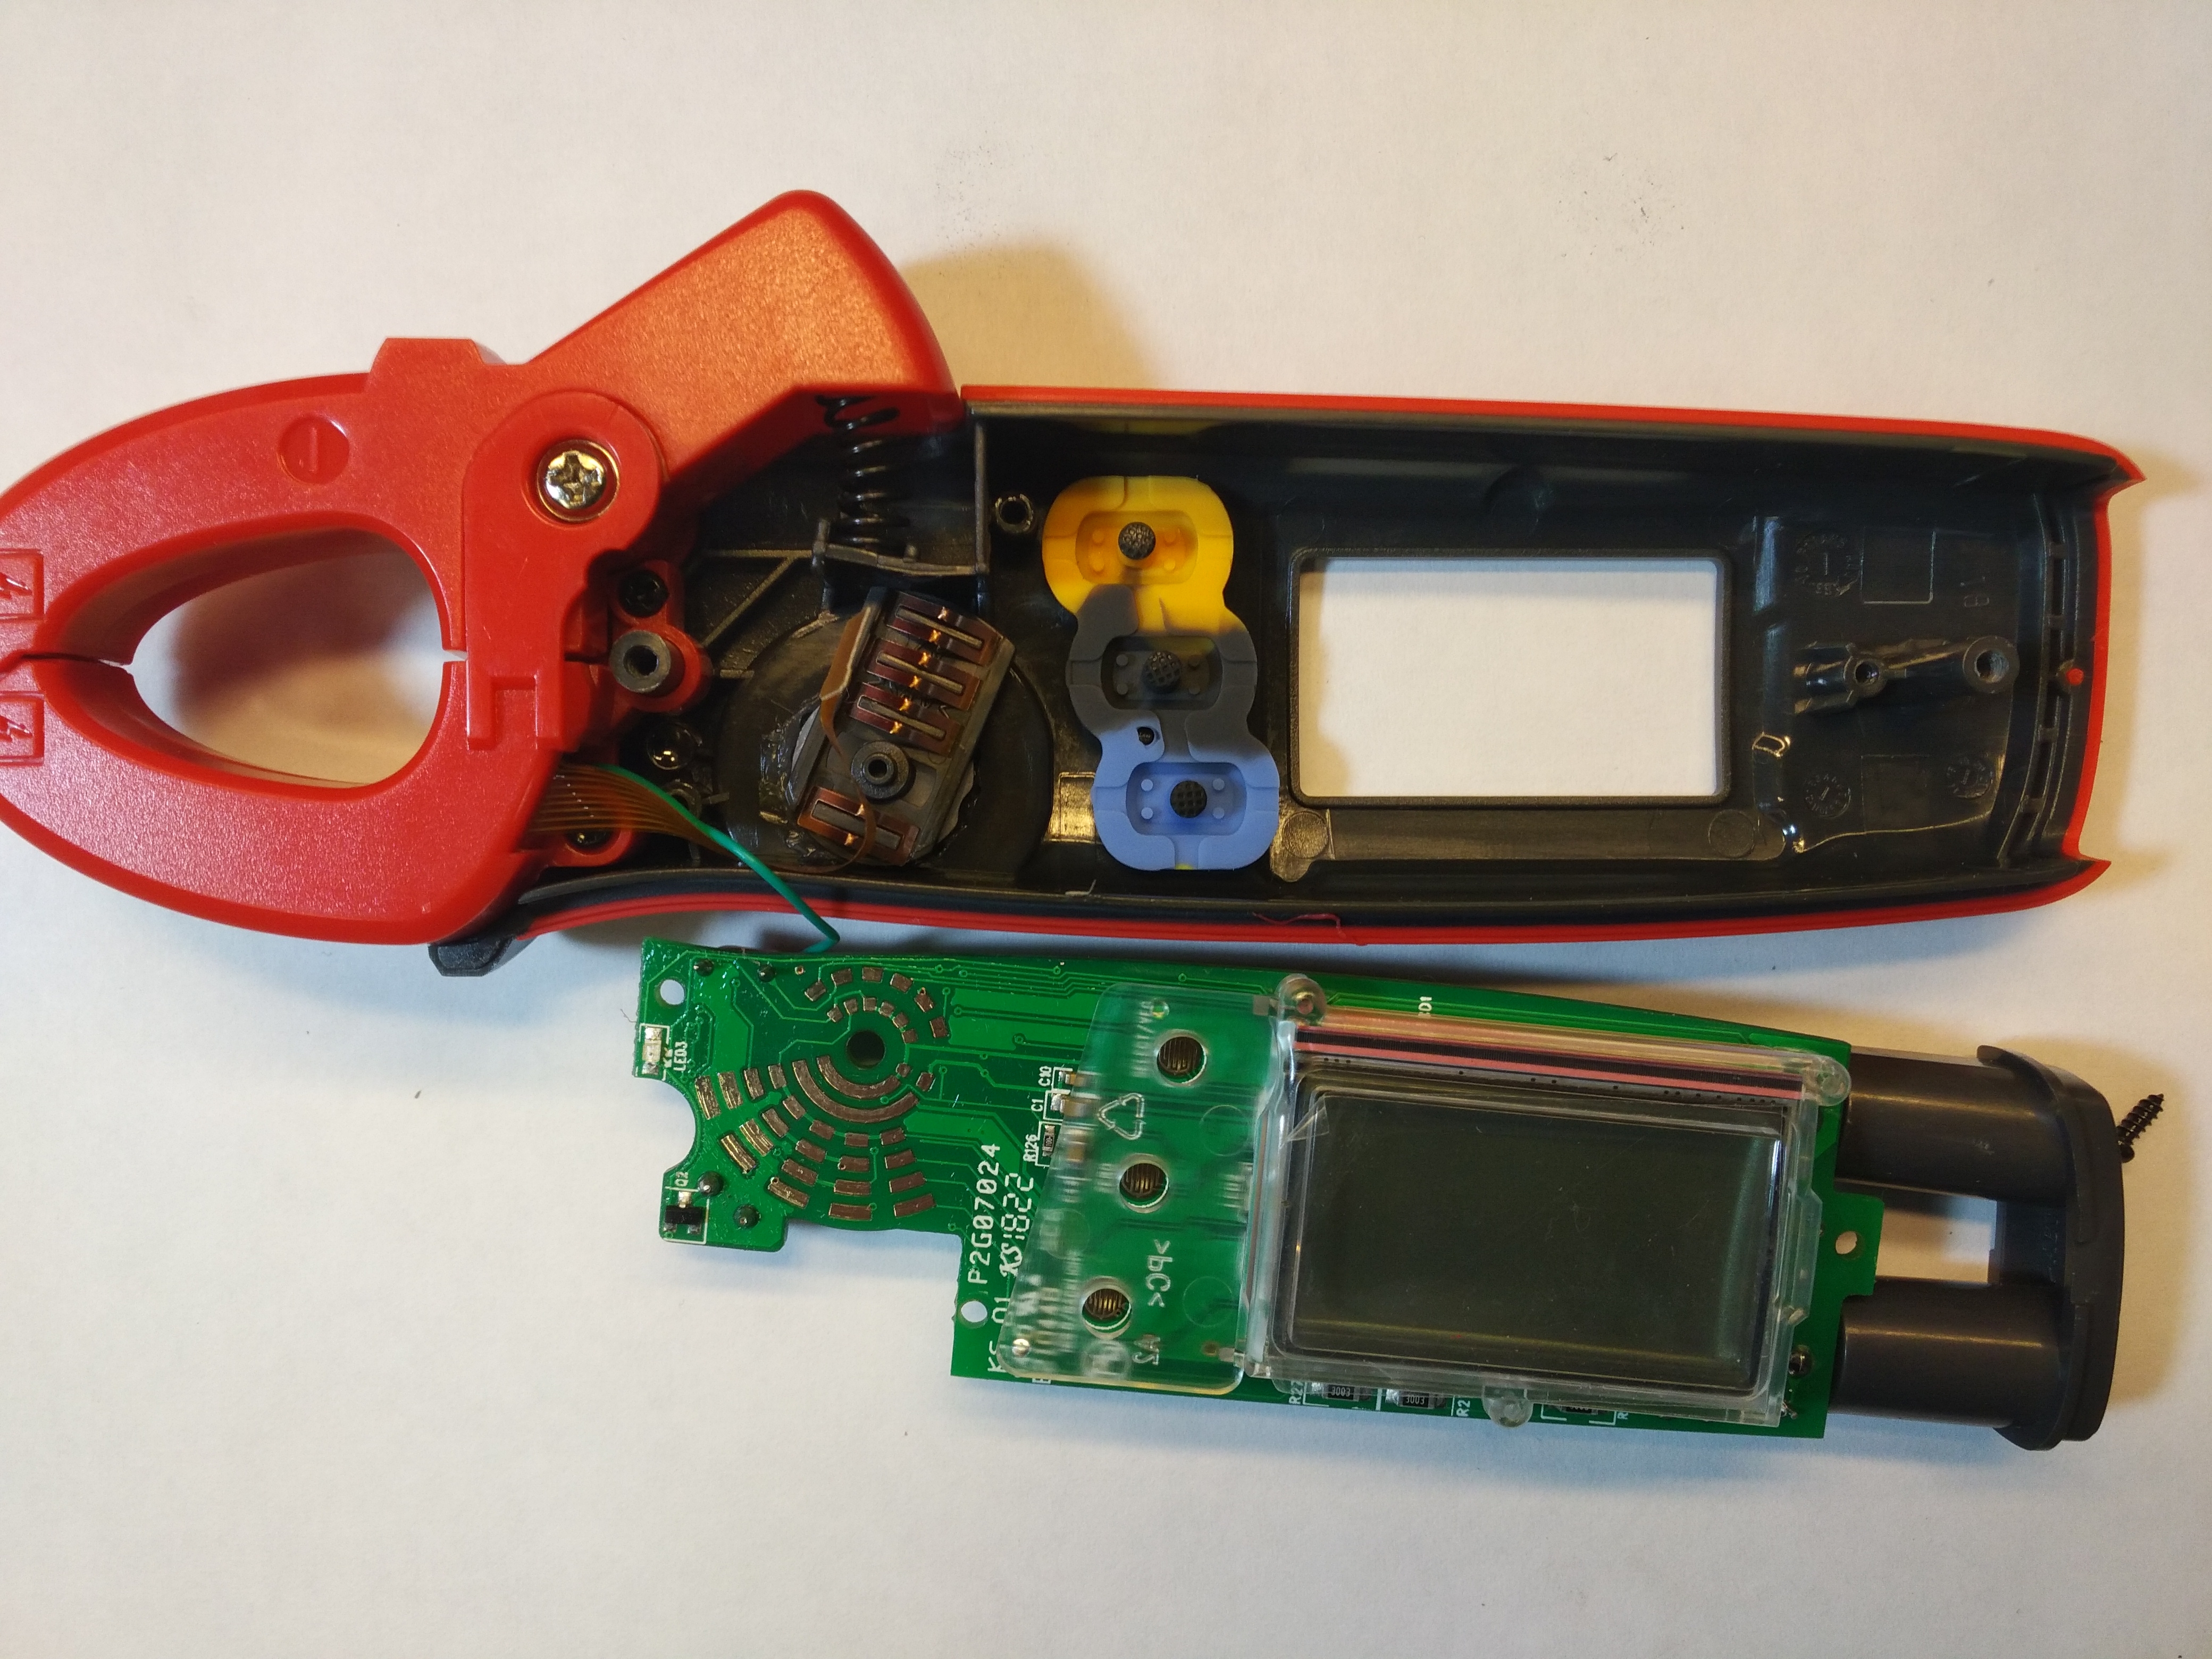
Of course, I also looked inside the multimeter, otherwise I wouldn't be myself.

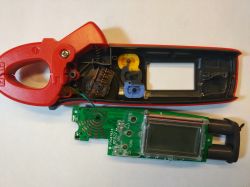
There are three tiny peers there, probably used to calibrate the device.
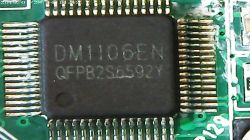
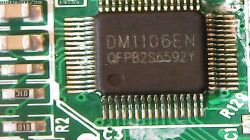
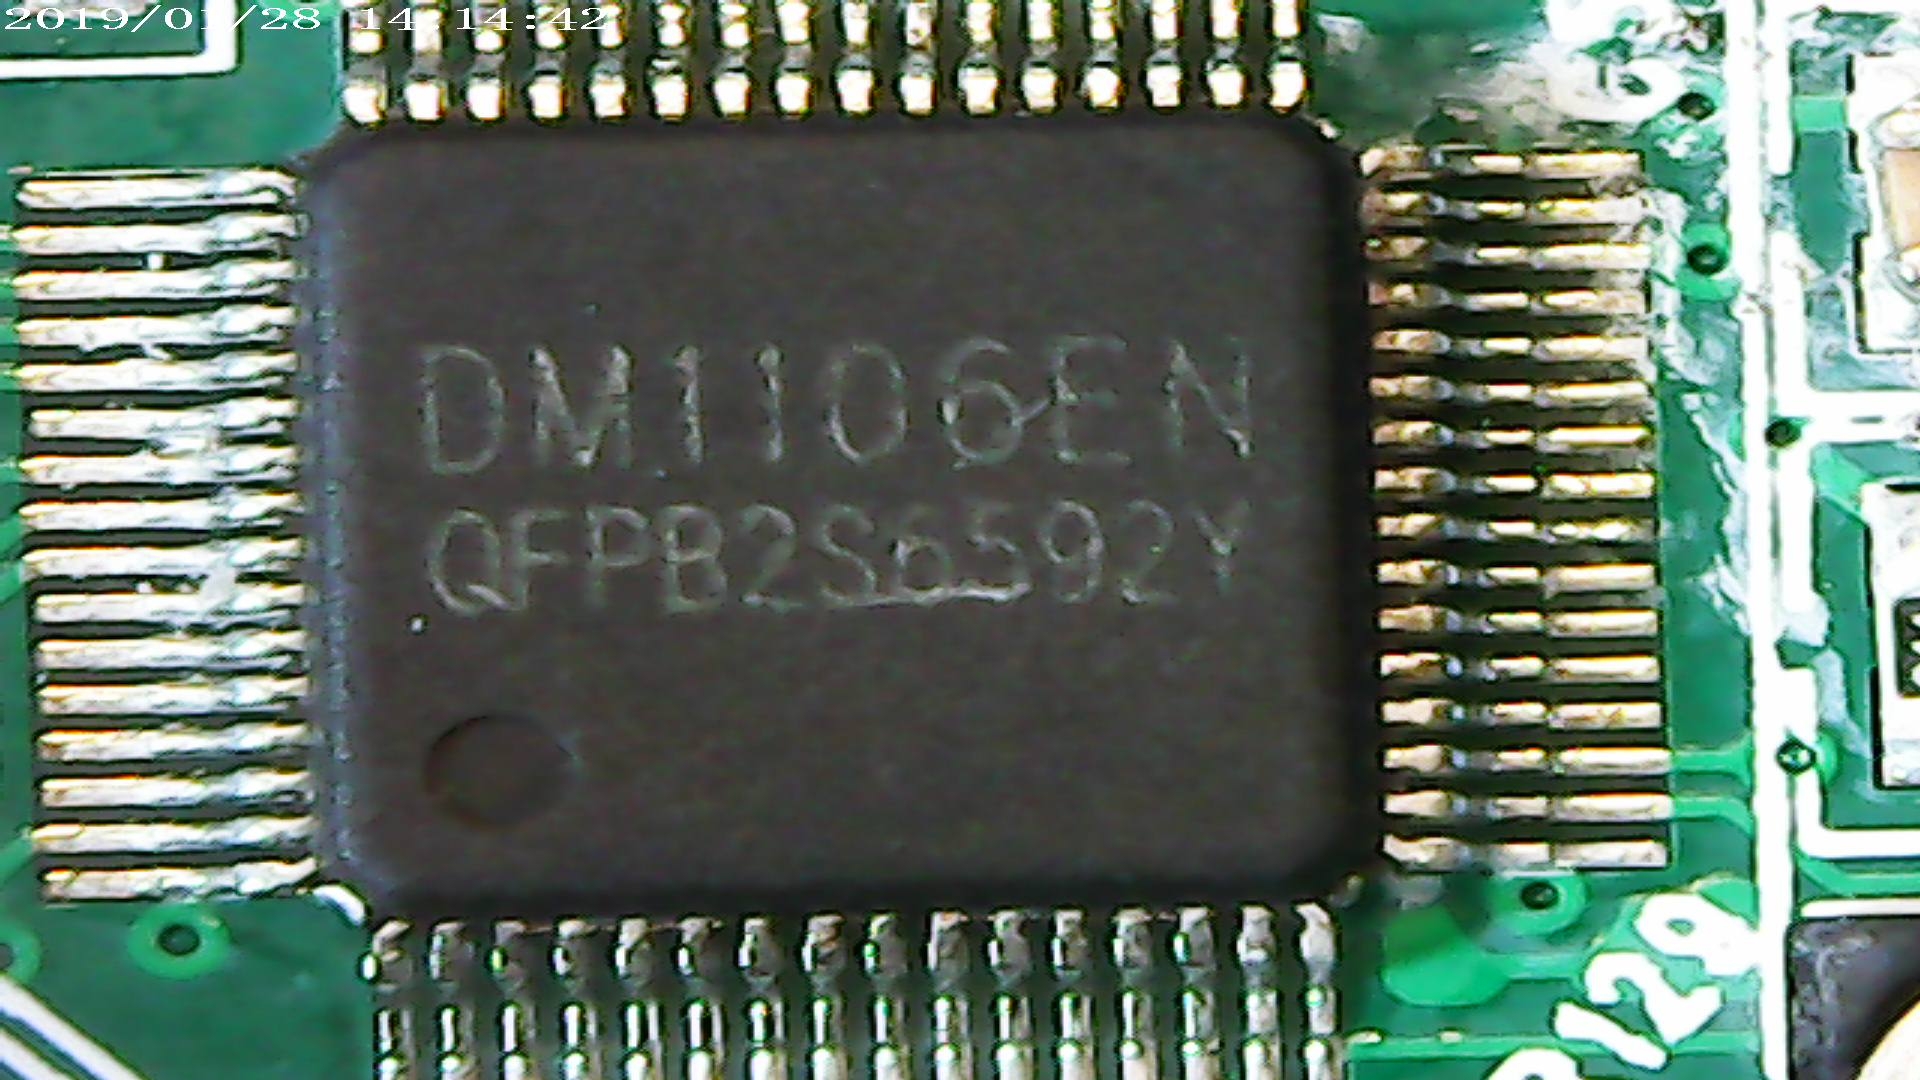
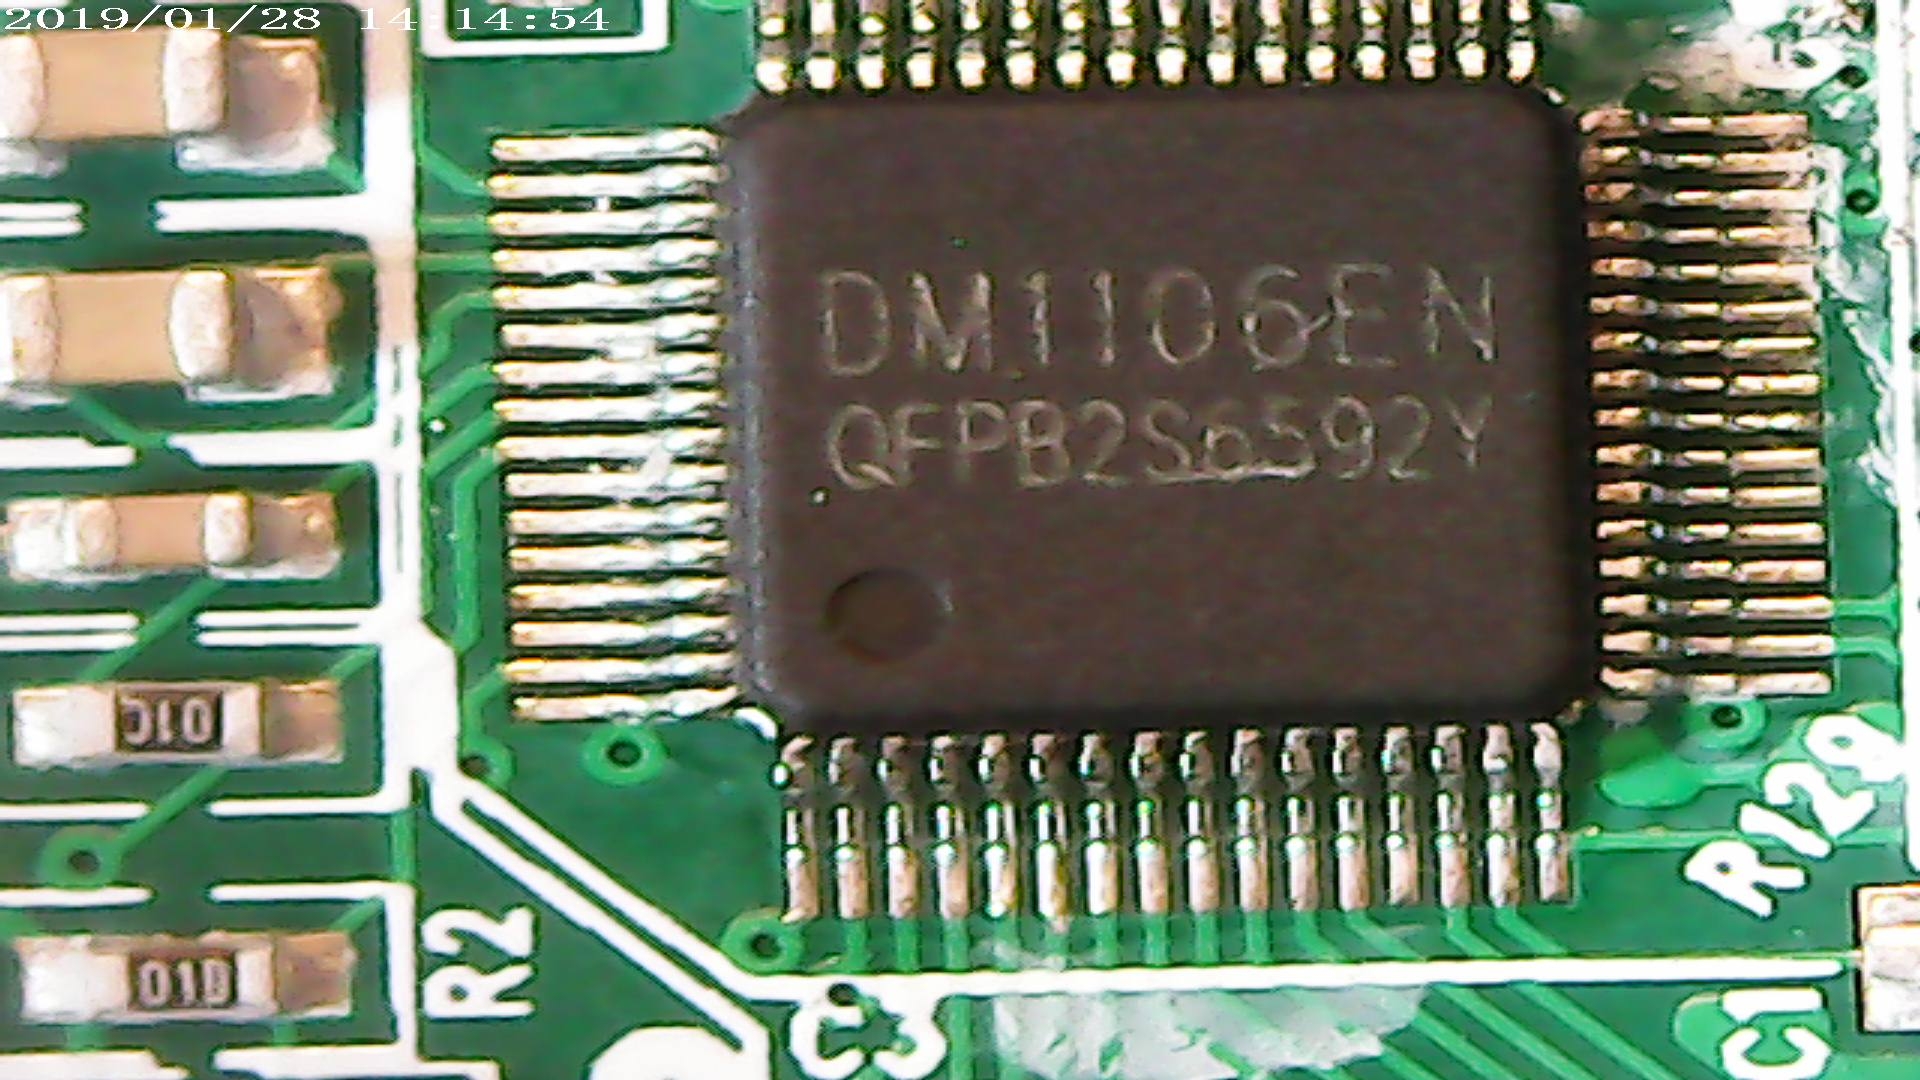
There is also a system visible below which "manages" everything:
Overall, I am very pleased with this investment. How did you have the occasion
SEE (because
I will always be a supporter of a large amount of photos ), instead of the tables proposed several times (in which, by the way, you can enter everything, after all, the paper is patient and will accept everything), this multimeter, despite its ridiculous price, showed that if you want, you can produce cheaply, but also well.
Best regards.
CMS 


Comments
In Wrocław, in the gotronic for 175 on the shelf. https://www.gotronik.pl/ut210e-miernik-cegowy-do-100a-acdc-true-rms-p-227.html [Read more]
I just don't understand one thing: what is the DC current measurement range? 100A (as they wrote on the meter) or 200A (according to the table)? [Read more]
It depends on the multimeter version (see the letter at the end of the model designation). And there is clearly a bug in the table. I have a range up to 100A. Added after 1 [minutes]: Go ahead... [Read more]
I have the same gauge. I even managed to buy it cheaper some time ago, it was surprisingly cheaper from ebay than from Alli. In my case, however, the current measurement results differed more compared... [Read more]
Could you for comparison (and be sure) upload comparative photos of the T-RMS test as shown by Sanwa and Uni-T? [Read more]
On the net you can find tutorials that allow you to significantly extend the functionality of this cool device after reprogramming the EEPROM. [Read more]
There is even an Alledrogo offer to reprogram this meter. [Read more]
Unfortunately, I no longer have a generator. Added after 6 [minutes]: Wow. I am impressed, but it is a bit expensive with the shipments. But if someone had the right material and shared it,... [Read more]
Have you ever checked this Sanwa with a generator when T-RMS flies? [Read more]
@CMS, you approached the instrument test very professionally. Pictures actually give more than charts. [Read more]
No. I'm very pleased. [Read more]
Only one thing is missing from this meter: the "Max" button. So after pressing it displays the highest value that has been measured. [Read more]
There is quite an extensive topic on eevblog about eeprom modifications to this meter. You can increase the count to 6000 or even 10000, time to auto off or backlight operation. You can also change the... [Read more]
Let me paste the description of the auction: Sounds tempting. [Read more]
If the guy would also trade these measures at once, then a good business could do. [Read more]
Just remember that interfering with the eeprom is associated with the loss of the warranty, although at the price of this meter it is not a great sacrifice. I can help in case someone has a problem with... [Read more]
First you have to have something to change it to, can you help in this matter too? This is valuable information, thanks. [Read more]
You have to read the memory, because it contains calibration data. If you upload another batch, the meter can show miracles (although I have not checked it). However, in each meter the content of cells... [Read more]
Tomorrow I will try to rip the eeprom content and throw it on the forum. [Read more]