Hello
I present my next CNC milling machine which I have not finished long ago.
The purpose is mainly: milling, engraving, cutting in materials such as:
- wood
- mdf
- plexiglass
The main assumptions are: a large working field combined with the stiffness of the structure and good material processing parameters.
and it happened, the working field is:
X = 1000mm
Y = 1500mm
Z = 190mm
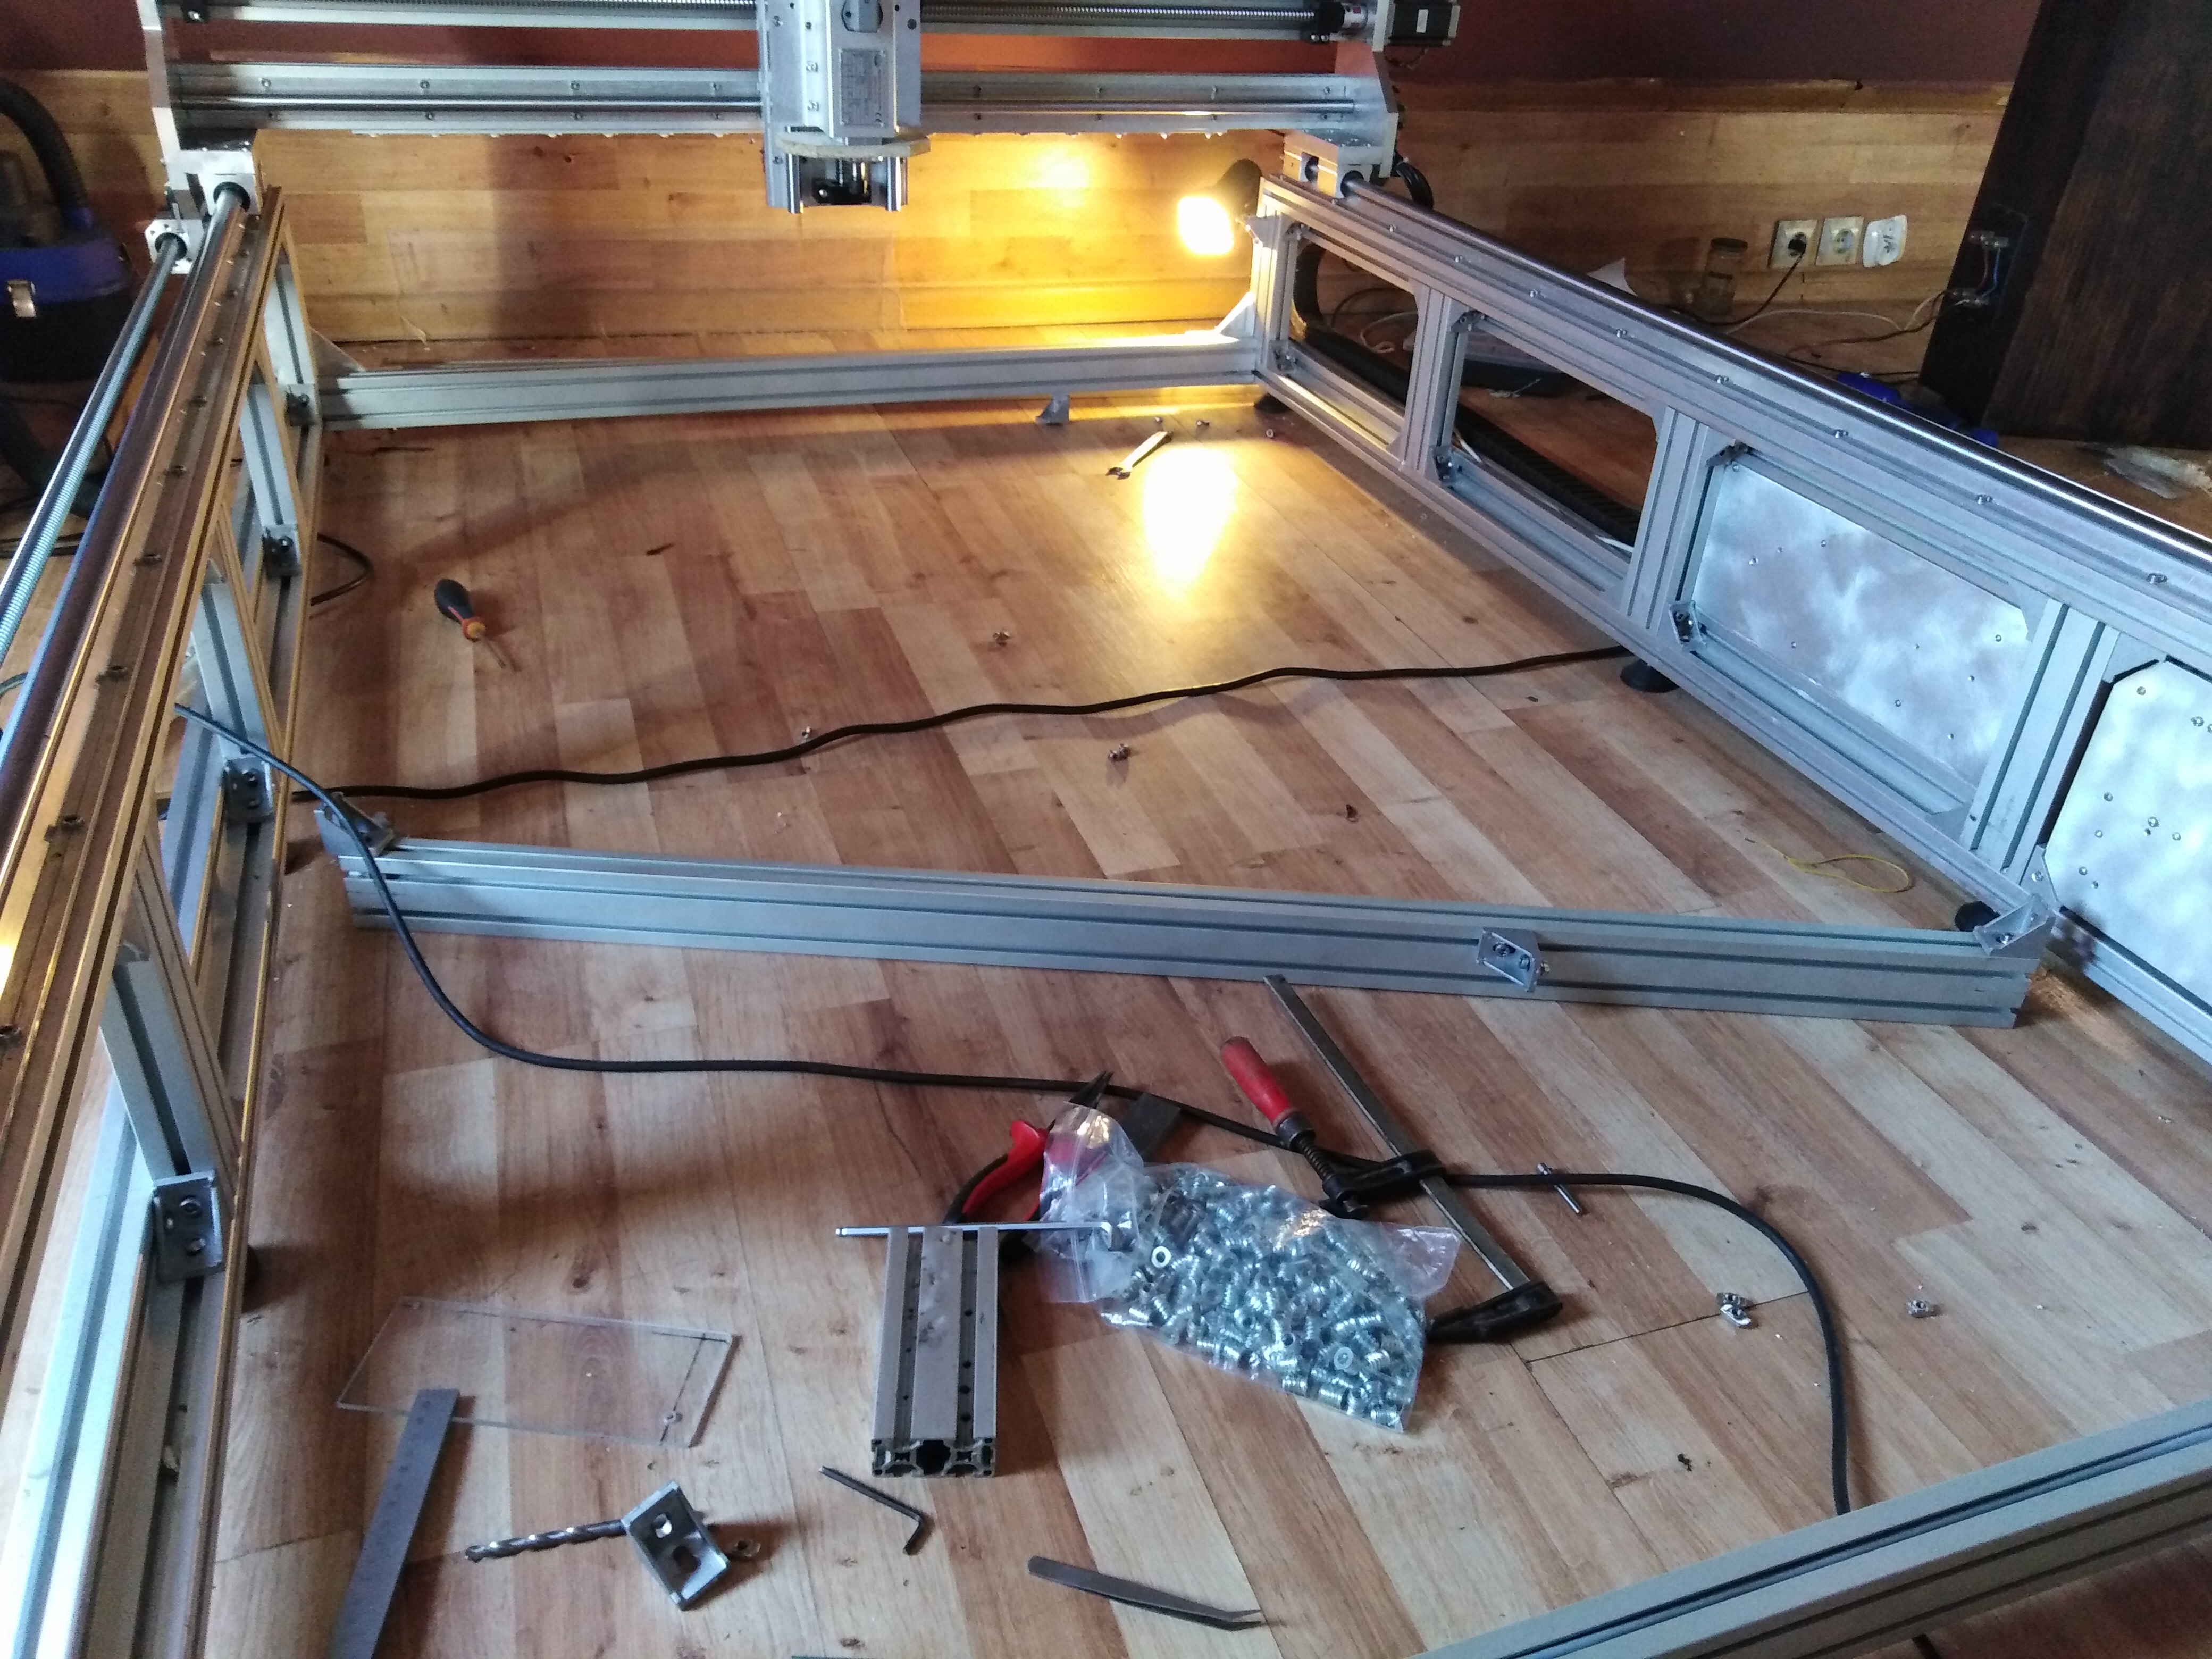
External dimensions
width 1400mm
length 1850mm
620mm height
Work on the project began in August 2018, construction and storage of elements in the area beginning of October 2018
So
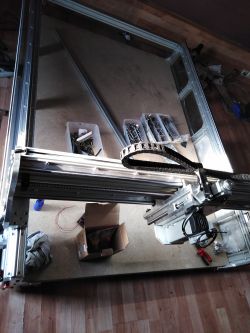
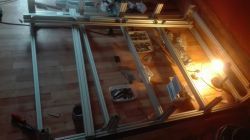
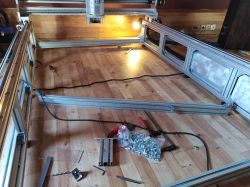
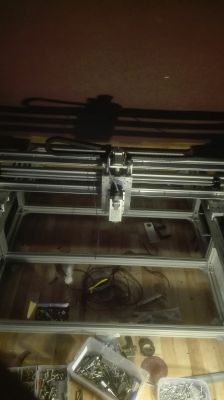
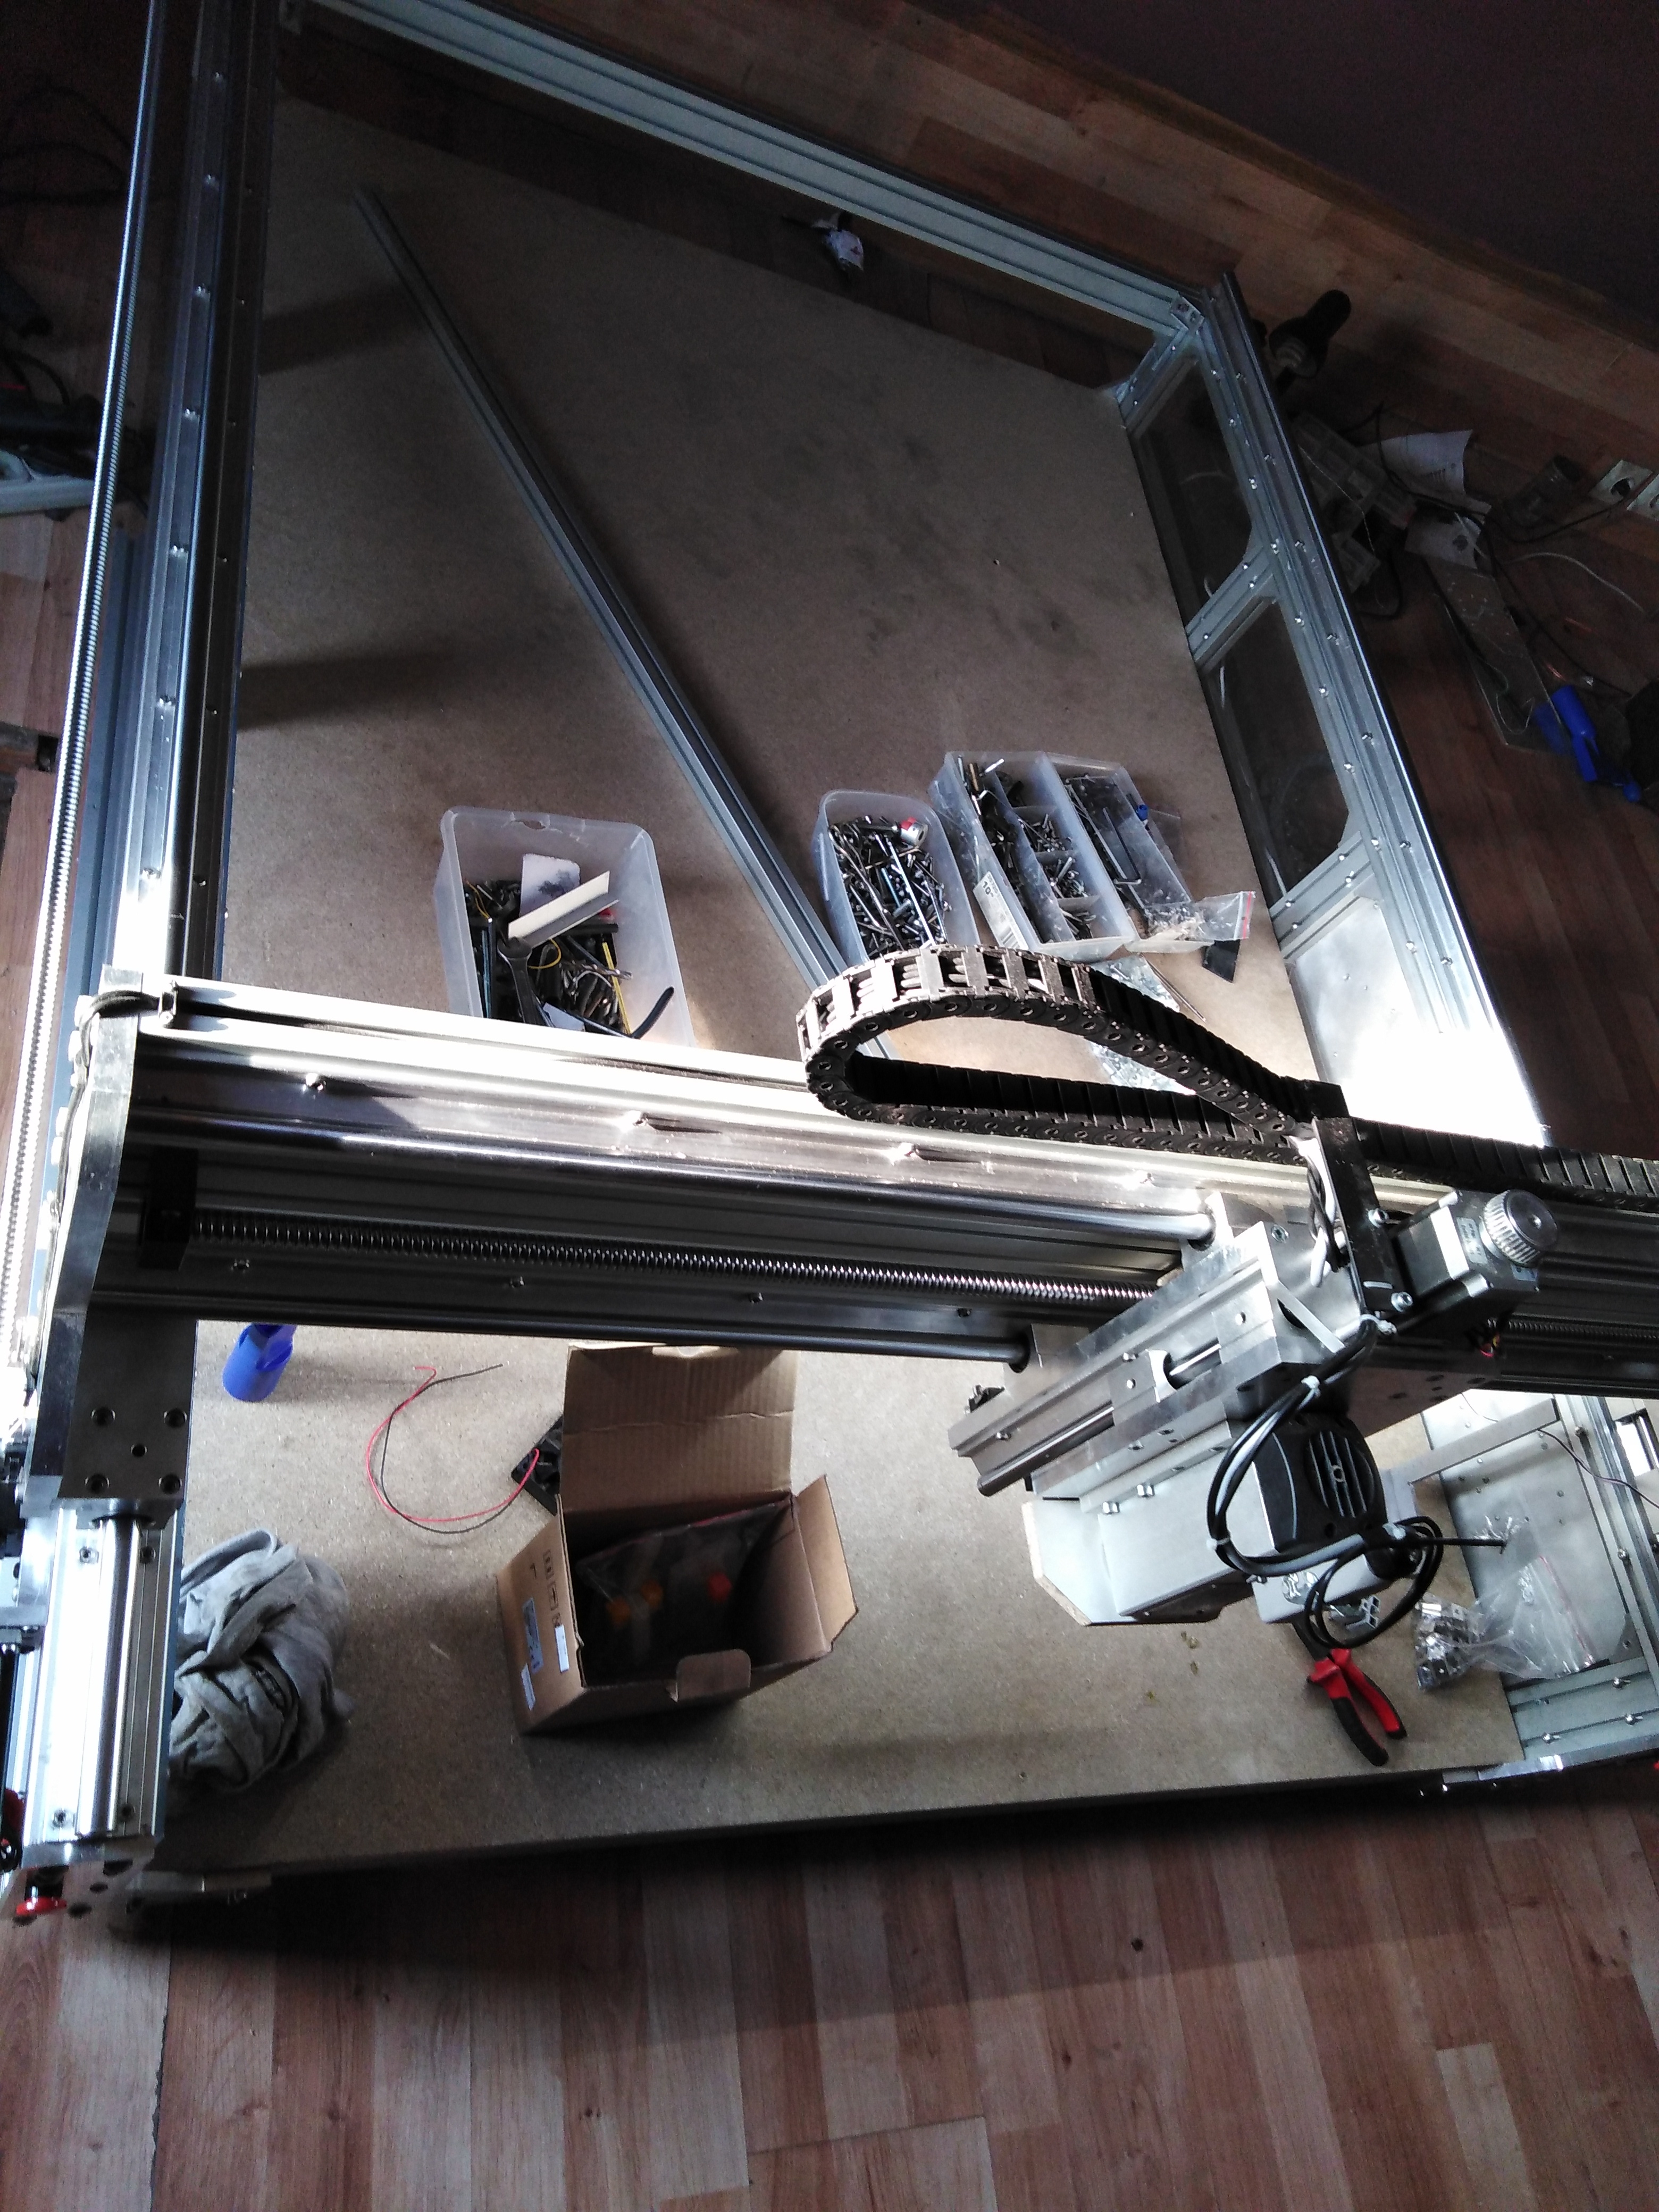
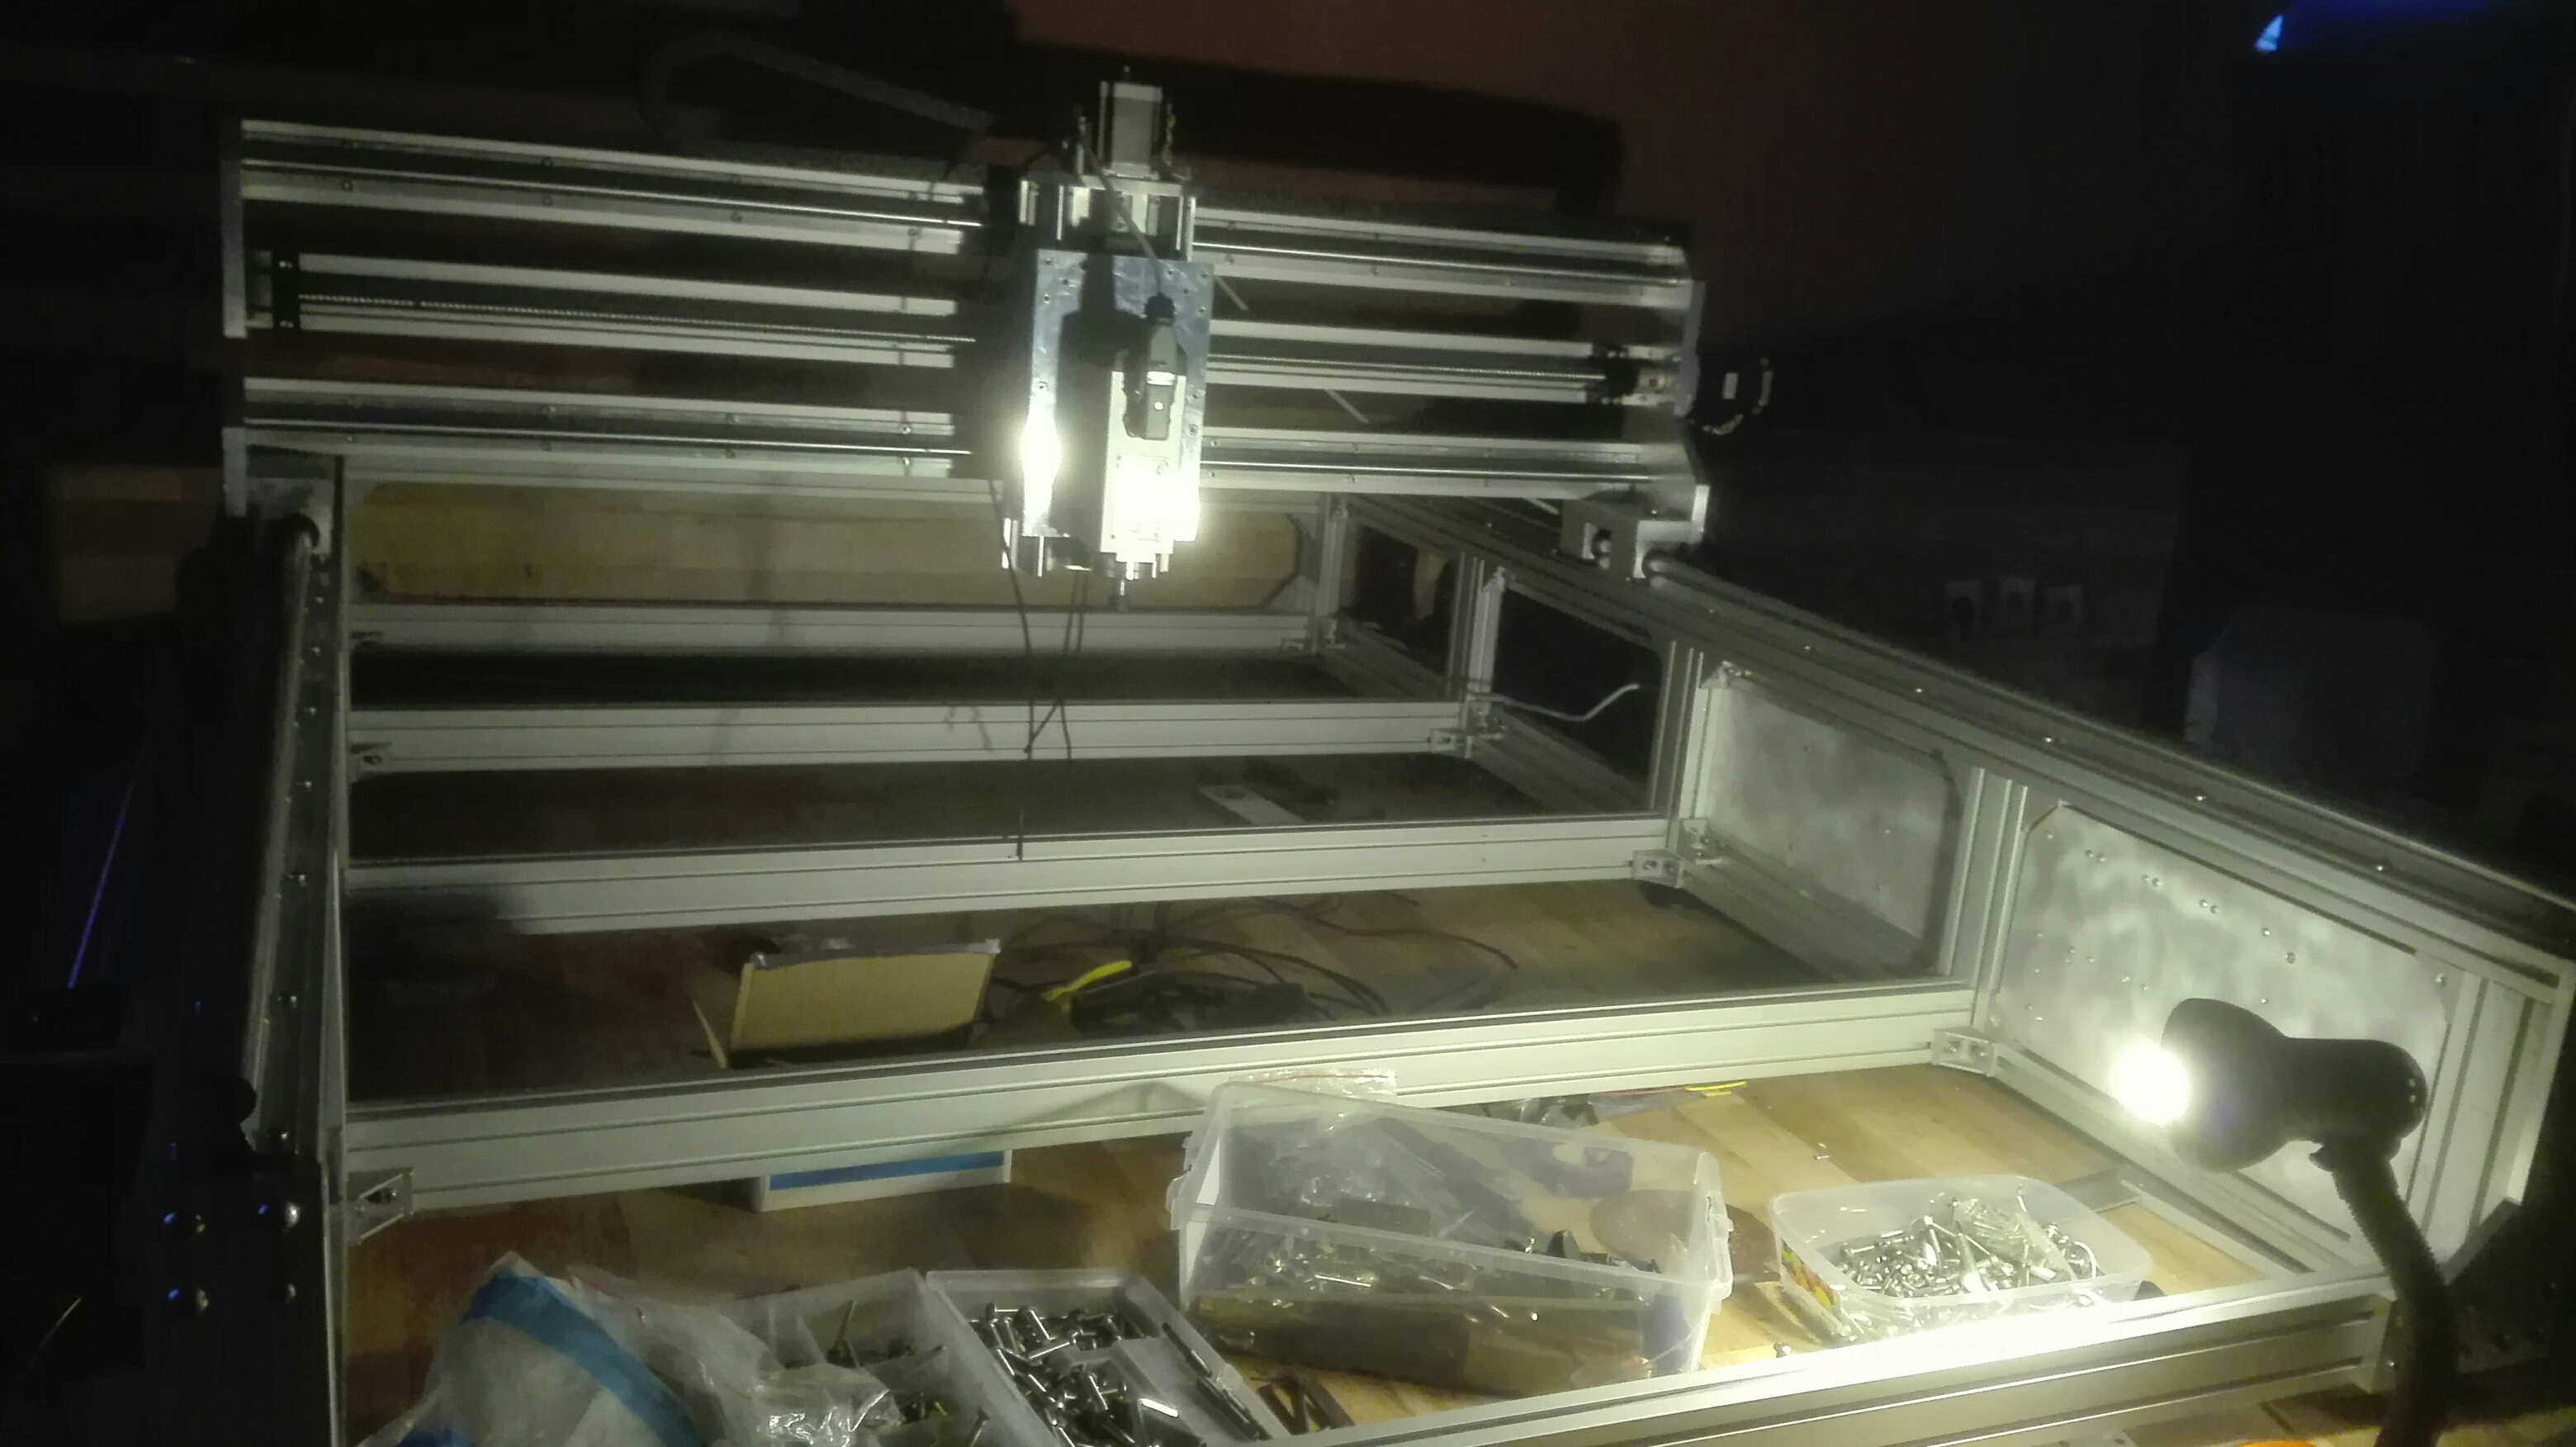
The structure is made of aluminum profiles 60x60x30 (L-shaped), additionally vertical profiles 60x30.
In addition, I used reinforcements at right angles made of 10mm aluminum, which facilitated the assembly of the whole,
in the back part I just bothered an extra strengthening broom.
In the front I gave up what did not affect the stiffness of the structure, thanks to which it is easier to transport the material to the worktop.
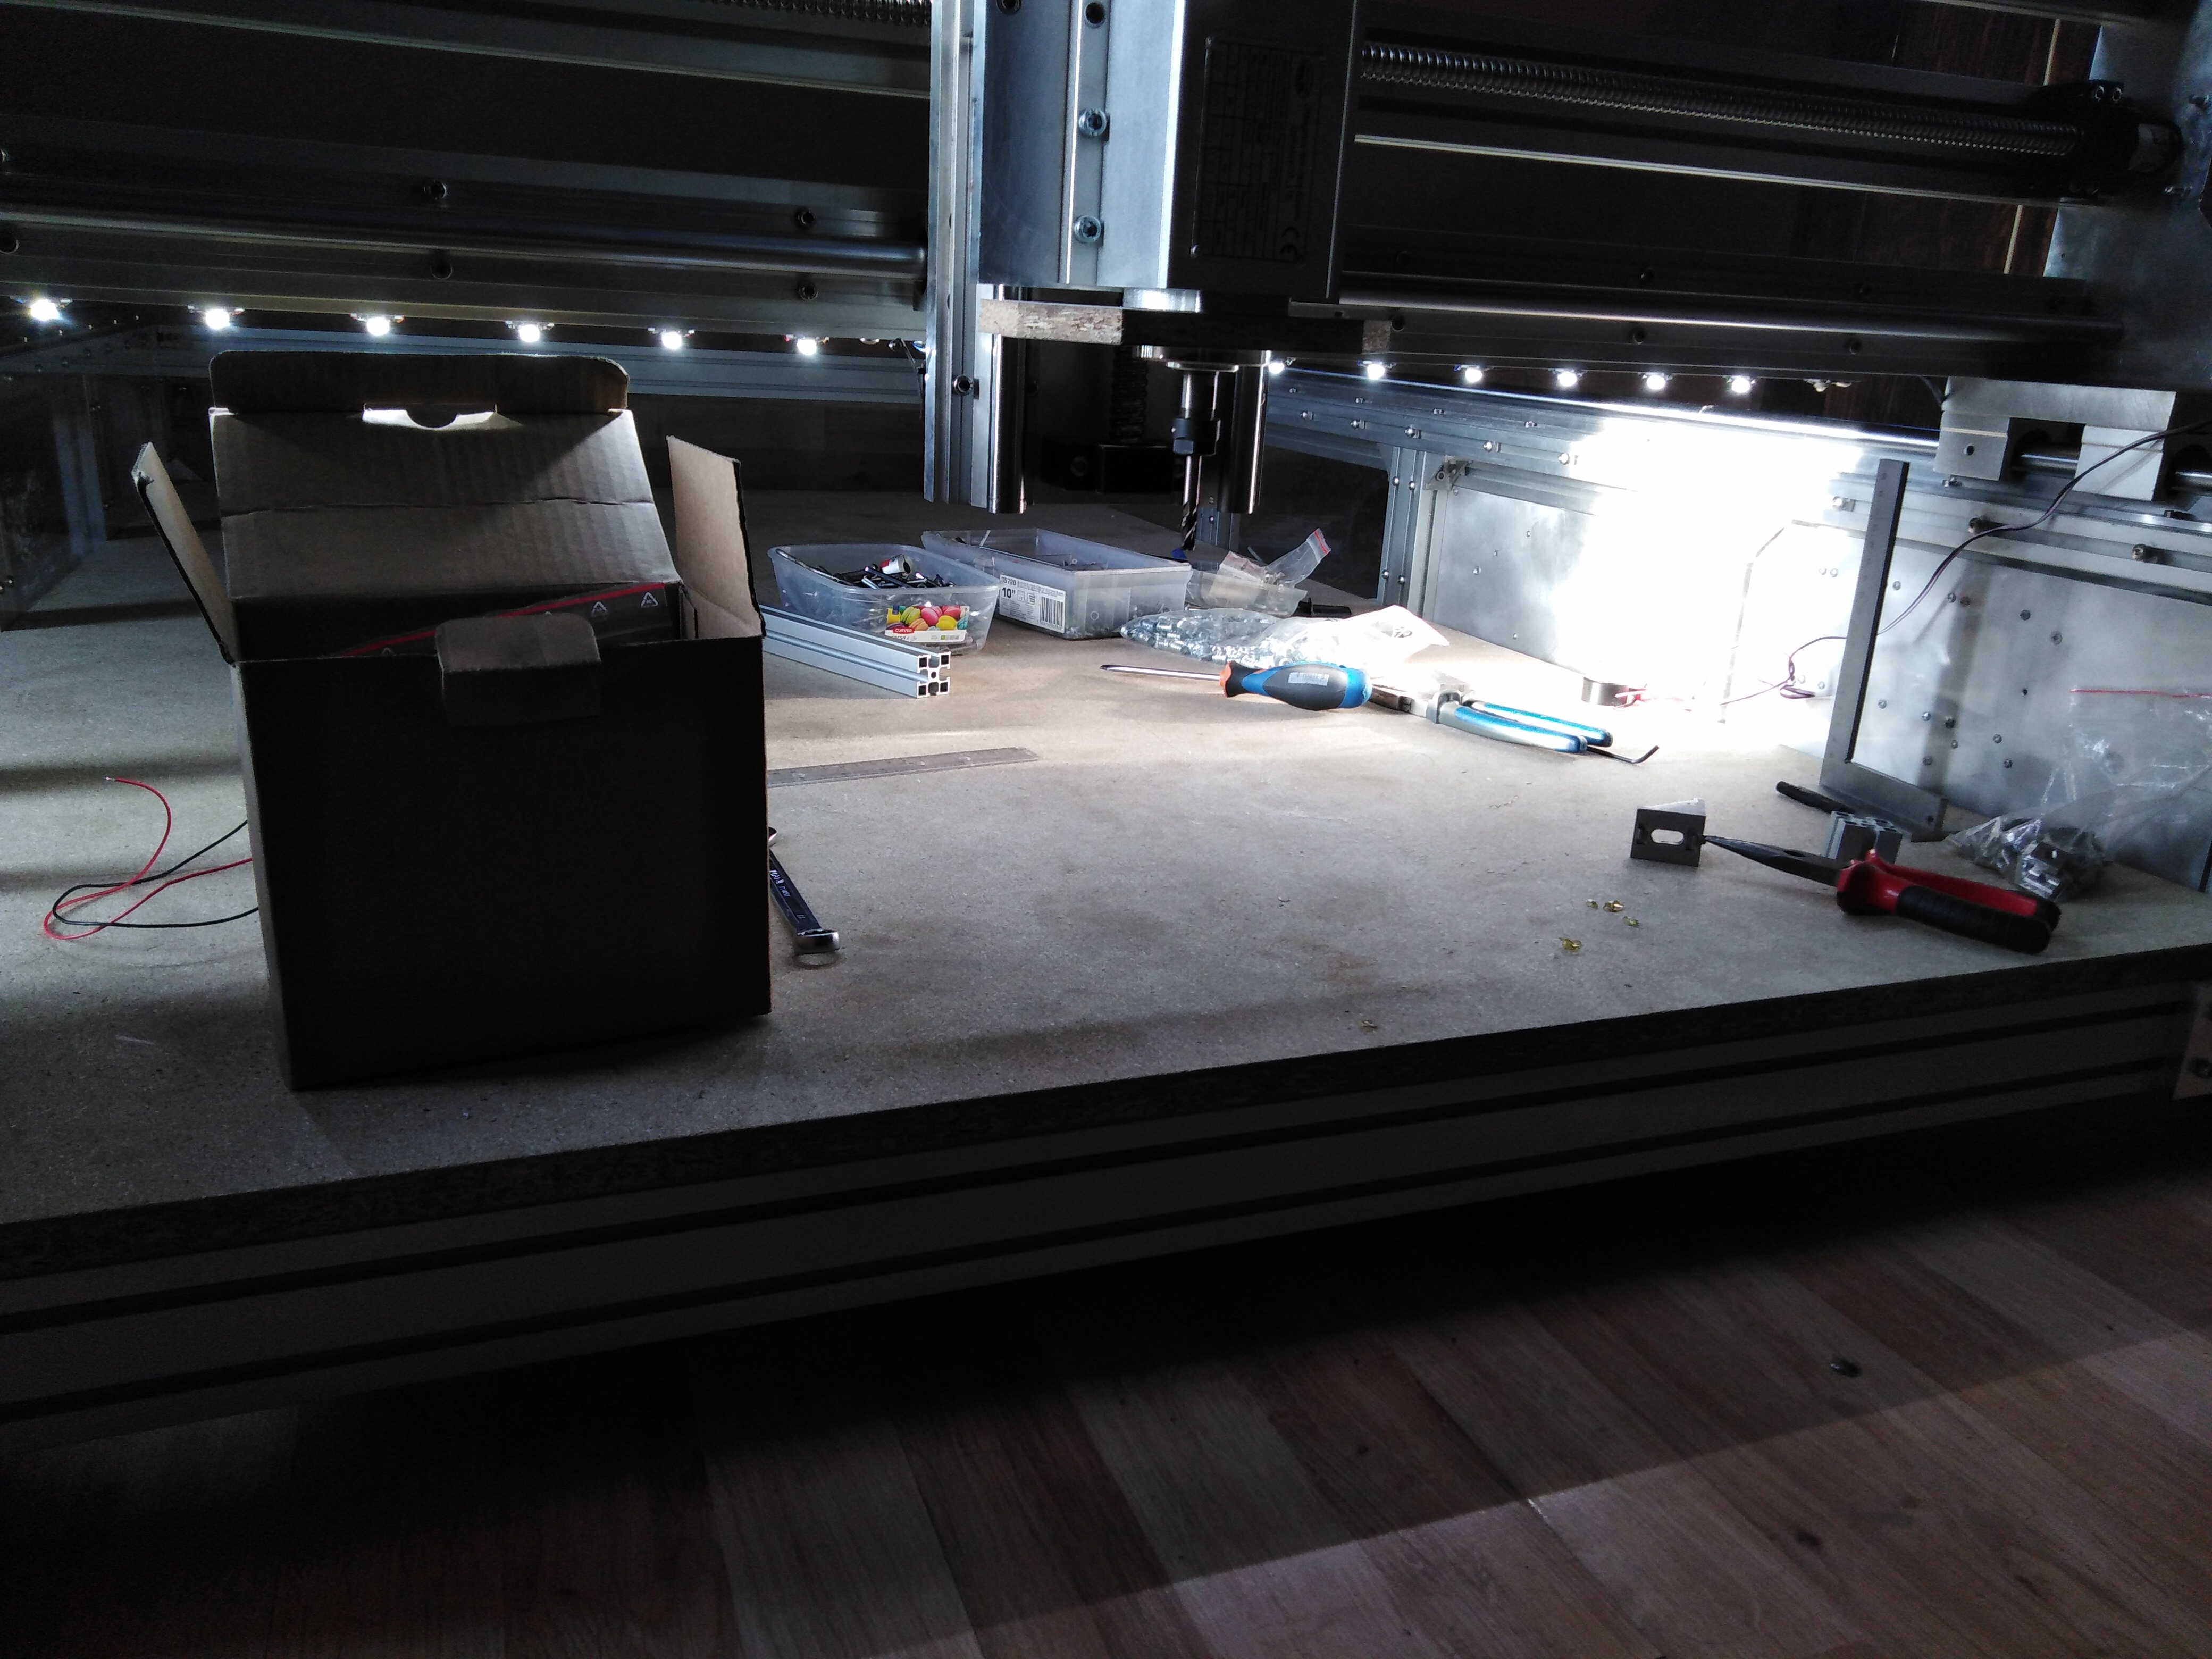
The worktop is a 22mm chipboard from the bottom, additionally stiffened and bolted to the 60x30 profiles, preventing the tabletop from bending.
The material is fixed to the top by means of handles and M8 screws to 176 muffs in pre-drilled holes in the worktop and additionally glued.
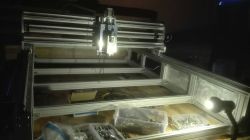
From the inside, the 5mm plexiglass is mounted as a dust-proof cover.
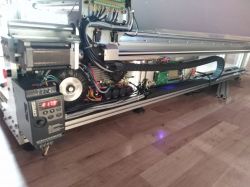
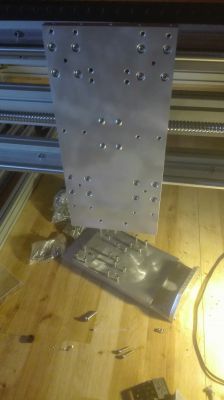
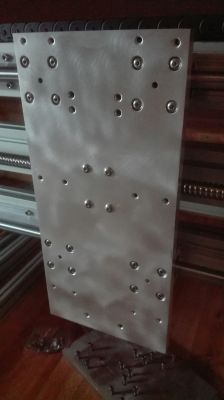
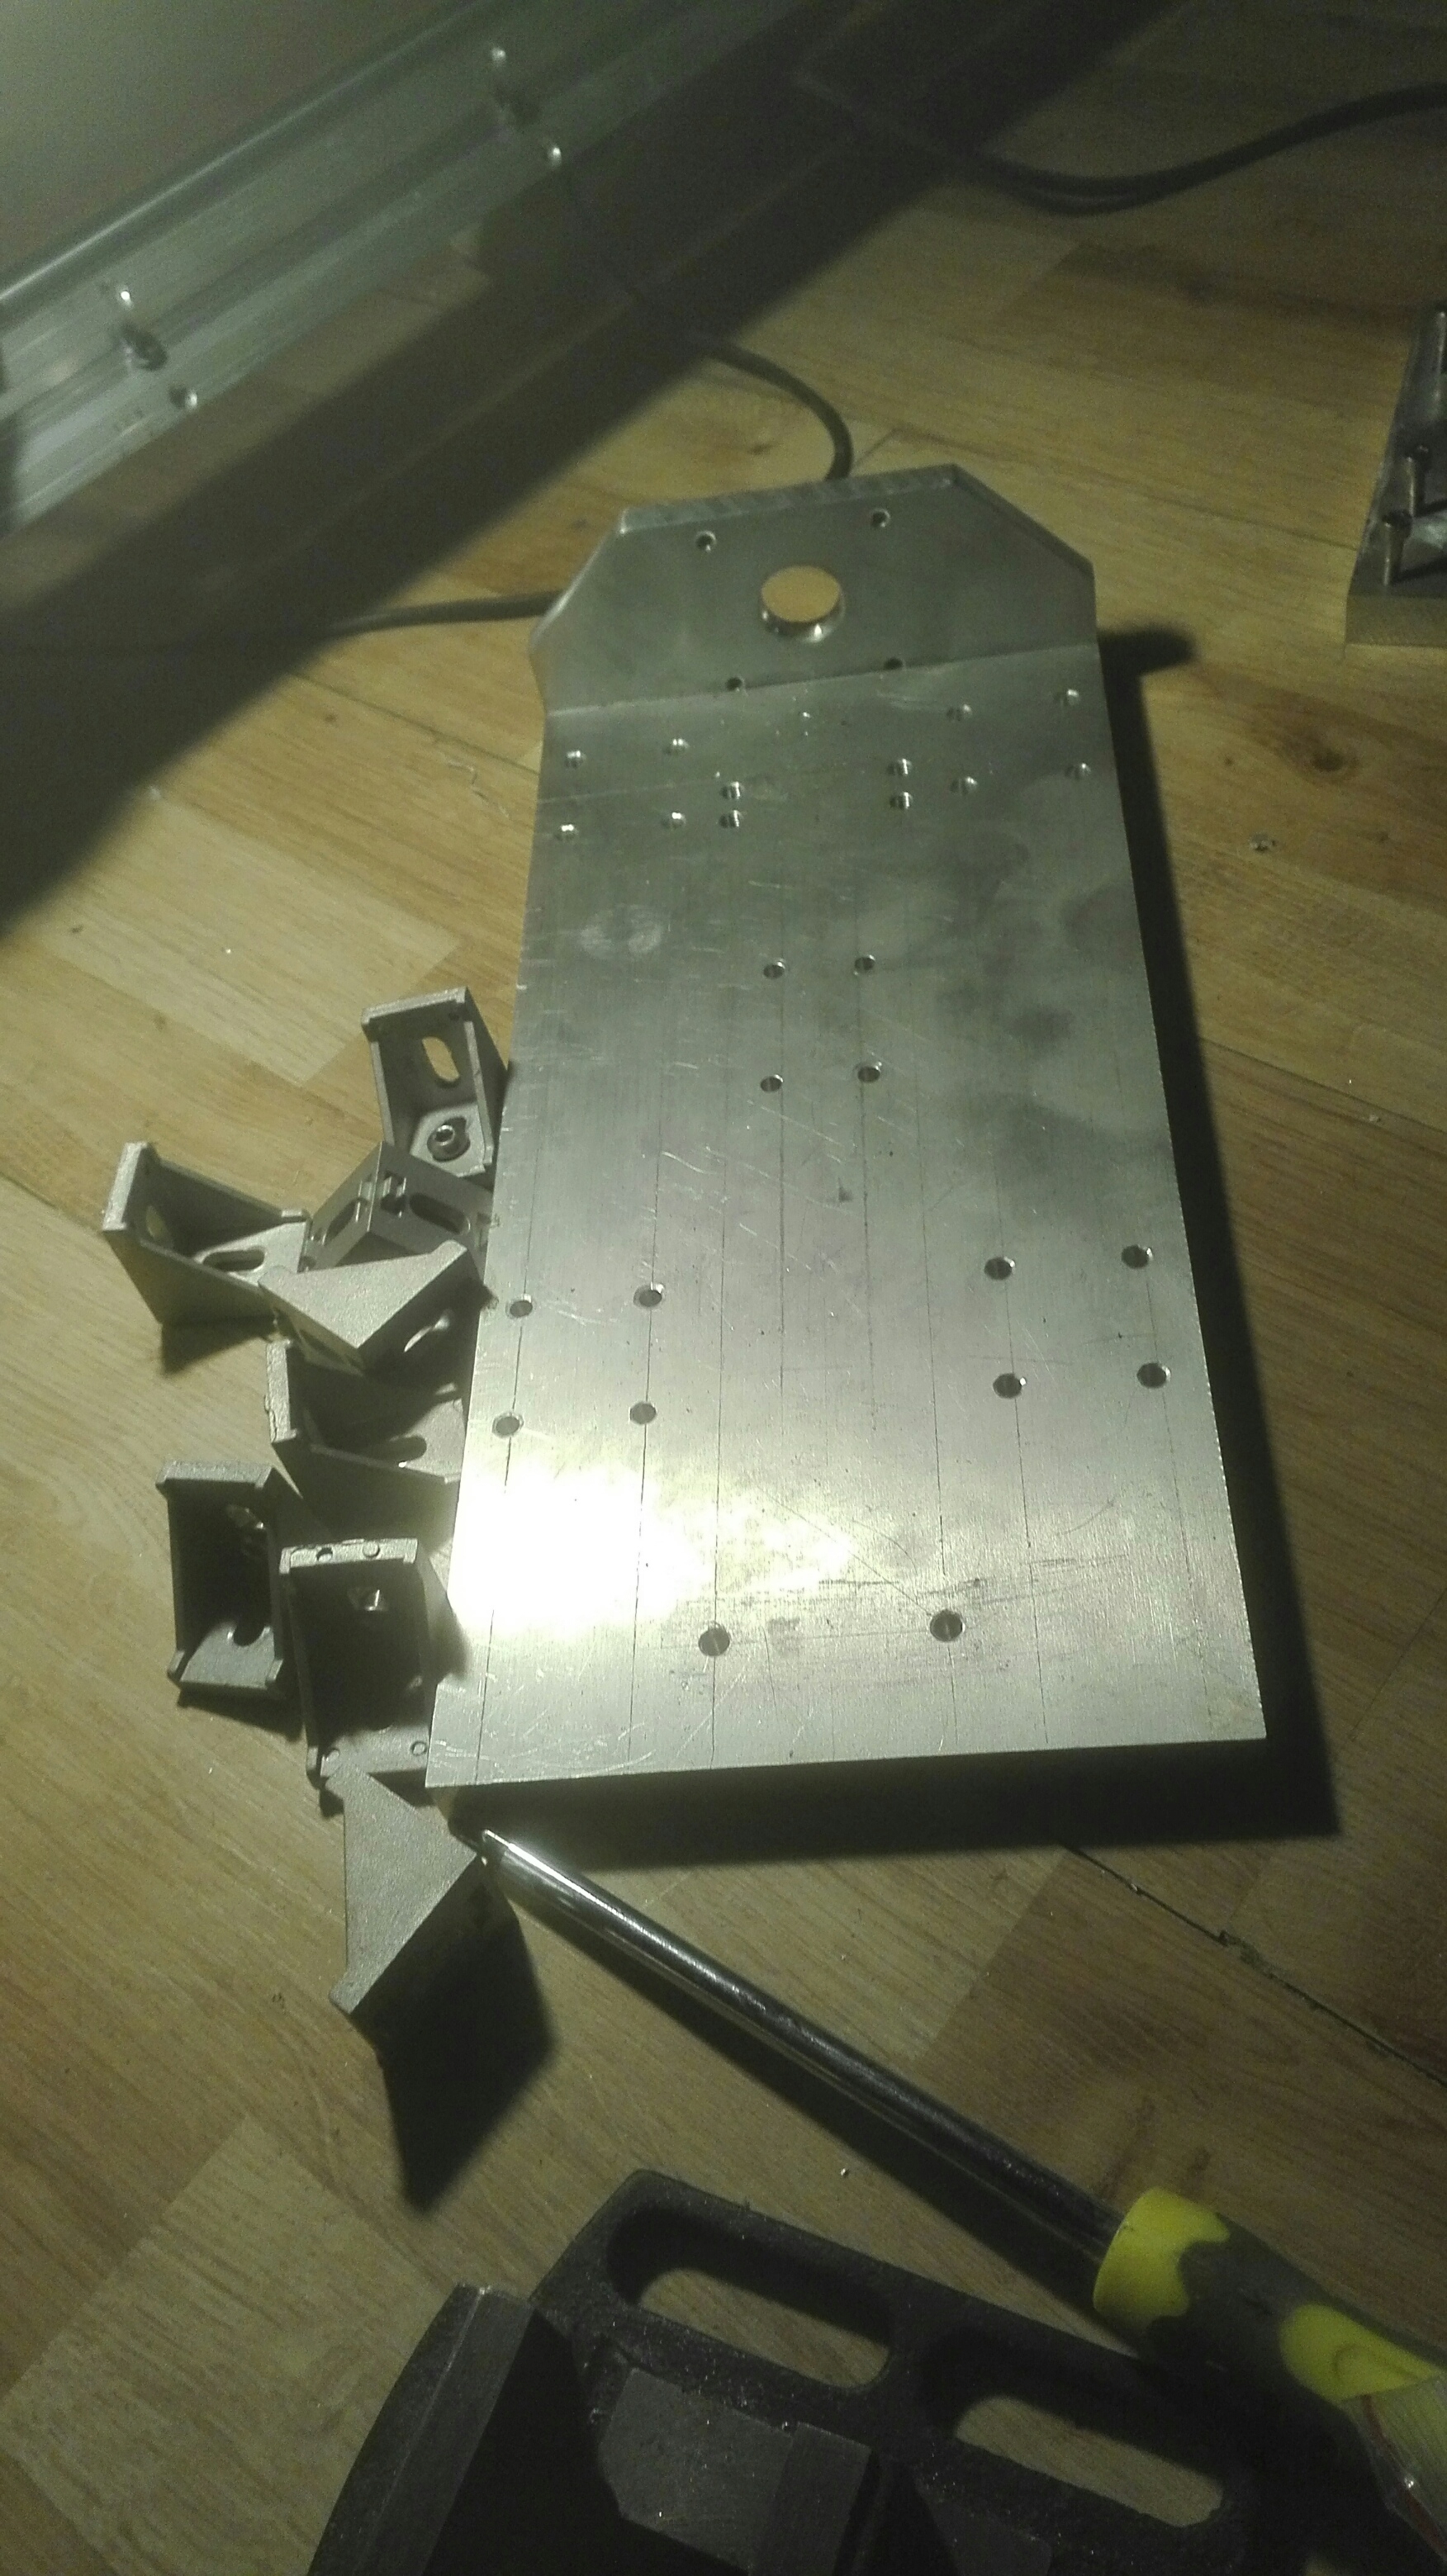
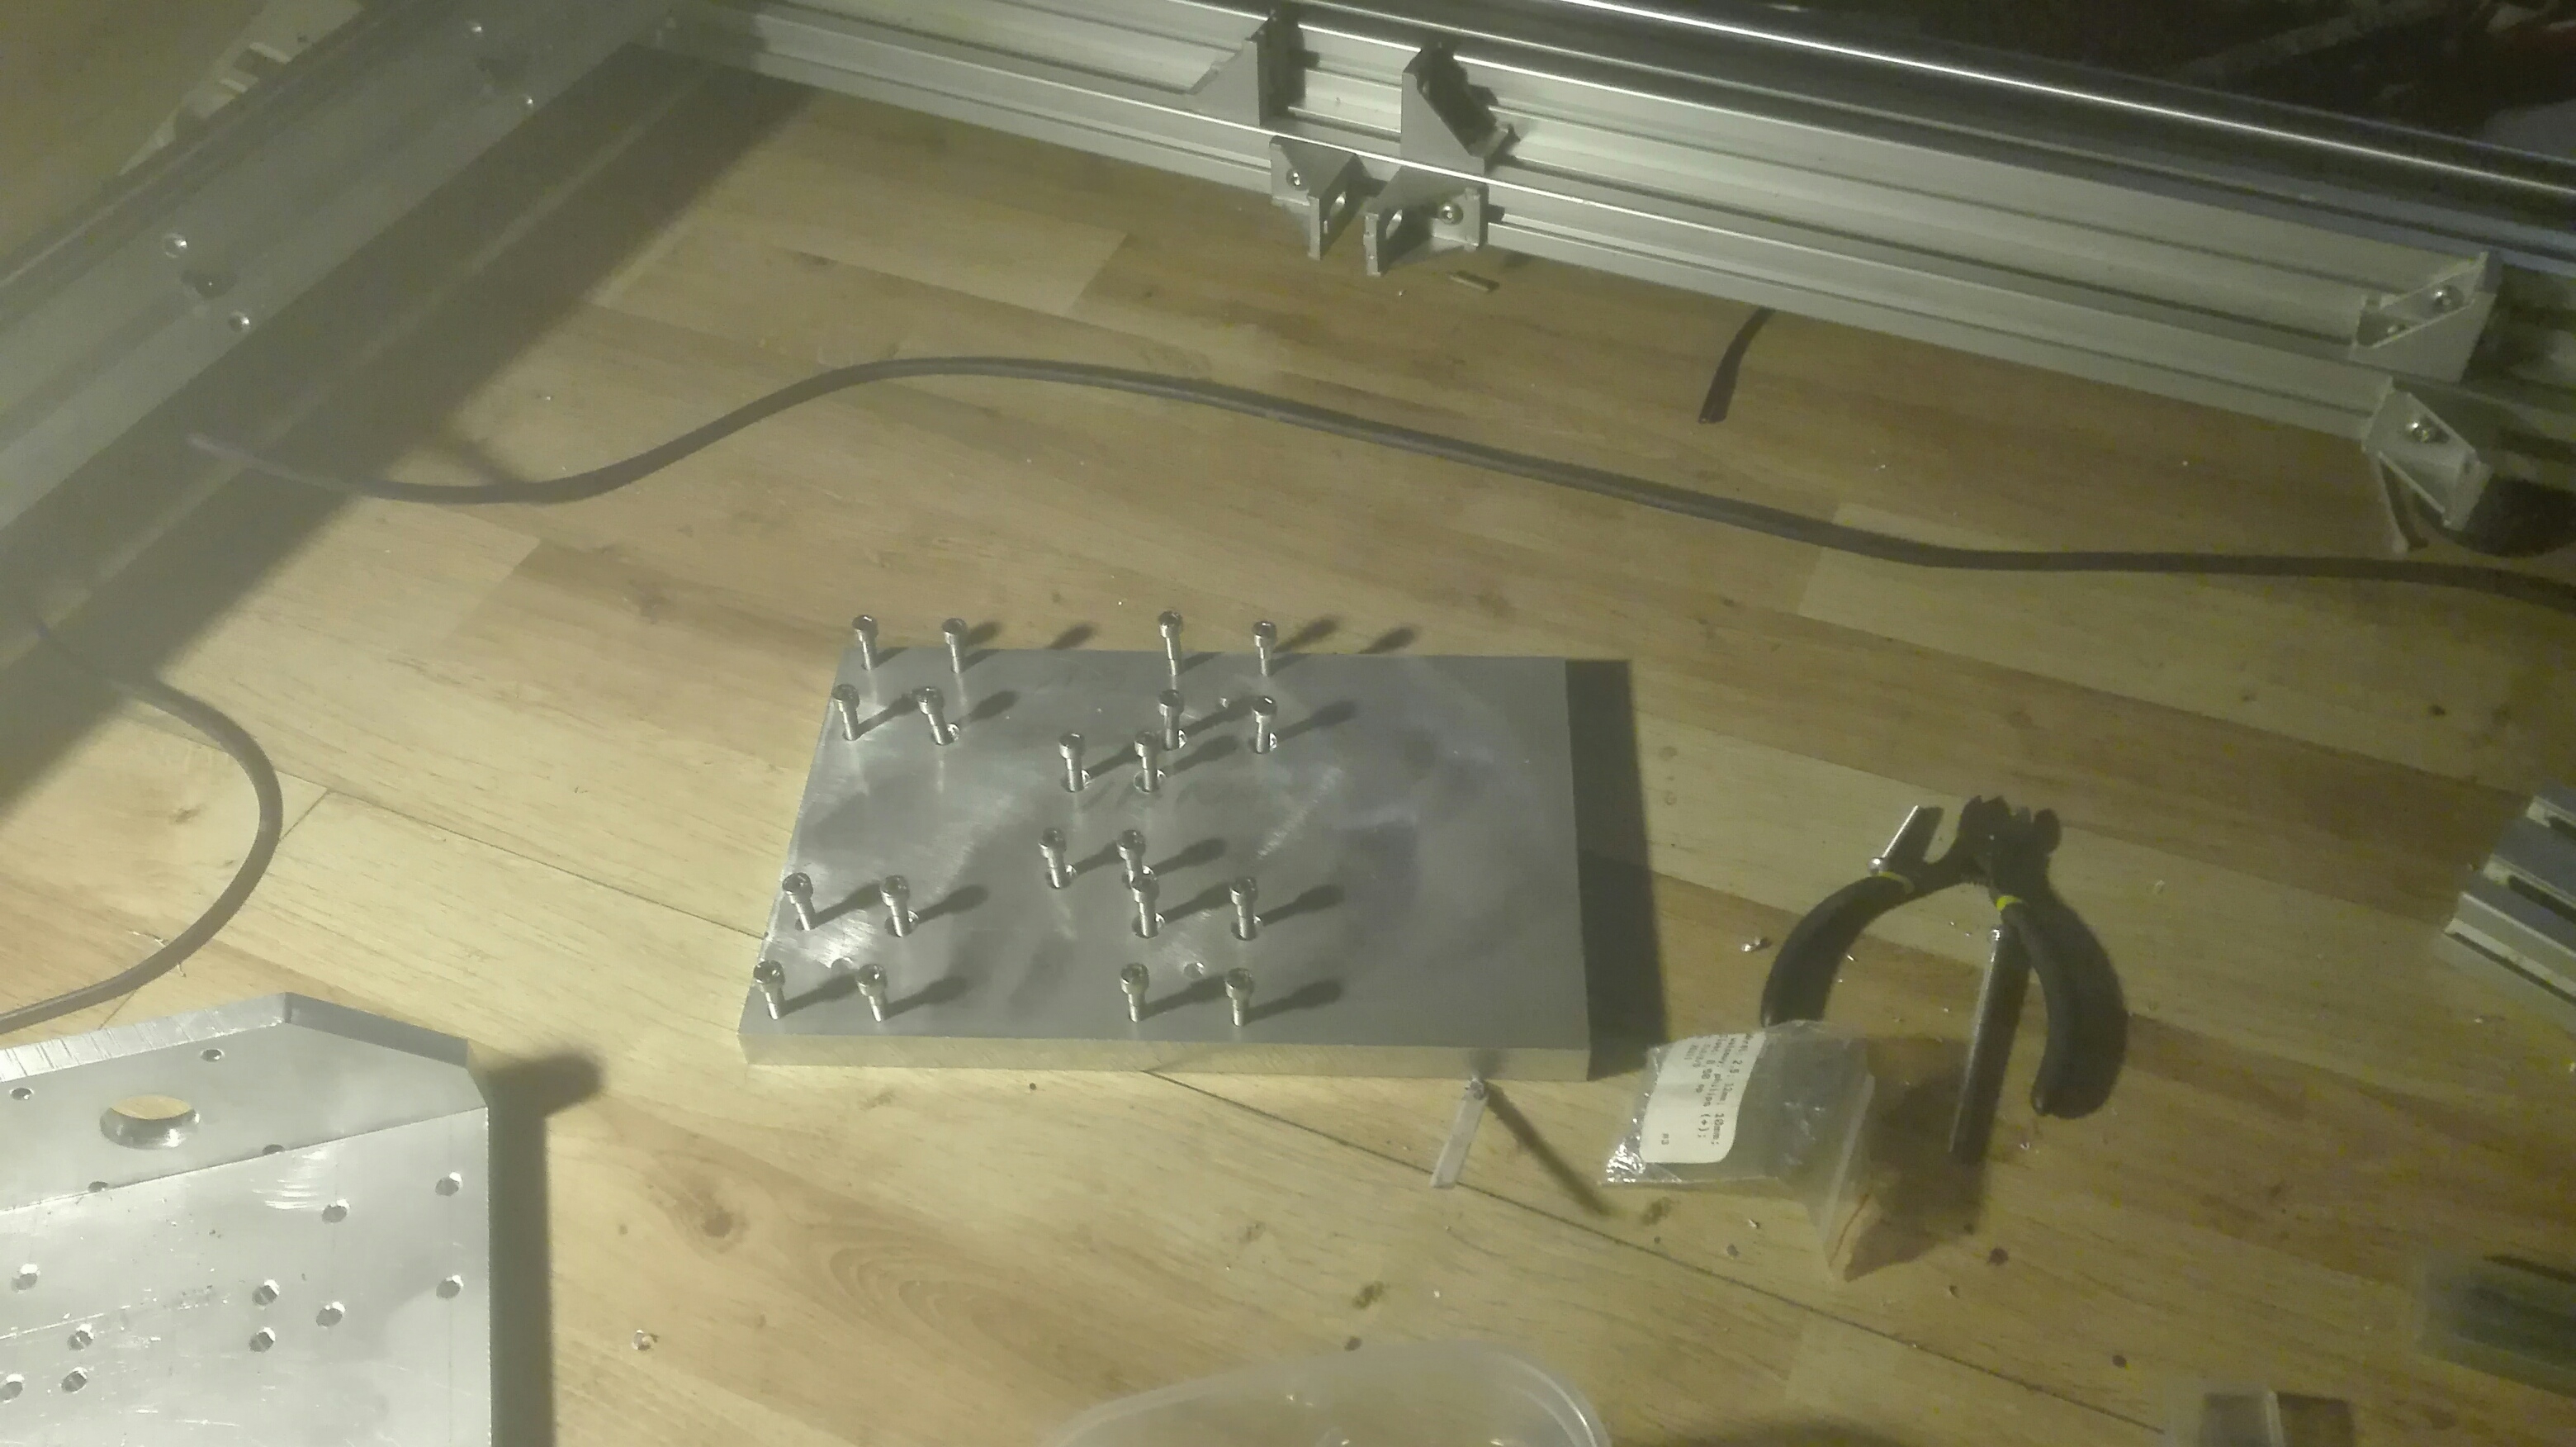
On the right side of the machine, I mounted the electronics using 4mm aluminum sheet + rubber shock absorbers for screws for aluminum profiles.
The frame is also based on aluminum profiles and sides of 20mm aluminum
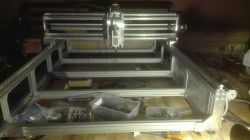
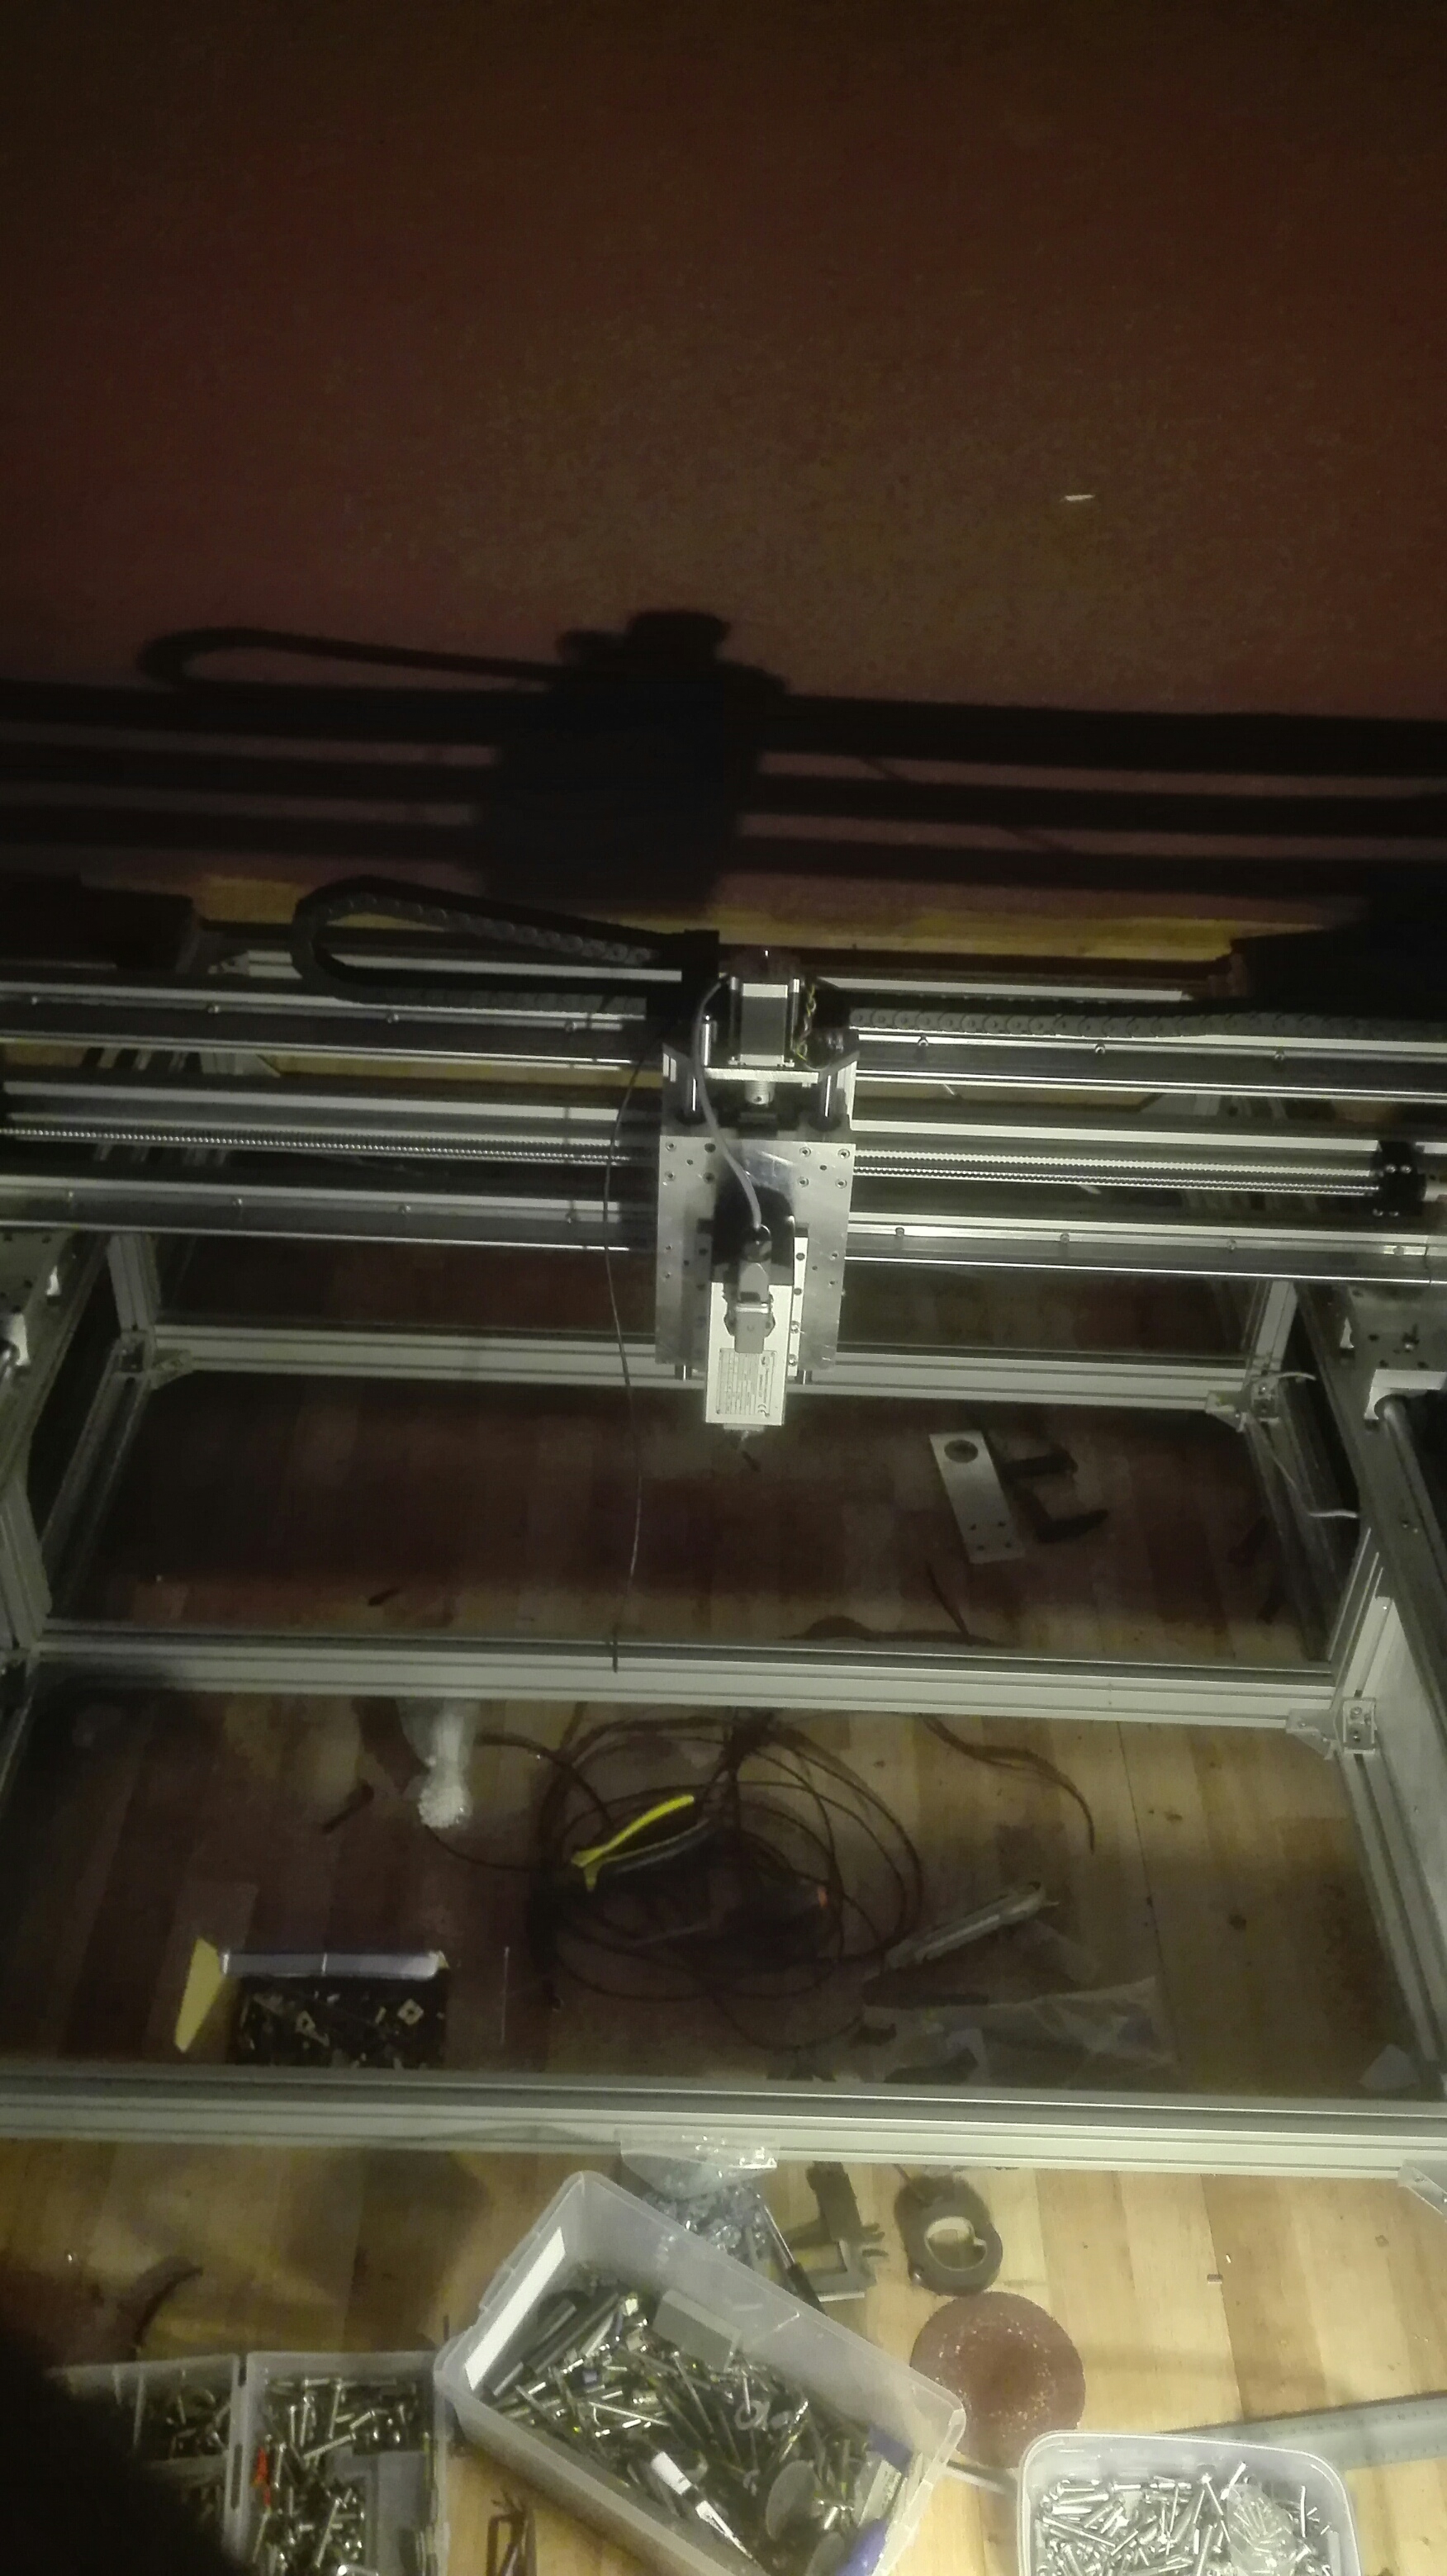
X-axis
rollers supported over the entire length of 20mm + linear bearings
drive: ball screw 2010 + 20mm supported spindles + linear bearings: 4Nm motor
Y axis
drive: 2x ball screw 2010 + 2x stepper motor 4Nm
Z axis
Roller supported 16mm ball screw 1605 and aluminum sheet 15mm, motor 3Nm
On the bottom profile I installed 15 LEDs for lighting.
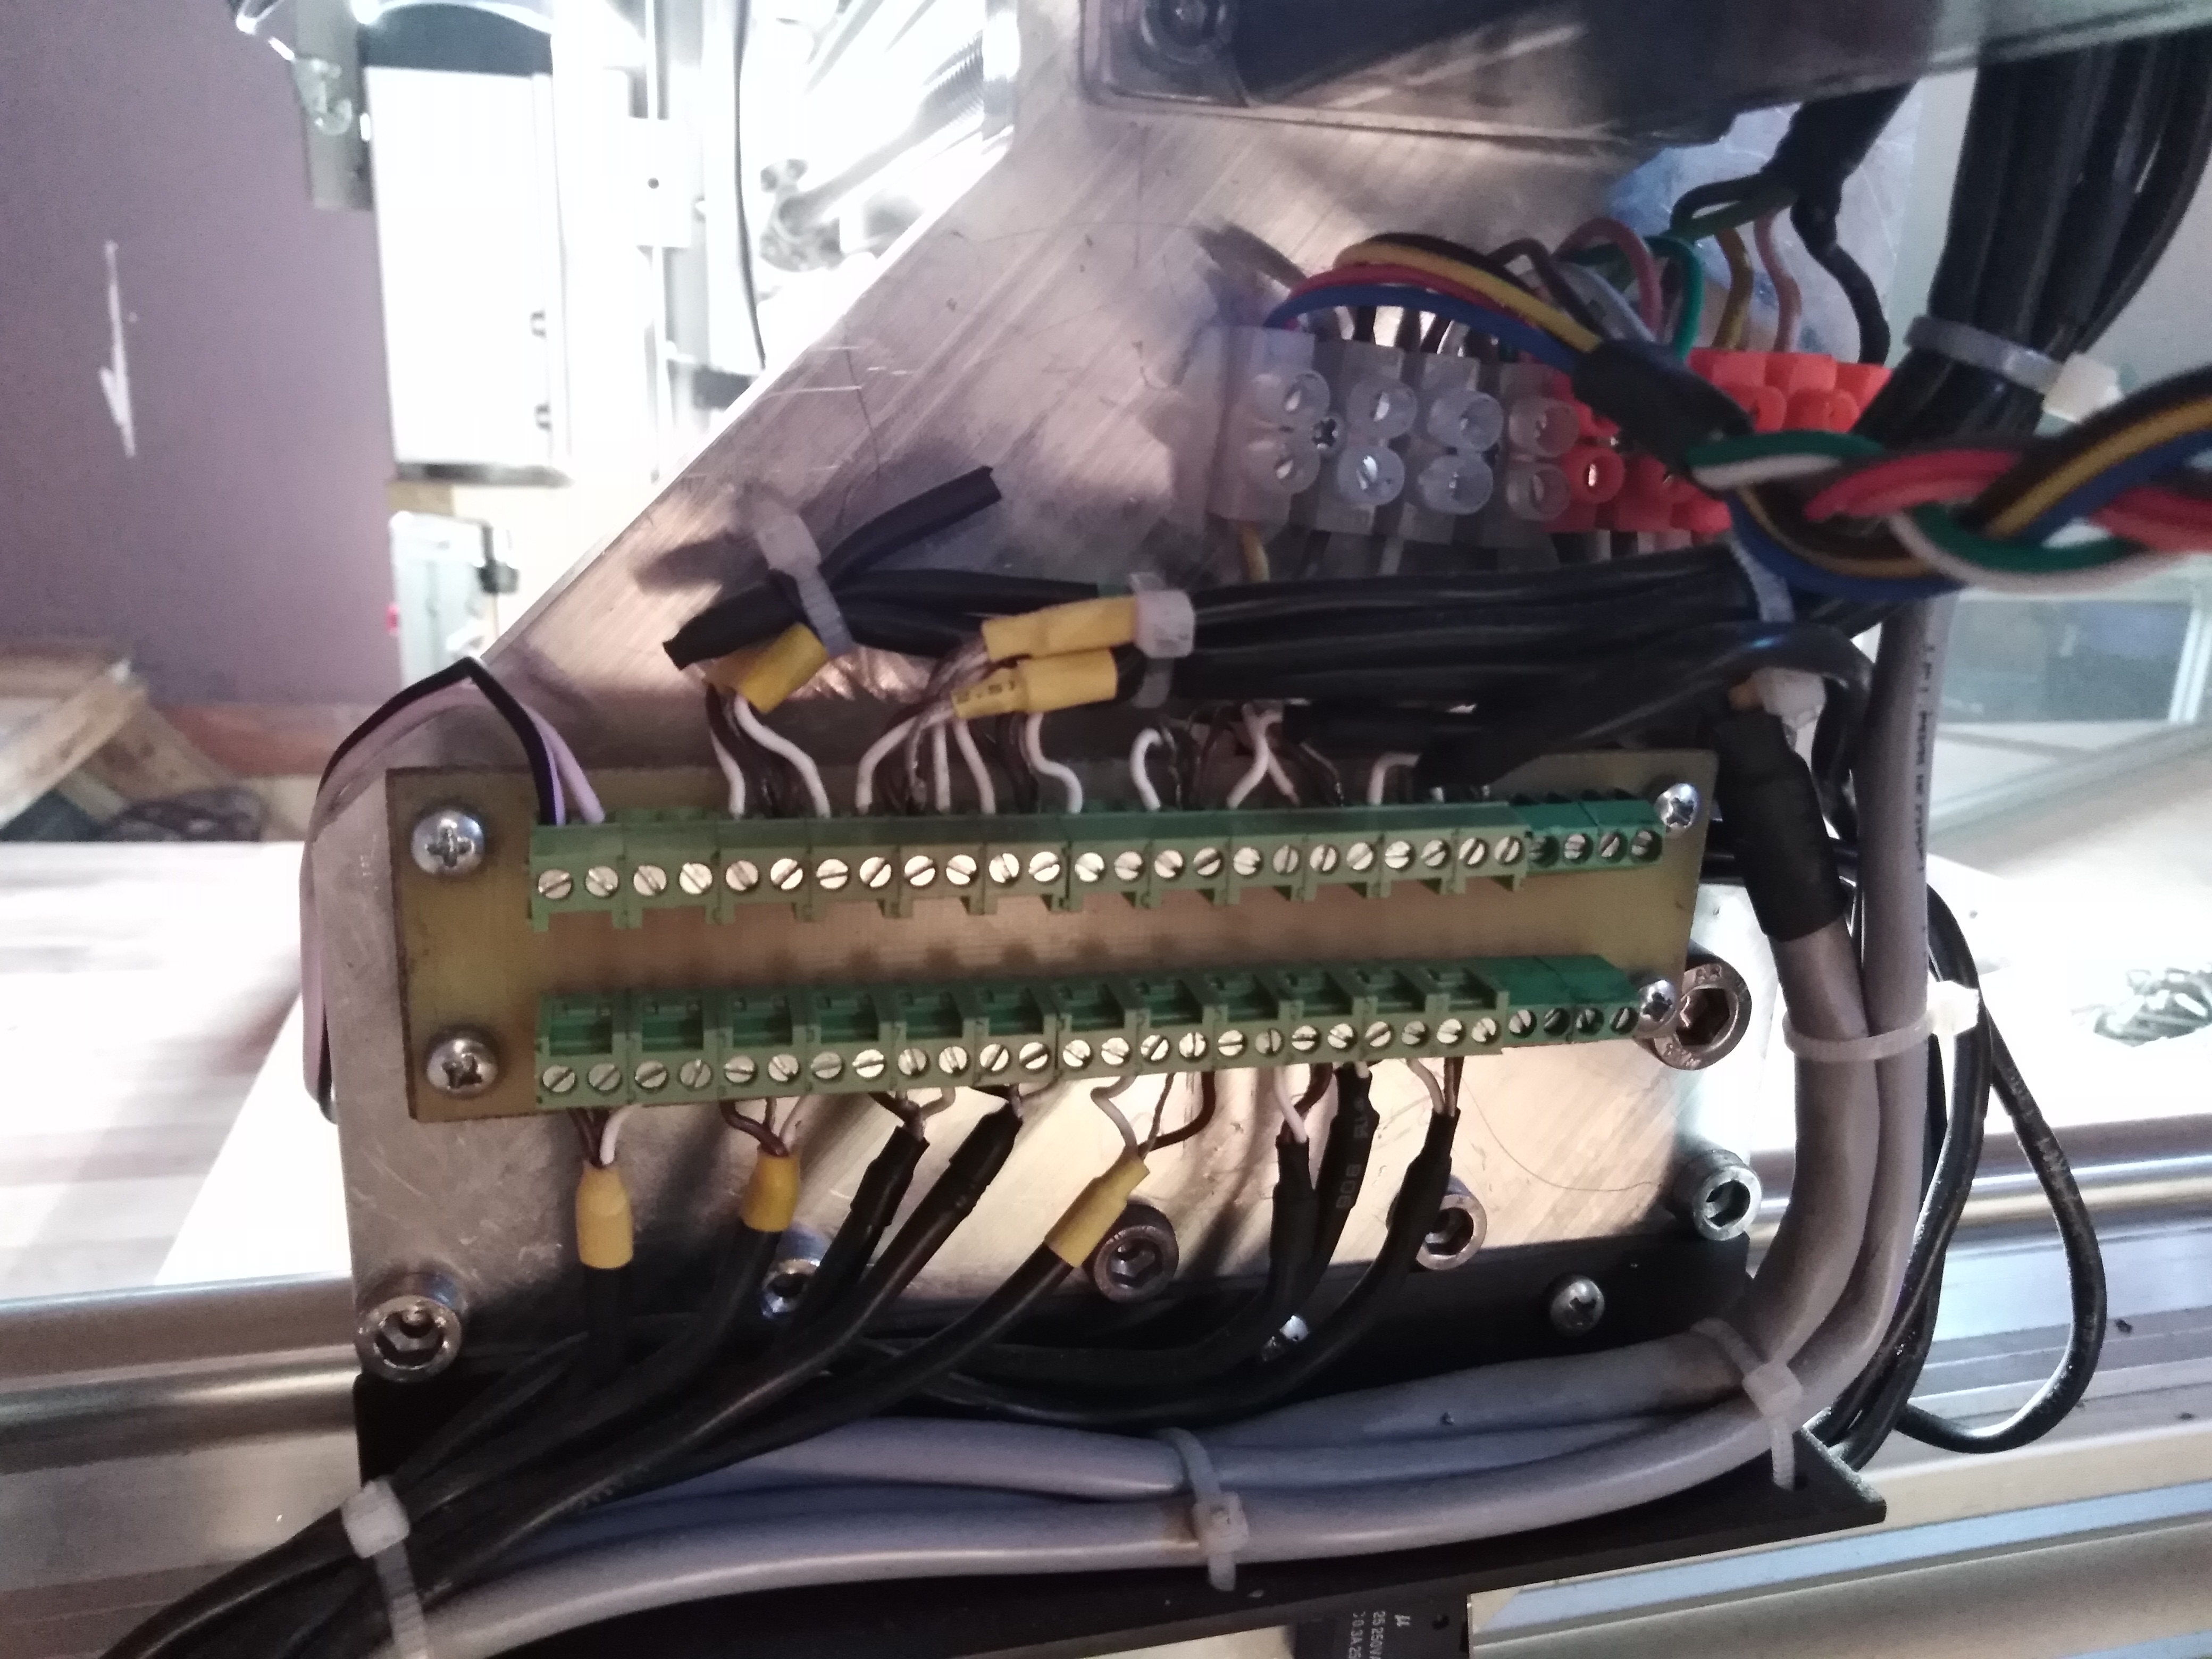
Electronics:
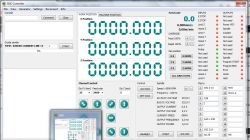
Control via raspberrypi directly without GPIO, all axes have TB6600 (original) drivers set to split 1/8
power supply: 800VA 30V AC transformer (DC ~ 42V)
Drivers for TB6600 engines
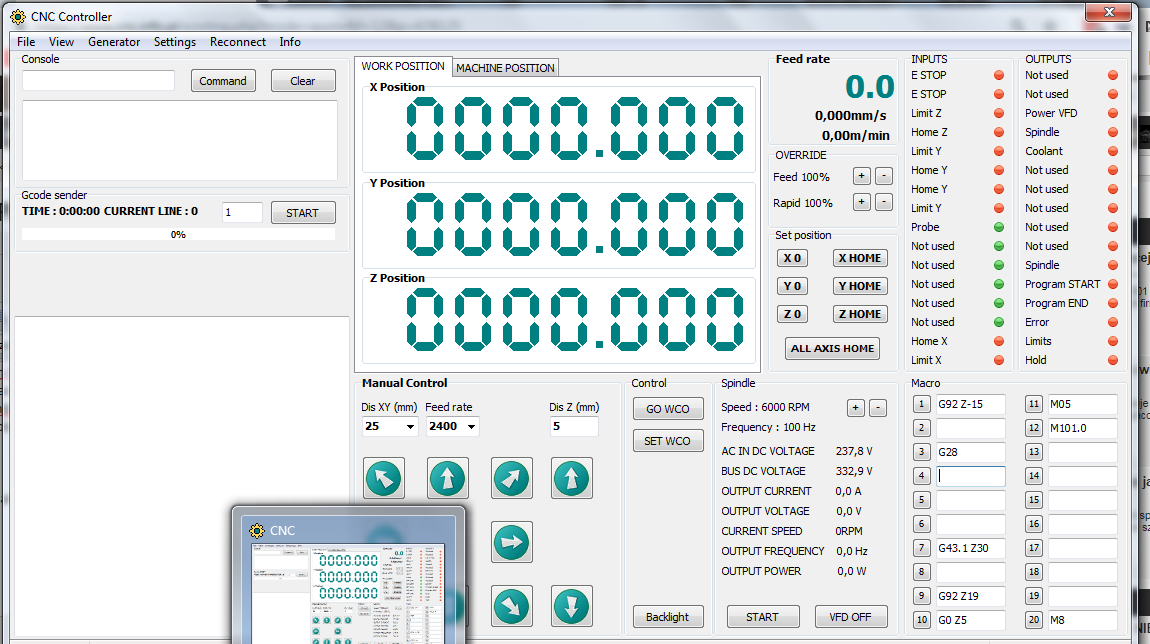
1.5kW air-cooled spindle, + Sanyu inverter with which the control via RS485 with raspberrypi is carried out with the modbus protocol
Thanks to this, I have a preview of parameters such as:
DC bus voltage
Output voltage
Output current with an accuracy of 0.1A
Frequency
Temperature of the inverter
and full configuration of the inverter parameters from the software level I wrote on raspberrypi to control the whole
I wrote a service program in delphi 7 and communication with rPi is done using TCPIP
The driver PCB includes:
16 opto-isolated inputs
16 OC OC outputs
1 relay
2 x Mosfet with PWM, 1 channel for TB6600,2 controllers for the spindle where I disassemble the upper part for a long time by installing a fan + temperature sensor for the spindle itself
The machine achieves travels of about 6m / min which is fully enough for me
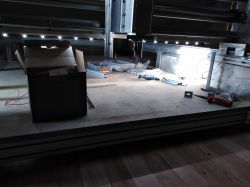
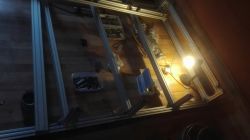
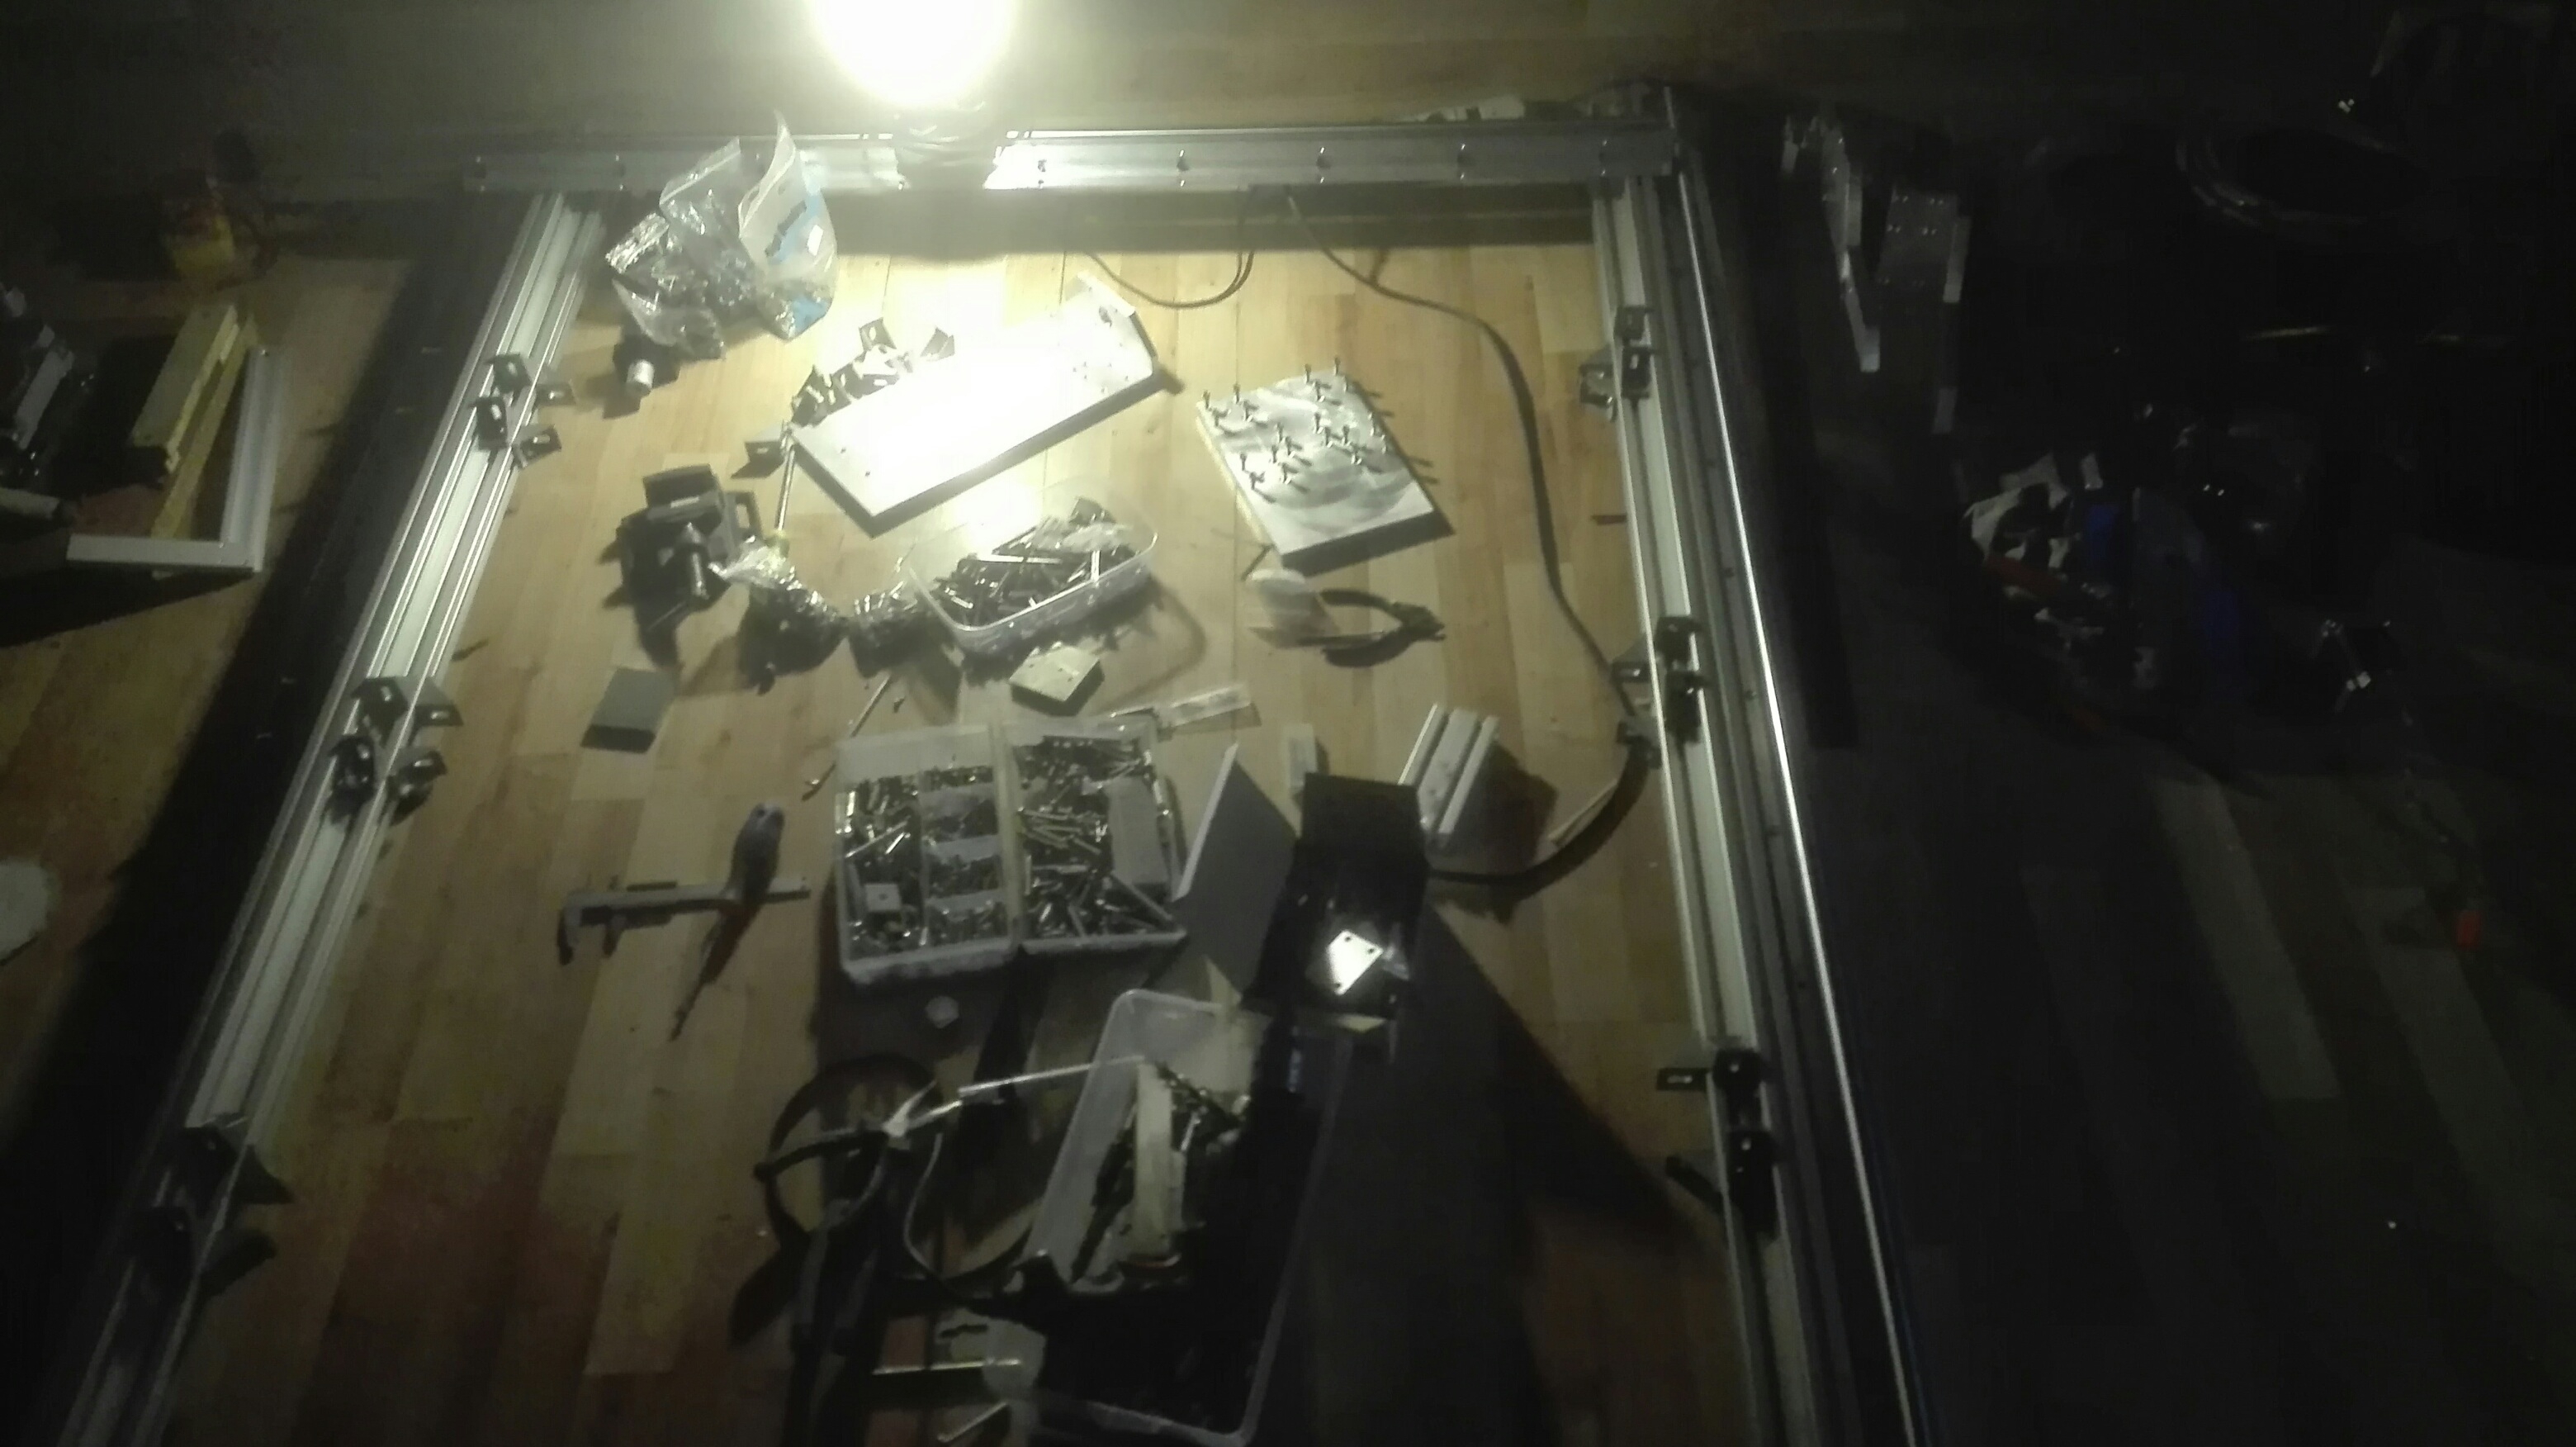
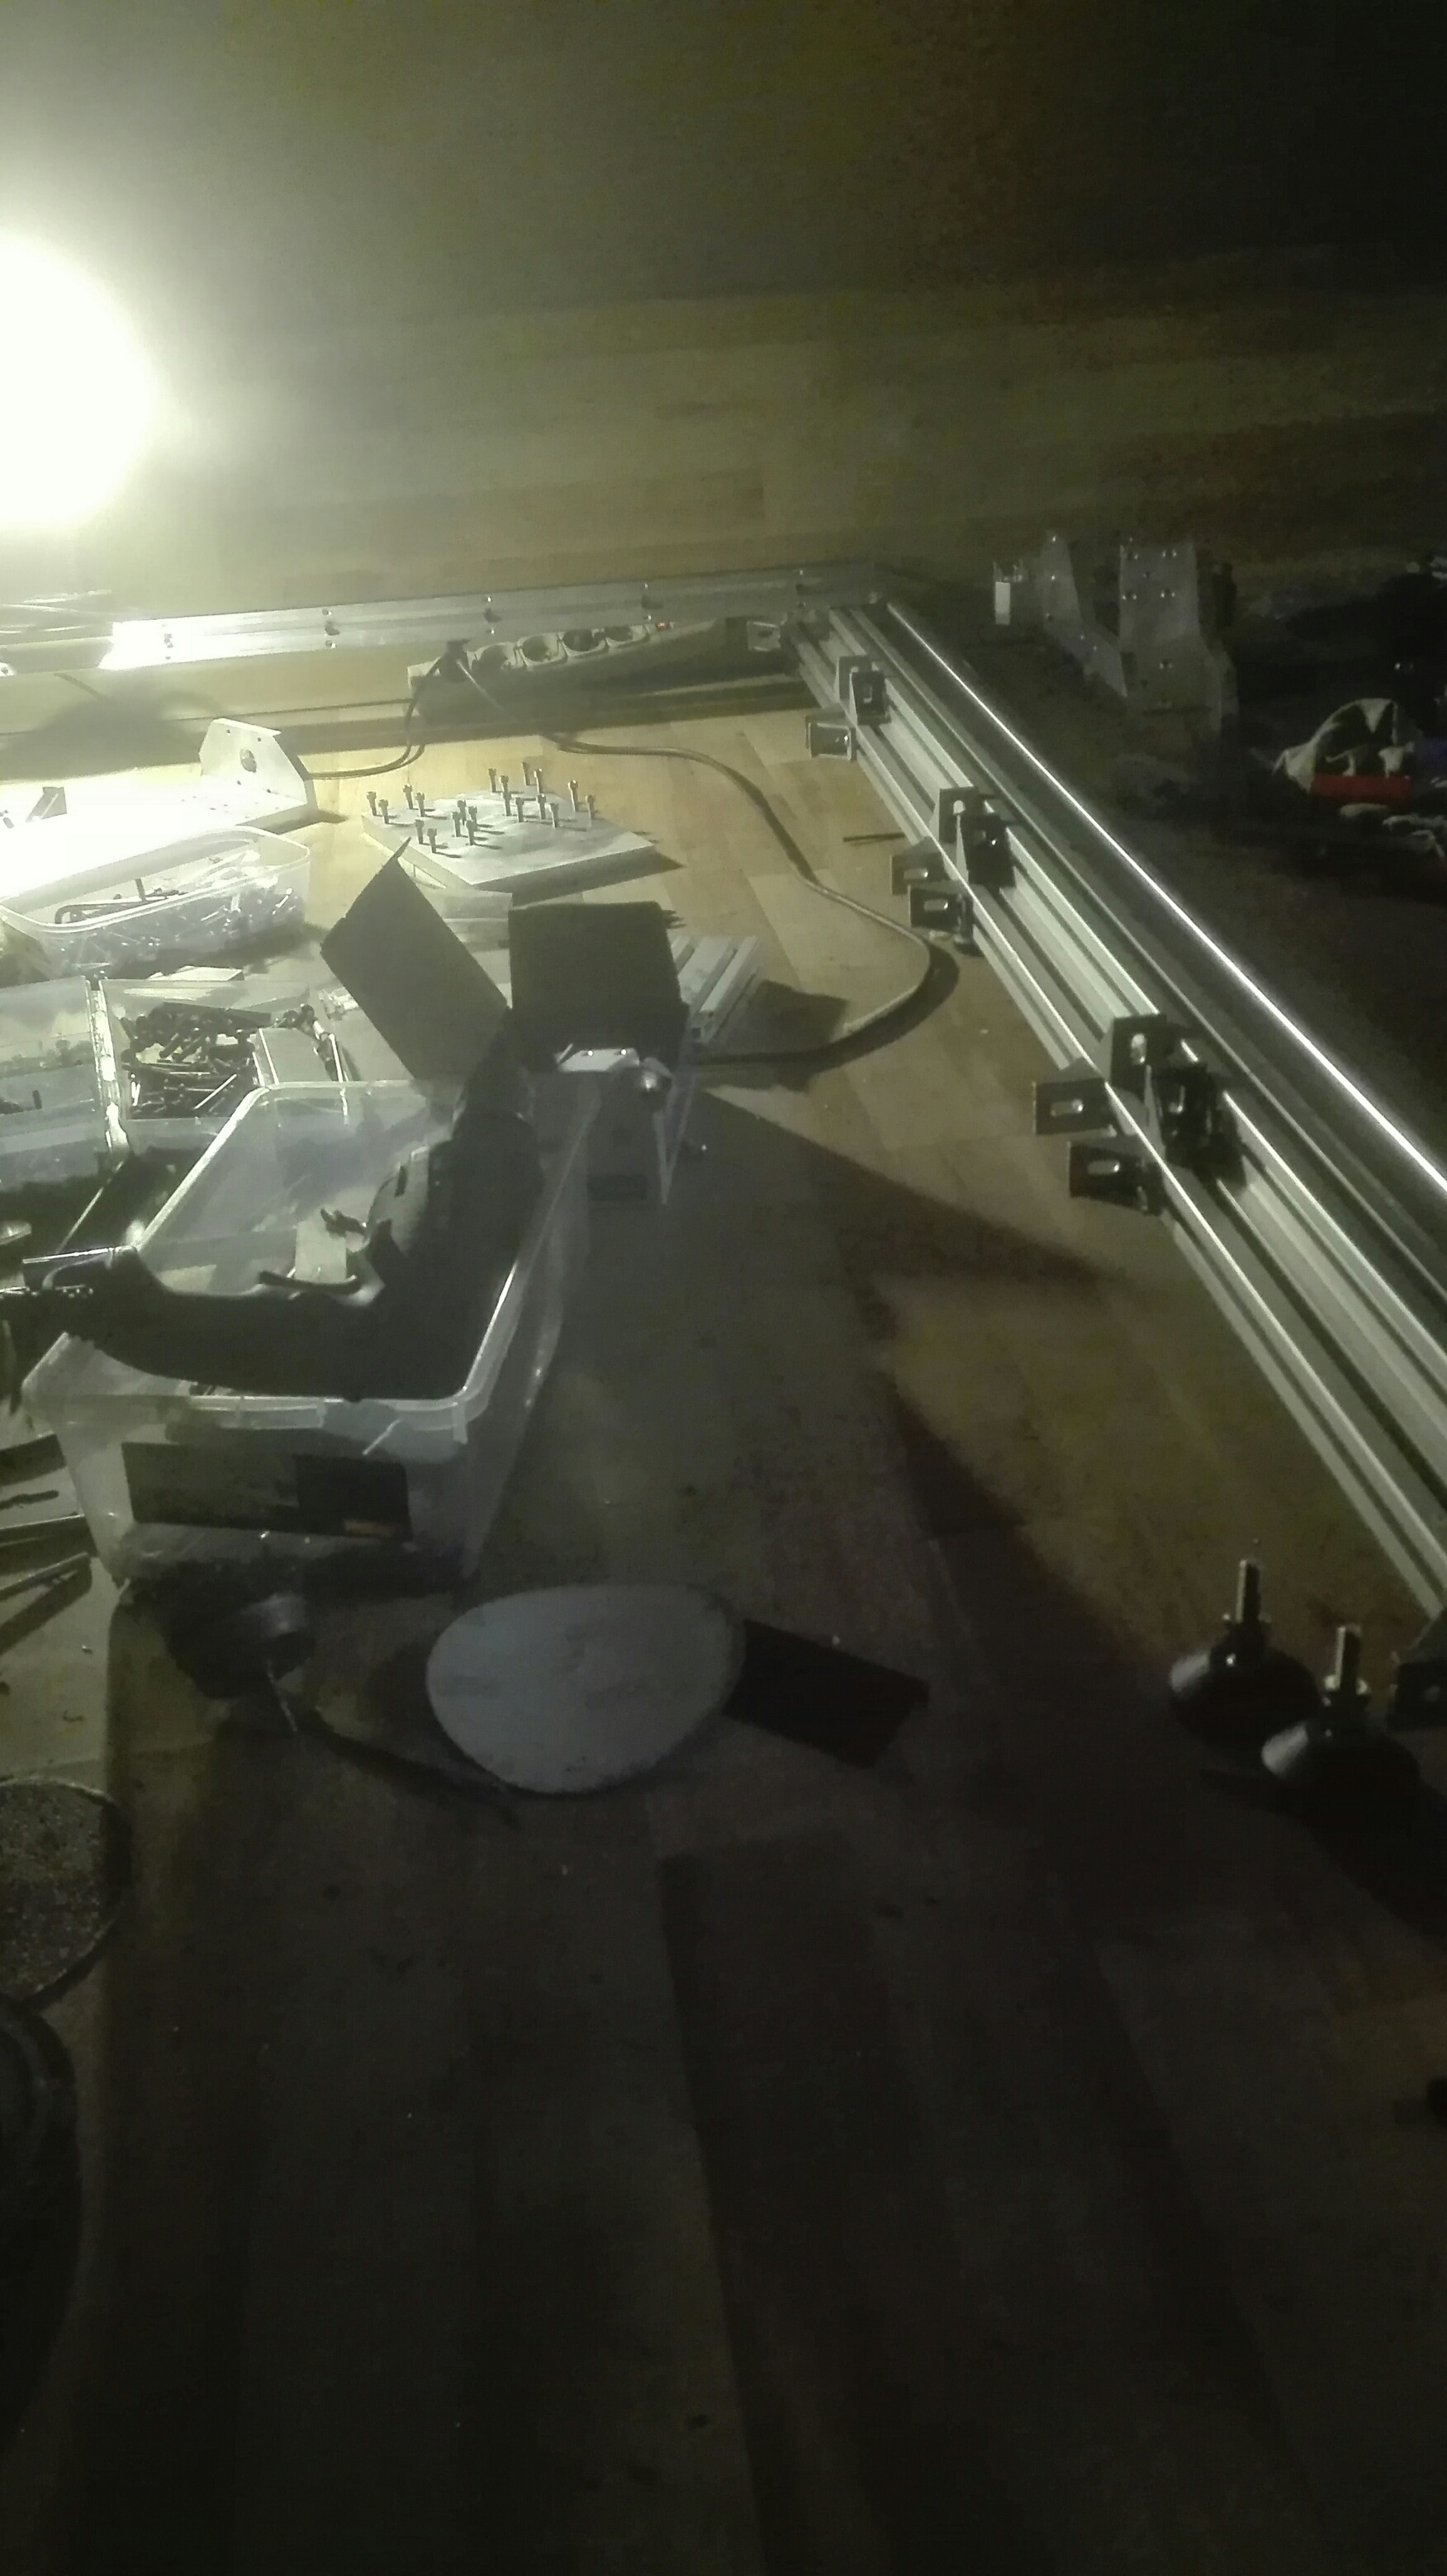
Below the photos (sorry that the part is hardly visible, I worked mainly at nights and the camera hardly caught it)


Comments
You did not write anything about the costs, pictures in a better light would be useful too ;-) [Read more]
Respect for an independent soft cnc control. And what's sitting in raspberry? [Read more]
Complicate with greater accelerations of engines because they are terribly silting. [Read more]
This video where the machine makes holes. Optimization of the code and it could go much faster - acceleration and speed of passage. Test yourself with the linuxcnc configuration there you can play with... [Read more]
Everything is self-contained. Great applause. :-) Describe how the preparation of the project looks like, from the drawing to loading it into your program and sending it to the machine. [Read more]
You wrote that "Control using raspberrypi without directly using GPIO". My question - how soft sits in this Raspberry that you are sure that stepper motors will not lose their steps? If some realtime... [Read more]
the costs are already a secret, let the 2 half know nothing :D I will put better photos on the days after moving the machine to the target place raspbian with RT kernel I have already... [Read more]
Did you made it alone? [Read more]
I would recommend teens 4.1 with ide for arduino. The same is programmed, but we have a 600Mhz clock that executes 2 commands during one cycle. I will add that it can be turned up to 1Ghz :) the cost is... [Read more]
Currently working on a driver project for STM32F407, more info will appear here: https://github.com/rafik84/xcore407i-CNC STM32F4 overclocked to 240MHz works stably, after that I have computing power... [Read more]
In my case, 240Mhz is not enough. Below is a photo of my project that I have completed. Unfortunately, I do not share the software that I have on github :) https://obrazki.elektroda.pl/209960280... [Read more]
cool as an engraving, because you will probably not be able to use it for milling (what do I see the rollers unsupported there, 8 -10 mm?, the gate pulled back too far on the brackets), 240Mhz for the... [Read more]
And did you look at the code, what does the s curve profile look like on what you write? This is not the correct way to implement a trajectory, it is just a simple trapezoidal calculation and several functions... [Read more]