
Hello, I will present here two seemingly typical LED lamps (E27 and E14) RGBCW Tuya Smart, which are distinguished by the fact that they are extremely difficult to program due to the obscured UART pads in the WB2L_M1 (BK7231N) modules. Normally, to change their charge, you would have to unsolder these modules, but in the subject I will show an alternative, more convenient way, i.e. changing their firmware without opening the housing thanks to the use of
tuya-cloudcutter . The firmware will be changed to mine
OpenBeken , the equivalent of Tasmota, intended for the more exotic platforms used by Tuya. The topic will be another description of the interior and programming of IoT devices and will not cover the topics already discussed. I invite you to learn about the other topics from the series, you can find them in this section (
Equipment interiors ).
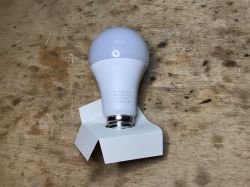
Purchase of the bulbs
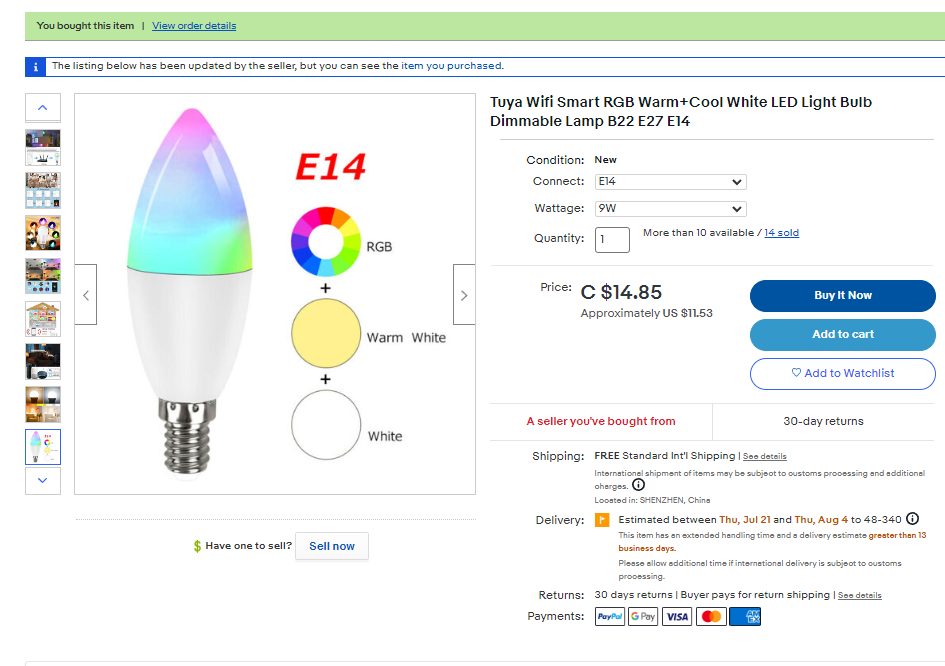
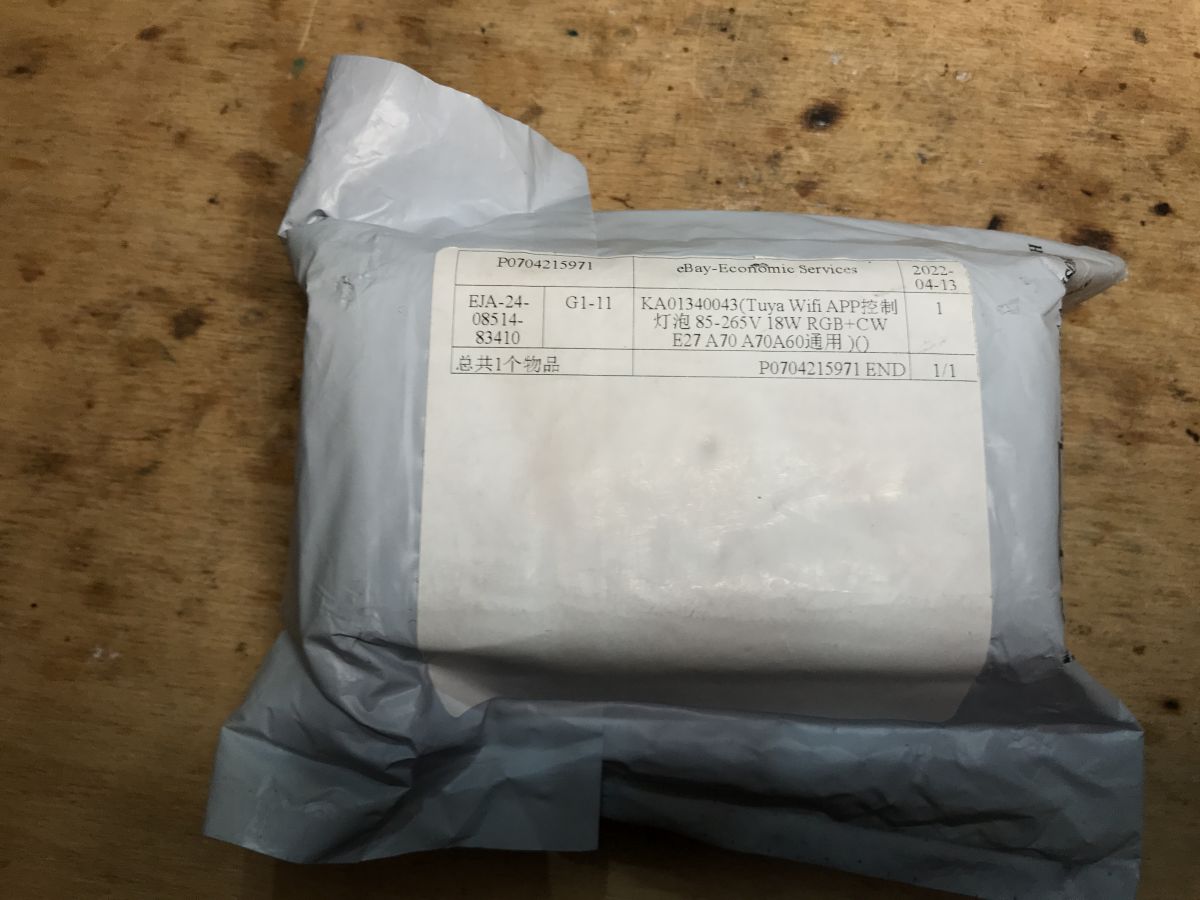
I bought both from China, below are screenshots of the offers:
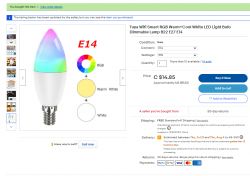
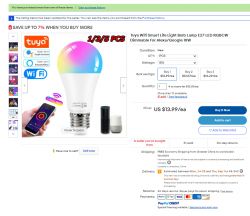
I paid about 10$ (PLN 40) per item. In some stores in Poland it is possible to get similar LED lamps cheaper (regular one-color with WiFi was once even for PLN 15), but I wanted to check those from China anyway, because I am looking for popular products to add their support to my
OpenBeken .
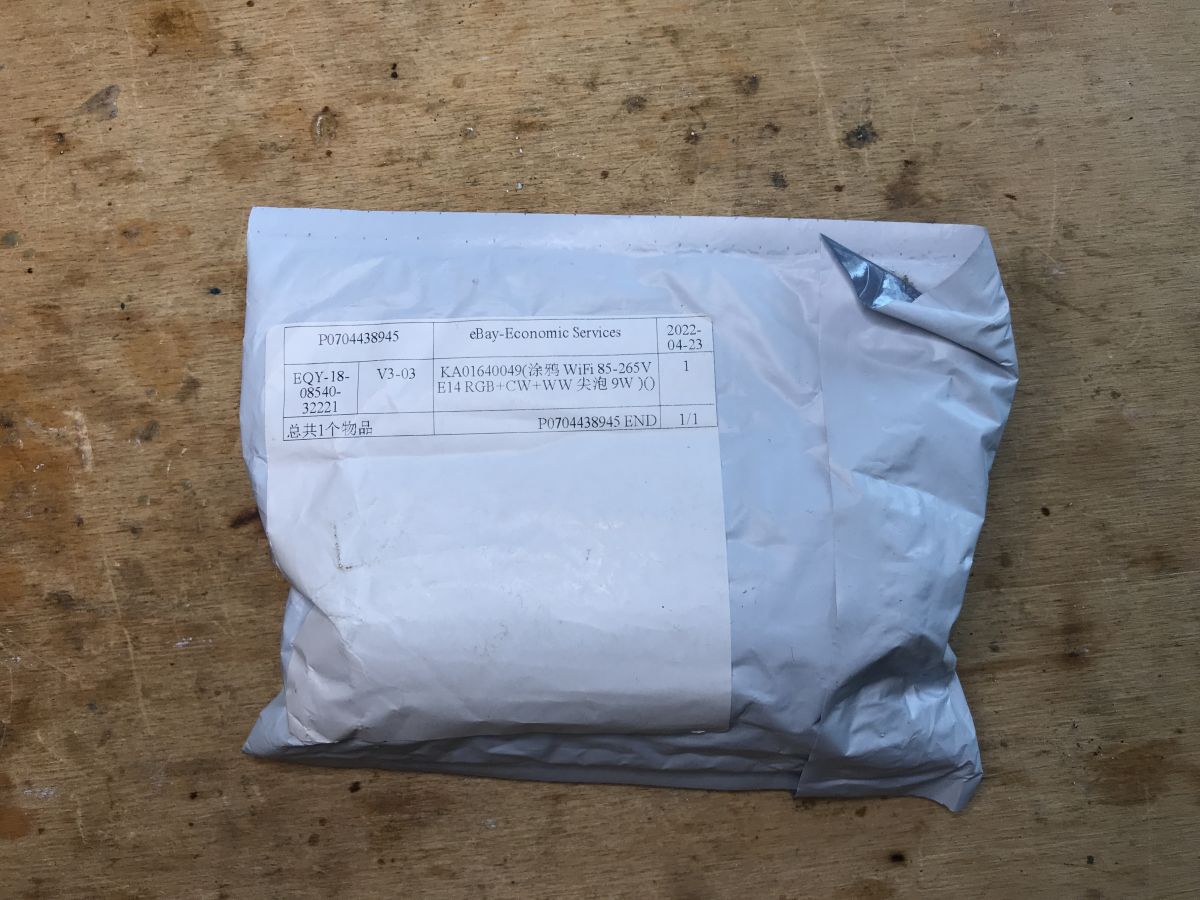
The shipment was from China but there were no customs issues. I waited for the goods for quite a long time, several weeks, until I lost track of time.
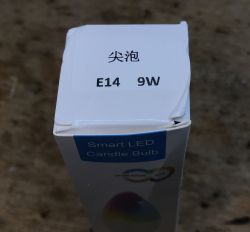
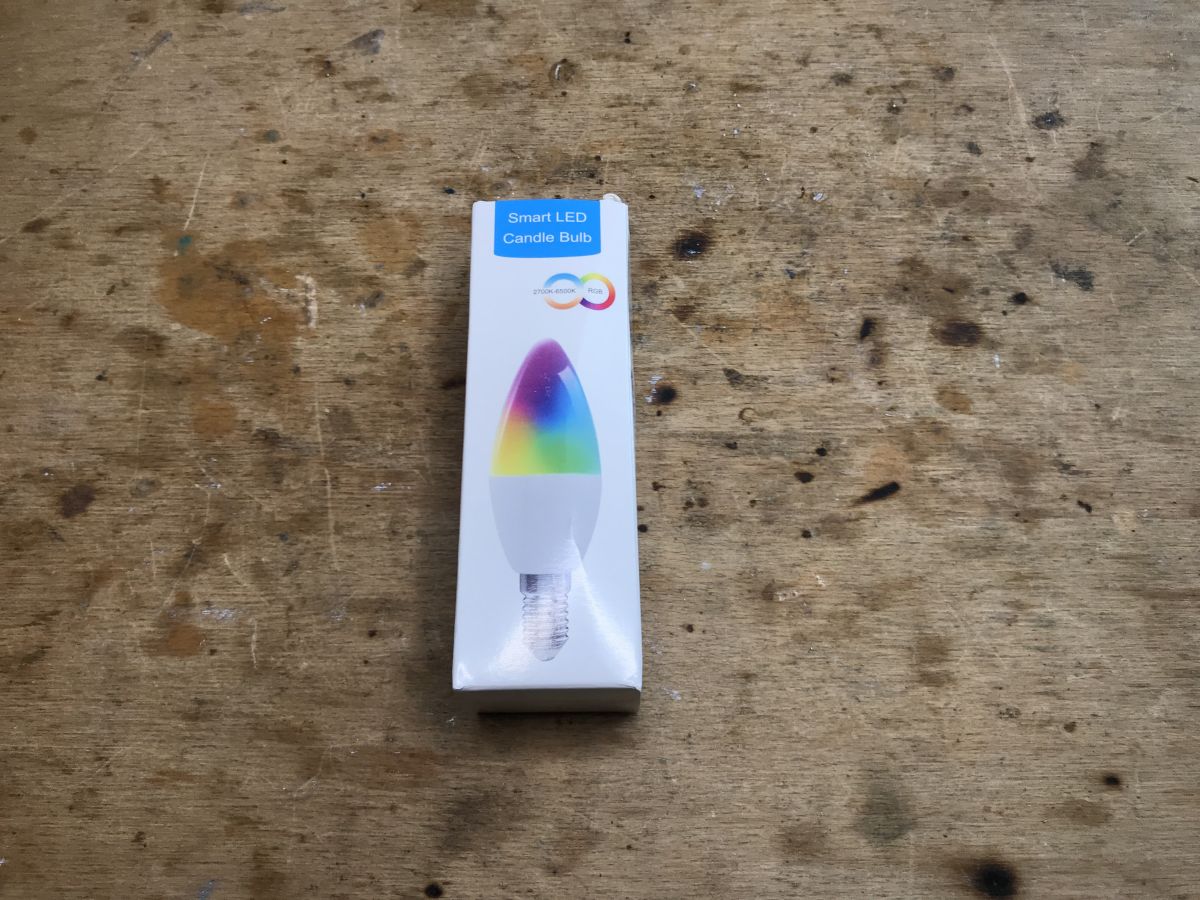
Teardown and programming of the Tuya RGBCW E14 9W WiFi lamp
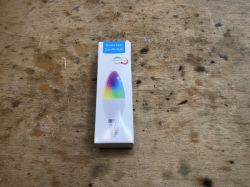
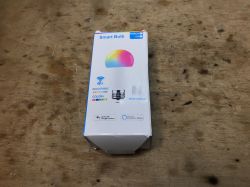
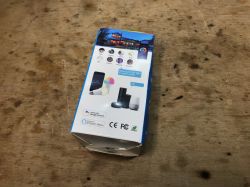
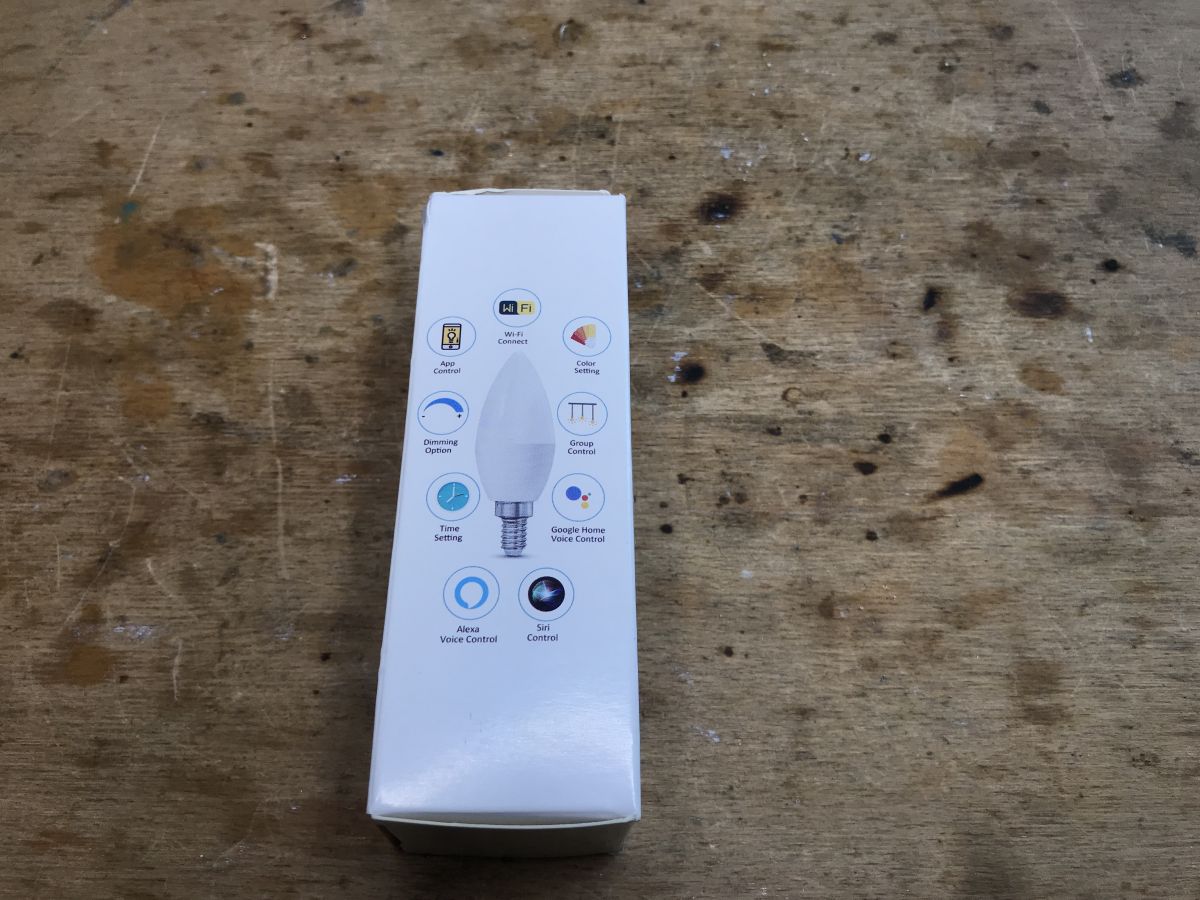
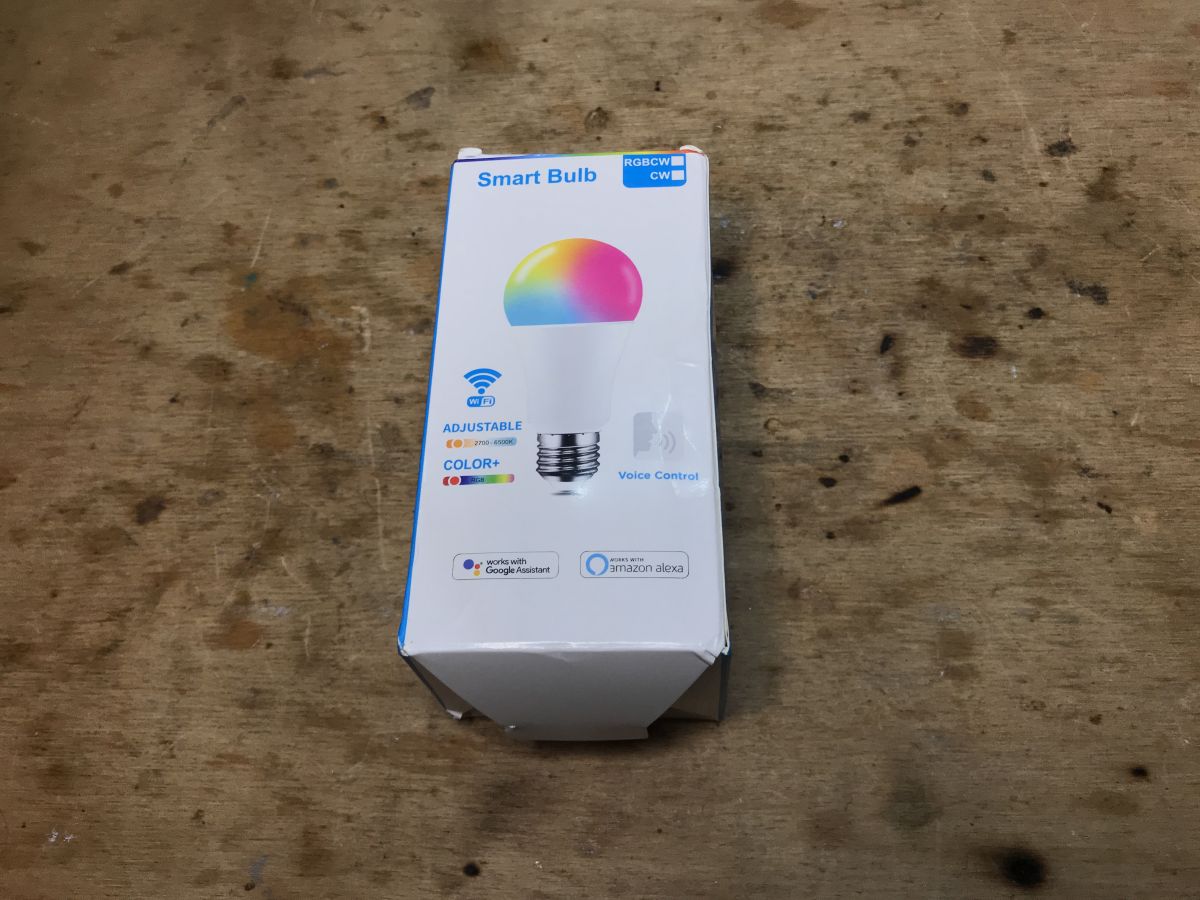
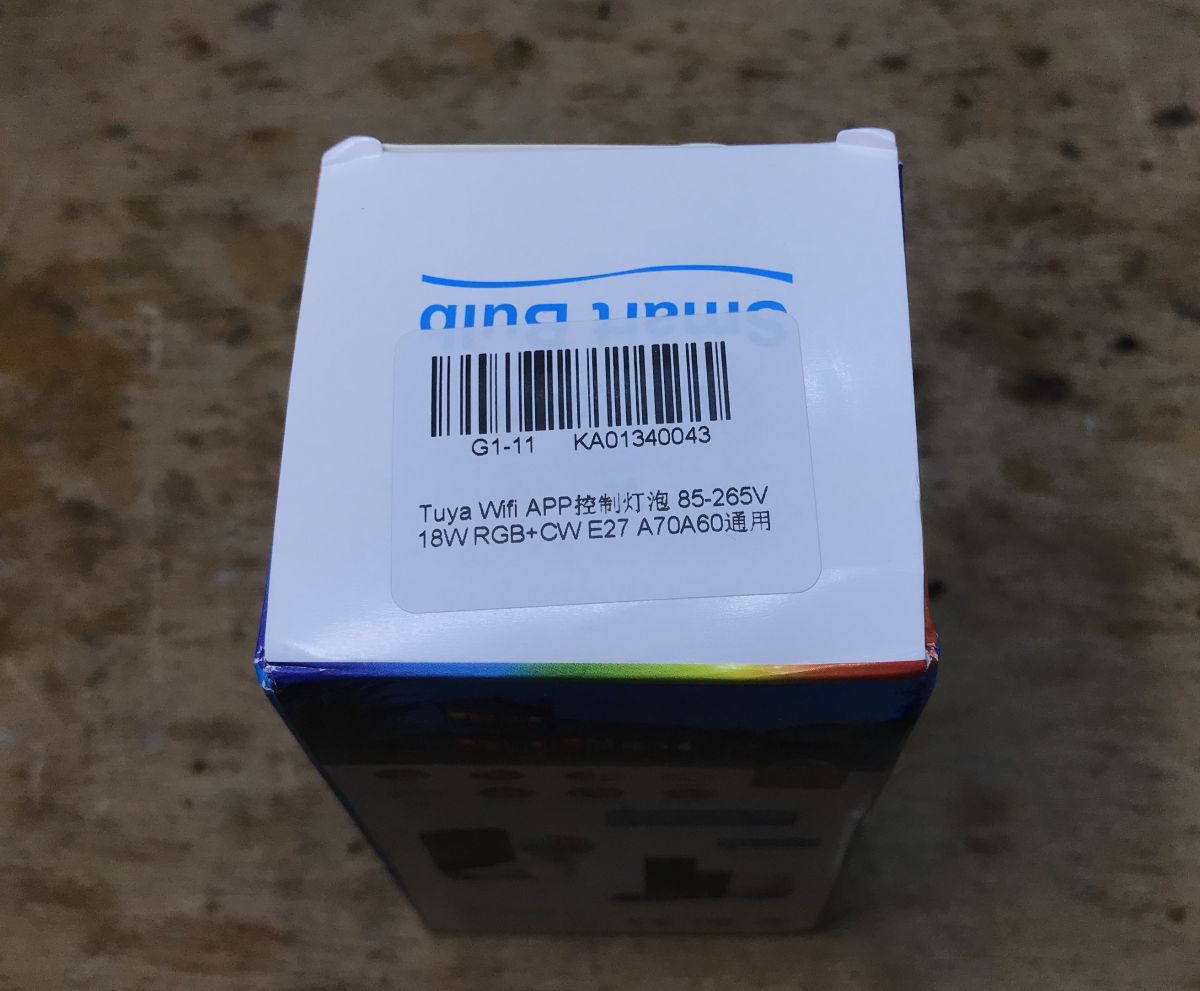
On the outside of the package there is information about what it contains:

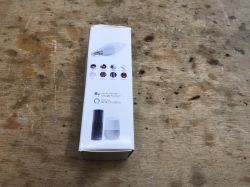
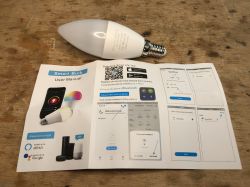
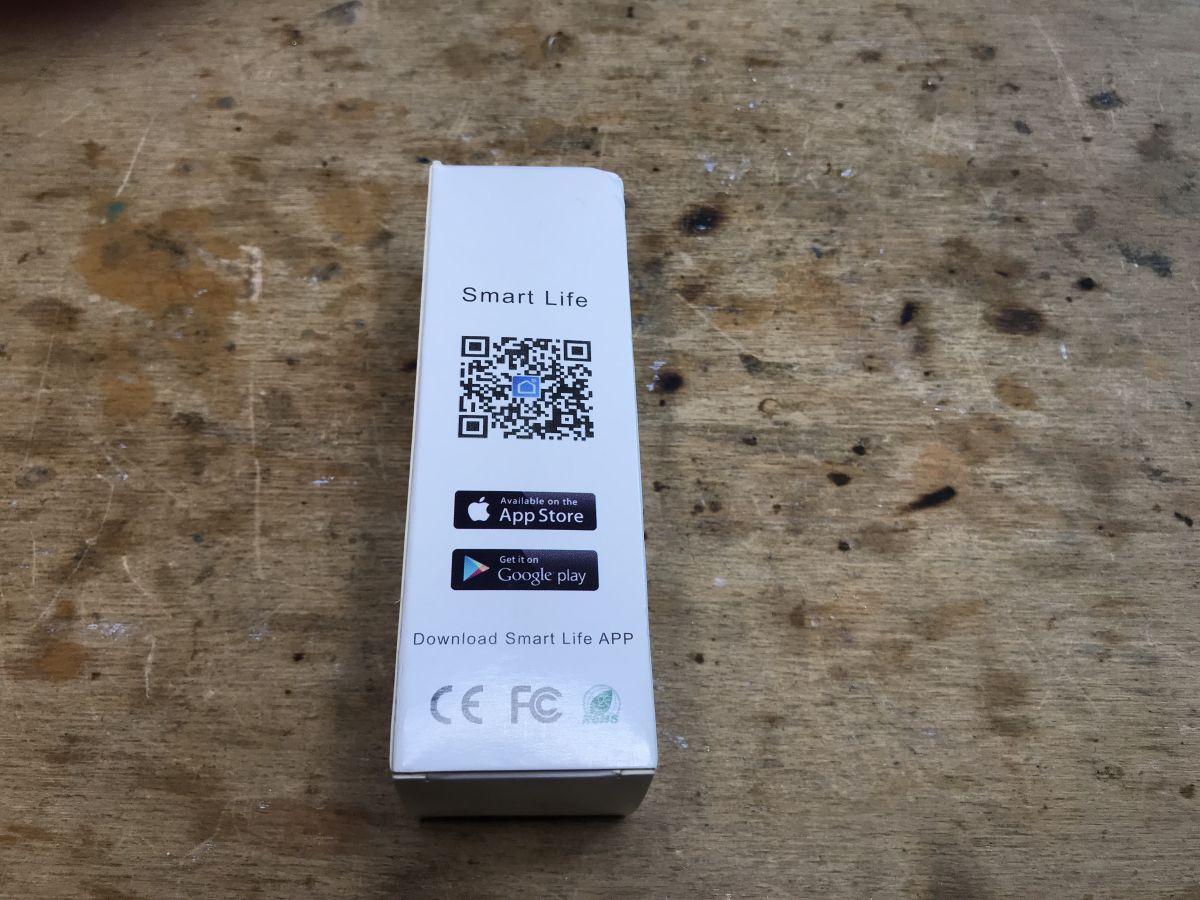
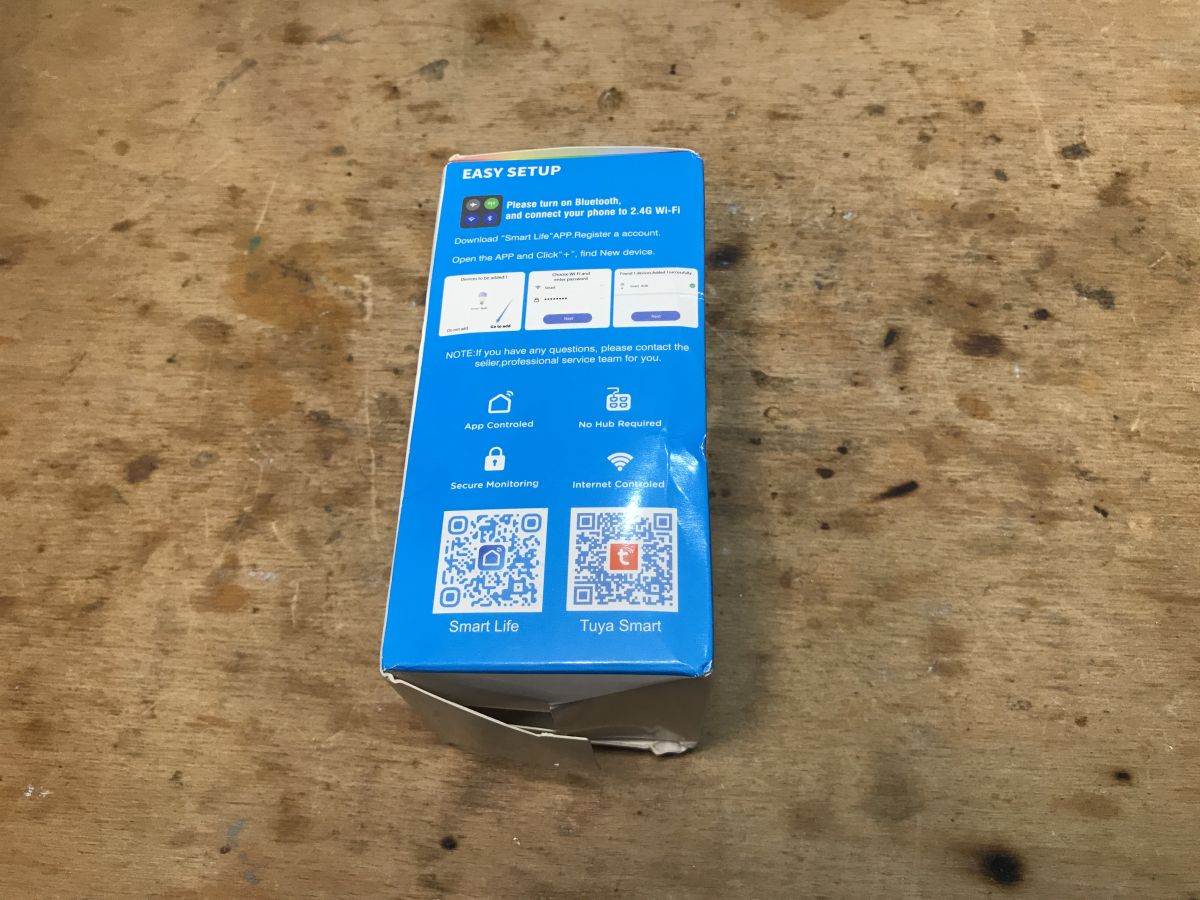
Package; as standard, there are QR codes for the SmartLife application:


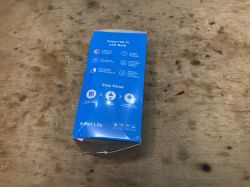
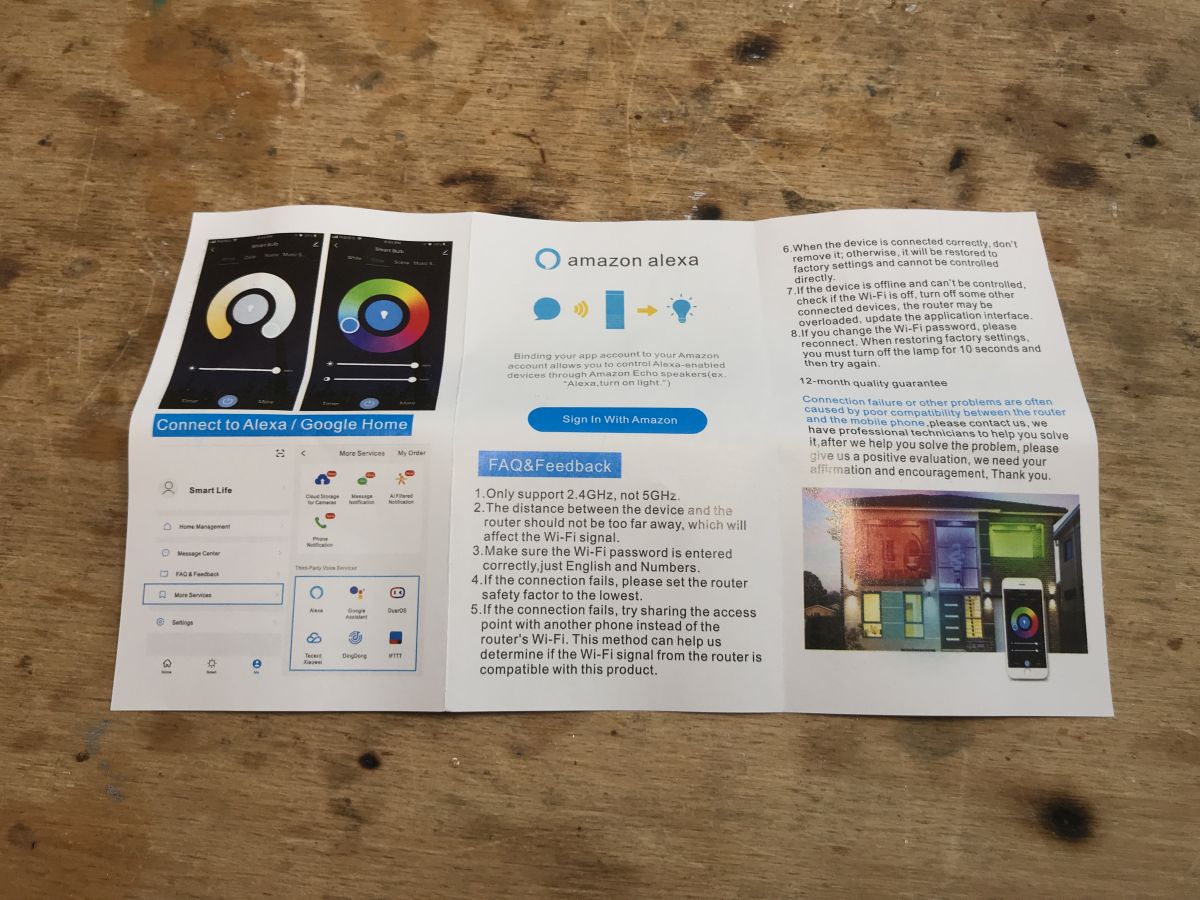
Instruction. What distinguishes these LED lamps? Probably, including Bluetooth. The Beken production chip used inside, BK7231 (BK7231T or BK7231N) offers WiFi and Blueooth connectivity. This makes it more attractive to manufacturers than the ESP8266.
WiFi is 2.4GHz standard.
 But I have presented the tests of the SmartLife application on the forum many times, so we go straight to the teardown.
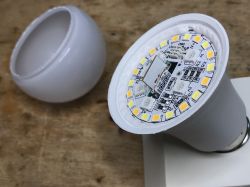
The dome can be removed with your bare hand:

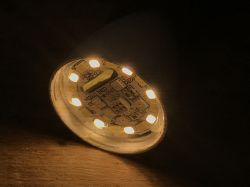
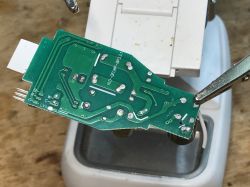
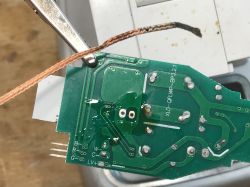
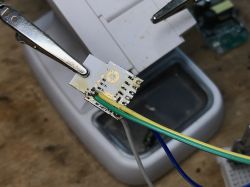
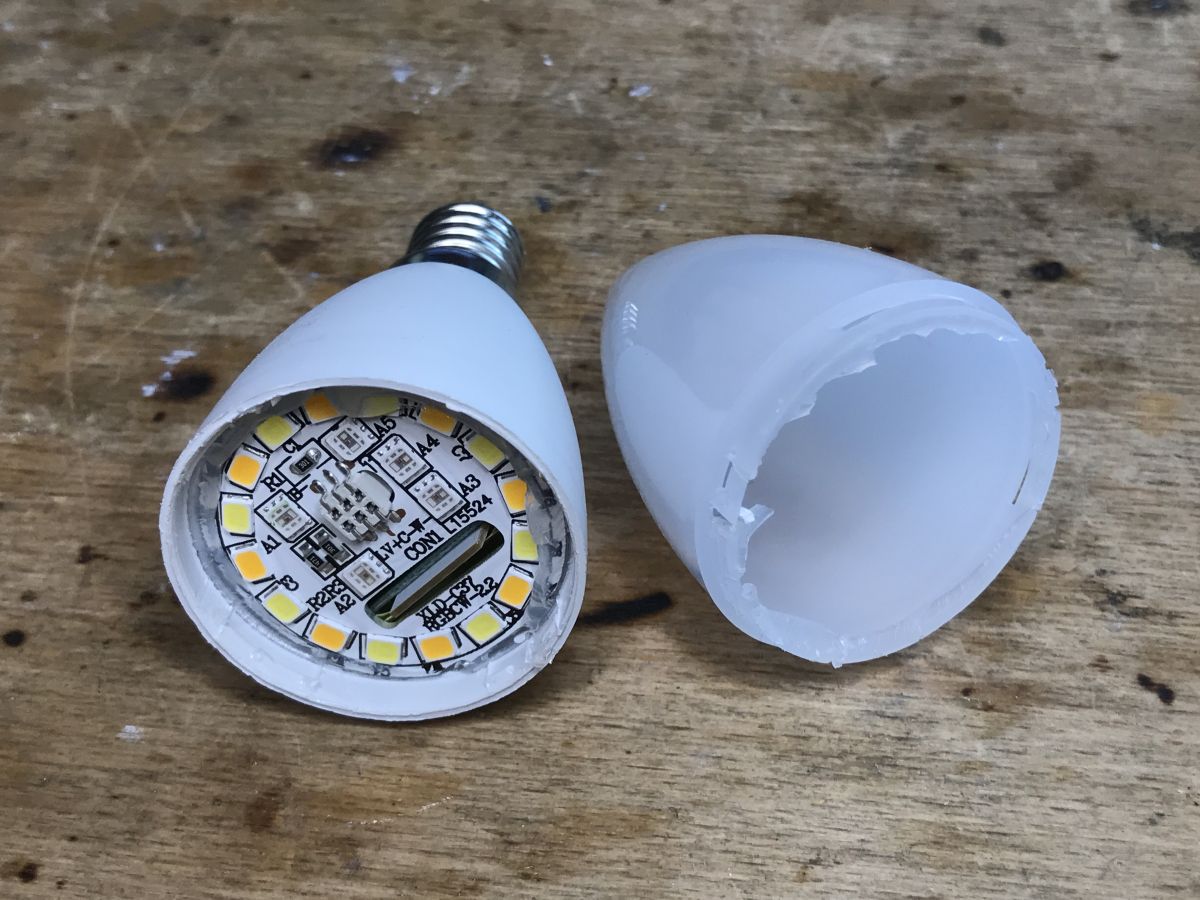
The PCB with LEDs is more difficult to pry:
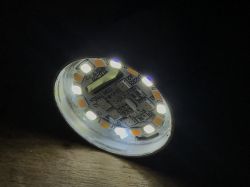
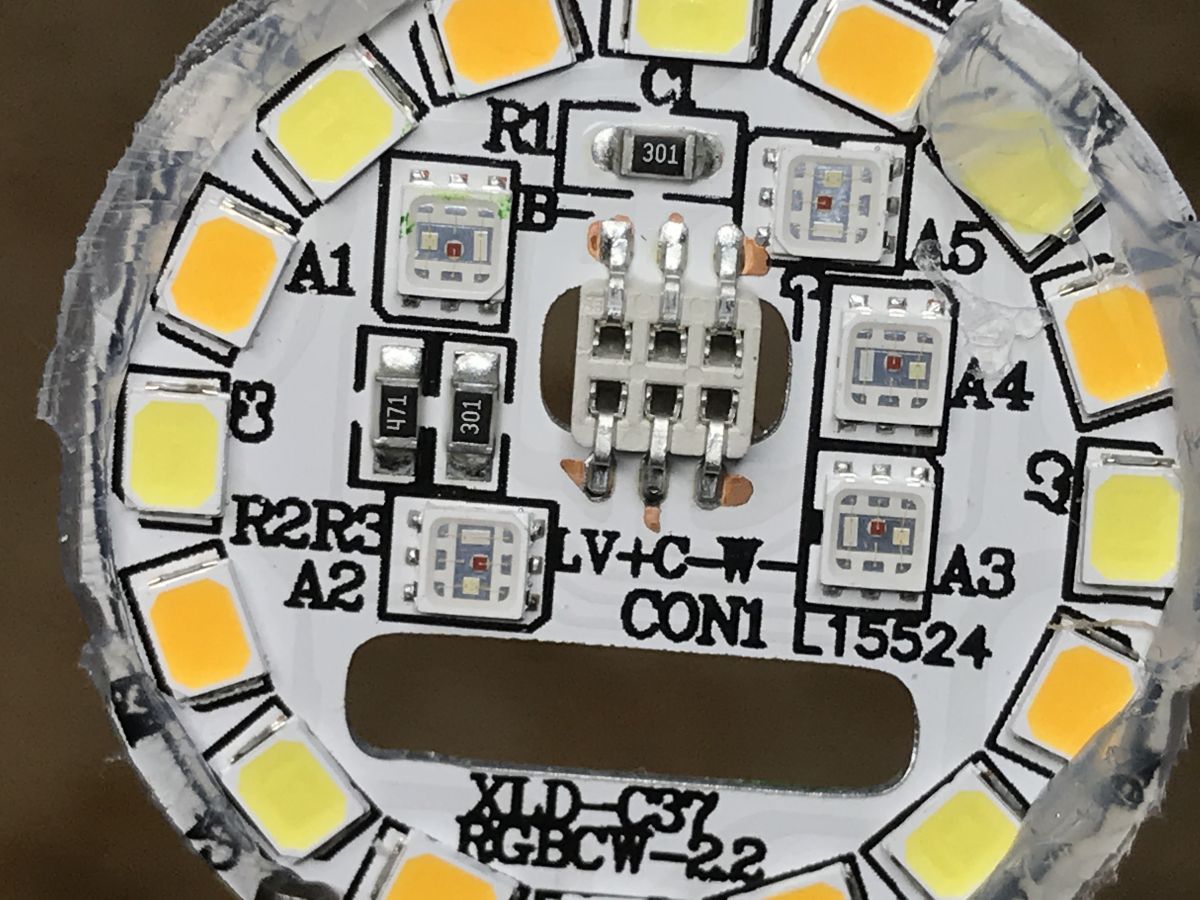
You can see three types of LEDs: colored (RGB), warm white and cool white. The bottom of the board is also a heat sink:
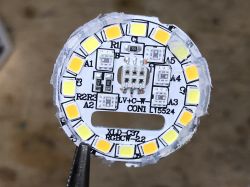
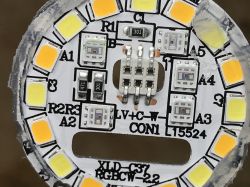
PCB marking: C stands for "cool" LED, W stands for "warm" LED.
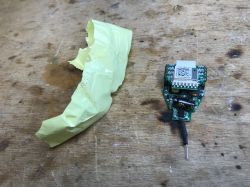
There was a small problem here - I wanted to remove the thread (it is put on), and instead of all the plastic, it broke in half, as in the photo:
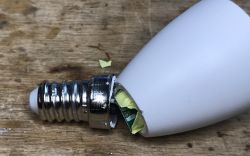
This was the first time it had happened to me. You will need to glue. At least the plate was removed:
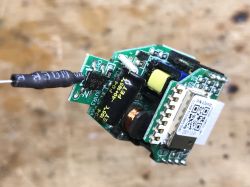
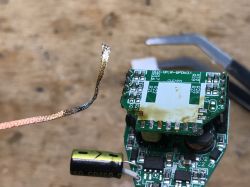
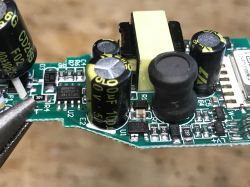
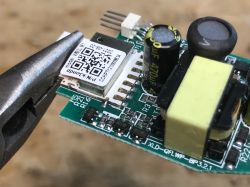
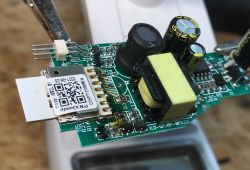
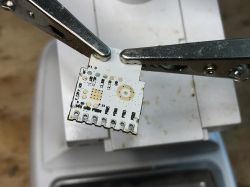
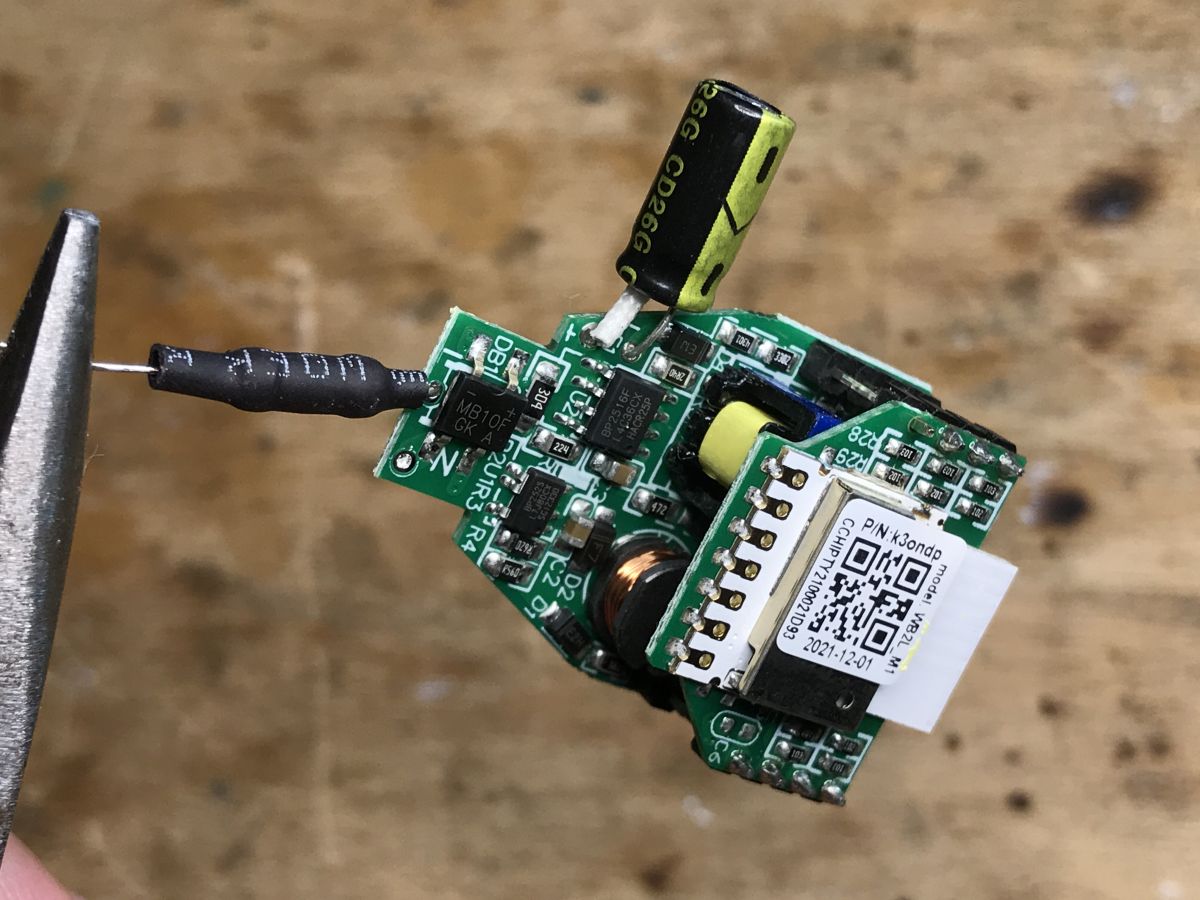
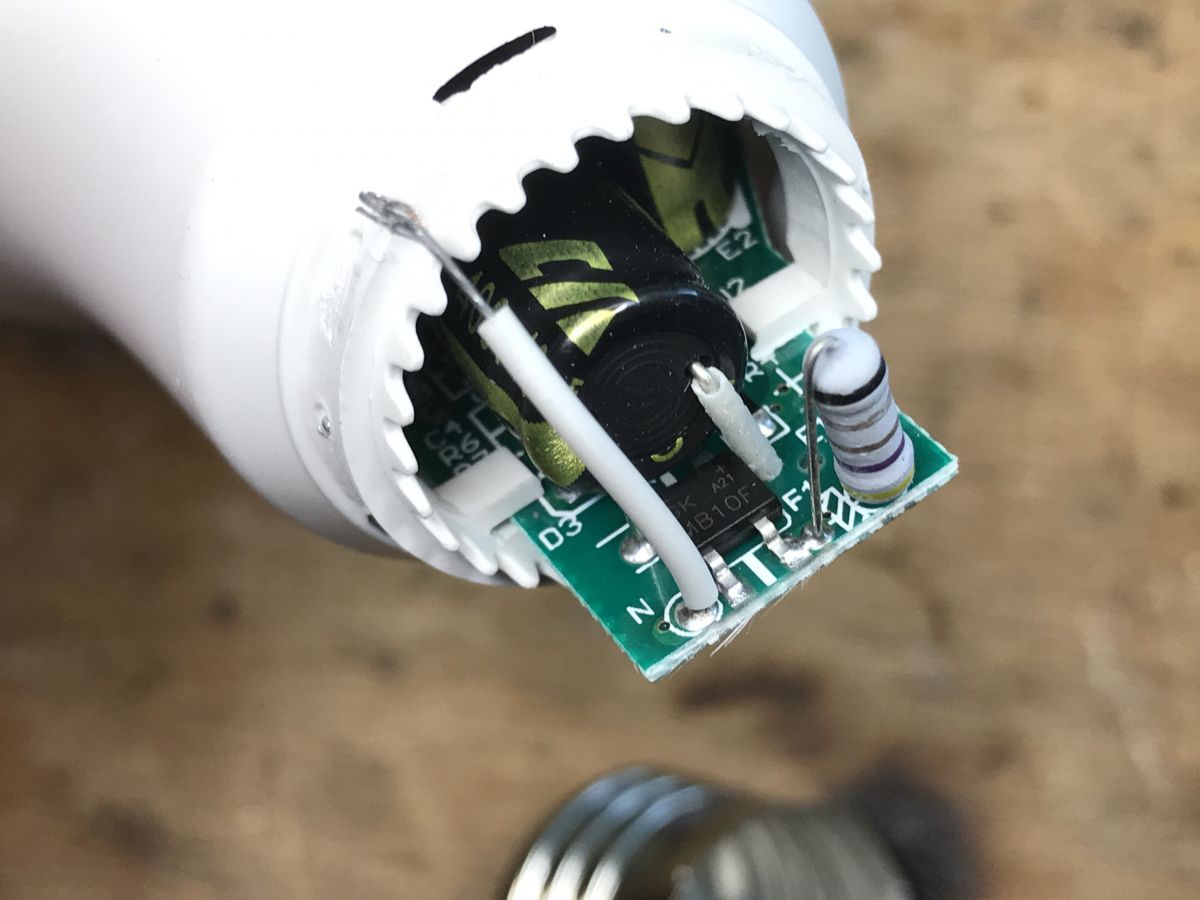
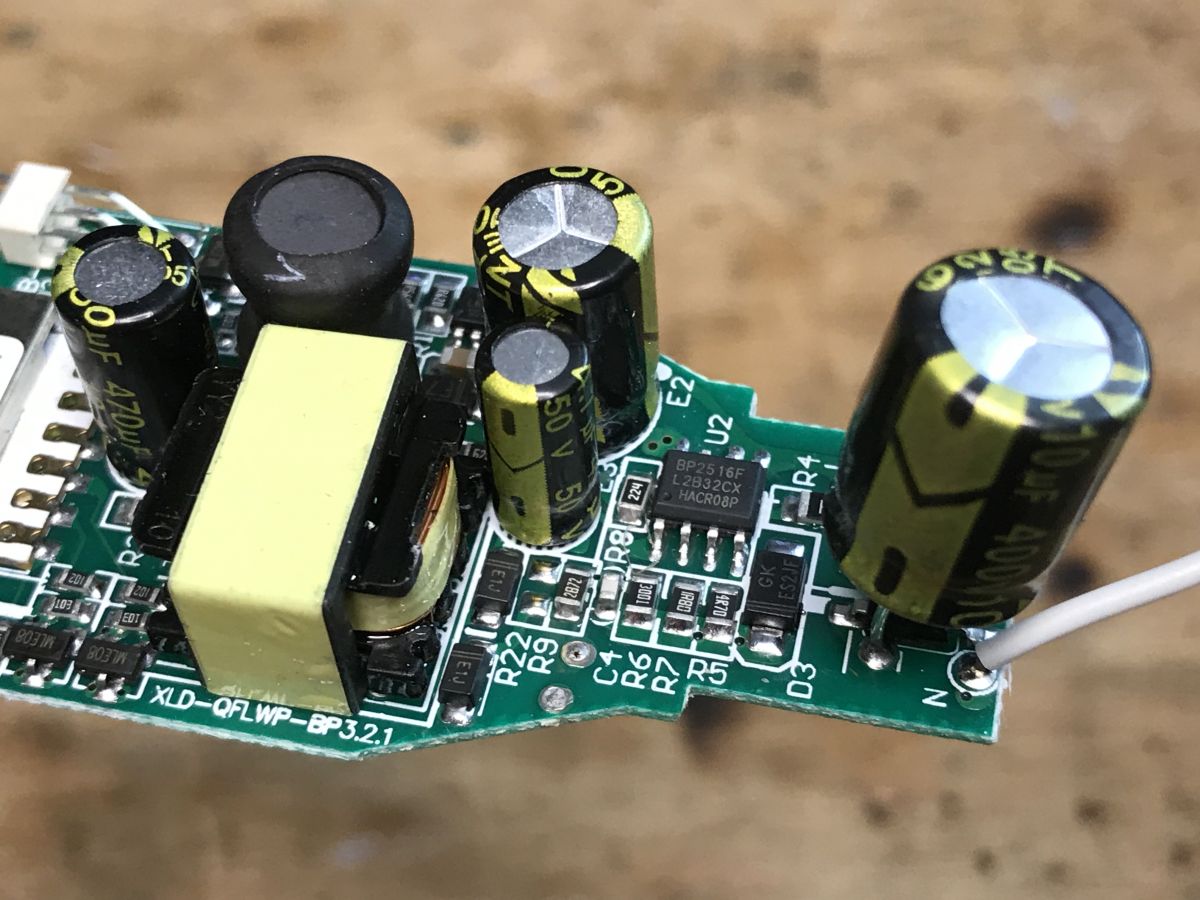
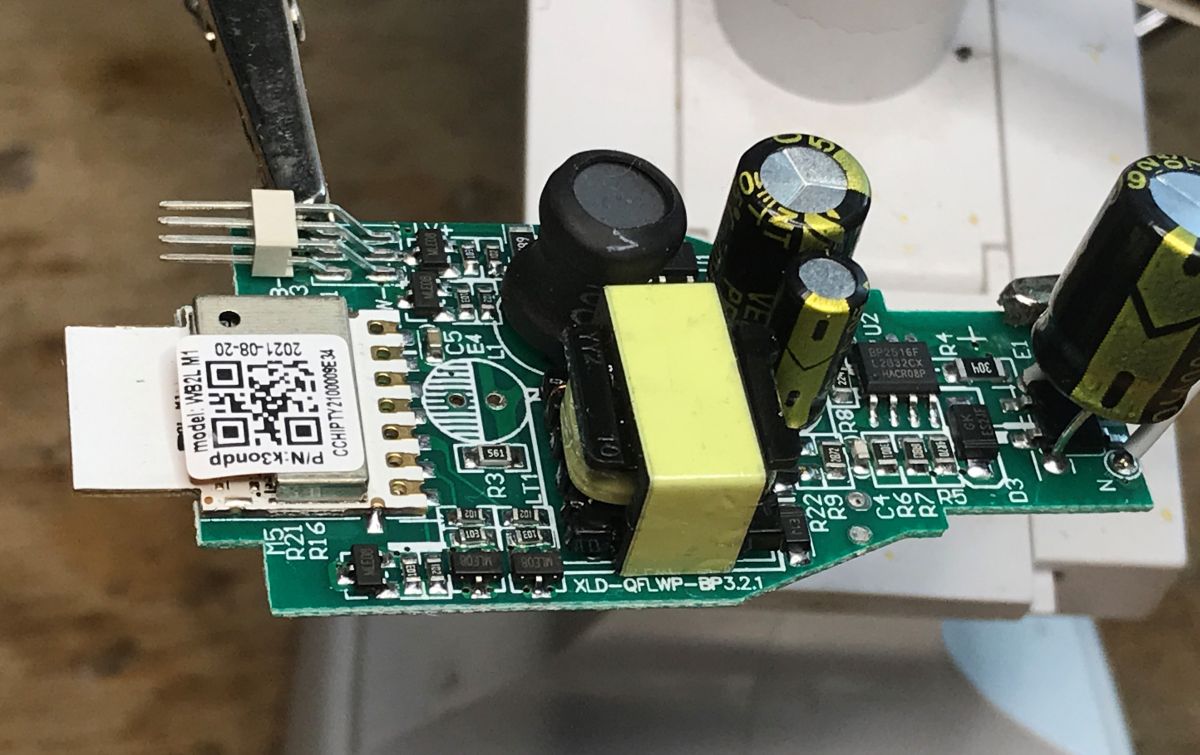
You can see a fusible resistor (in a sleeve), a rectifier bridge, a WiFi module ...


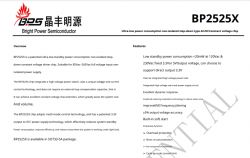
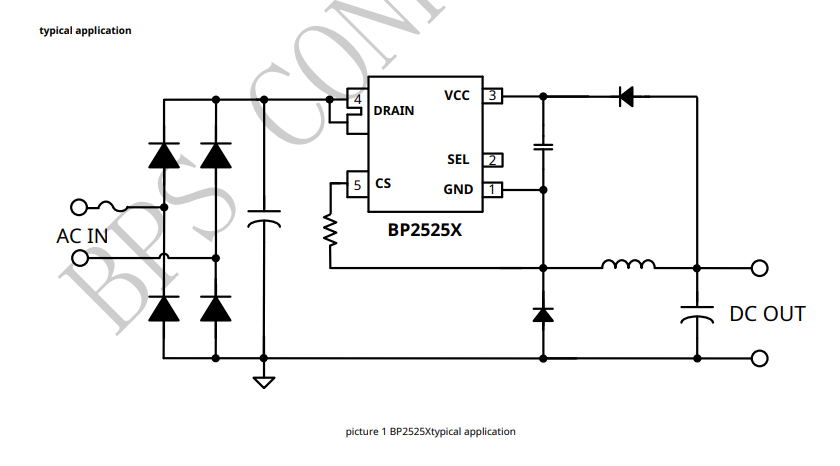
There are also two integrated circuits. BP2616F and BP2525. BP2525 is a transformerless power supply, it most likely provides 3.3V for WB2L_M1. The second component perhaps provides power to the LED.
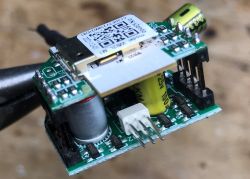
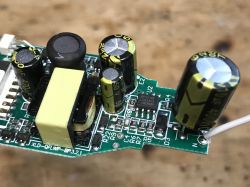
On the other hand, you can see five NP6003 transistors. Five, one per channel, R, G, B, C, W. These are of course N channel MOSFETs .
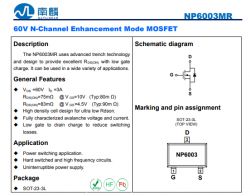
It is worth paying attention to the Vds. Such a low voltage? This is because they do not switch the mains potential directly, they are connected downstream from the BP2616F. I also suspect that the BP2616F limits the current, so even if we permanently open all these five transistors, we will not exceed a certain predetermined barrier (I used to check it, smart LED lamps work either in RGB or CW mode, never all The LEDs are lit at once, out of curiosity I turned on all the LEDs one by one and I saw that after turning on RGB and CW at once, the current does not increase any more, because the BP2616F system limits it).
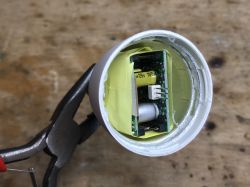
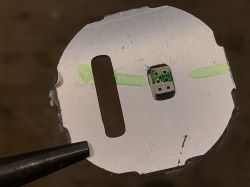
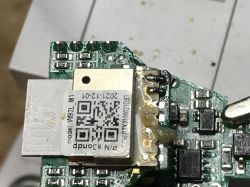
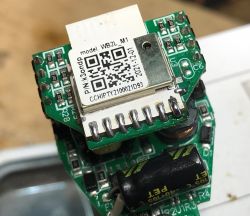
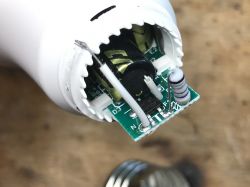
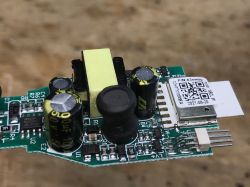
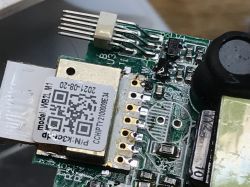
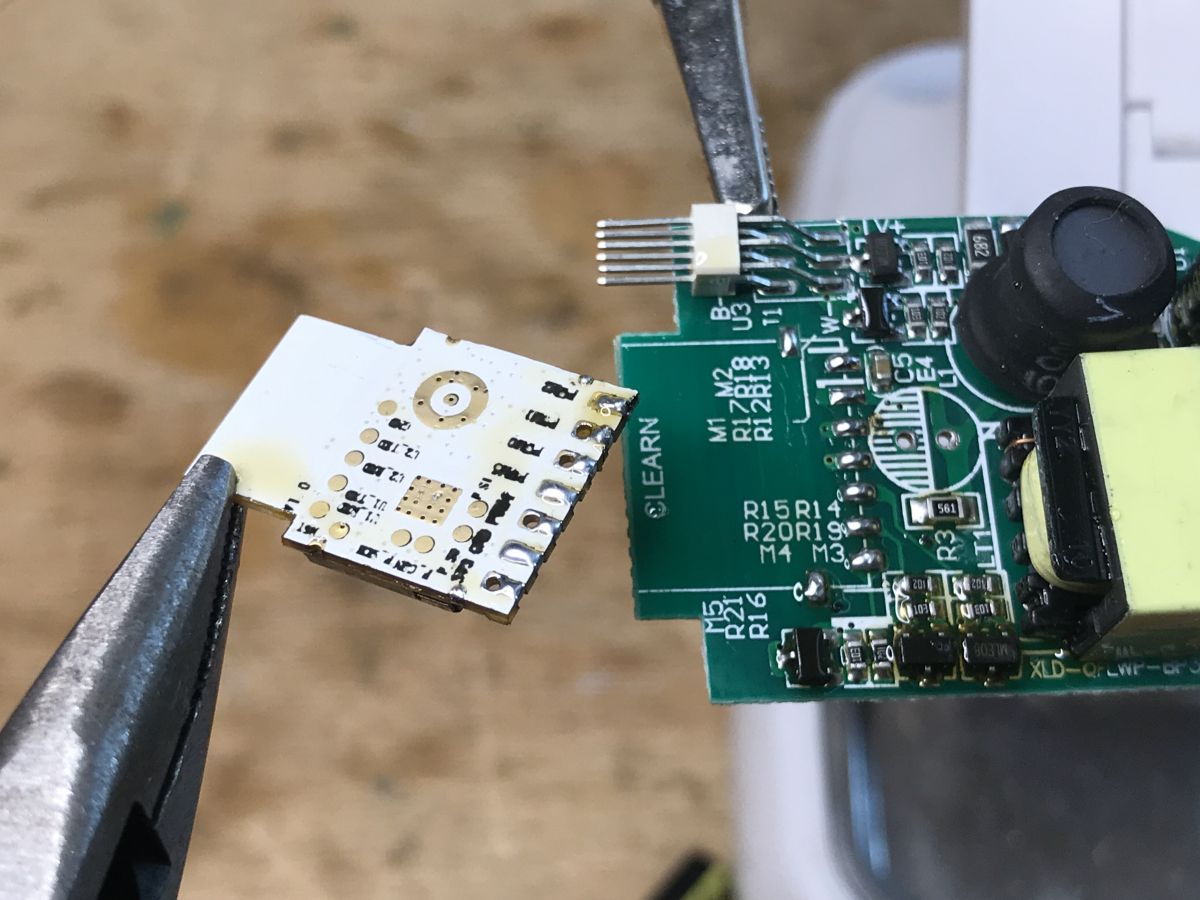
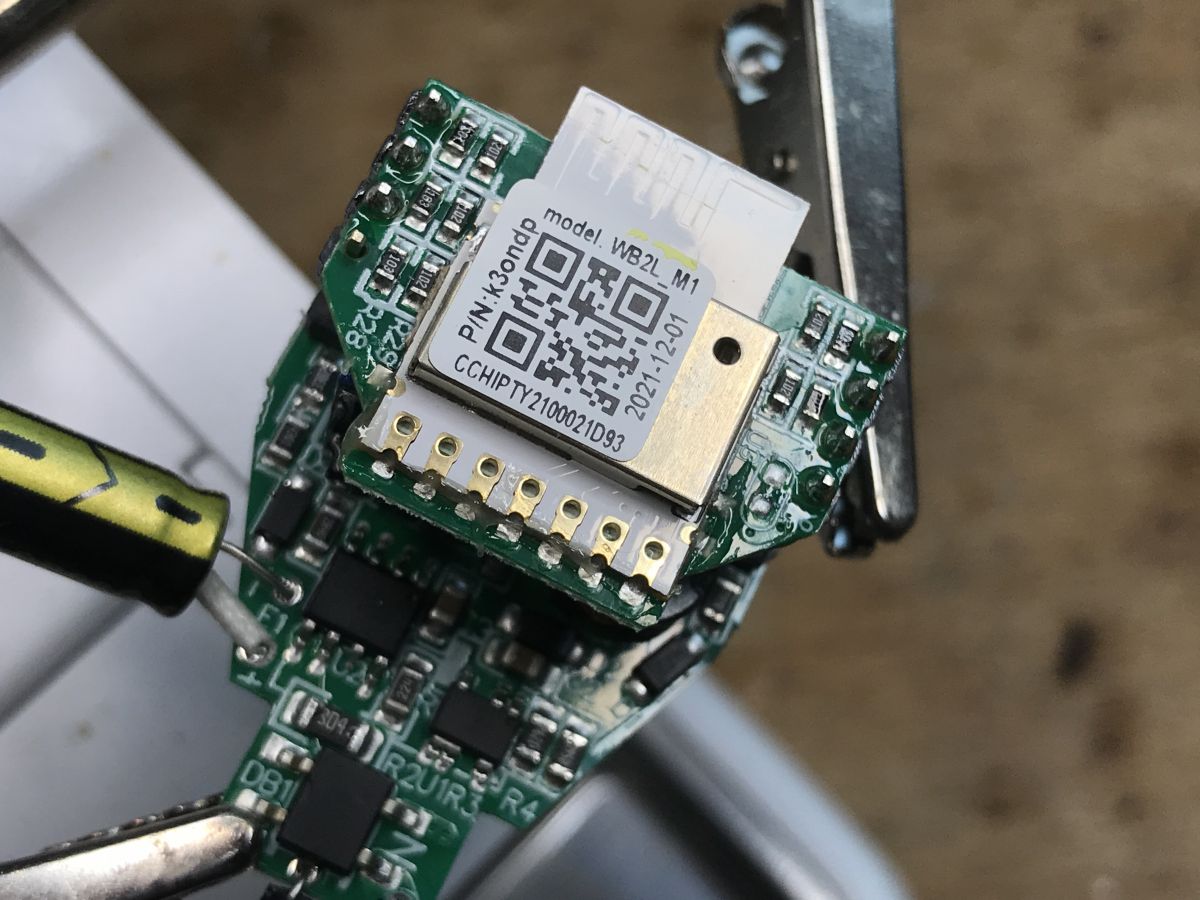
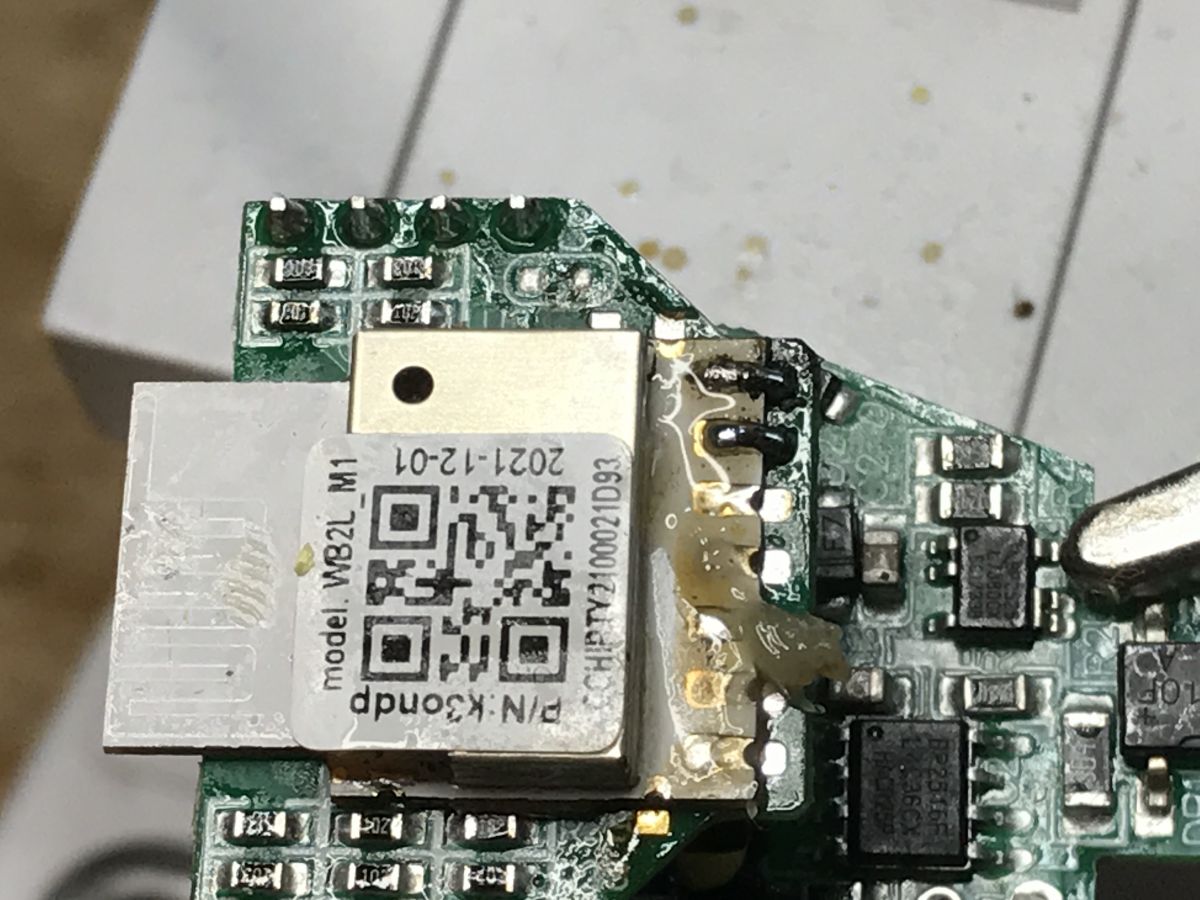
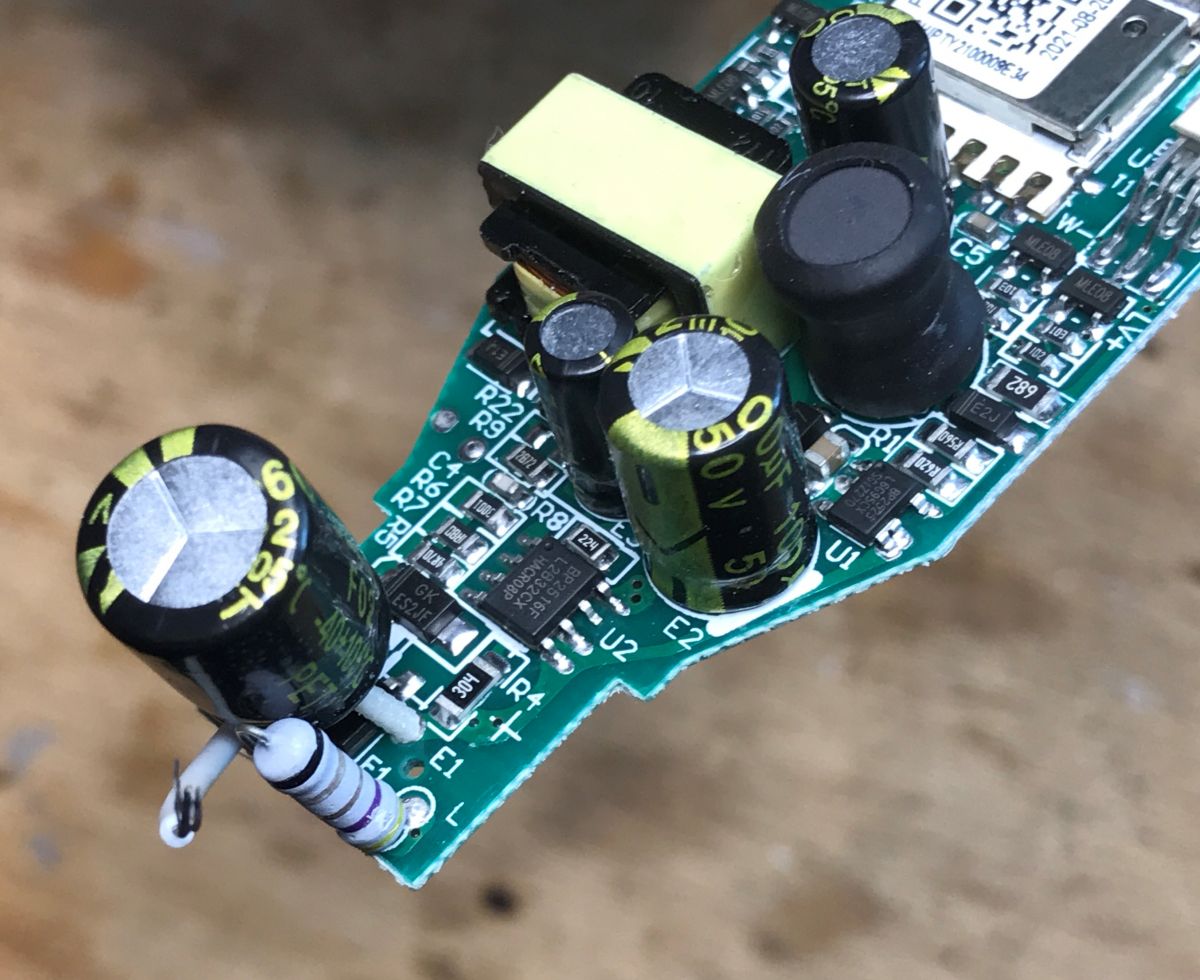
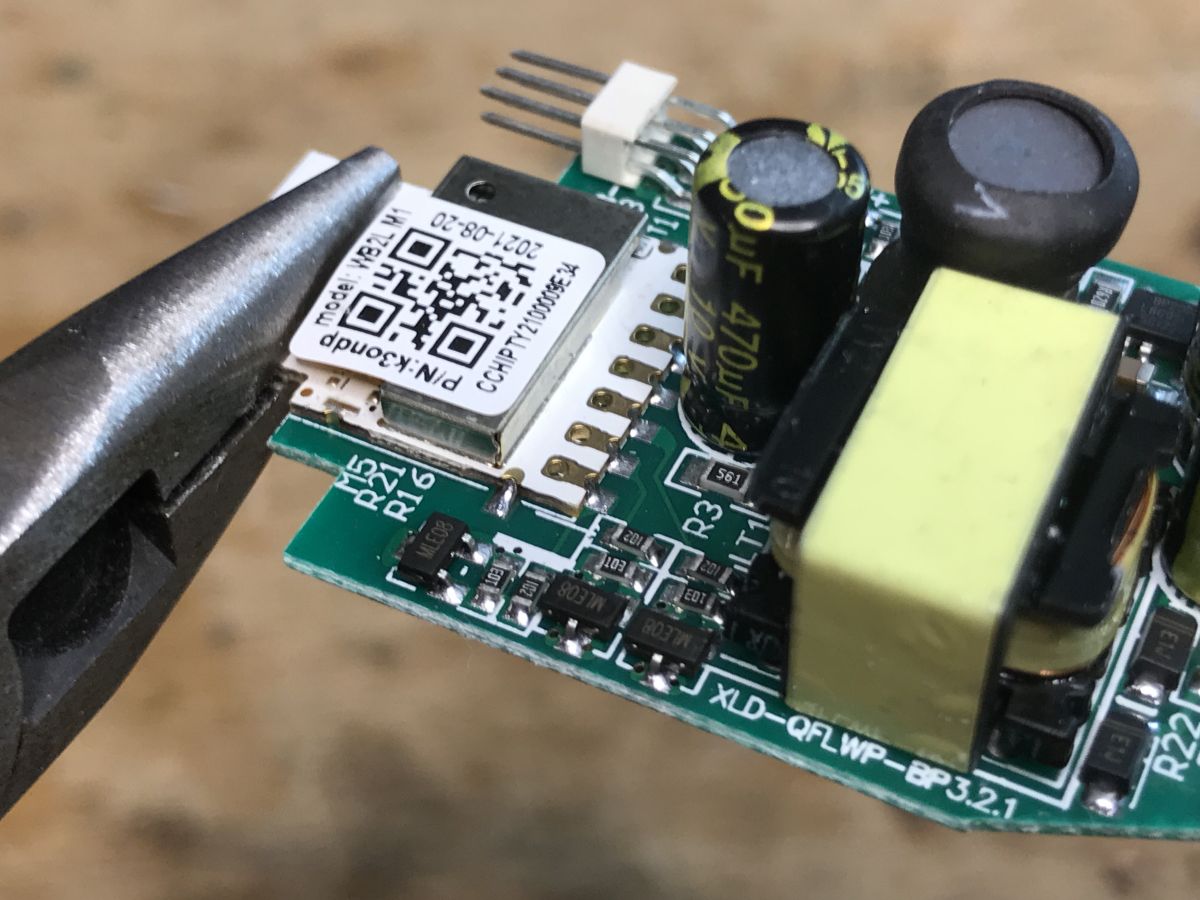
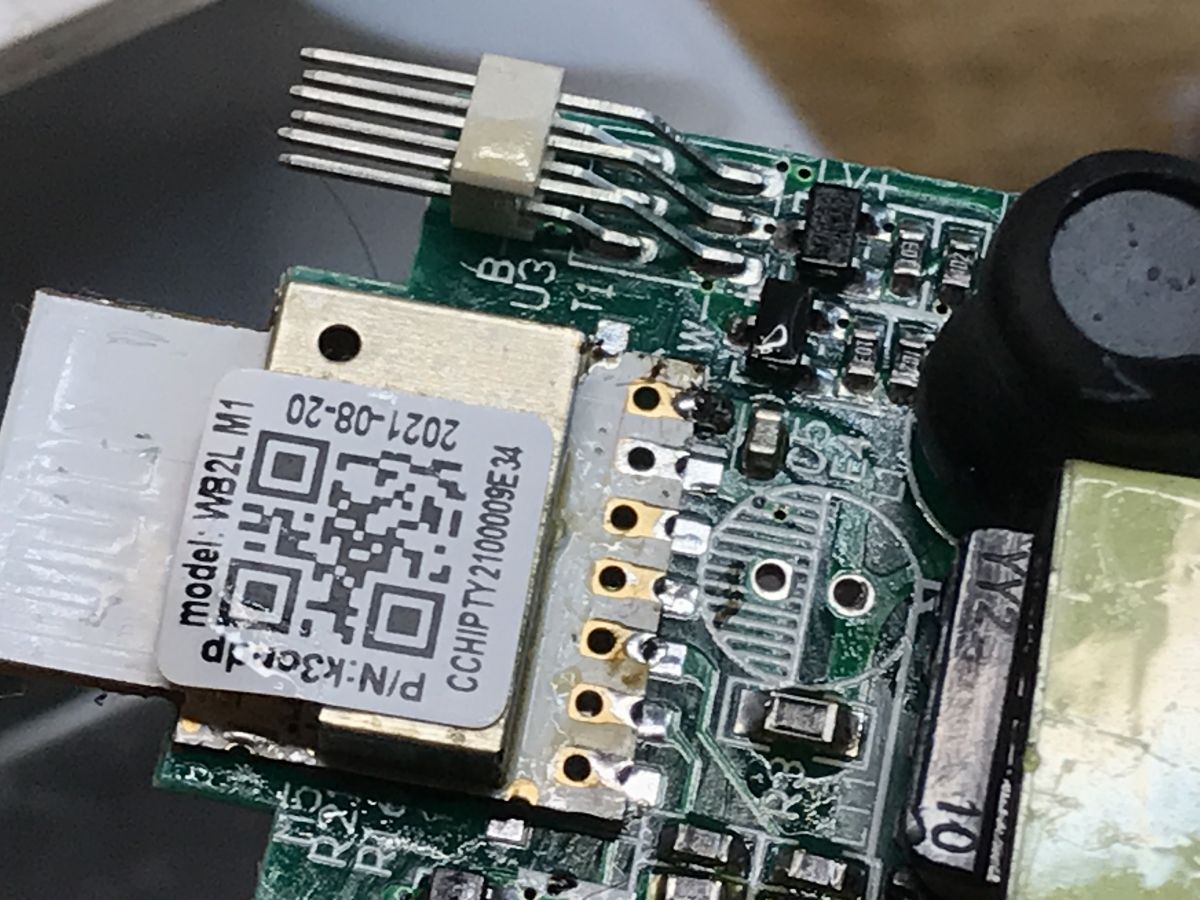
The WB2L_M1 WiFi module used seems to be the WB2L version:
However, this is not an ordinary WB2L. The WB2L has a BK7231T inside and the WB2L_M1 is based on a slightly newer Beken chip, the BK7231N. It is worth remembering about this when uploading the firmware.
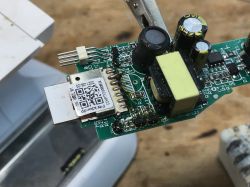
Additionally, we see that the RX / TX pins are covered.
How to program BK7231?
Please refer to the topics:
Garden Tuya CCWFIO232PK Double Relay - BK7231T - Programming
Qiachip Smart Switch - BK7231N / CB2S - interior, programming
LED WiFi RGBCW Tuya - teardown, BK7231N, programming with my Tasmota replacement
Light switch from the USA - Gosund Smart Switch SW5-A-V2.1 - BK7231T
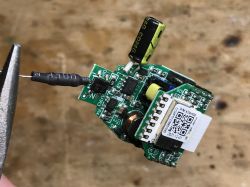
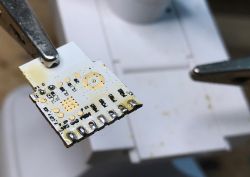
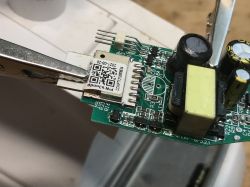
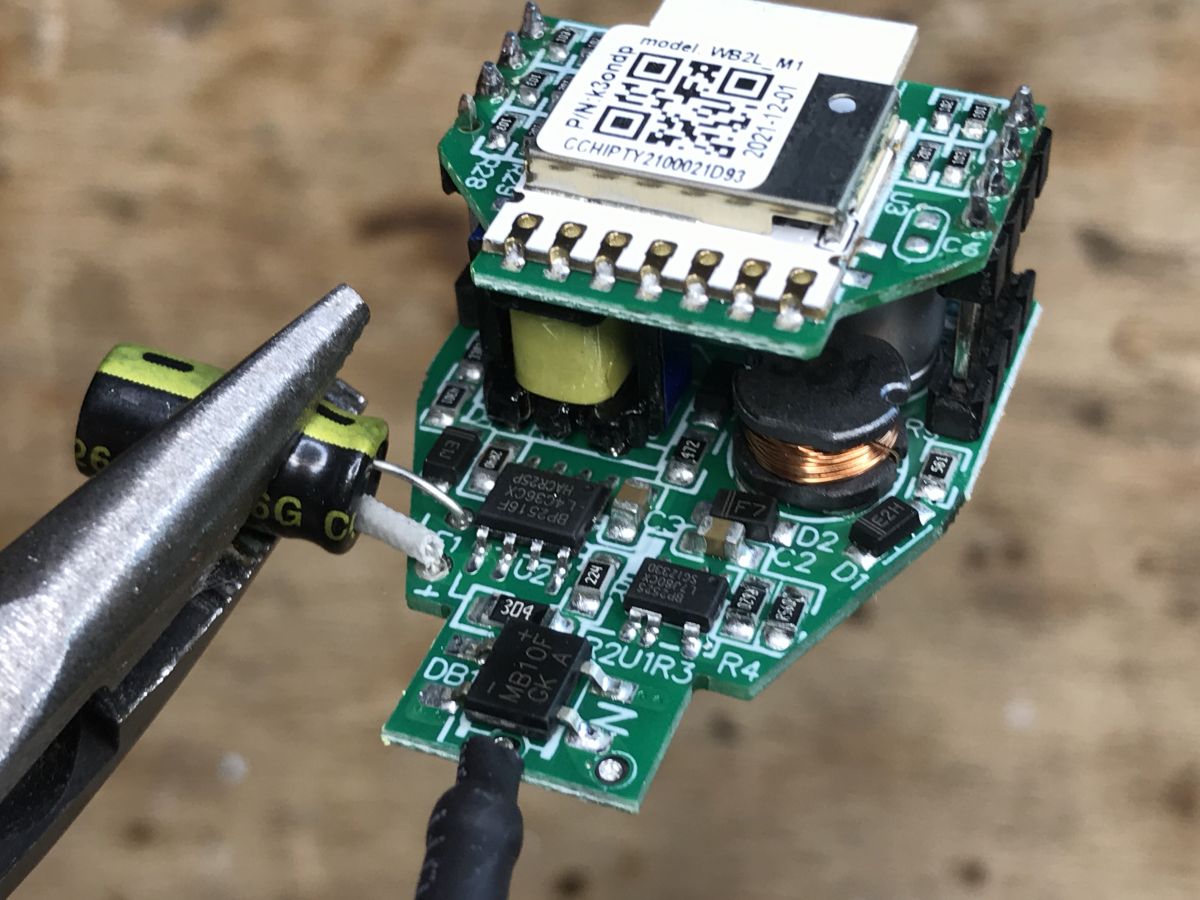
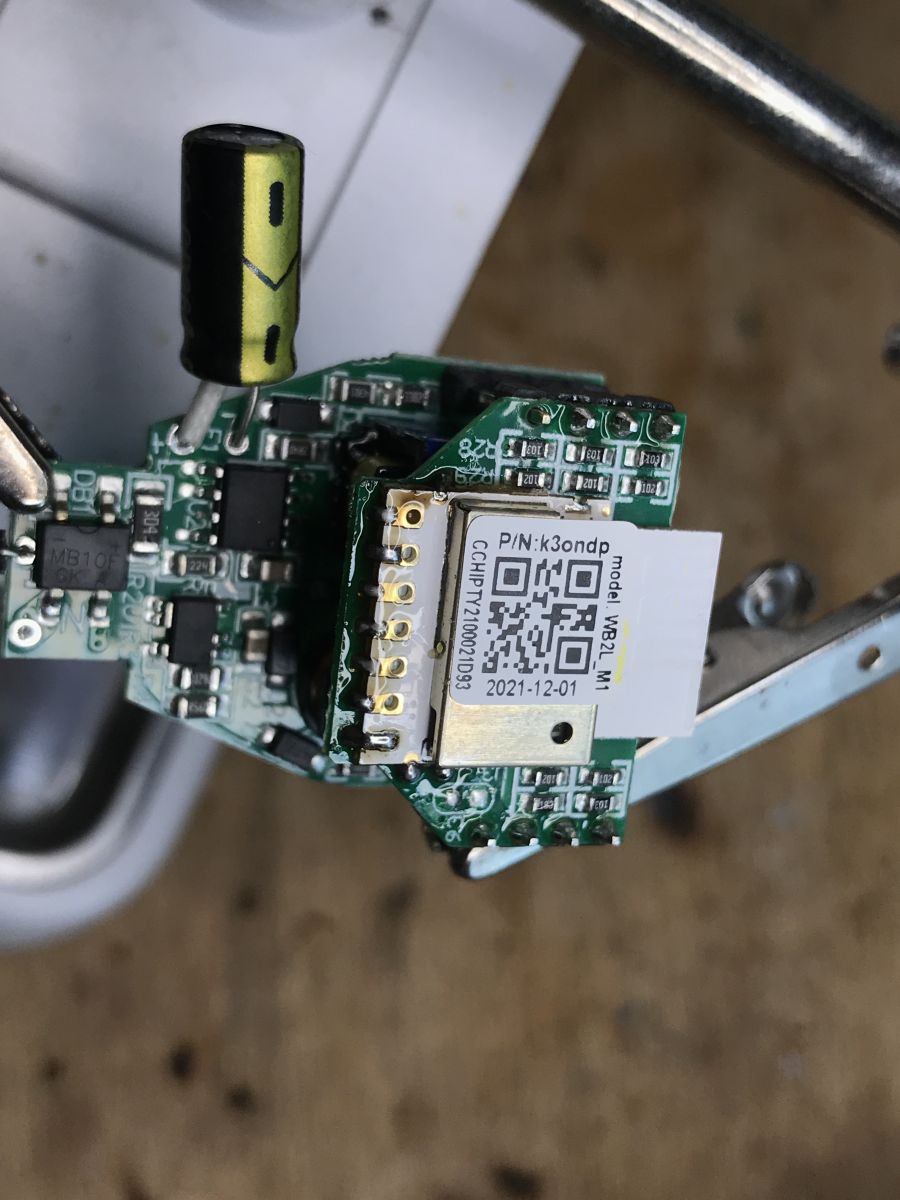
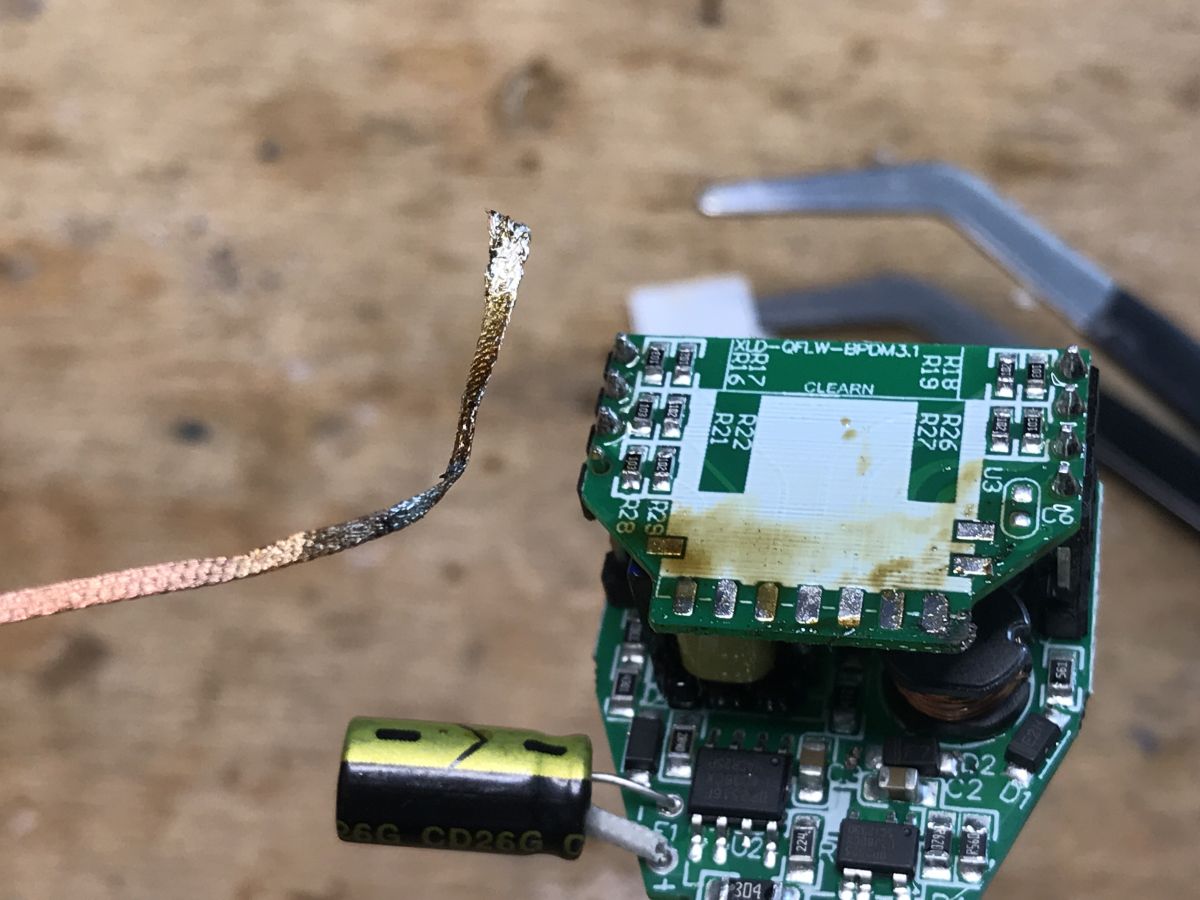
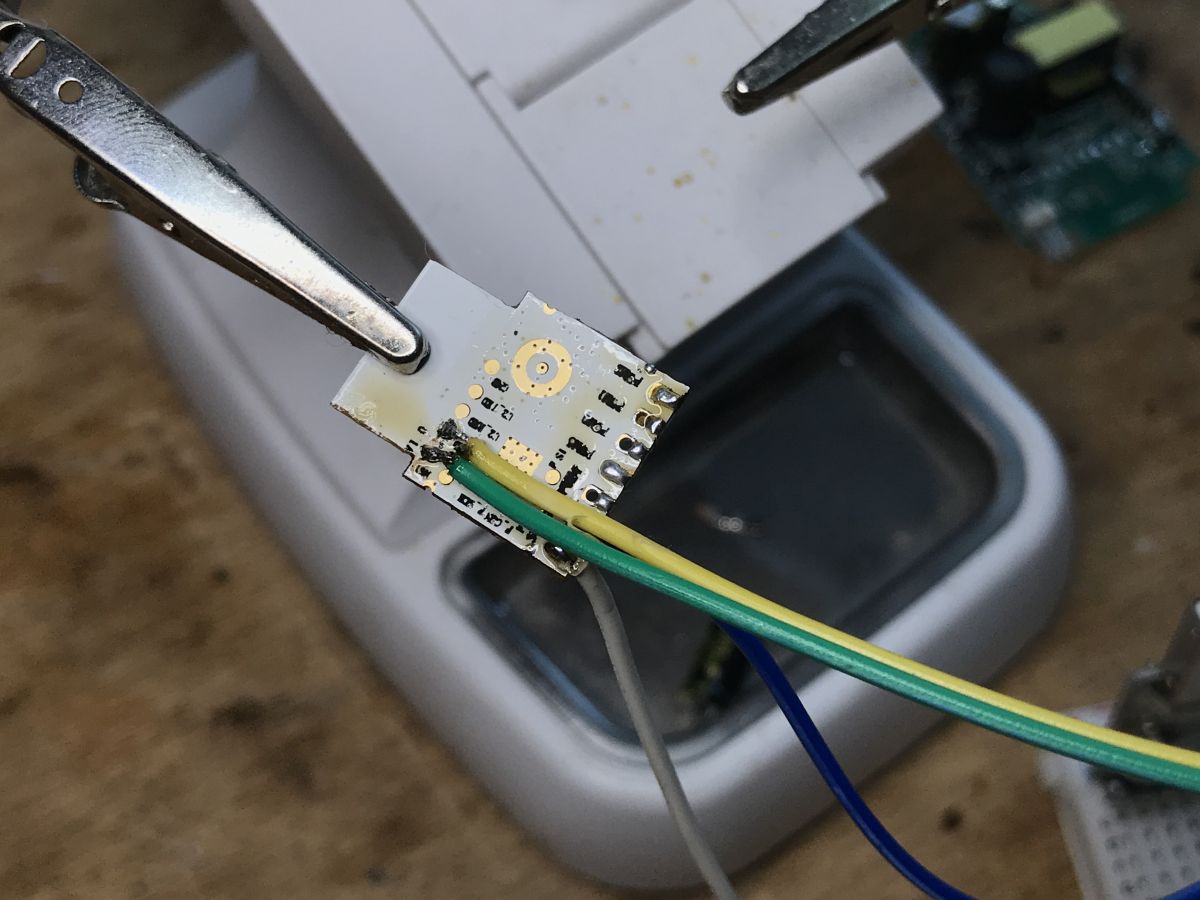
In order to desolder the module, I added flux and fresh Pb solder (Pb solder has lower melting point) to its pads and started to gradually heat them with hot air:


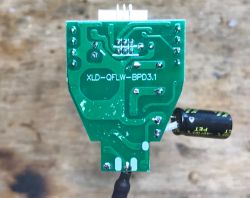
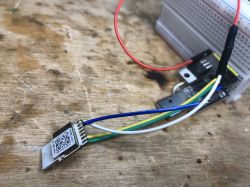
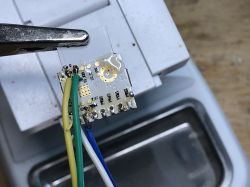
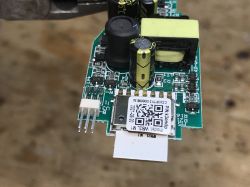
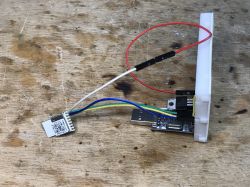
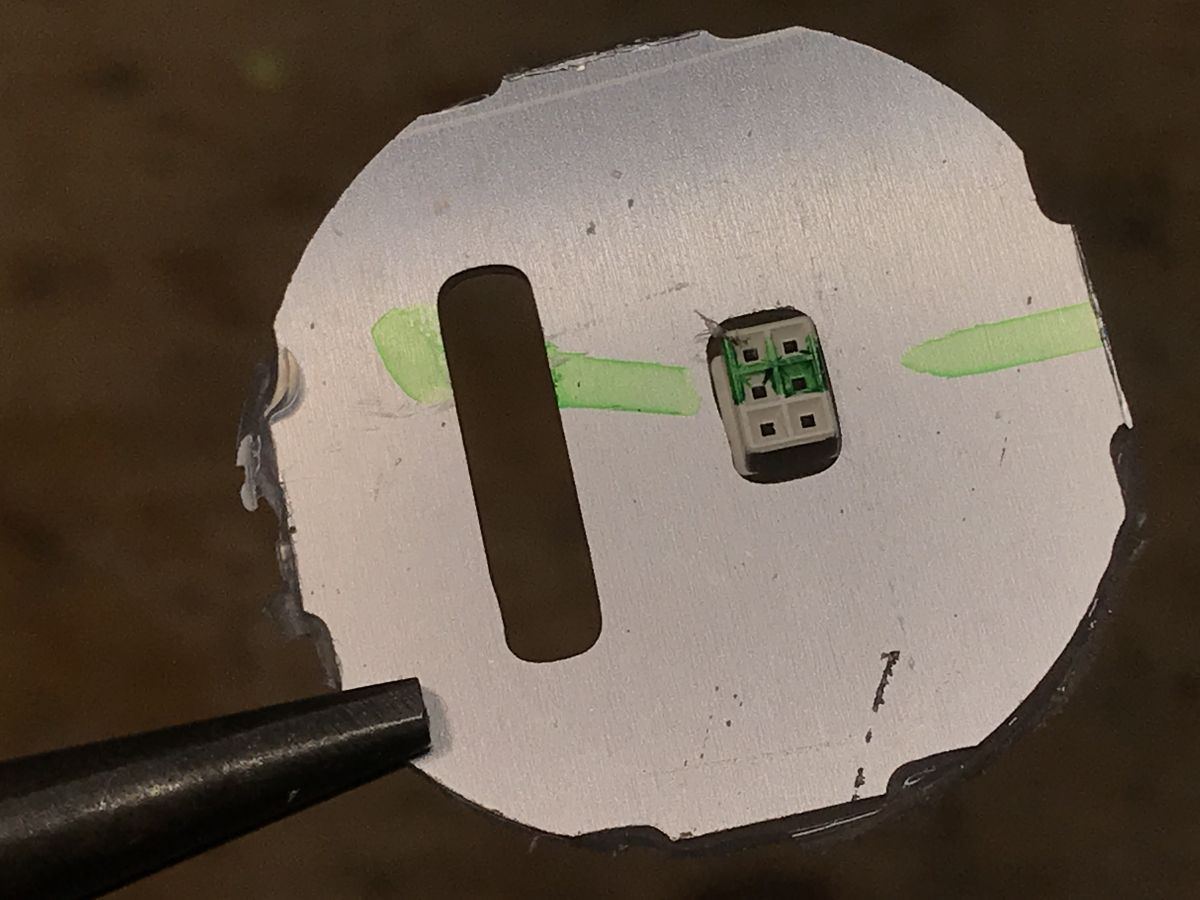
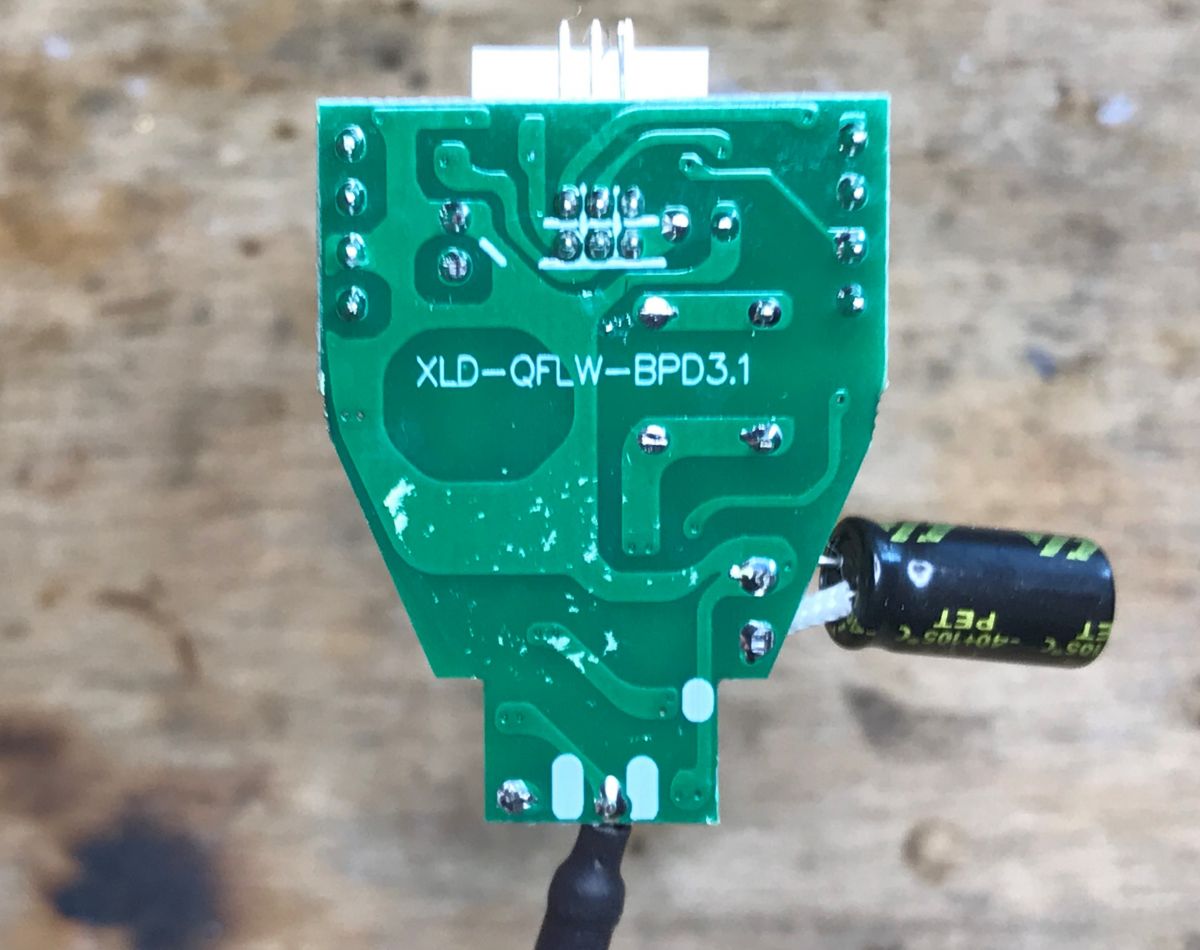
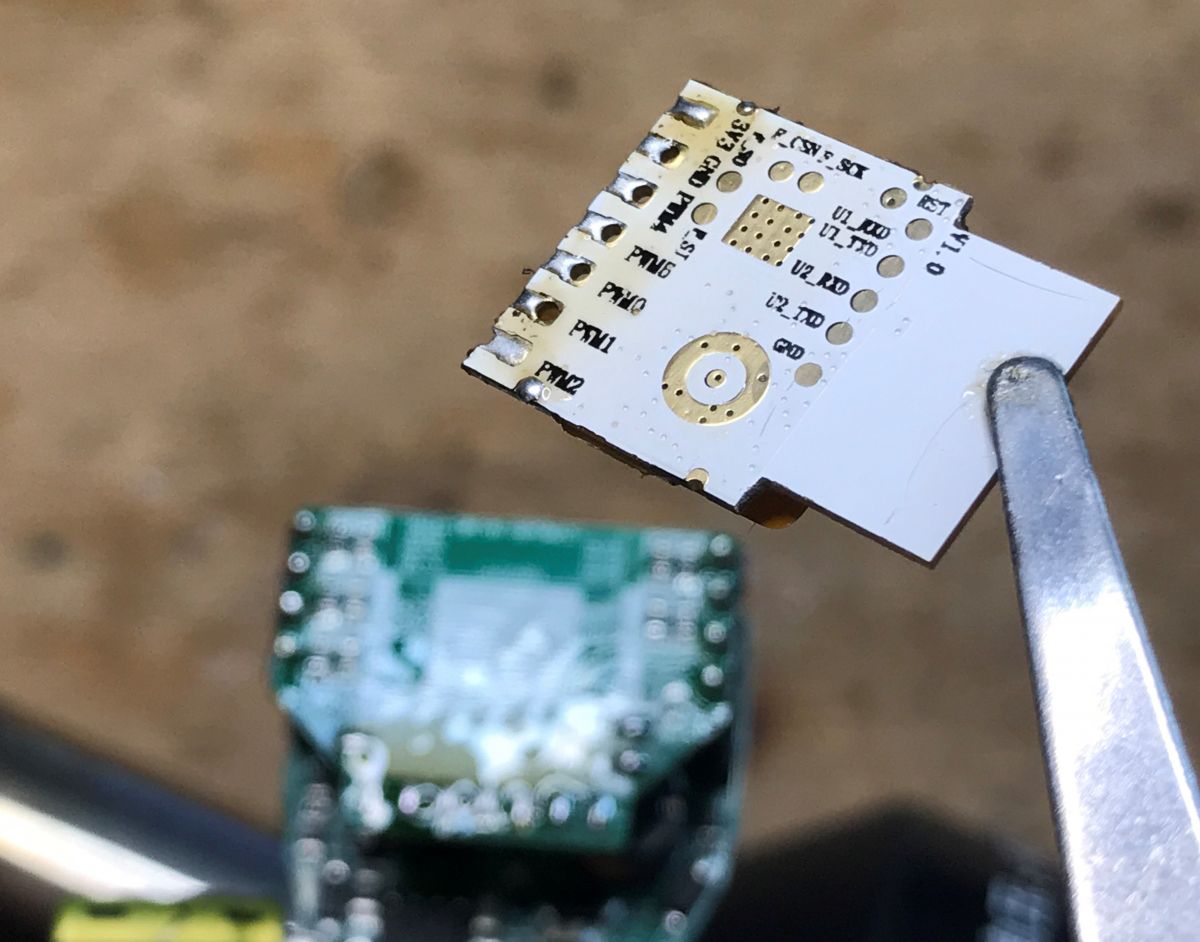
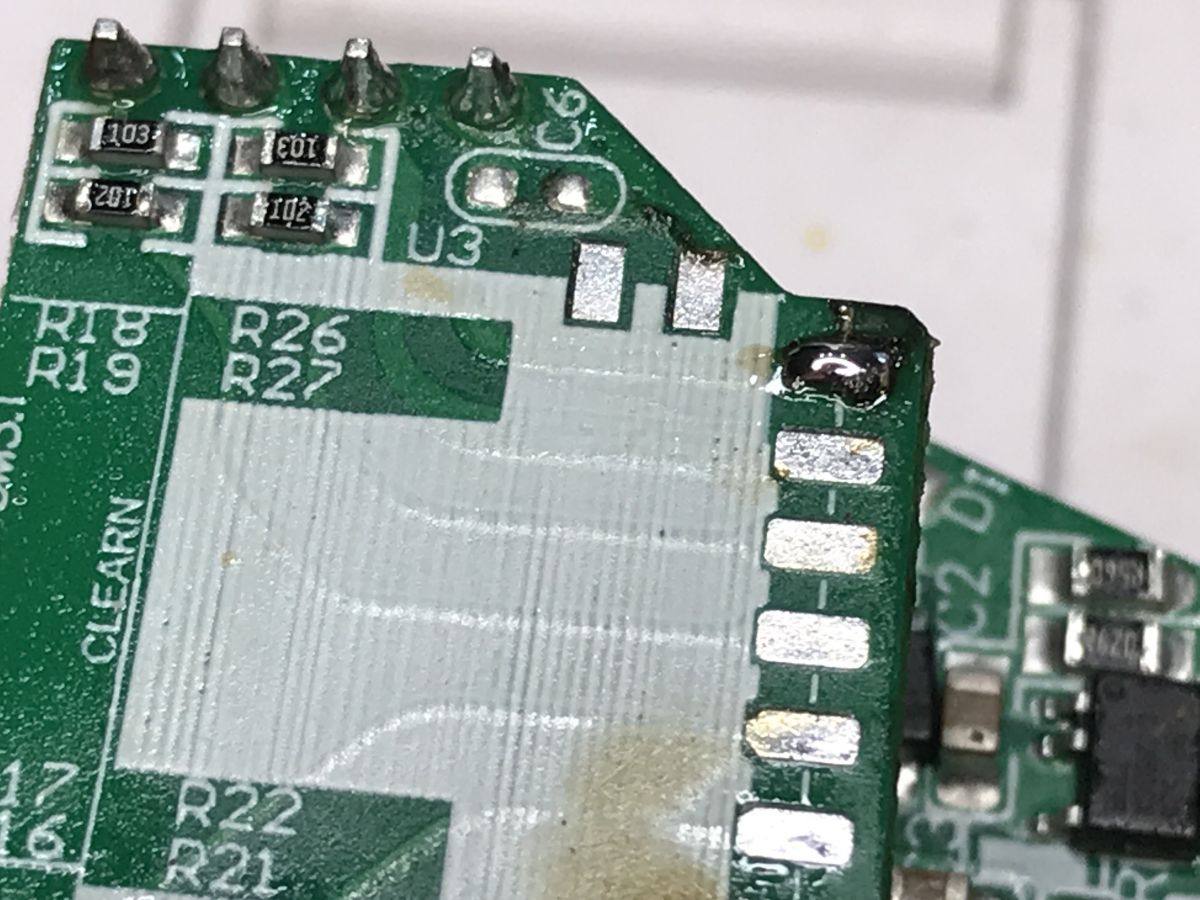
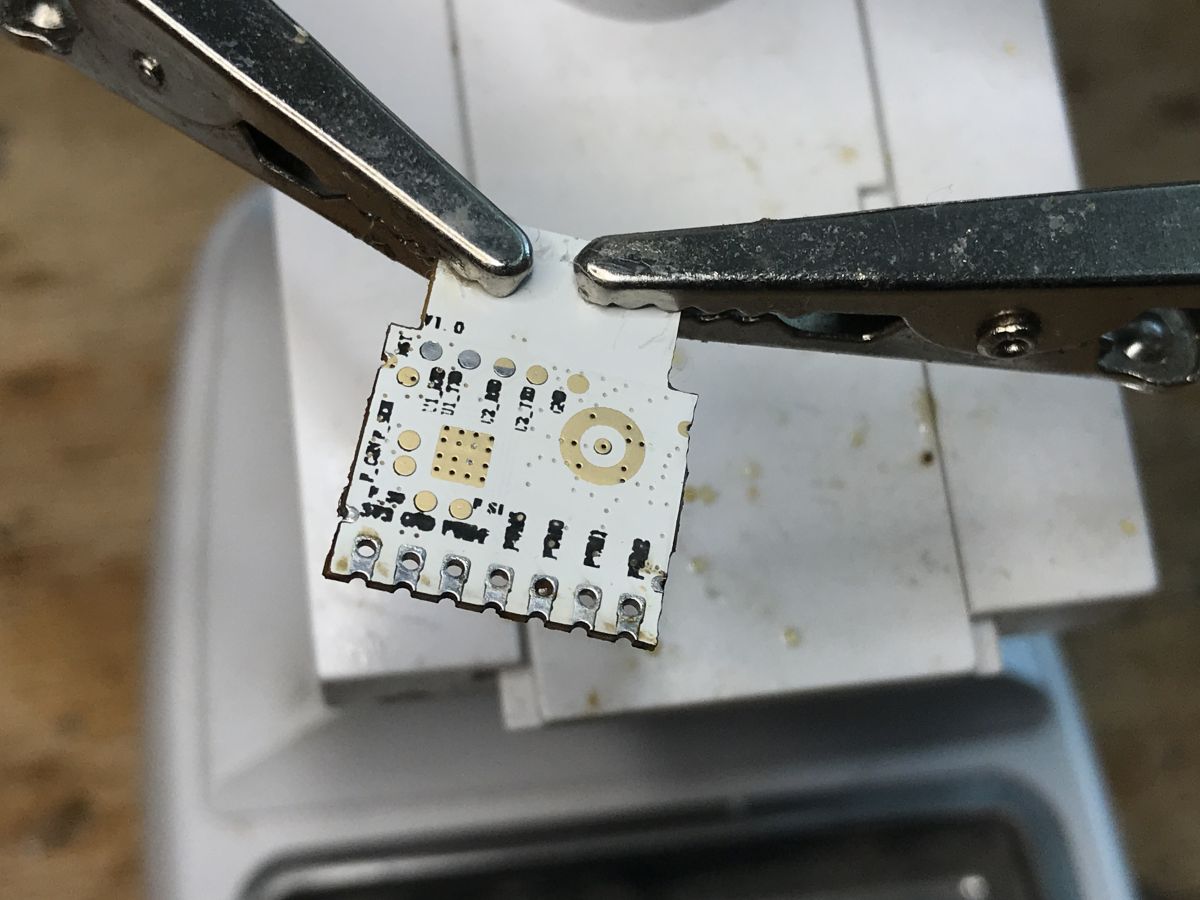
At the bottom of the module you can see the desired UART interface for programming:

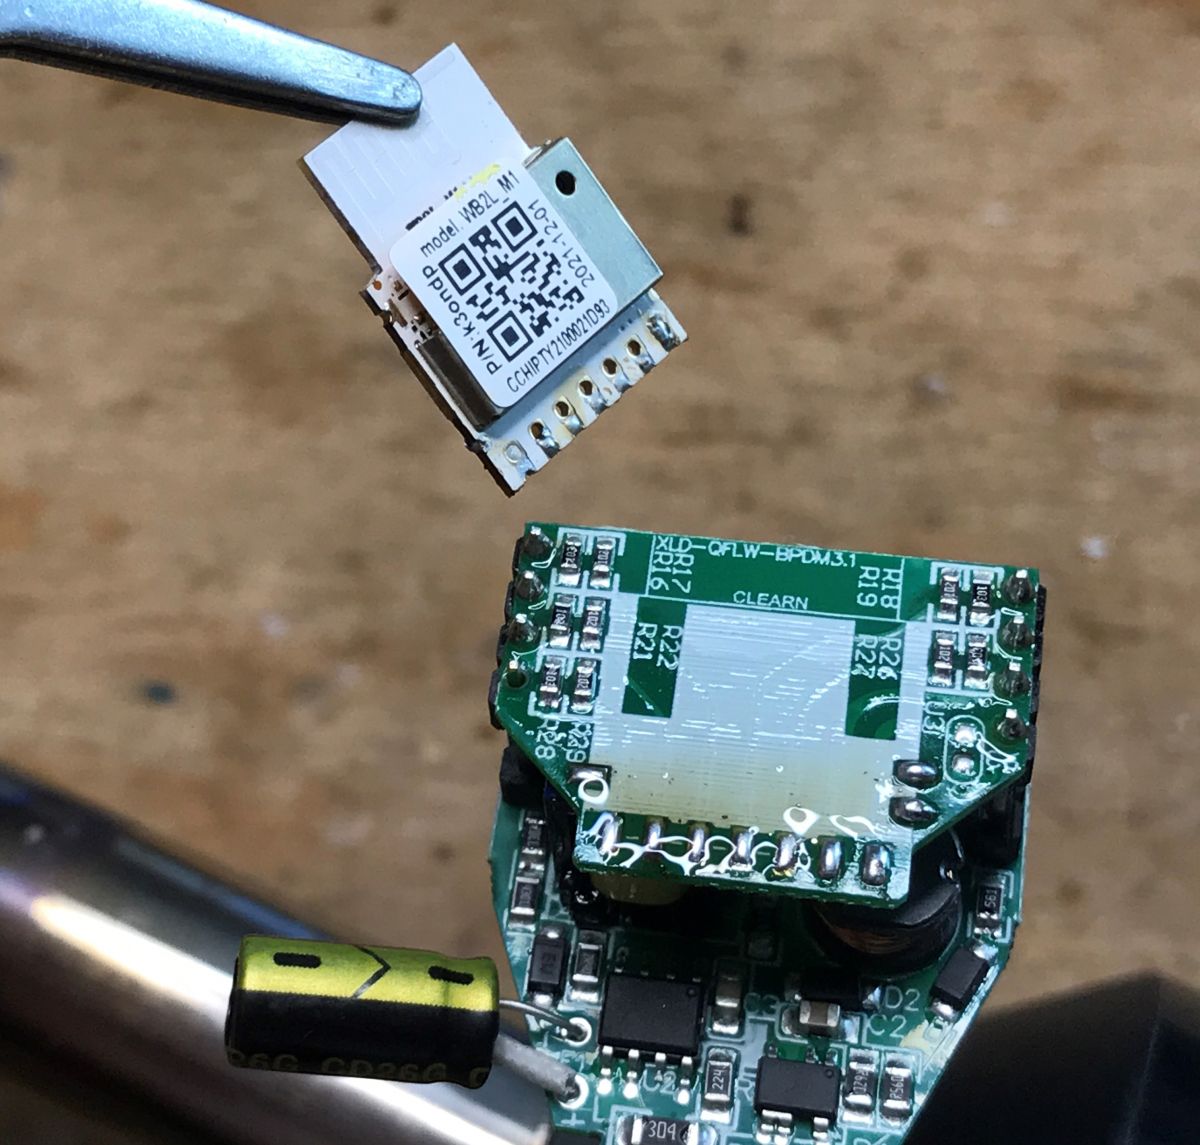
Obviously, this module is going to come back into place. You need to clean the pads with a braid:
I also washed the plate, I have an IPA cleaner for it.
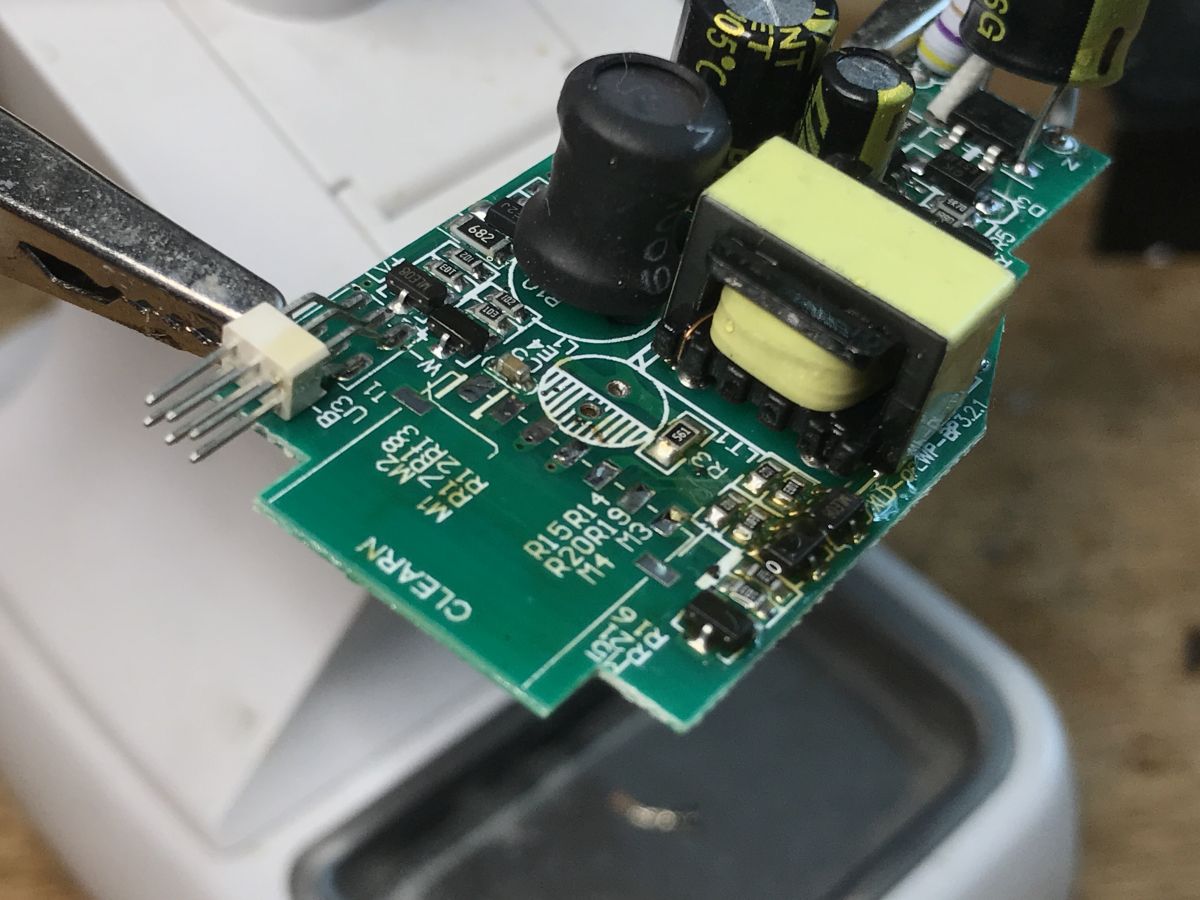
Programming the module - as in the previous topics in the series:
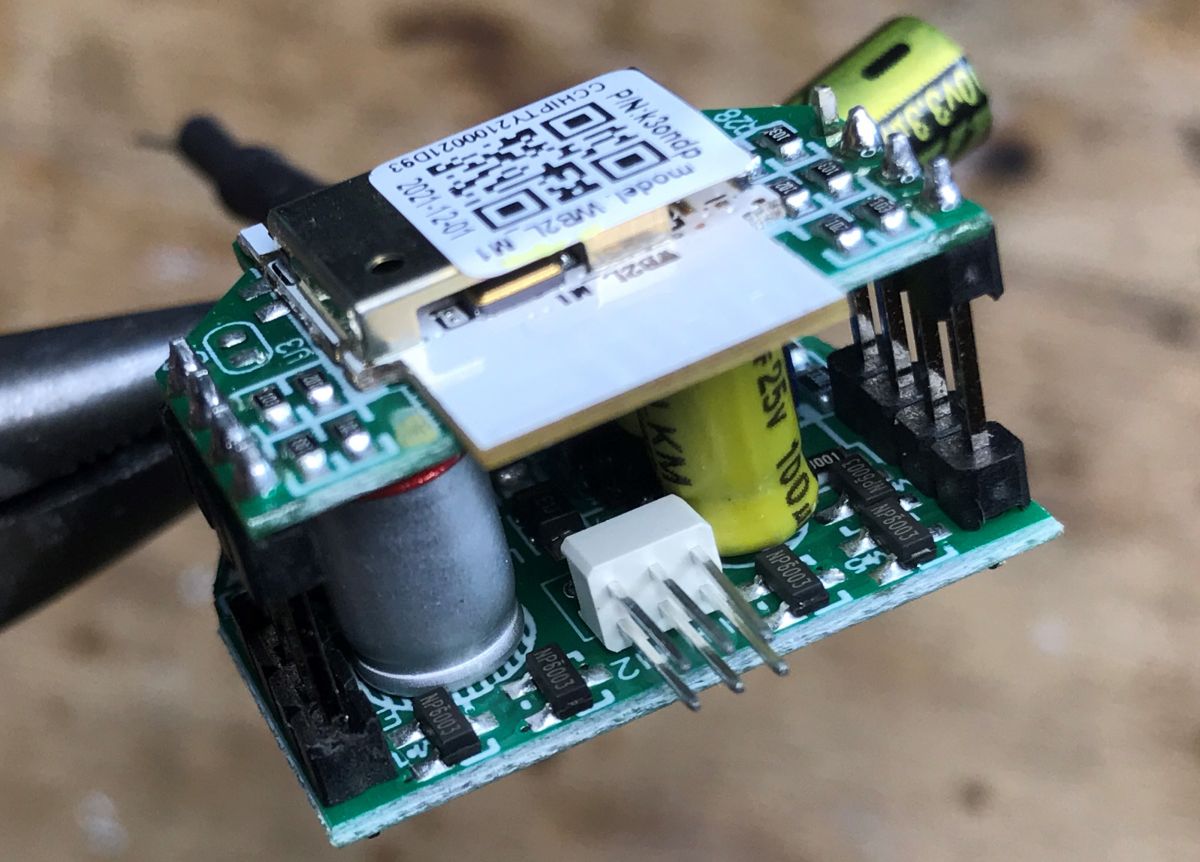
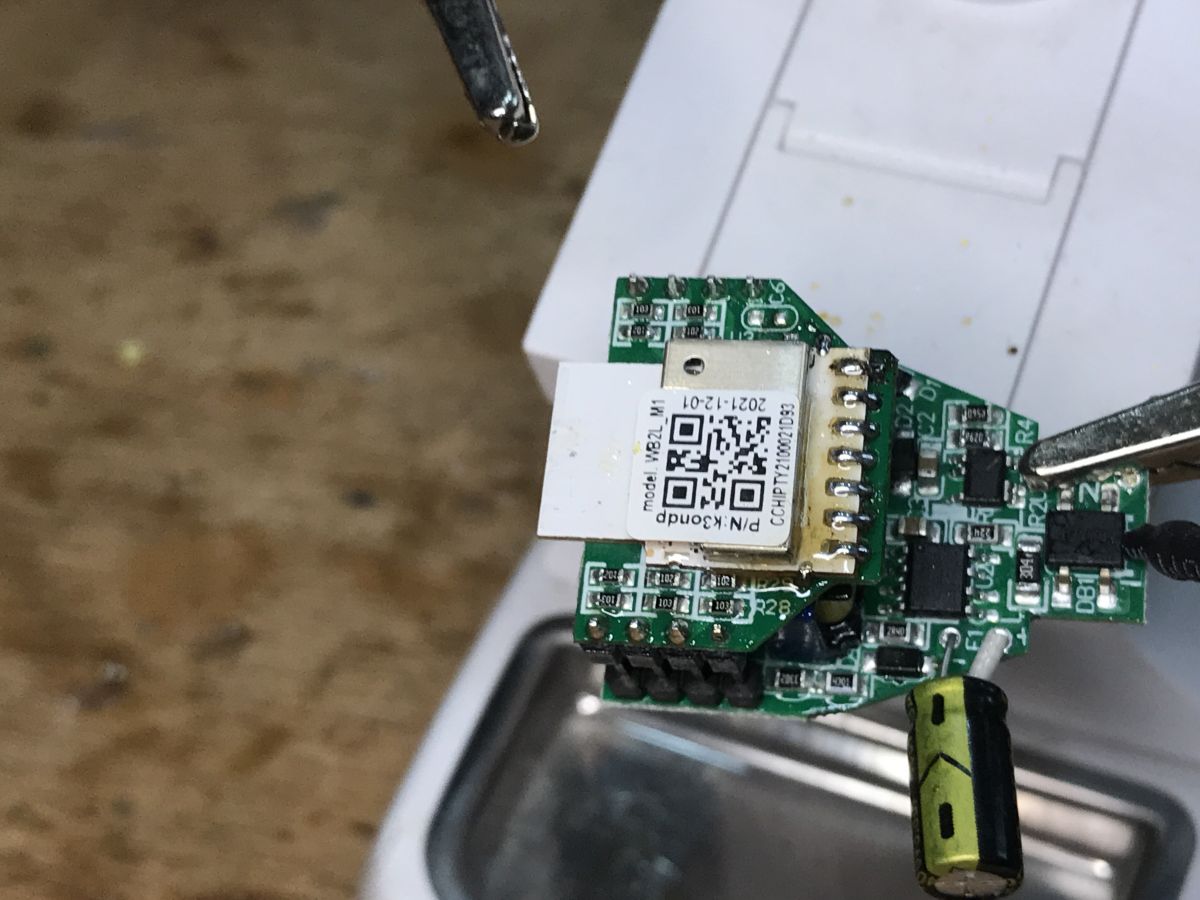
The module returns to its place - I put a fresh solder on one pad, placed the module properly, and then soldered the remaining pads:


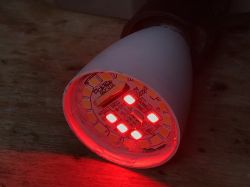
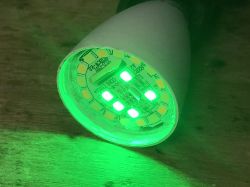
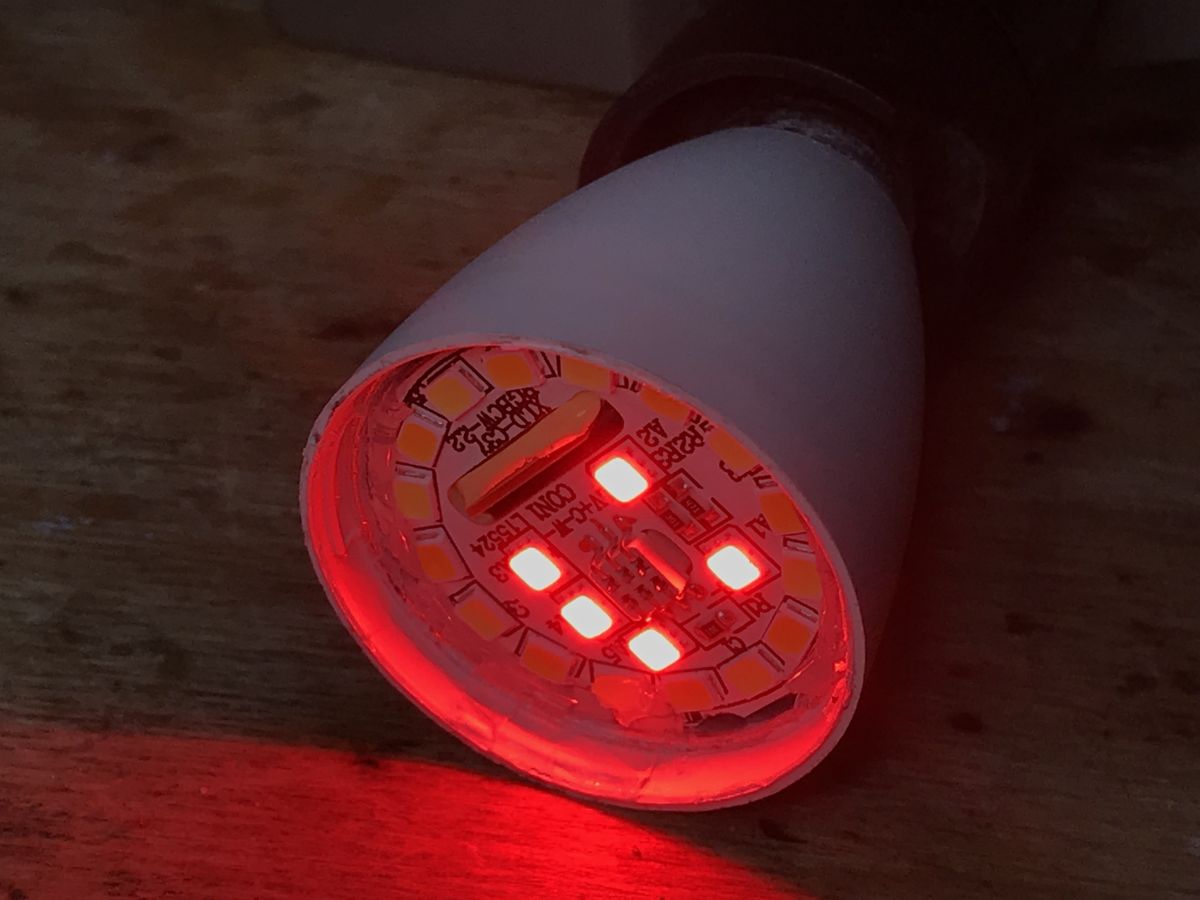
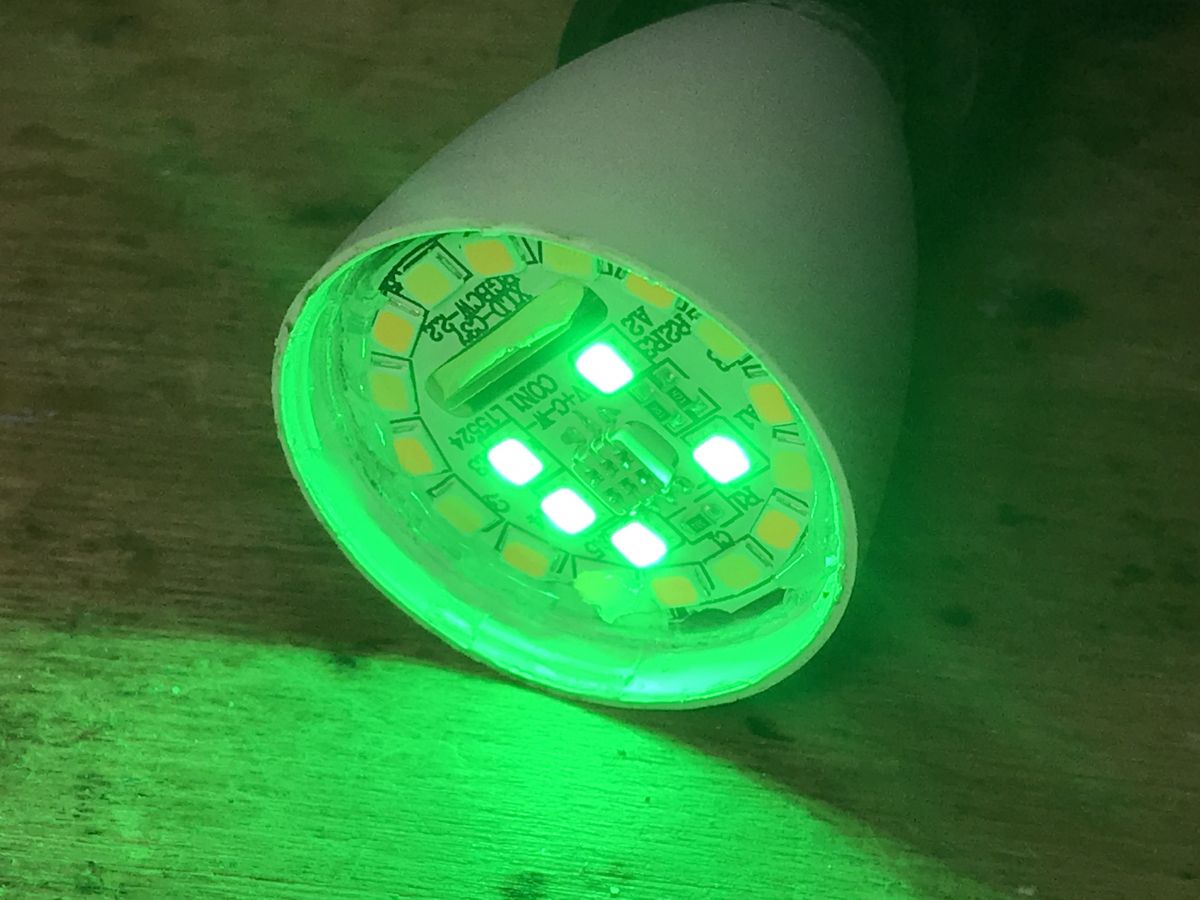
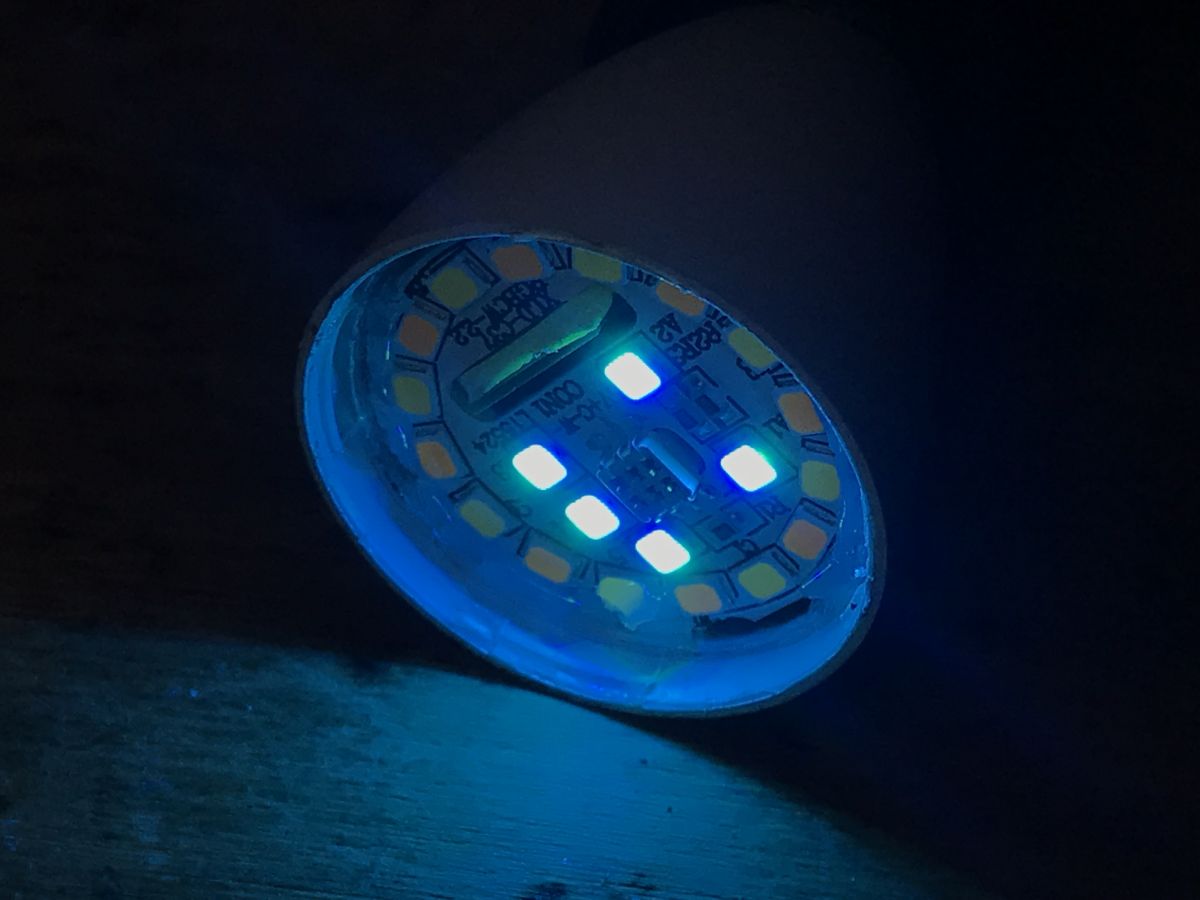
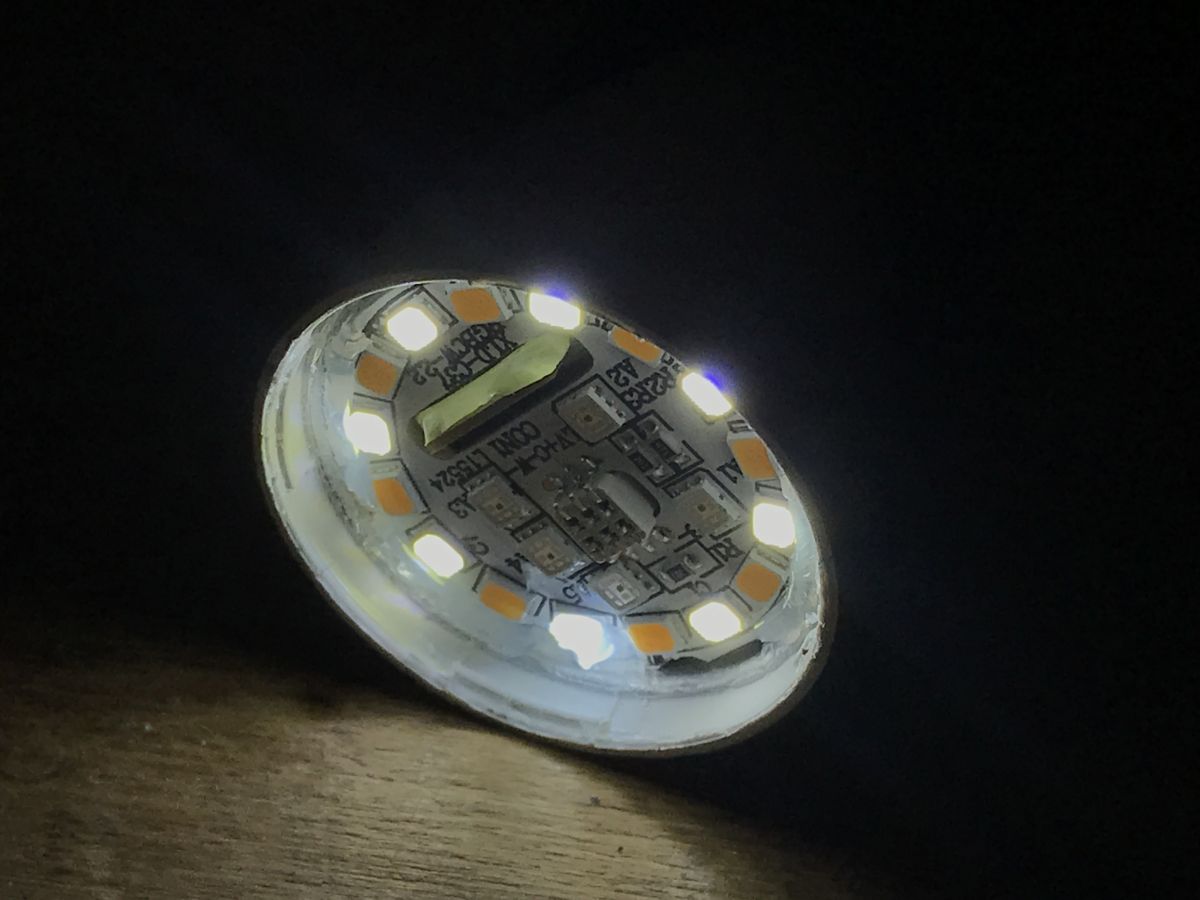
That's it for this lamp. It is also worth showing how the individual colors shine:

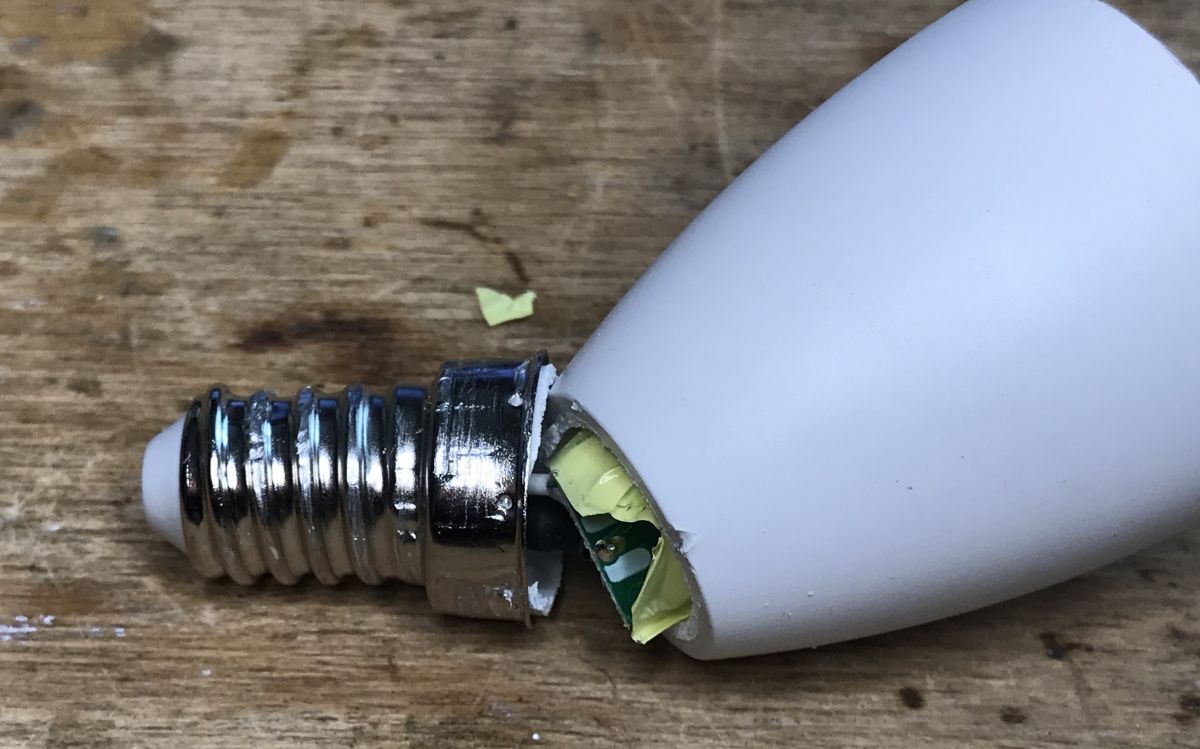
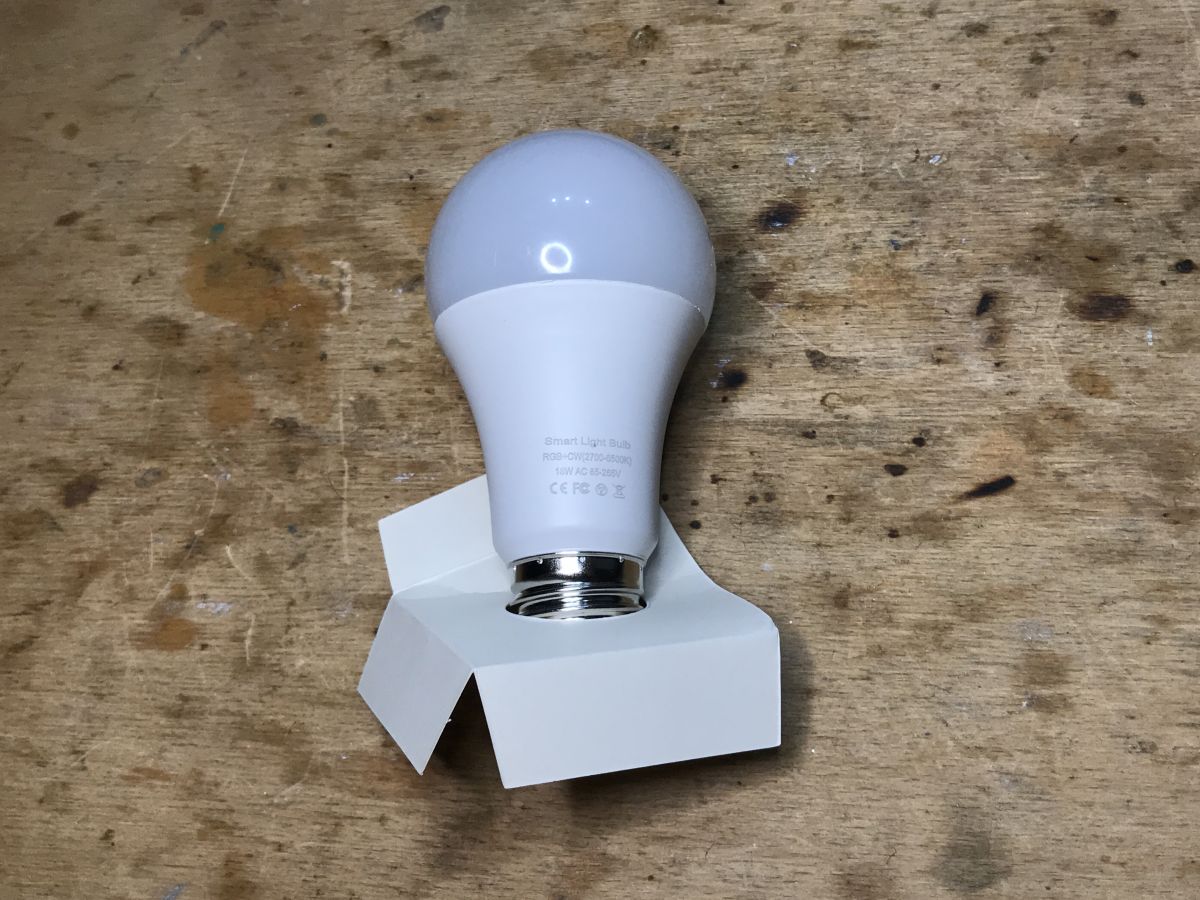
 Teardown and programming of the Tuya RGBCW E27 18W WiFi lamp
The situation here is very similar, so I will limit the comment to a minimum.


This time the thread was removed. You can see how it was attached:
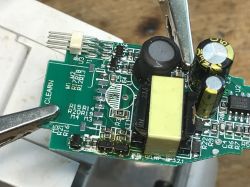
Inside, the situation is similar:

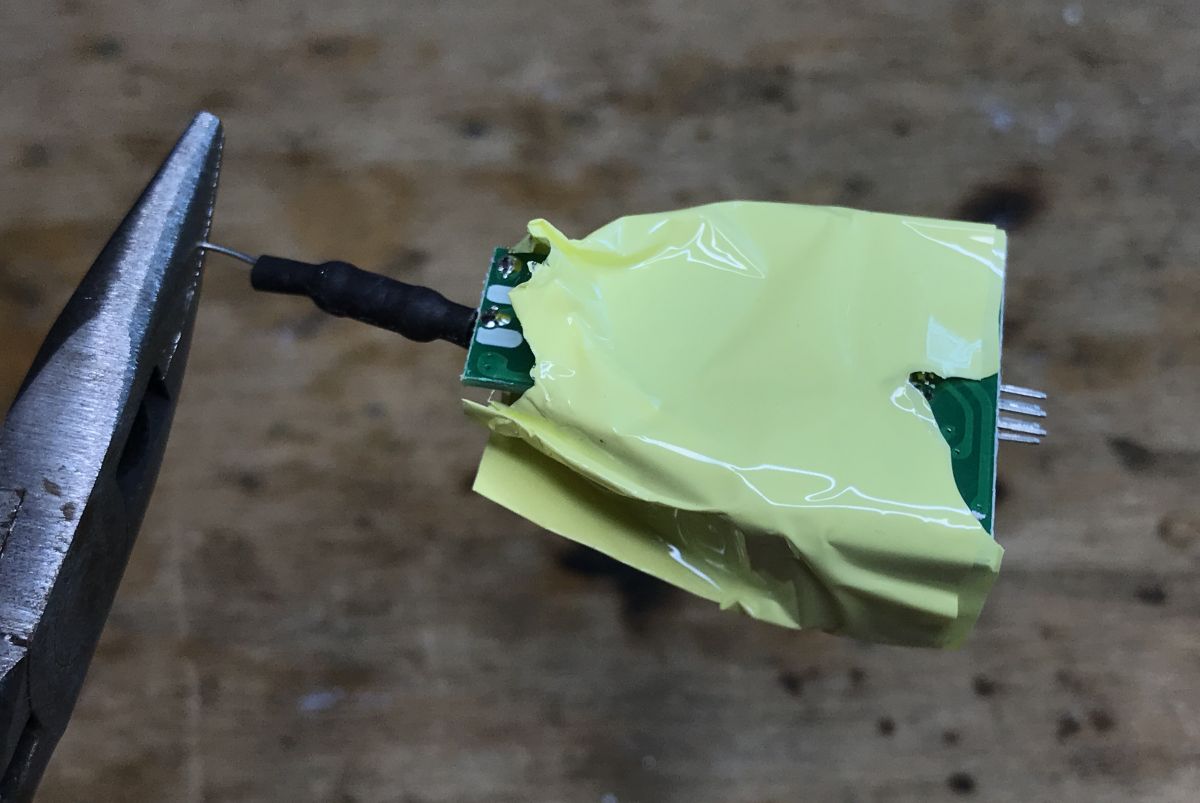
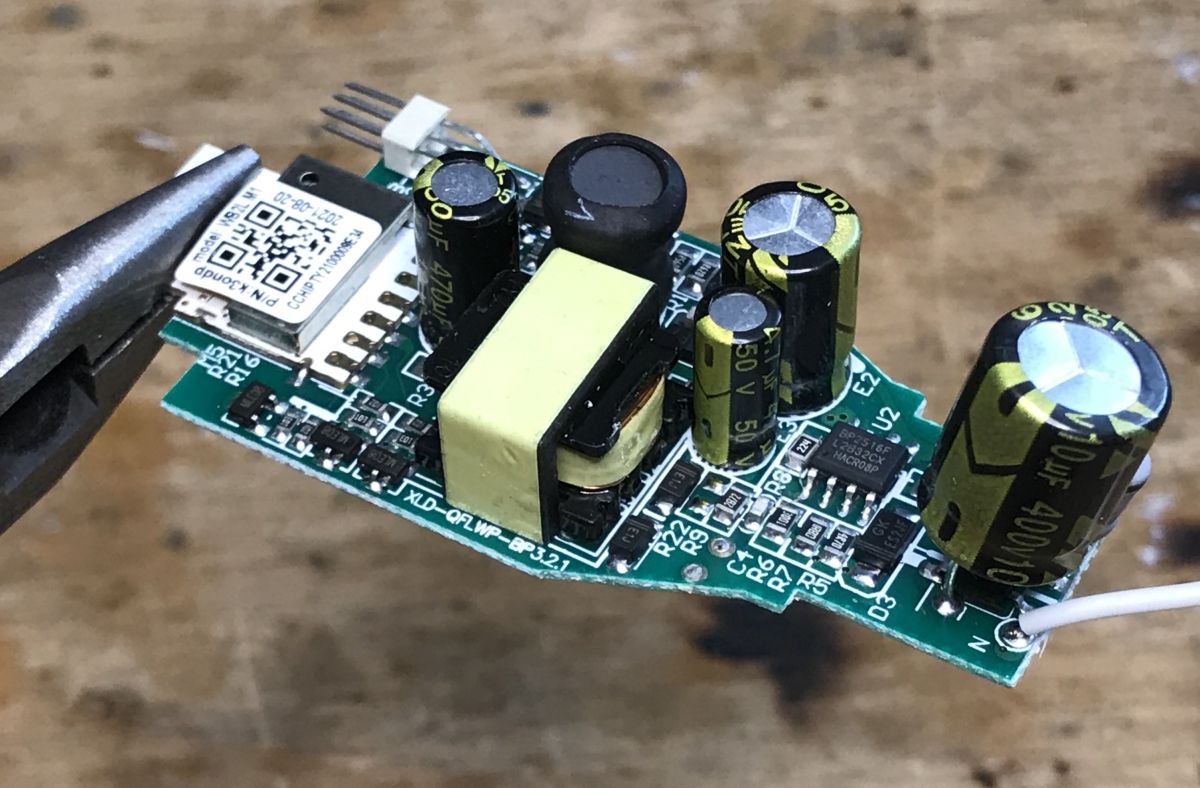
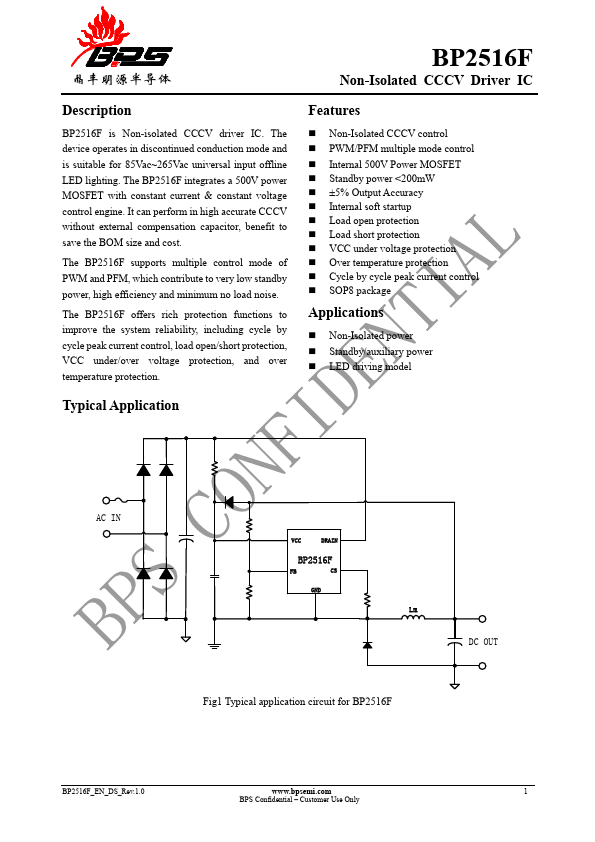
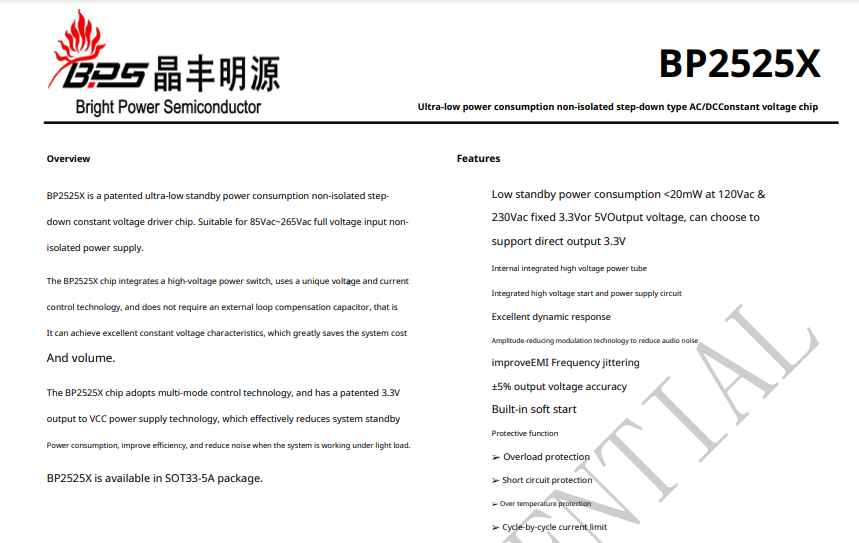
BP2516 (instead of BP2616F) and BP2525 (same as before). This time I will present catalog notes:


As before - de facto two power supplies.
One powers the LEDs, the other the WiFi module.
There are also 5 MLE08 (probably MOSFET) MLE08 transistors on the board, which I haven't been looking for anymore, but if someone finds it, I invite you to post it in the comments section below.
Here, too, the programming pads are obscured. You have to unsolder.
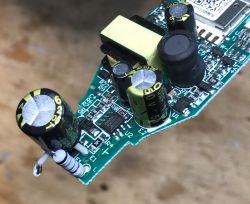
First, I removed one electrolytic capacitor because it was too close to the pads and I didn't want to overheat it.

Additional Pb solder, flux and heat:
Bottom of the module:

Programming:
The module returns to its place:
 OpenBeken configuration for RGBCW and Home Assistant
Everything as with the previous topic in the series:
LED WiFi RGBCW Tuya - interior, programming, BK7231N
A more convenient way - changing the firmware remotely via WiFi
In the case of these LED bulb, changing the firmware was very difficult. Not every beginner can solder, let alone use hot air and additionally solder the module back into place.
Fortunately, in the case of BK7231T and BK7231N there is an alternative to "cable" programming,
tuya-cloudcutter , which is essentially the equivalent of ESP
tuya-convert .
https://github.com/tuya-cloudcutter/tuya-cloudcutter
Unfortunately, there is one catch ...
In order for the tuya-cloudcutter to support a given device, someone has to rip the firmware once from it normally, so that the authors of the tuya-cloudcutter (or contributors, including myself) can get from it, say, offsets needed for OTA .
When ripping the firmware , it is worth pairing our IoT device first, but with the test WiFi network, because our SSID and password will also be in this firmware memory.
The entire firmware should be ripped, the entire 2MB.
It is not worth ripping the firmware without pairingat all, because then there is no so-called
schema in this memory and OTA is more difficult to prepare. Schema is downloaded from Tuya servers and saved to firmware when device is paired.
After ripping, the firmware should be placed here;
https://github.com/tuya-cloudcutter/tuya-cloudcutter/issues
(possibly you can send it to me, give it somewhere on our forum, I will pass it on)
Here, for example, I put a charge from one of the LED lamps from the topic:
https://github.com/tuya-cloudcutter/tuya-cloudcutter/issues/91
After
getting offsets all products from a given series can be programmed without opening the case, as long as manufacturer don't change their firmware build.
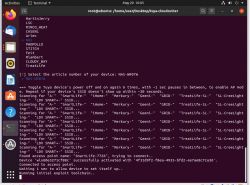
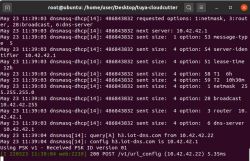
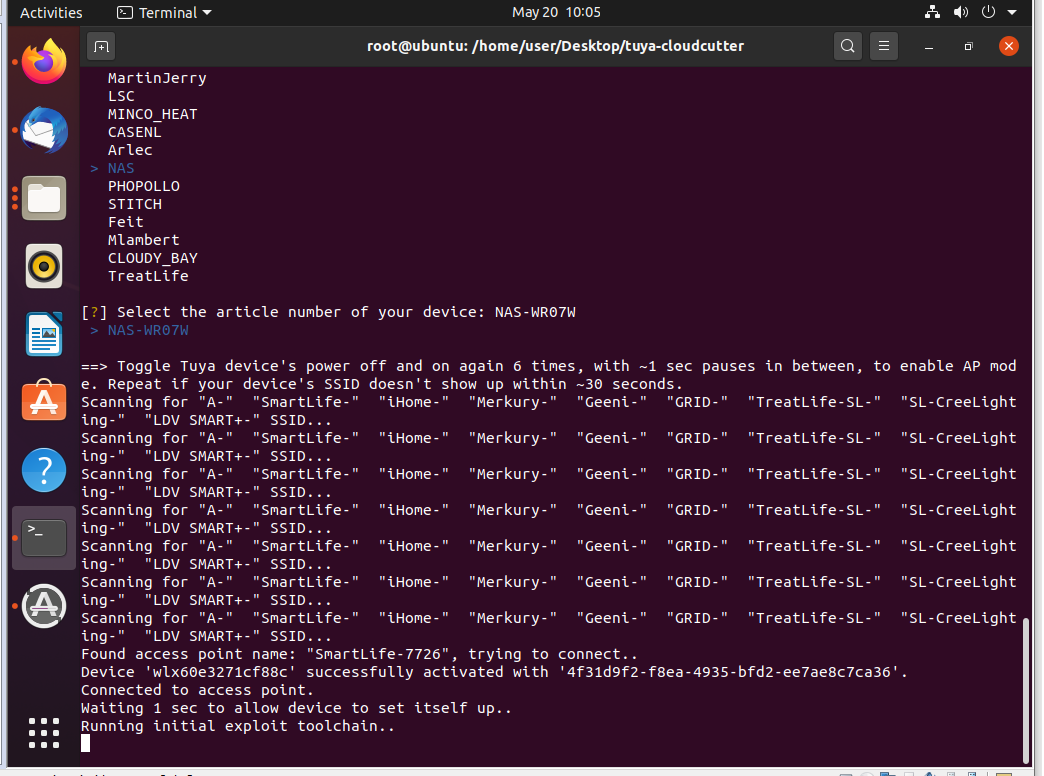
The installation of the tuya-cloudcutter itself is very simple
I suggest you do this on an Ubuntu virtual machine. I had trouble with older versions, I recommend Ubuntu 20.04.4 LTS.
You need to:
1. install curl
2.install docker, e.g. via get.docker.com
3. download tuya-cloudcutter (git clone repository) and grant permissions to scripts from inside
4. connect a USB WiFi card that supports AP mode (so-called "wifi dongle"). I use TL-WN722N myself.
5. put the openbk batch in the Tuya-cloudcutter batches folder
6. fire up ./run_flash and follow the instructions
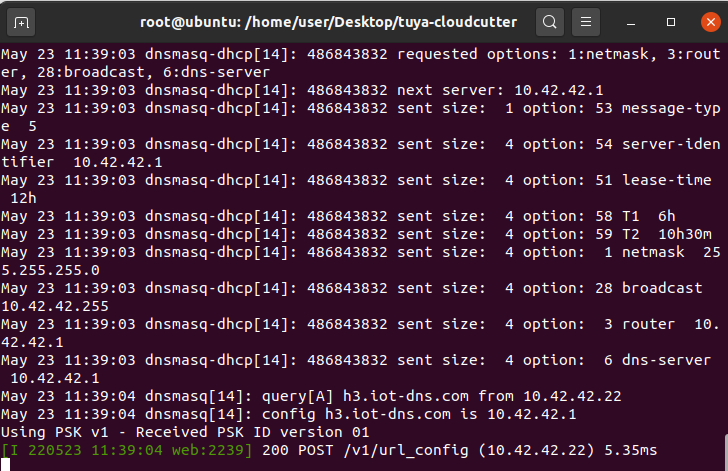
Screenshots of the tuya-cloudcutter run:

 Perhaps I will provide more detailed instructions in a separate topic.
Summary
Perhaps I will provide more detailed instructions in a separate topic.
Summary
I bought and dismantled these LED lamps so that you do not have to.
Thanks
tuya-cloudcutter it should be possible to program them without opening the case.
Without this tool, it would be quite difficult - especially since the programming pads are covered here and you need to unsolder the module.
Could they be desoldered without hot air? Probably a long soldering tip in the shape of a spatula (for example made of wire, for a transformer soldering iron) would be fine here, but it was easier for me with hot air.
By the way, I managed to discover another novelty, namely the WB2L_M1 module, which is basically the same as WB2L but with BK7231N and not 'T'. You have to keep this in mind when programming. If we make a mistake and upload the firmware from the wrong version, we can block the device, especially in the case of OTA.


Comments
Or maybe it would be possible to use this module from the bulb for something useful - e.g. a wifi relay. A colorful lamp is fun for max 5 minutes ;-) . Recently, I was looking for something to convert... [Read more]
@satanistik The cheapest LED bulb with BK7231 in our country was probably for PLN 15 in Action, but with only brightness control, without RGB or CW. I don't know how much the cheapest Sonoff clone... [Read more]
I know that you won't get much in terms of price - but it's like building an amplifier, with the time devoted to it, you could make some extra money at the construction site and buy something on... [Read more]
Oh darling, correct it as soon as possible, because even though I'm not good at spelling :-) it is such a sight that "blackened" my eye. [Read more]
the cheapest with ESP inside, at the moment are the "LED smart DGM L-WT9W1" bulbs, about PLN 9-10, so practically at the price of ESP, we can get the entire module with 8266, a converter without separation... [Read more]
@ chemik16 great information, I will be happy to check it, order it and post it on the forum. It is worth promoting products with ESP, because something has been harder to hit on IoT recently. However,... [Read more]
a month ago I took the whole carton after 9.90 and a little at the beginning of the year, but I can see that they are actually selling the leftovers, the sockets were in RTV stores for ~ PLN 30, but I... [Read more]
We were moved. [Read more]