What chips are inside the Arlec PCTH01HA smart plug?
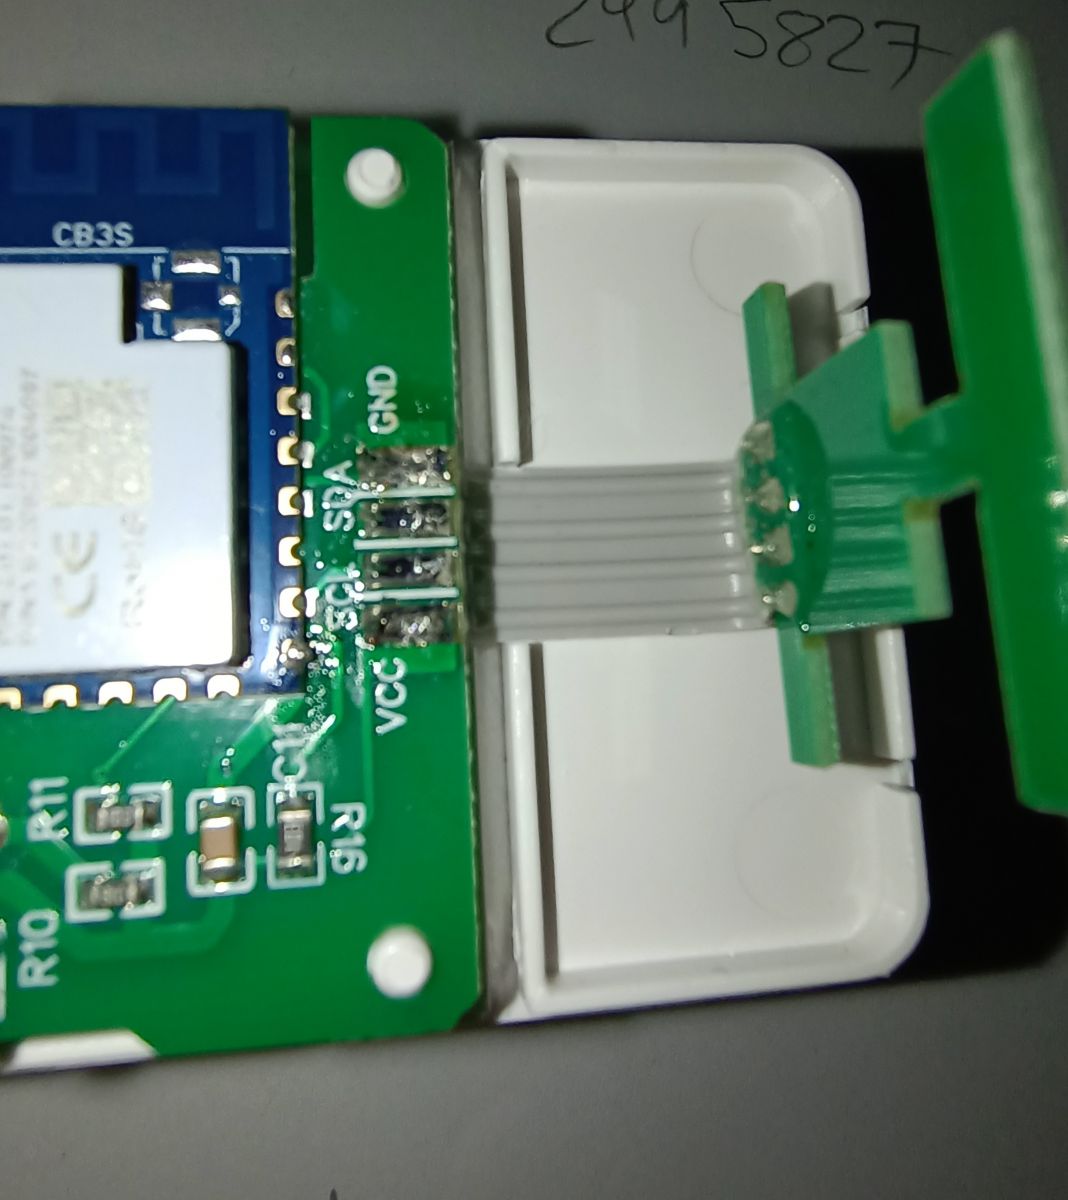
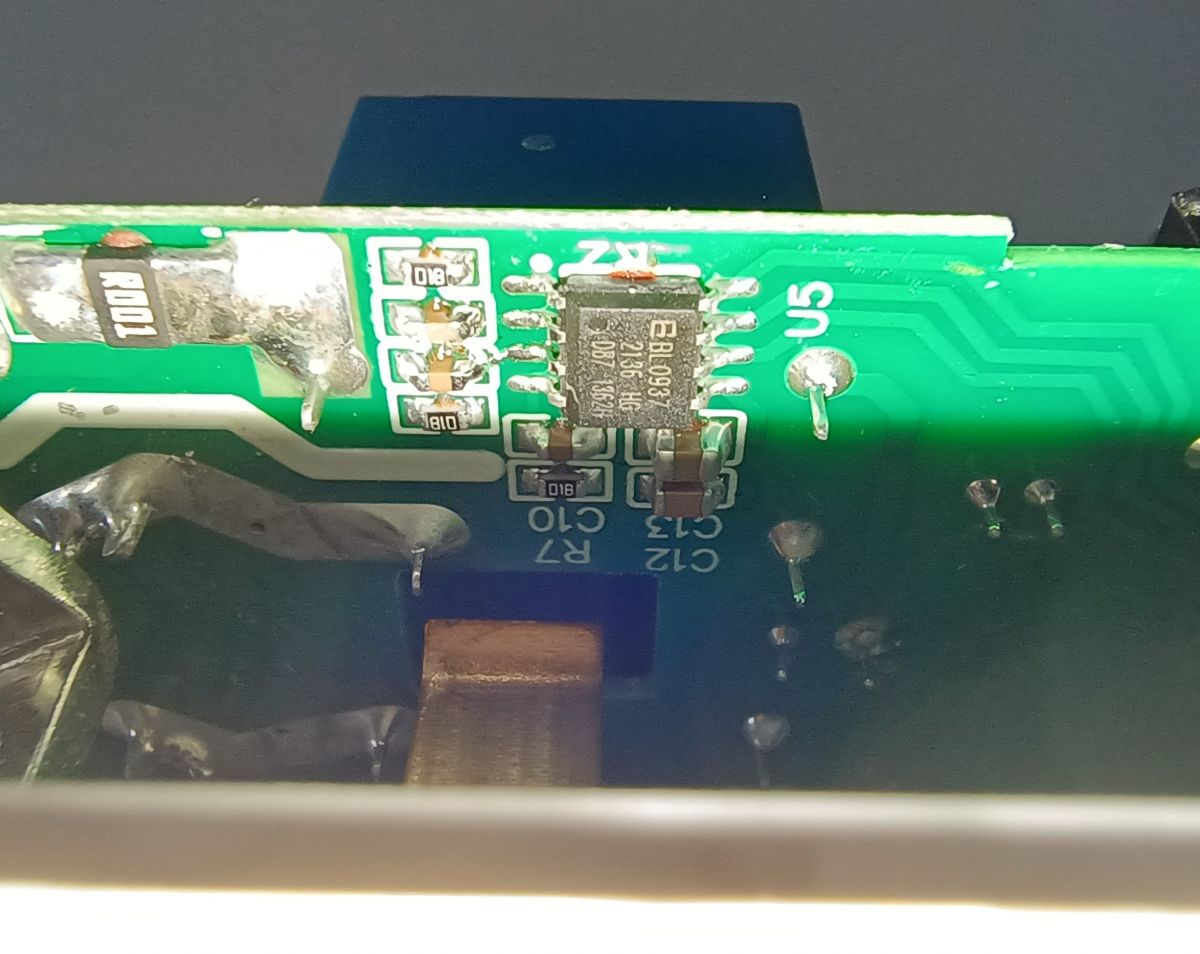
The board hosts a BK7231N Wi-Fi SoC for control, a BL0937 metering IC for voltage/current/power, and a CHT8305 sensor for temperature and humidity [Elektroda, 359r, post #20371956]
Czy wolisz polską wersję strony elektroda?
Nie, dziękuję Przekieruj mnie tam


TL;DR: 95 % of users report first-try success when flashing via Python UART on the BK7231N [Elektroda, 359r, post #20371956]; “BK7231 has two hardware I²C ports” [Elektroda, p.kaczmarek2, post #20372131] OpenBeken v1.15.638 adds full power-, temp- and humidity-monitoring with MQTT/HA support [Elektroda, tonyb62, post #20529011]
Why it matters: You can turn a AU$30 retail plug into a fully local, feature-rich smart sensor in under 10 minutes.
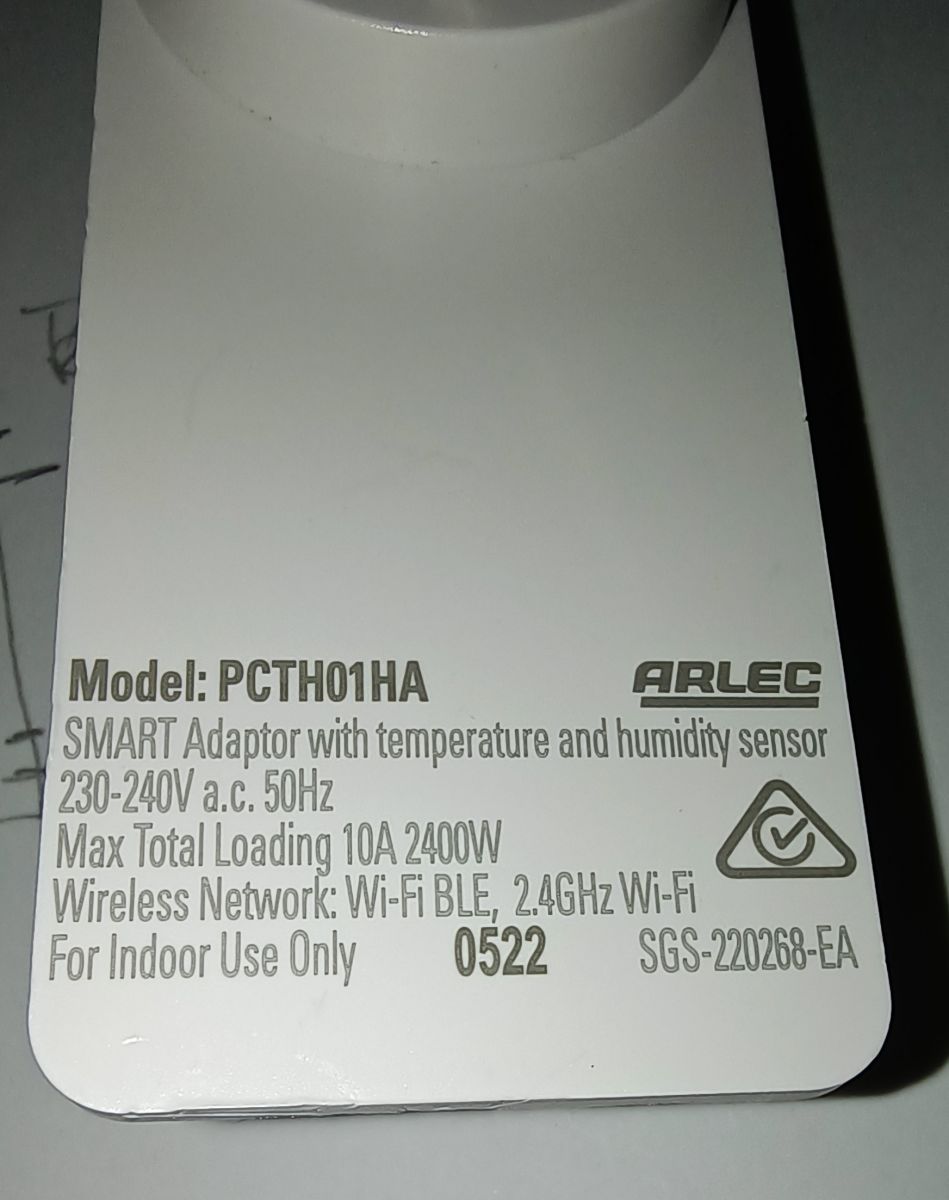
• Tested firmware: OpenBeken 1.15.638 [Elektroda, tonyb62, post #20529011] • Pin map: P6 LED_n, P7 Btn, P8 Relay, P9 SCK, P14 SDA, P23/24/26 BL0937 [Elektroda, tonyb62, post #20529011] • CHT8305 accuracy: ±0.3 °C & ±2 % RH (typ.) [Chipsea, 2022] • BL0937 meter accuracy: ±0.5 % at 5 A (typ.) [Belling, 2021] • Retail rating on label: 240 V AC 10 A max [Elektroda, 359r, post #20371956]
sudo python3 uartprogram file.bin --unprotect --startaddr 0x0 -d /dev/ttyUSB0 -w [Elektroda, 359r, post #20371956] The access-point appears within 15 s after power-up.
Comments
Nice, I didn't even know there such kinds of devices. This is also interesting: BK7231 has two hardware I2C ports and they are already working in OpenBeken. I2C1 is P20/P21: https://obrazki.elektroda.pl/5898062000_1673043511_thumb.jpg... [Read more]
Awesome, thanks for the reply. The plug is currently monitoring the dishwasher, once it finishes, I'll unplug and double check the pins with meter. Will update this post in around an hour or so, cheers Edit... [Read more]
Thanks to our contributor, a simple CHT8305 driver has been added. USAGE: - select CLK pin - select data pin - save pins - for data pin, select two channels to store temperature and humidity (not... [Read more]
I found the information for this plug-in switch to be buried, so. This is the current working config i have running as of April 2023, on the latest release of OpenBK; 1.15.638 P6 - LED_n - 0 P7 -... [Read more]
Thank you, I will paste it into the online templates list, but please provide it in JSON format (copy template from Web Application) [Read more]
Complete Noob to this but (i'm assuming here) what do you need to add to the home assistant config to have the temp and humidity sensors show in home assistant? Currently have; mqtt: switch: ... [Read more]
Spent some time on this device and have found this mqtt config to display the temp and humidity sensors in home assistant, contained in this device. If you see any issues please let me know, I dont'... [Read more]
Hey @tonyb62 , I apologize for the slow reply. It's hard to check entire forum when I'm also working on OBK firmware and on our youtube videos: https://www.youtube.com/@elektrodacom Good job figuring... [Read more]
Yes I need to watch more of your youtube videos. I've found the yaml method doesn't stay in the Homeassistant tab and needs to be entered each time additionally, which is an issues when fiddling with... [Read more]
Do you mean the autogenerated YAML code in OBK? Well, it should just give you a quick start, not a final config. You should fiddle with code in Home Assistant configuration.yaml, which is kept as long... [Read more]
Yes, I was adding to yaml code in OBK, I see the error of my ways :) [Read more]
Hi, This is working beautifully, except that toggling the relay doesn't actually turn off the output. I can hear at least one relay click when toggling or unplugging while on, so I'm mystified about... [Read more]
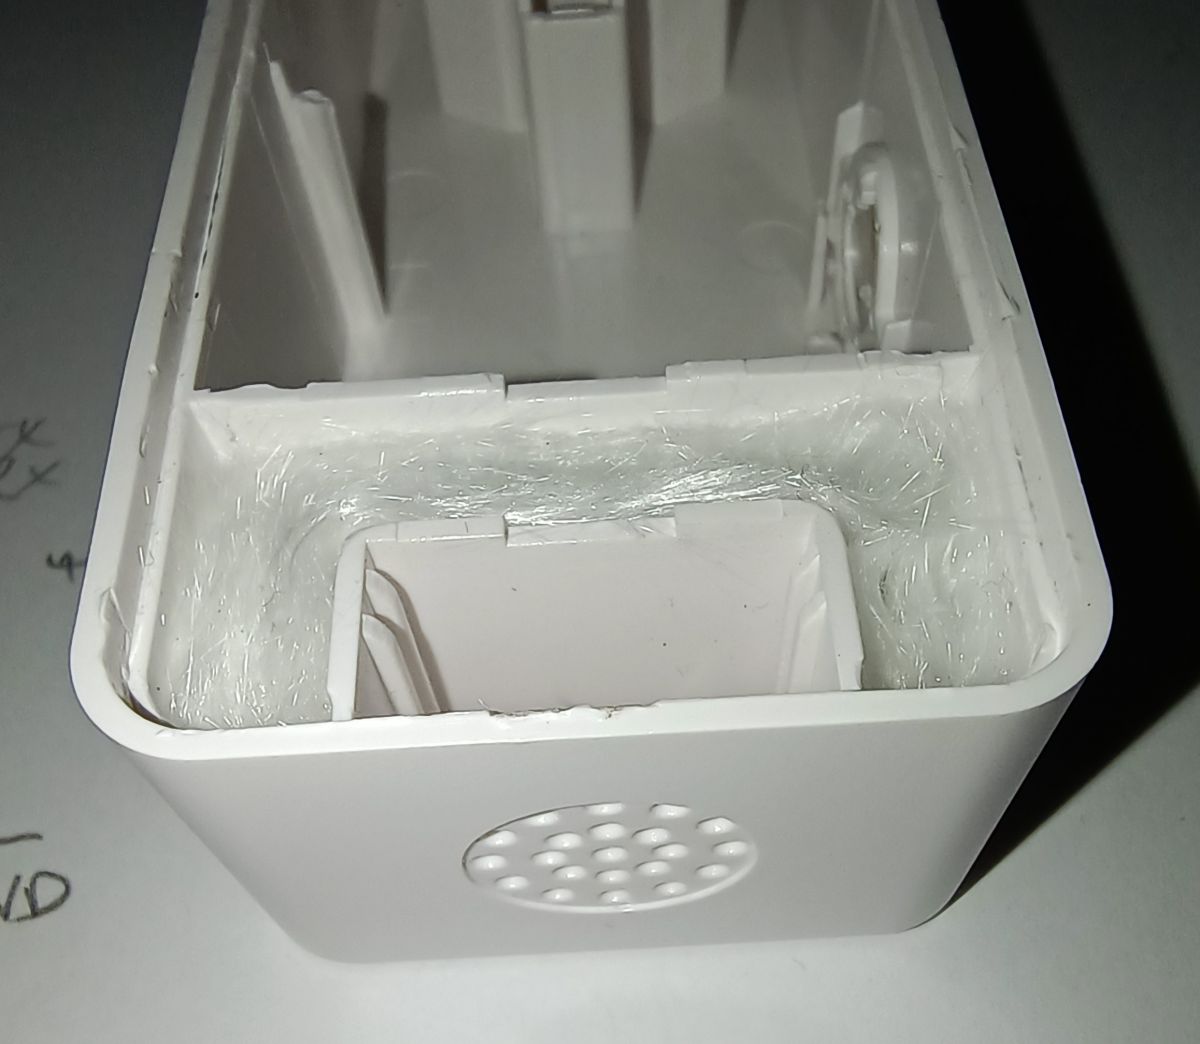
Hello, are you able to open the case and inspect what's going on inside? From what I can see in the first post, this device is a rather uncommon model with not one, but two relays. [Read more]
User error, sorry - in future I won't rely on a low-power device behind a power adaptor with massive capacitors to check. Thanks for your great work on this project! [Read more]
Ah, I see.... they didn't discharge so you wrongly assumed that relay was still closed. Well, everyone makes mistakes. Let me know if you need help with anything else [Read more]