What hardware is inside the SM-SO301K smart power strip?
The main PCB hosts a CB3S module (BK7231N Wi-Fi SoC), six relay channels, a USB 5 V converter, blue/red status LEDs, and a single push-button input [Elektroda, gcole, post #20479666]
Czy wolisz polską wersję strony elektroda?
Nie, dziękuję Przekieruj mnie tam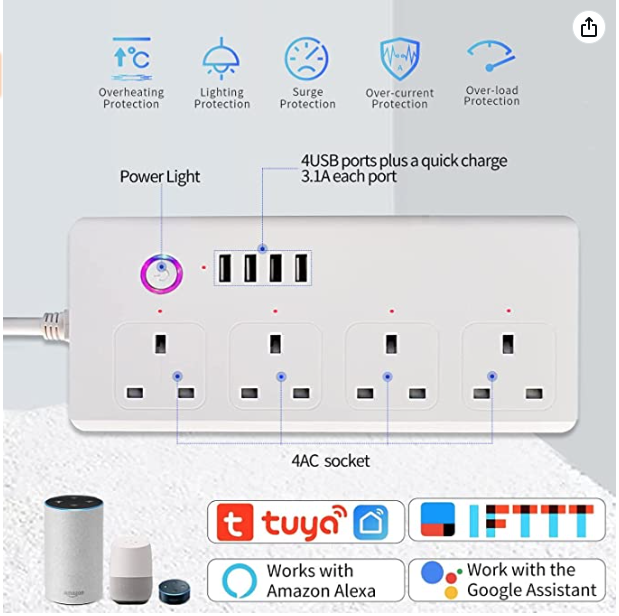

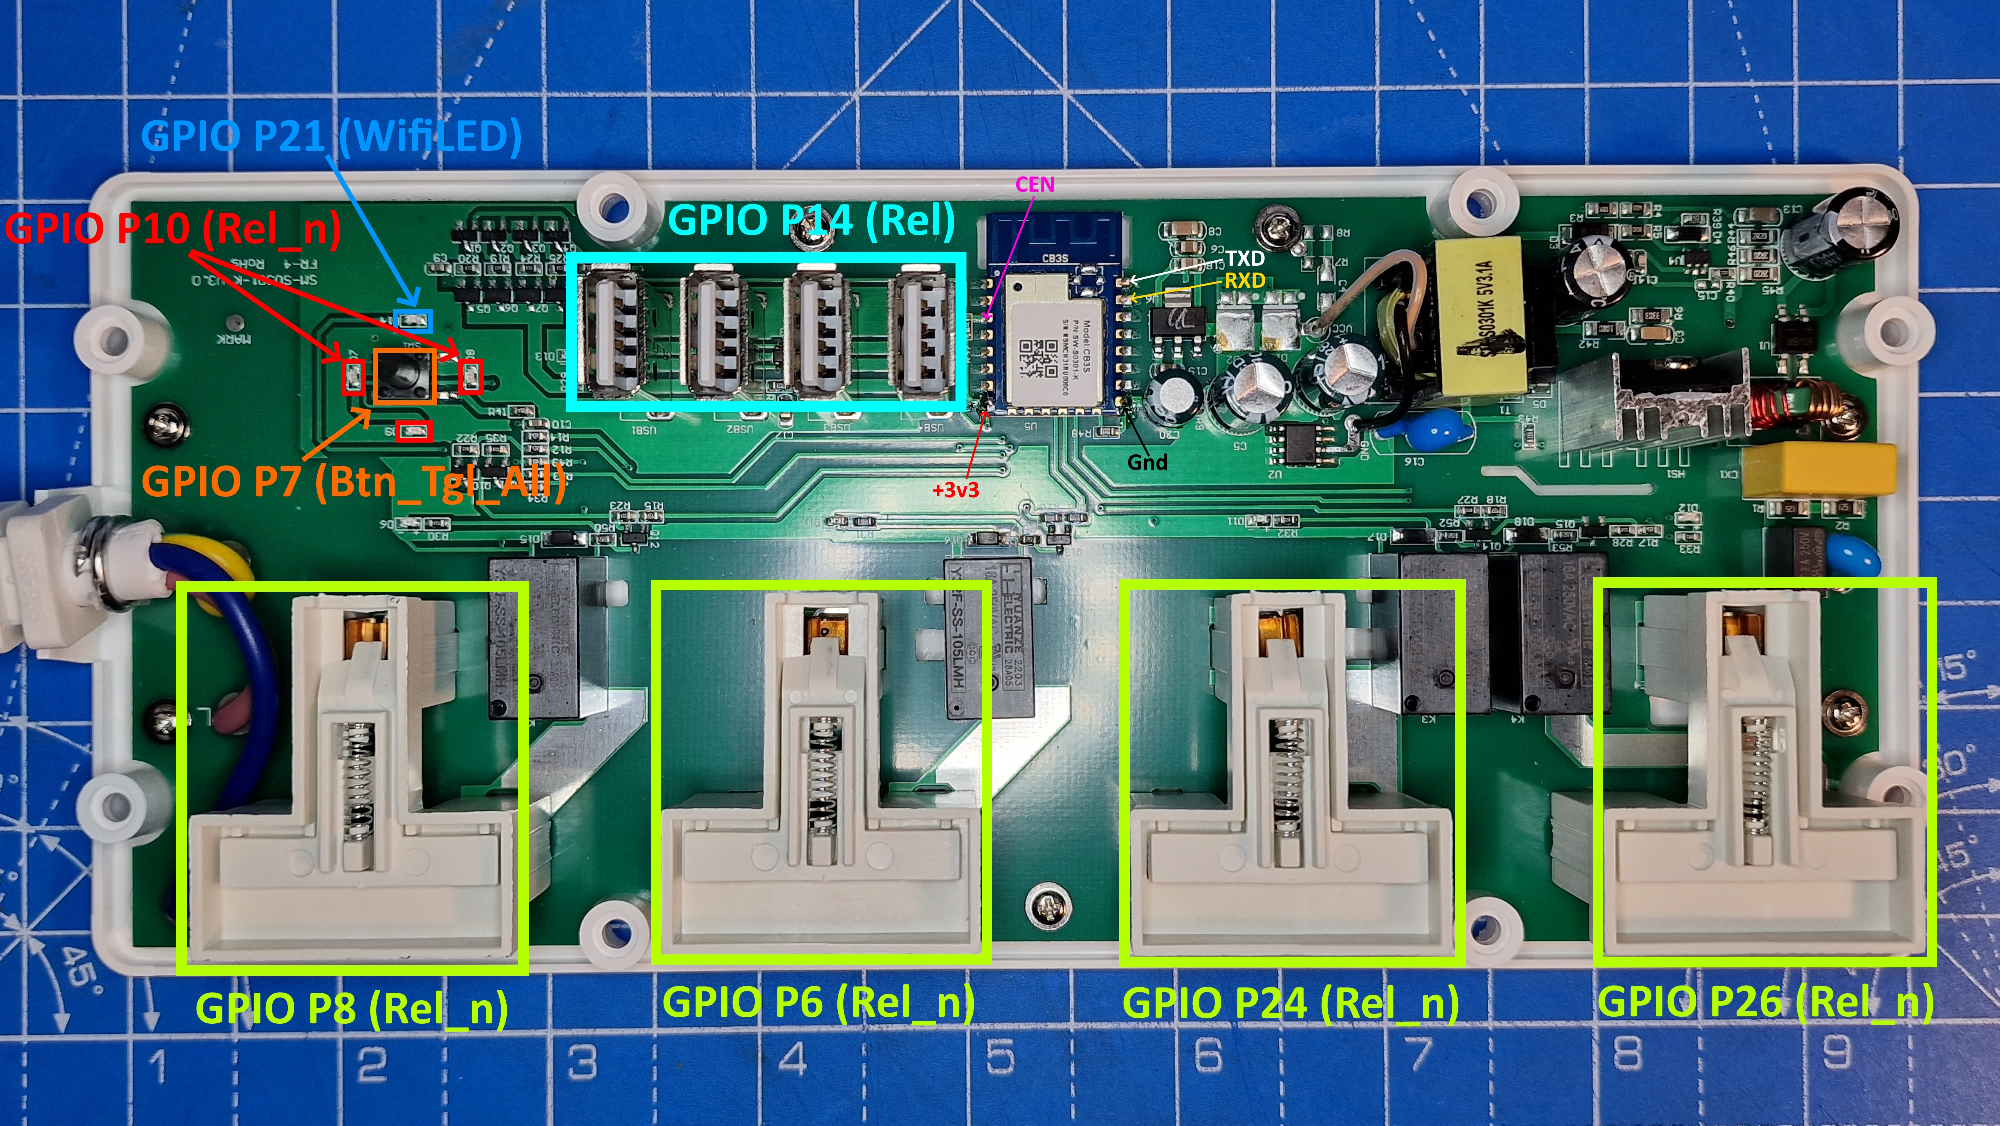
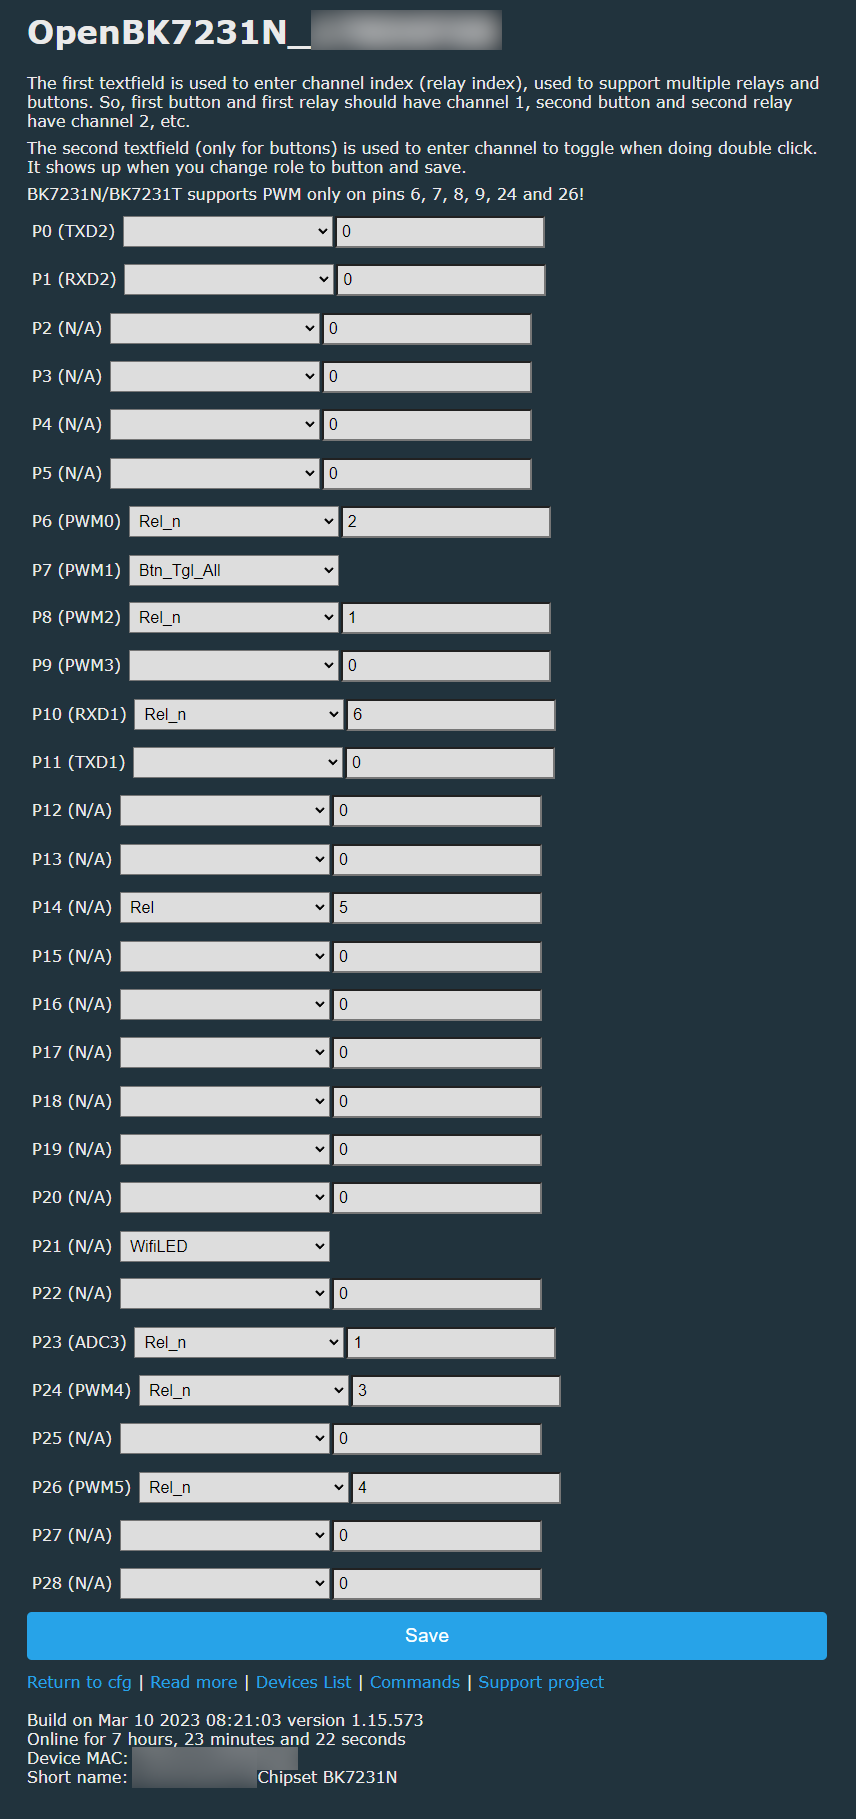
TL;DR: CB3S/BK7231N smart strip teardown shows 9 accessible GPIO pins and a 4-gang+USB relay board; “bug fixed overnight” [Elektroda, gcole, #20479666; p.kaczmarek2, #20479693]. Flash via UART, set aliases, enjoy local control.
Why it matters: Local firmware unlocks privacy-friendly automation and lets you repurpose spare GPIO pins.
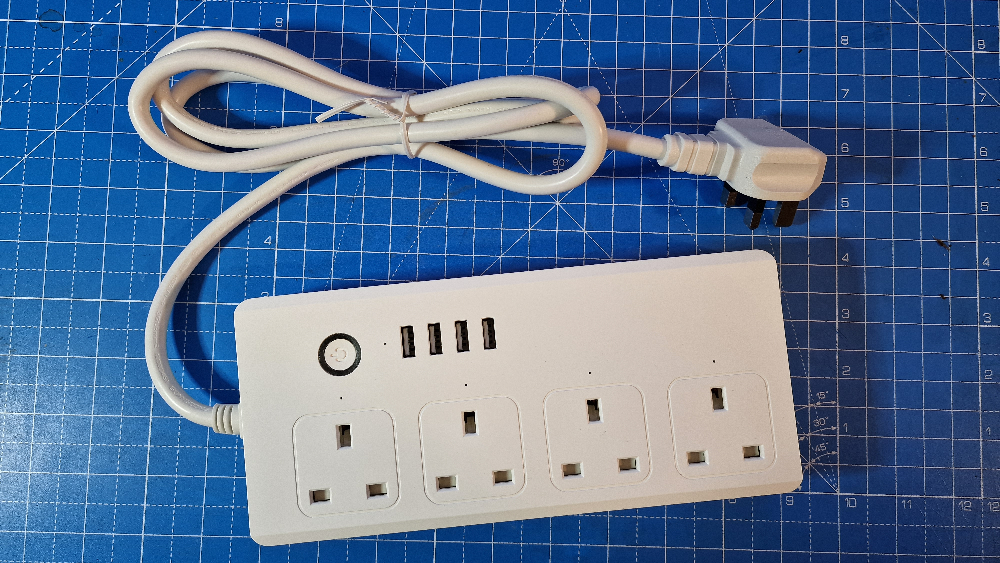
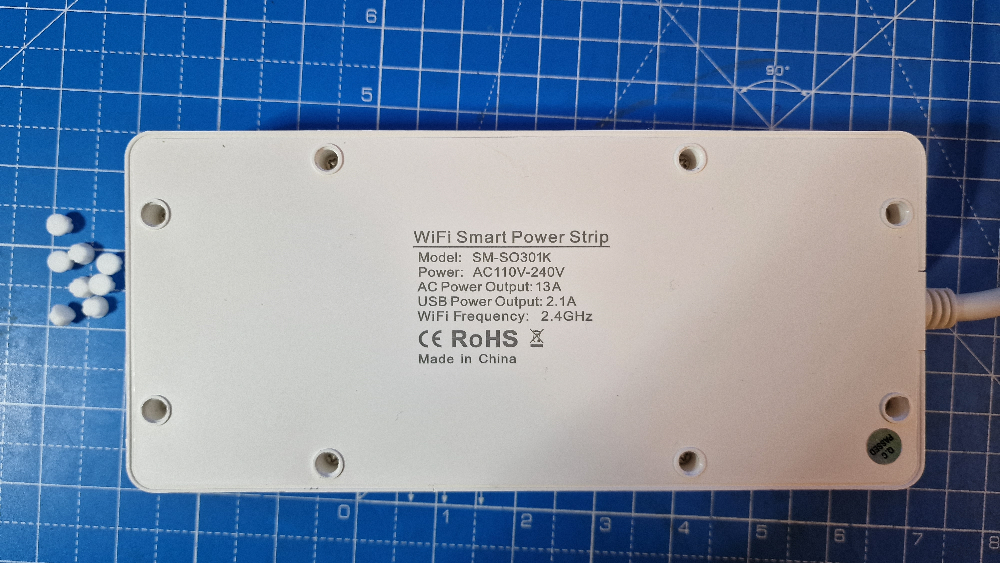
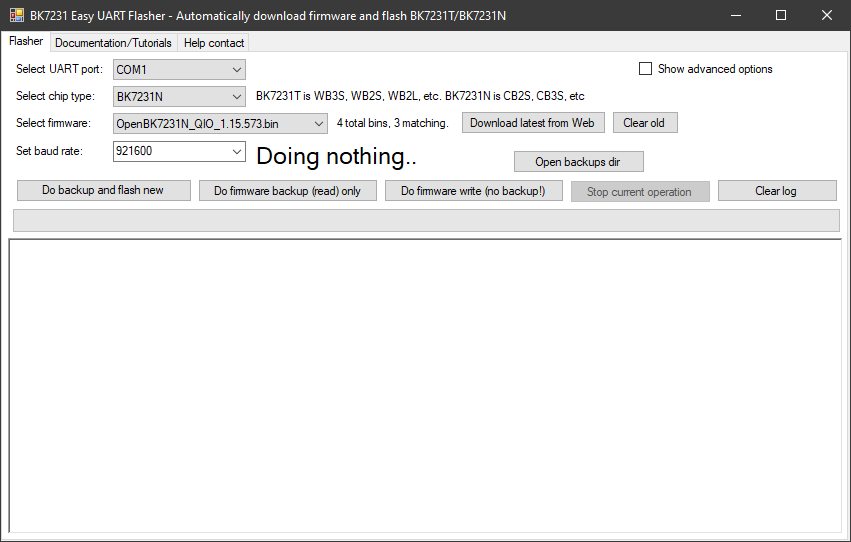
• Model SM-SO301K: 4 UK AC outlets + 1 USB-A port, plastic chassis [Elektroda, gcole, post #20479666] • Wi-Fi module CB3S with 1 MB flash, BK7231N SoC; 3.3 V UART pads exposed [Elektroda, gcole, post #20479666] • Disassembly: eight 2 mm screws under rubber feet; no glue, ~1 min teardown [Elektroda, gcole, post #20479666] • OpenBeken firmware size ≈552 kB; GUI Flash Tool v1.4 free download [BK7231GUIFlashTool Releases] • Street price £25–30 on Amazon UK, March 2023 ["Amazon Listing"]
Comments
There was indeed a little logical mistake in Toggle All button which manifested only when Relay channels are indexed starting from 1 and not 0, but it's now indeed fixed. Very nice teardown, it's interesting... [Read more]
Here is the json config { "vendor": "Generic", "bDetailed": "0", "name": "WiFi Smart Power Strip", "model":... [Read more]
Thank you, the device has been added to our list. https://obrazki.elektroda.pl/7326561400_1678482434_thumb.jpg https://openbekeniot.github.io/webapp/devicesList.html If you have any other devices,... [Read more]
Ive got some more devices coming soon so I will definitely add more in the future. I have a question. Looing at scripts and so on I'm wondering if tehre is a way to set up the behaviour in the following... [Read more]
The similiar behaviour is present in one of our automatic firmware self-tests, designed to check the scripting functionality after each development iteration. https://github.com/openshwprojects/OpenBK7231T_App/blob/main/src/selftest/selftest_demo_buttonToggleGroup.c Here's... [Read more]
I put this in an autoexec.bat file and it works exactly as expected, once again thank you! alias set_led_on backlog setChannel 6 1 alias set_led_off backlog setChannel 6 0 alias myToggle if $CH1||$CH2||$CH3||$CH4||$CH5... [Read more]
Thank you, is there anything else I may help with? [Read more]