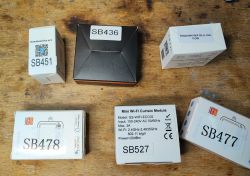
This switch is the 2CH variant of the Gerier WiFi Switch series. It is really a small device...
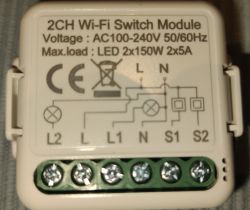
Start the teardown by turning the device so that you have the back on top. Use a small knife to open it from any side. Just in the middle of each side you can push a small knife in and open the case without destroying it. After opening the case backside take of the PCB by pressing on the green wire screwbar.

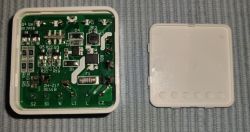
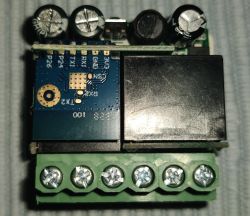
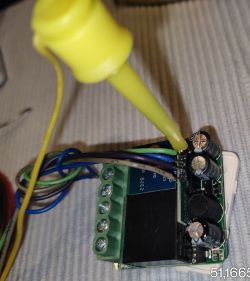
The device uses the CB2S Module. Well - all connectors are easy to solder and even documented on the PCB. Just the CEN you need "somehow" to connect a creativ way. I used tome measurement connector as you can see in picture. After connecting everything necessary for flashing, just start the usual procedure.
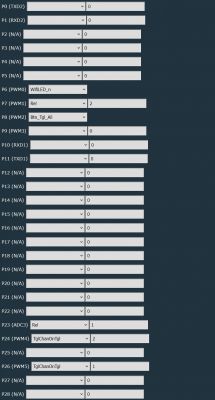
Configuration according to what being read from the original software image.

Start the teardown by turning the device so that you have the back on top. Use a small knife to open it from any side. Just in the middle of each side you can push a small knife in and open the case without destroying it. After opening the case backside take of the PCB by pressing on the green wire screwbar.


The device uses the CB2S Module. Well - all connectors are easy to solder and even documented on the PCB. Just the CEN you need "somehow" to connect a creativ way. I used tome measurement connector as you can see in picture. After connecting everything necessary for flashing, just start the usual procedure.

Configuration according to what being read from the original software image.

{
  "vendor": "Gerier",
  "bDetailed": "0",
  "name": "2CH WiFi Switch",
  "model": "LED 2*150W 2*5A",
  "chip": "BK7231N",
  "board": "TODO",
  "flags": "1024",
  "keywords": [
    "TODO",
    "TODO",
    "TODO"
  ],
  "pins": {
    "6": "WifiLED_n;0",
    "7": "Rel;2",
    "8": "Btn_Tgl_All;0",
    "23": "Rel;1",
    "24": "TglChanOnTgl;2",
    "26": "TglChanOnTgl;1"
  },
  "command": "",
  "image": "https://obrazki.elektroda.pl/7728453700_1709671235.jpg",
  "wiki": "https://www.elektroda.com/rtvforum/topic4040700.html"
}
Cool? Ranking DIY


