 .
.
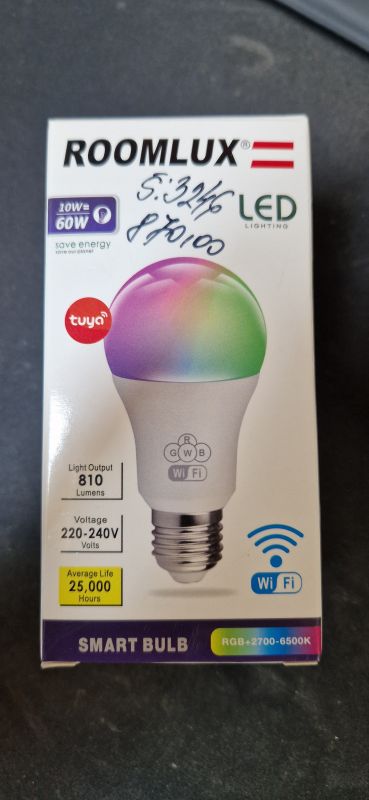
The RoomLux B15515 A60 is another WiFi-controlled 'bulb' offering dual-mode operation - RGB (colours) and CW (shades of white). Here I'll show the inside of it, check out what controls the LEDs and convert it to free it from the Tuya app and connect it locally to Home Assistant.
 .
.
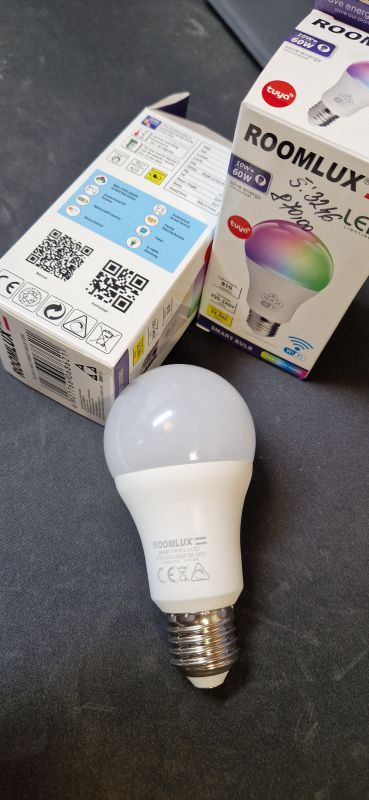
The power of the B15515 is 10W, with the manufacturer declaring it equivalent to a classic 60W incandescent bulb.
 .
.
The dome is plastic, easily removed:
 .
.
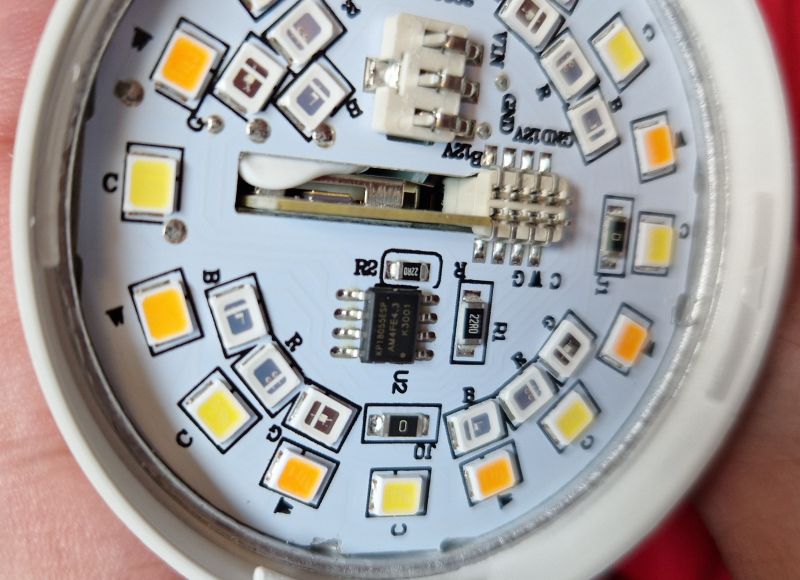
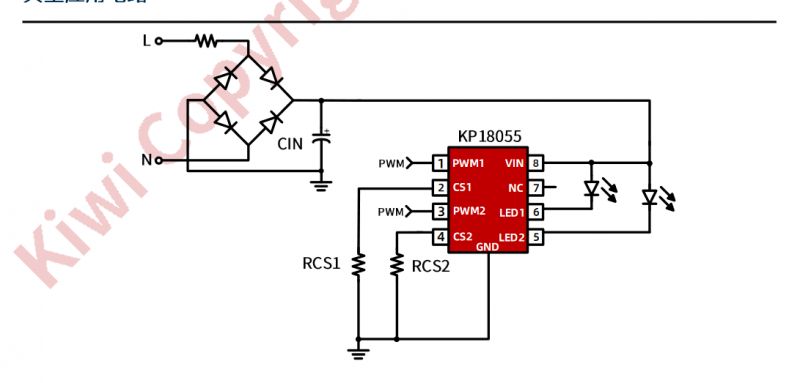
We can already see its construction - there are five types of LEDs, R, G, B, C and W - that is red, green, blue, cold and warm white. The white is controlled by the KP18055:
 .
.
We look further in. Inside is the WB2L WiFi module, already known from the themes:
[BK7231T/WB2L] Lepro LE Wifi Smart LED Bulb A19 E26 Model No. 901003-U .
[BK7231N/CB2L;BK7231T/WB2L] BPA800/RGBW/2 Feit stripping and flashing OpenBK bulbs .
Modification of 3Stone 100W smart bulb [BP5758D + WB2L] - with BK7231T chip, compatible with Al .
Plate:
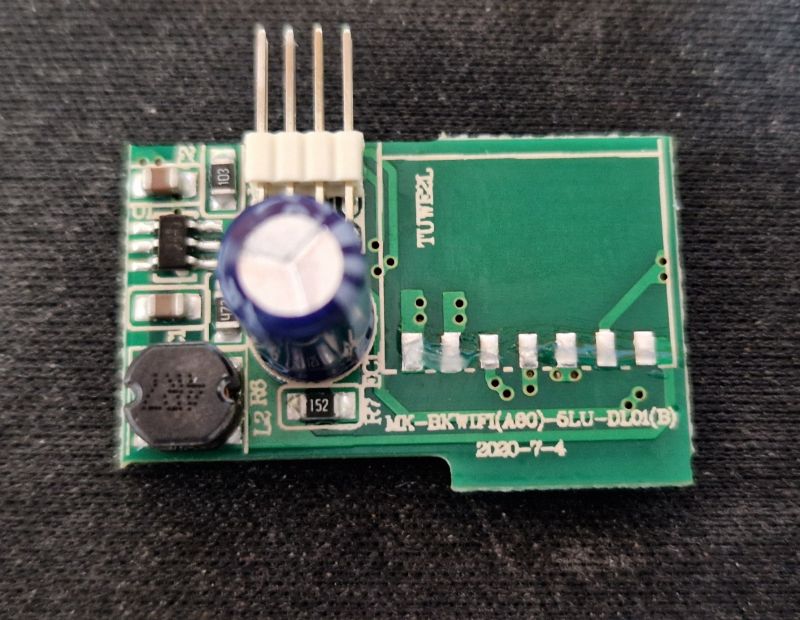
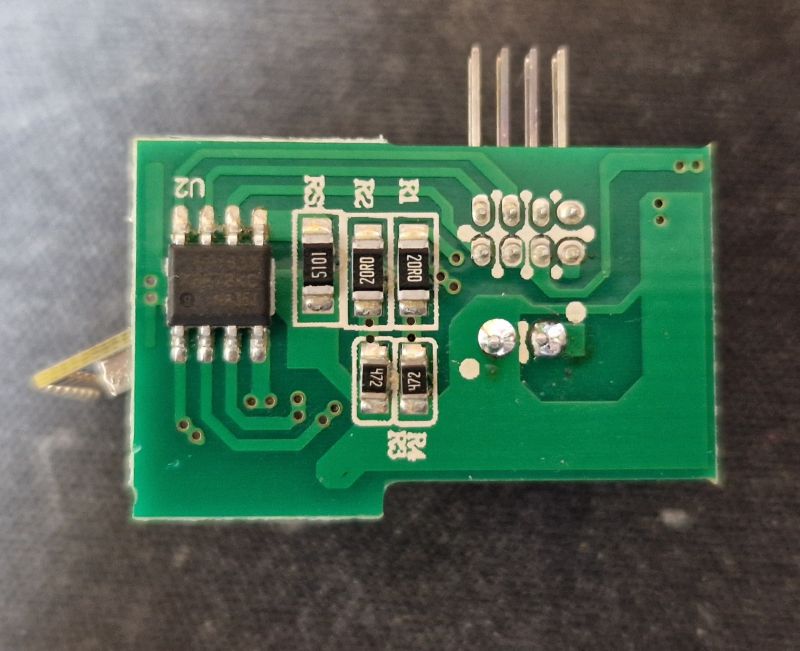 .
.
Here you can see the step-down inverter powering the WiFi module and the second LED controller, the BP1688. He controls the R, G and B LEDs:
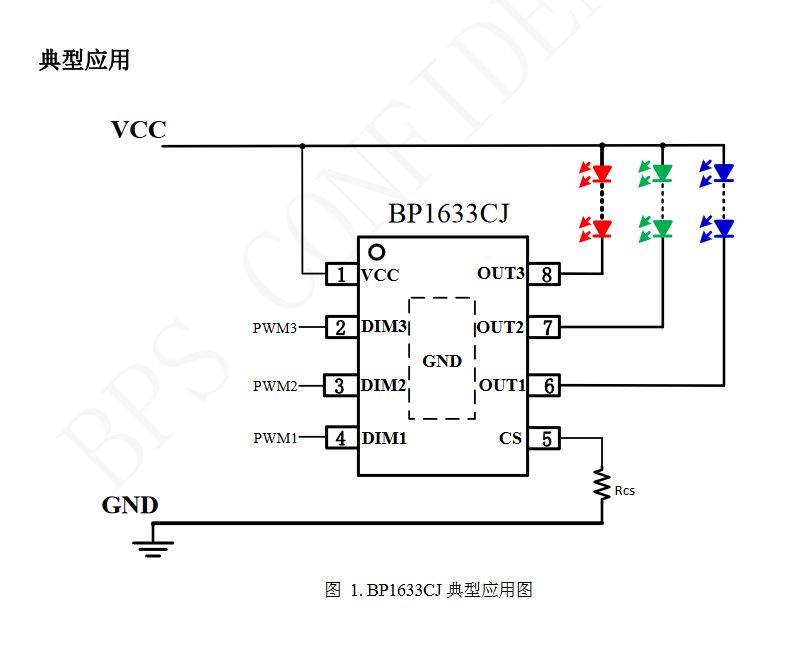 .
.
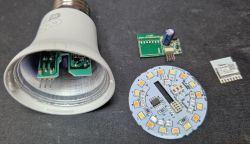
Lamp in parts:
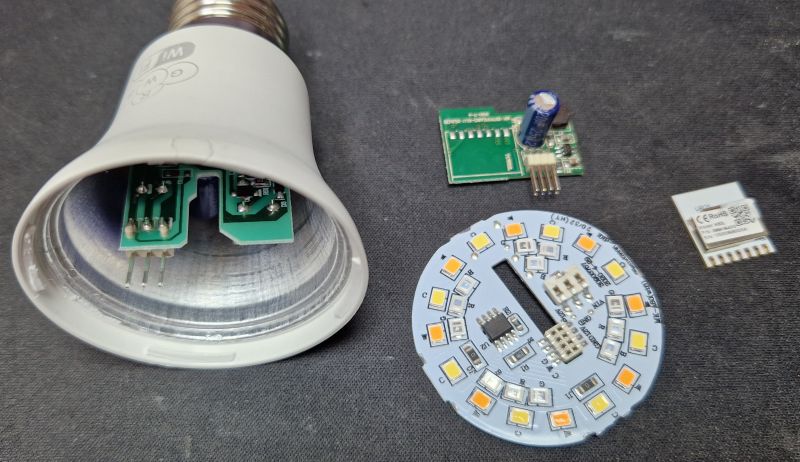
There is a small catch. The WiFi module supports OpenBeken, but the TX/RX pads are on the bottom of it, so you have to solder it out... .
Then only then can you flash:
https://github.com/openshwprojects/BK7231GUIFlashTool
In the process of uploading on the needle stand:
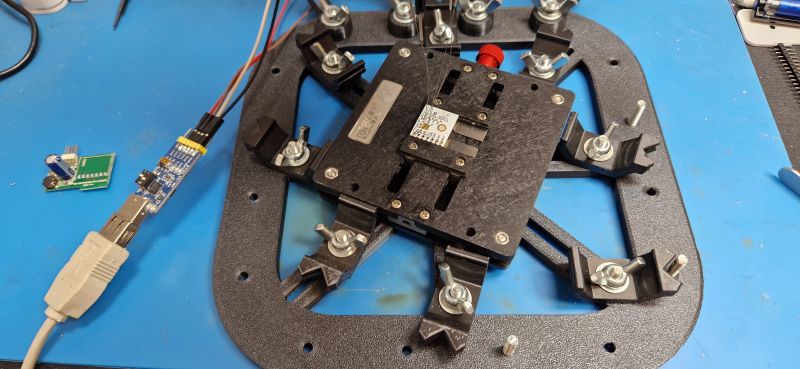 .
.
A copy of the factory batch: https://github.com/openshwprojects/FlashDumps/commit/1c3a43908e8d525a998be12fdb89a07a0319d439
Then configure the 5 PWM pins:
Code: JSON
Then the HASS Discovery can be performed:
and our LED will then be seen by the Home Assistant:
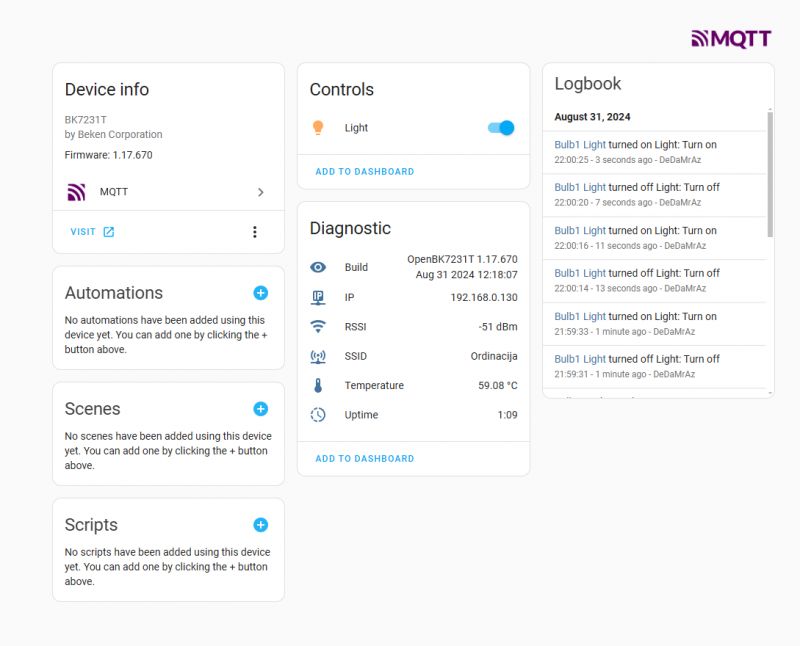 .
.
A short test on video:
In summary , this was another WiFi controlled LED working normally with the Tuya cloud, freeing is from the cloud was not difficult, the only trouble here is that there is no access to the RX/TX on the bottom of the WiFi module, so this module has to be soldered out.
This doesn't happen often, so if we want something easier to buy for our Home Assistant and don't have hot air, we should rather avoid this model. Alternatively, you can try the method from here:
But this takes a bit of feeling, so we combine at our own risk.
Cool? Ranking DIY Helpful post? Buy me a coffee.


